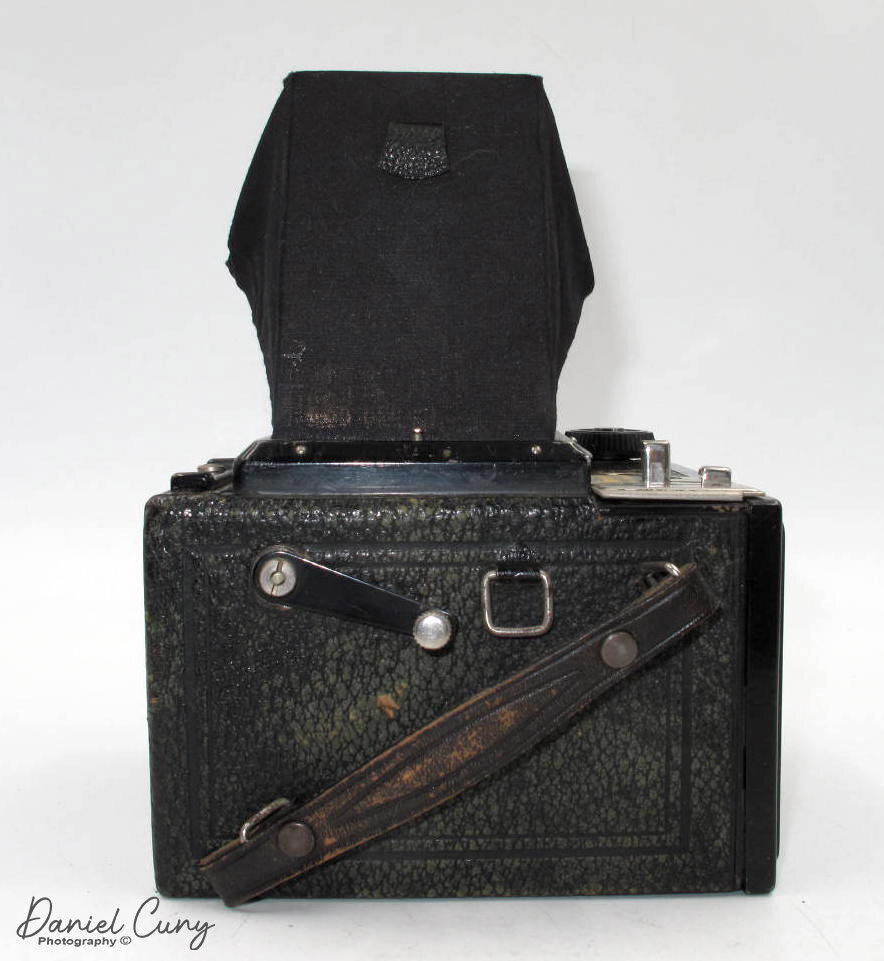
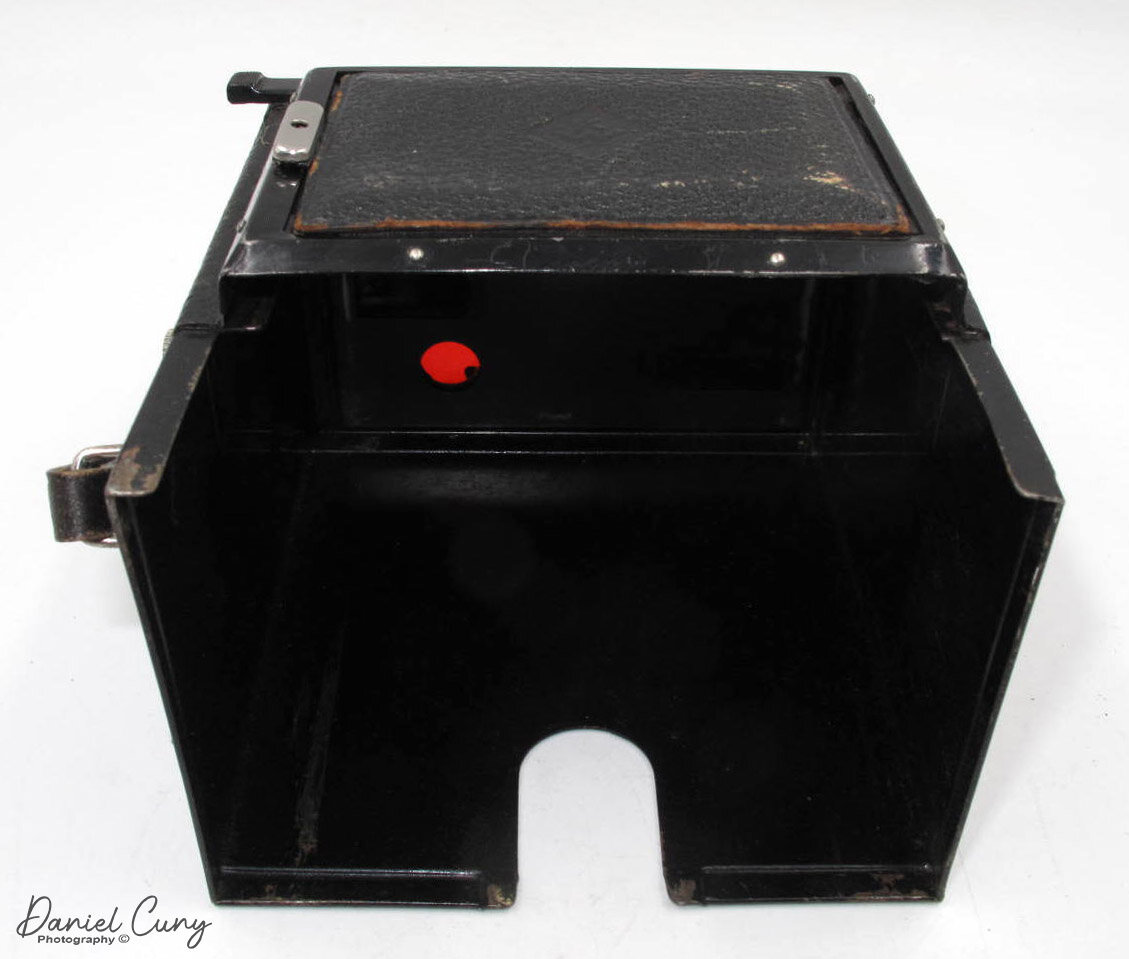
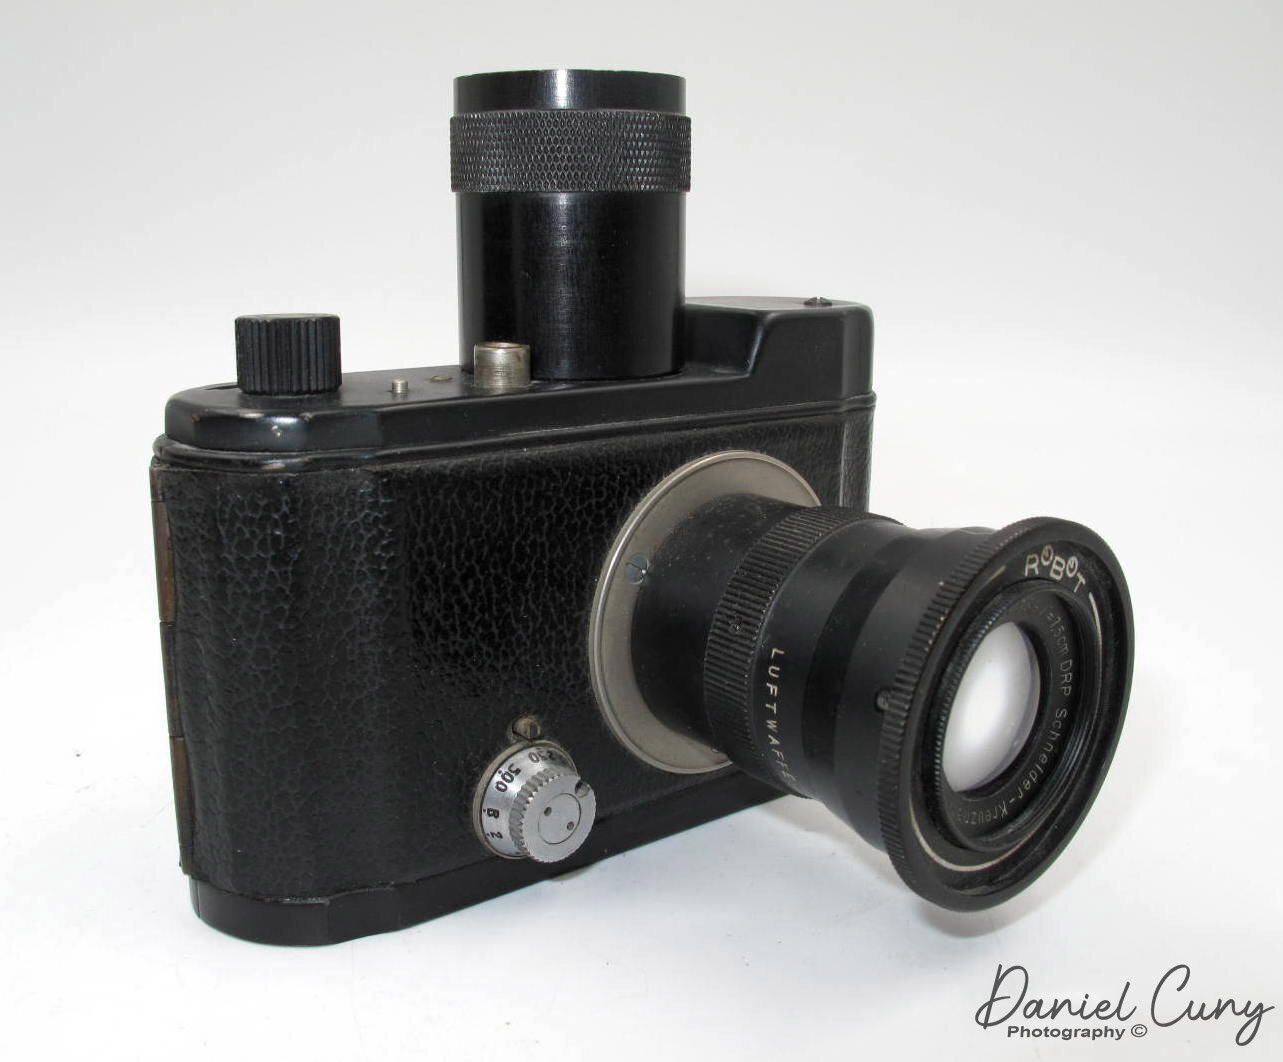
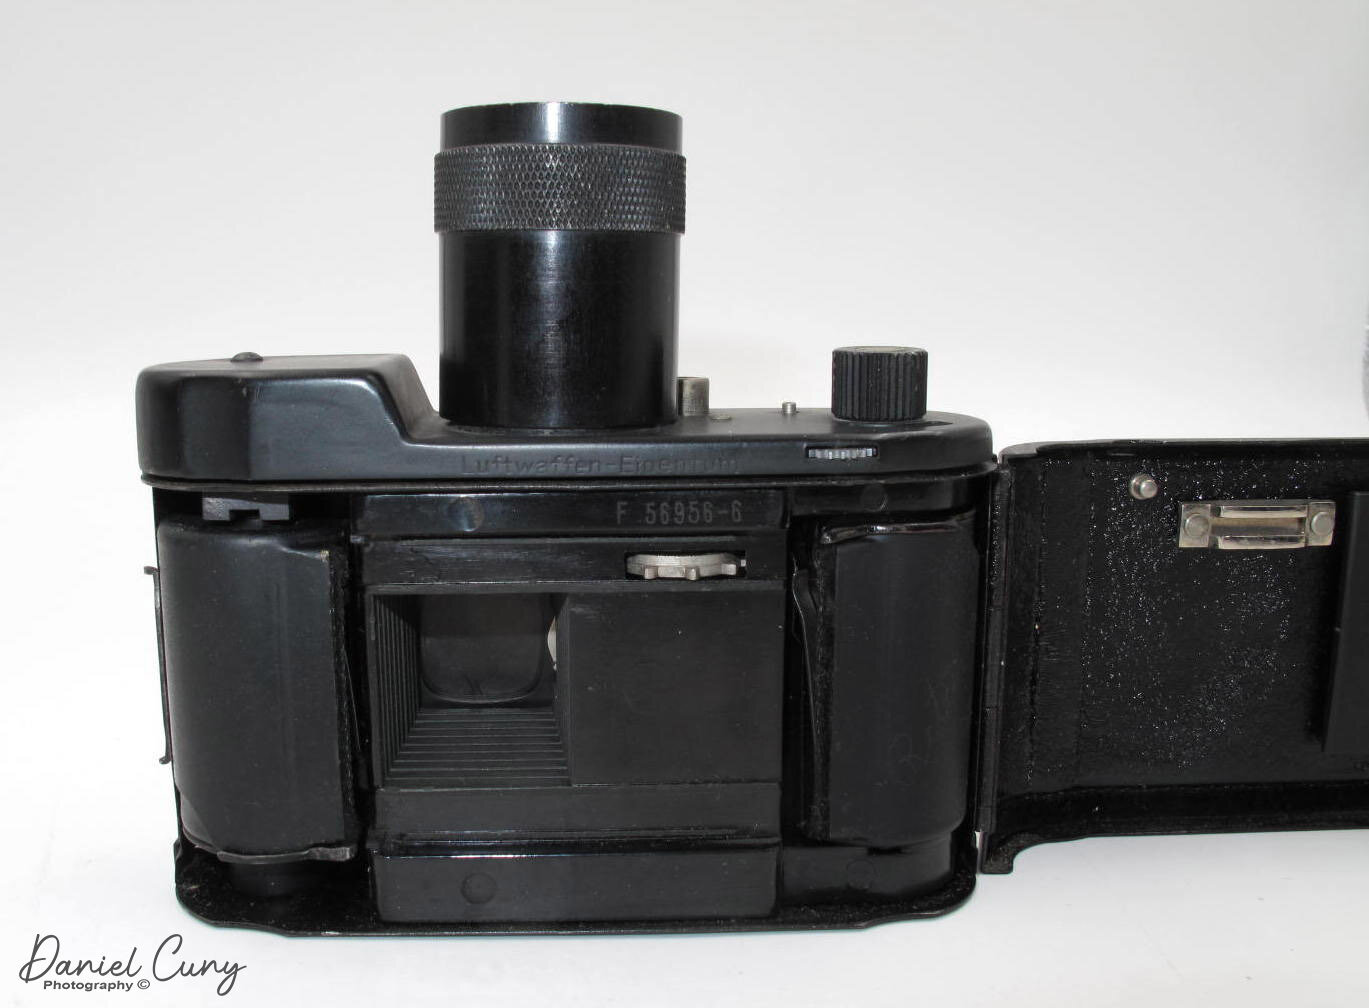
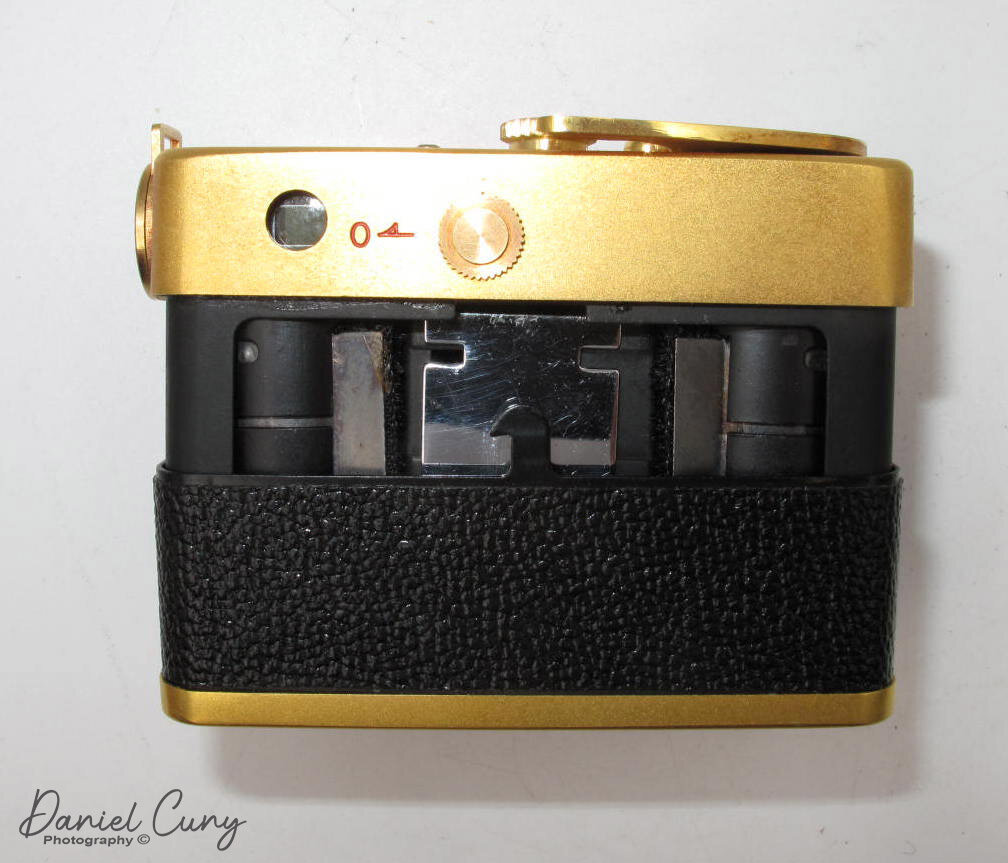
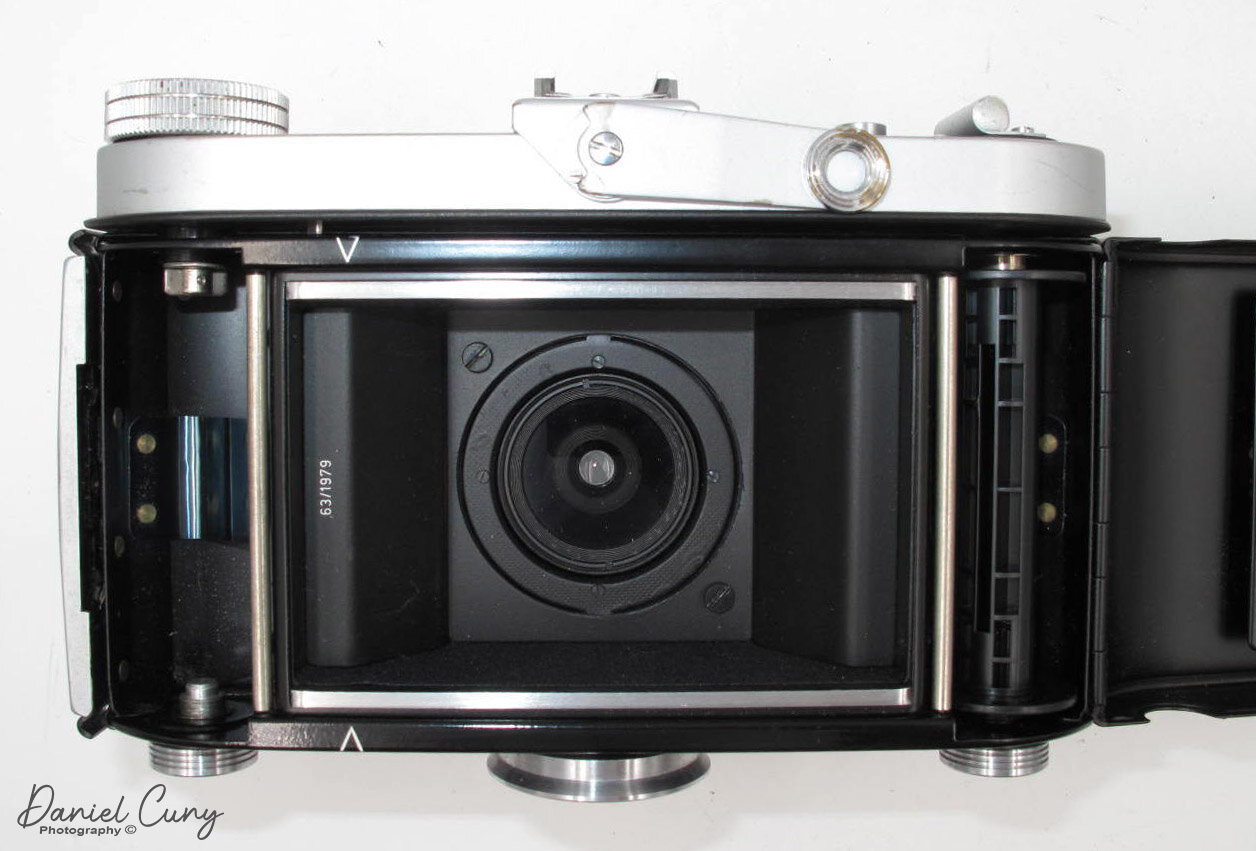
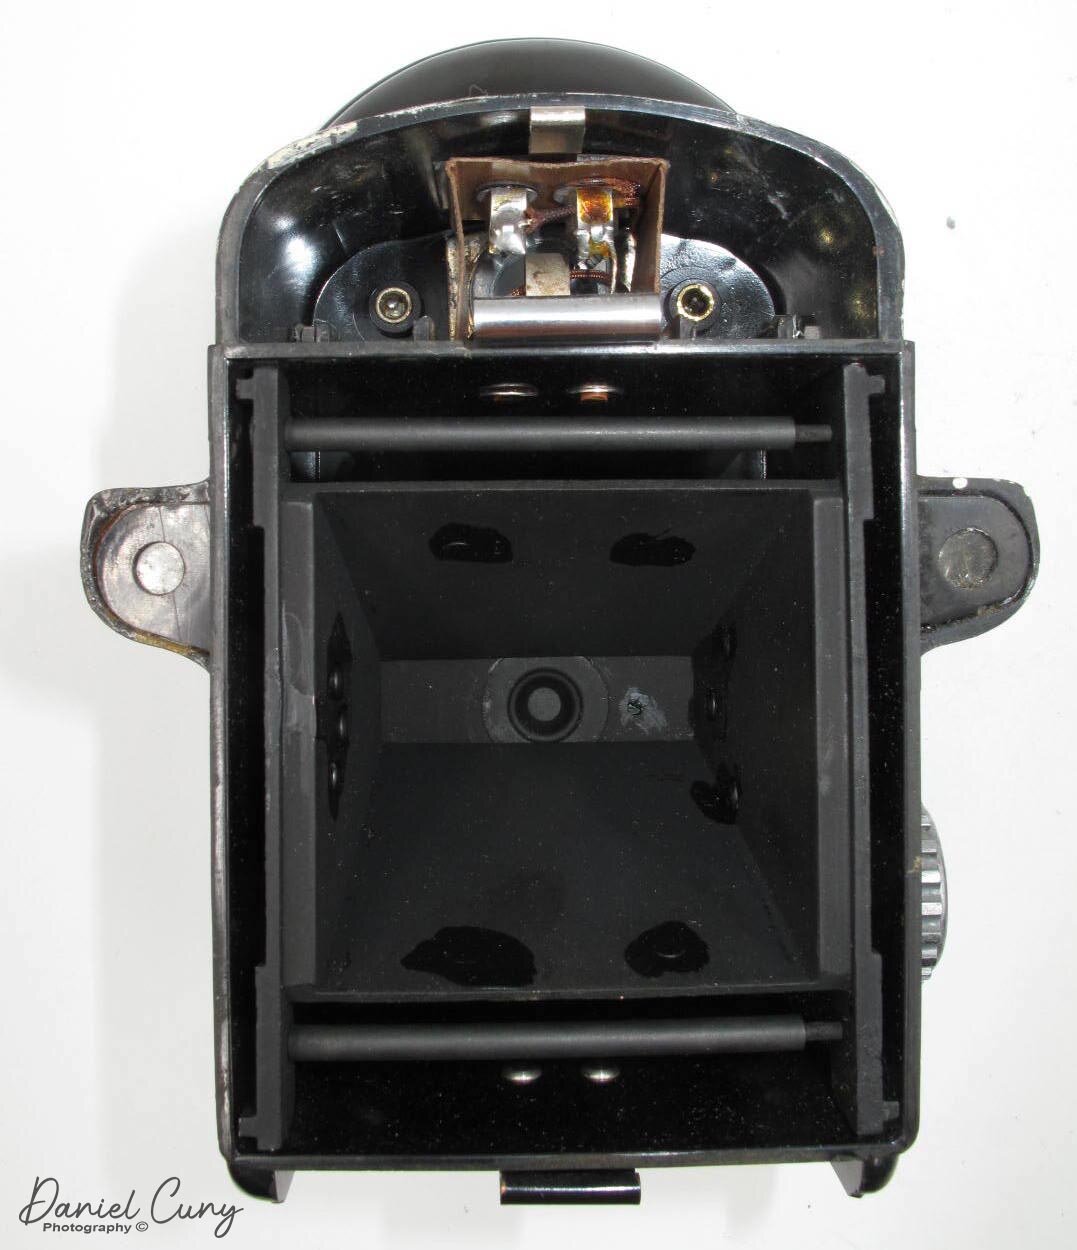
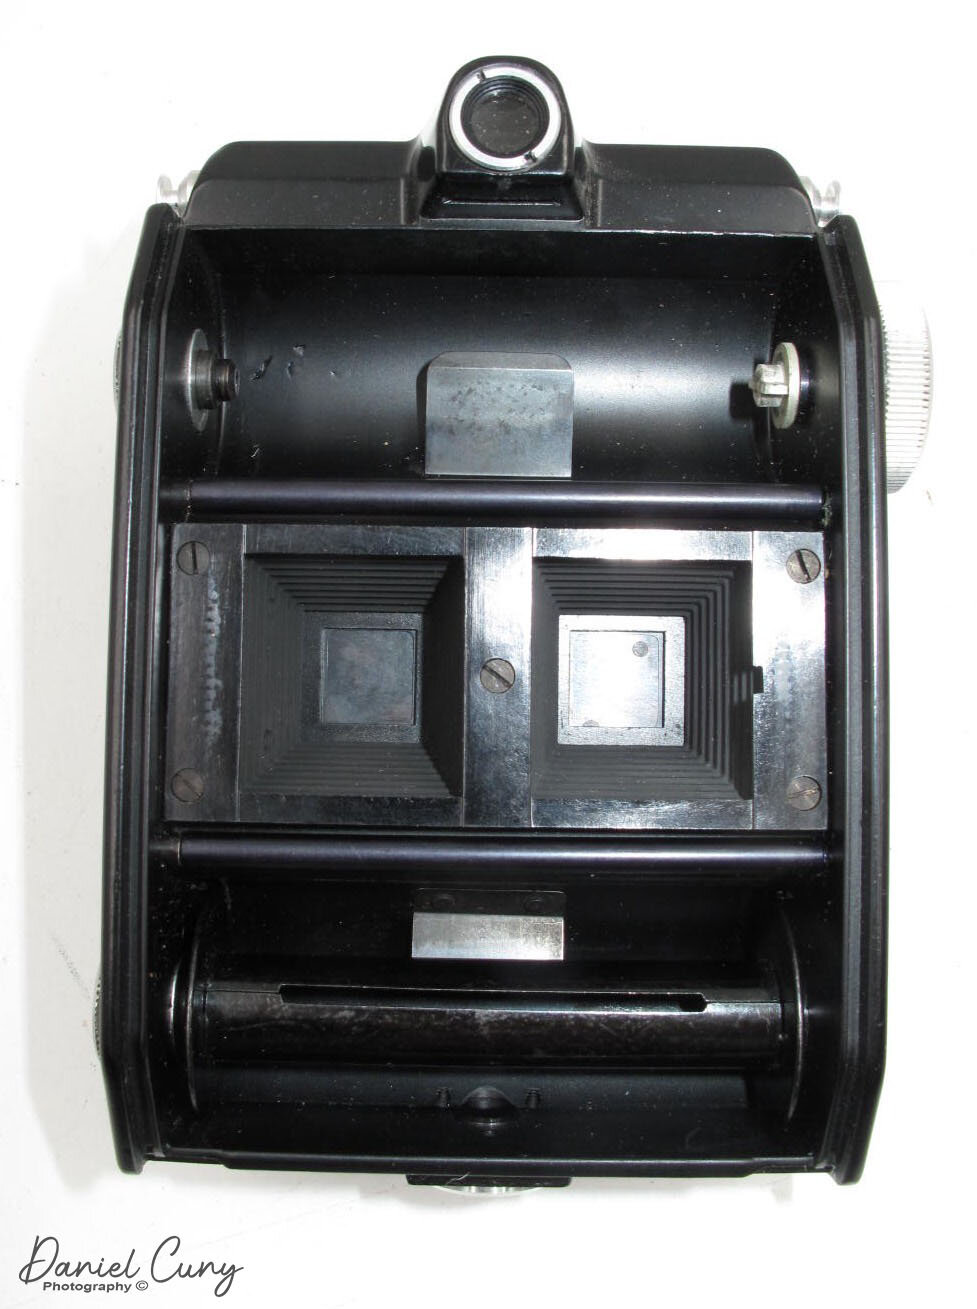
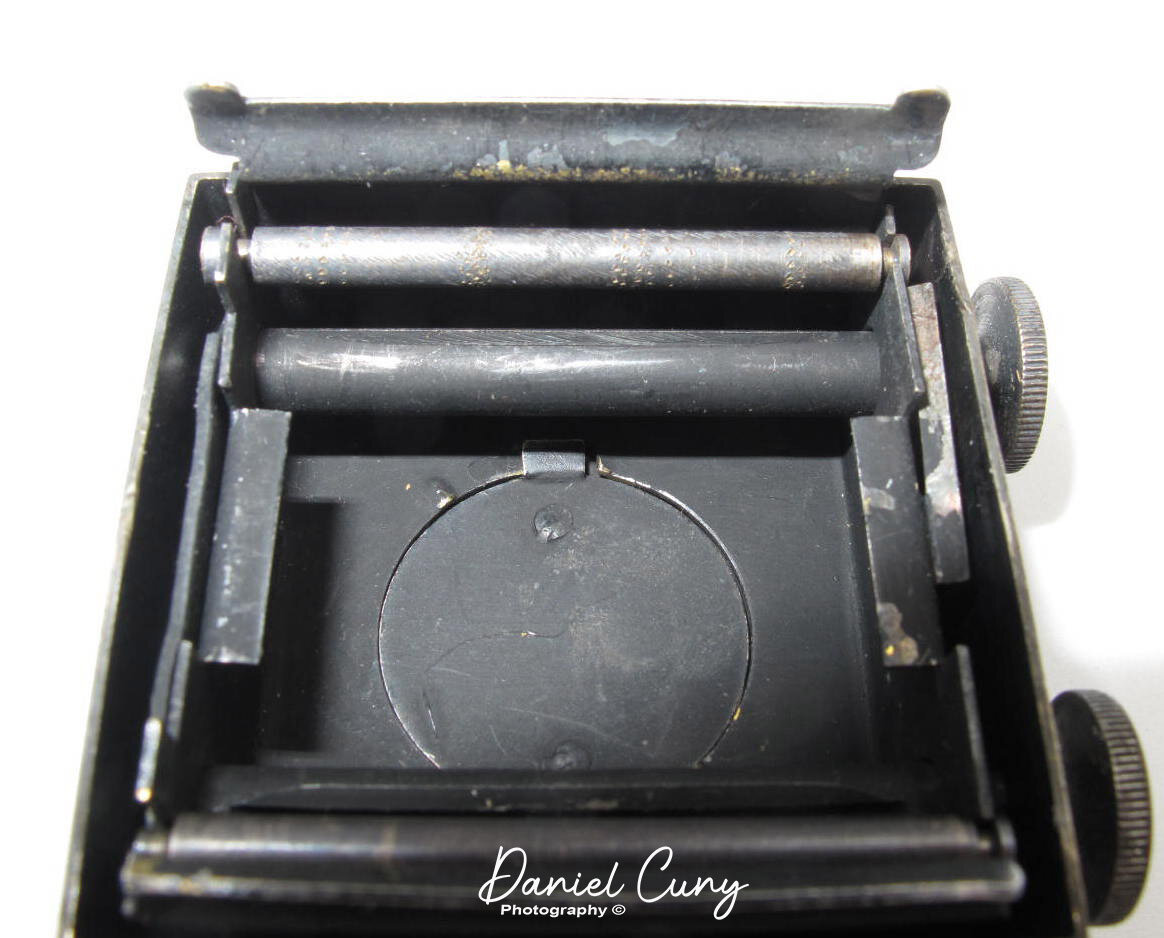
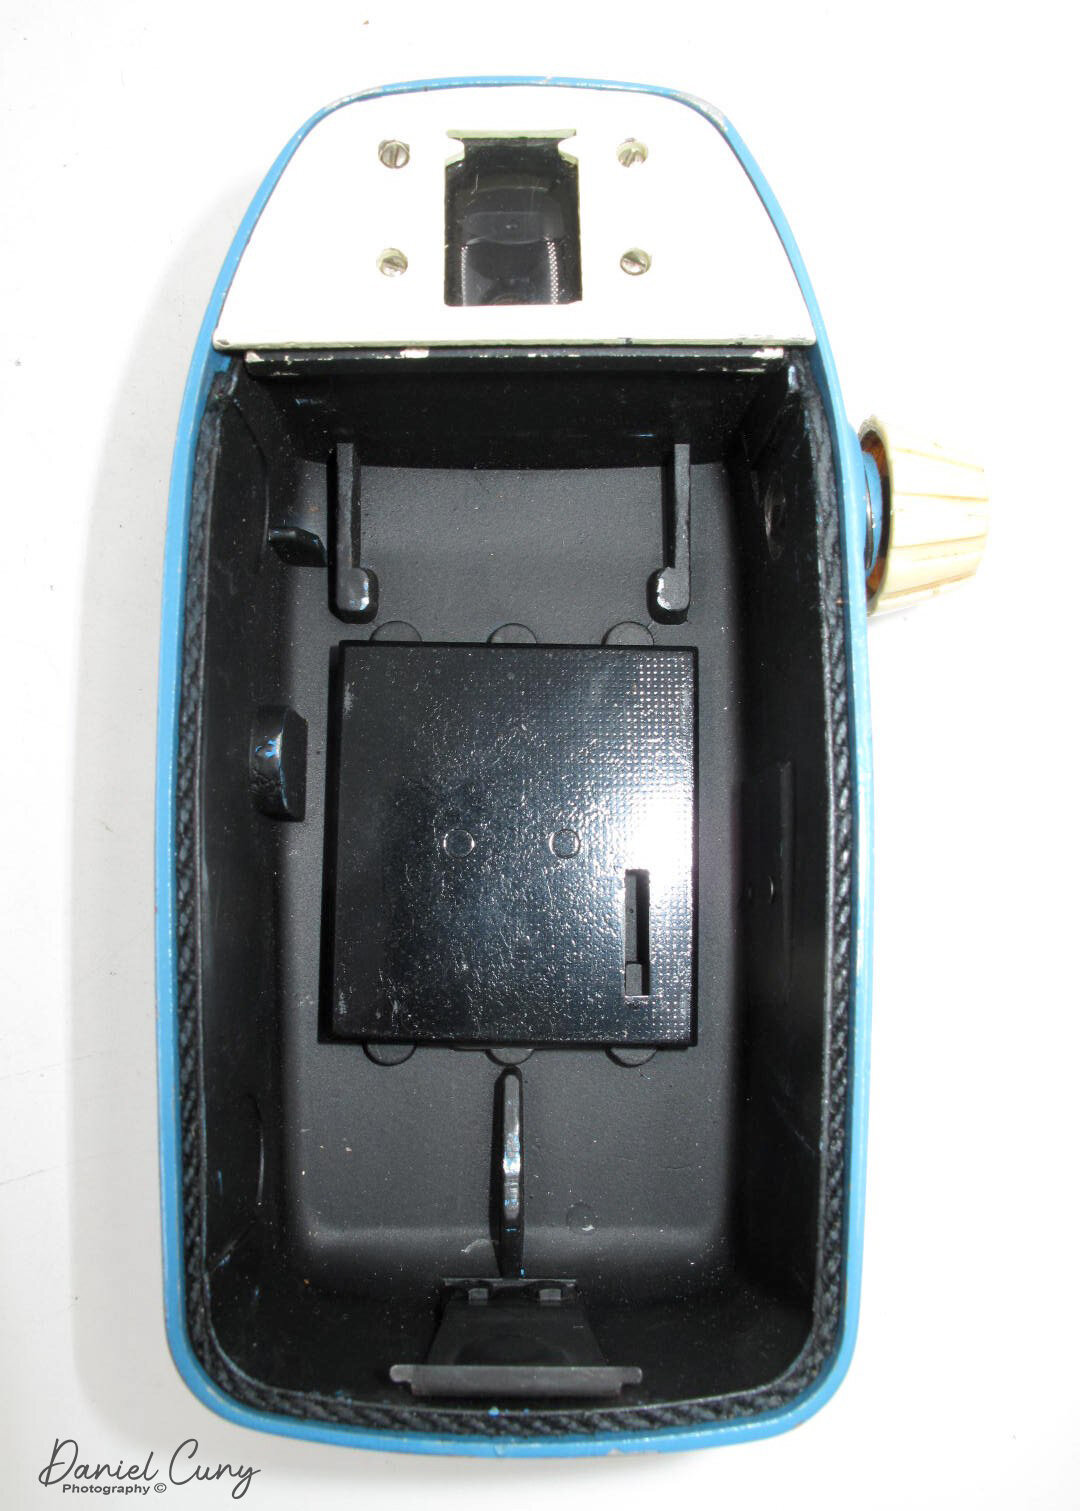
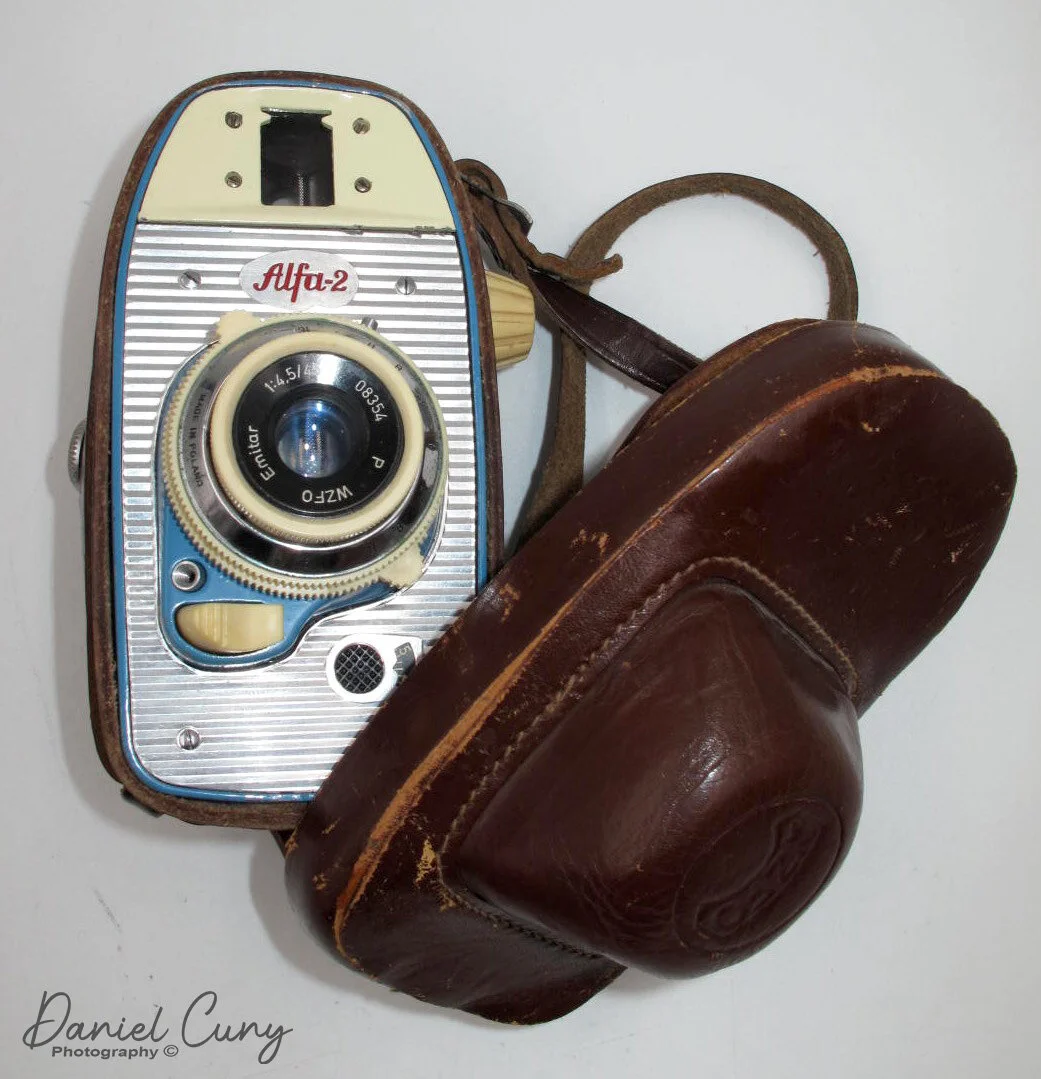
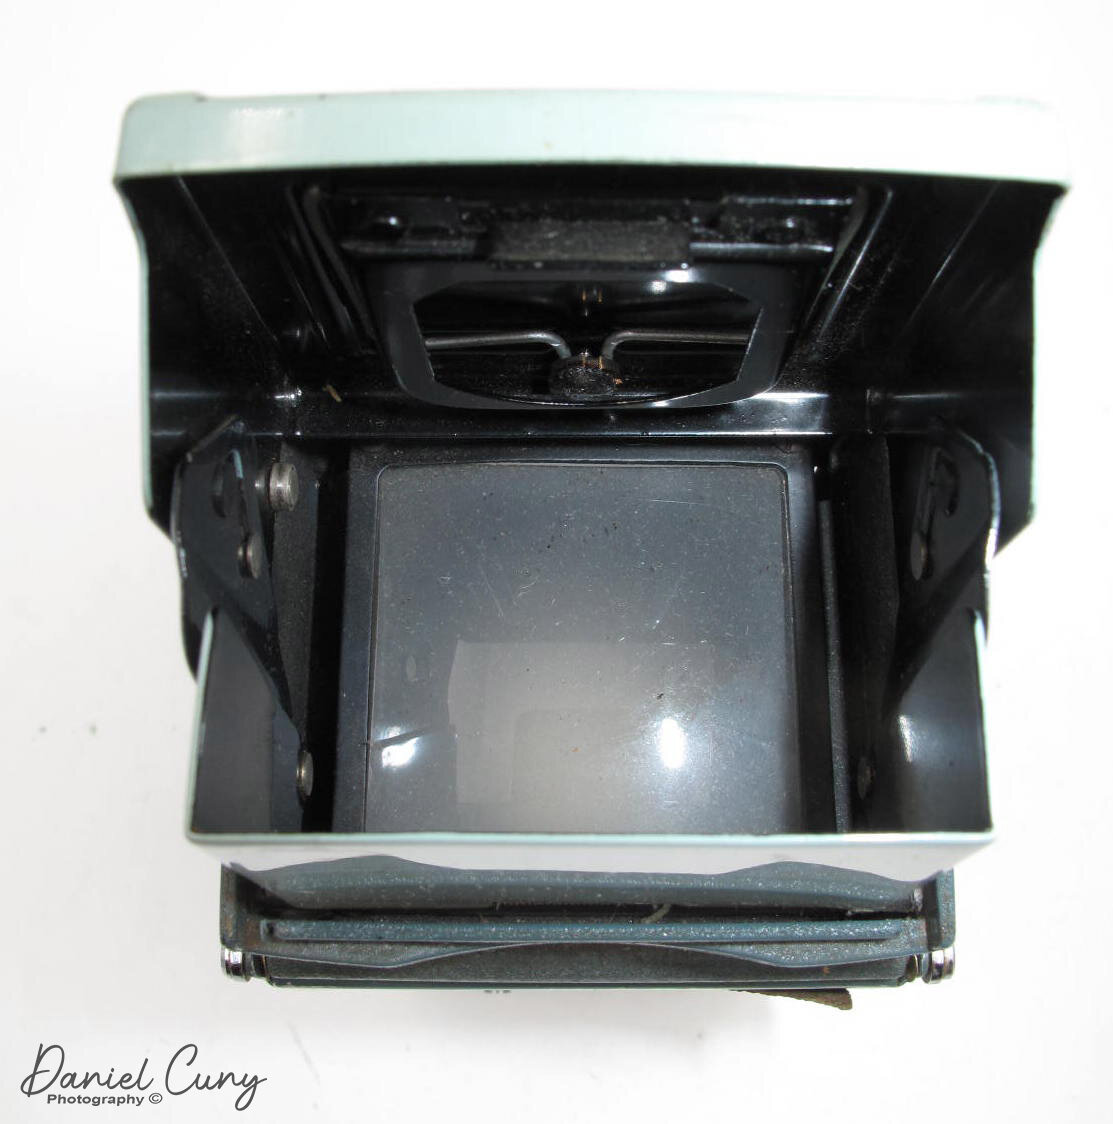
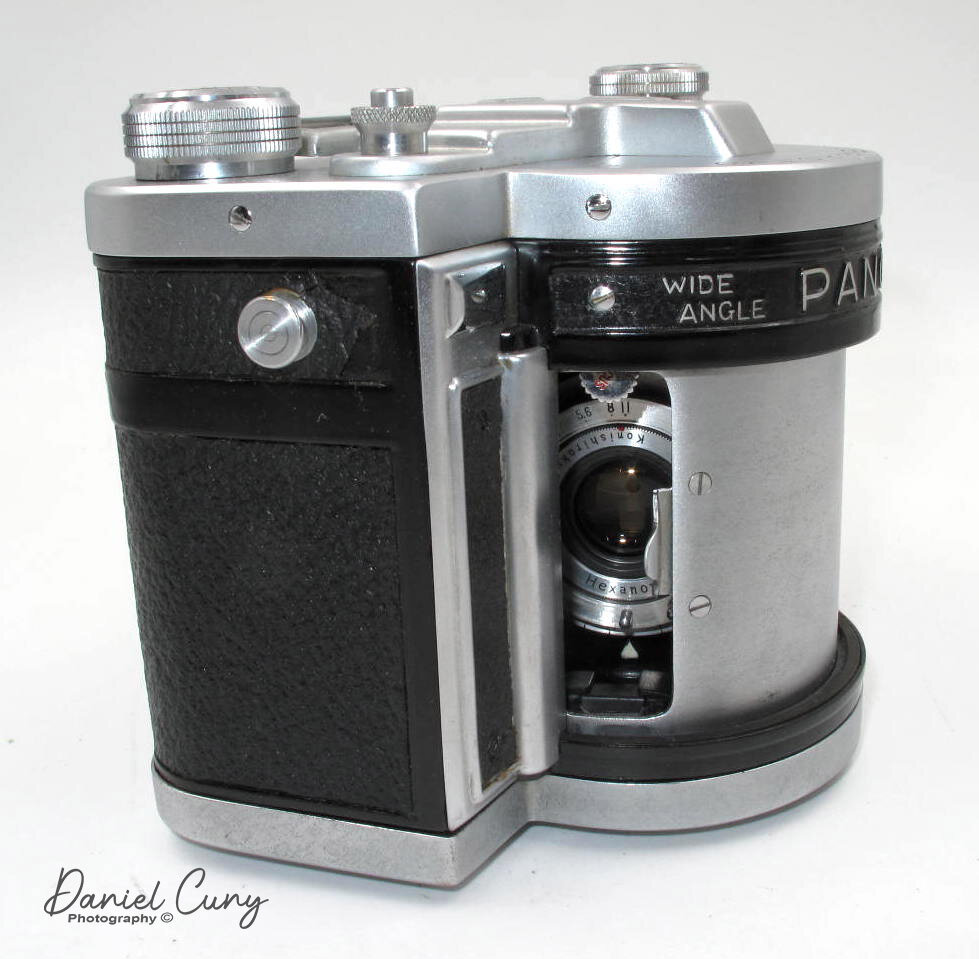
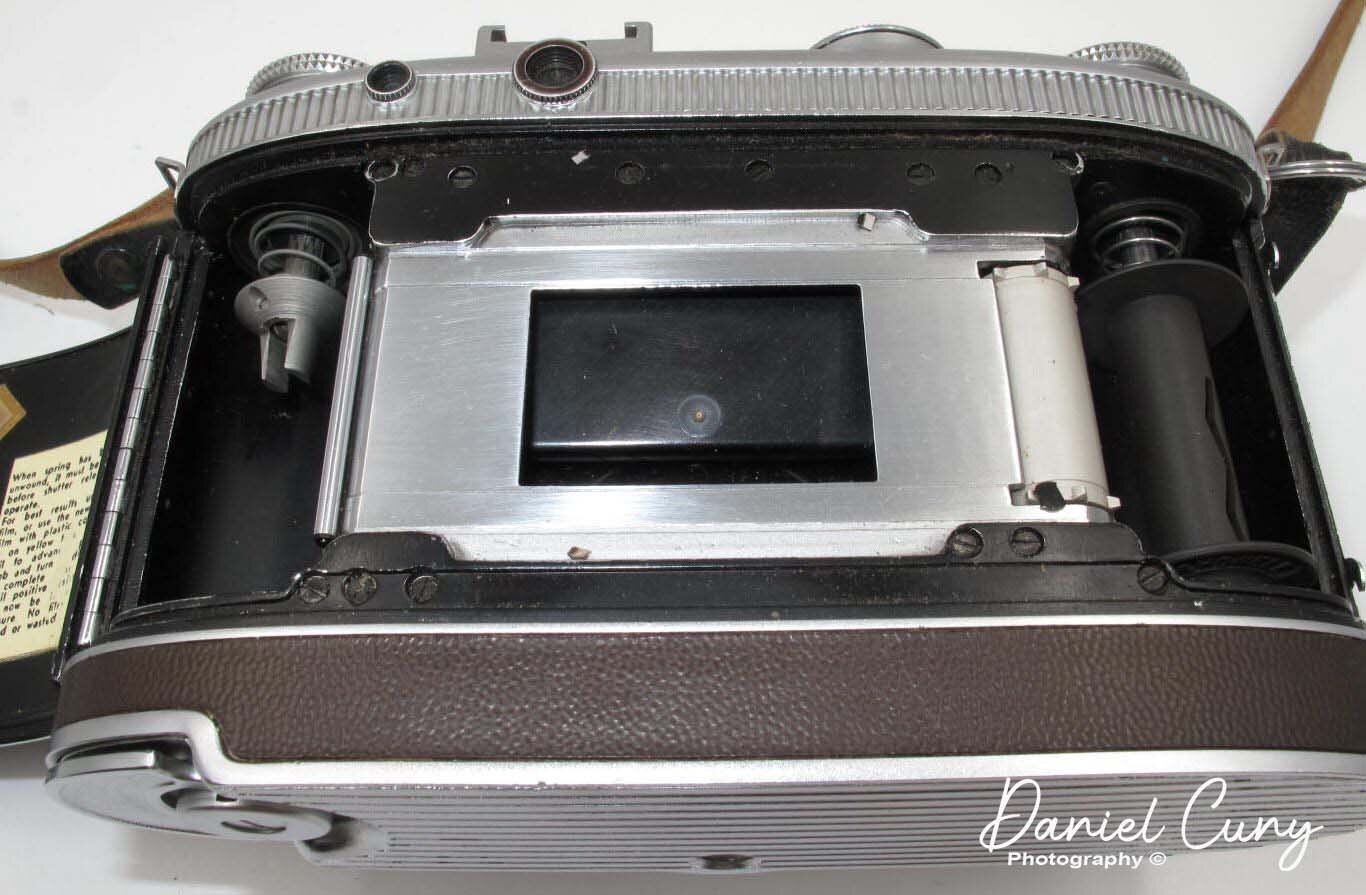
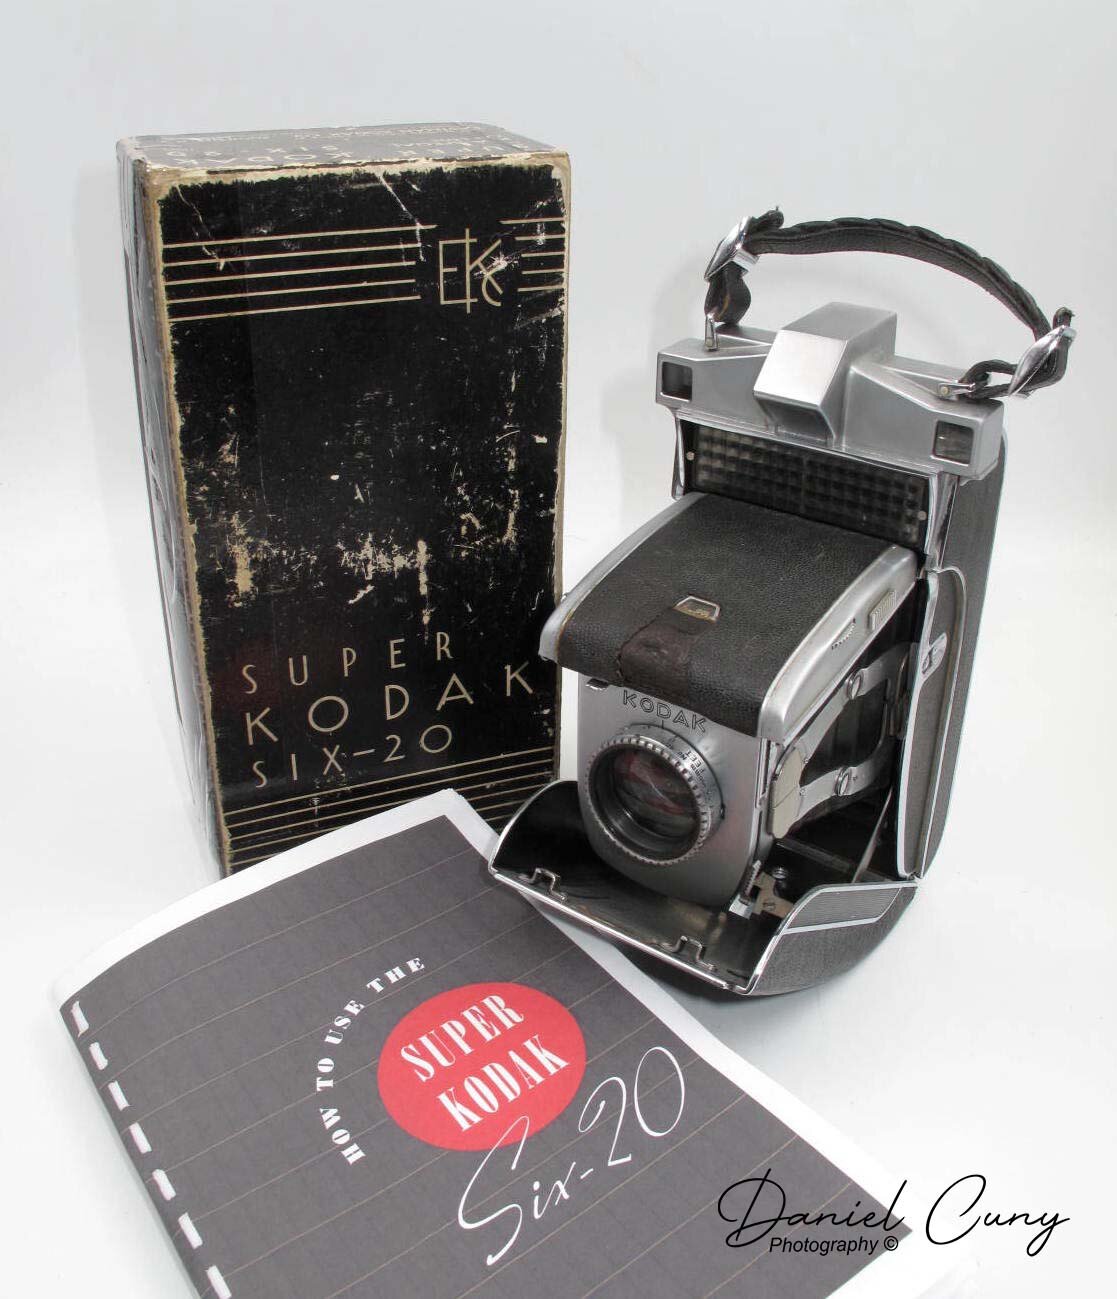
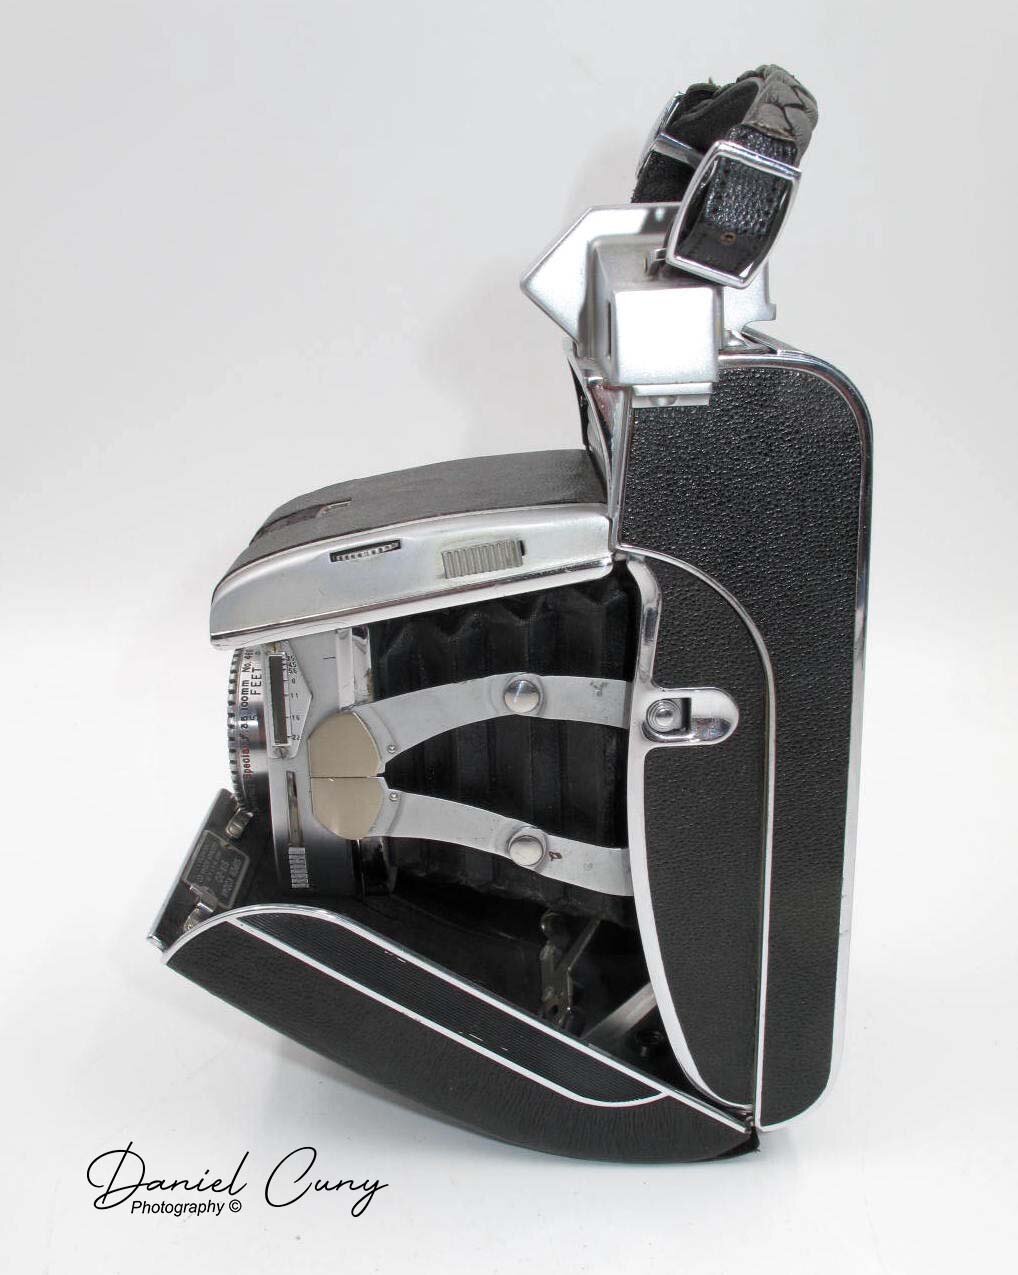
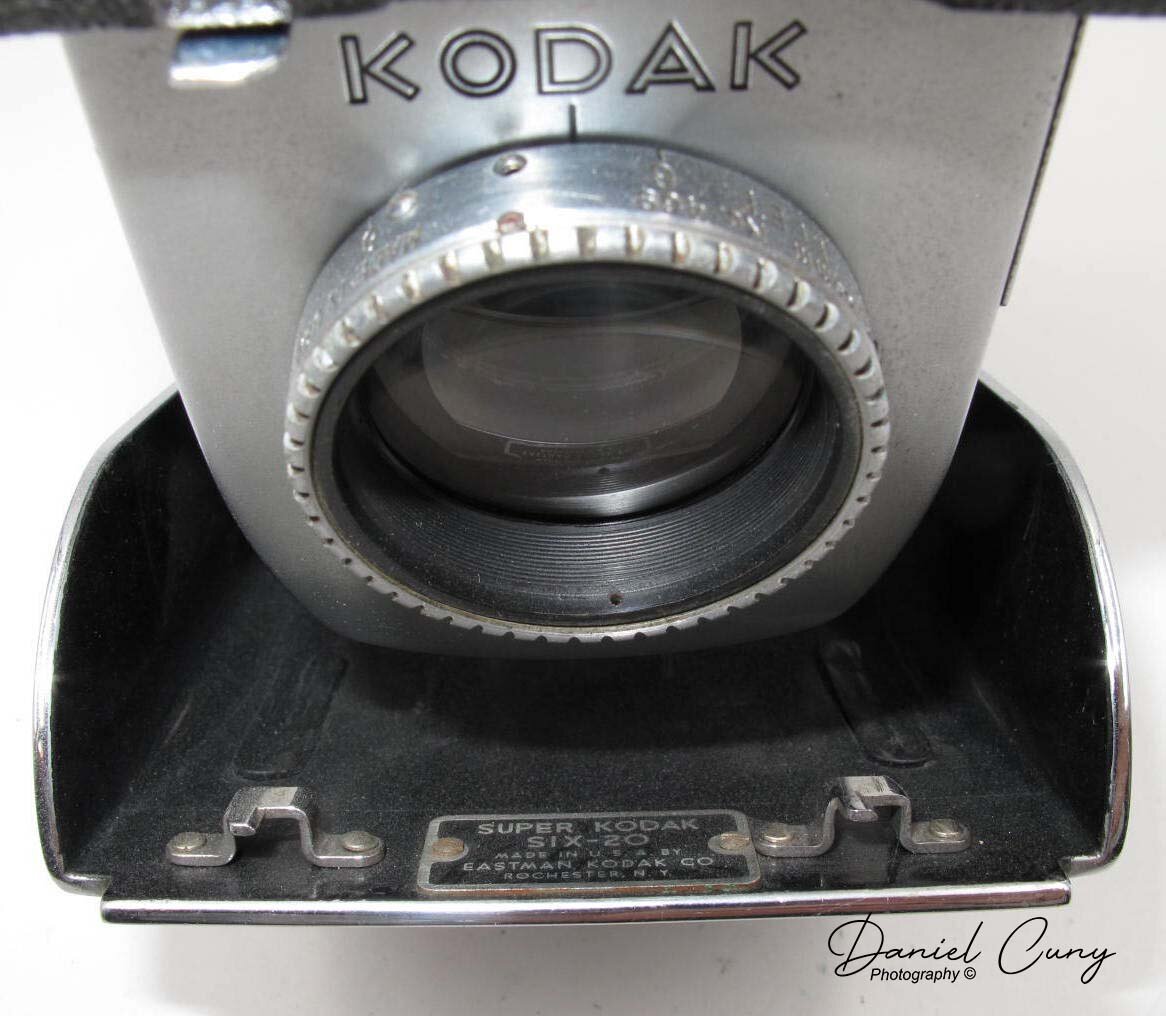
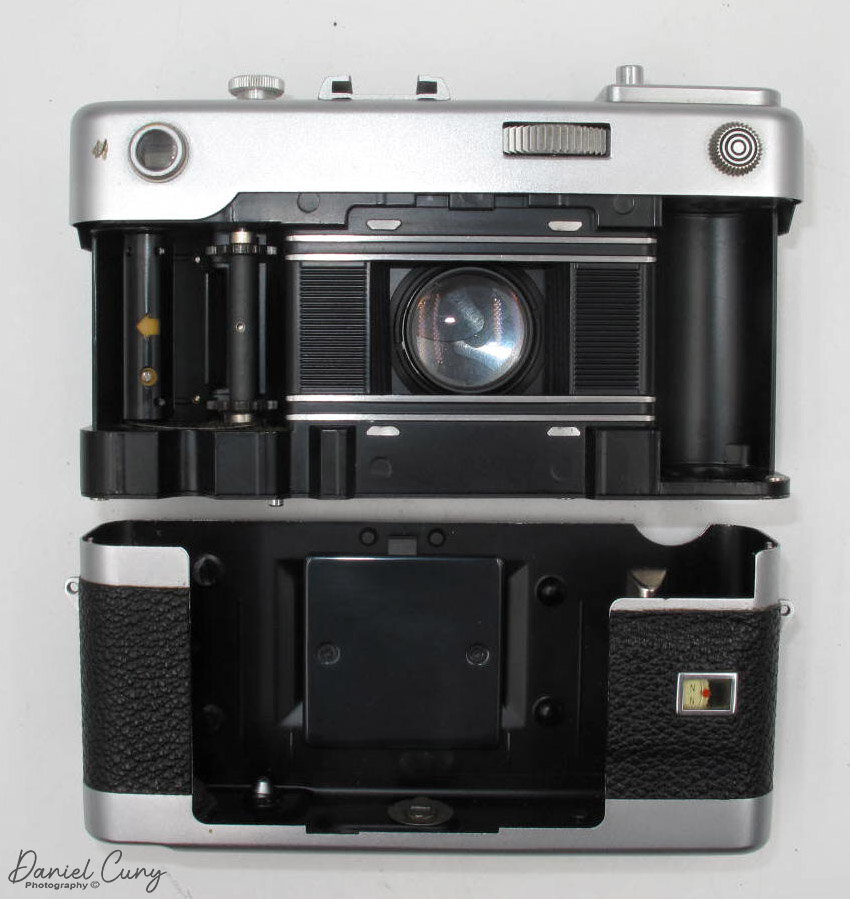
Camera opened and ready with fitted leather case.
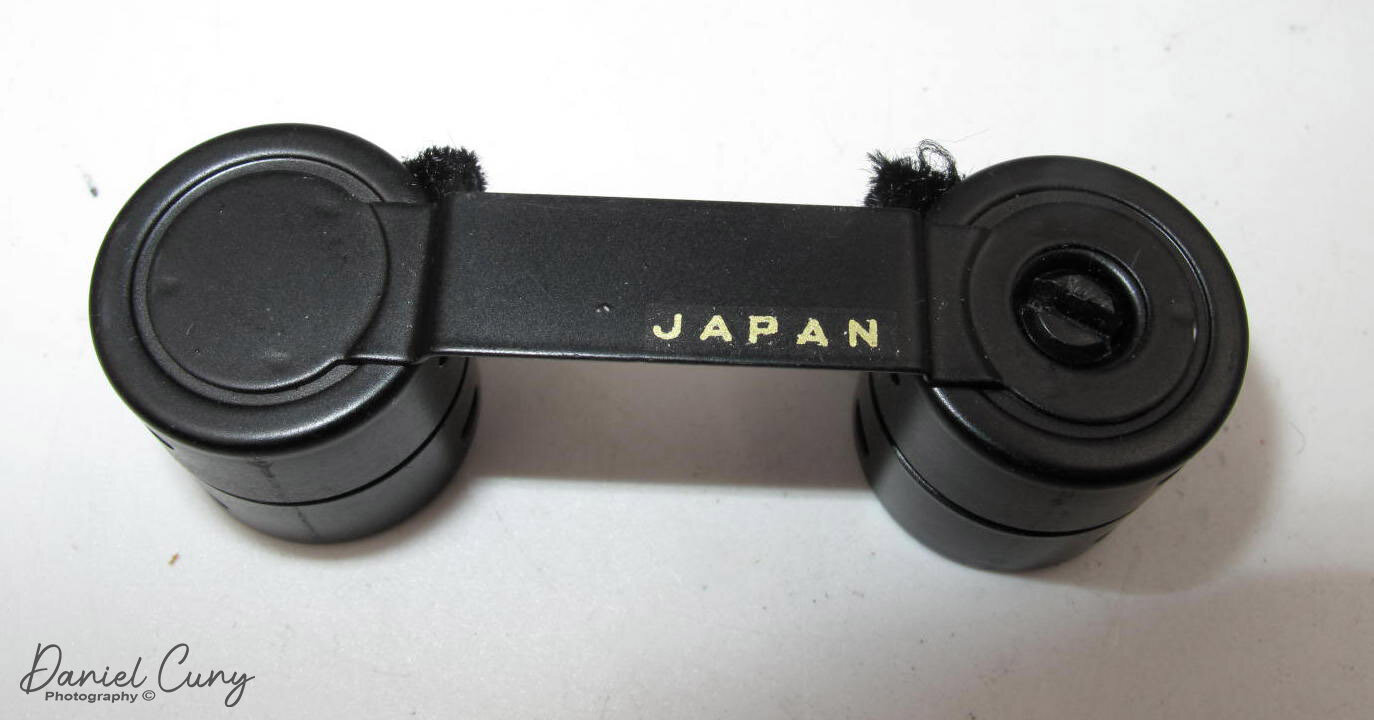
The Voigtlander Vitessa isn't a rare or valuable camera. It's a camera that caught my eye at a very early age of collecting because of its design. The camera is somewhat small and compact when closed, which makes it great for travel. There are many unique features like the pop-out lens and bellows in the design. Also, it incorporates a long film advance bar as opposed to the winding lever. It's also a very sturdy camera with fantastic optics.

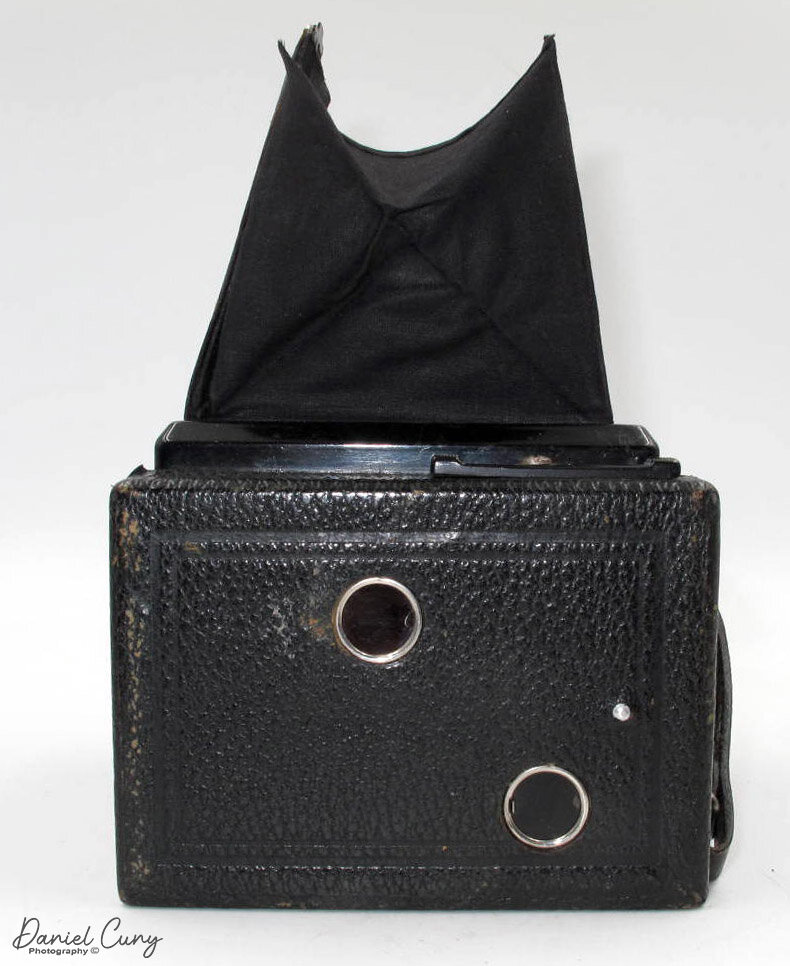
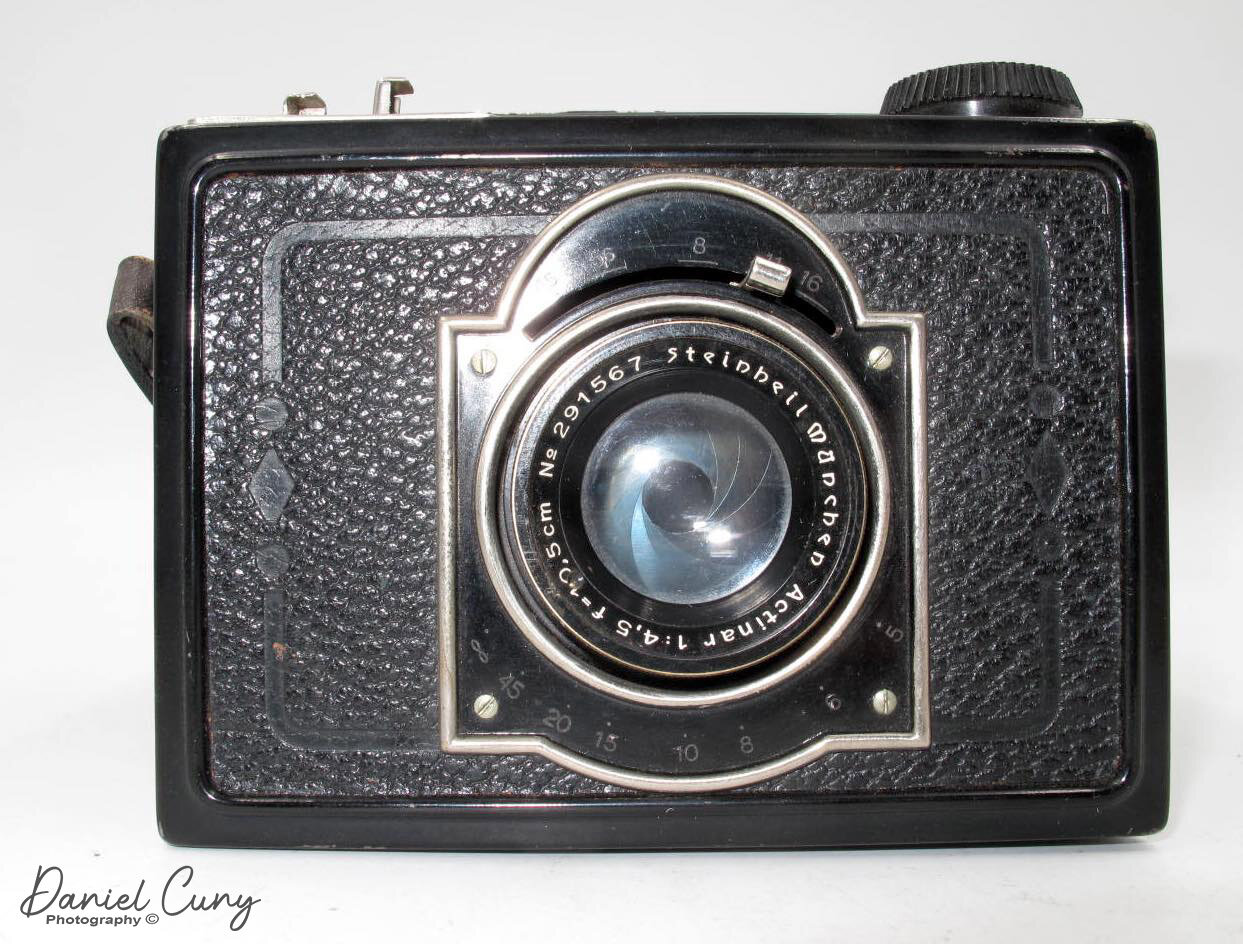
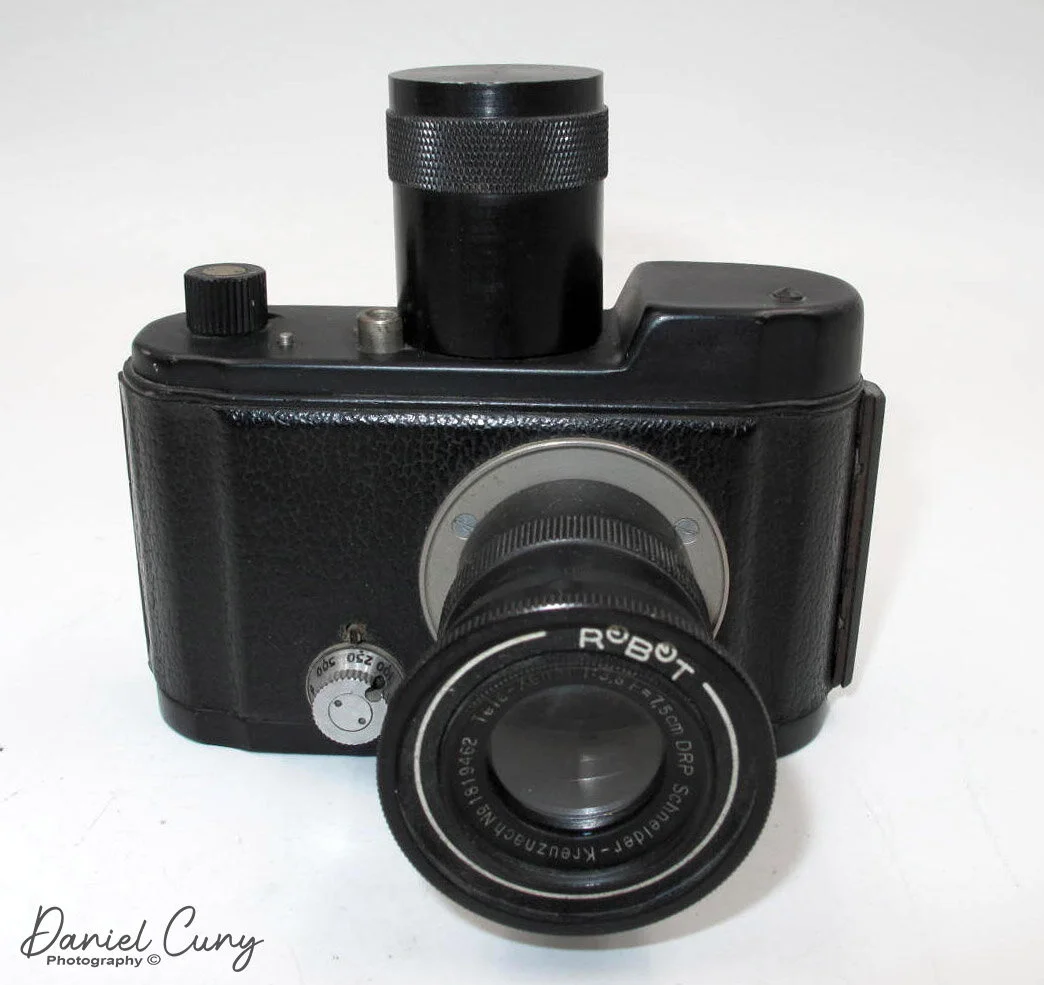
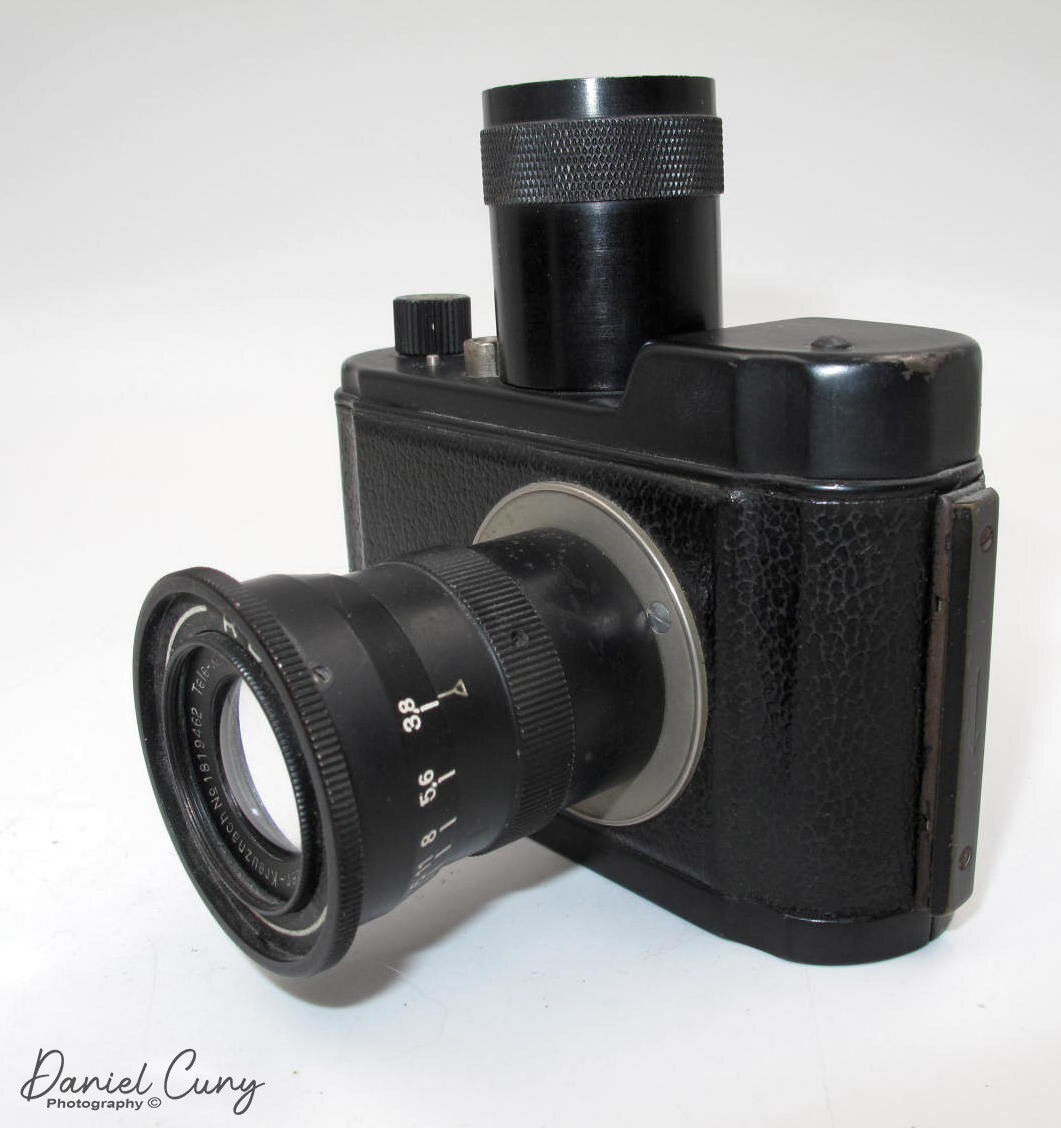
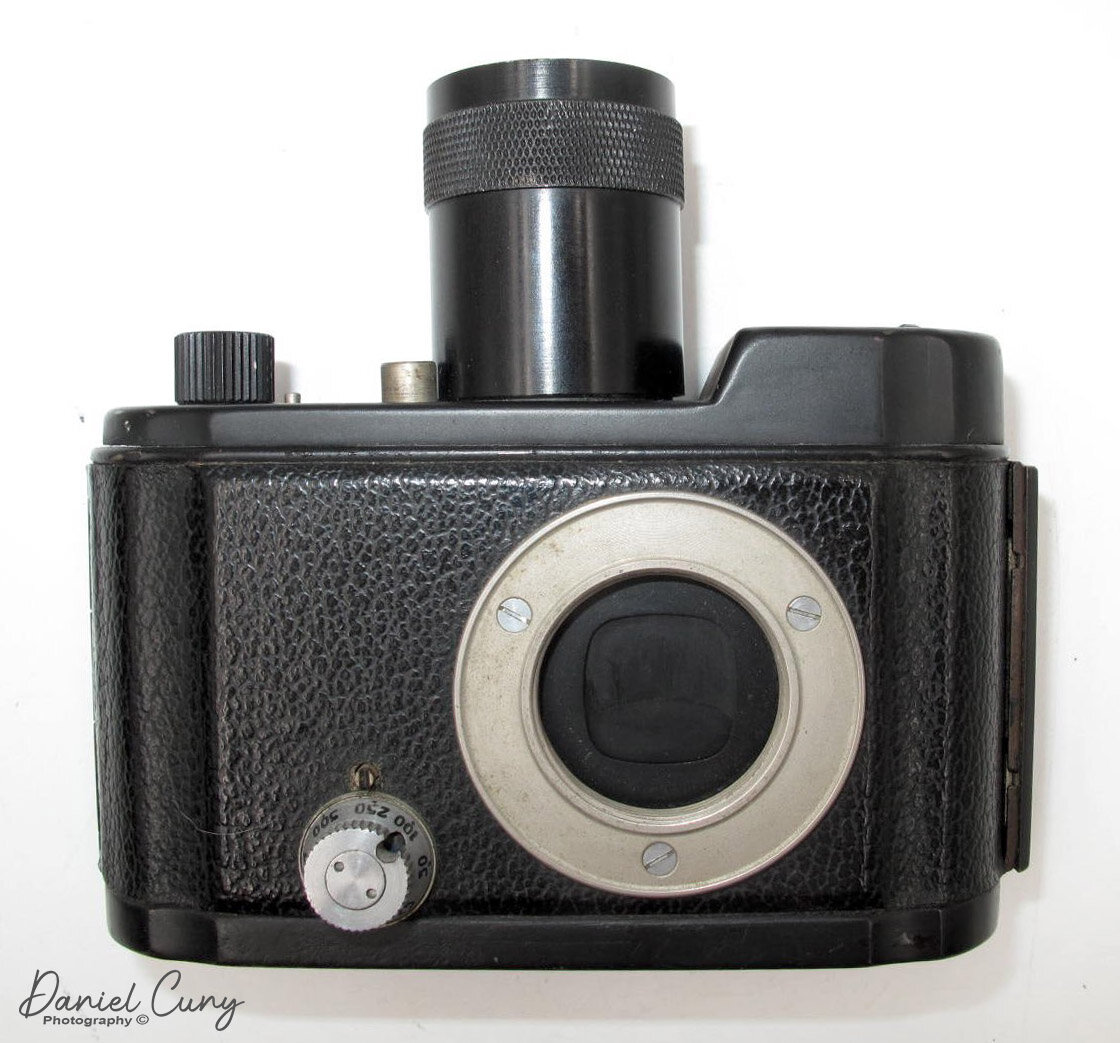
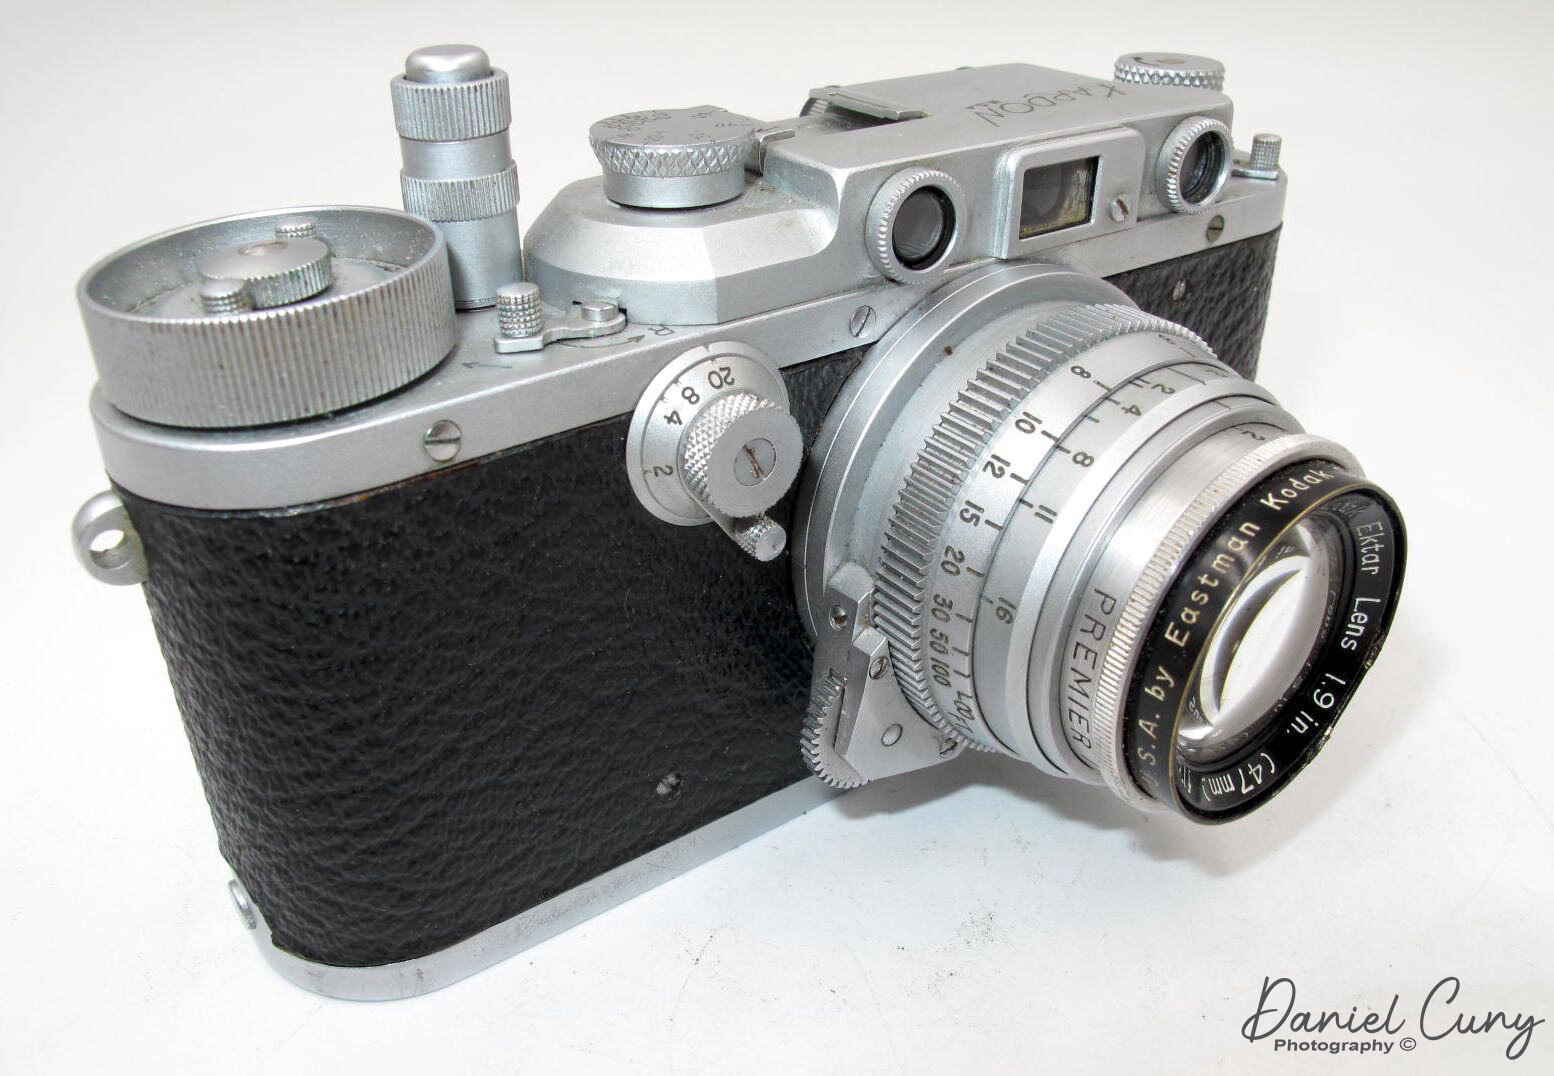
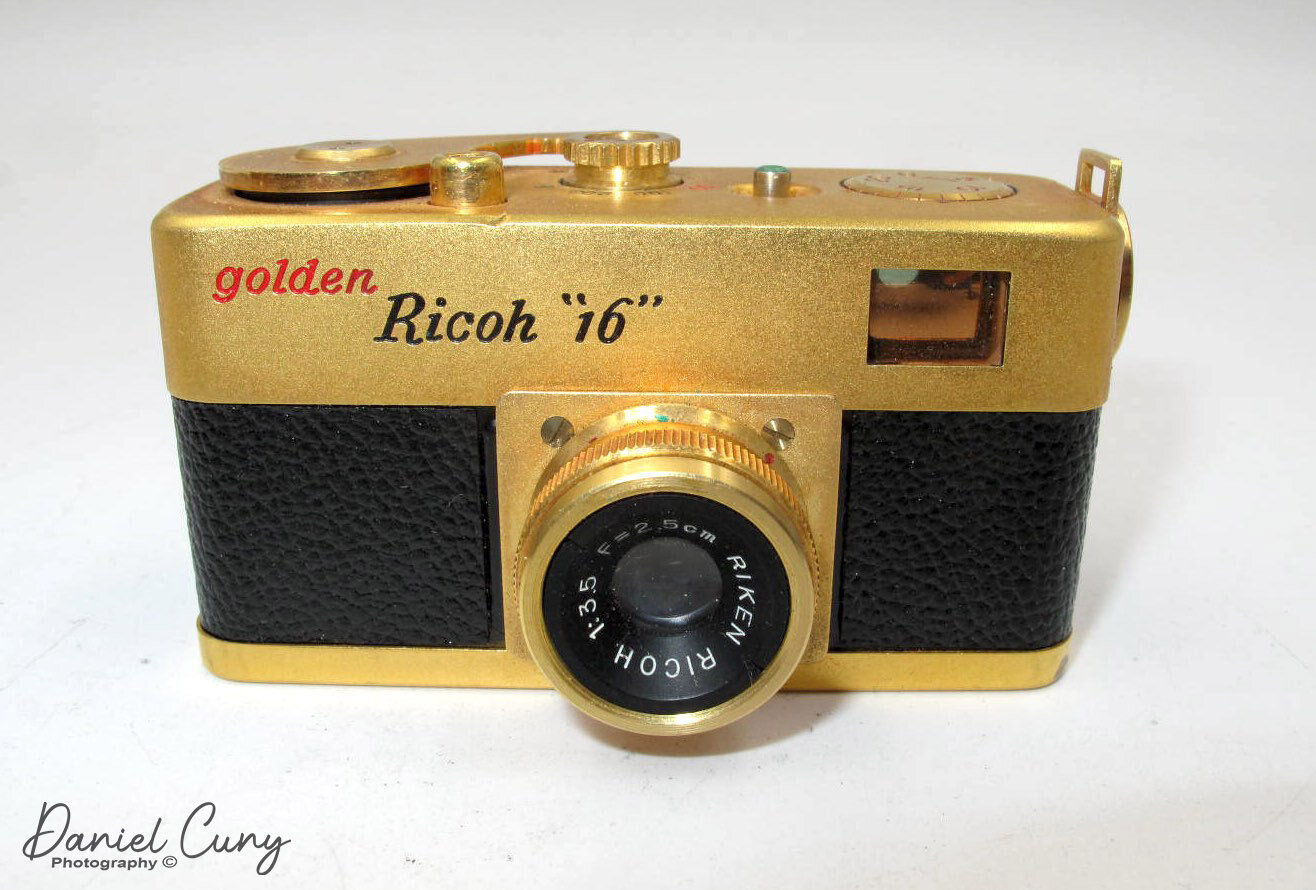
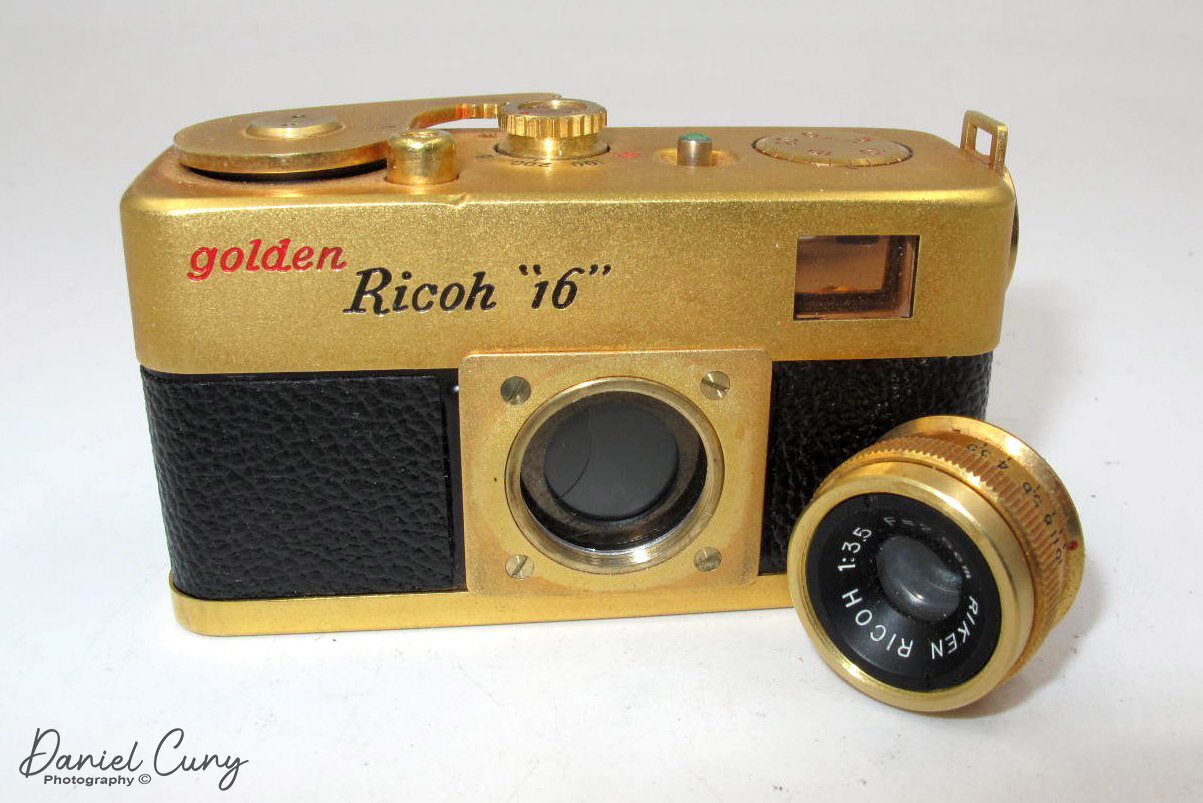
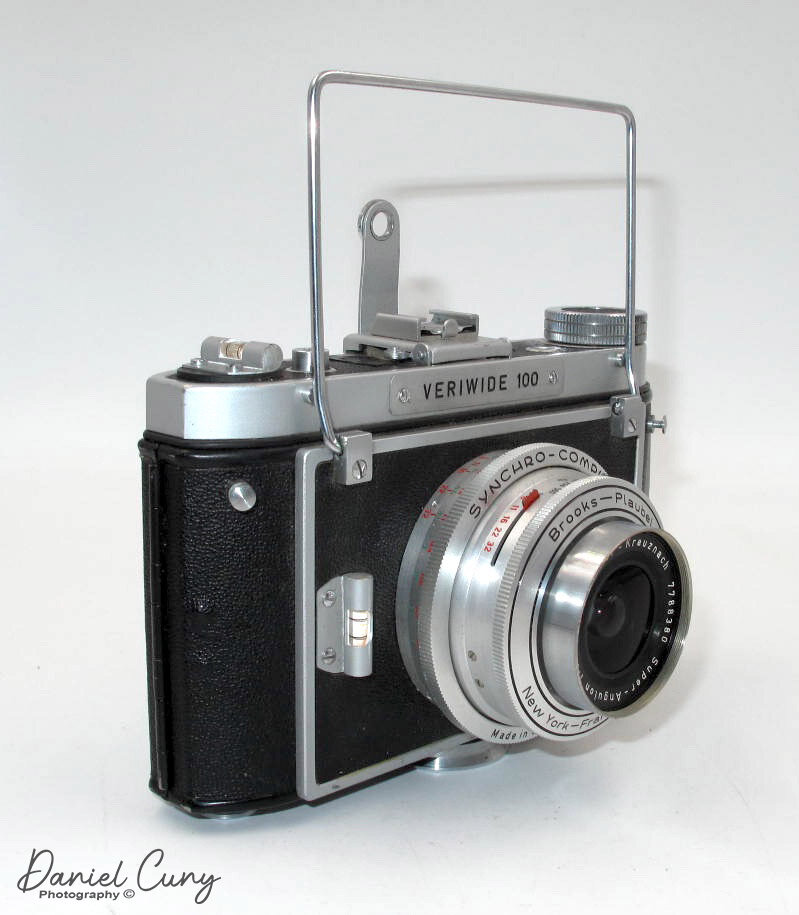
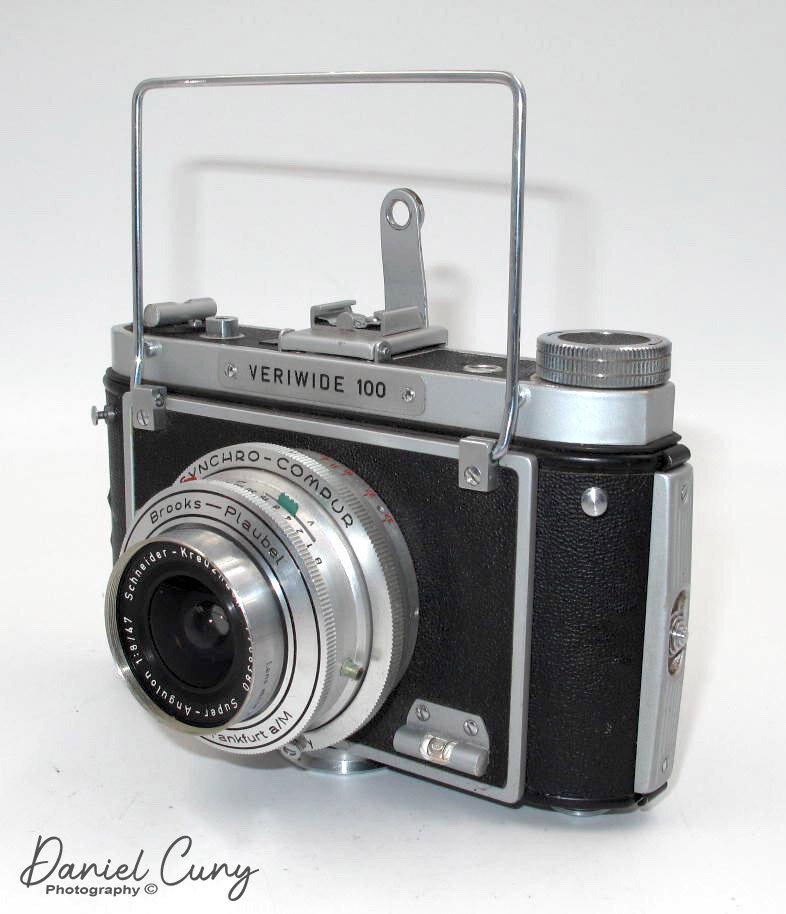
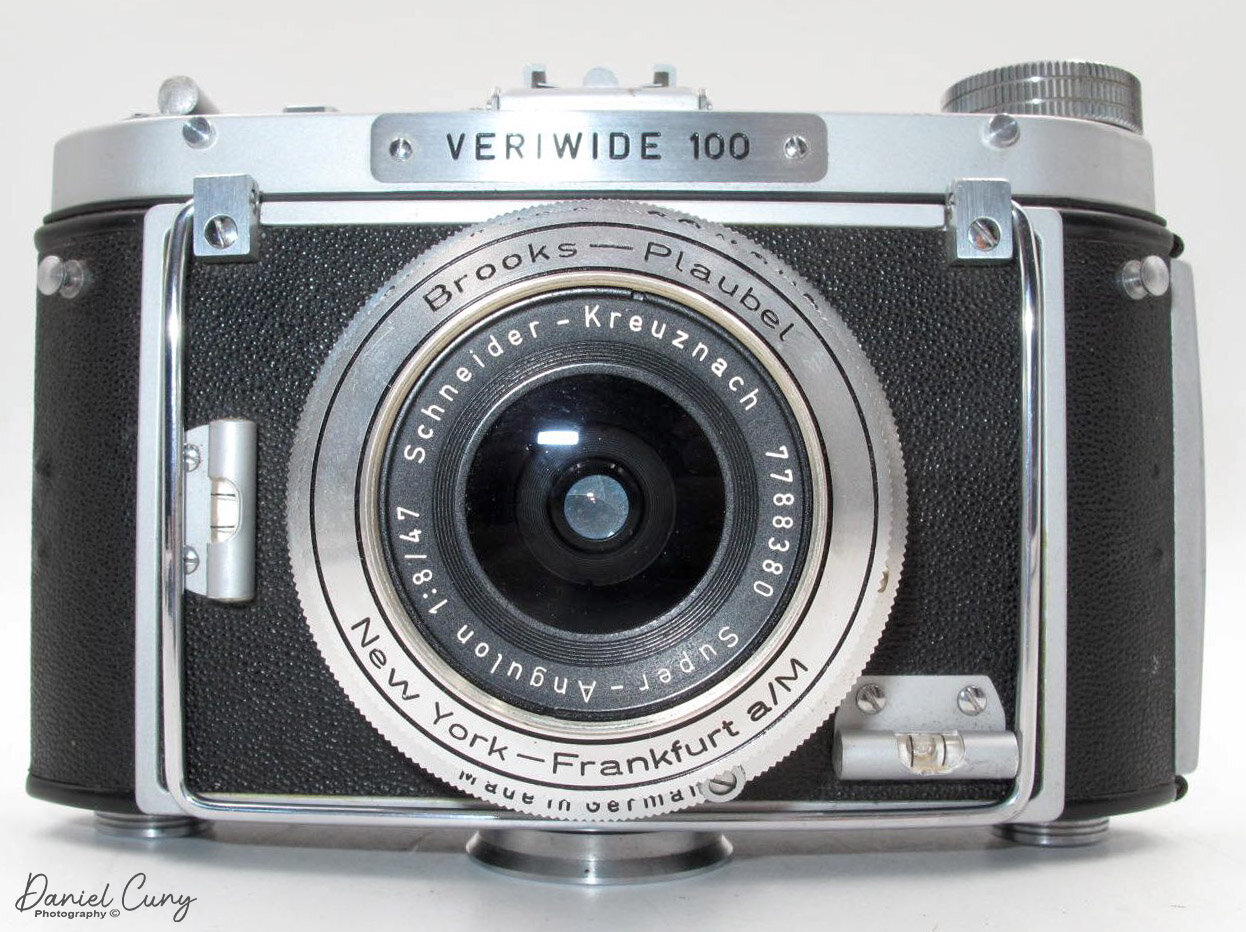
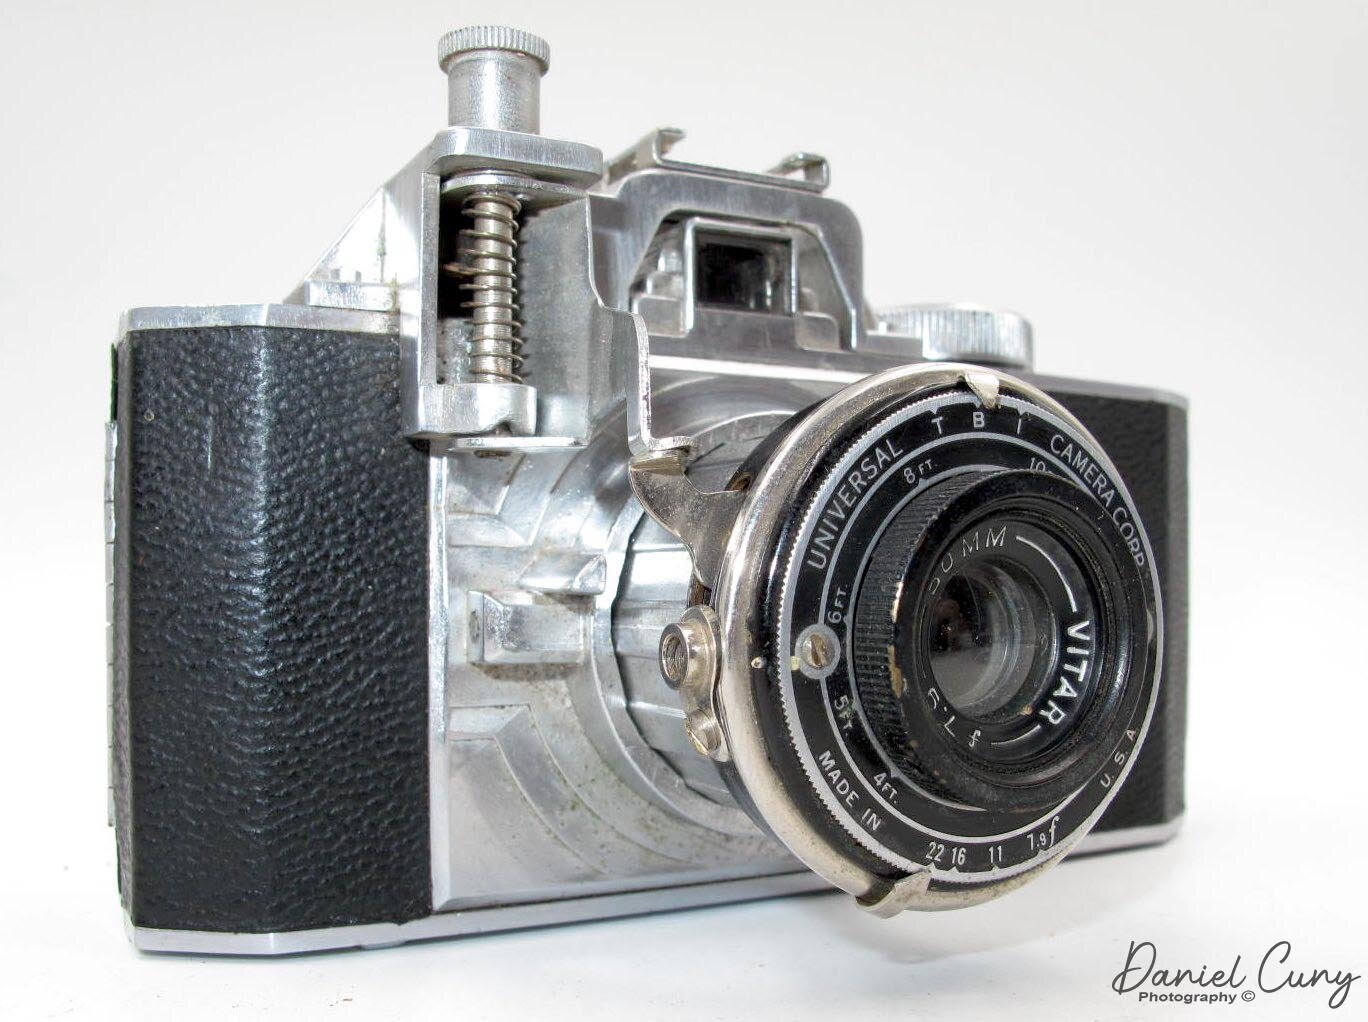
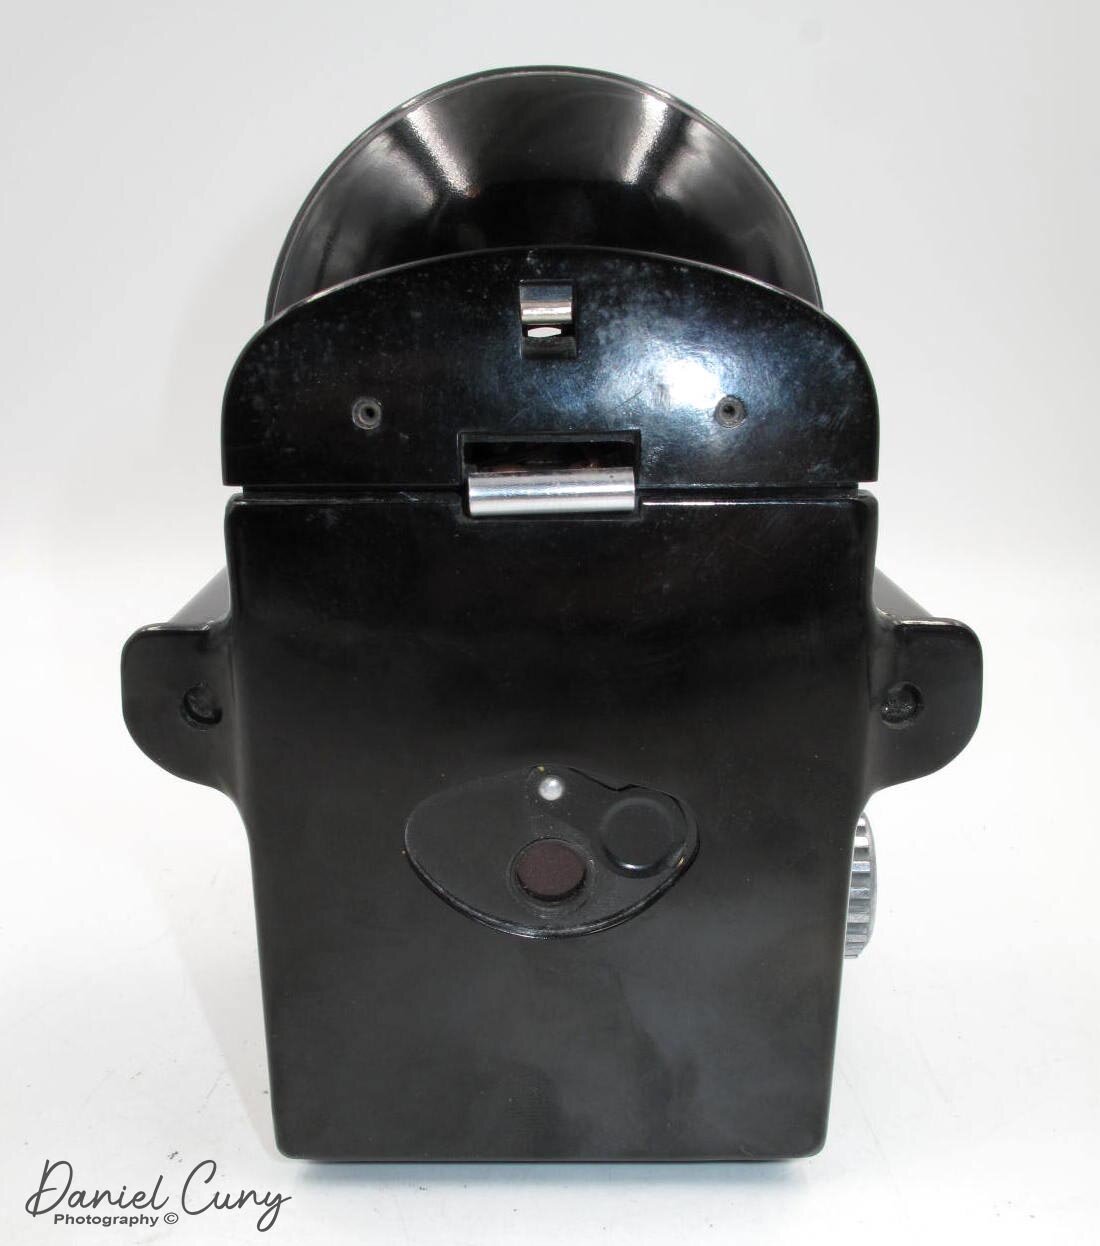
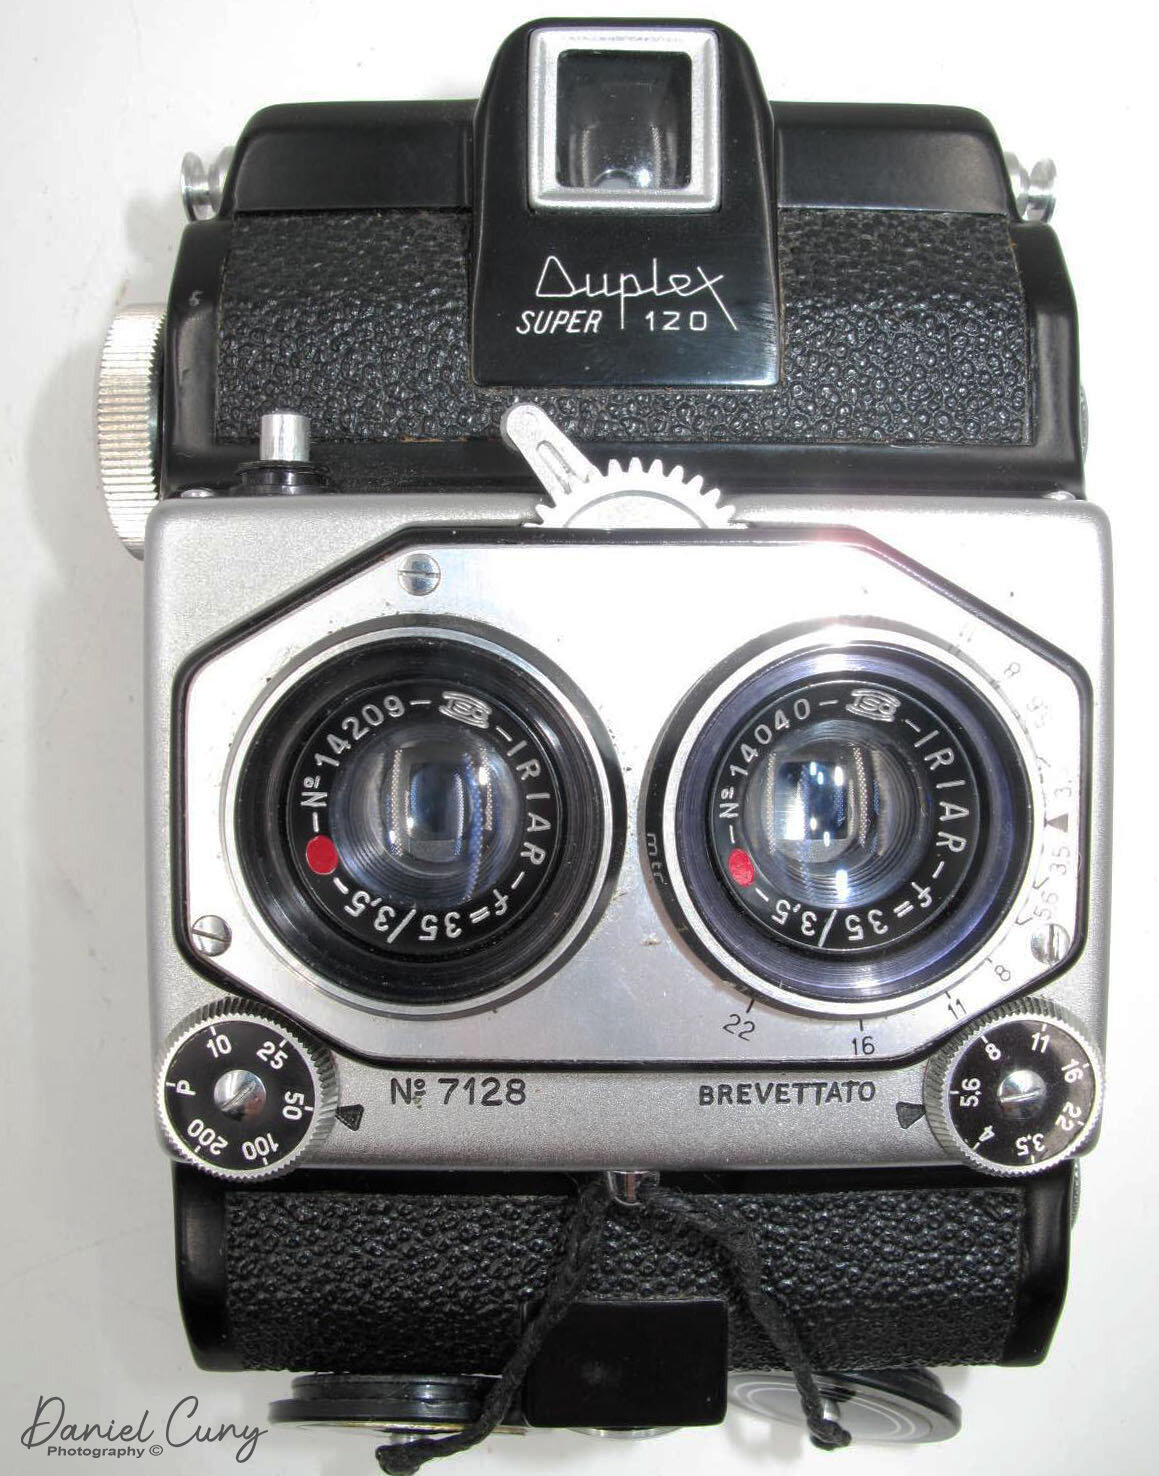
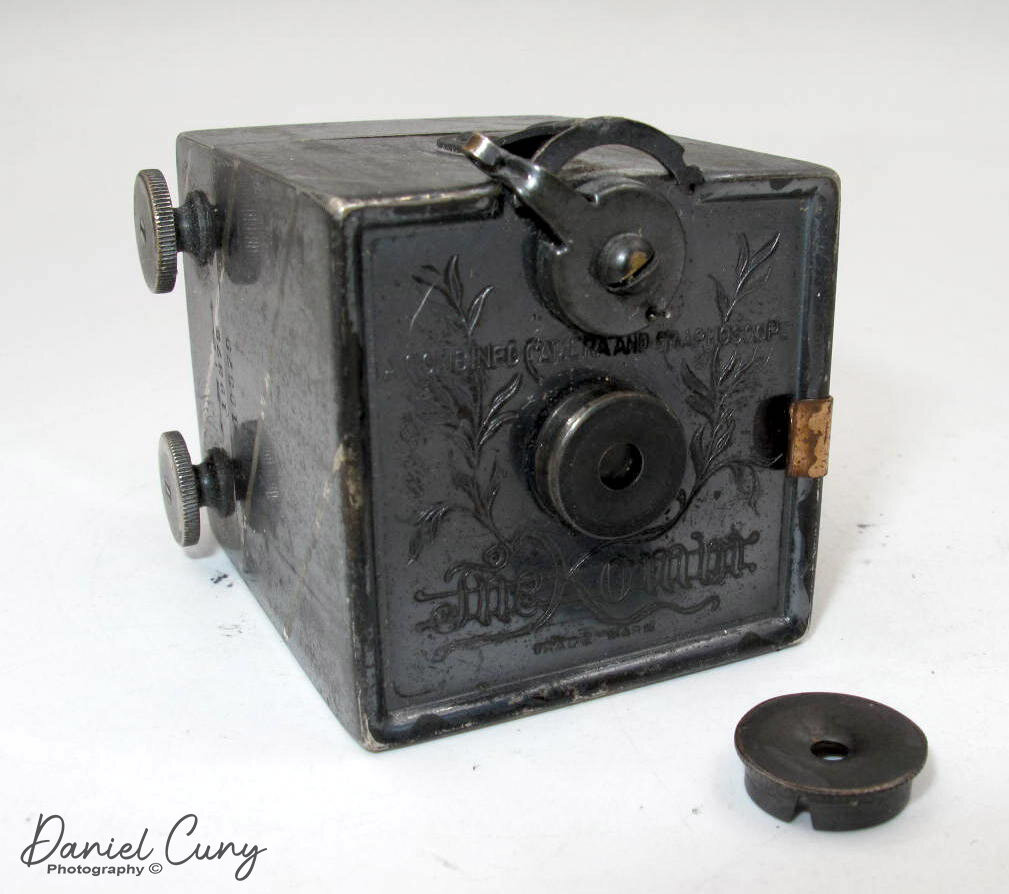
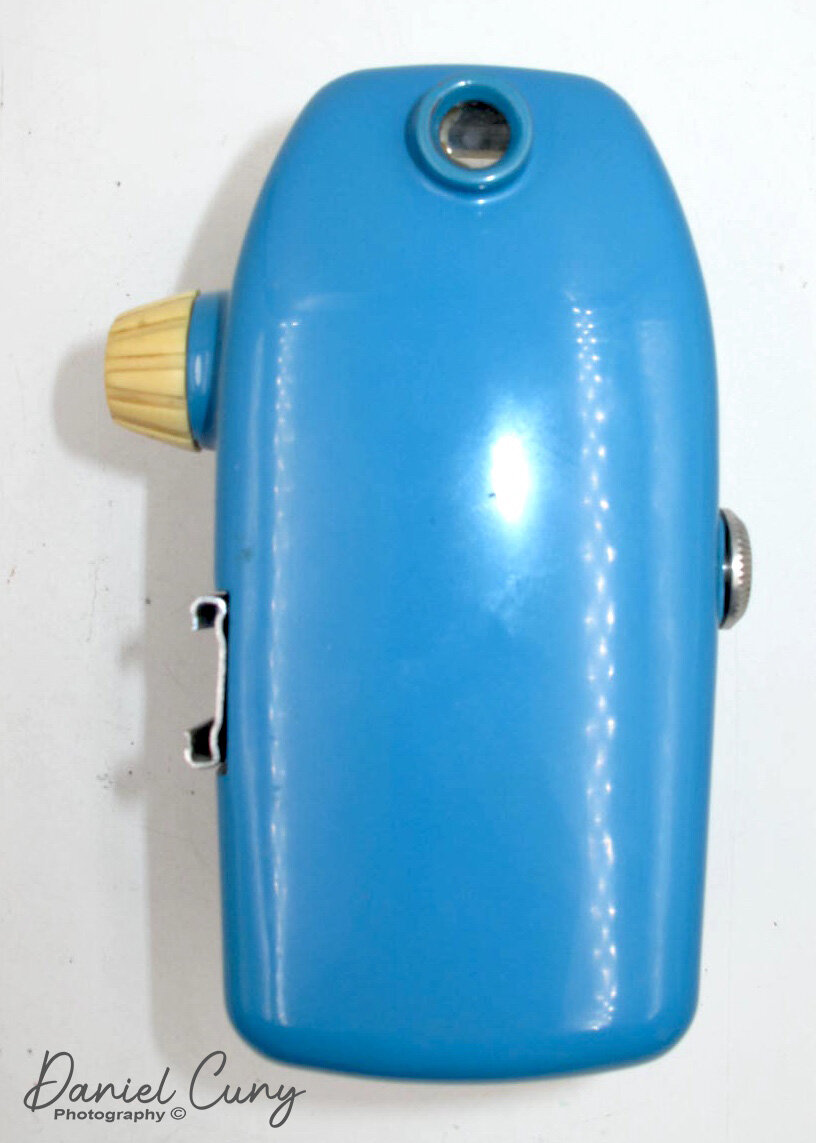
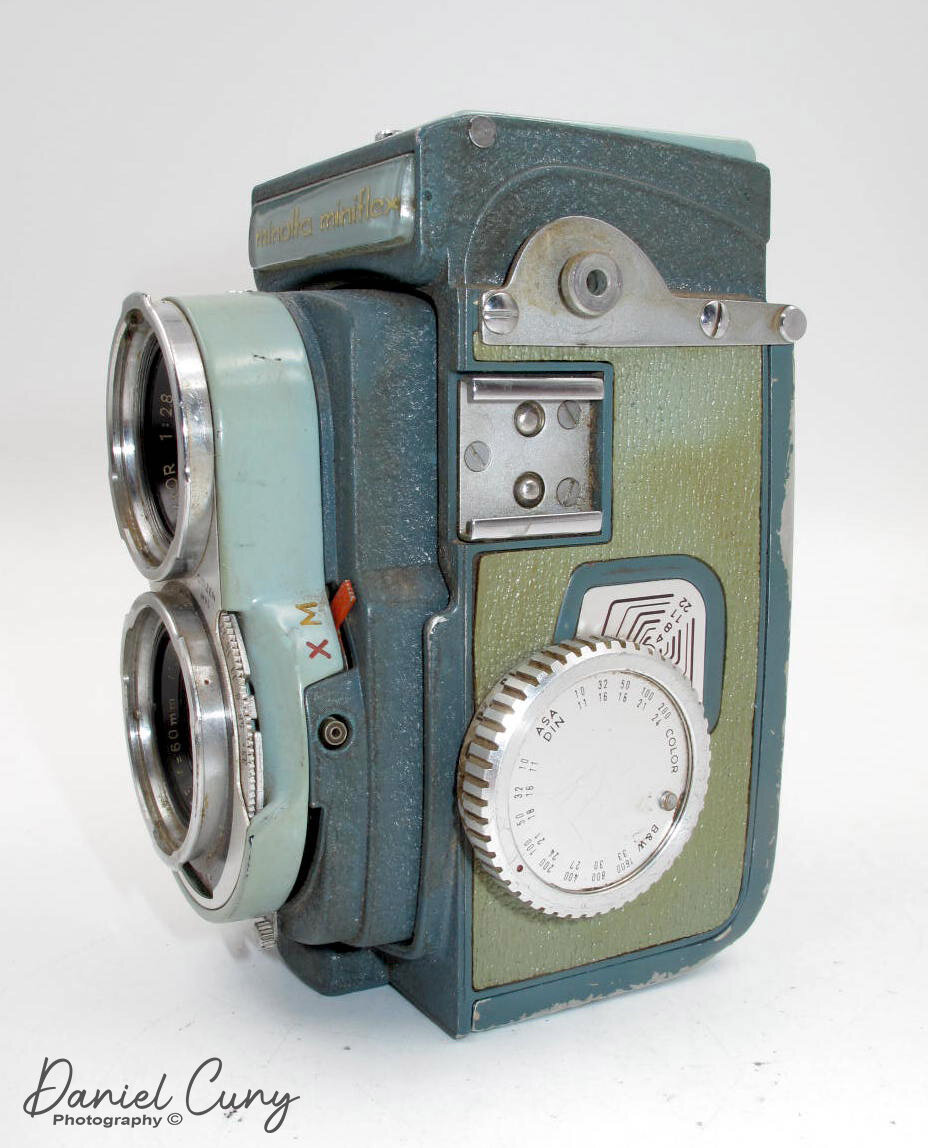
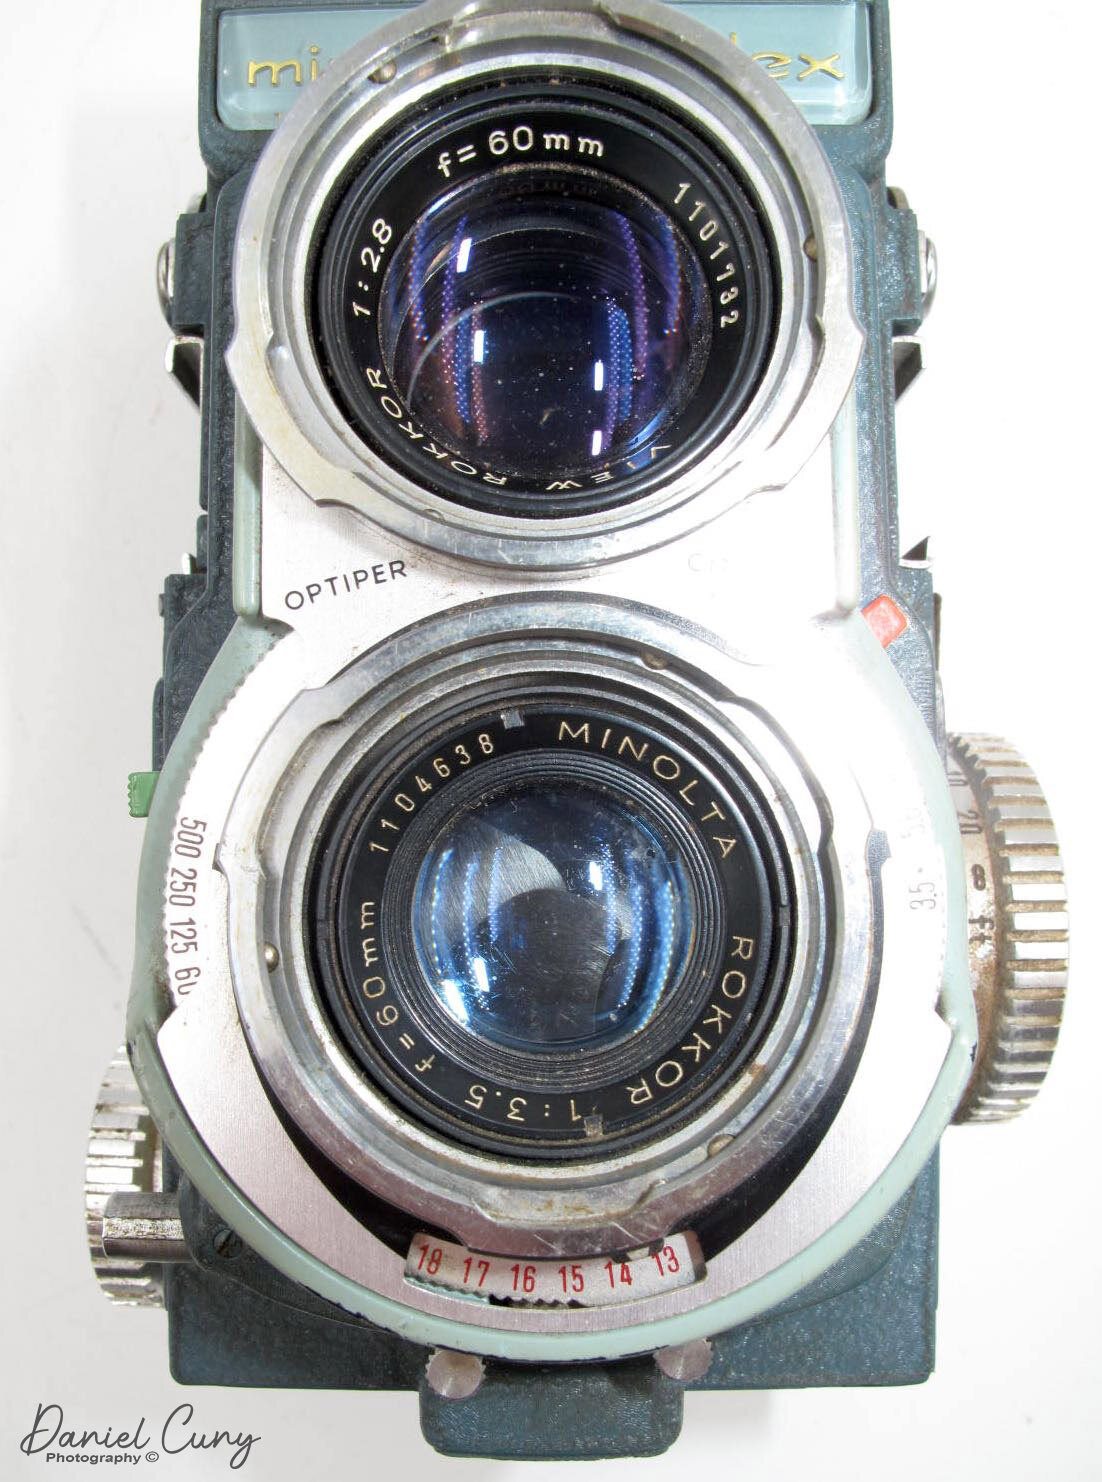
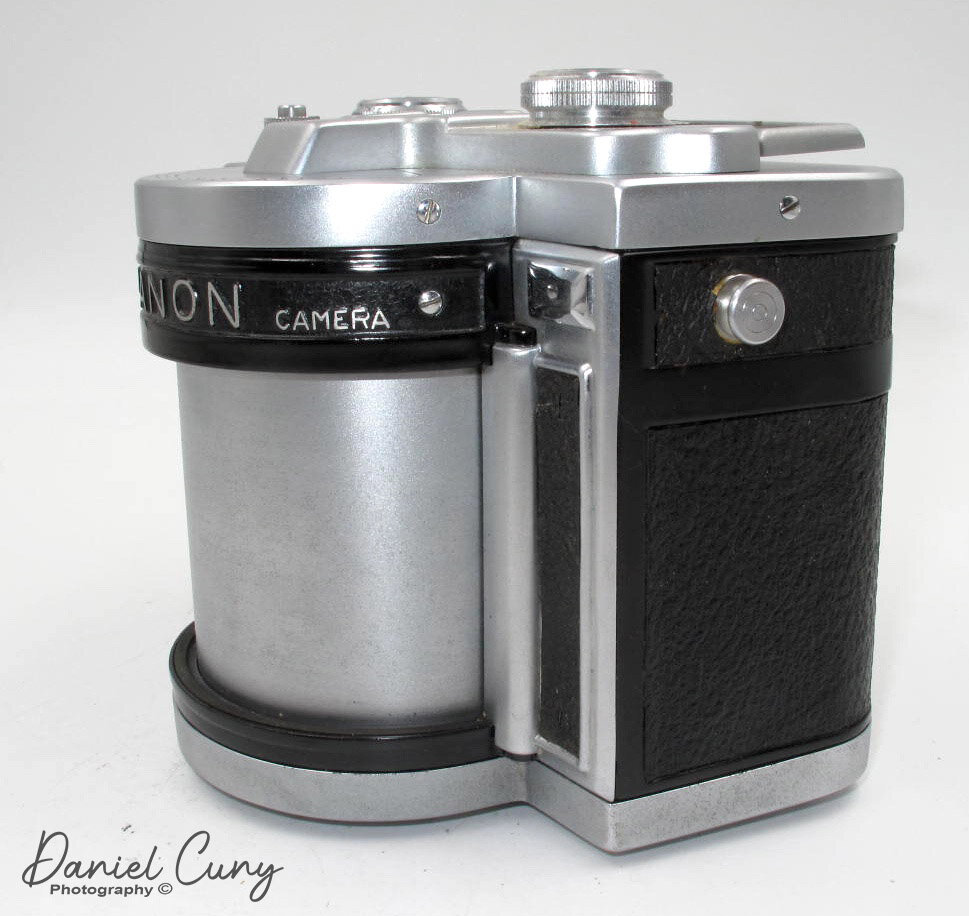
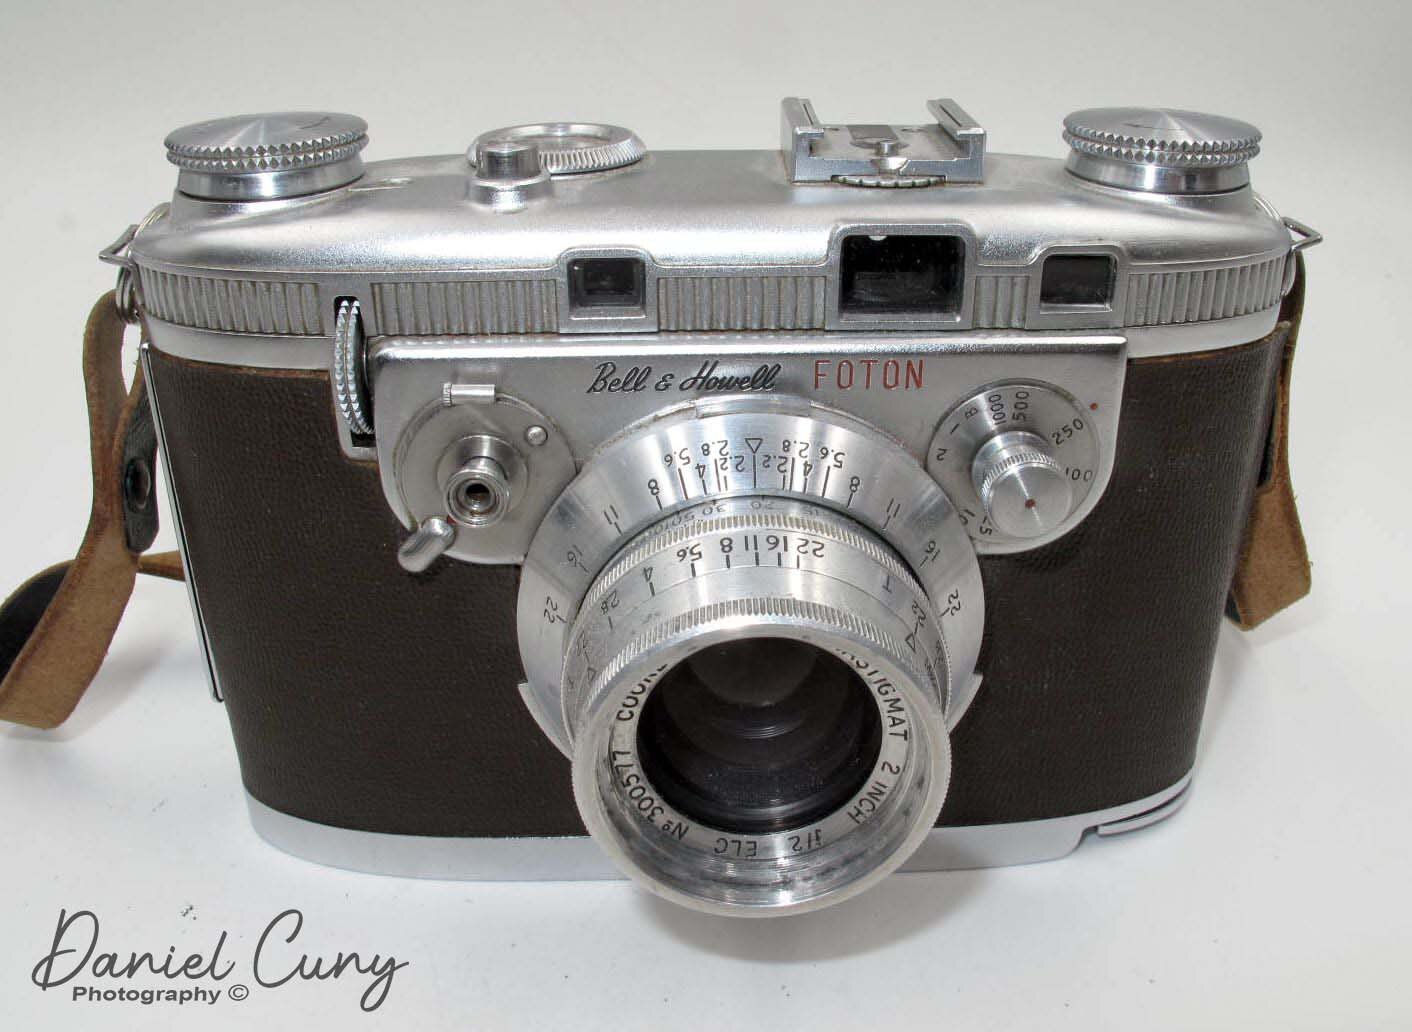
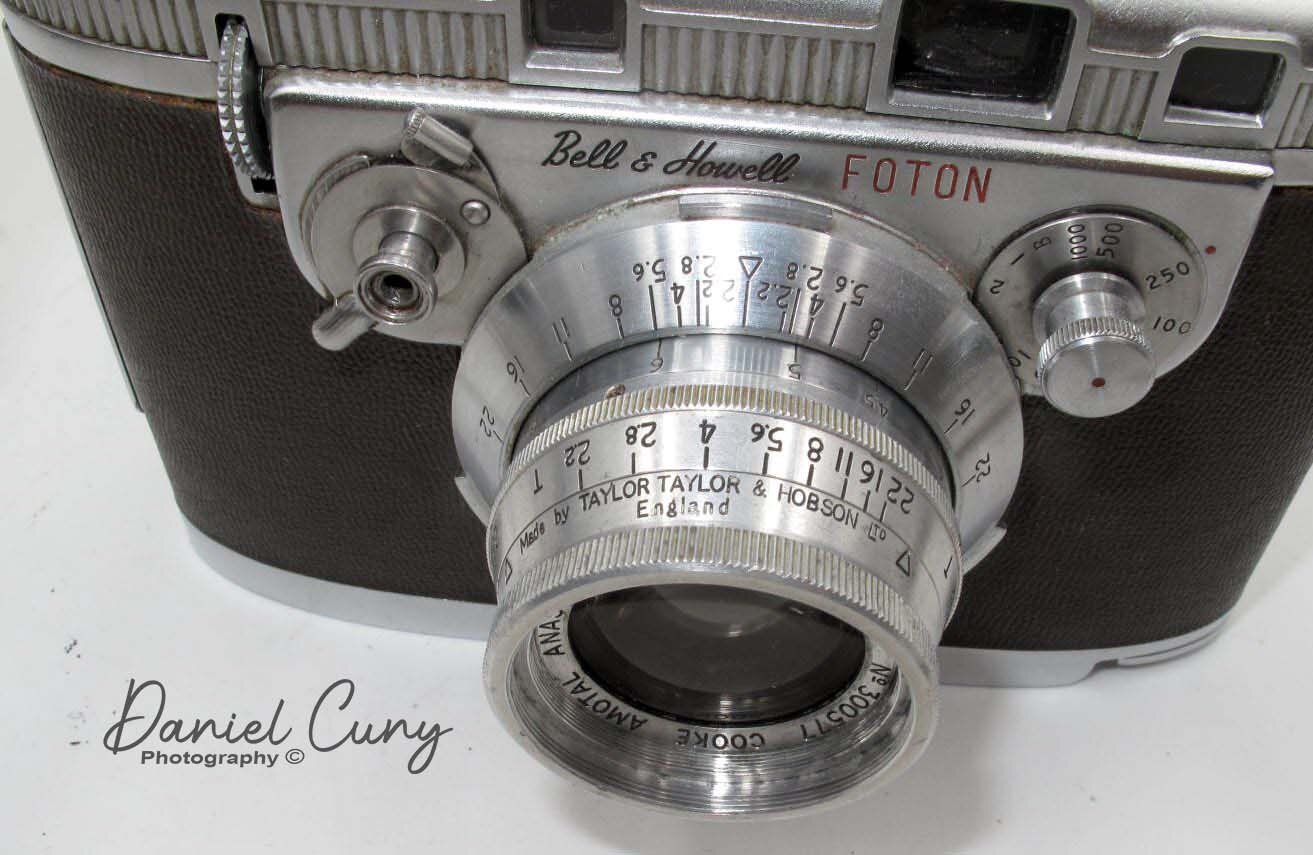
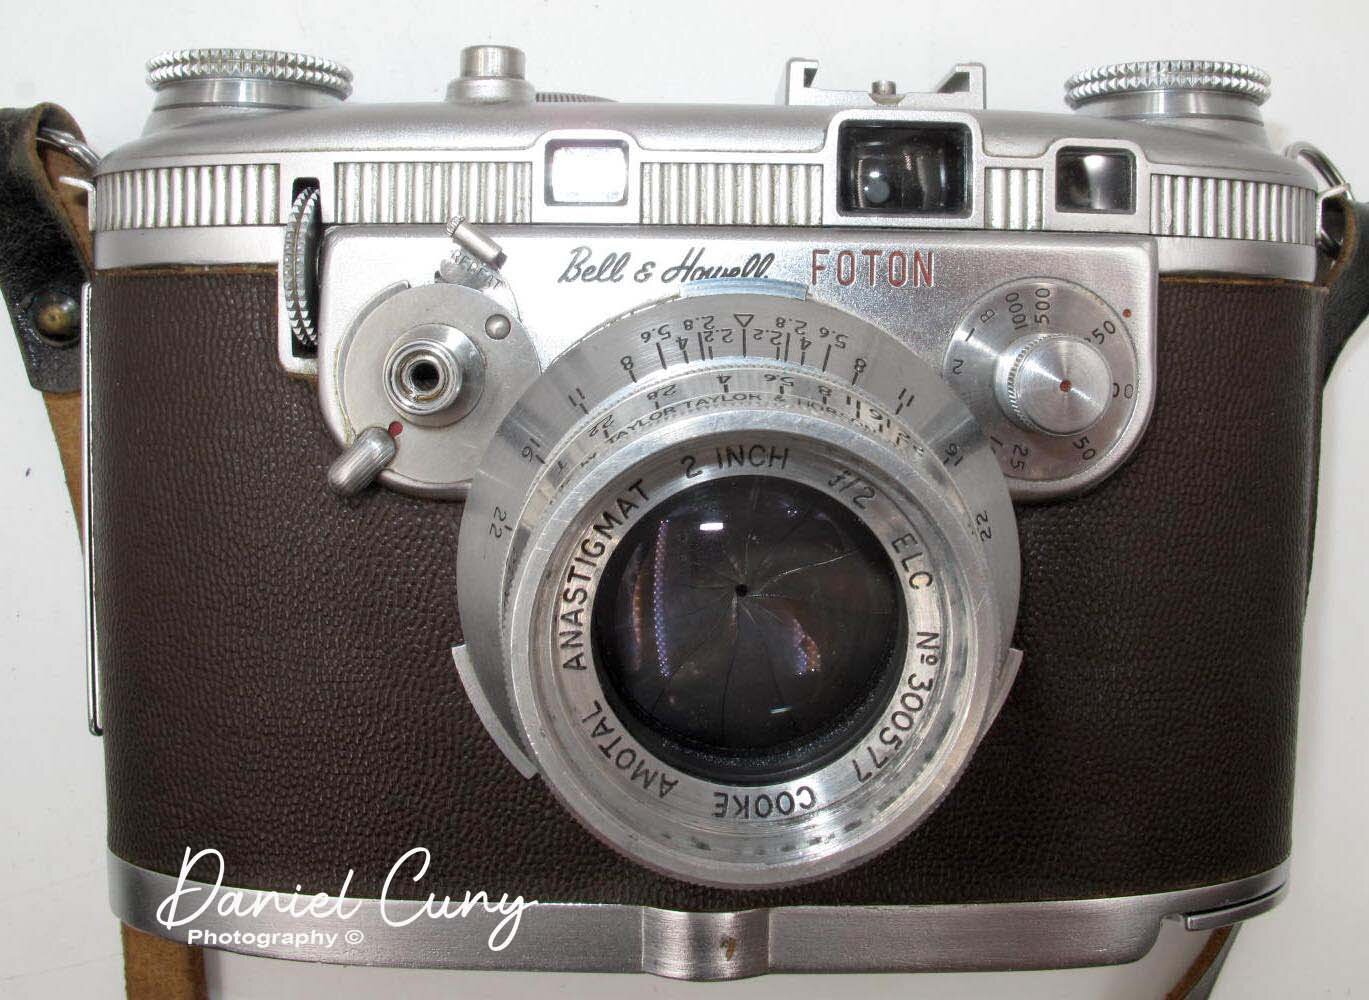
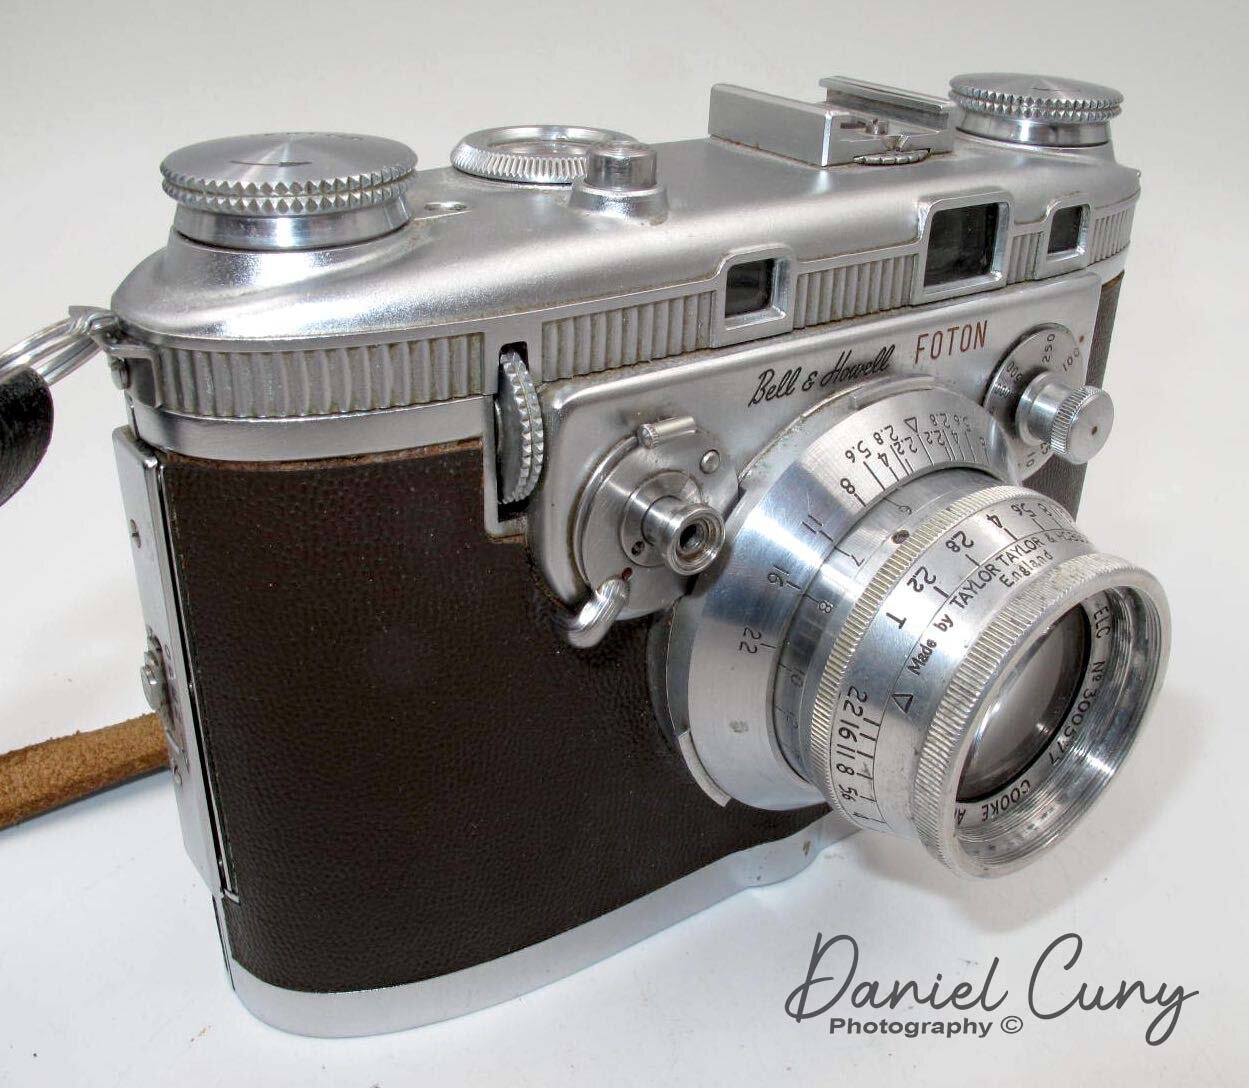
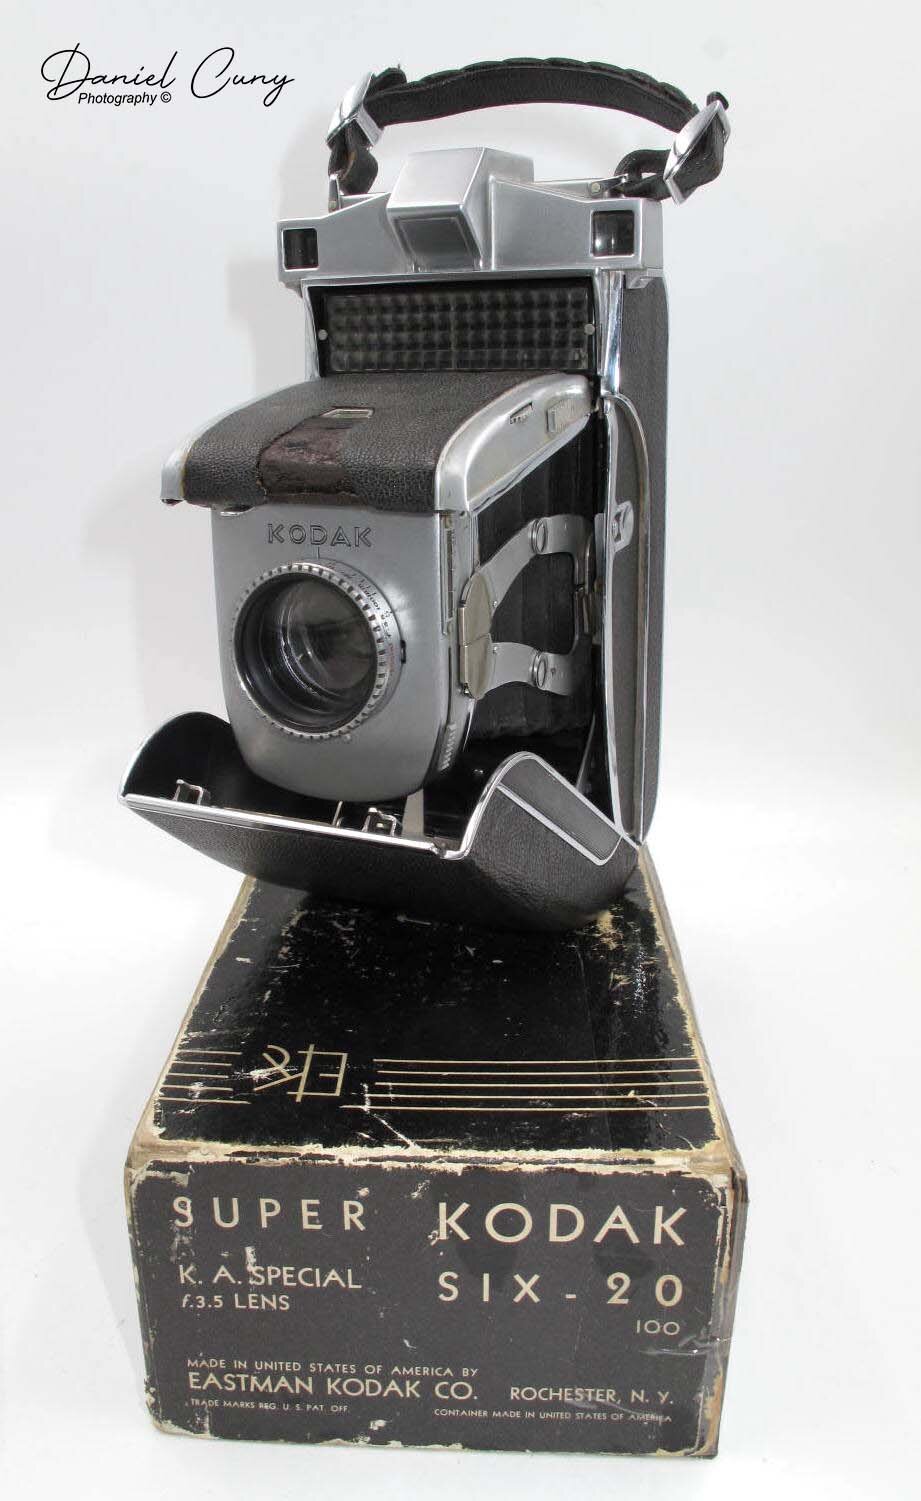
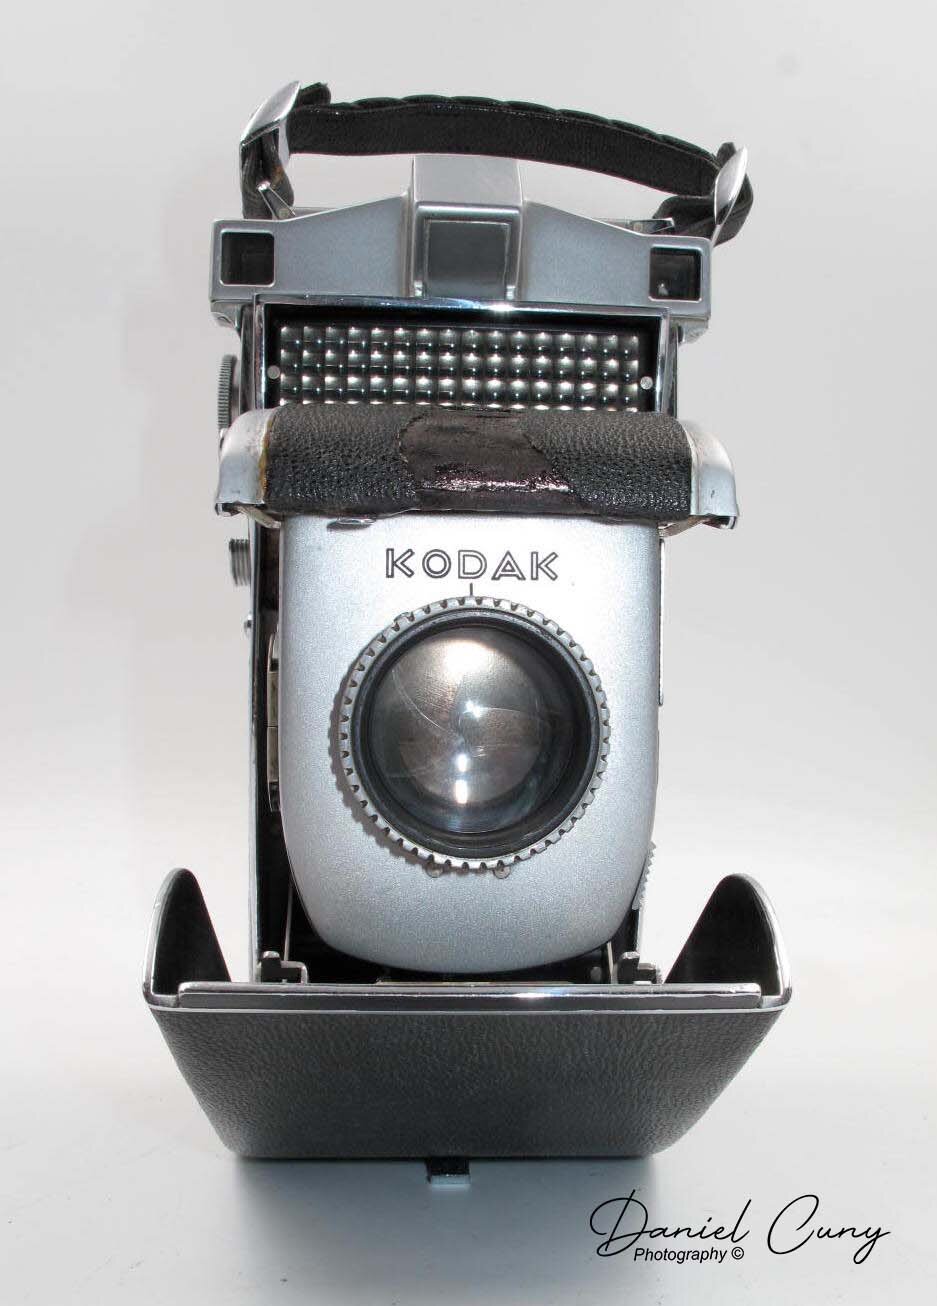
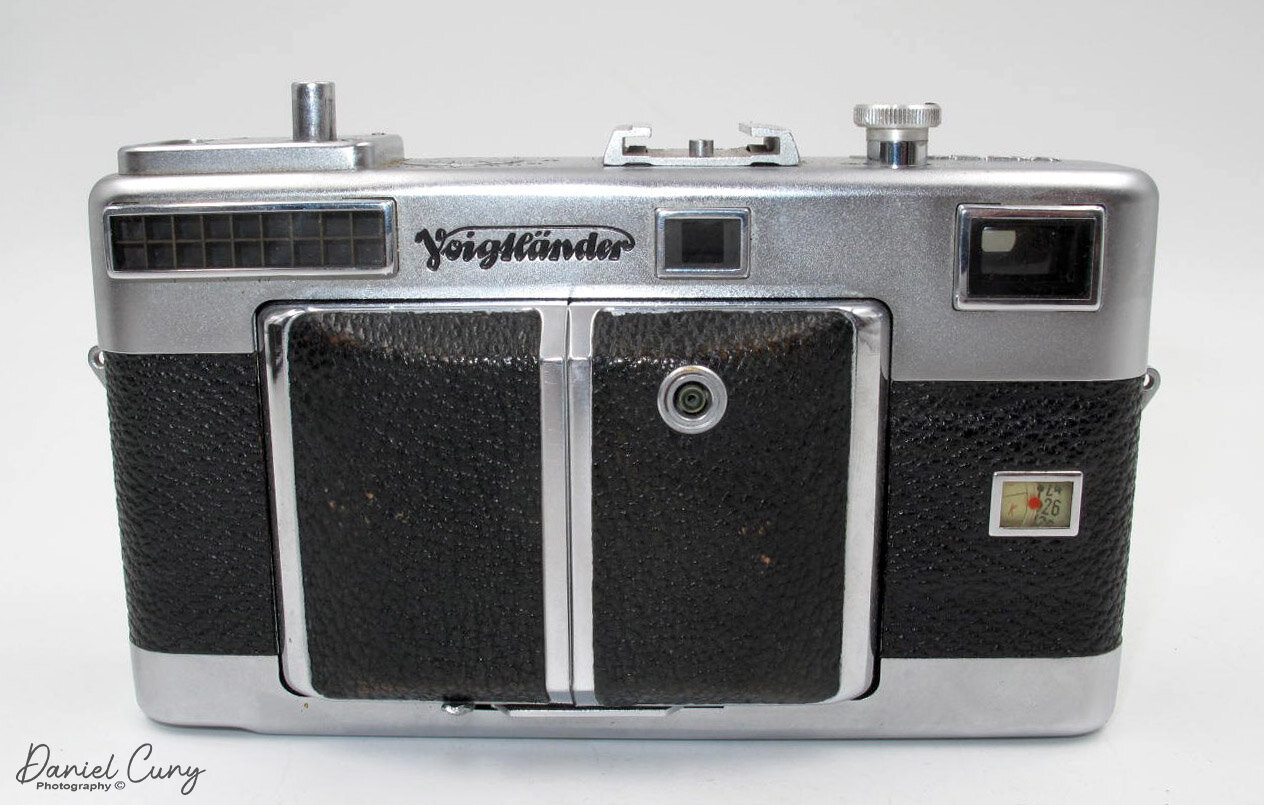
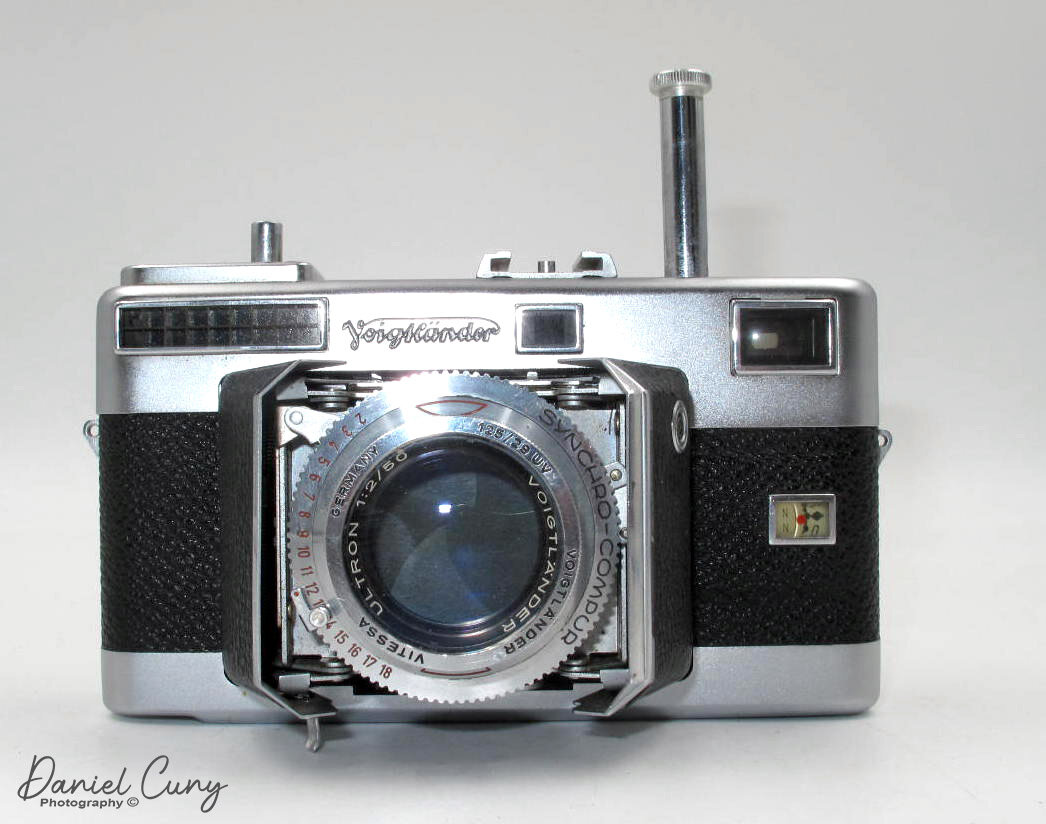
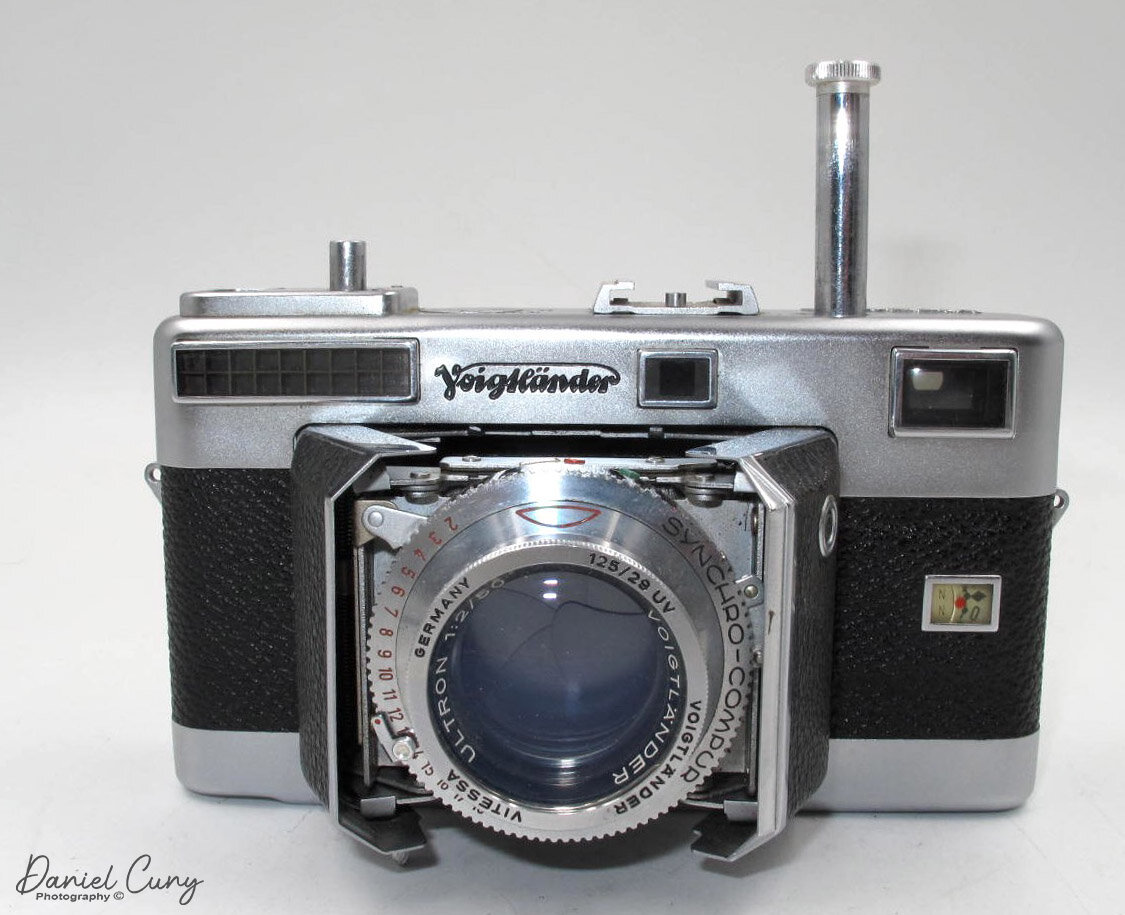
Front view of camera.
Voigtlander has been around since before the beginning of photography. The company was started by Johann Christoph Voigtlander (1732-1797) in Vienna, Austria, in 1756. During the early years, they were producing mathematical and optical instruments. After his death, the company continued by his widow and children. In 1839, the year the invention of photography was being published, Voigtlander helped with optics and provided the first all-metal daguerreotype camera in 1840. In 1840, the grandson Peter Wilhelm Fredrick Ritter Von Voigtlander established Voigtlander as the leading photographic company during this period and also introducing Pretzval Optical lenses.
The Vitessa started in 1950 and has progressed through many different models and modifications. Initially, the Vitessa A didn't have a removable back. The pressure plate was on the camera body. There were no strap lugs on the side of the camera. Even within the "A" model, there were modifications. The A1 & A2 parallax correction was manual. On the A3, it was automatic in the camera. The A4 and on had the accessory shoe attached and the flash sync on the barn door.
The next model was the Vitessa N in 1954, where they changed from Compur-Rapid shutter to Synchro-Compur. They also added lugs on the side for camera straps. You also had the option of lenses, between an Ultron 50mm f2 or Color-Skopar 50mm f3.5. That same year they introduced the Vitessa L, which had incorporated an exposure meter in the camera. The first models had film speeds from 6-200 and the later models from 12-400. In 1957, they made the Vitessa T without the barn door feature, and they had a protruding lens instead of the pop-out.

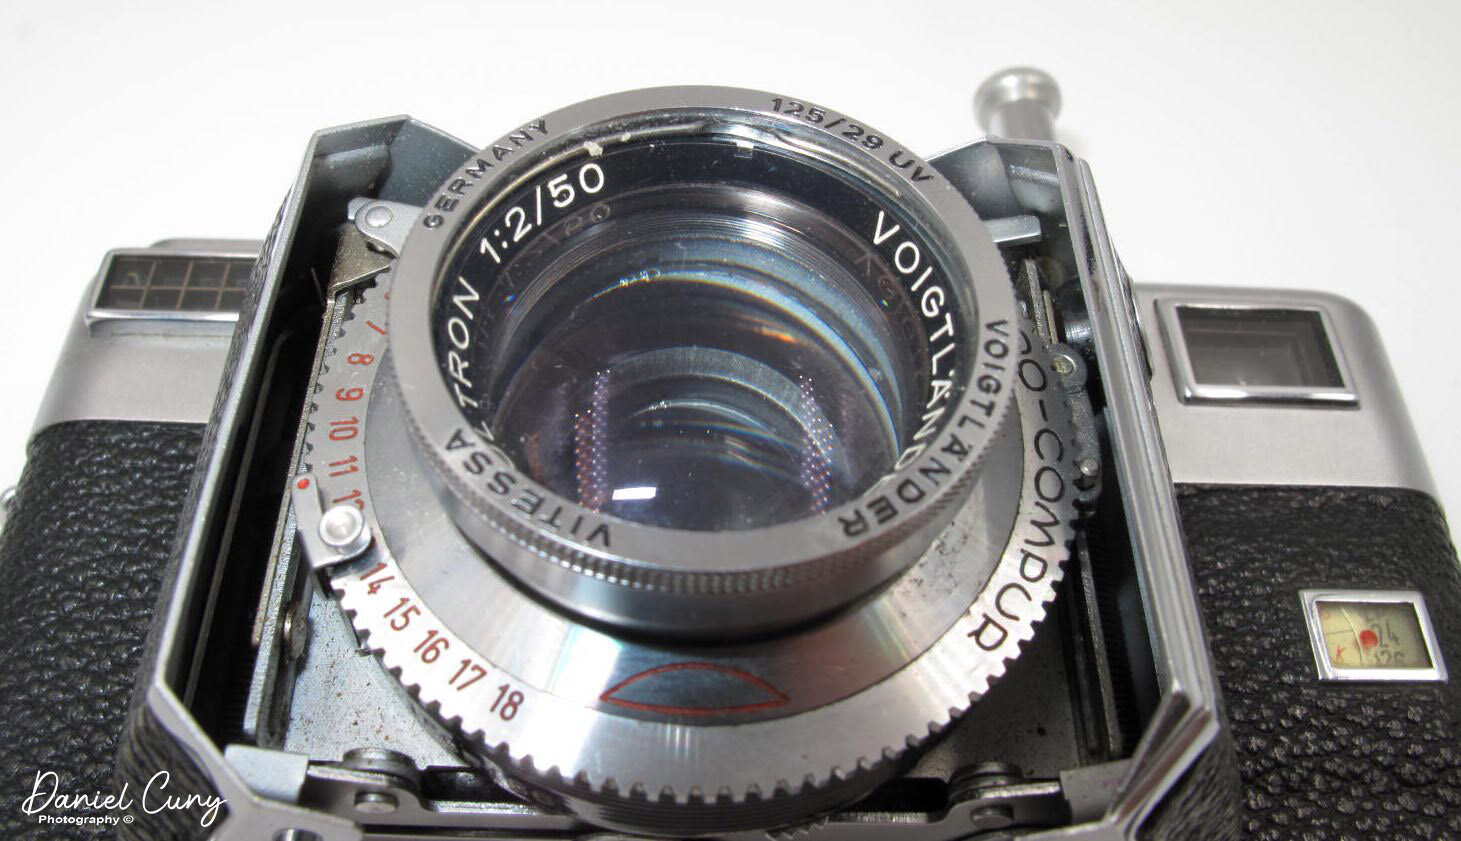
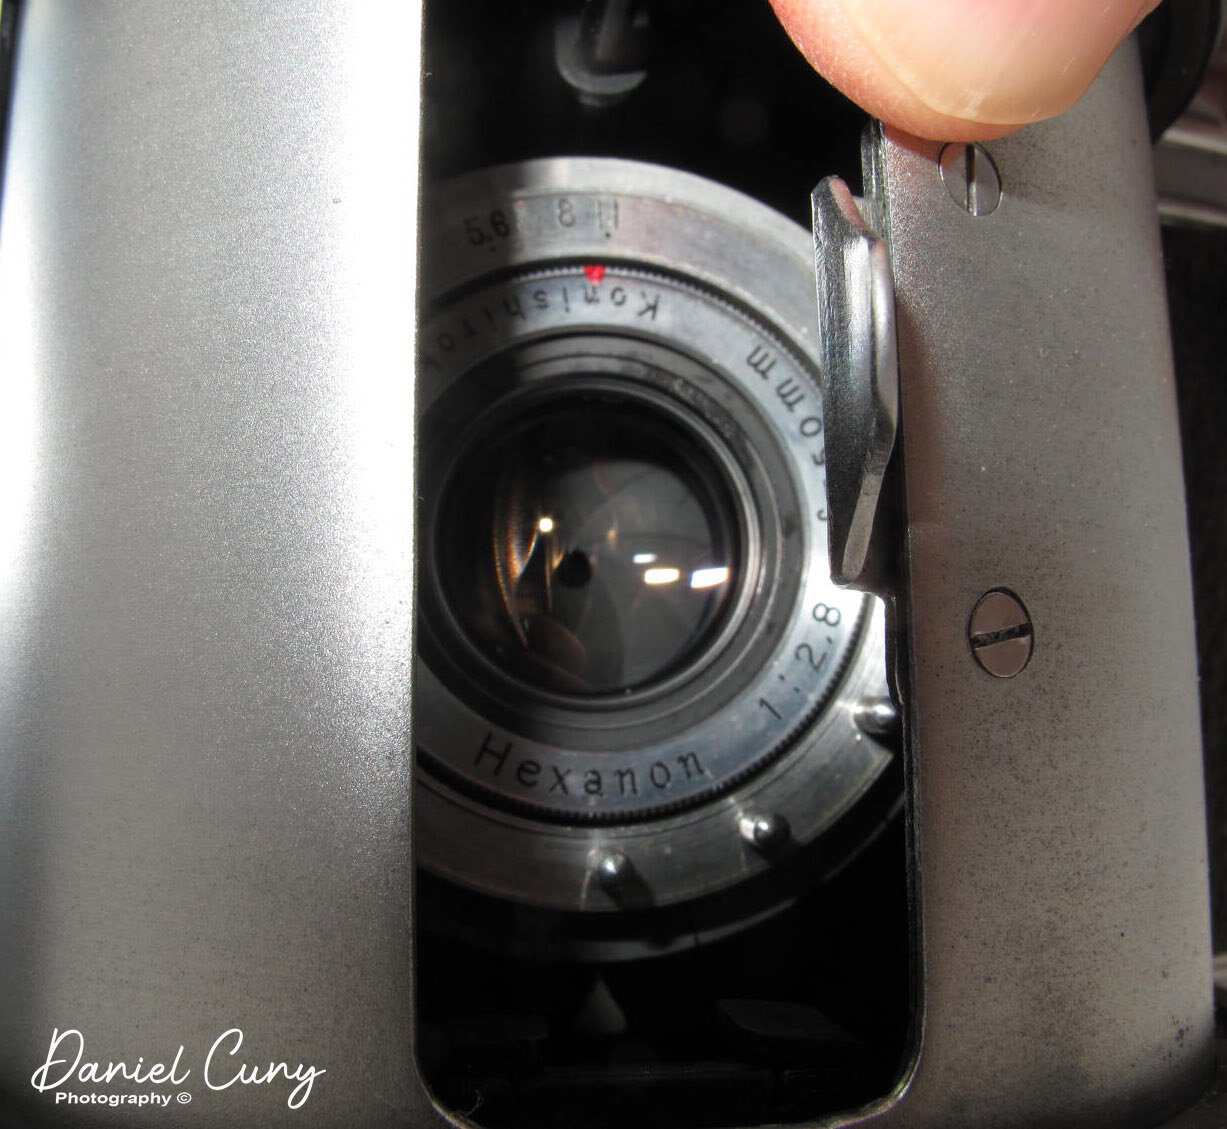
The camera I have is the Model L with the Ultron 50mm f2 lens. My camera has an issue where the rangefinder isn't working, so when I use my camera, I'm always guessing the distance, which is difficult, but the images always seem to put a smile on my face. I should send it in and have it fixed at some point.
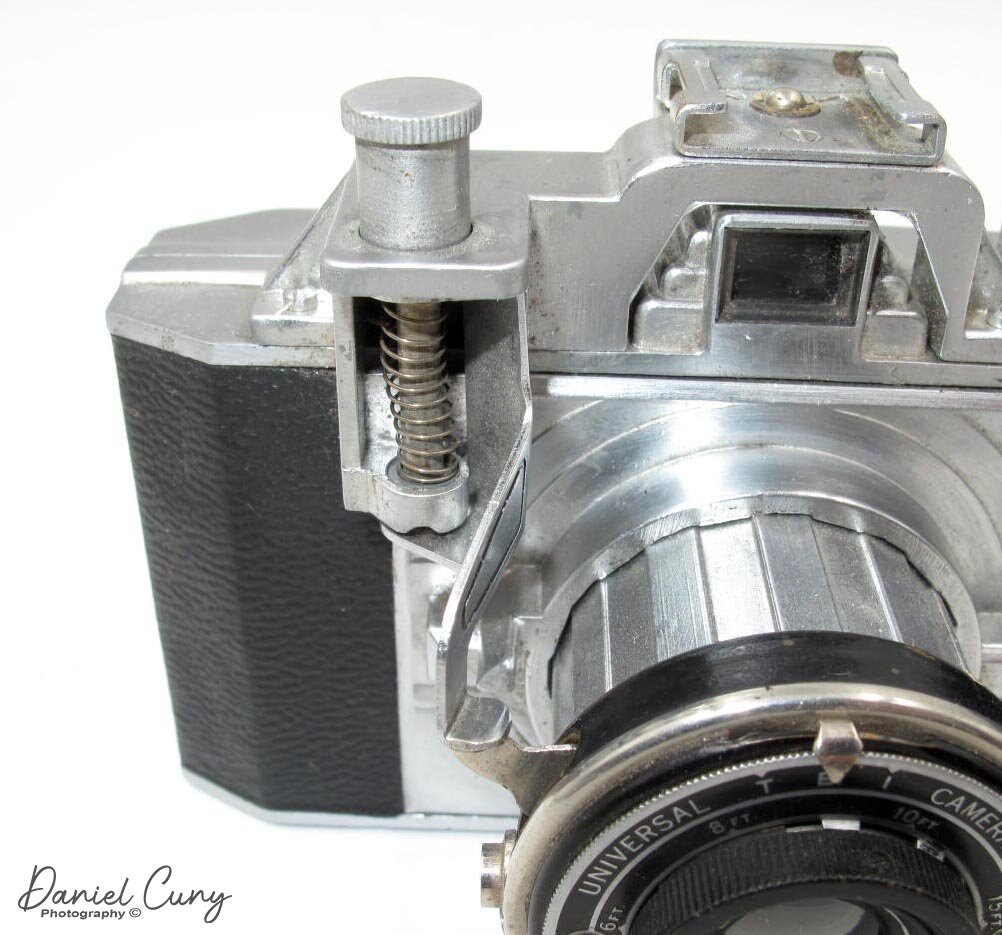
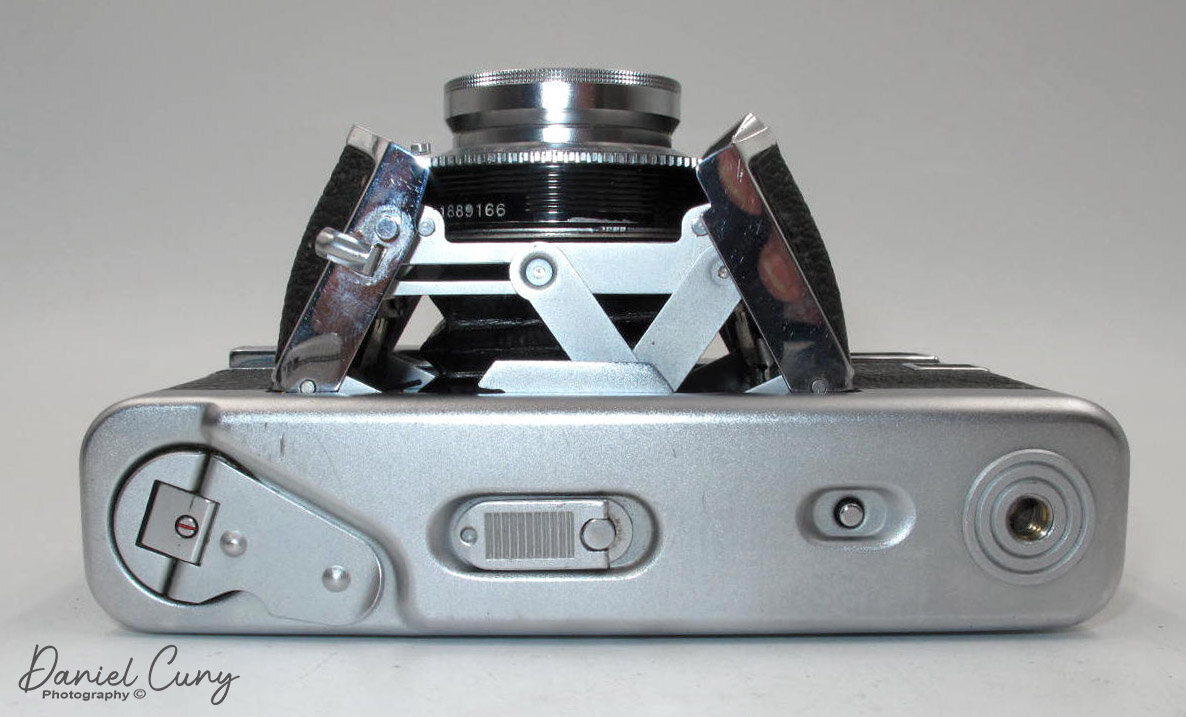
To open the camera, all you need to do is press the shutter button on top of the camera. By doing so, the lens pops out, and the film transport rod pops up too. The meter on my camera is the earlier version with film ISO from 6-200. Generally, I shoot with 100 or 200 speed, so it's not an issue. My meter is very accurate too. All the photos showed where exposures were using it.
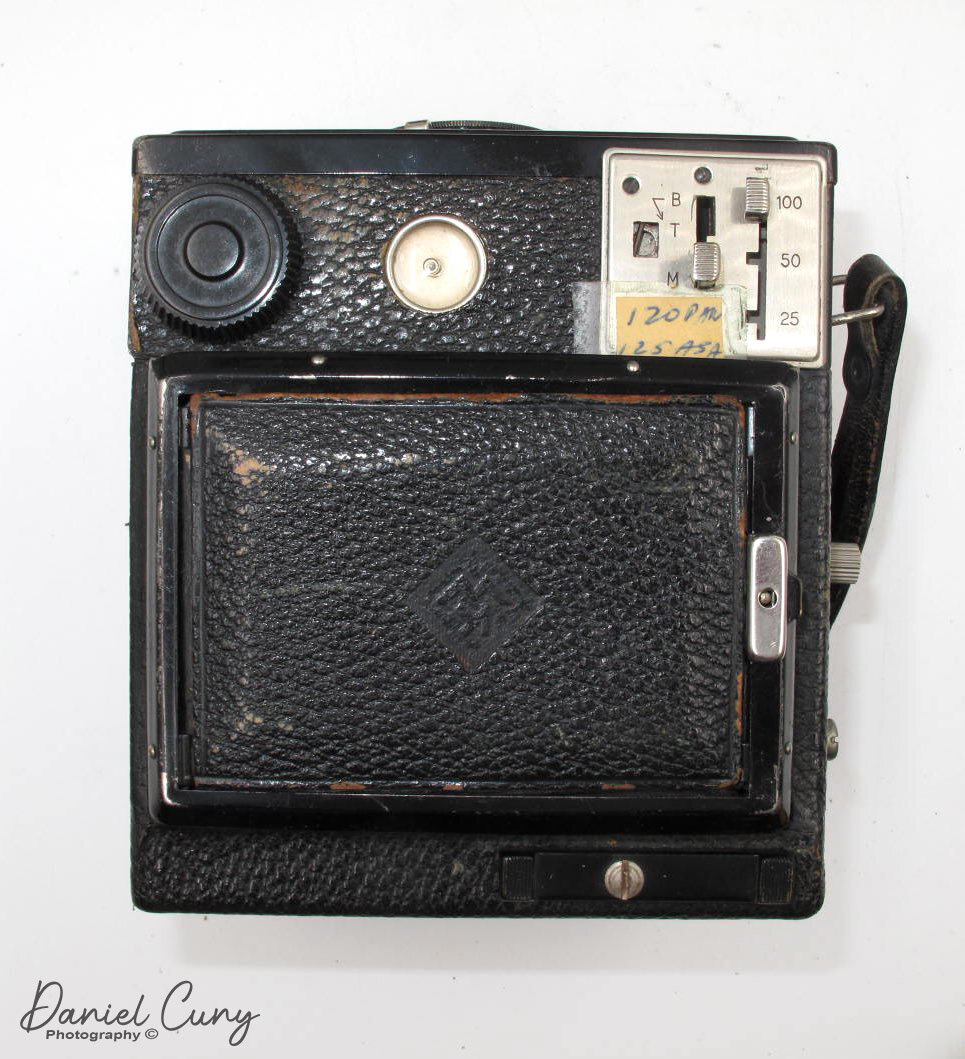
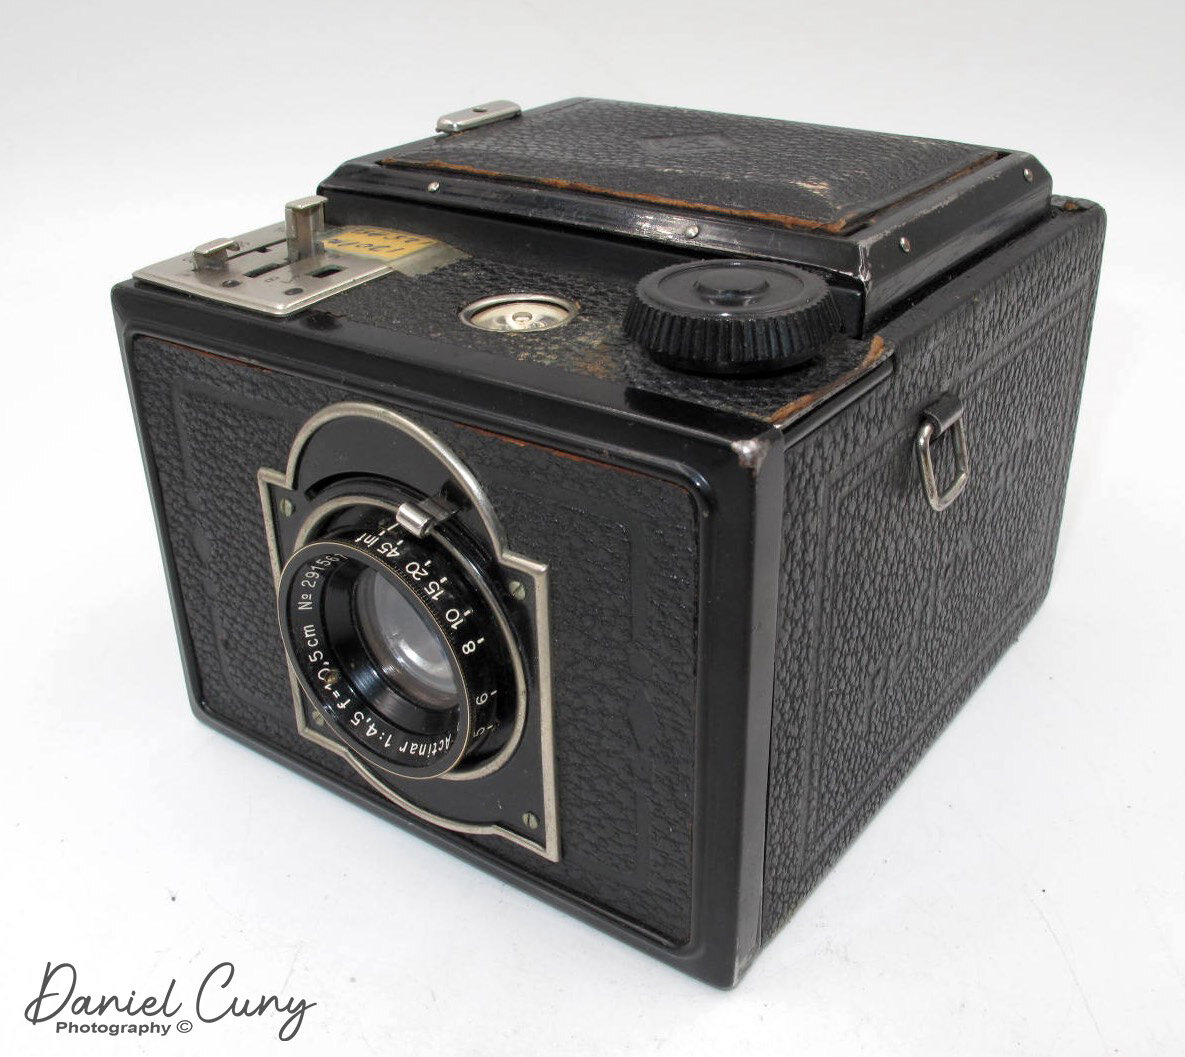
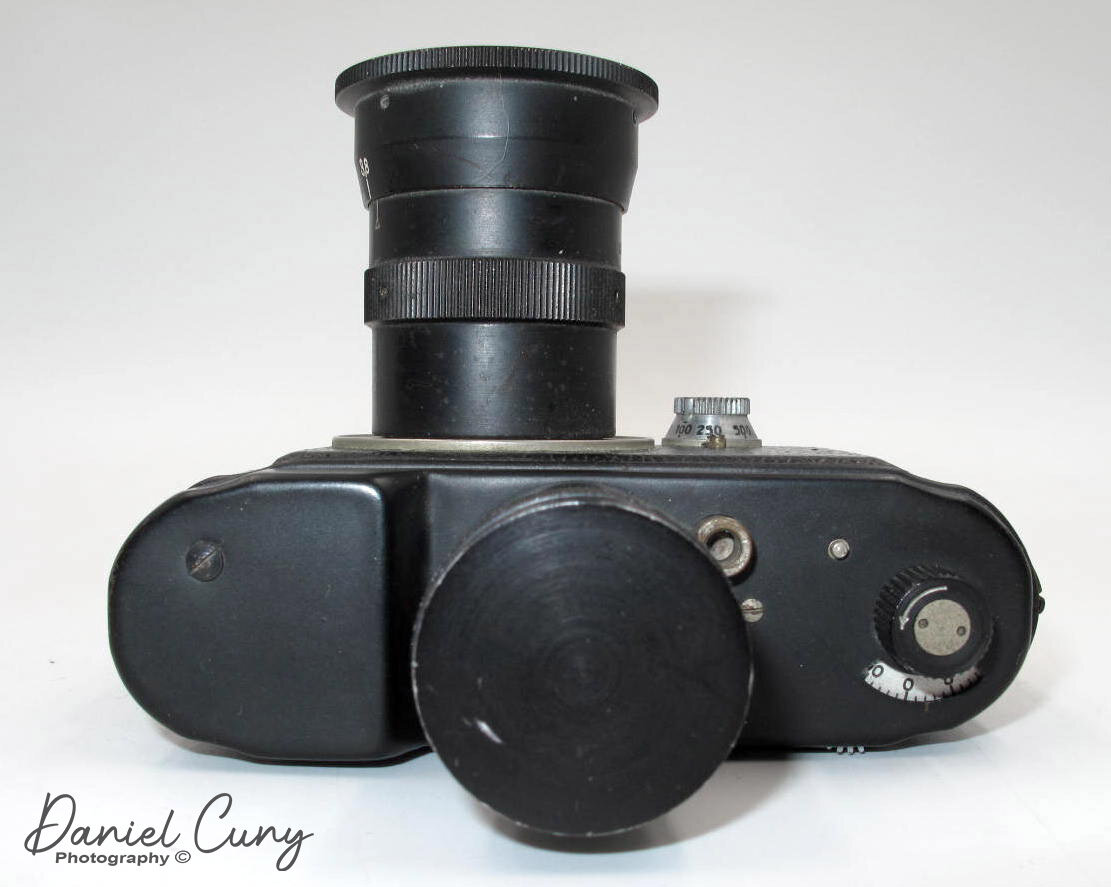
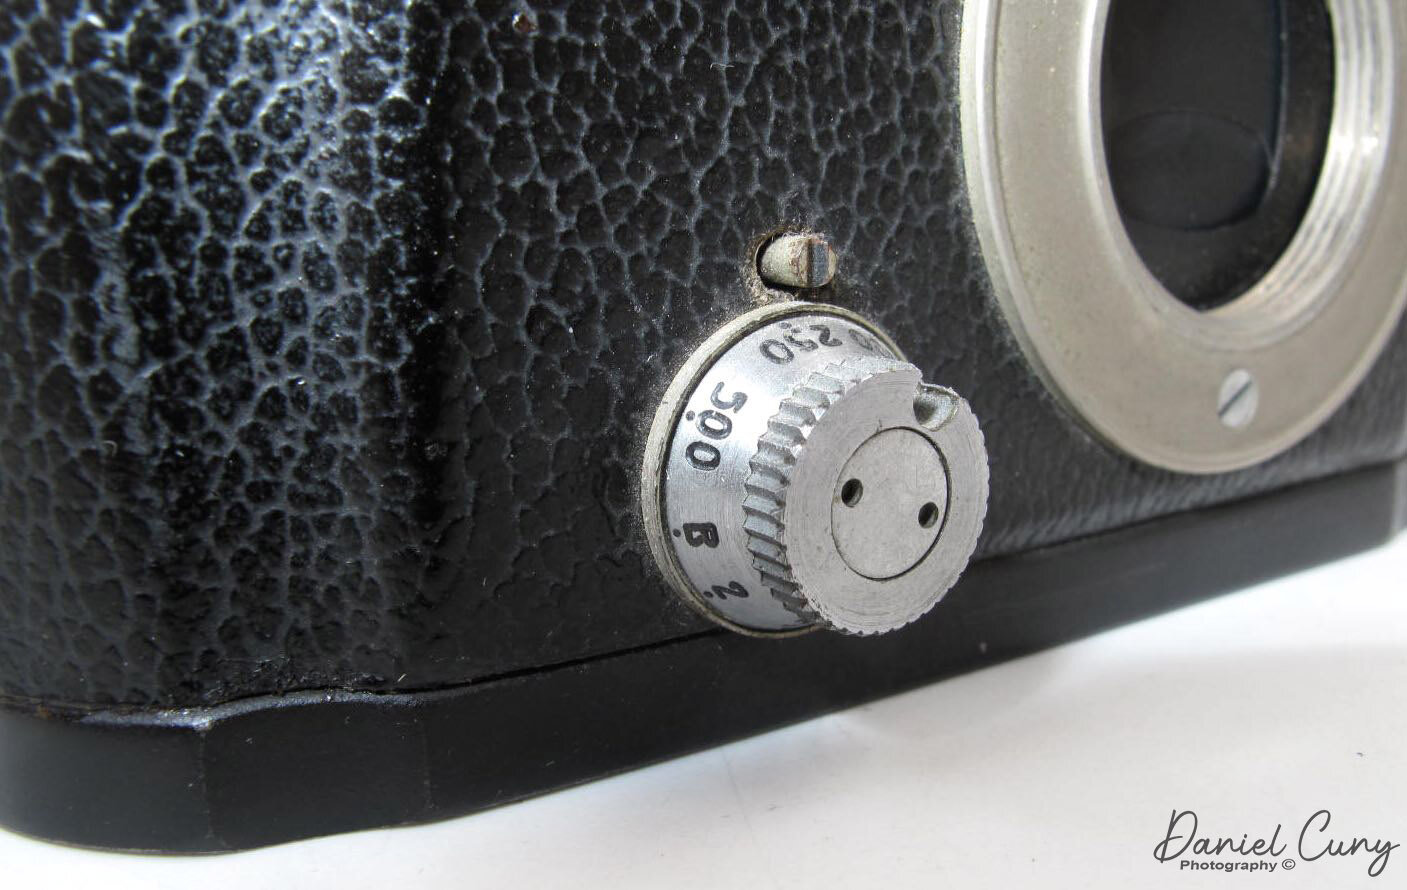
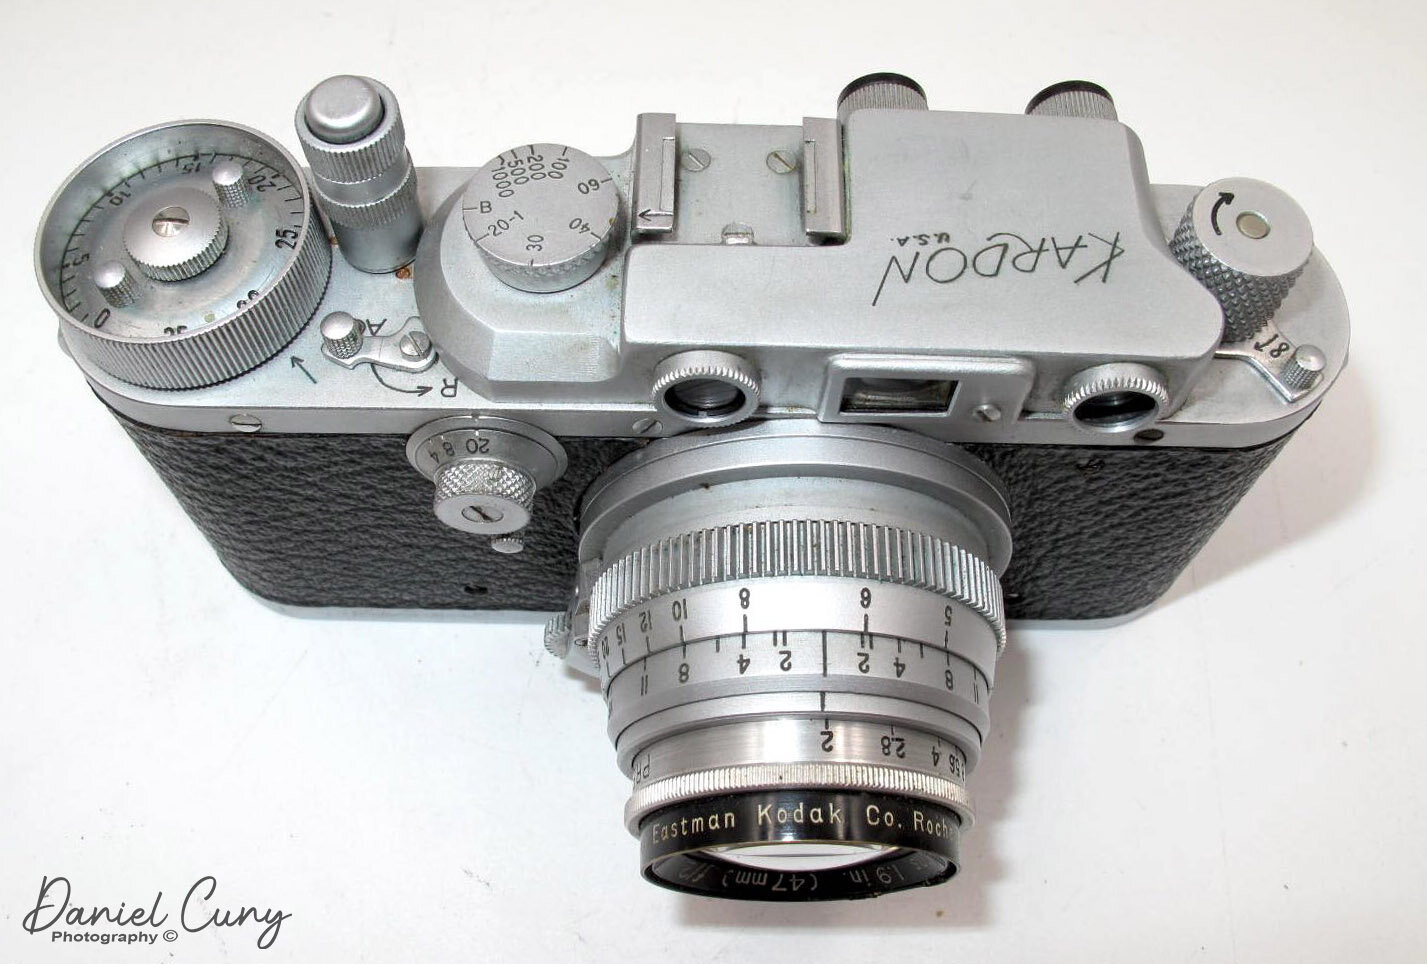
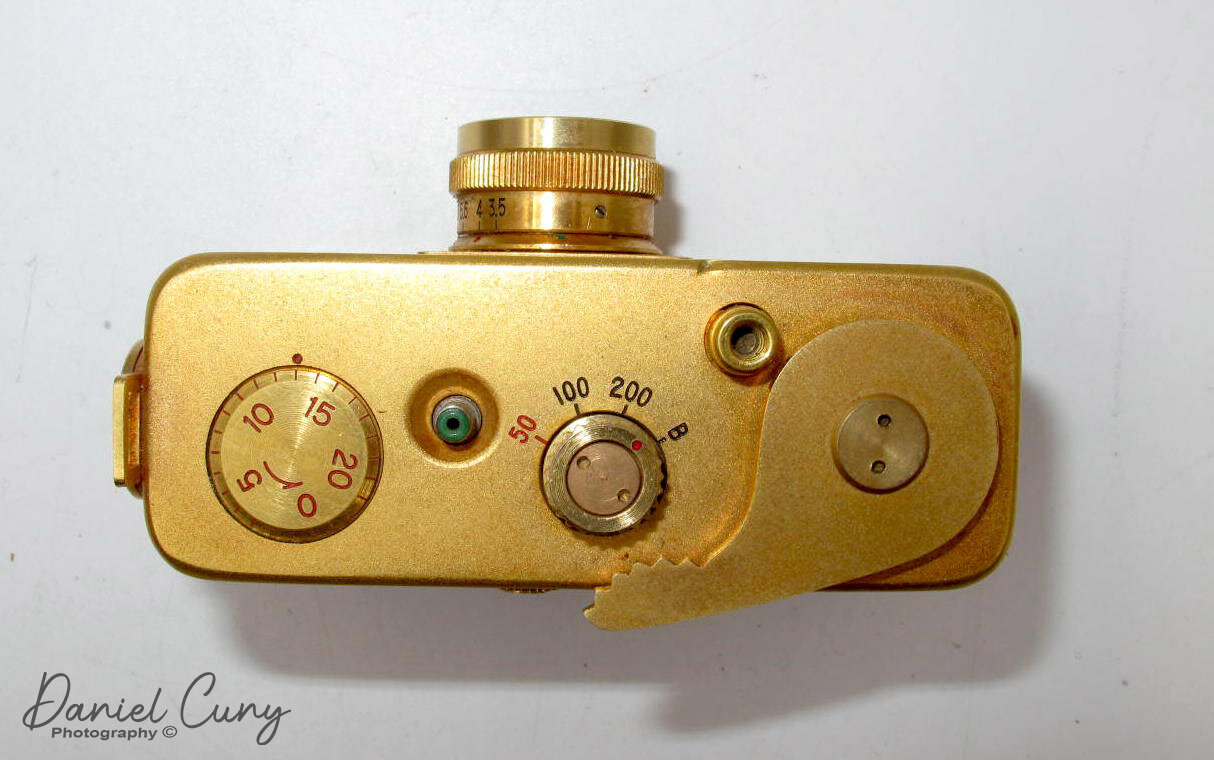
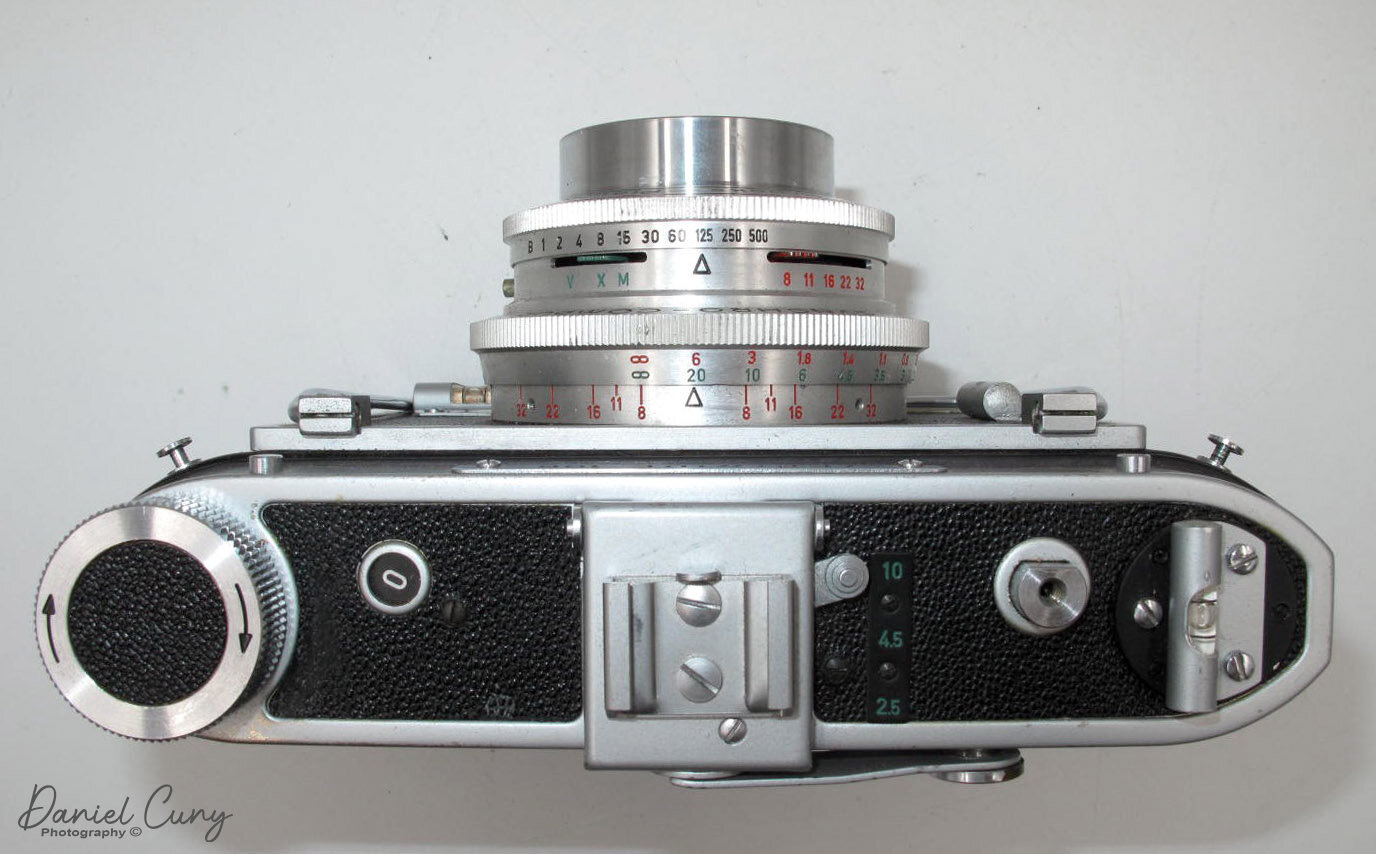
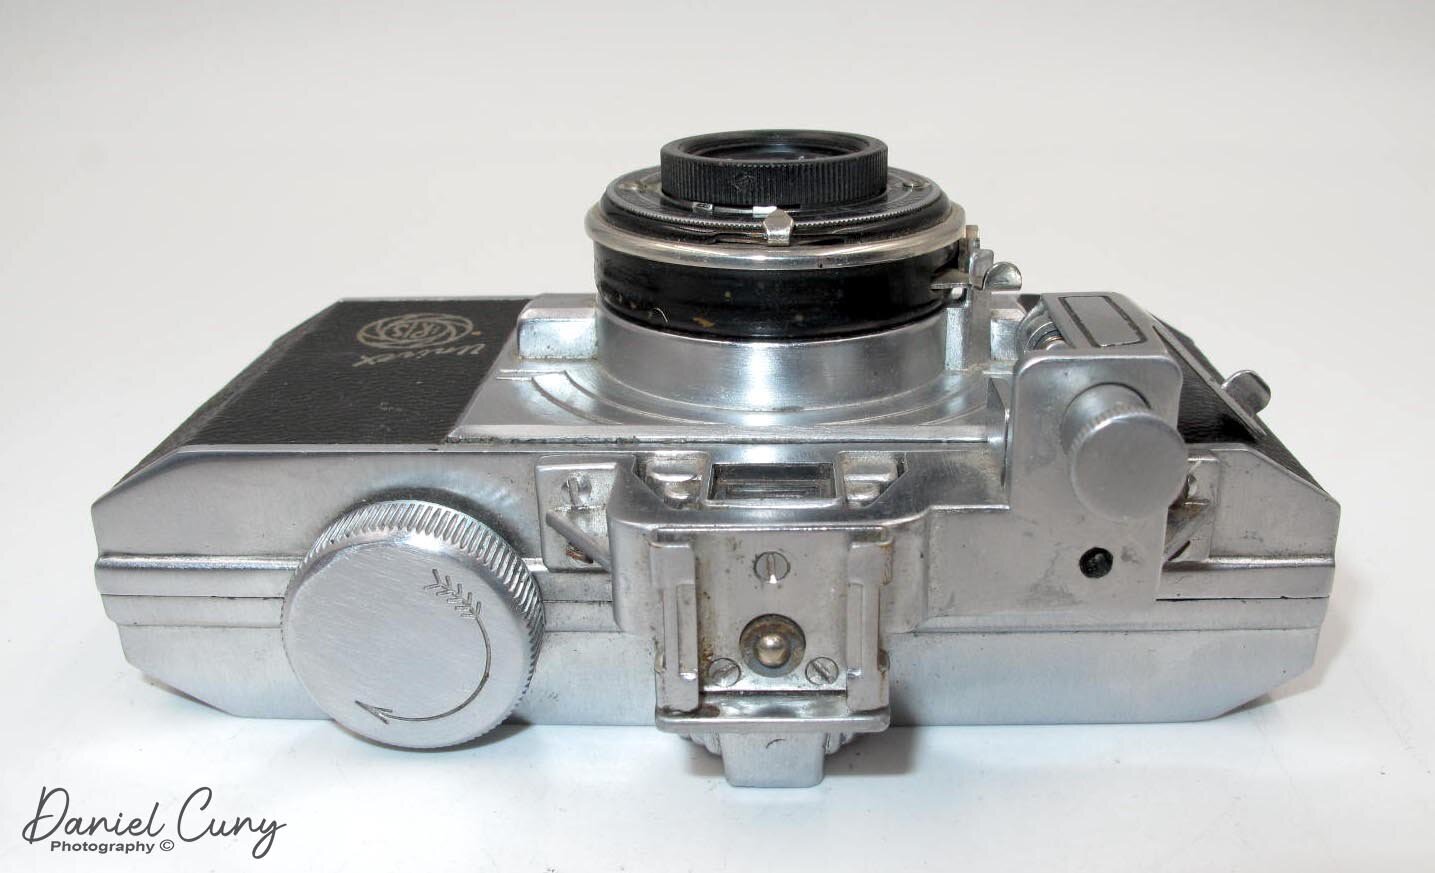
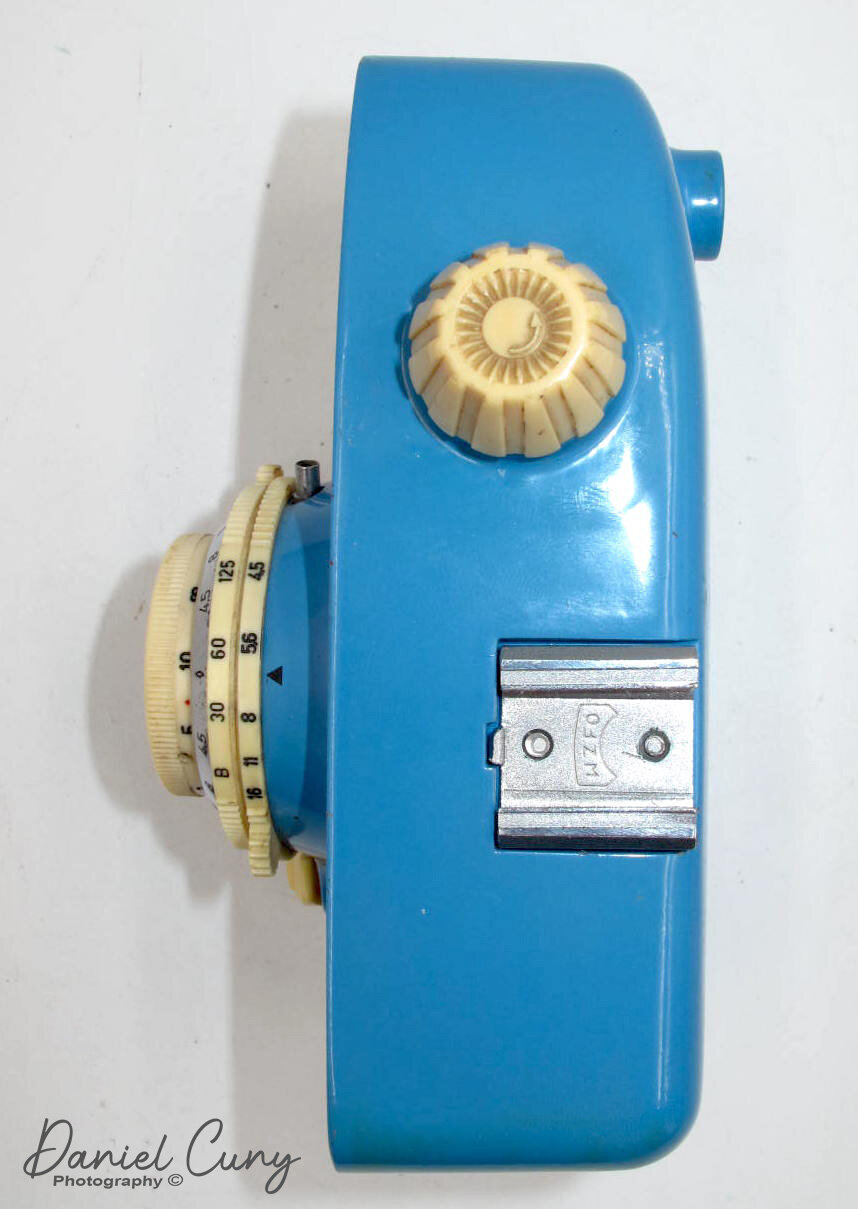
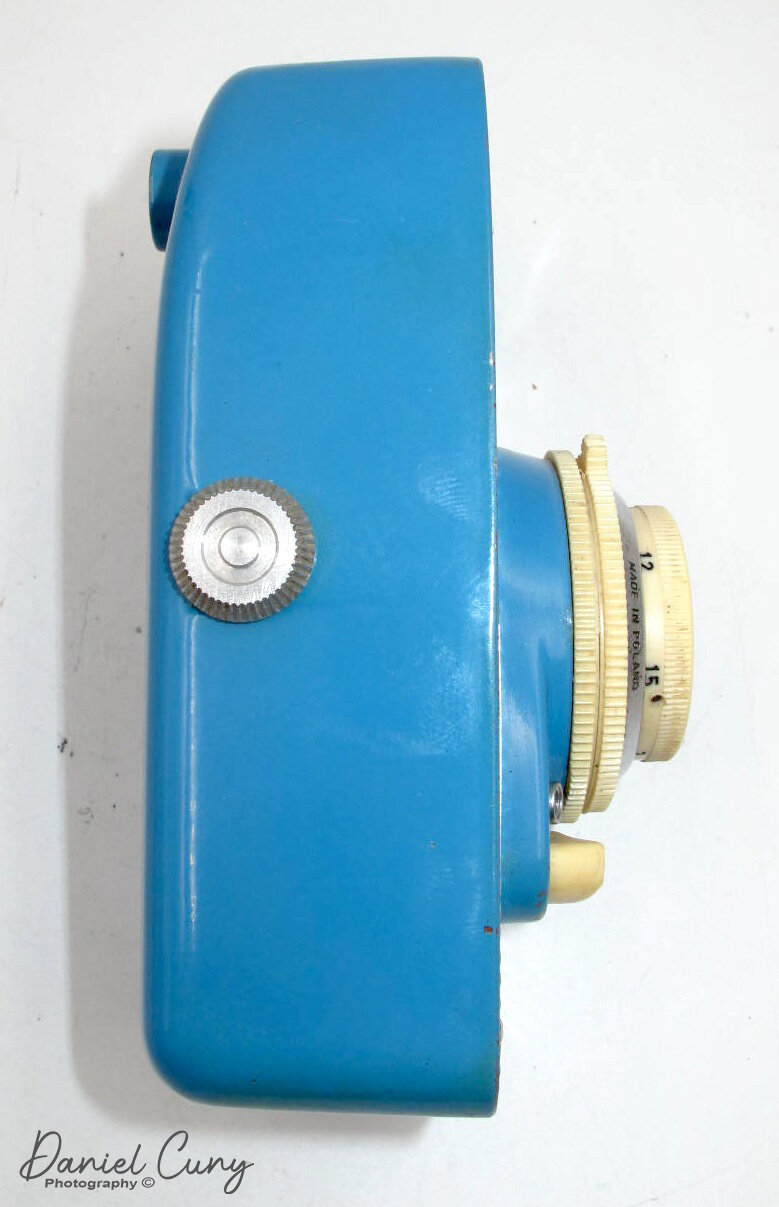
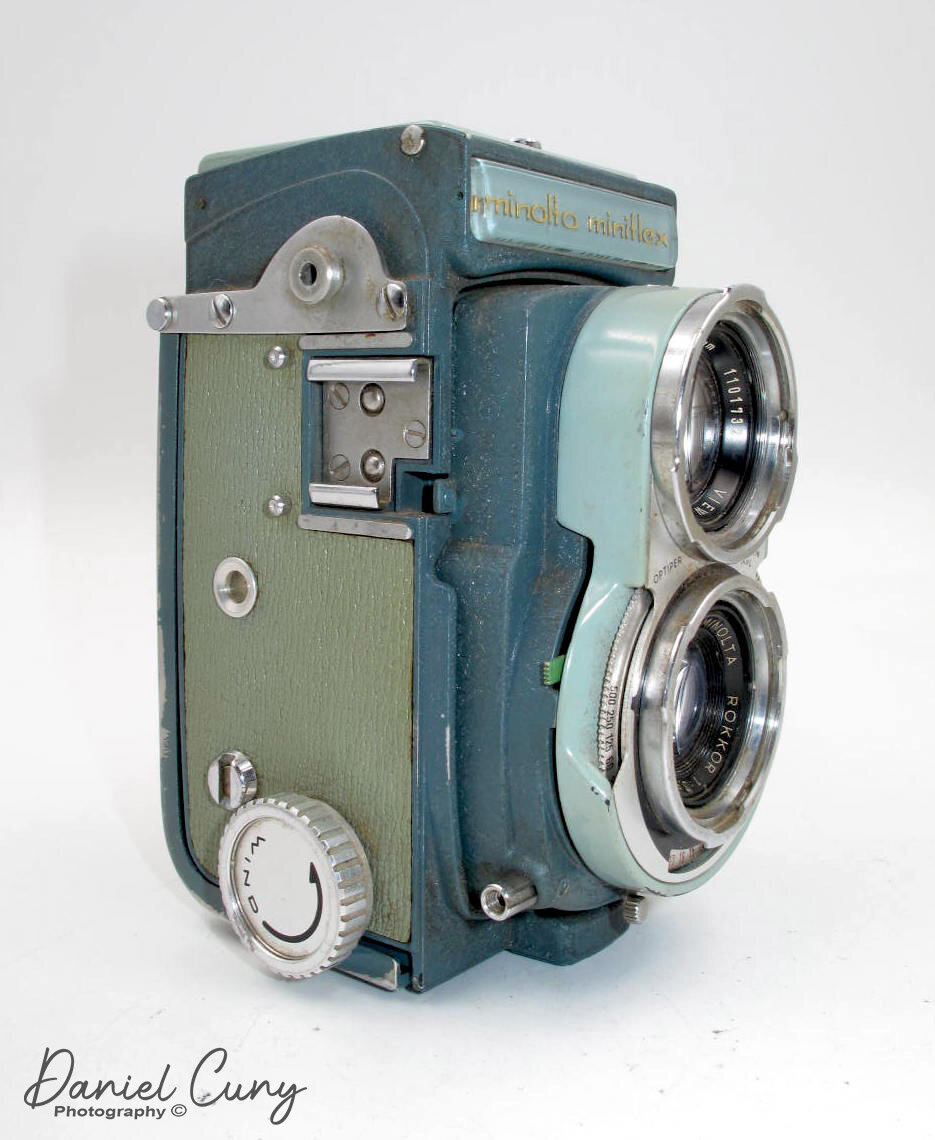
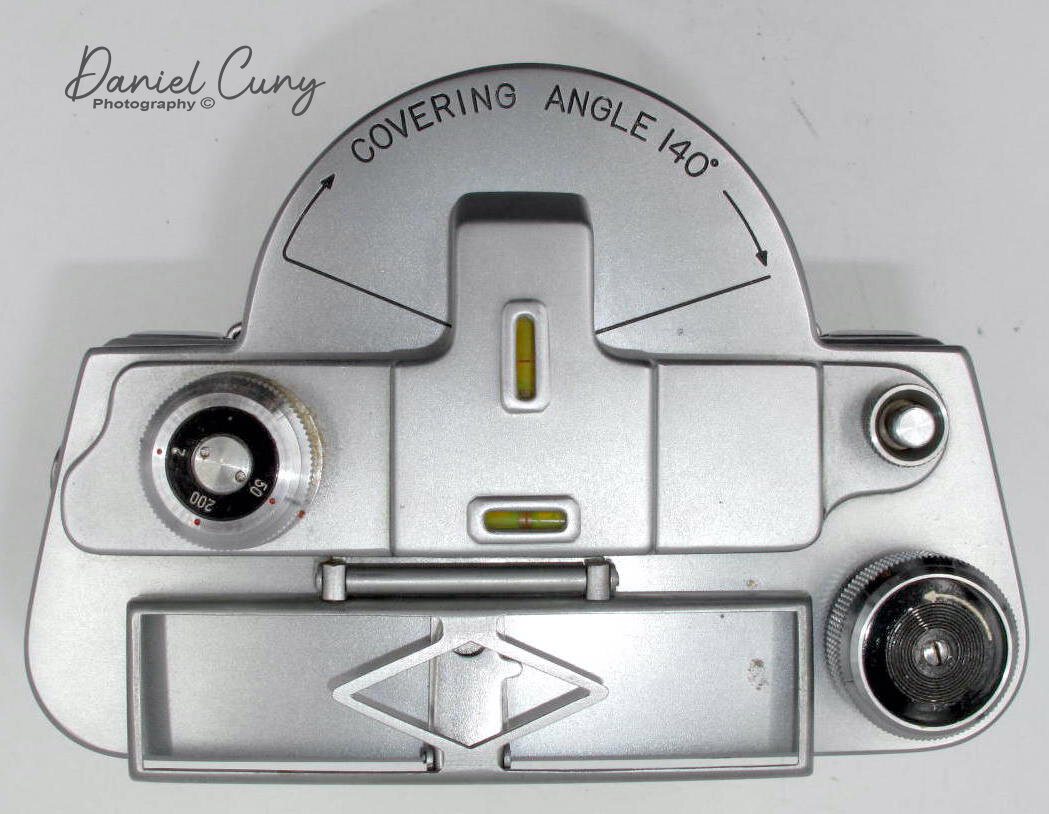
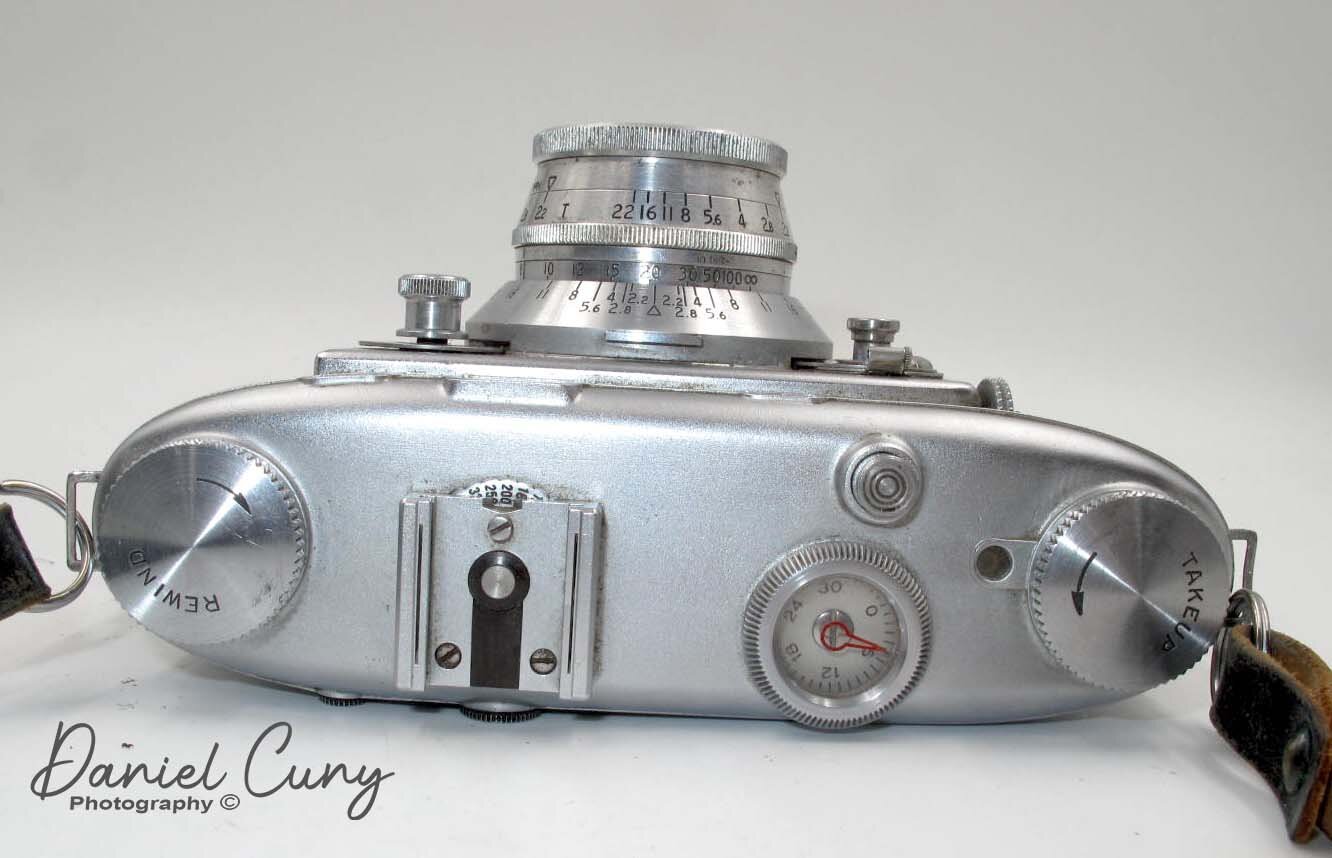
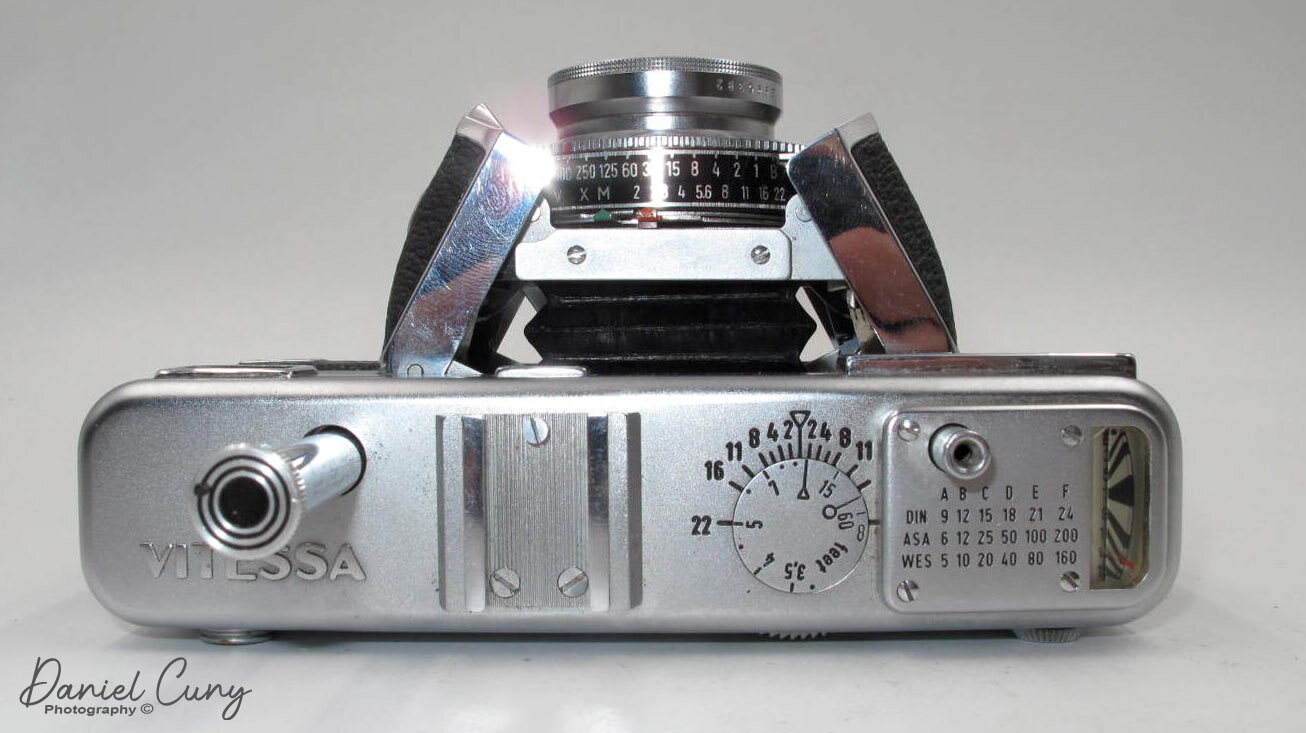
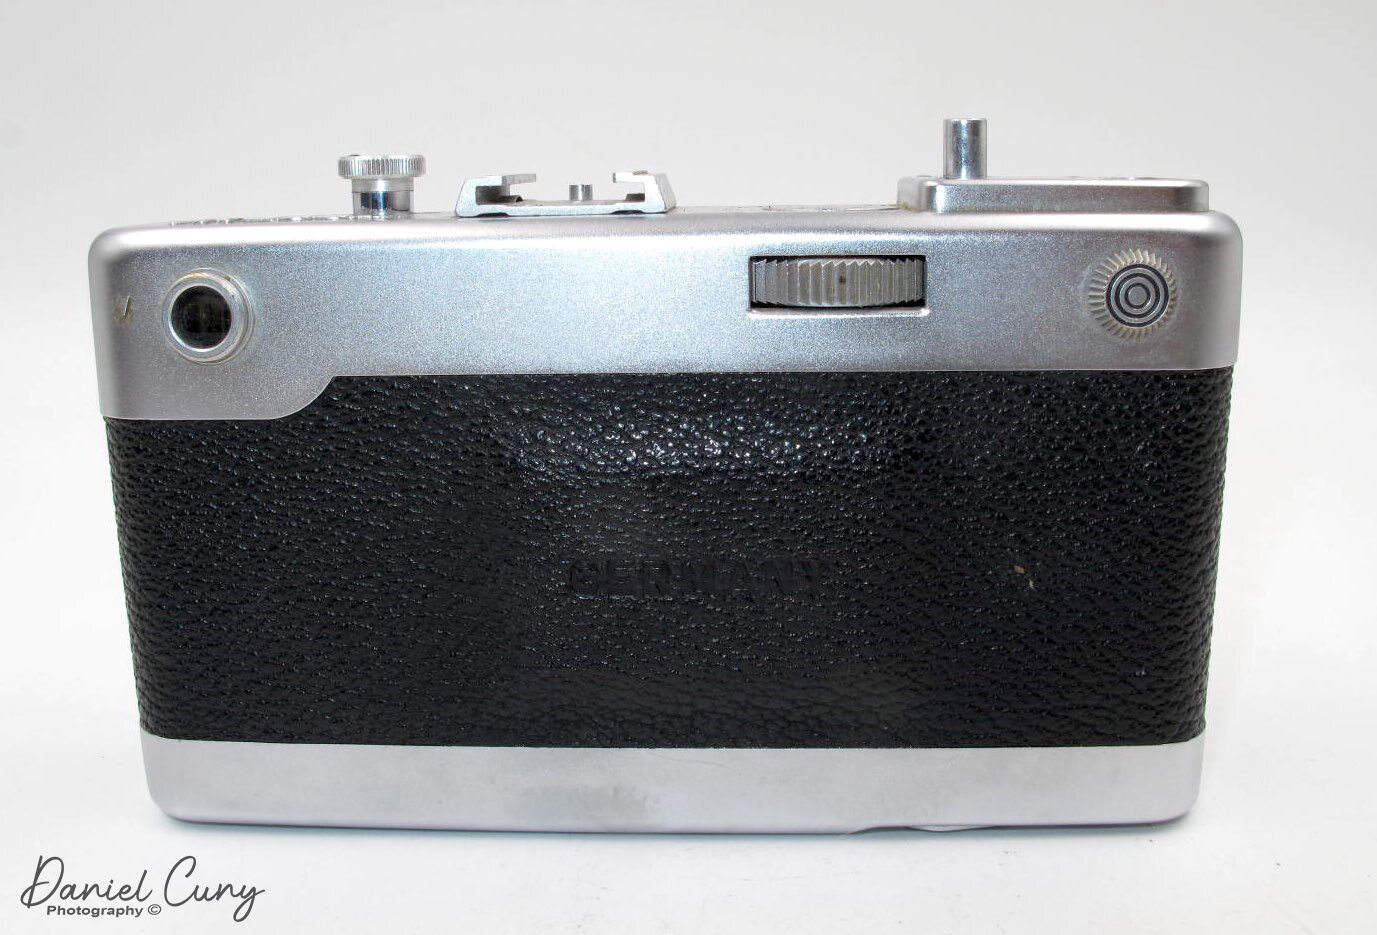
On the top of the camera is the film advance rod on the far left. Plunging it once advances the film and cocks the shutter. Next to it is the accessory shoe. A thumbwheel then controls the focus distance just behind it on the back of the camera. On the far right is the exposure meter. On the backside of the meter is a wheel to set the ISO. The shutter release is also on the top.
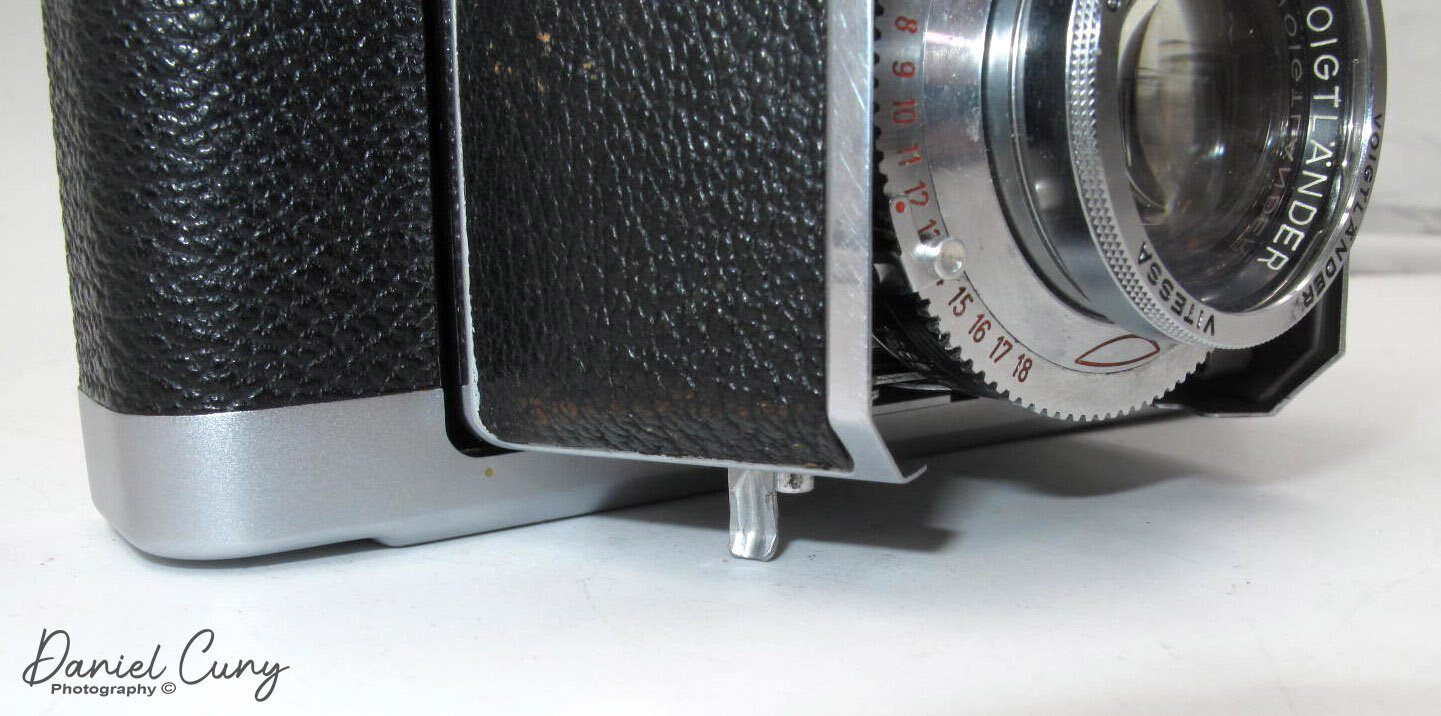
To use the light meter. The meter's needle will point to a number for proper exposure. Around the lens is awheel and pointer, indicating numbers from 2-18. If the meter tells you number 12, you slide the indicator to 12. By doing this, you're setting the combination of shutter speed and aperture. You can still move the shutter speed dial, but this locks in the proper combination of speed and aperture. It makes the settings very quick and easy.
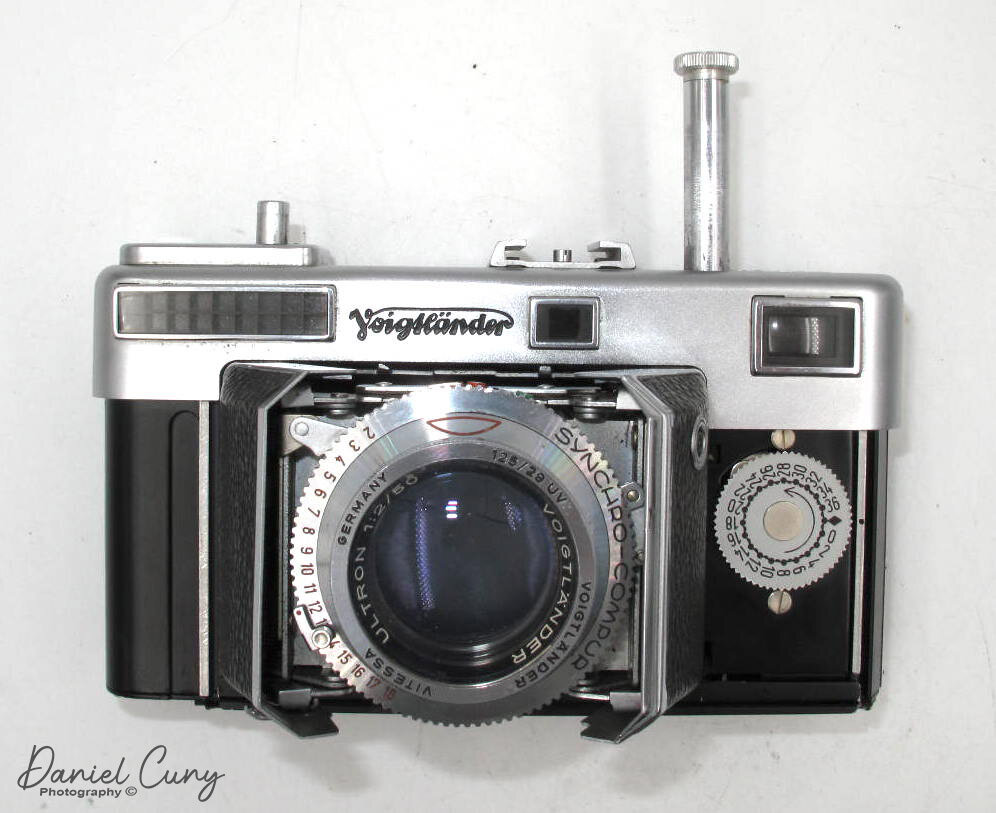
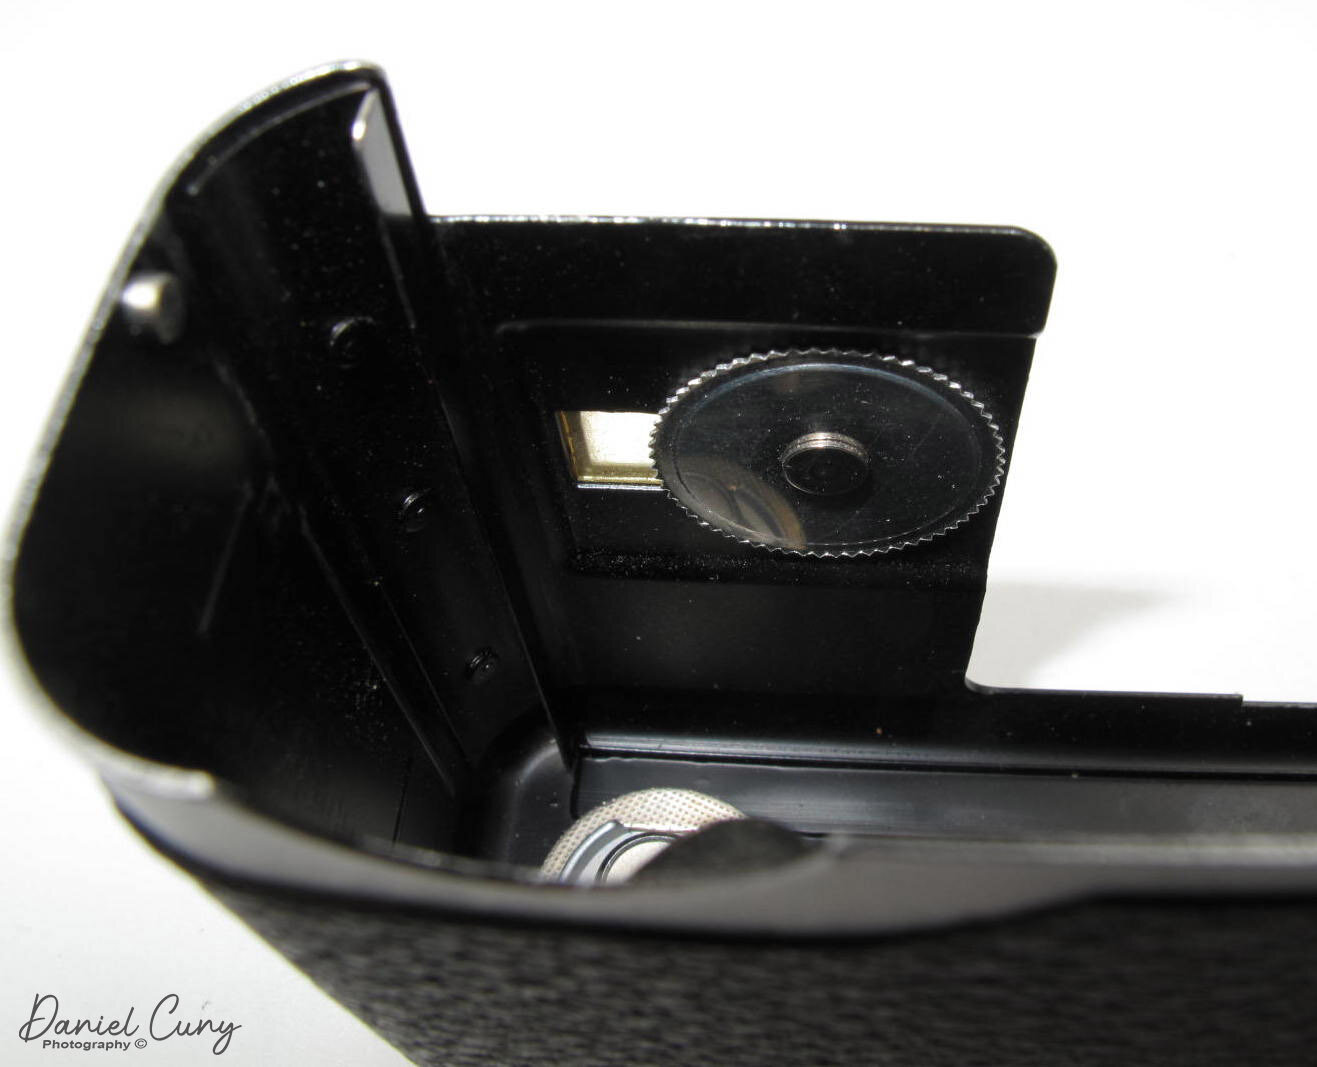
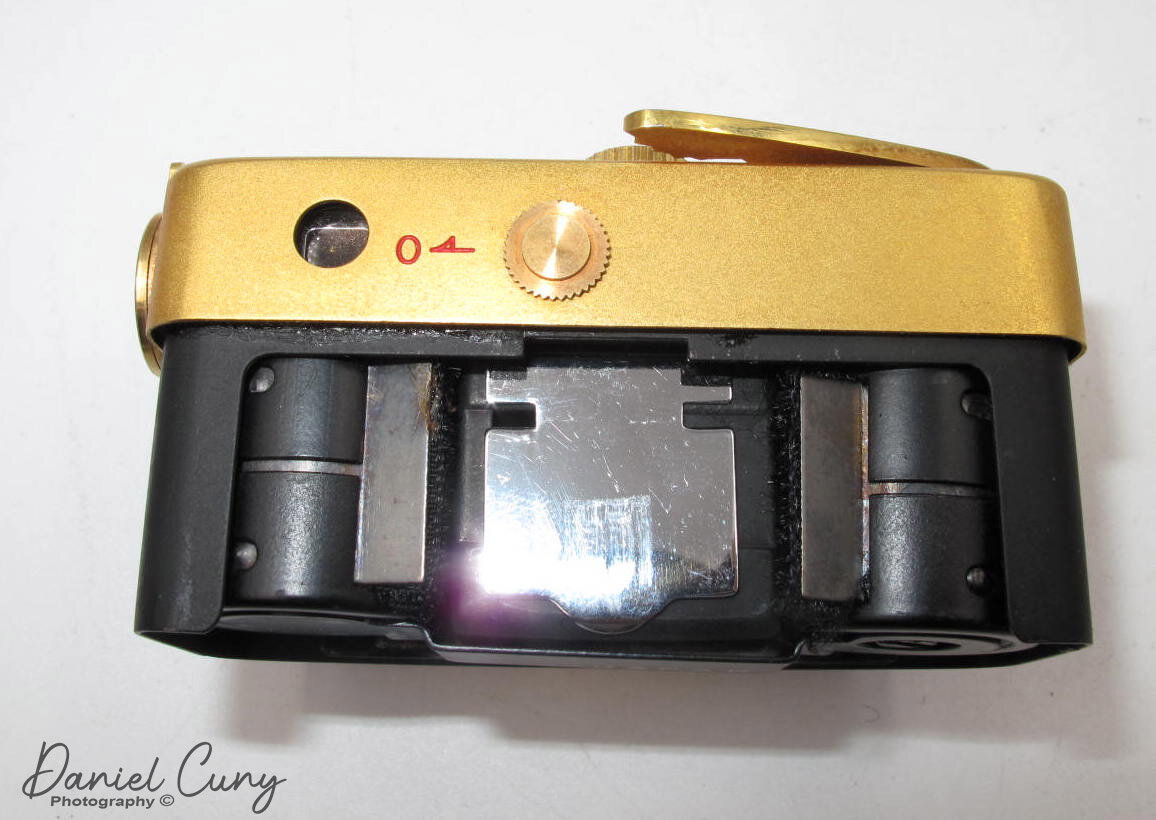
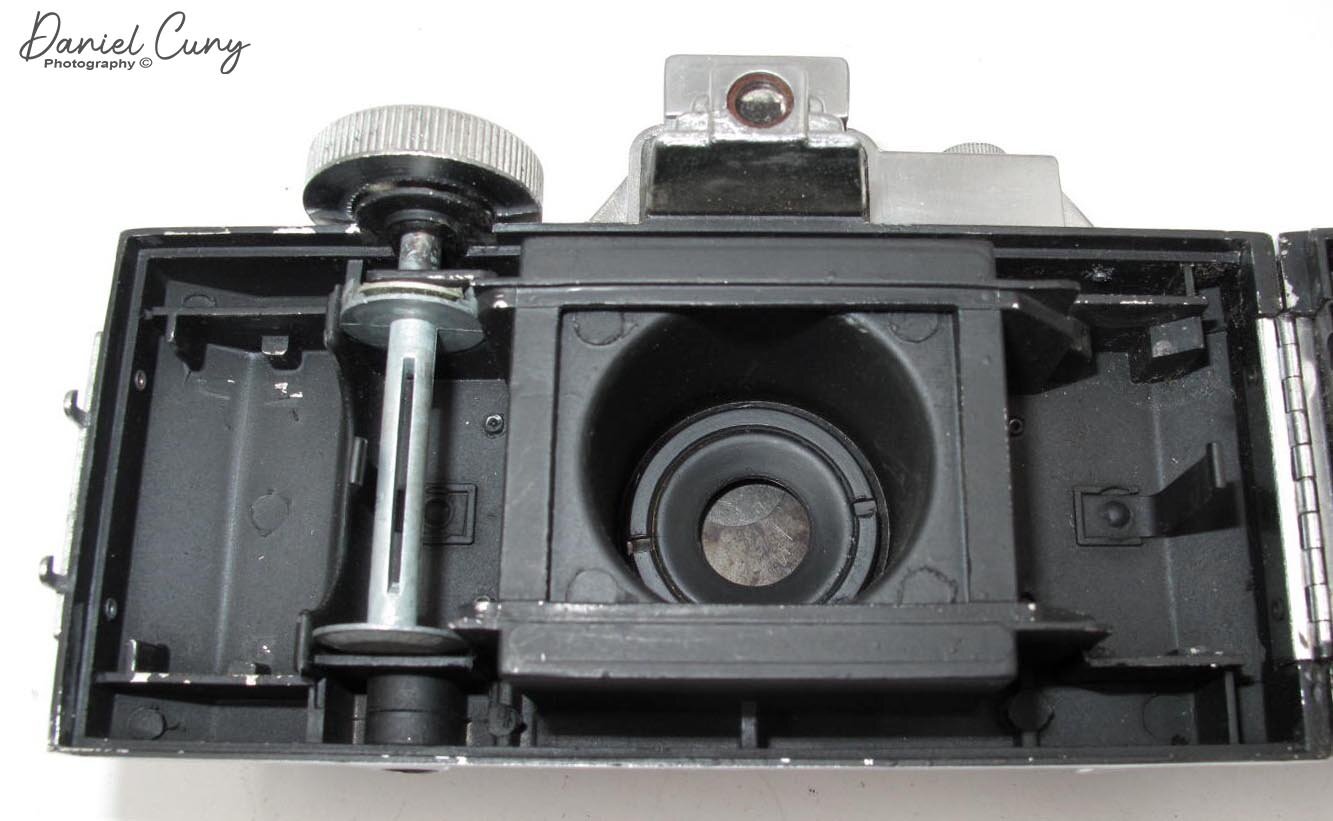
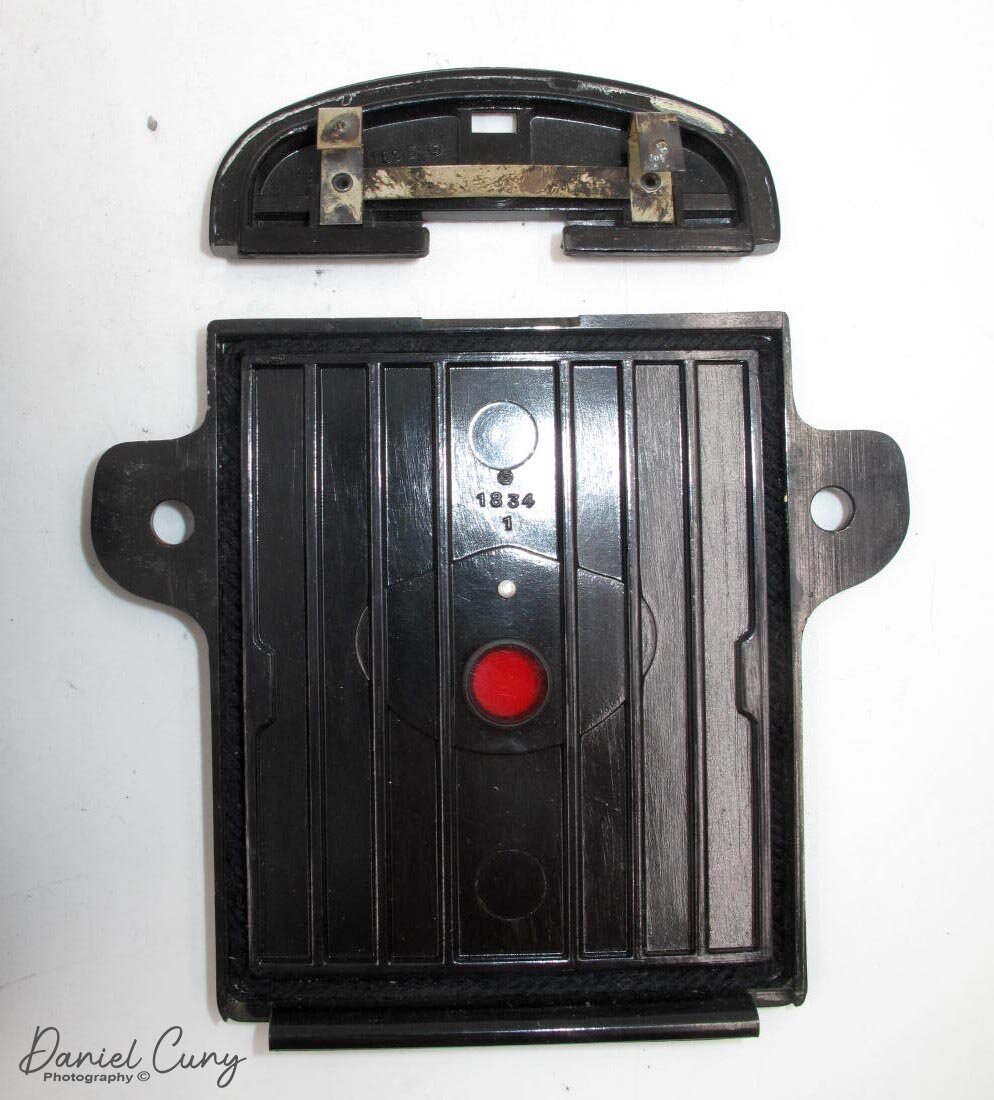
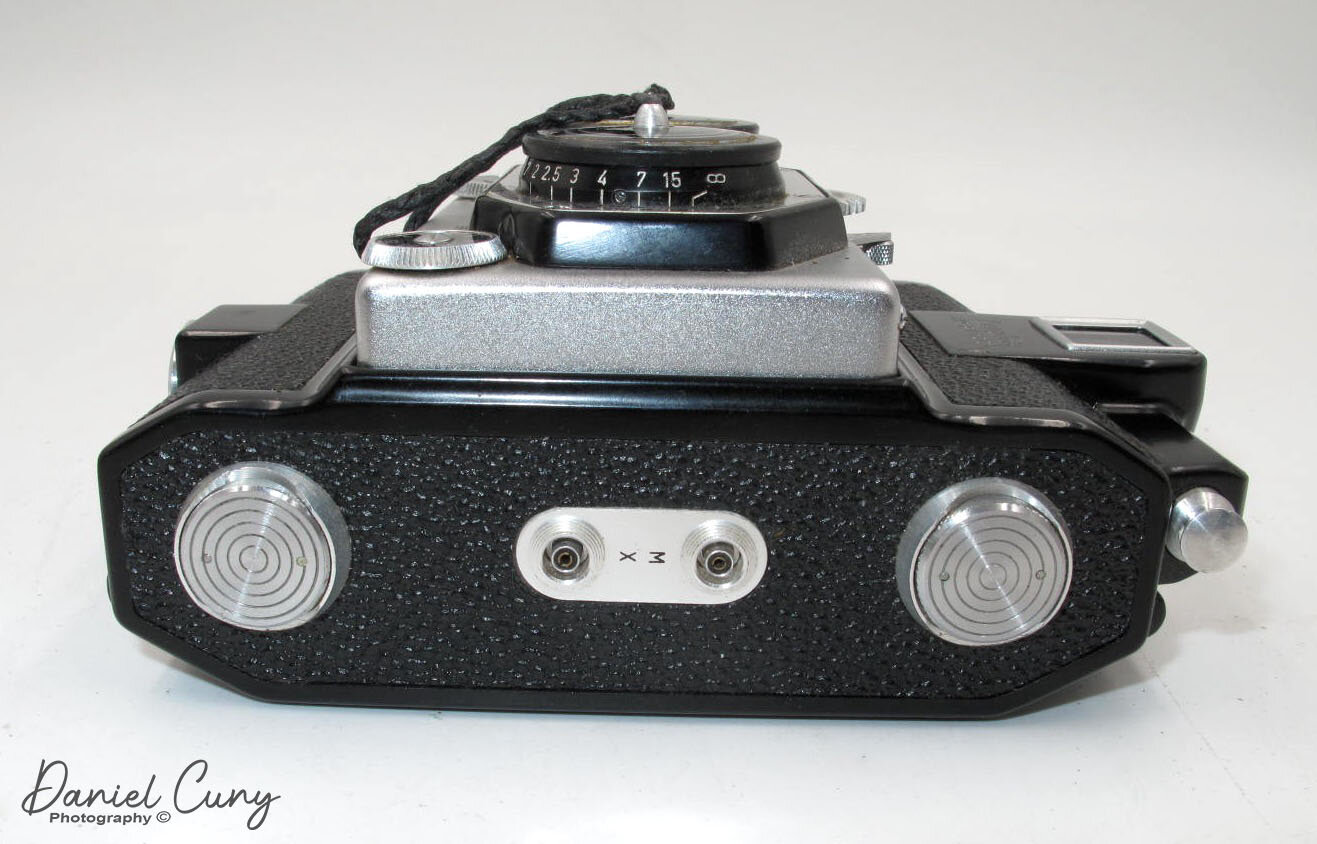
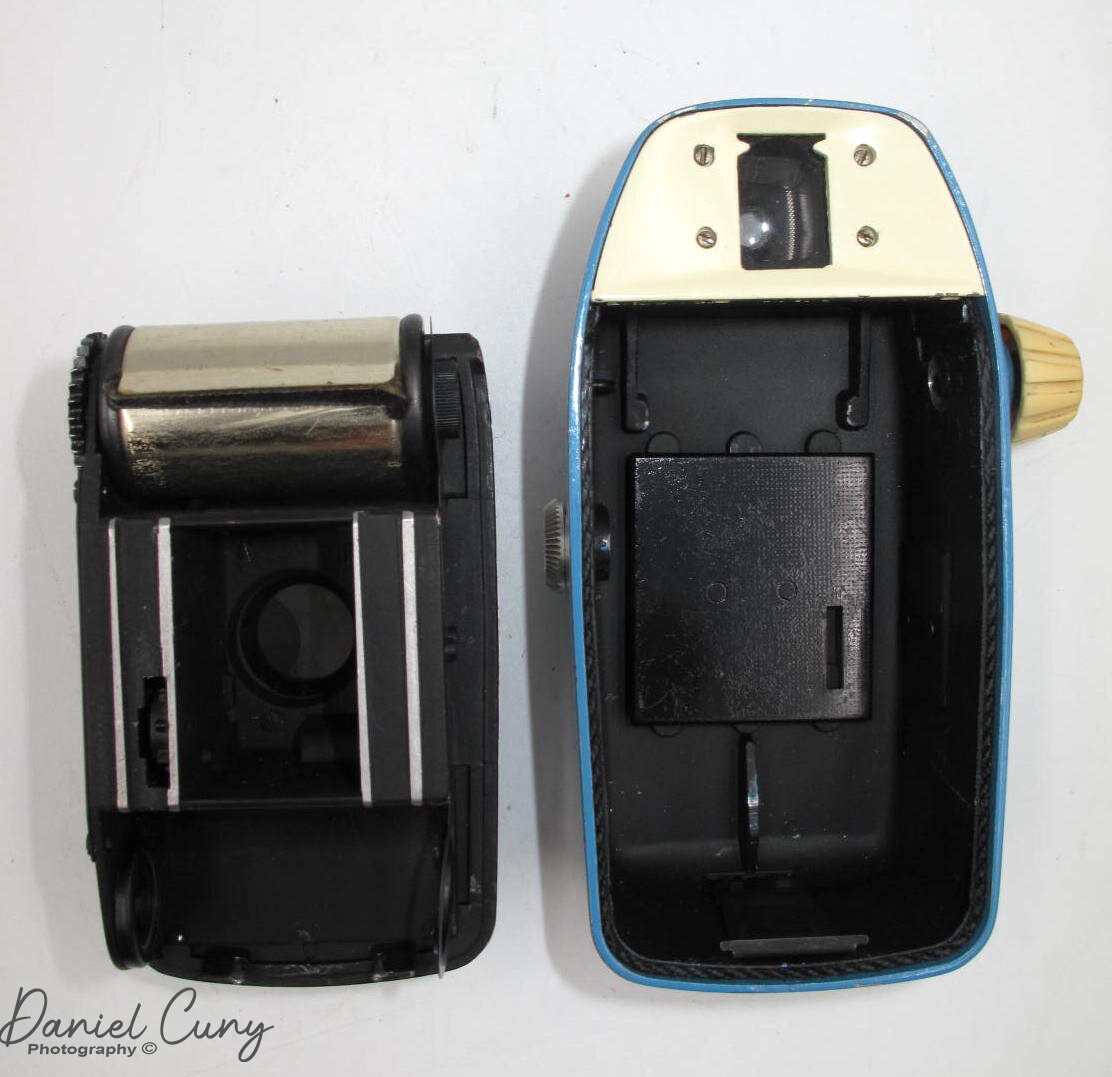
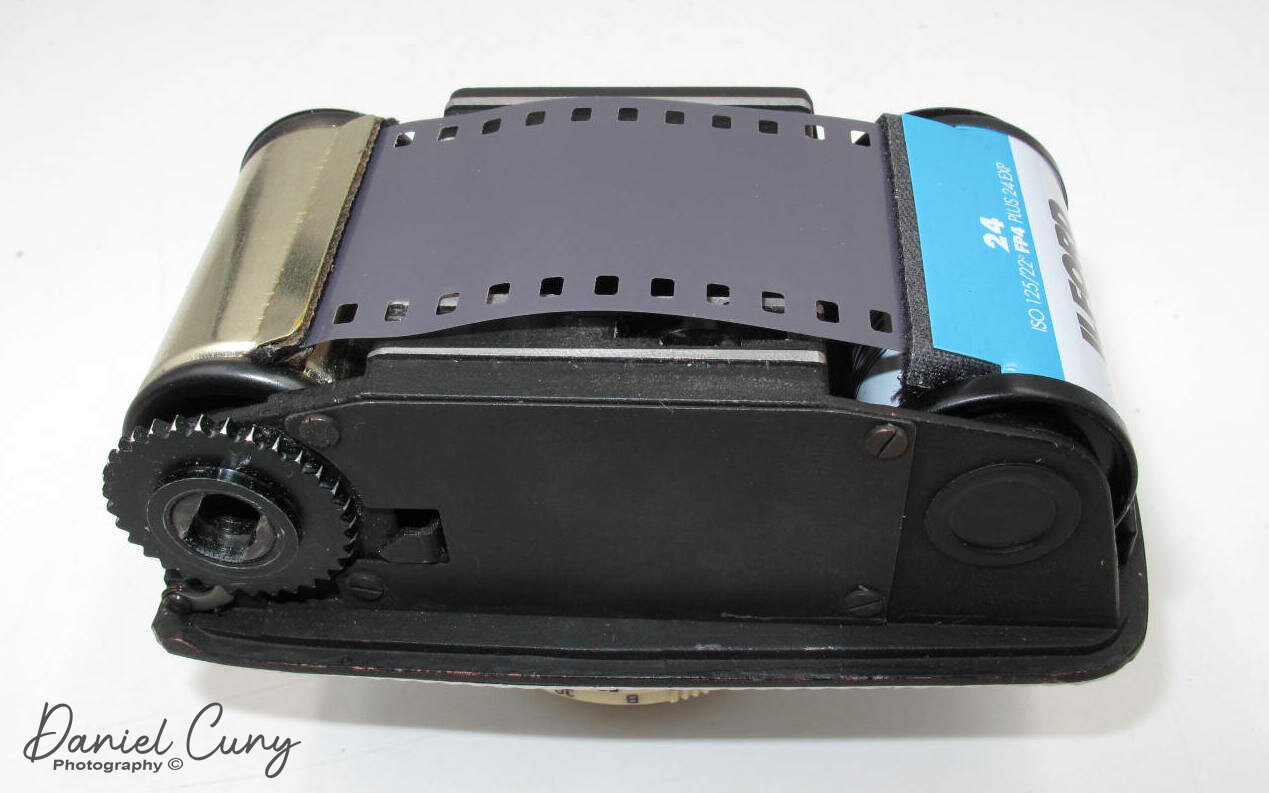
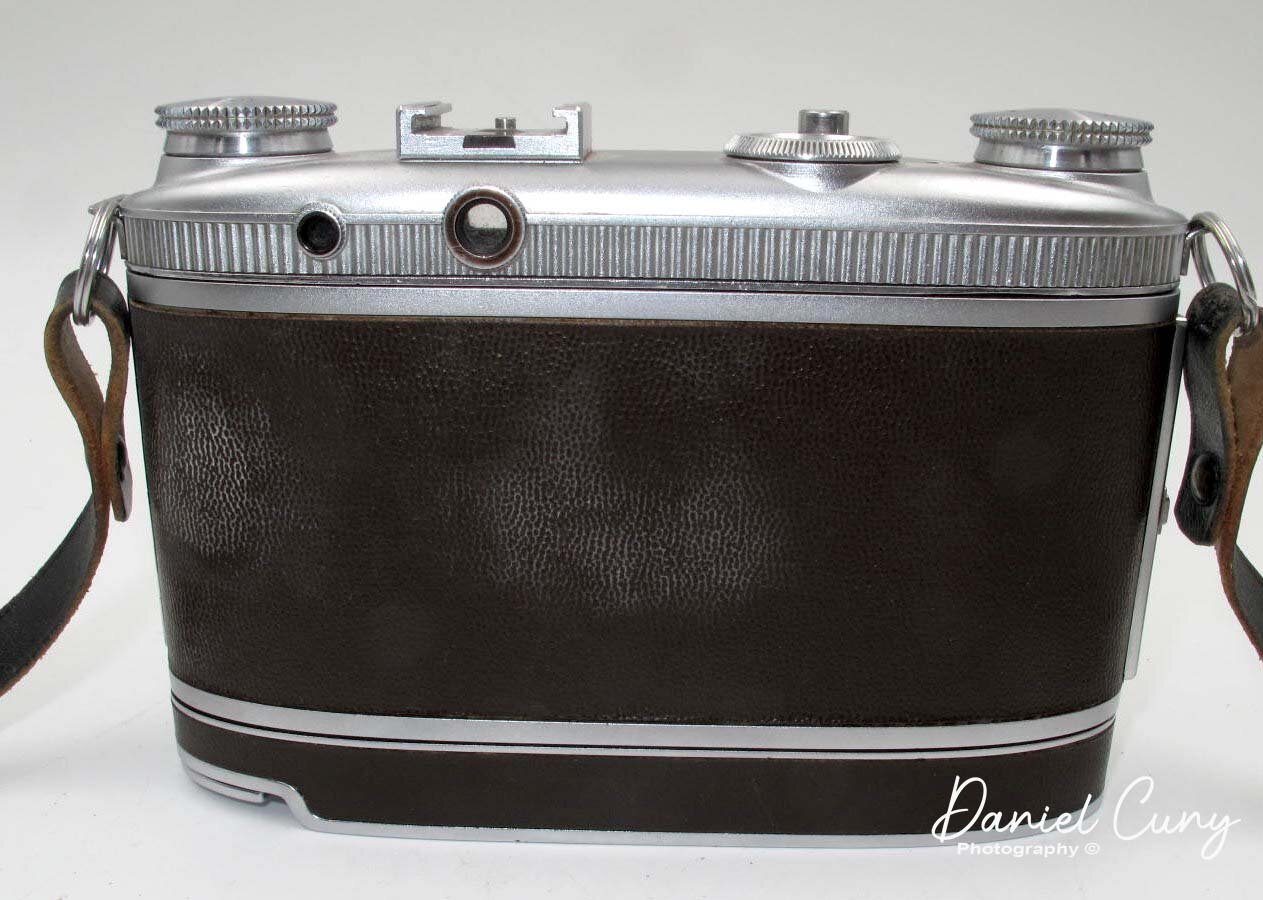
On the front of the camera with the barn door closed is the camera stand, located on the right barn door. Pull this out, and the camera stands on a table without needing a tripod. On the left door is the flash sync port, and under the viewfinder is the frame counter with a wheel to set for the kind of film loaded. With the backdoor removed from the camera, you align the diamond shape on the frame counter to the red dot on the camera body when you load a new roll of film. On the inside of the backdoor is where you set to the type of film you've loaded. The bottom of the camera has the rewind crank, the rewind button, opening latch, and tripod socket.
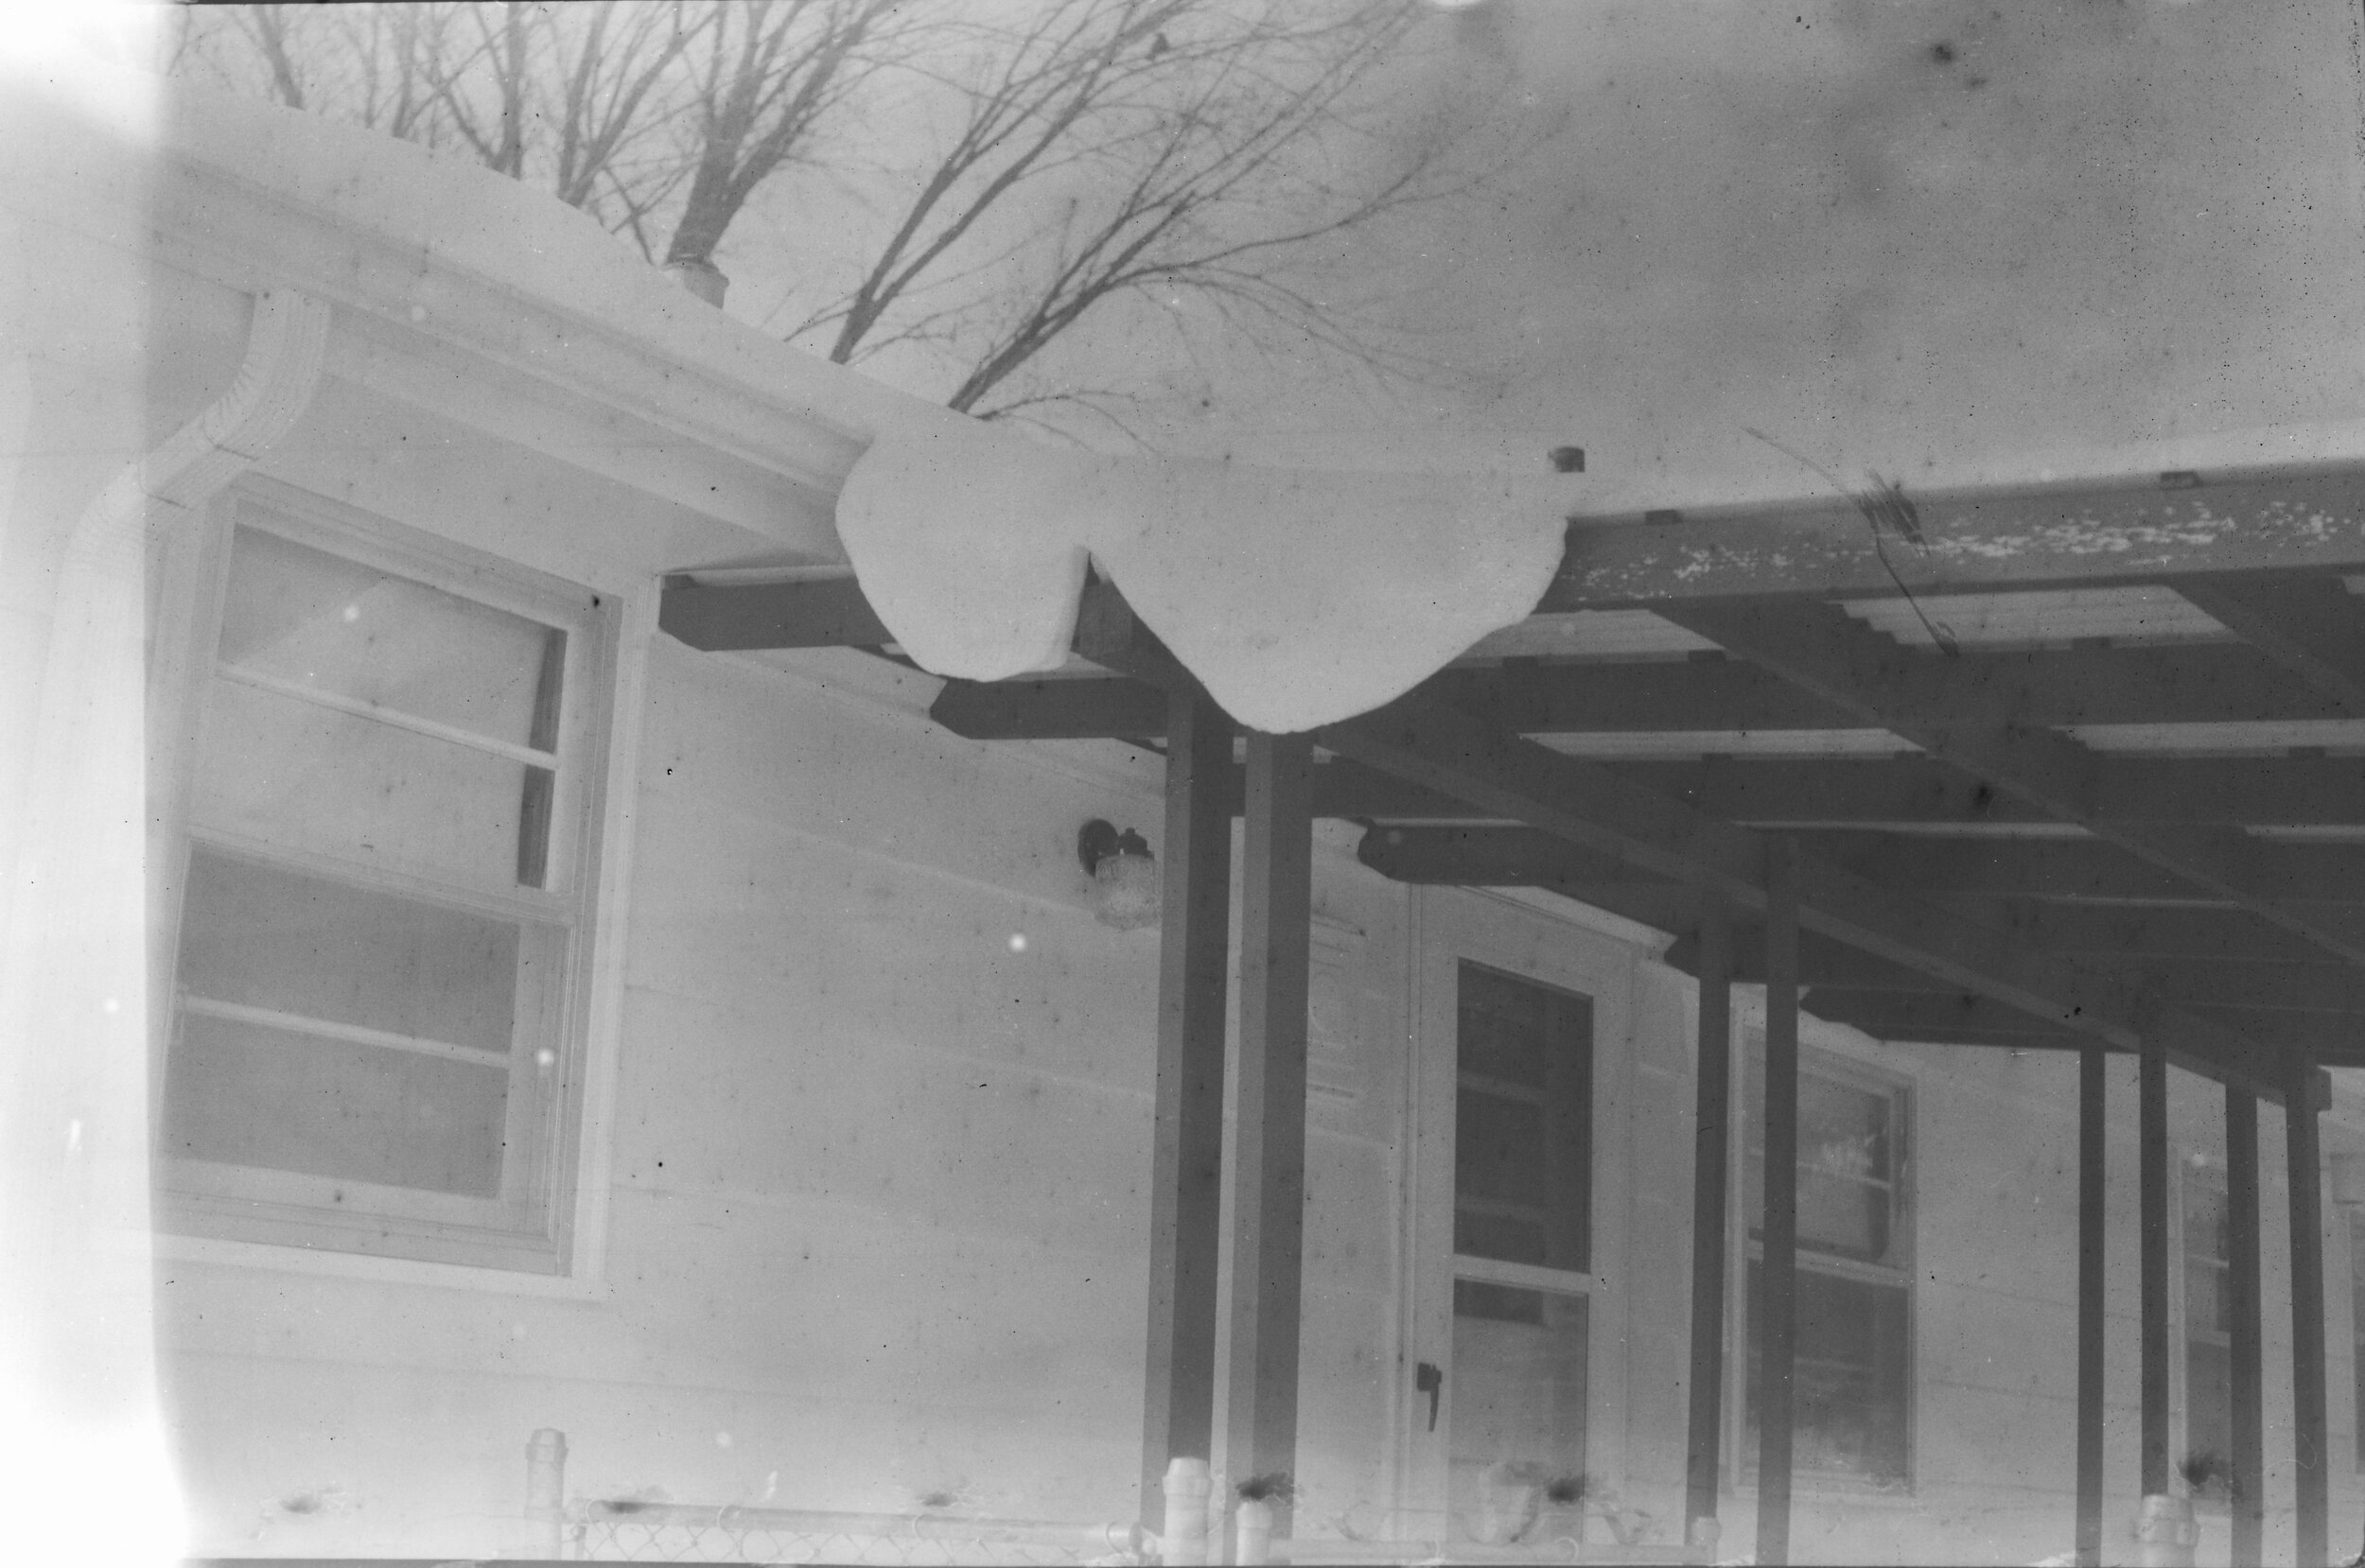
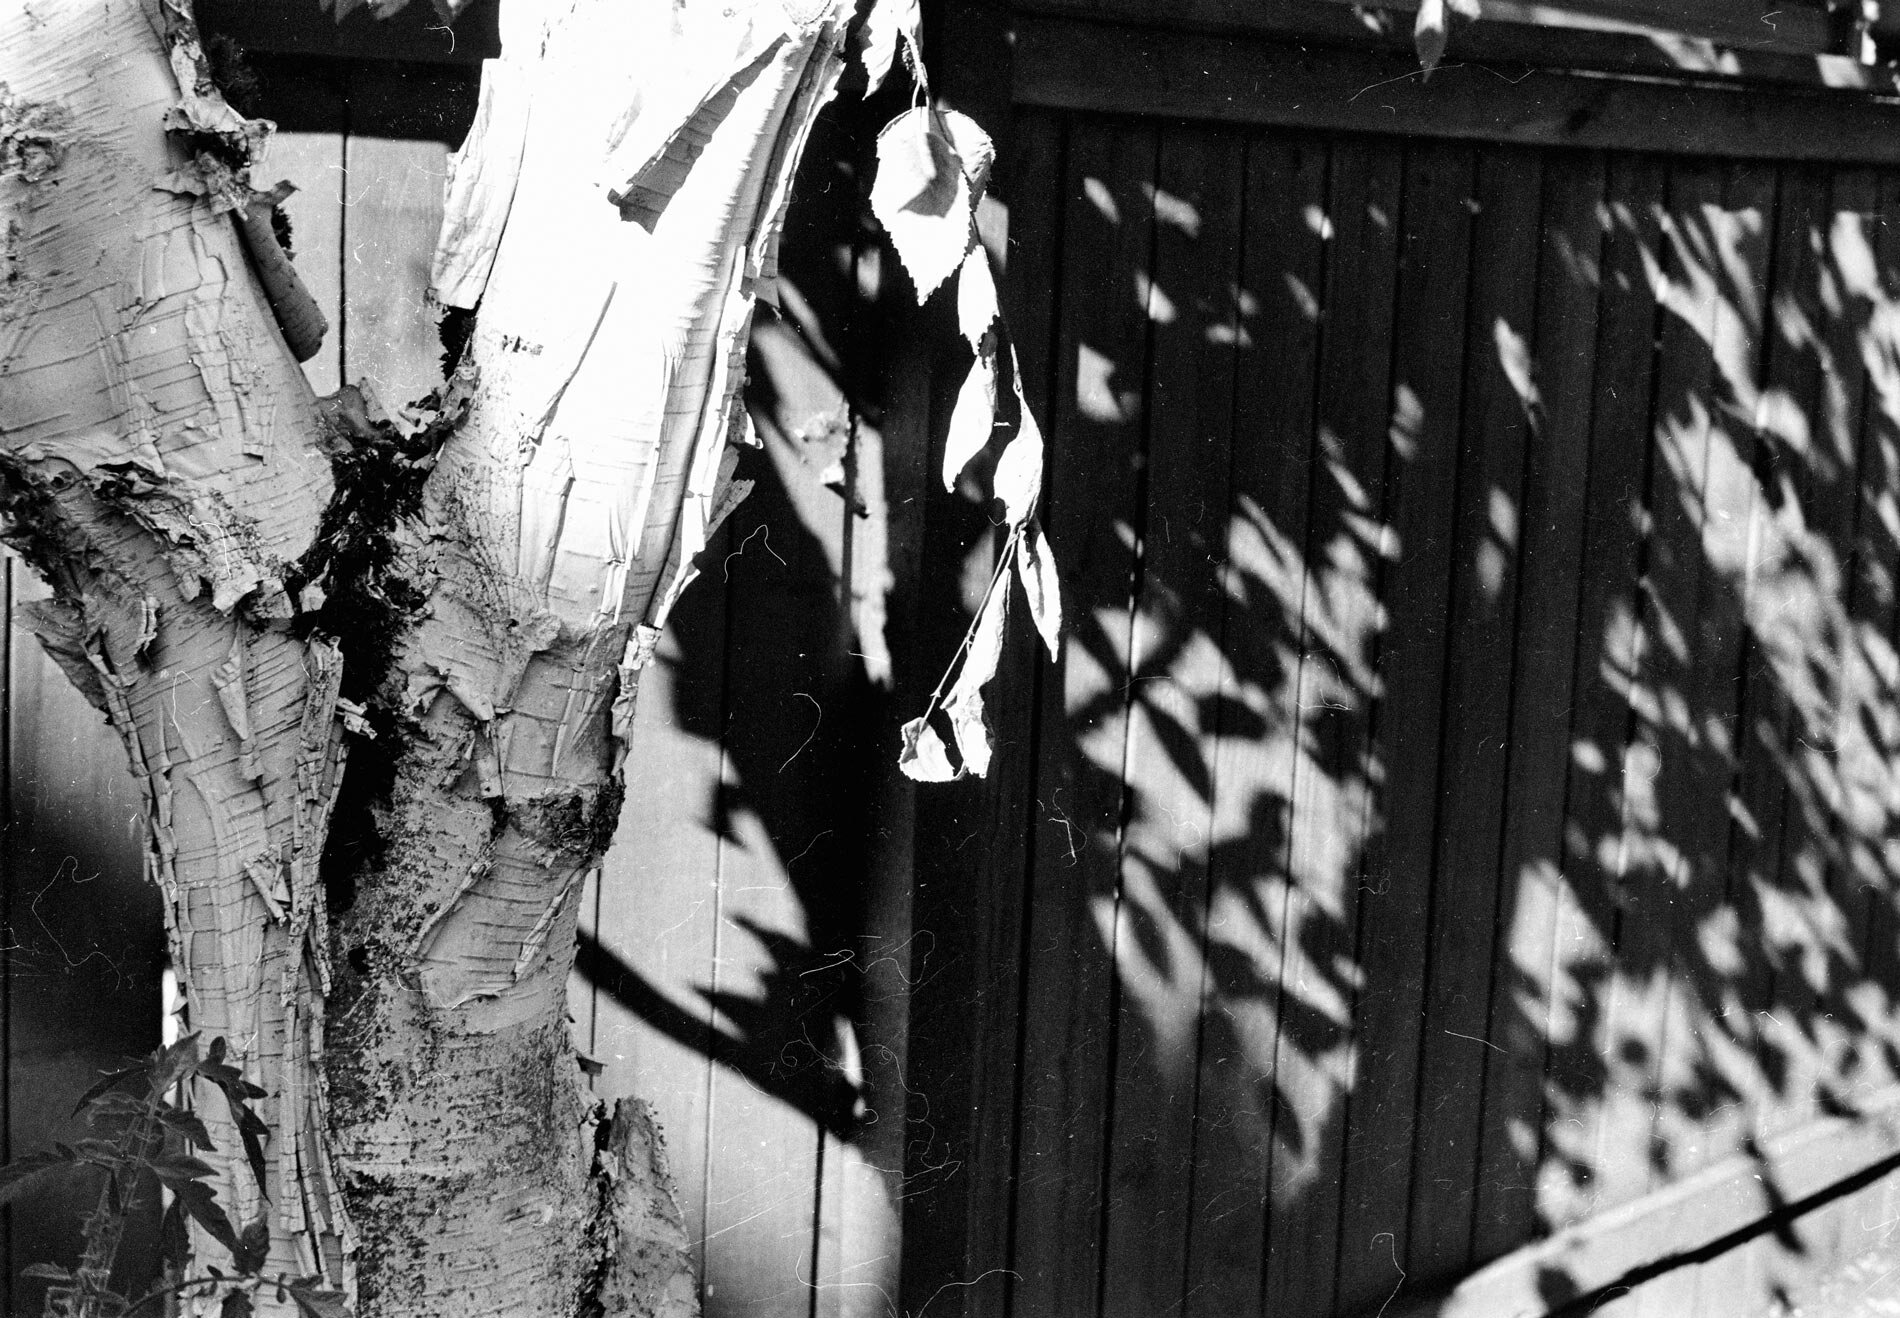
I enjoy using this camera and have taken some photos to show the quality of the images. I hope you enjoy this cand the other cameras I've been posting. I'd also like to hear your comments on what I can do to make it better or any questions or concerns. Until next Monday, please be safe. Here's a link to an instruction manual for the camera if interested.
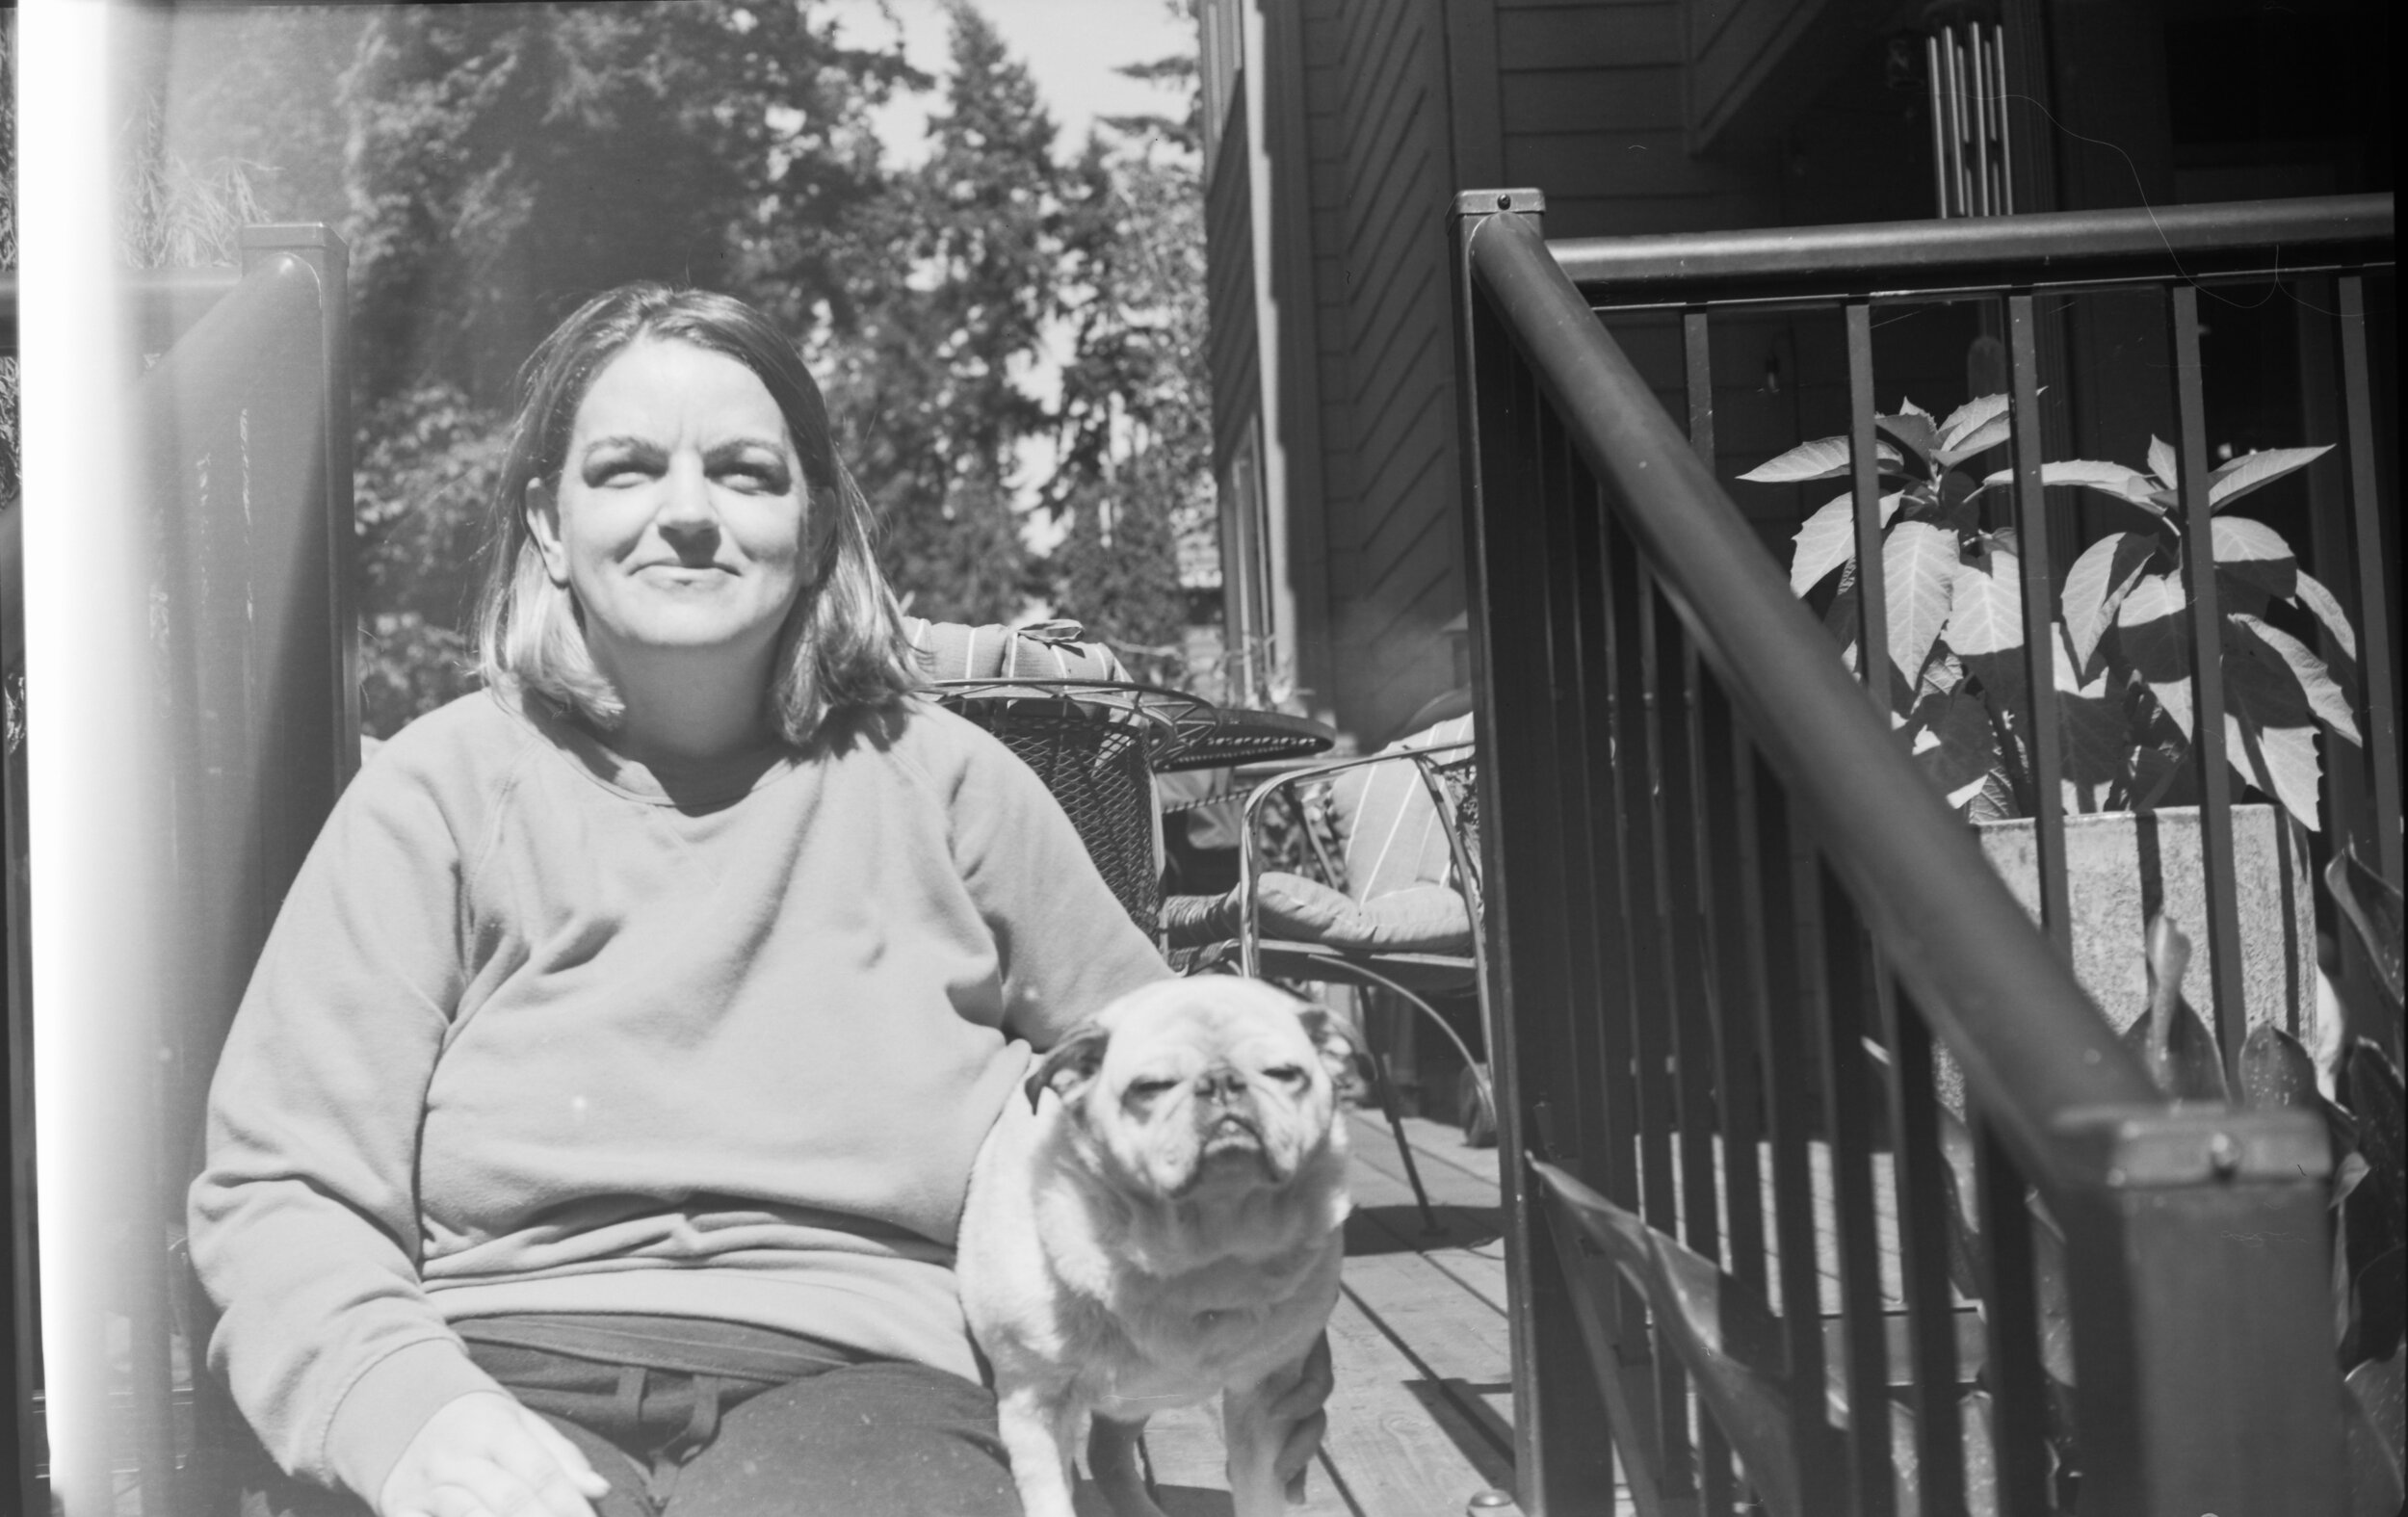
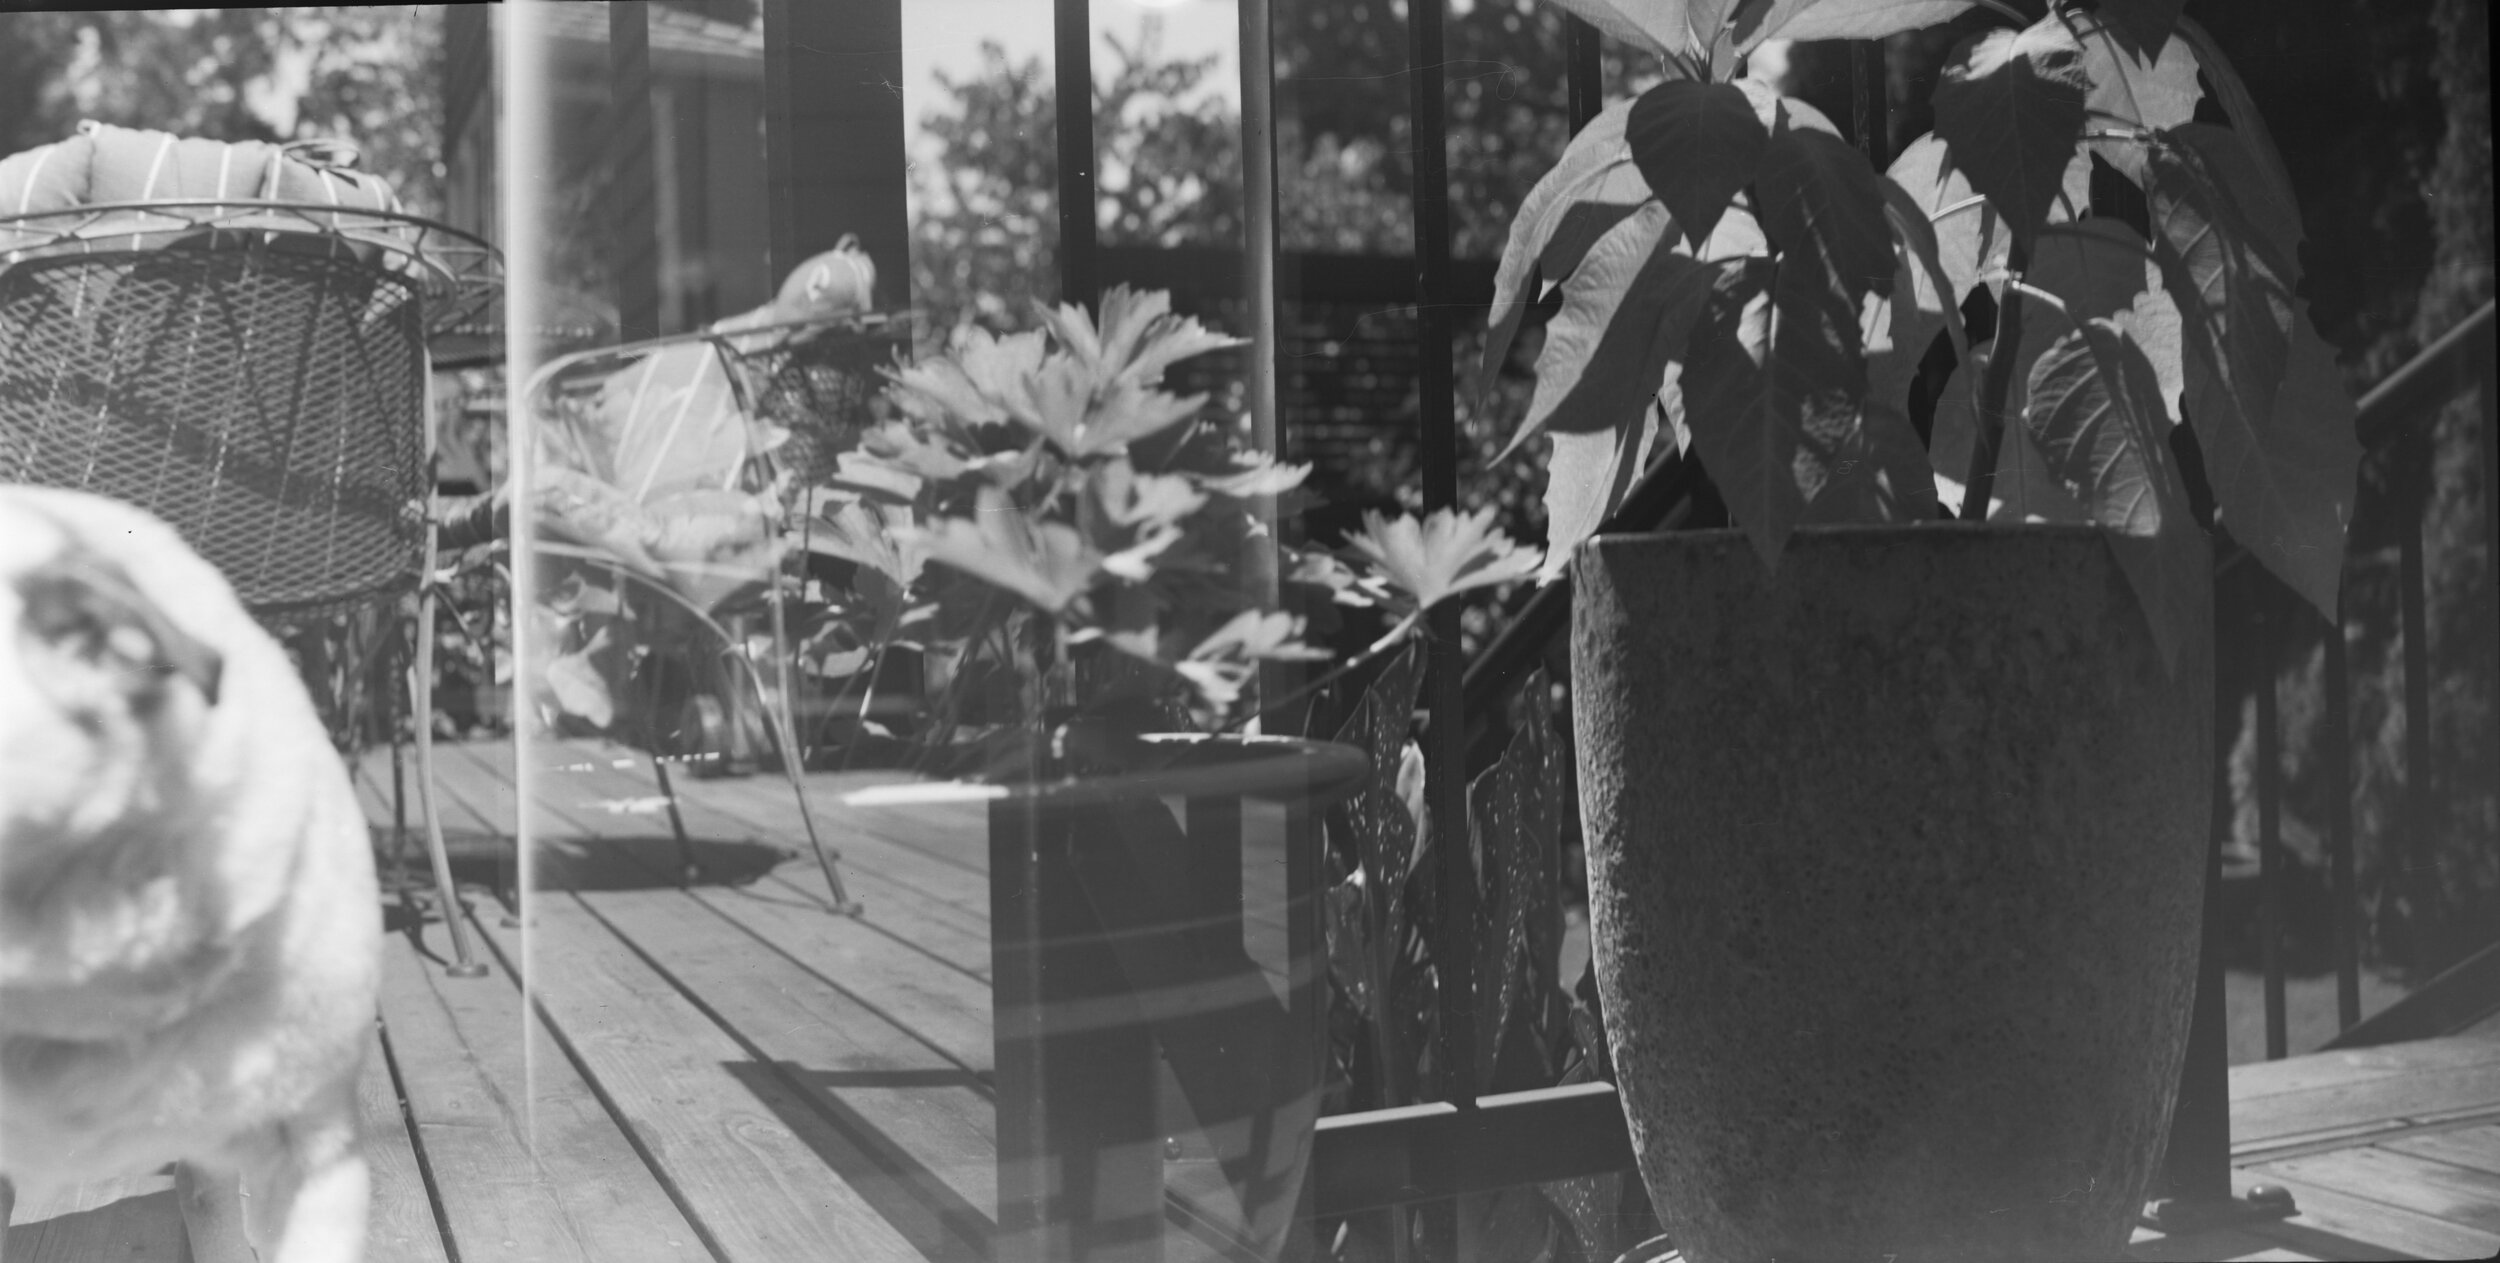
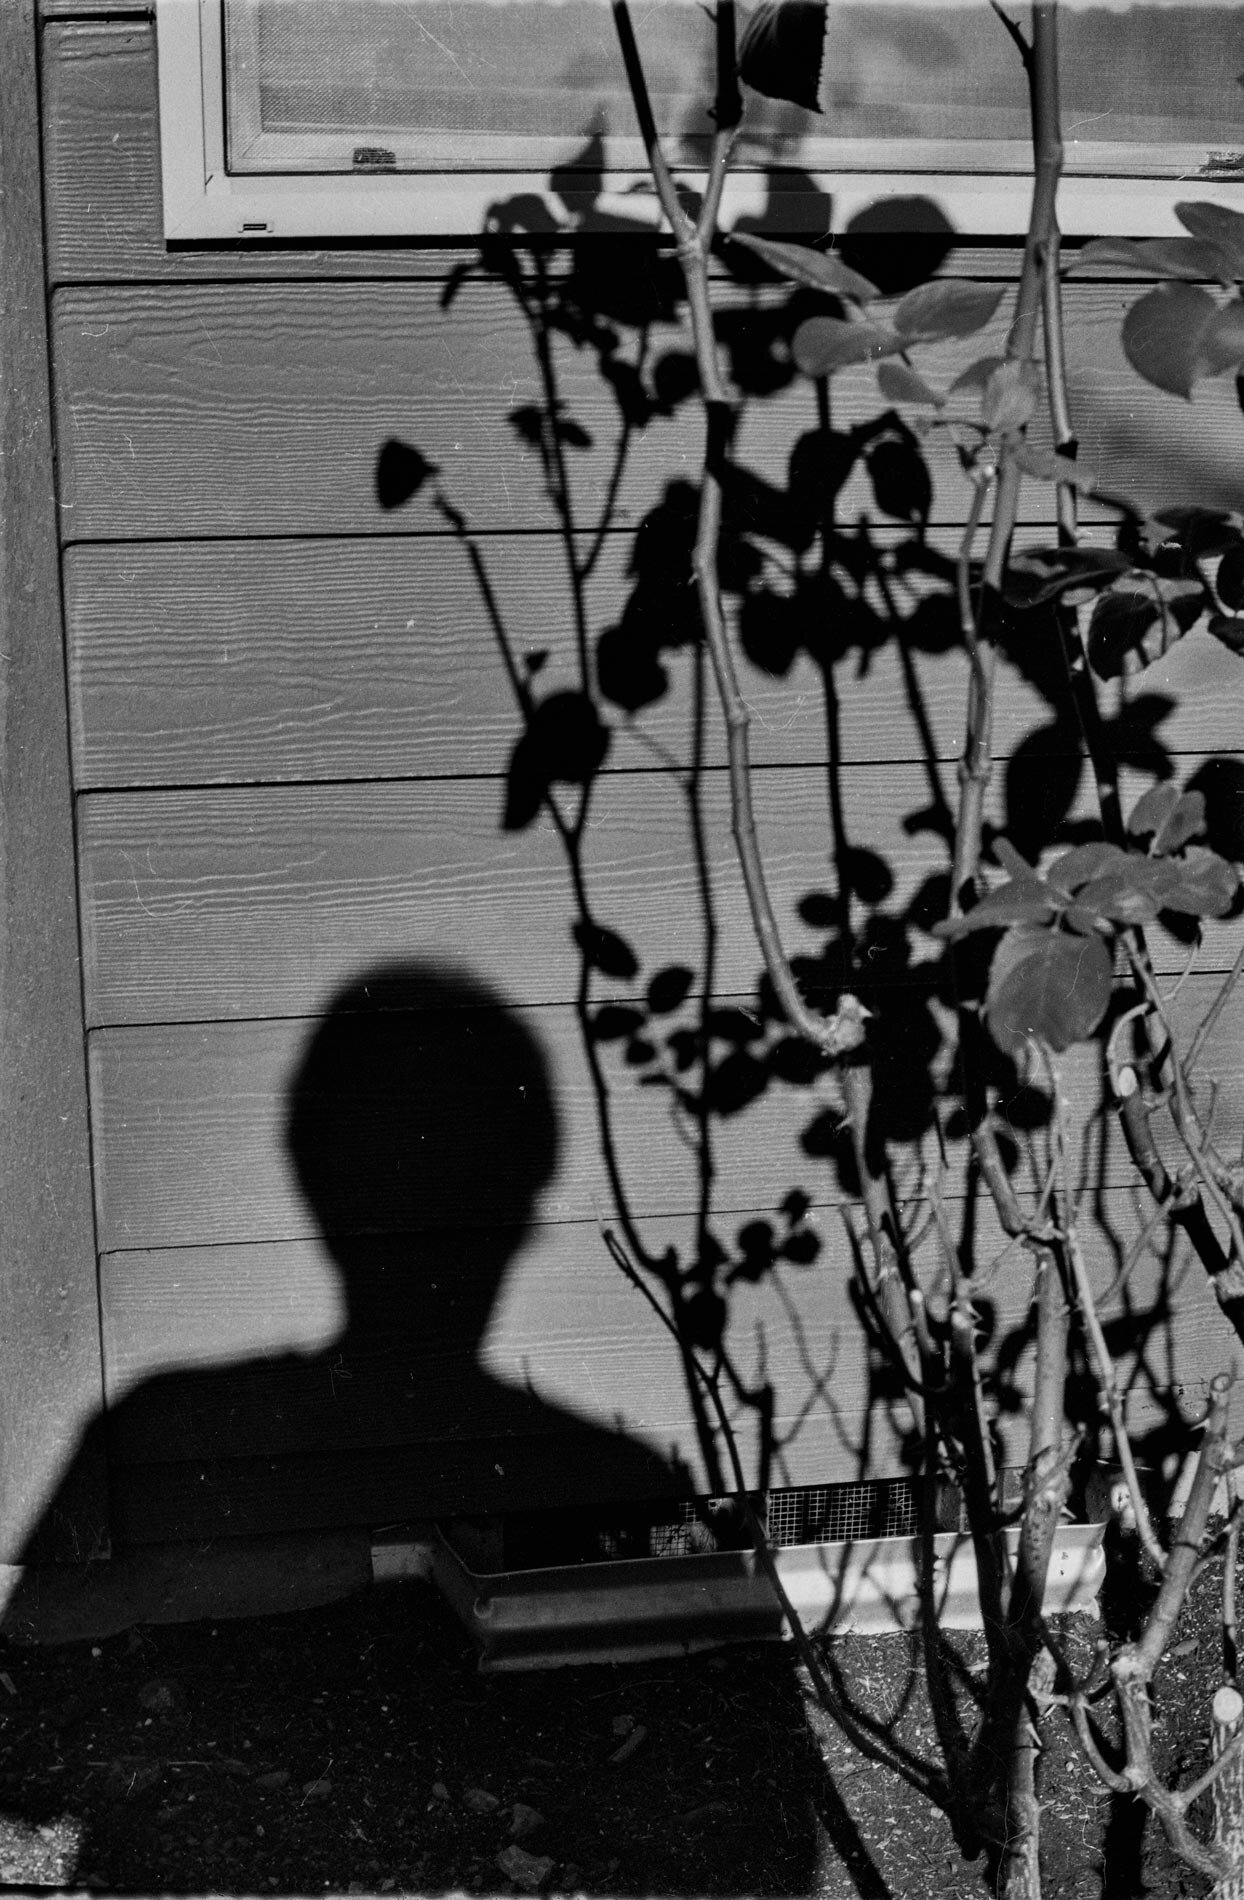
Images from Camera

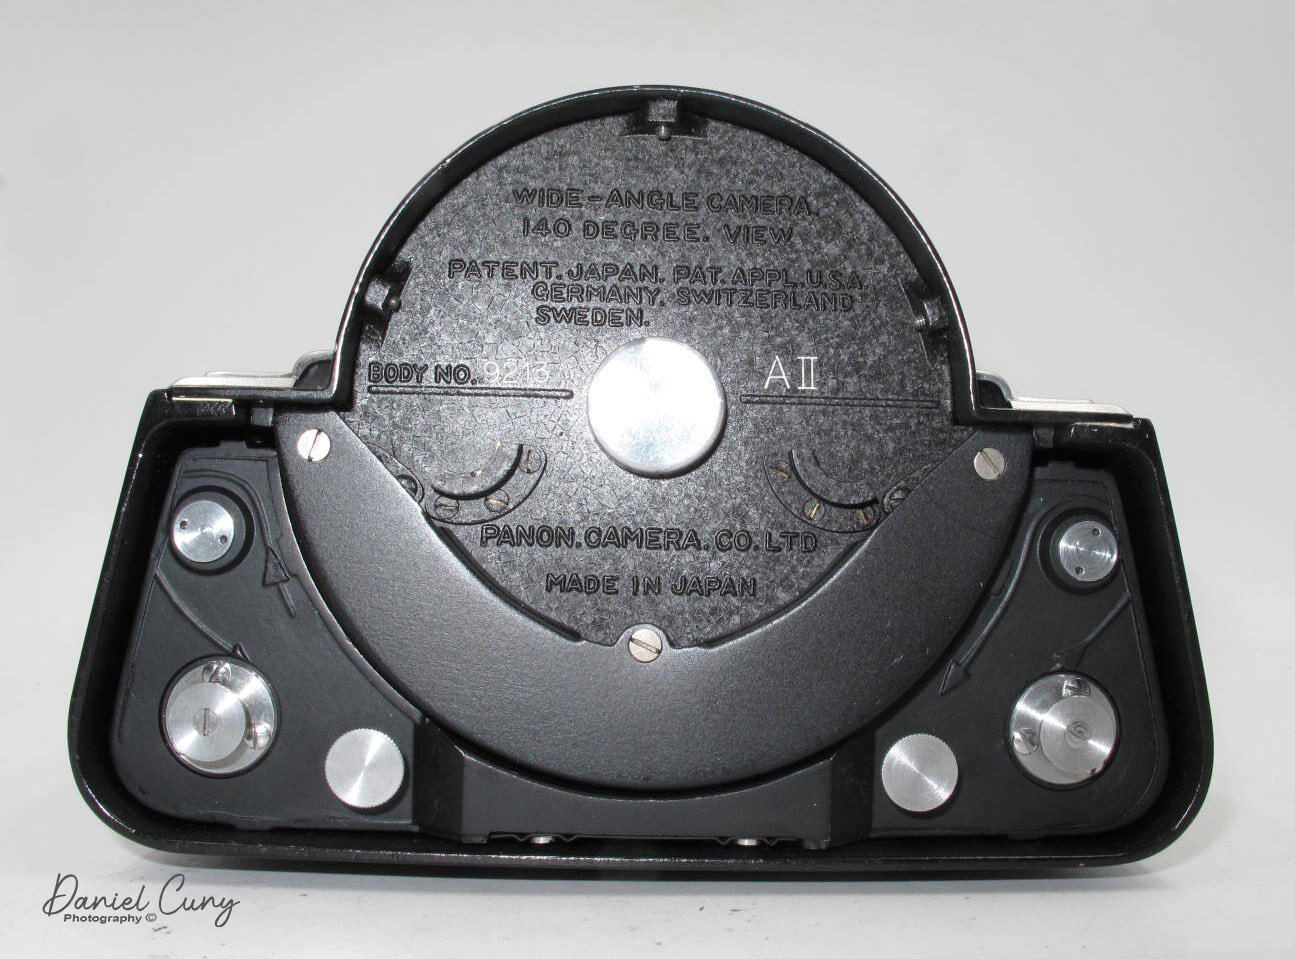
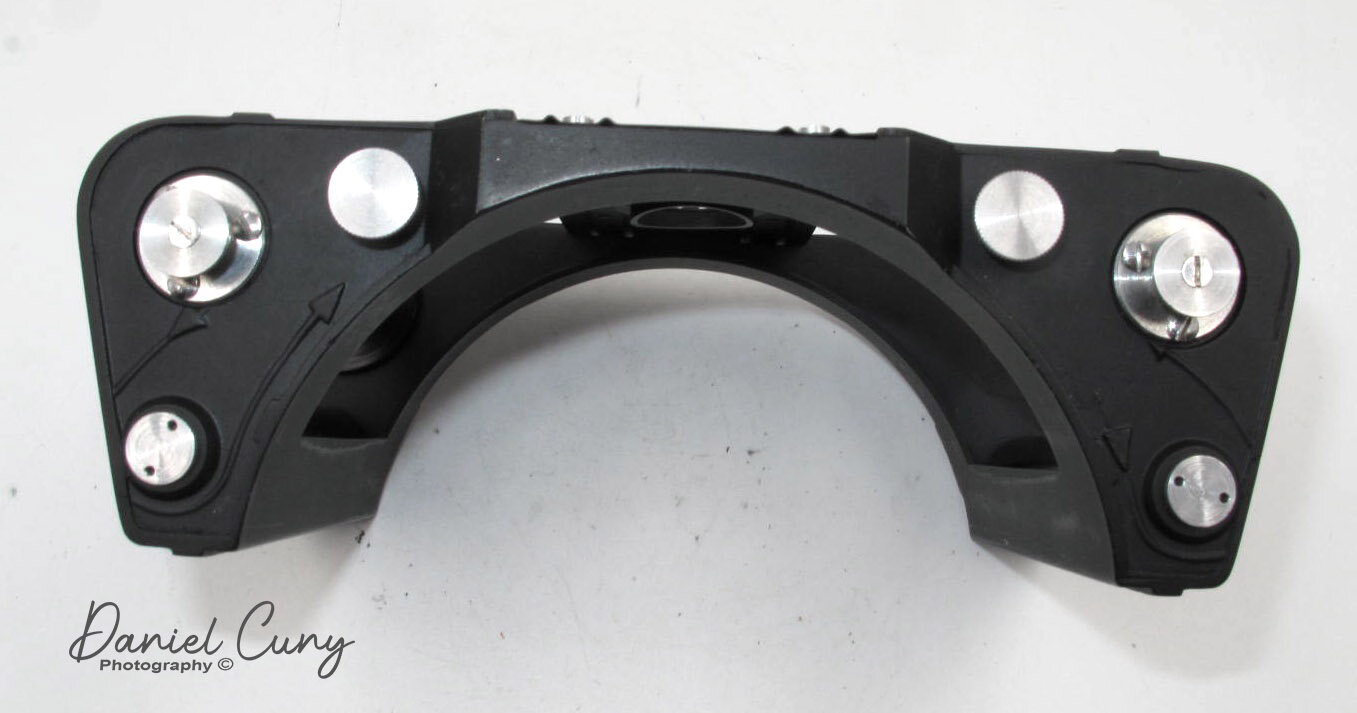
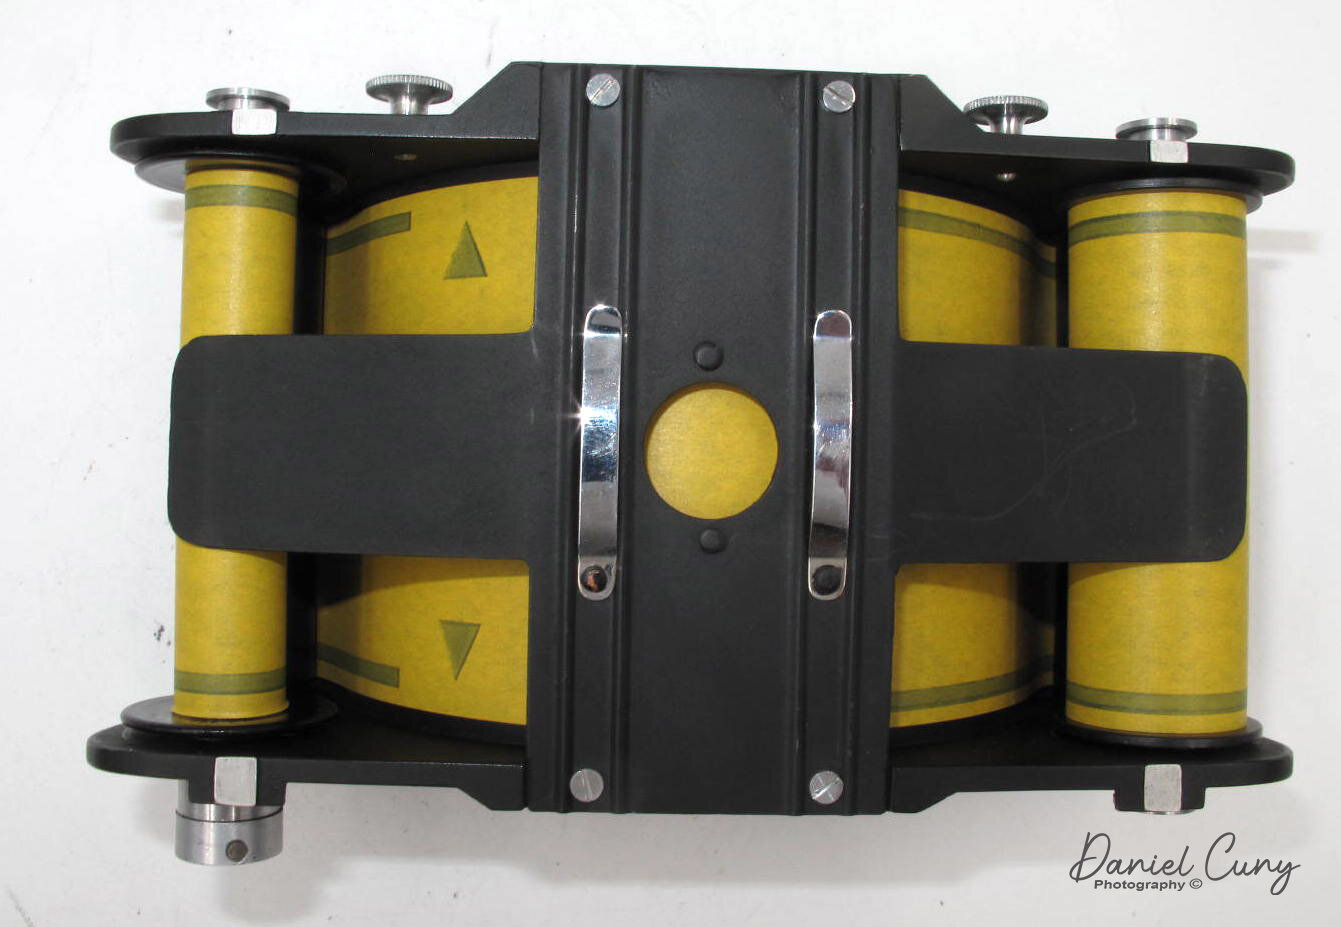
Next week's camera will be the original Hasselblad Supreme Wide camera.
You can subscribe to my Camera Collecting Blog below.