My Photax camera
This summer, as my wife and I visited Barcelona on a day when my wife was working, I decided to go to the local flea market to look for photo items to add to my collection. Attending local flea markets is something I look forward to, especially when we visit new cities and countries. My main objective was to find a camera built in Spain, which I accomplished by purchasing the Captain camera, which I reviewed earlier this year.
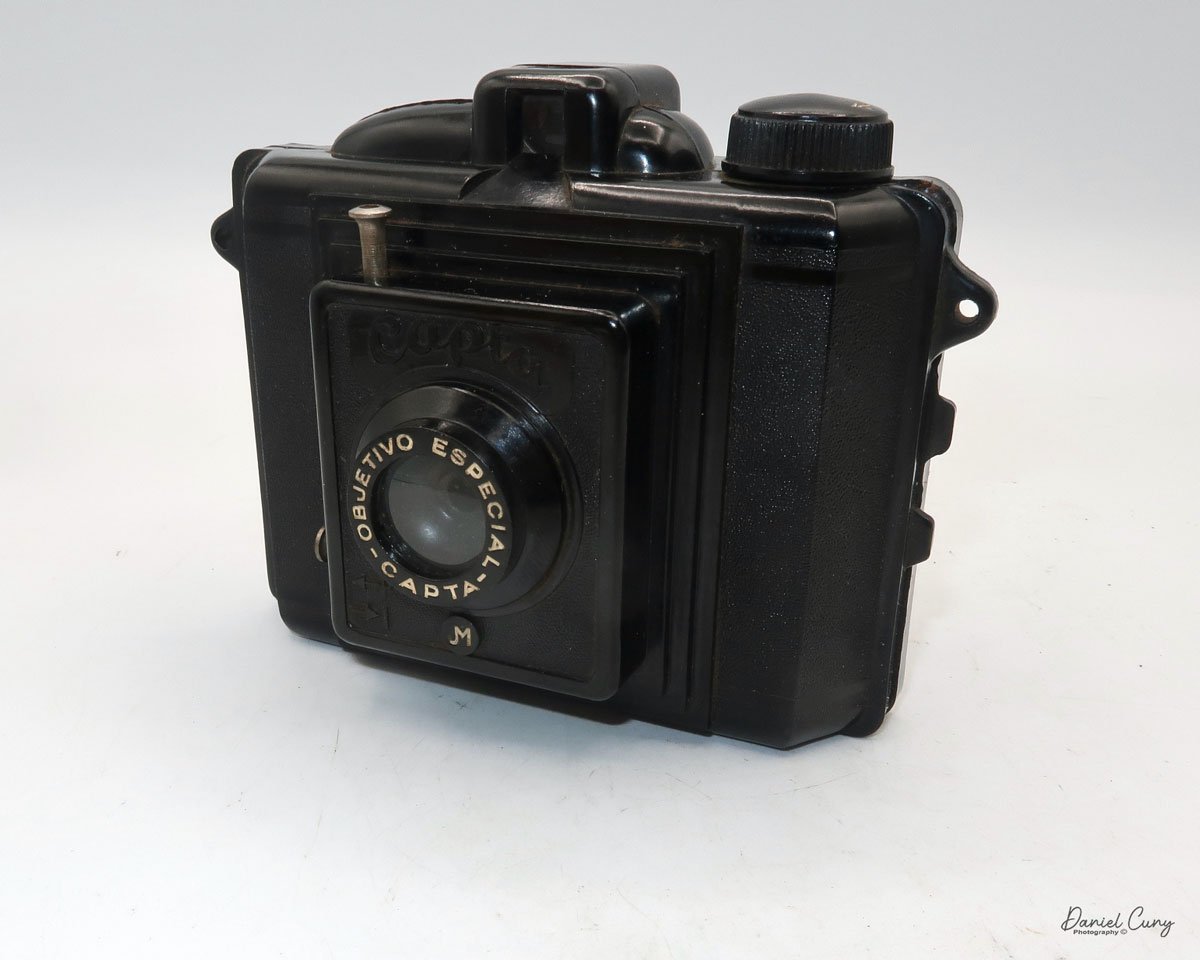
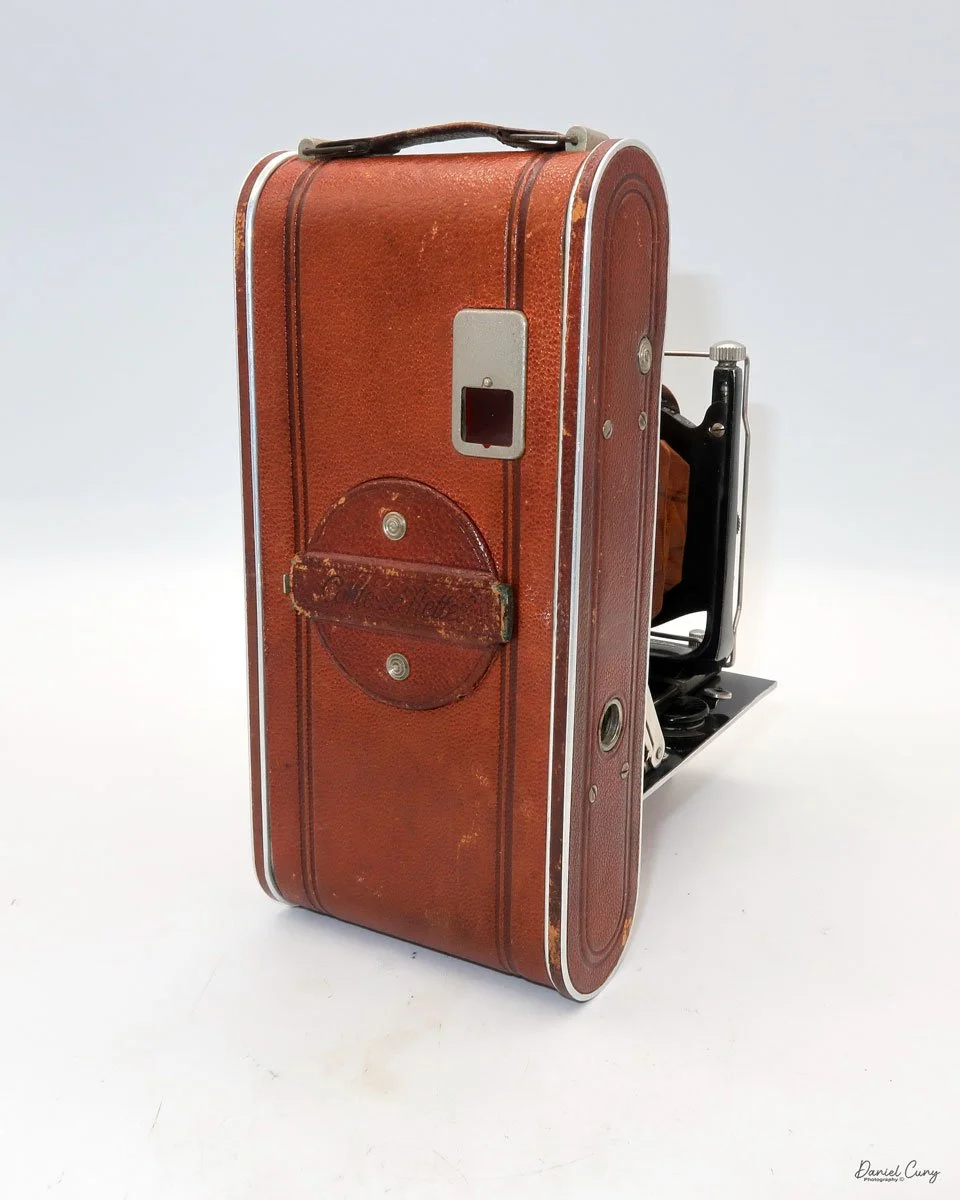
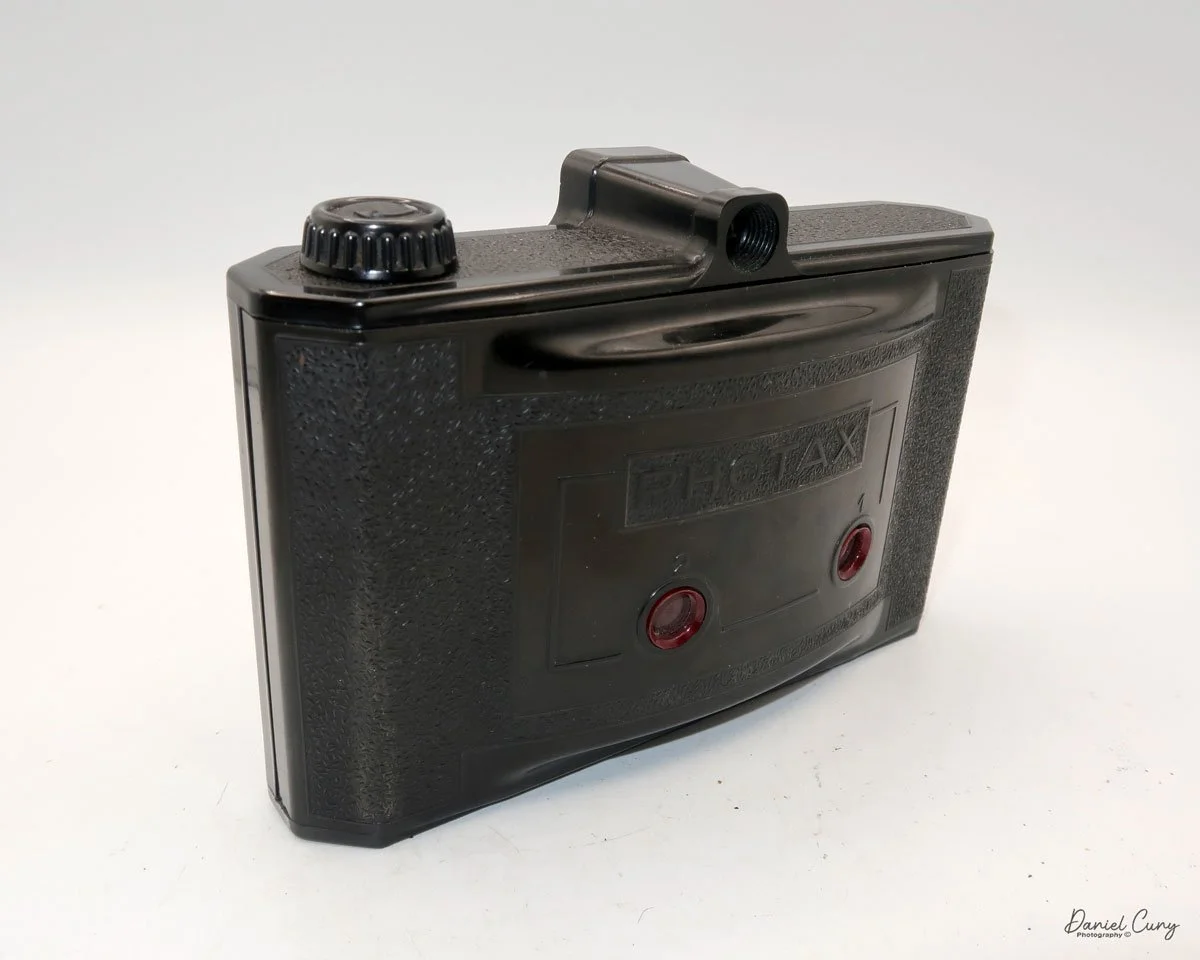
Strolling the stalls at the flea market, I came across a very large Bakelite camera, which intrigued me. It was a Photax 1 camera made by MIOM in France. What I liked about the camera was its large size, and that came with the original fitted case. As I pulled out the camera to examine it, I noticed a very familiar twist-out style lens, and the shutter was working, which gave me confidence in my purchase. Talking to the person at Stoll about pricing for the camera, I offered a reasonably low price, which they rejected. However, they came back with a counteroffer, which I needed to consider for a while.

As I spent more time examining different stalls and cameras. Still, my mind kept returning to the Photax 1 camera, which is the large camera with the untwisting lens. Before I left the flea market, I went back to the stall and renegotiated the price with the camera owner, coming to an agreeable price and purchasing the camera.
This camera was one that I wanted to write about. It's an unusual-shaped camera made of Bakelite and is quite large. When I opened the back of the camera, I noticed that it was a 6 x 9 cm format, which intrigued me. Many of the cameras made by
MIOM we're a smaller format, generally 6 x 4.5 cm.
Let me tell you a little bit about the company.
History:
MIOM (Manufacture d'Instruments d'Optique et de Mécanique) was a French company known for producing optical and mechanical instruments in the mid-20th century, particularly cameras. The firm operated mainly from the post-World War II era into the 1960s, a time when France was striving to rebuild its industrial base and compete in the rapidly evolving consumer goods market.
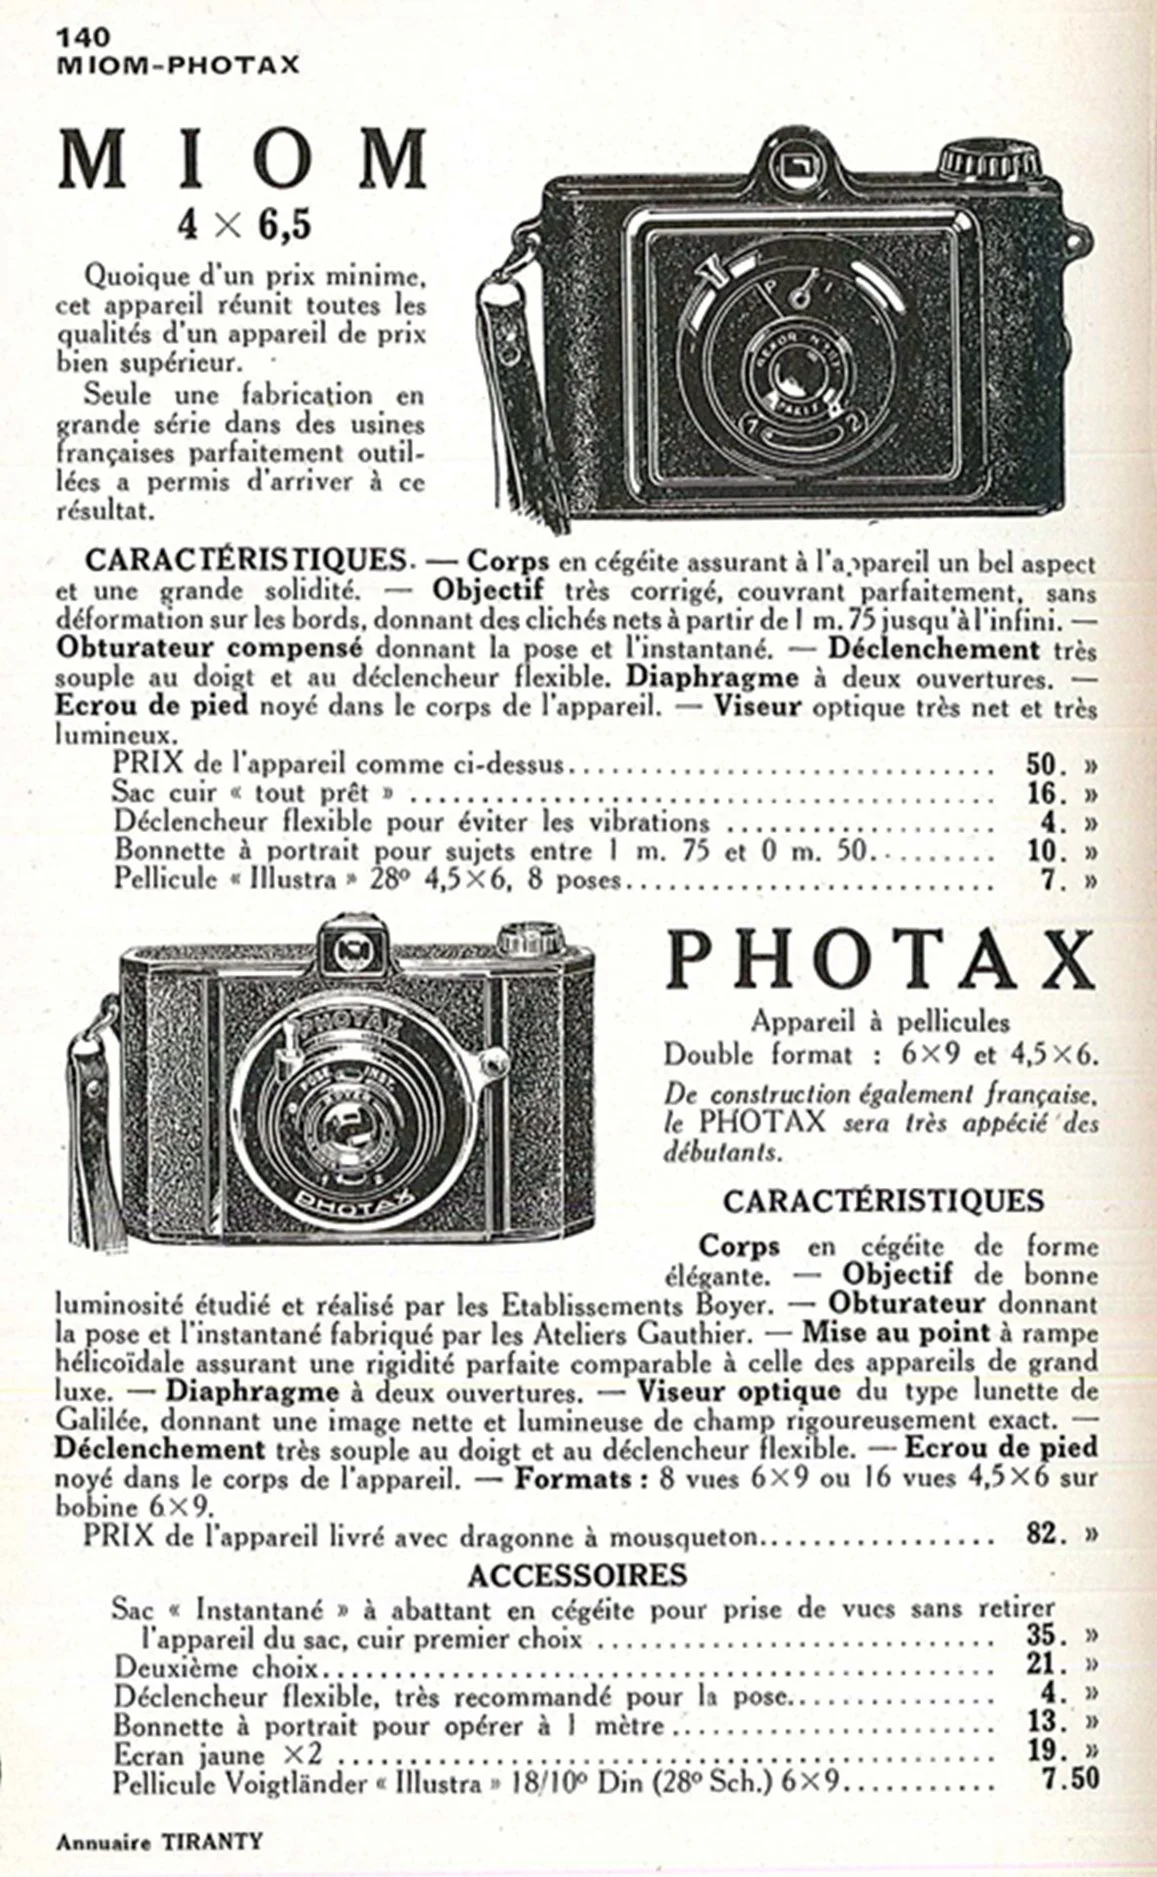
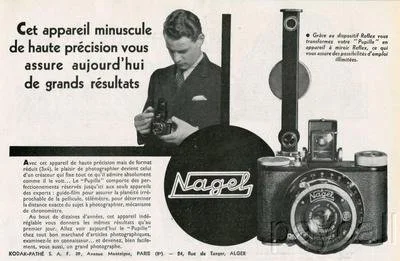
French Photax ad
MIOM's roots were in precision engineering, and the company initially focused on optical devices before expanding into the field of photographic equipment. Its location in France allowed it to tap into a tradition of fine optical craftsmanship, drawing on expertise that had developed in Paris and other industrial centers since the 19th century.
In the camera field, MIOM was best known for manufacturing compact and affordable models aimed at the amateur photography market. Among their most recognizable products was the MIOM Photax series—a line of simple, durable cameras using roll film. The Photax models often featured Bakelite bodies, a lightweight and inexpensive molded plastic popular in mid-century camera production. These cameras were designed for ease of use, appealing to the growing middle class and to families seeking to document their lives without investing in complex photographic gear.
The Photax range evolved over the years, with various iterations accommodating different film formats, primarily 6×9 cm images on 120 roll film, and later 4.5×6 cm formats. Some models incorporated basic focusing and exposure controls, while others remained strictly fixed-focus, point-and-shoot devices. Though not technically advanced compared to contemporary offerings from Germany or Japan, MIOM's cameras were reliable, affordable, and accessible, helping to democratize photography in France.
MIOM also ventured into specialized cameras, including stereo models, reflecting the brief postwar enthusiasm for 3D photography. Their designs maintained the company's hallmark of straightforward construction and modest pricing.
By the late 1960s, increasing competition from Japanese manufacturers, whose products offered superior optics and more advanced features at competitive prices, had eroded MIOM's market position. The brand gradually faded, and production ceased as the company either closed or shifted away from photographic equipment.
Today, MIOM's cameras—especially the early Bakelite Photax models—are collected for their retro aesthetic and as examples of France's postwar consumer design. While they may never have rivaled the technical prowess of major brands, MIOM's work remains an essential chapter in the history of accessible, everyday photography.
Below is a timeline outlining the evolution of MIOM's Photax camera series.
1937 – Photax I- MIOM launches its photographic division with several models, including the original Photax (also branded as Camera 77, Loisirs), all of which use 120 film for 6×9 cm images. The Photax I is recognizable by its centrally positioned shutter button and Guillotine shutter, which offers two speeds.
1938 – Photax II (and Blindé variant)- Introduced in 1938, the Photax II adopts the Boyer Serie VIII meniscus lens and maintains the simple two-speed shutter design. A "blindé" version appears—with a protective Bakelite lens cover that also shields the shutter release.
1947 – Photax III- Following World War II, MIOM debuts the Photax III, featuring a threaded shutter release and leveraging the same Boyer Serie VIII lens. It introduces additional shutter settings (1/25 sec, 1/100 sec, and T) and continues to use the 620 film format.
1951 – Photax IV (and IV F)- The Photax IV arrives with a Boyer Rexar meniscus lens and identical shutter options as the III, with enhanced flash synchronization. The IV F variant includes flash sync capabilities via a RIM shutter.
1955 – Photax V- A stylish redesign marks the launch of Photax V in 1955. It features a modernized Bakelite aesthetic, bi-format capability (6×9 and 6×6 cm), and upgrades to an Angénieux Heanar Type V lens with full flash sync via RIM shutter
1960–1962 – Photax VI -The final model in the Photax lineage, produced between 1960 and 1962, transitions from Bakelite to molded plastic, featuring a sleek, streamlined design. It's a square-format 6×6 medium-format camera that utilizes an Angénieux Heanar Type VI lens and RIM shutter with flash synchronization.
My Camera:
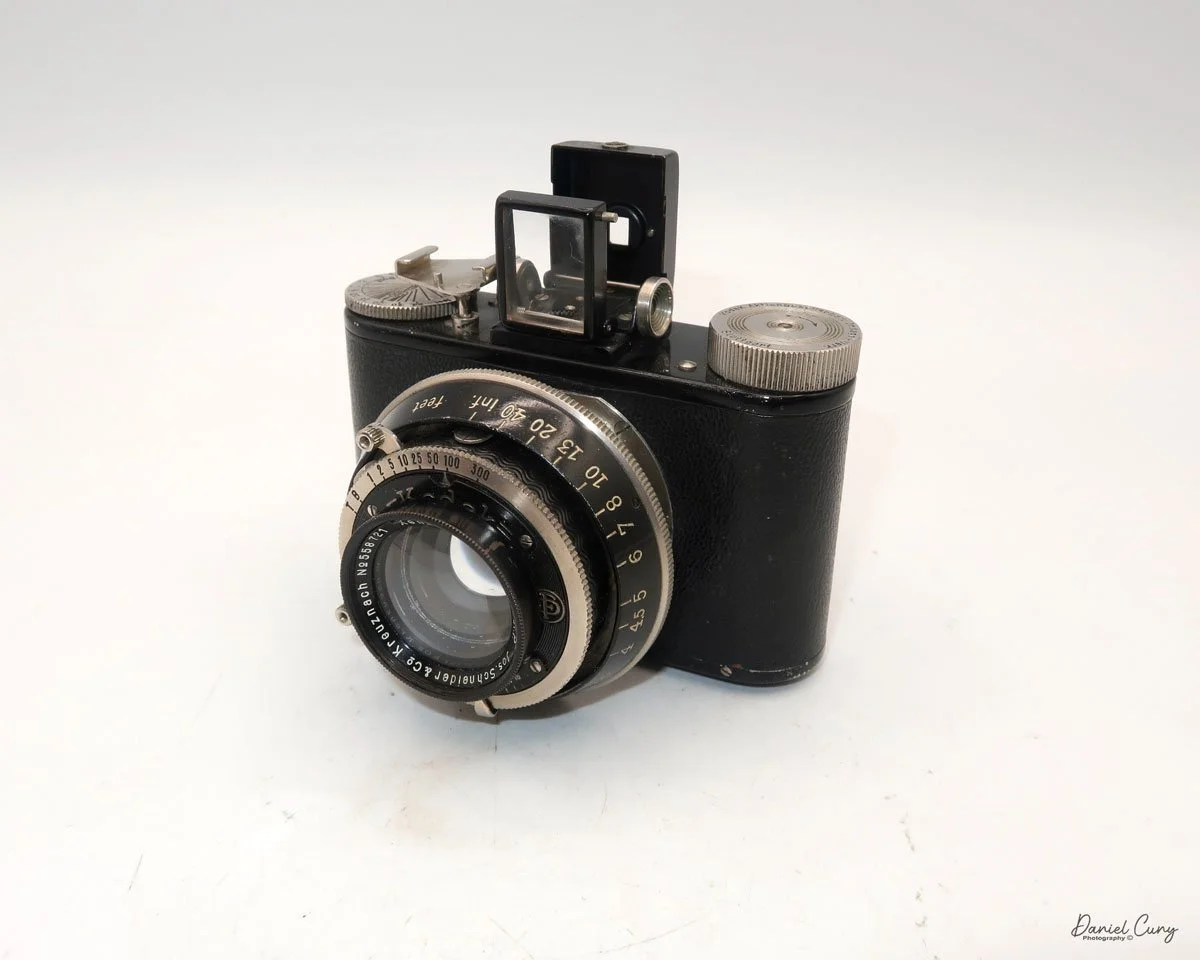
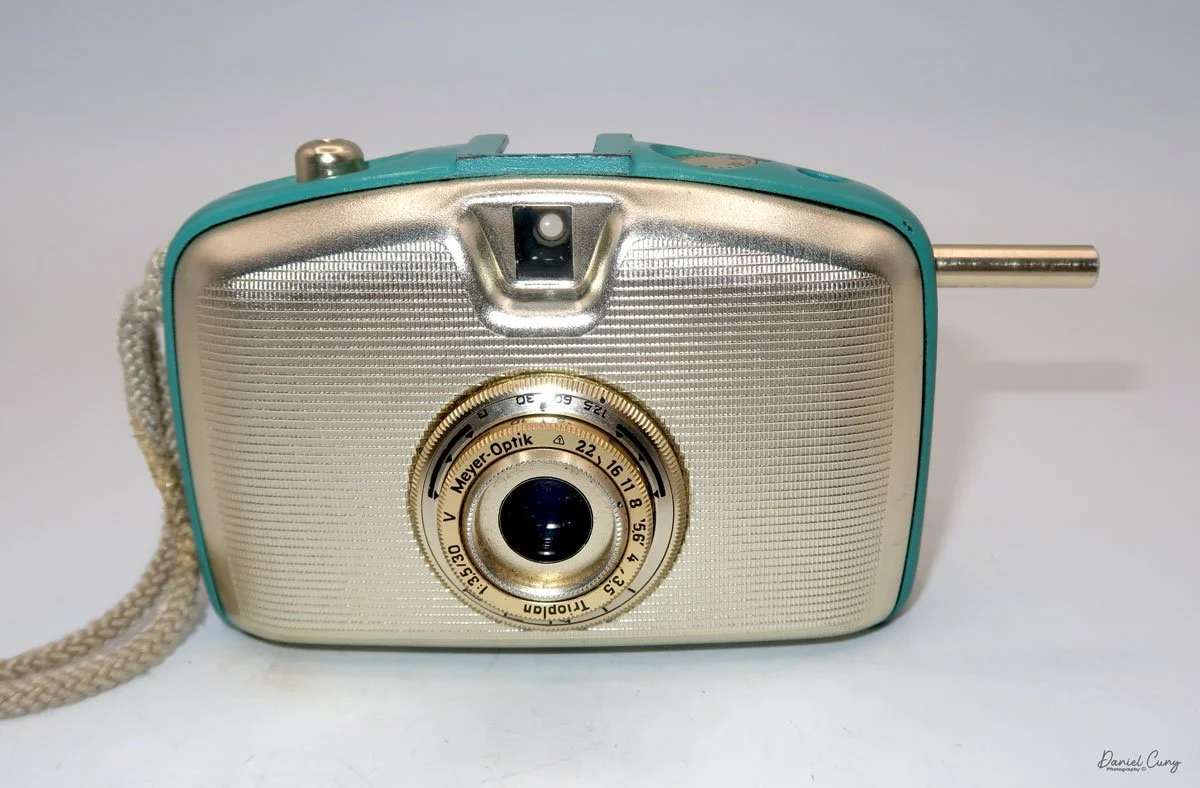
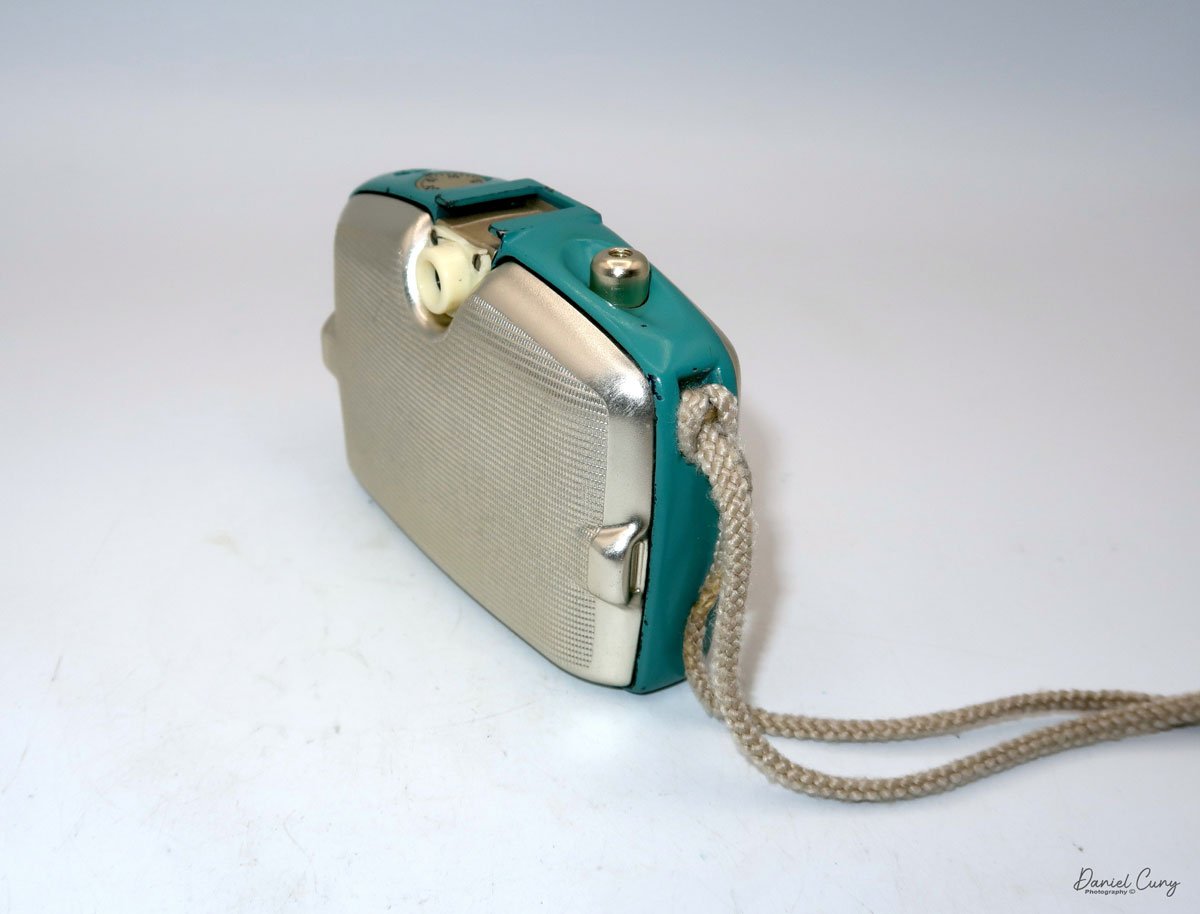
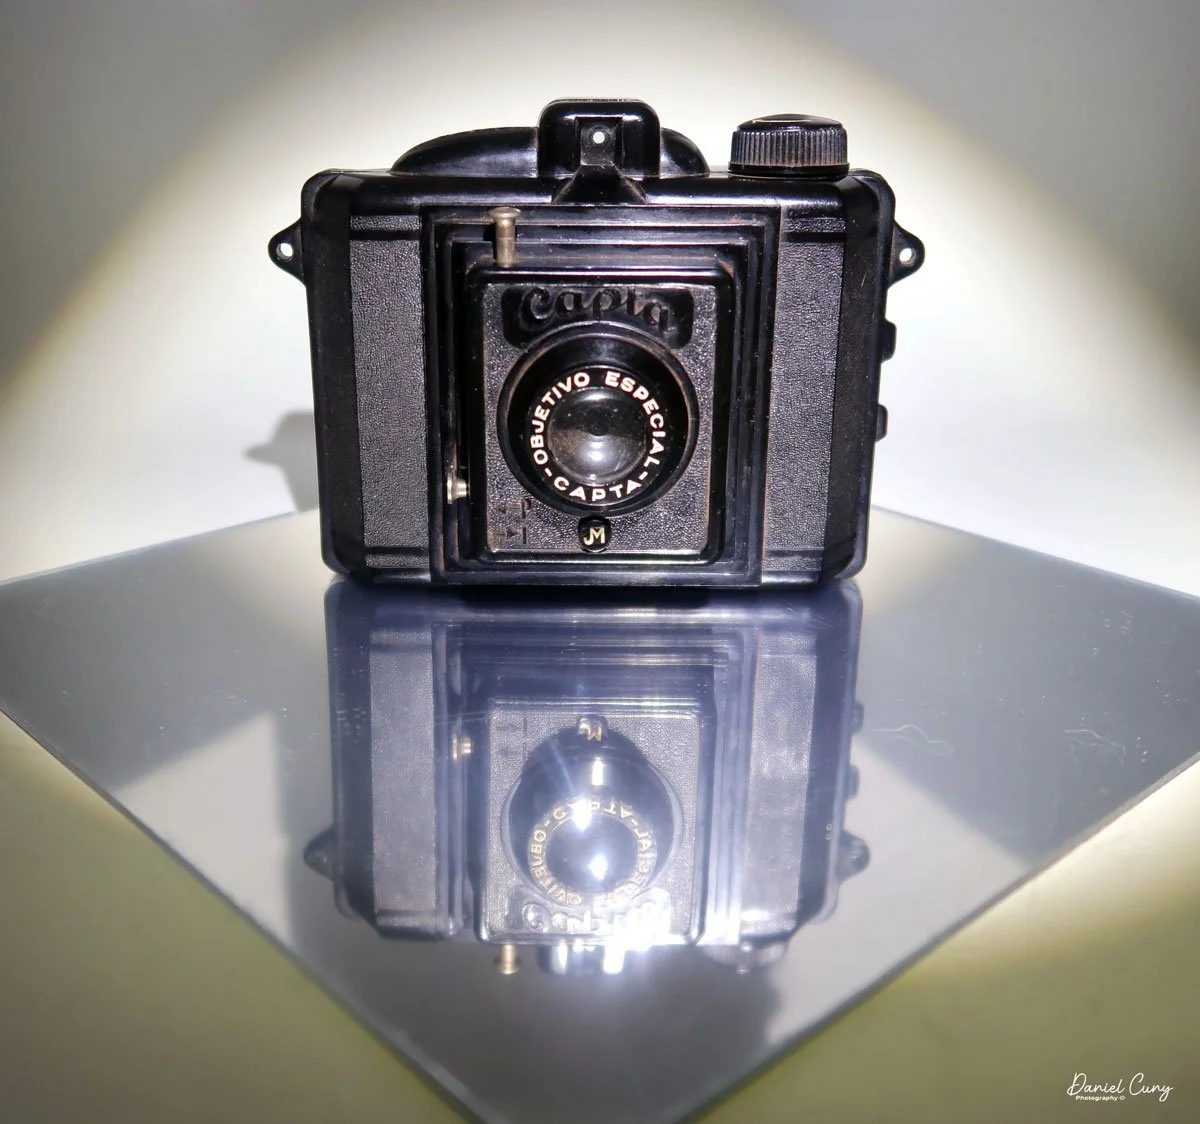
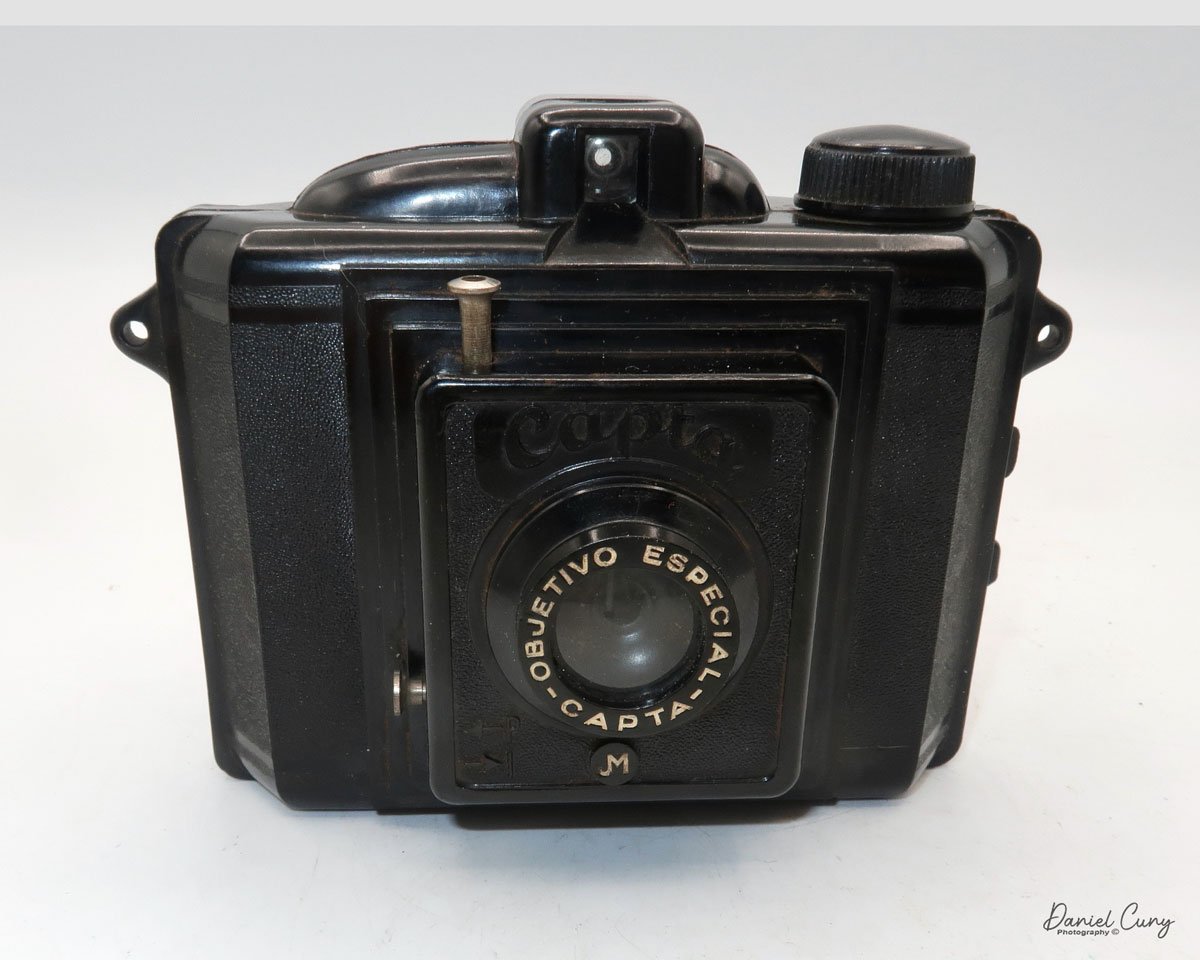
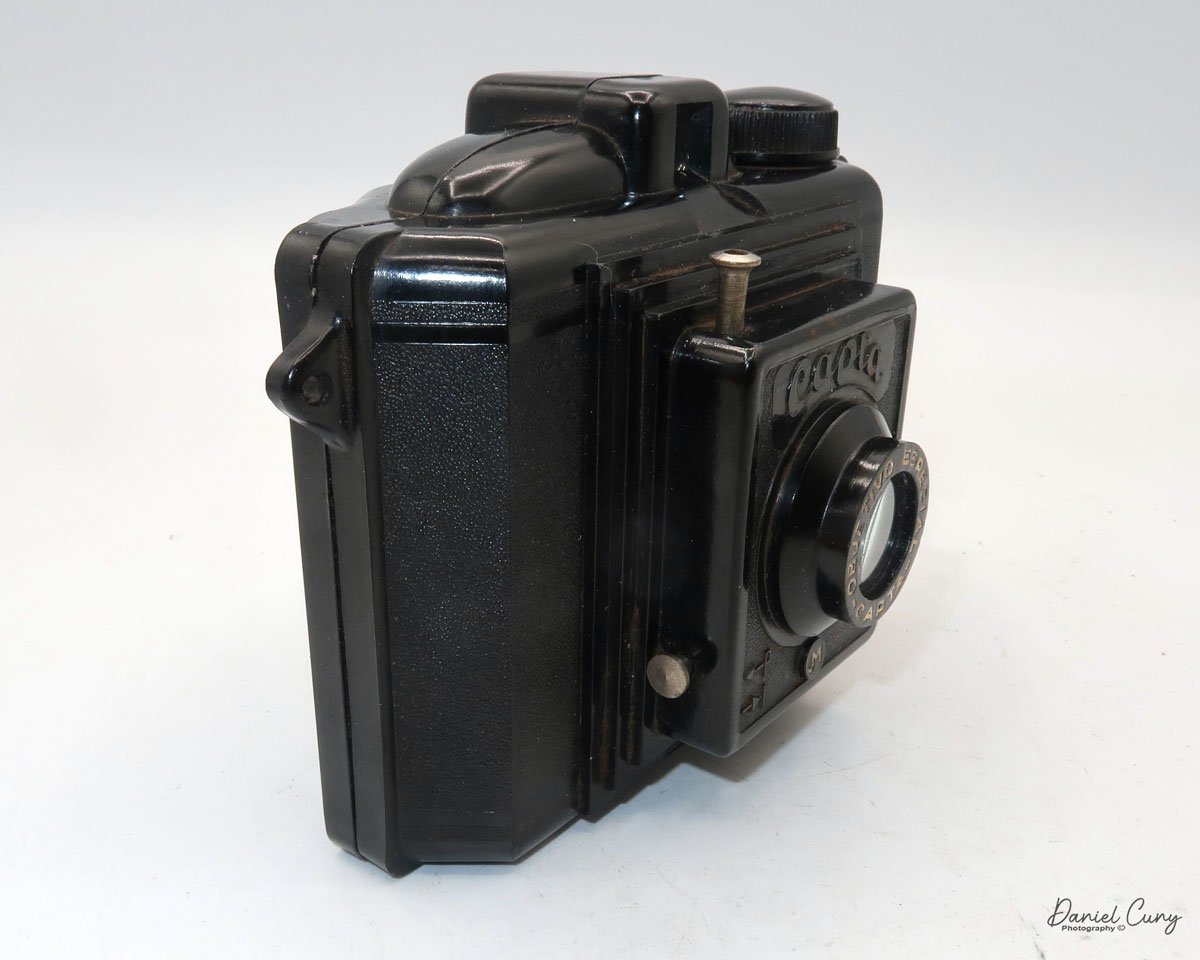
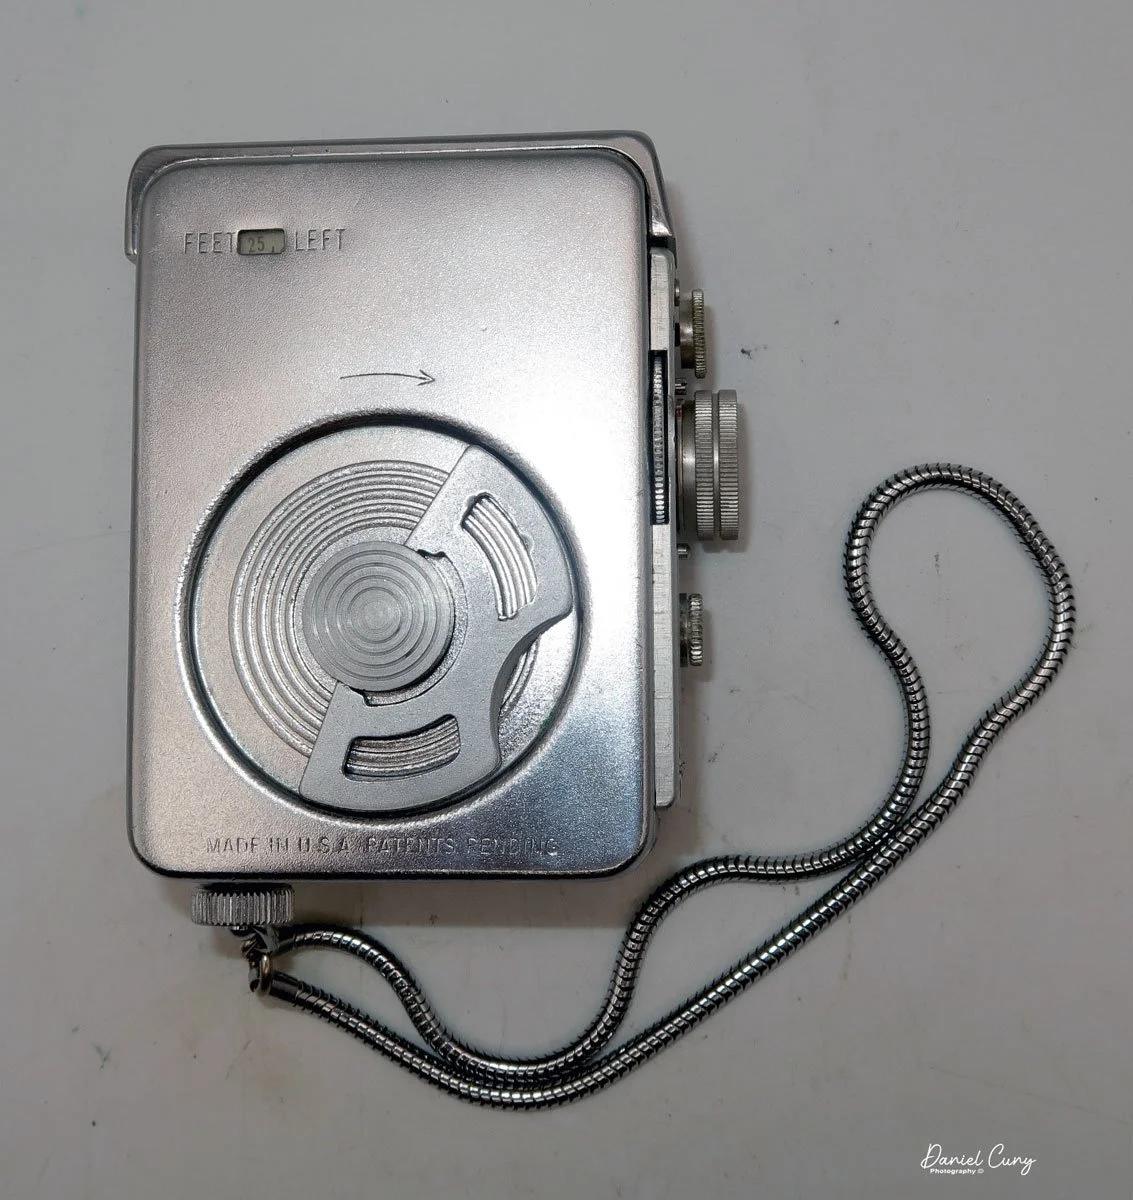
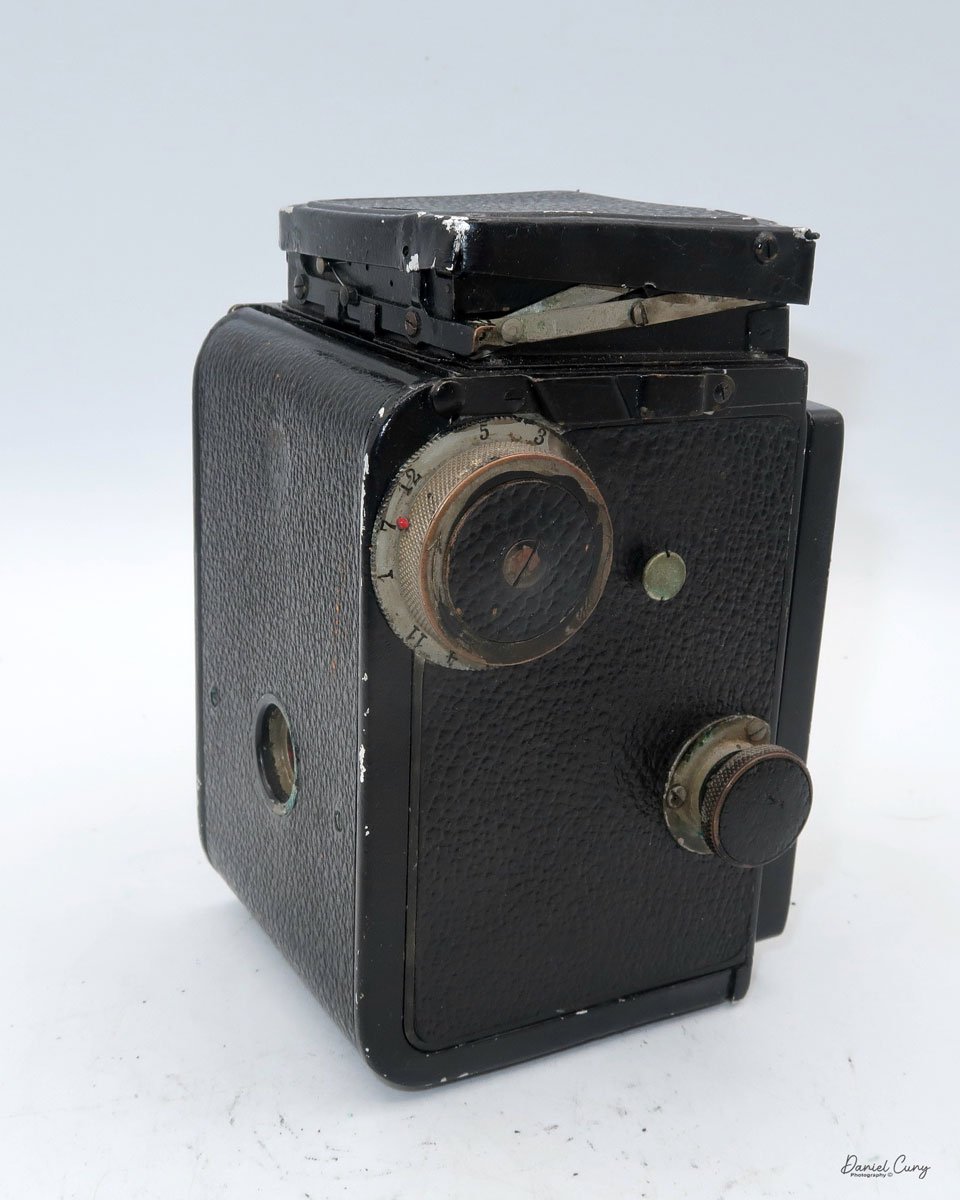
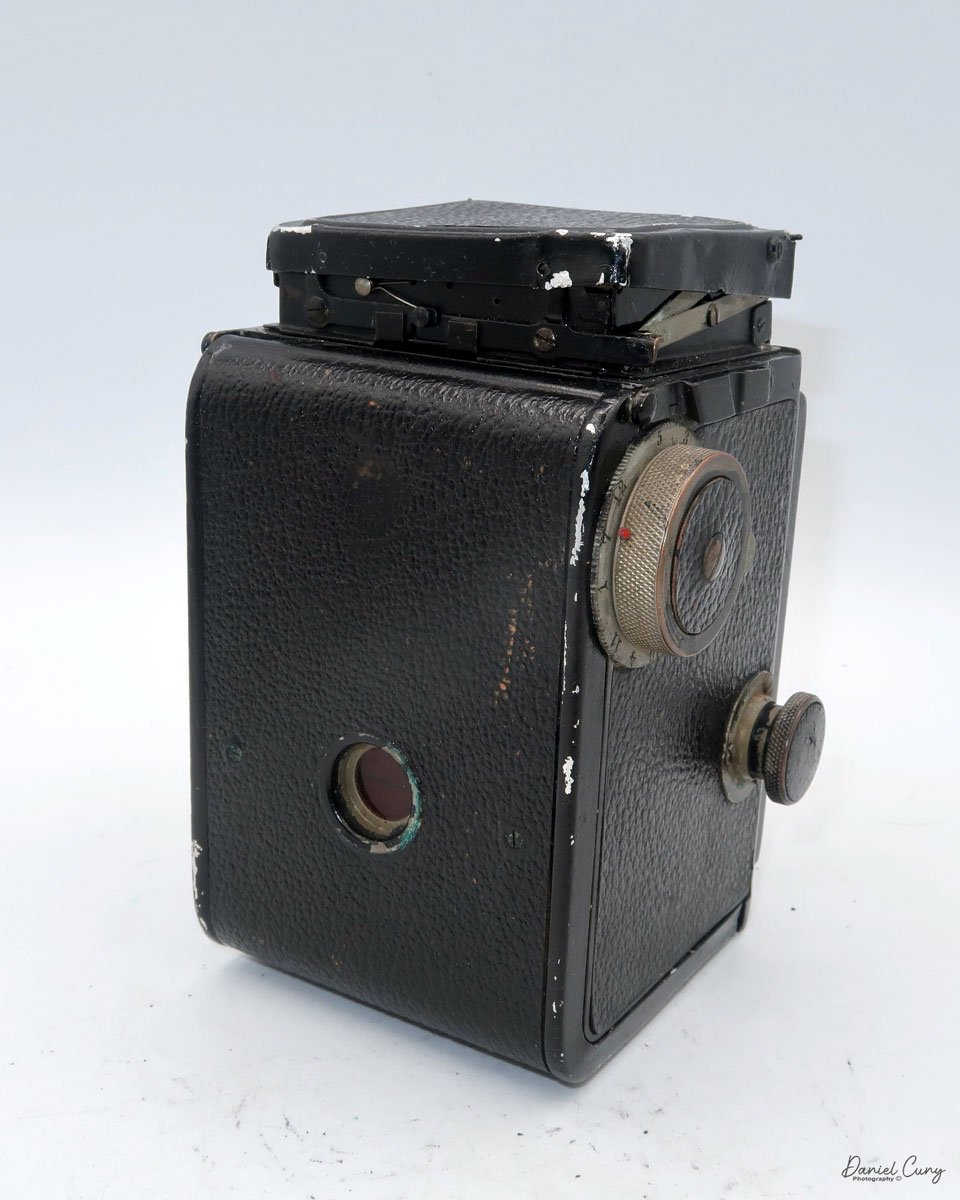
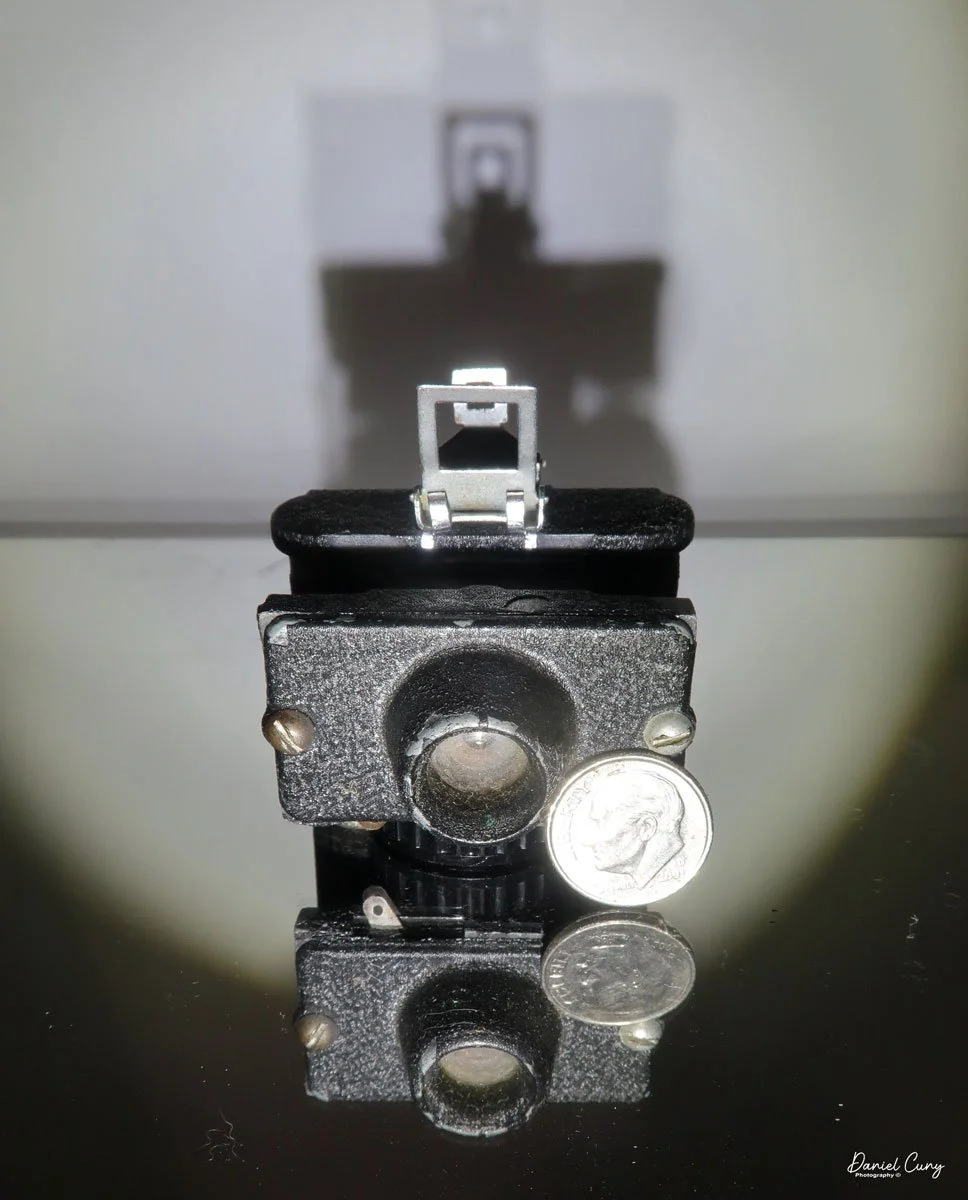
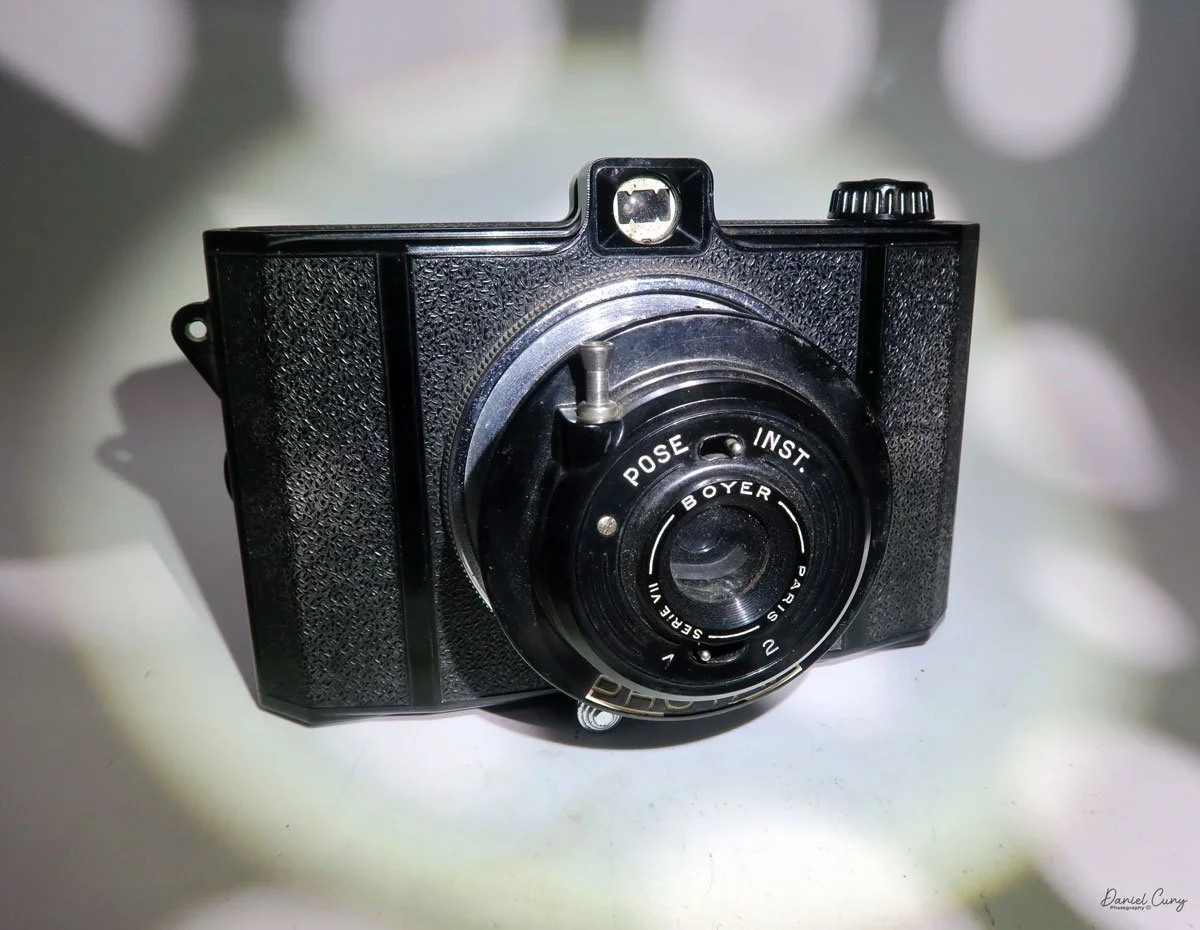
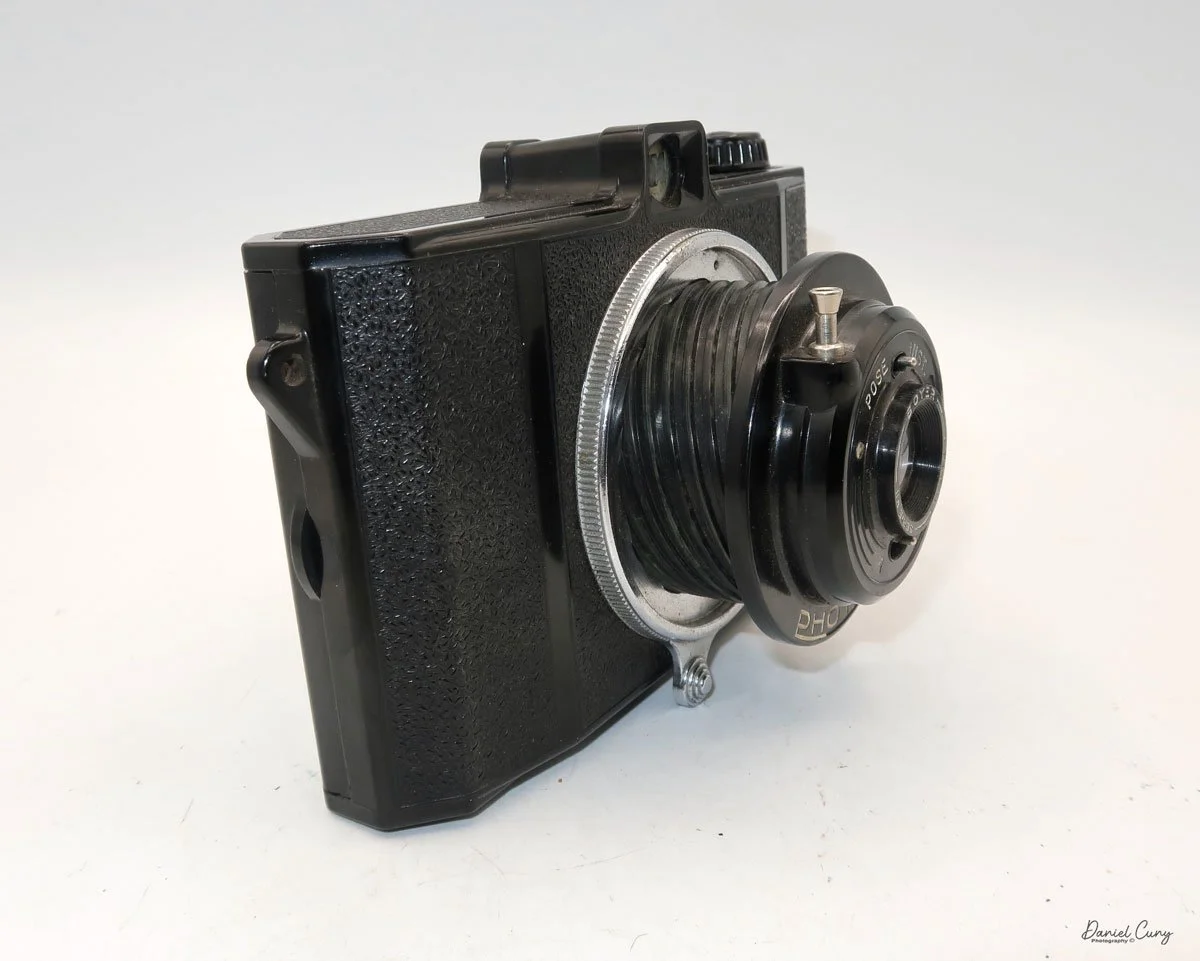
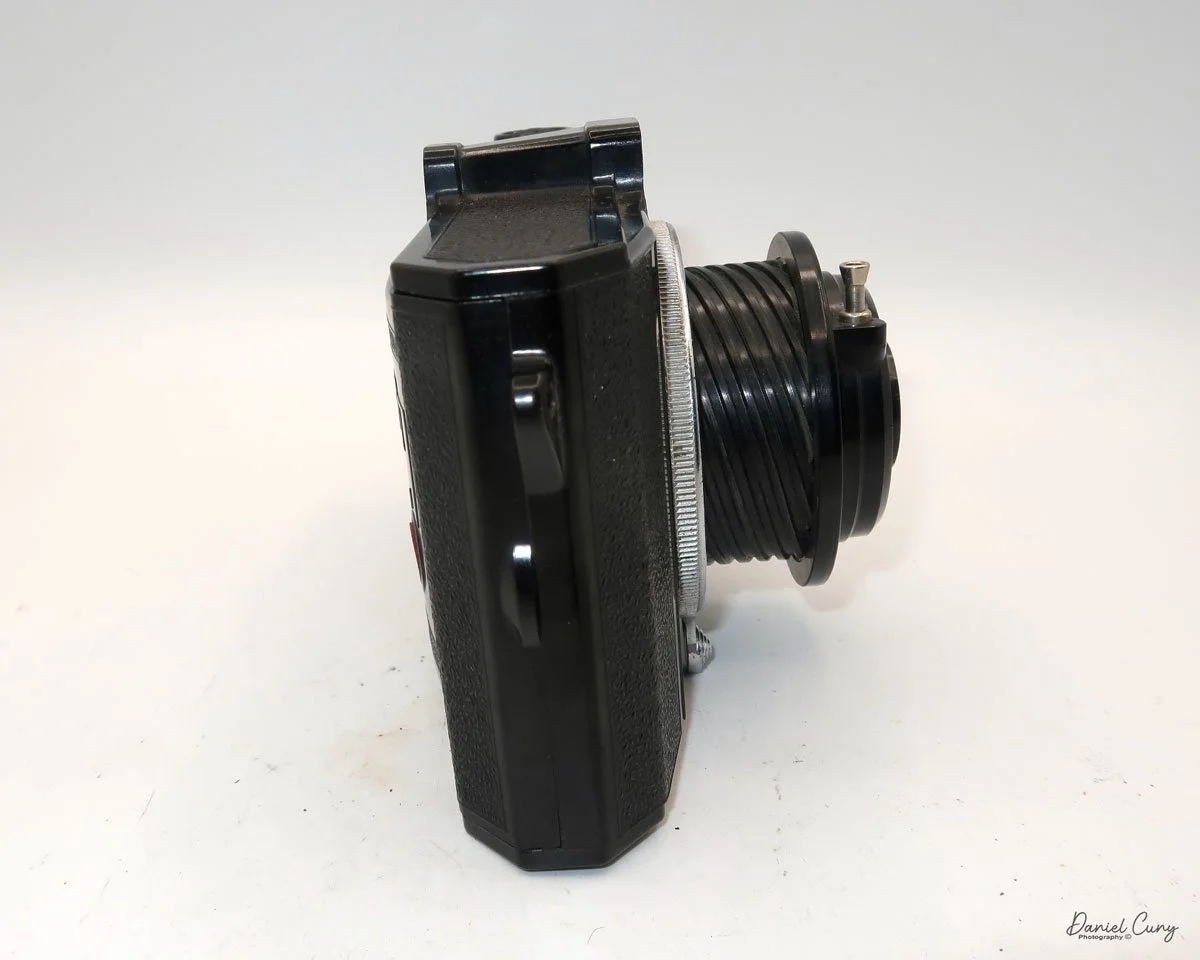
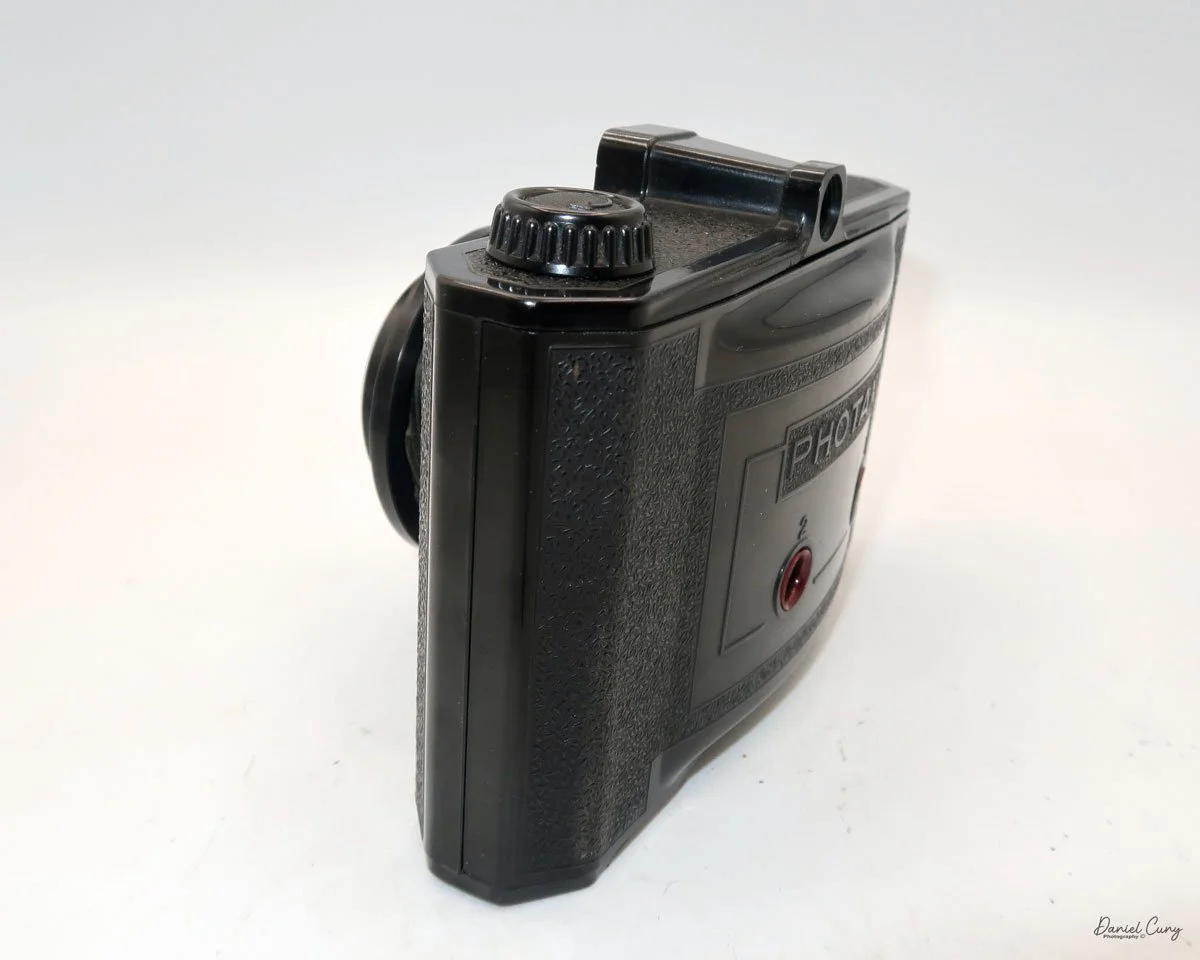
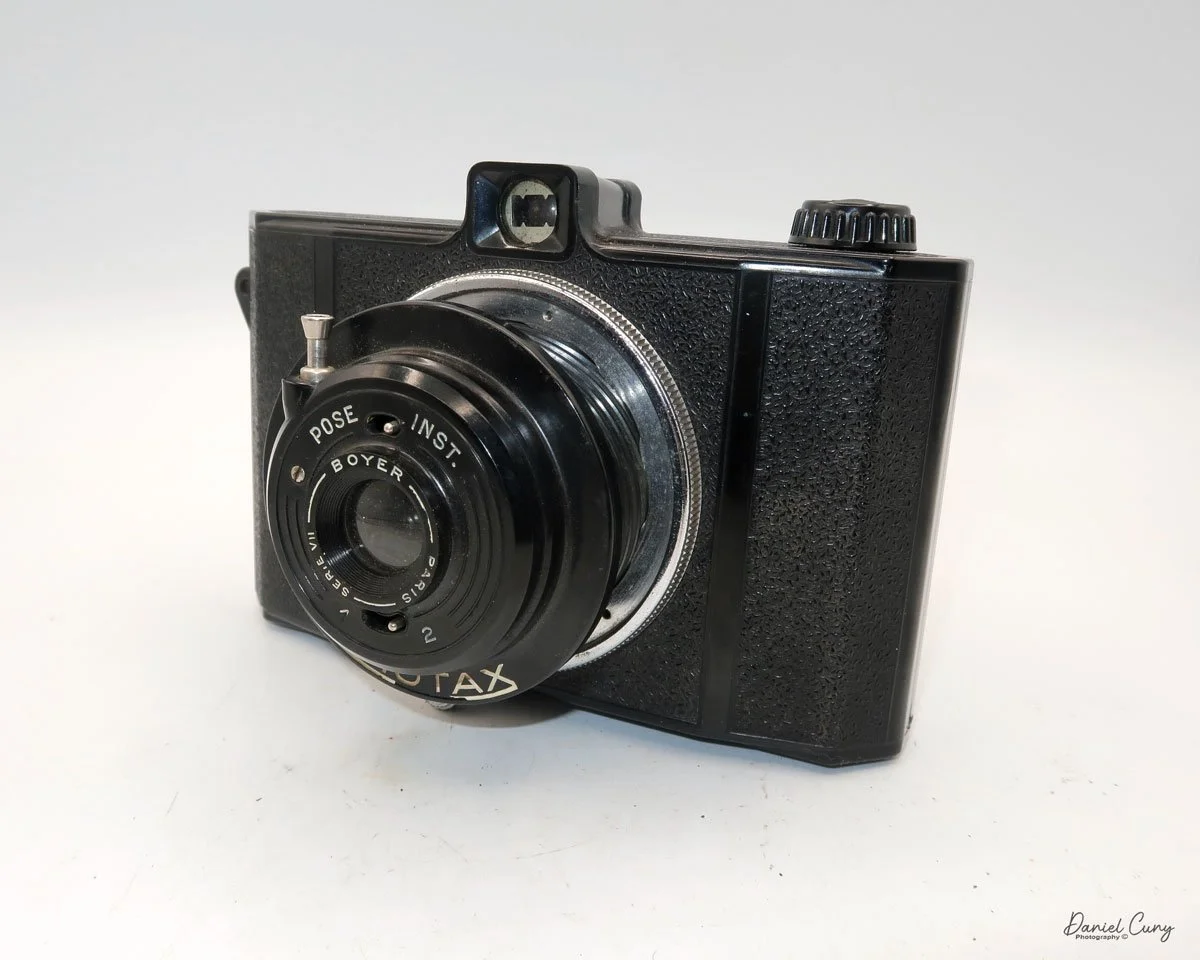
My camera is 6 1/2 inches wide by 4 1/2 inches tall by 4 inches deep when the lens is unscrewed. In its closed position, the lens is 3 1/4 inches long. Without the case, my camera weighs 1 pound, 2.7 ounces. The lens on the camera is a Boyer, Series VII lens.


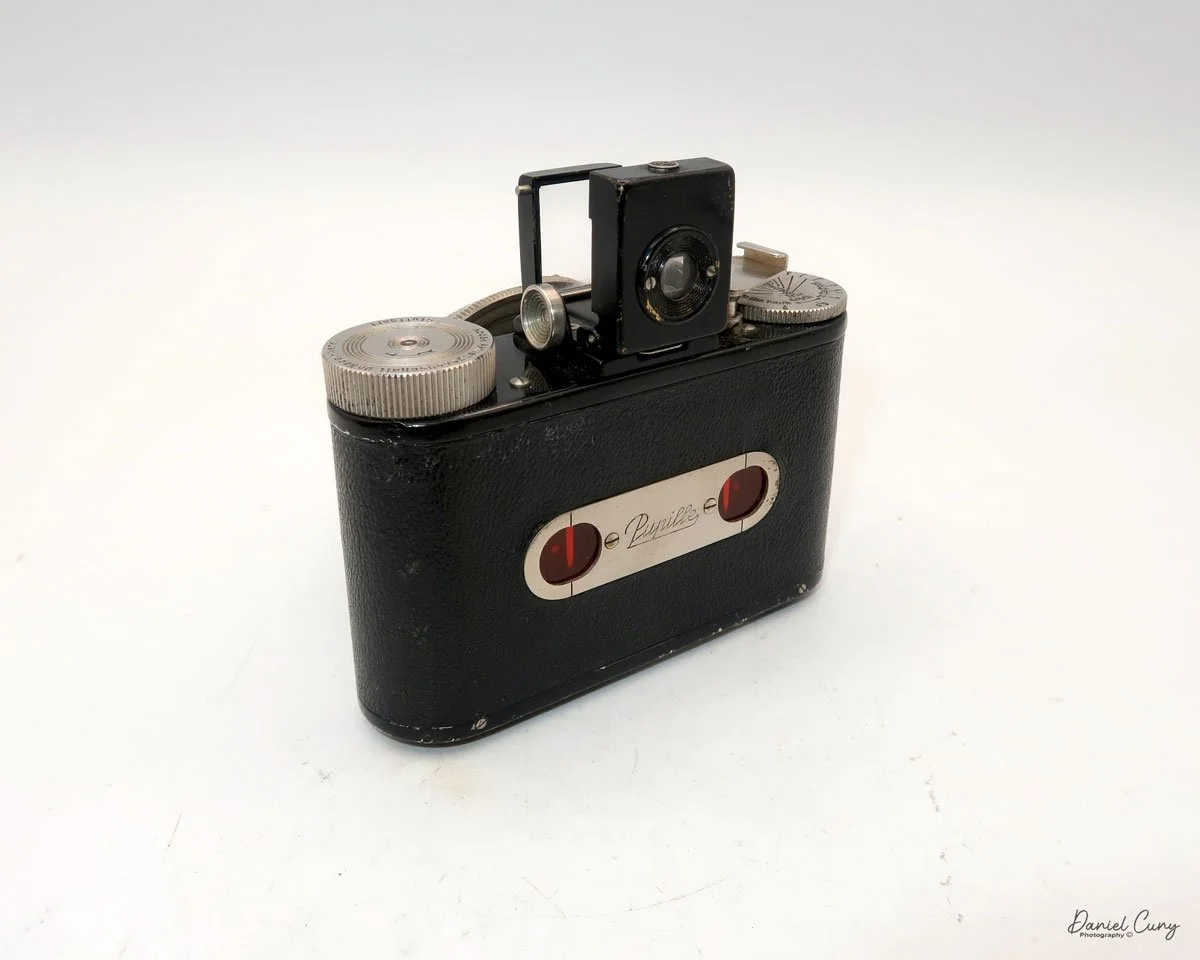
The Photax 1 was produced for approximately one to two years, from 1939 to 1940. The Photax 1 camera uses 120 film, a departure from MIOM's earlier cameras, which used 127 film. As I mentioned earlier, this is a 6 x 9 cm format camera. The Photax 1 was sold with a film mask that allowed the photographer to shoot in the 6 x 4.5 cm format. Unfortunately, when I purchased this camera, the mask was missing, so my camera is only compatible with the 6 x 9 format.
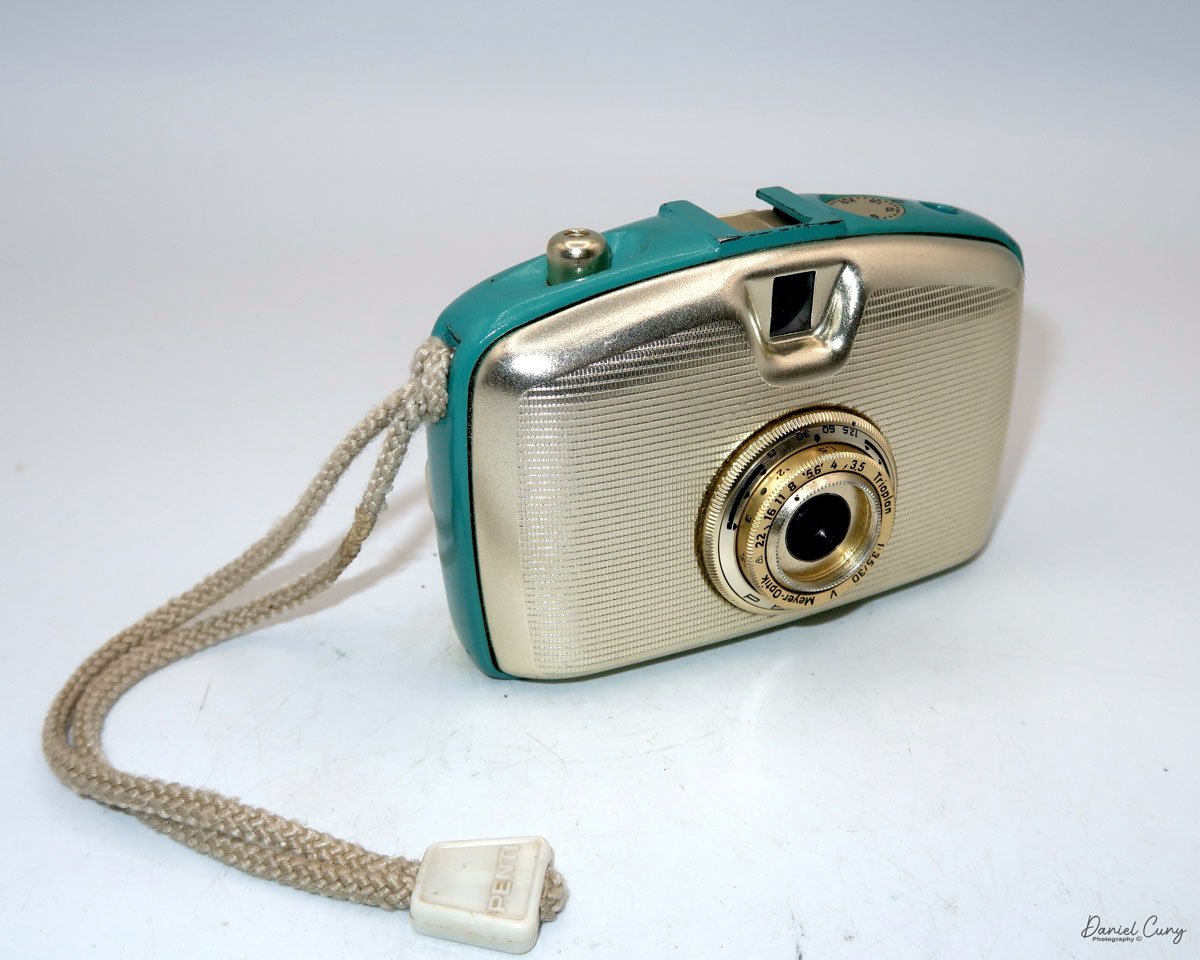
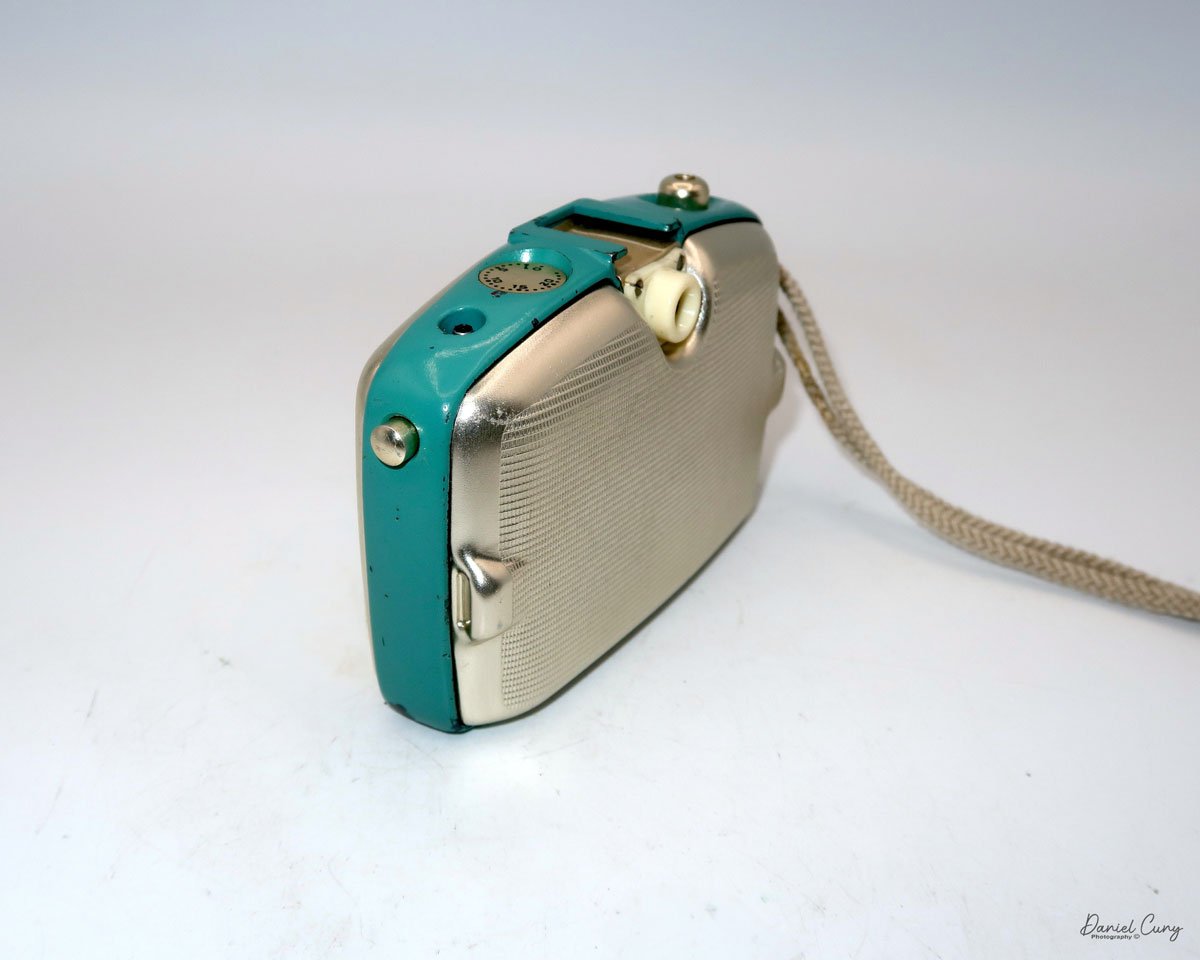
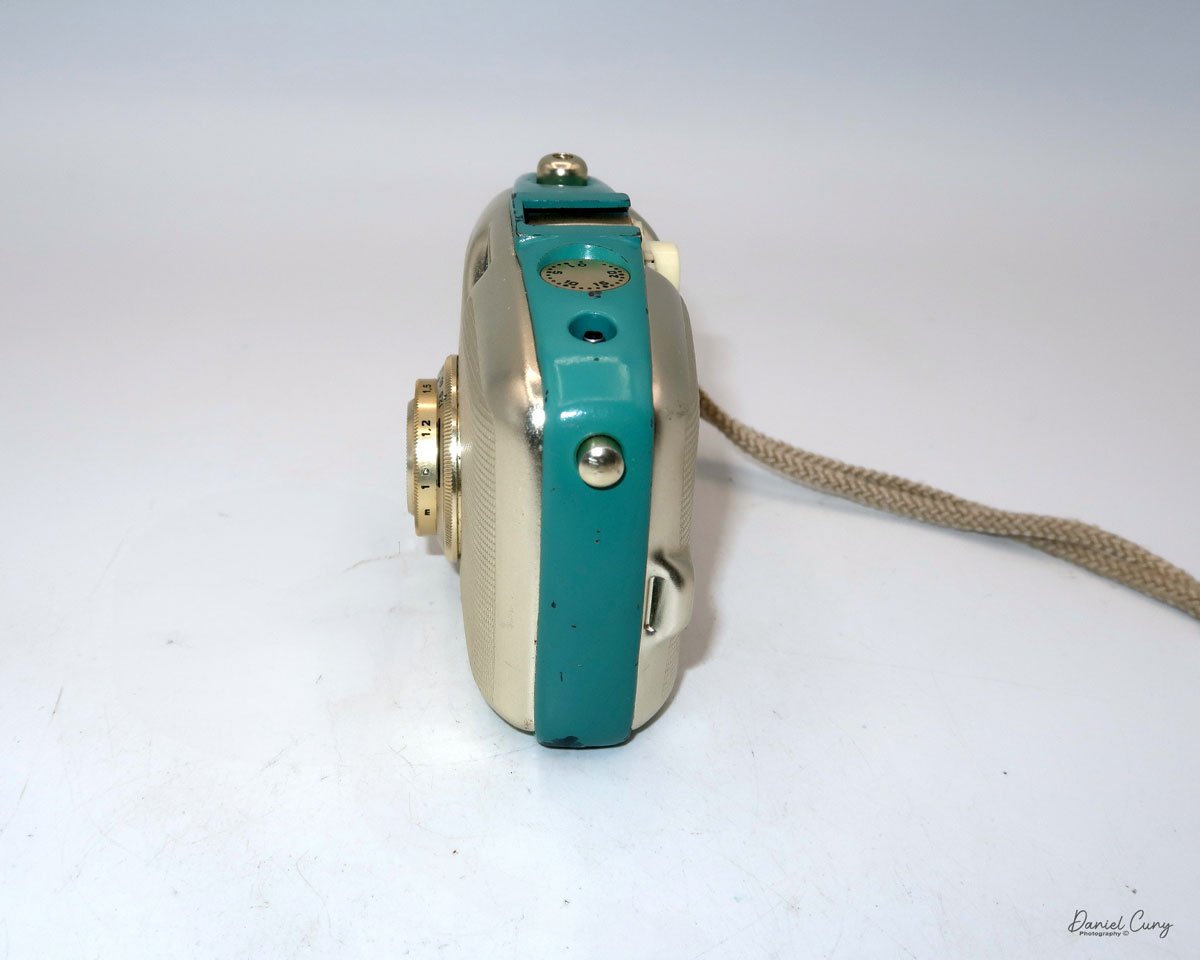
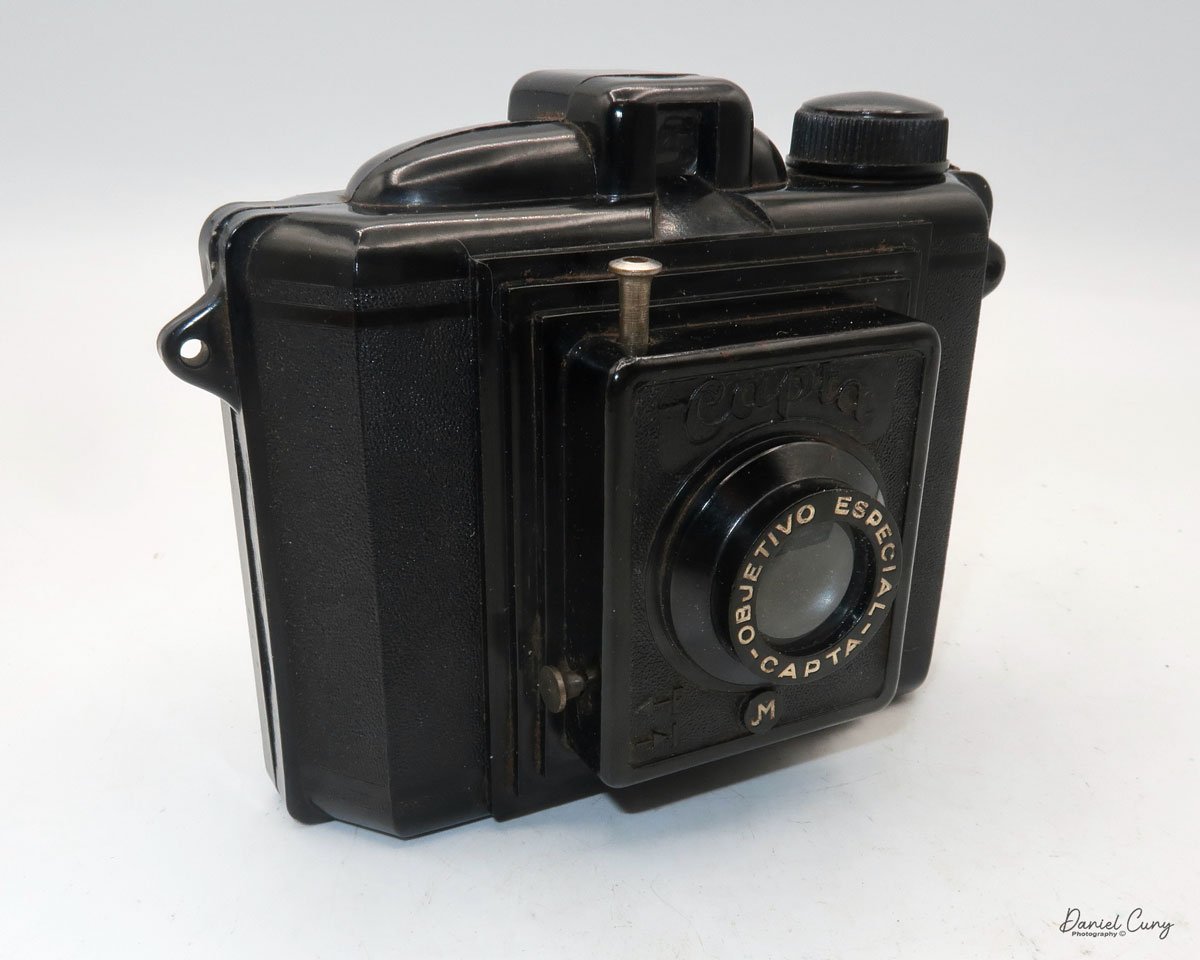
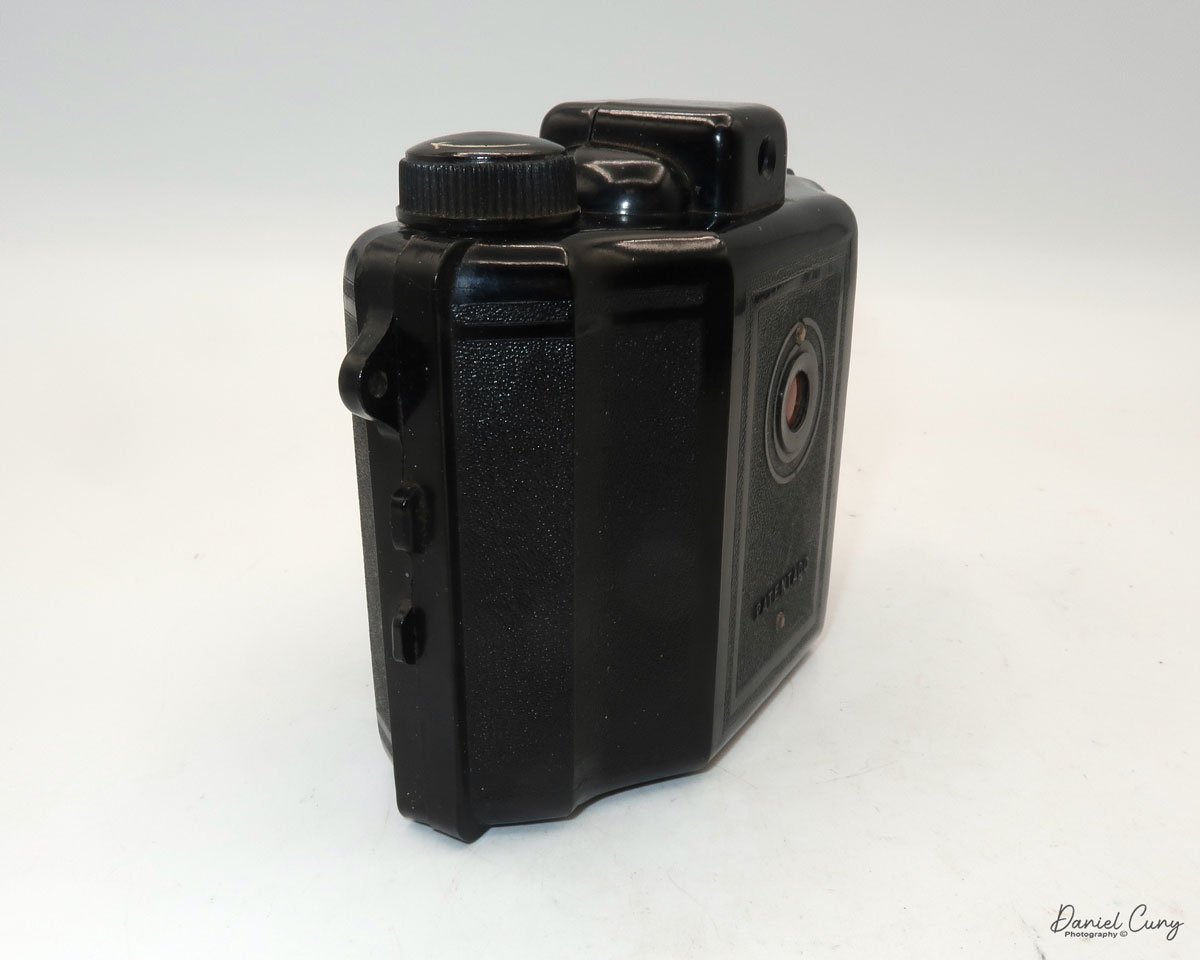
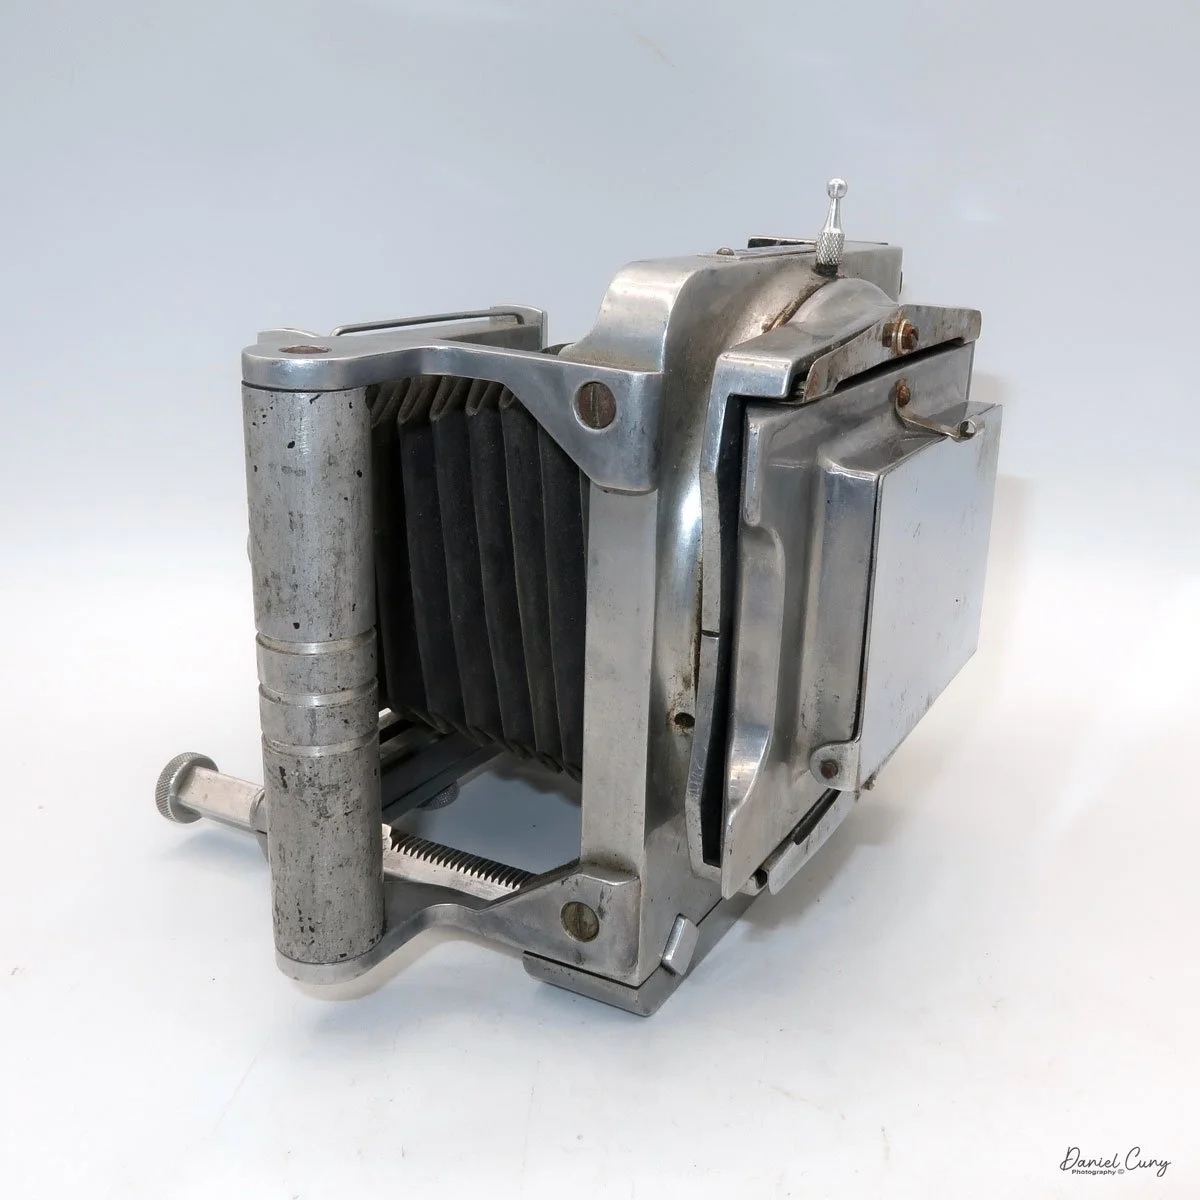
To extend the lines, there is a chrome ring around the lens with a knob at its top. Twist the ring clockwise, and the lens, which is on a helical screw, unscrews and moves into the taking position. The camera's controls are fundamental. There are only two shutter settings. One is "INST", which is for normal snapshots, and "POSE", which is for time exposures. These are changed by a little switch between the two settings. To control the aperture. There is a similar switch beneath the lens. One setting is the larger aperture, which is number one, and the second setting is for a smaller aperture.


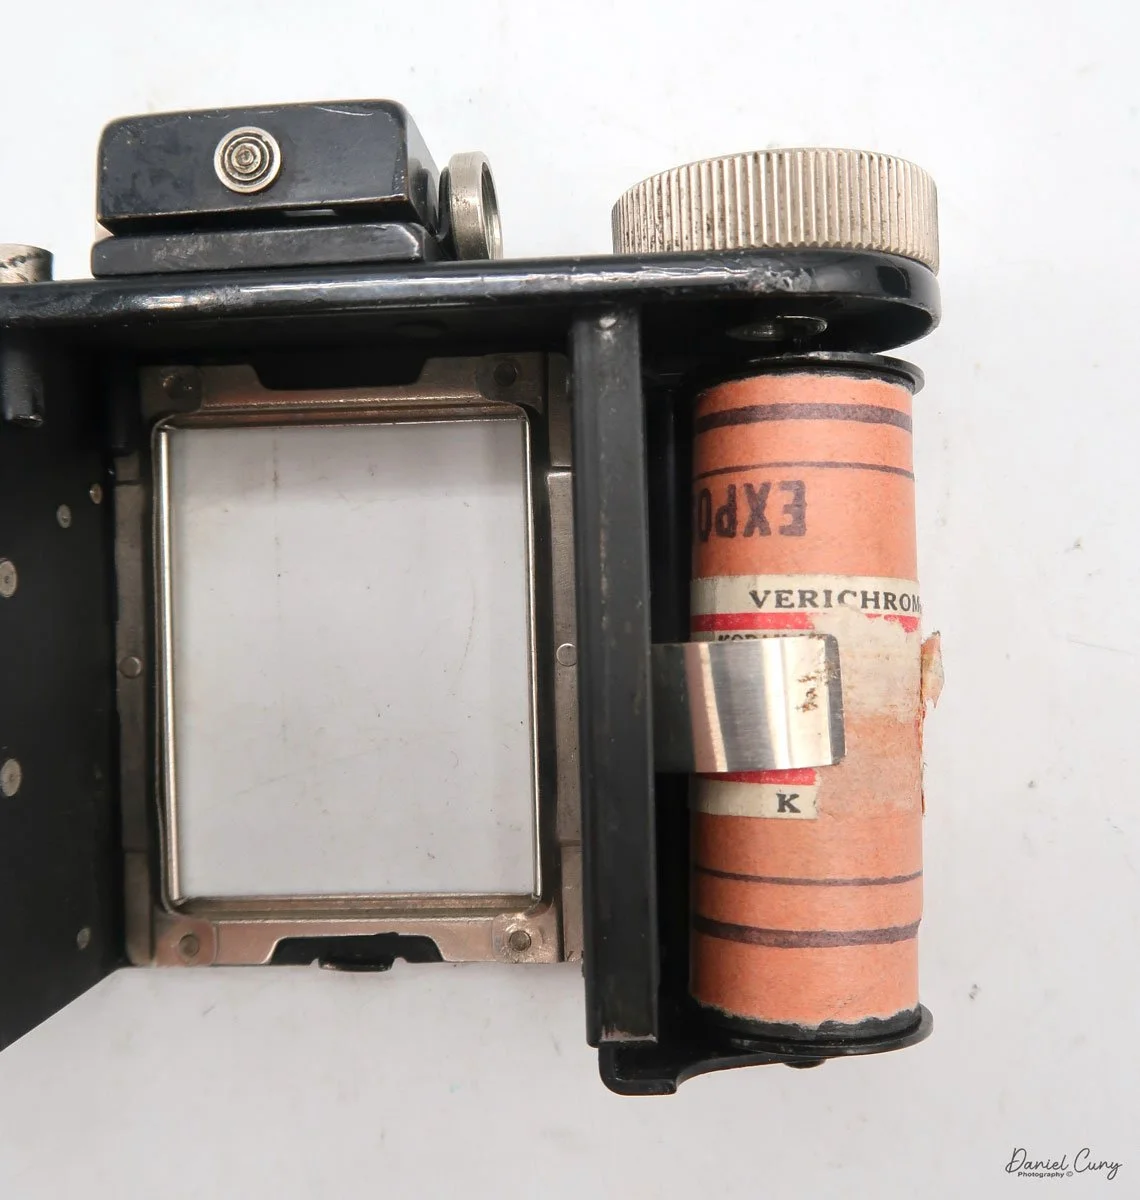
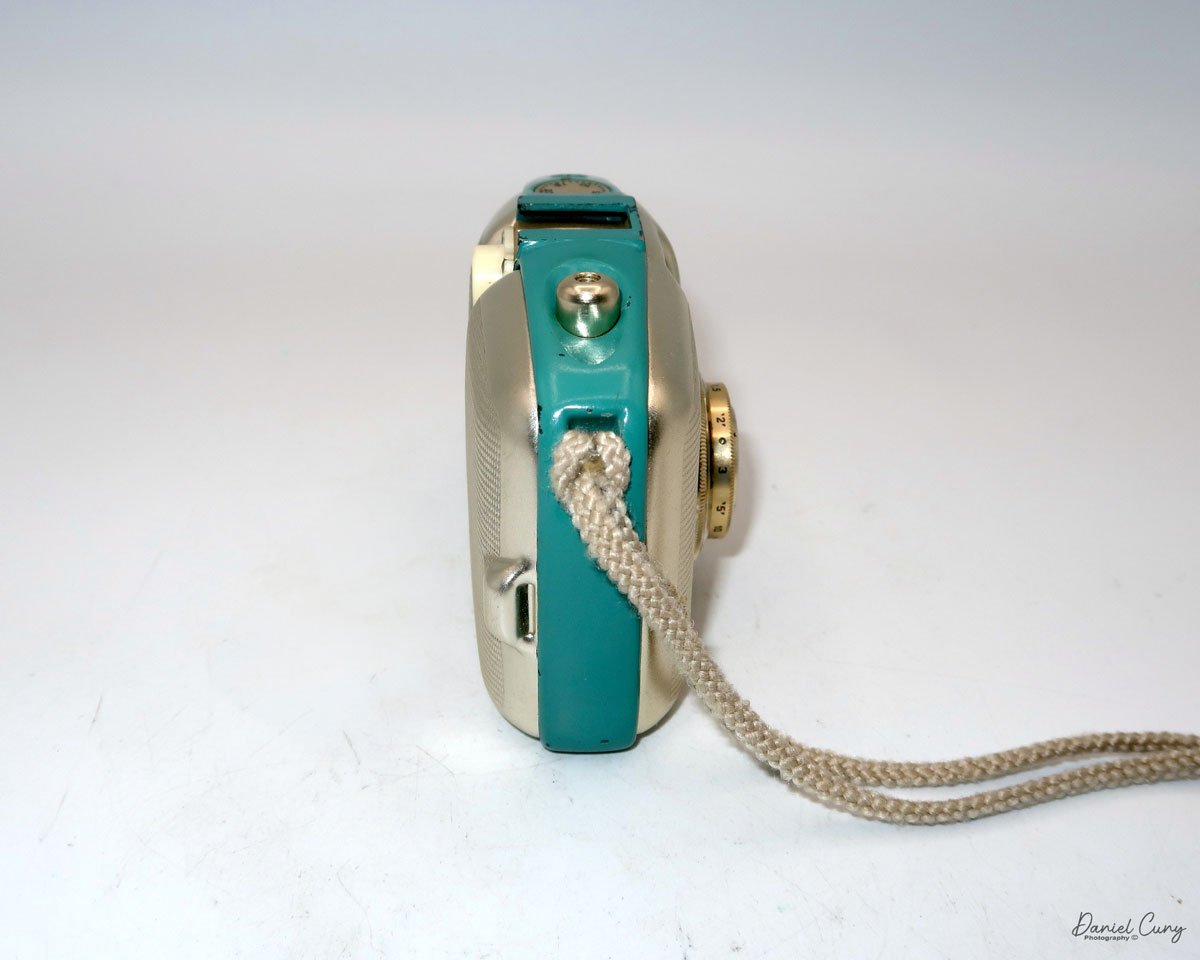
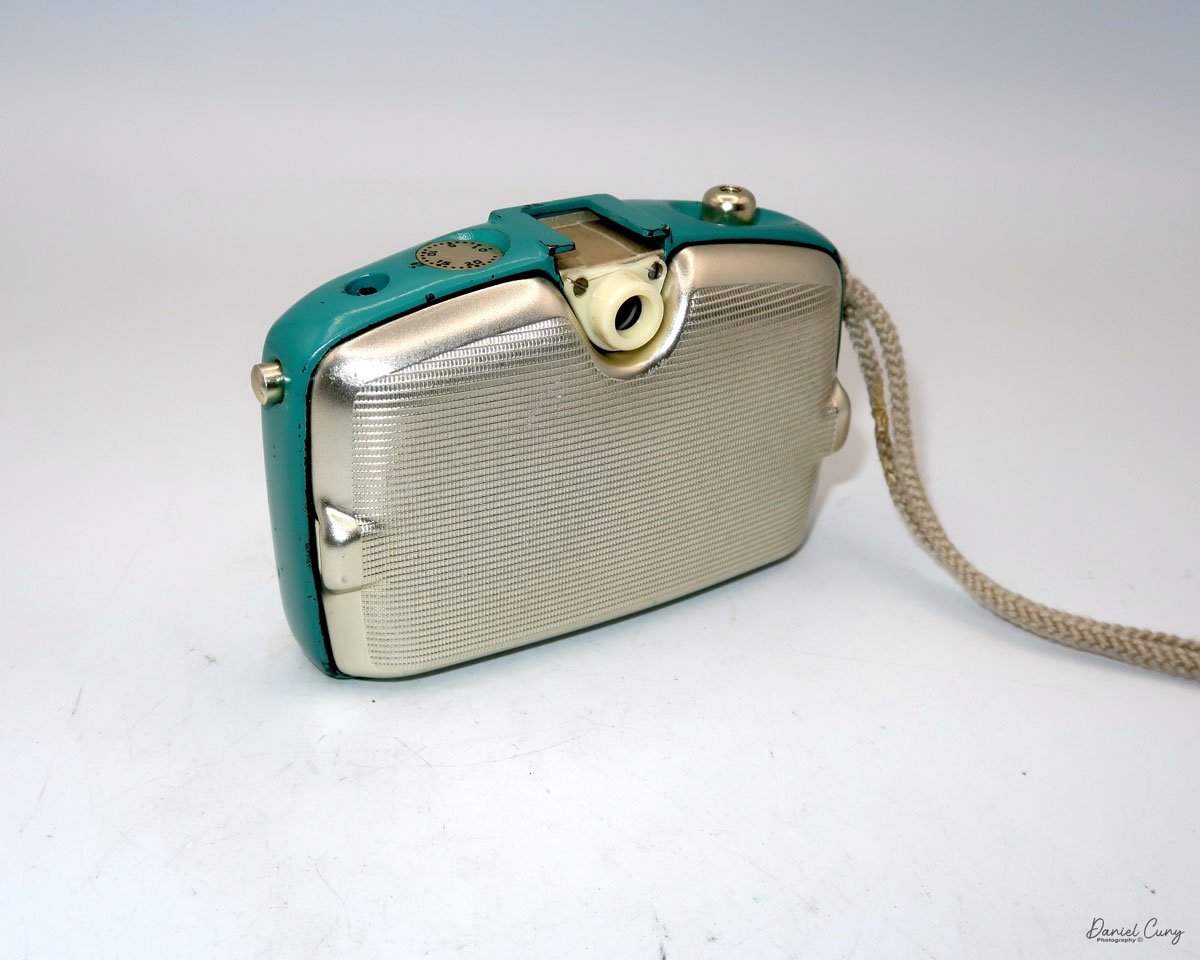
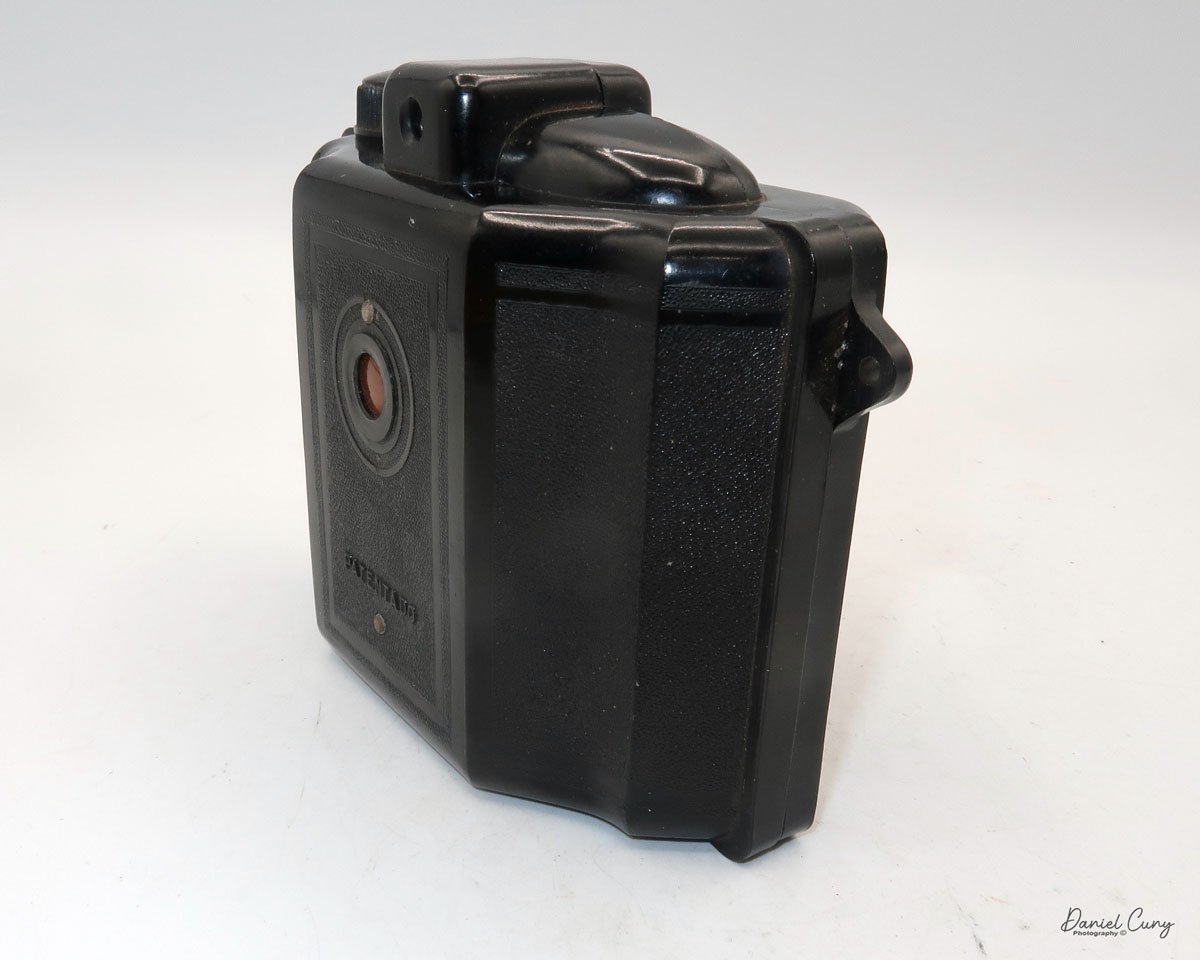
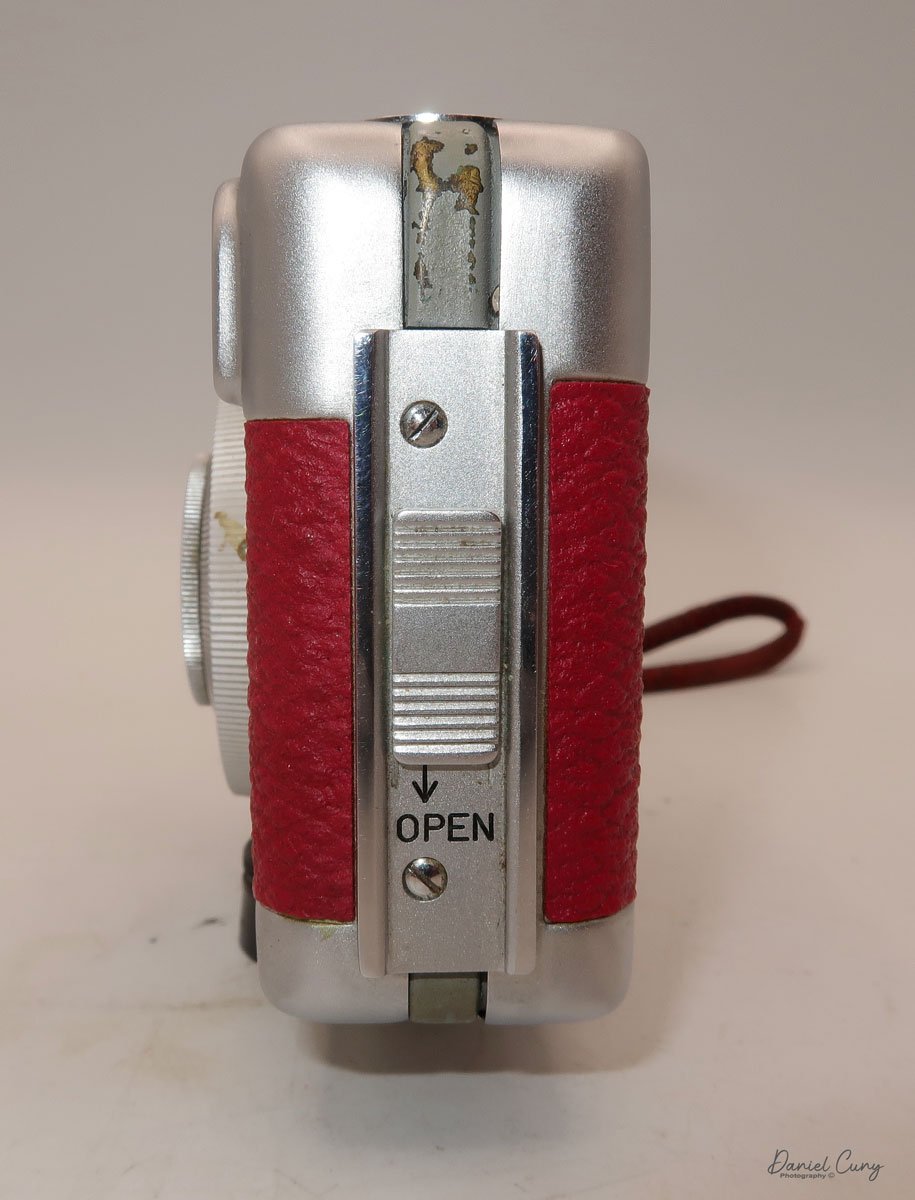
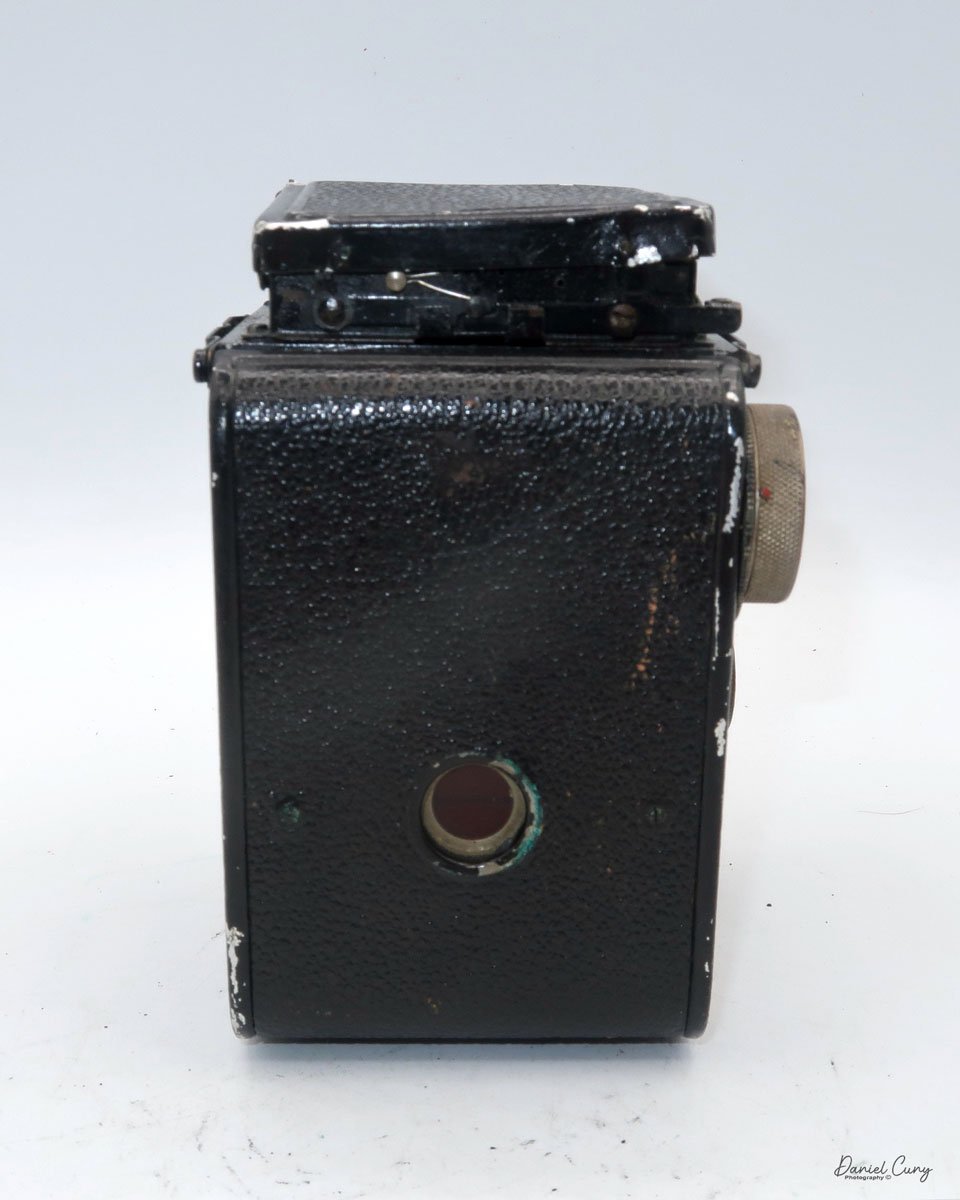
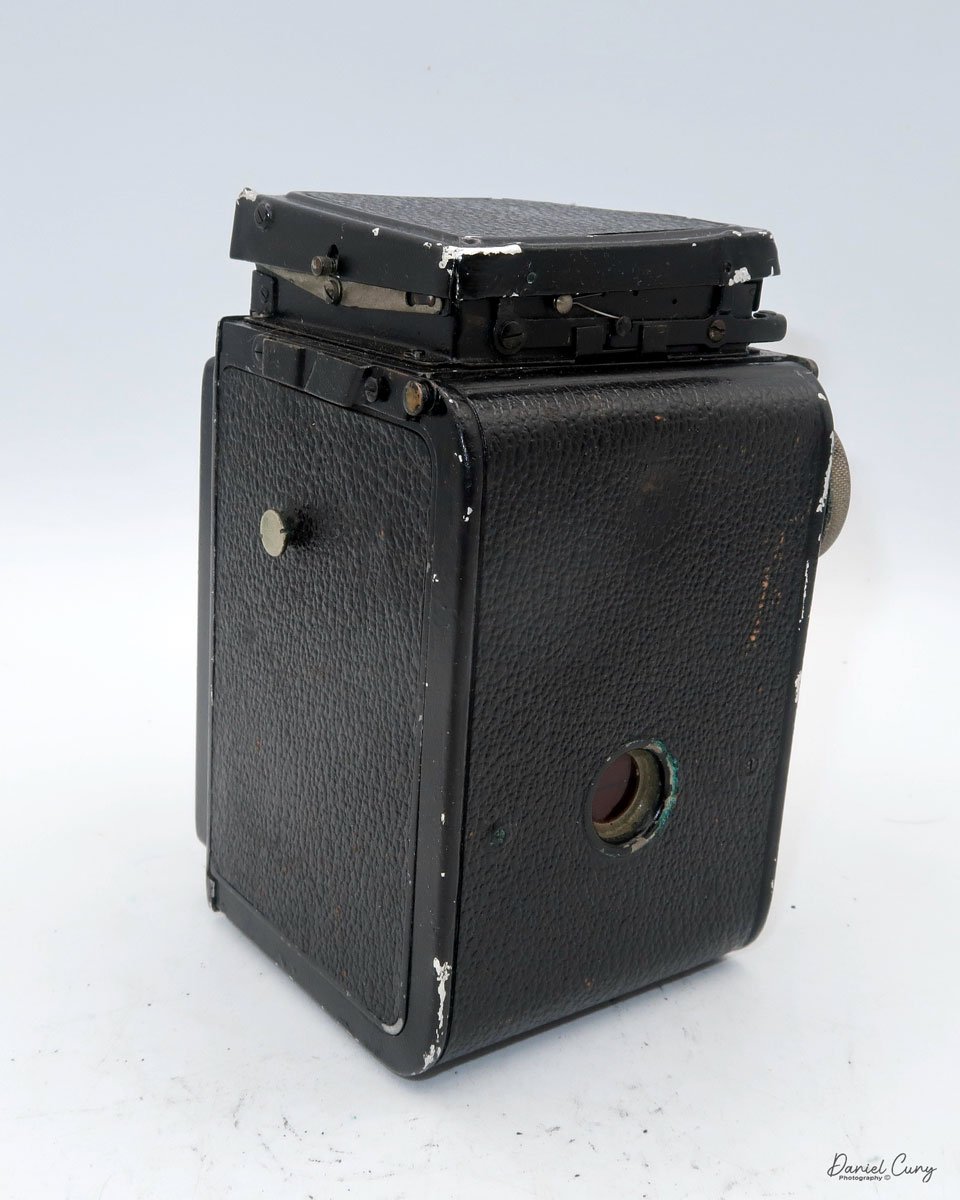
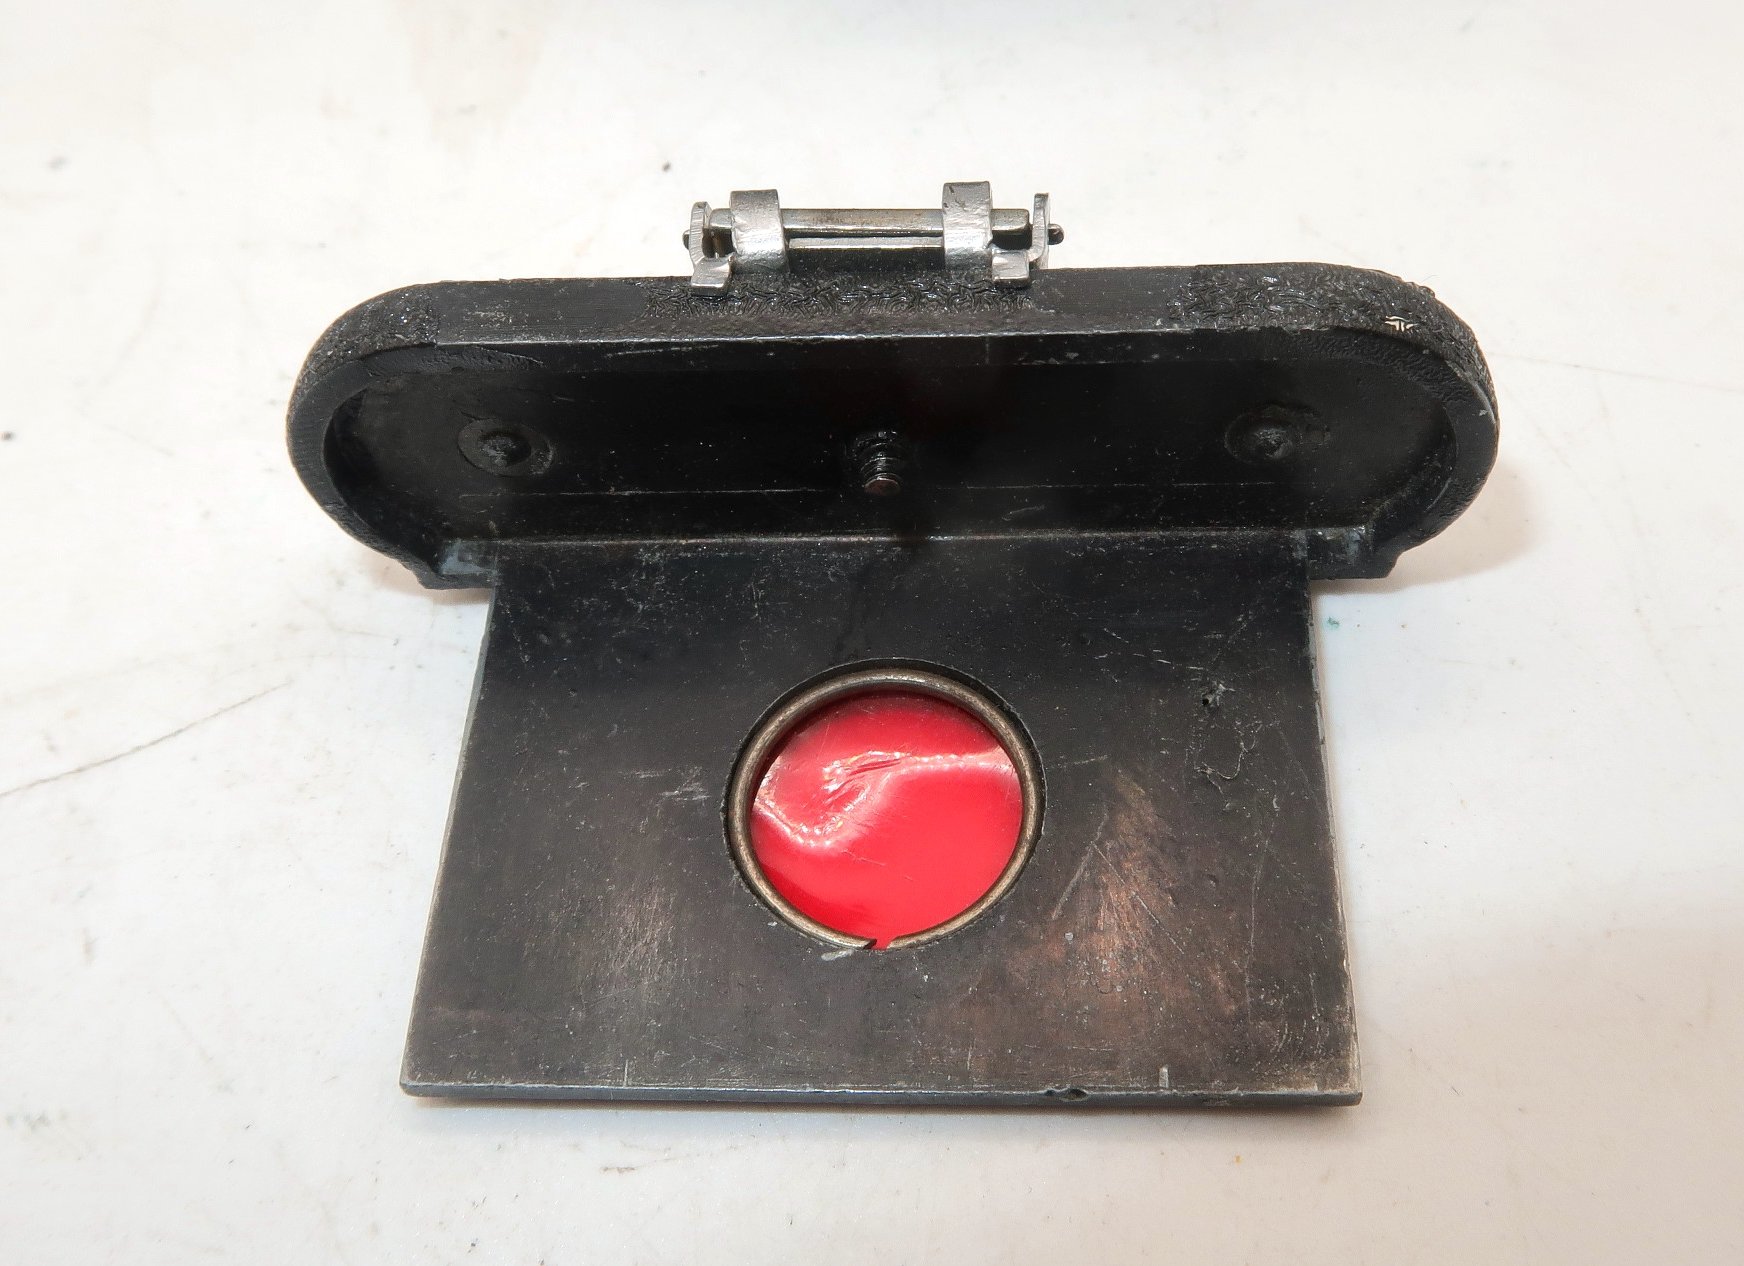
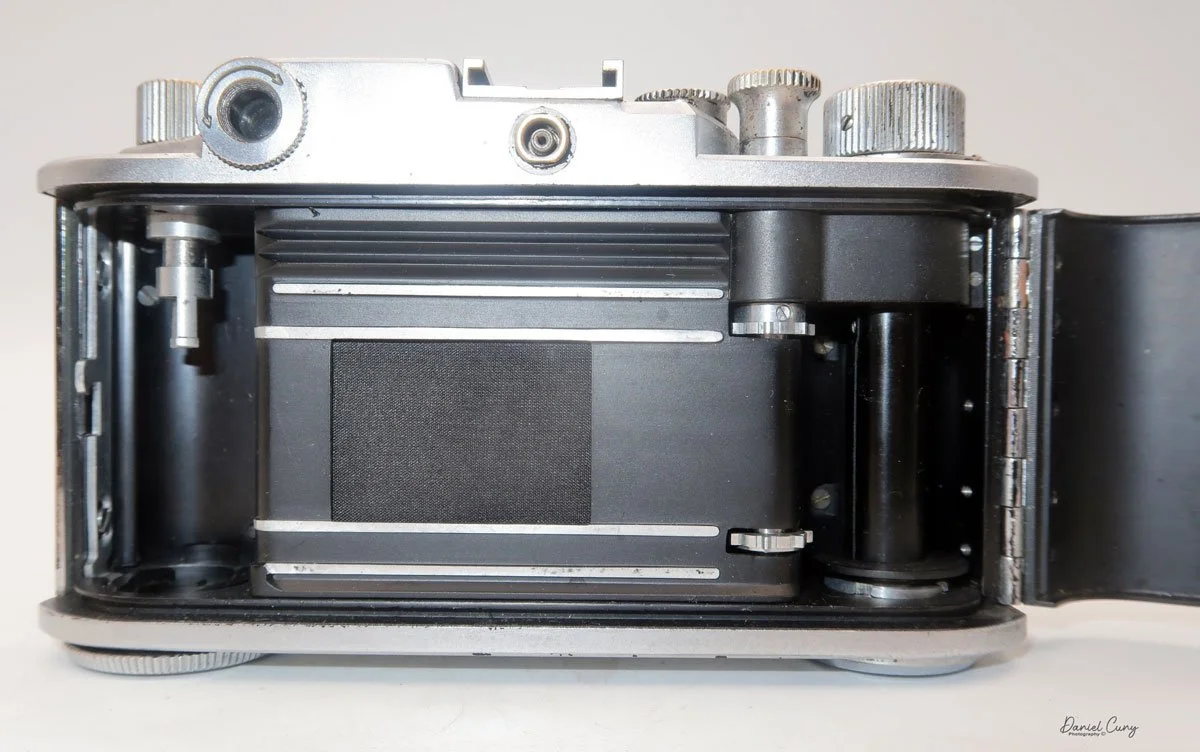
There is no lock on the back of the camera to secure the back to the front of the camera body. To open the camera, on the right side, is a little foam plate that you pull away from the camera body, and the back of the camera comes off. To load the camera, follow a process similar to loading a 120 format or 120 film-style camera. The first thing you would do is to take the take-up spool from the right side of the camera and place it on the left side, under the film, and under the film advance knob. Place a fresh roll of film on the right-hand side and bring the leader over the shutter area. Insert the leader into the slot of the take-up spool and begin winding, ensuring the film advances smoothly. You turn the advance knob until you see "start" on the film's paper backing. At this point, put the back on the camera by just pressing it onto the camera‘s body.


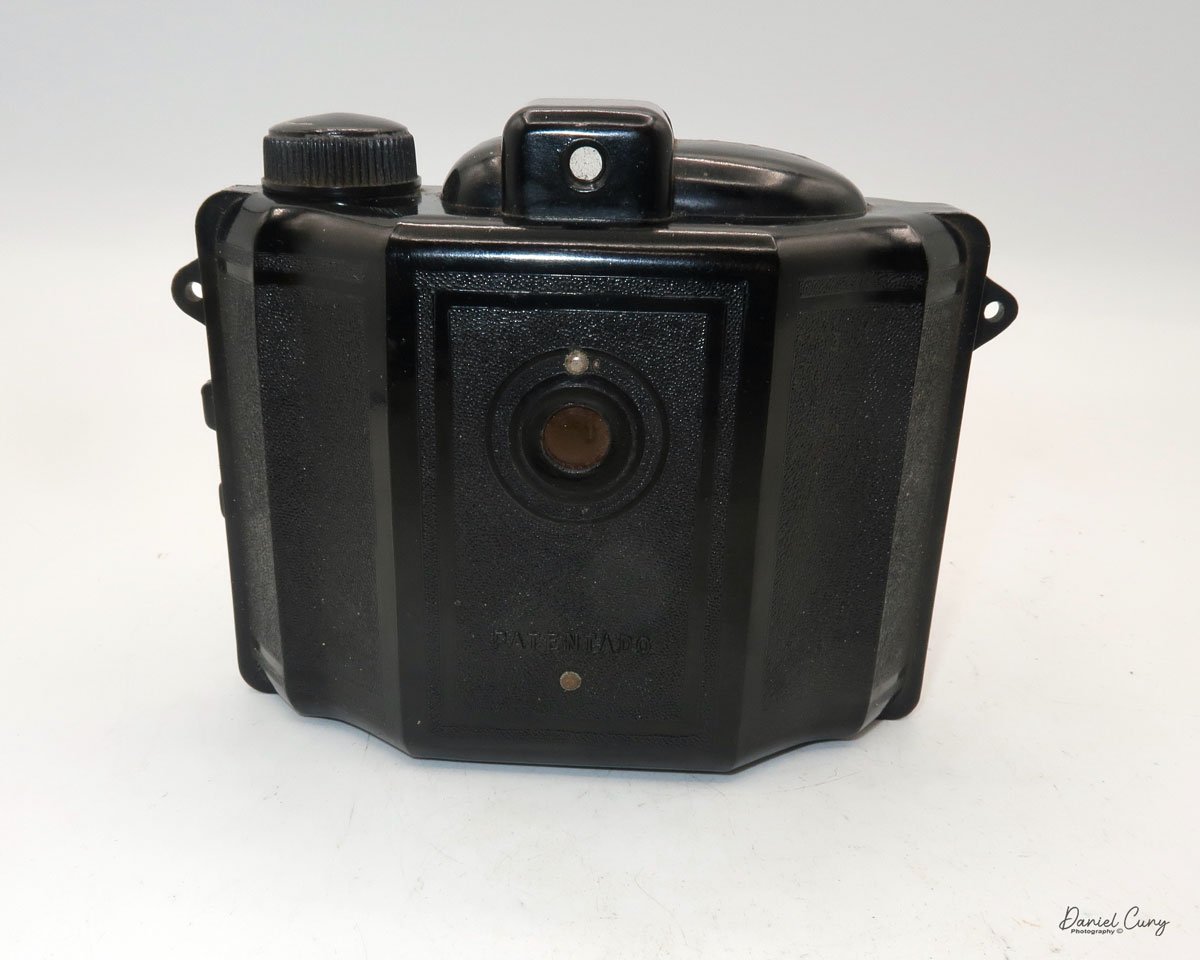
At this point, wind the film advance knob until you see the number 1 in the first window, which is designated for the 6x9cm format. For the 6 x 4.5 format, you would wind until you see the number one in the number one window. After you take the picture, wind until you see the number one in the number two window. You repeat the steps through number eight, which would be the end of the roll of film. For 6 x 9 cm format images, you get eight images per roll. For 6 x 4.5 cm format, you get 16 pictures per roll of film.

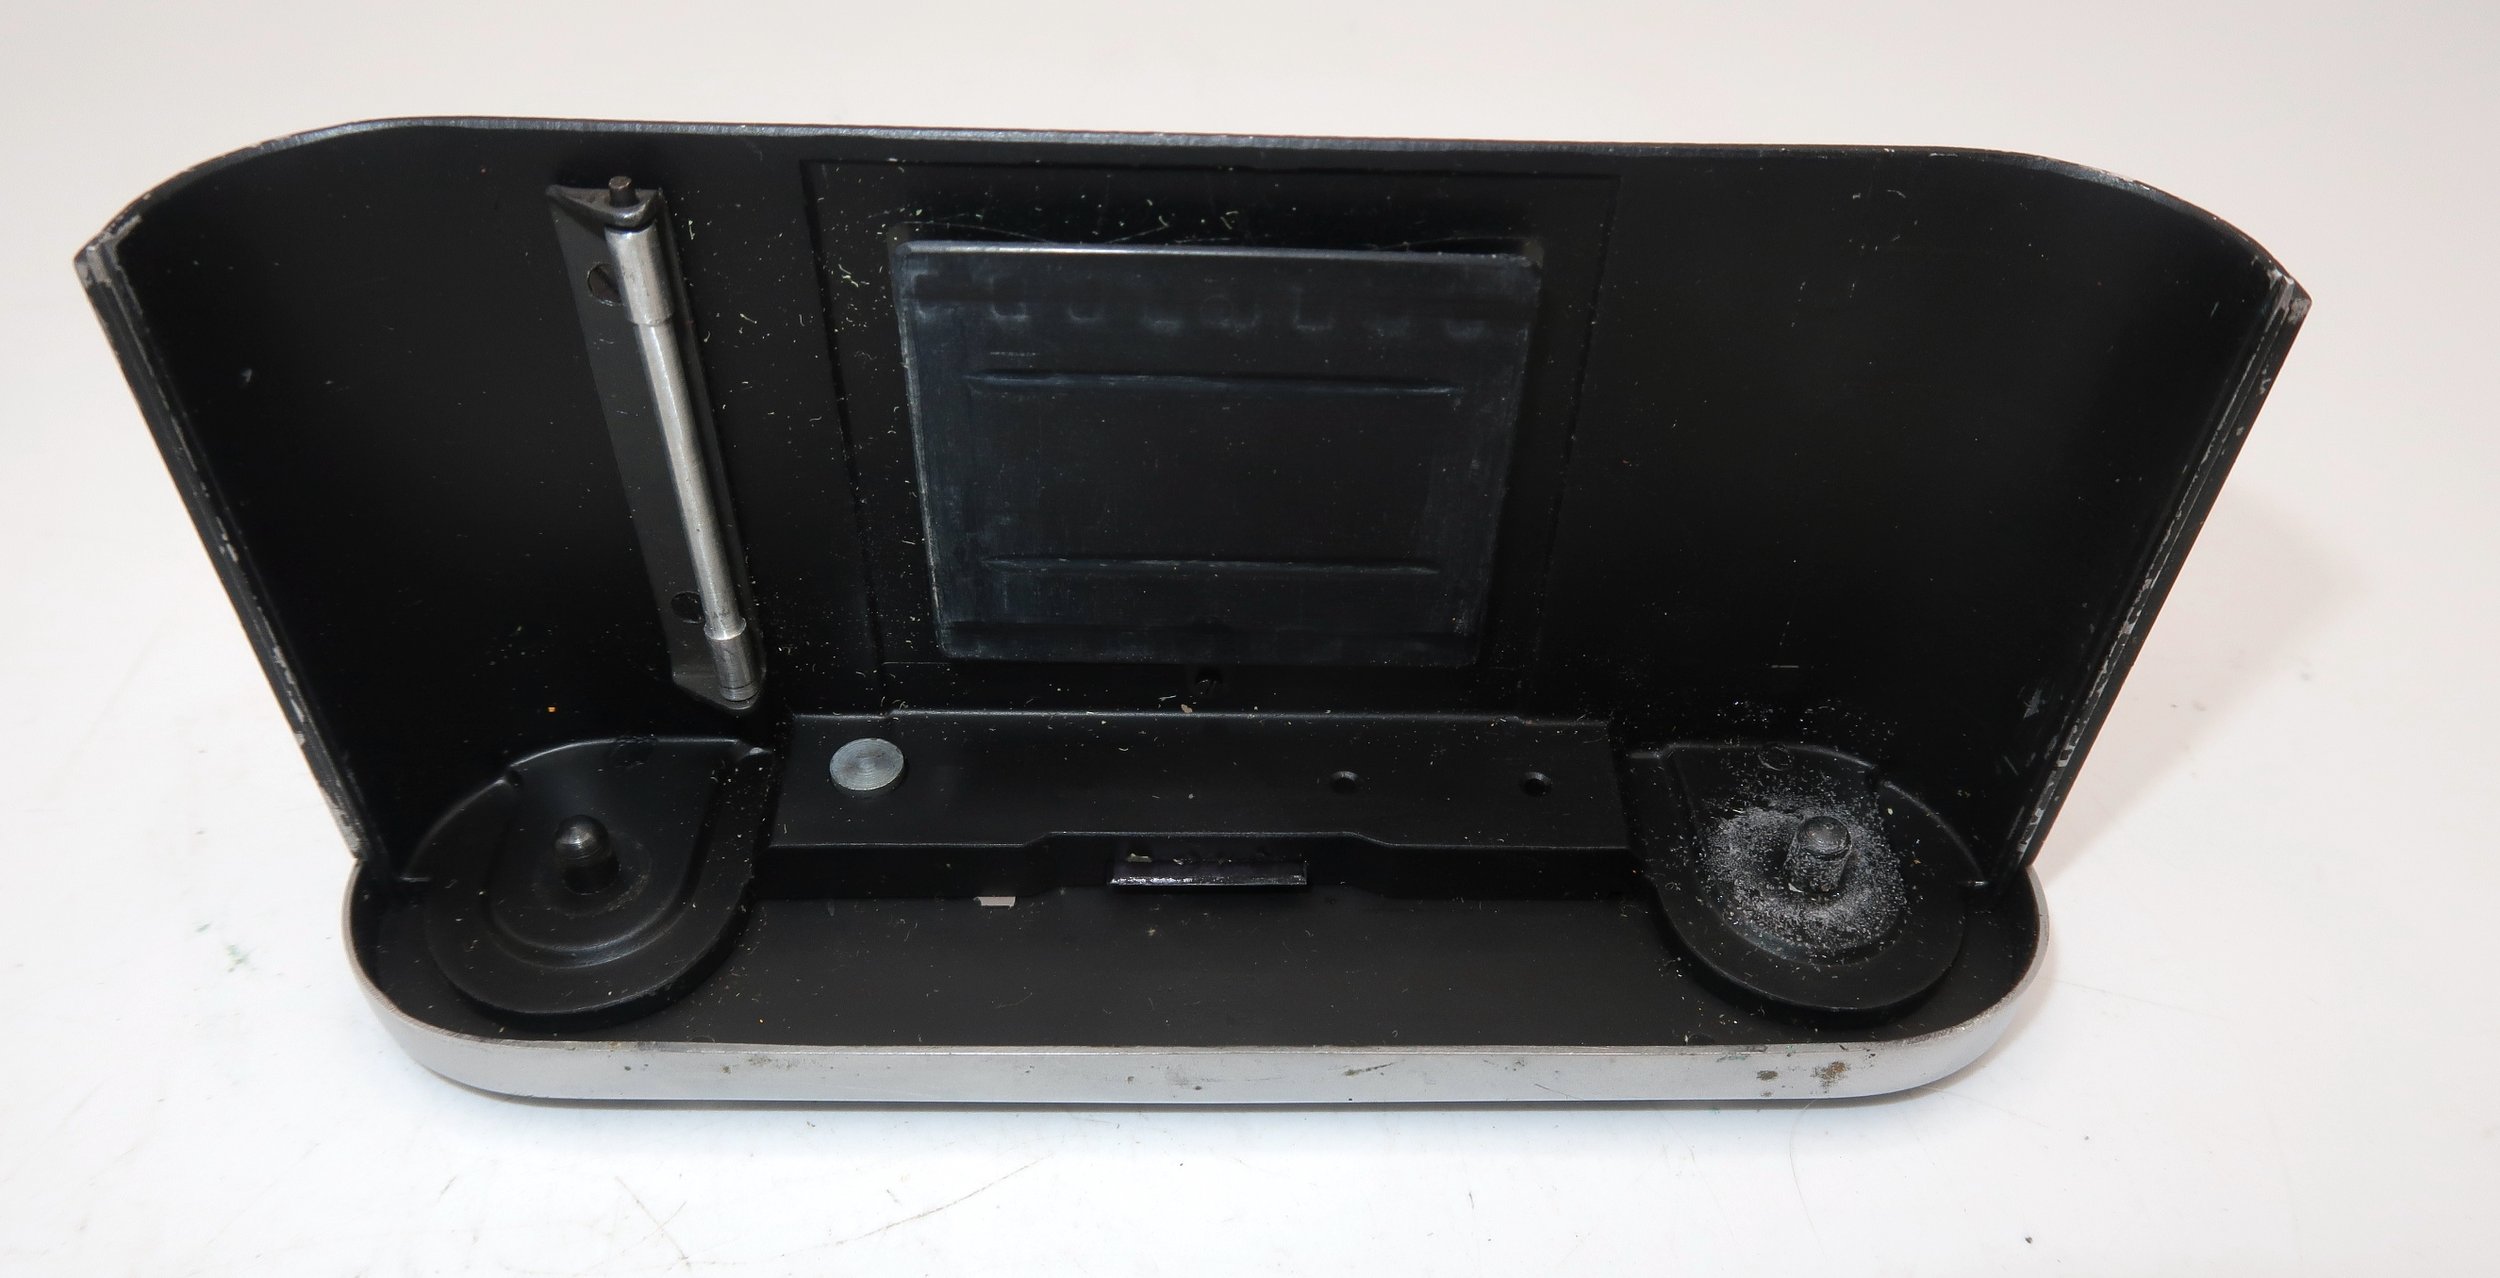
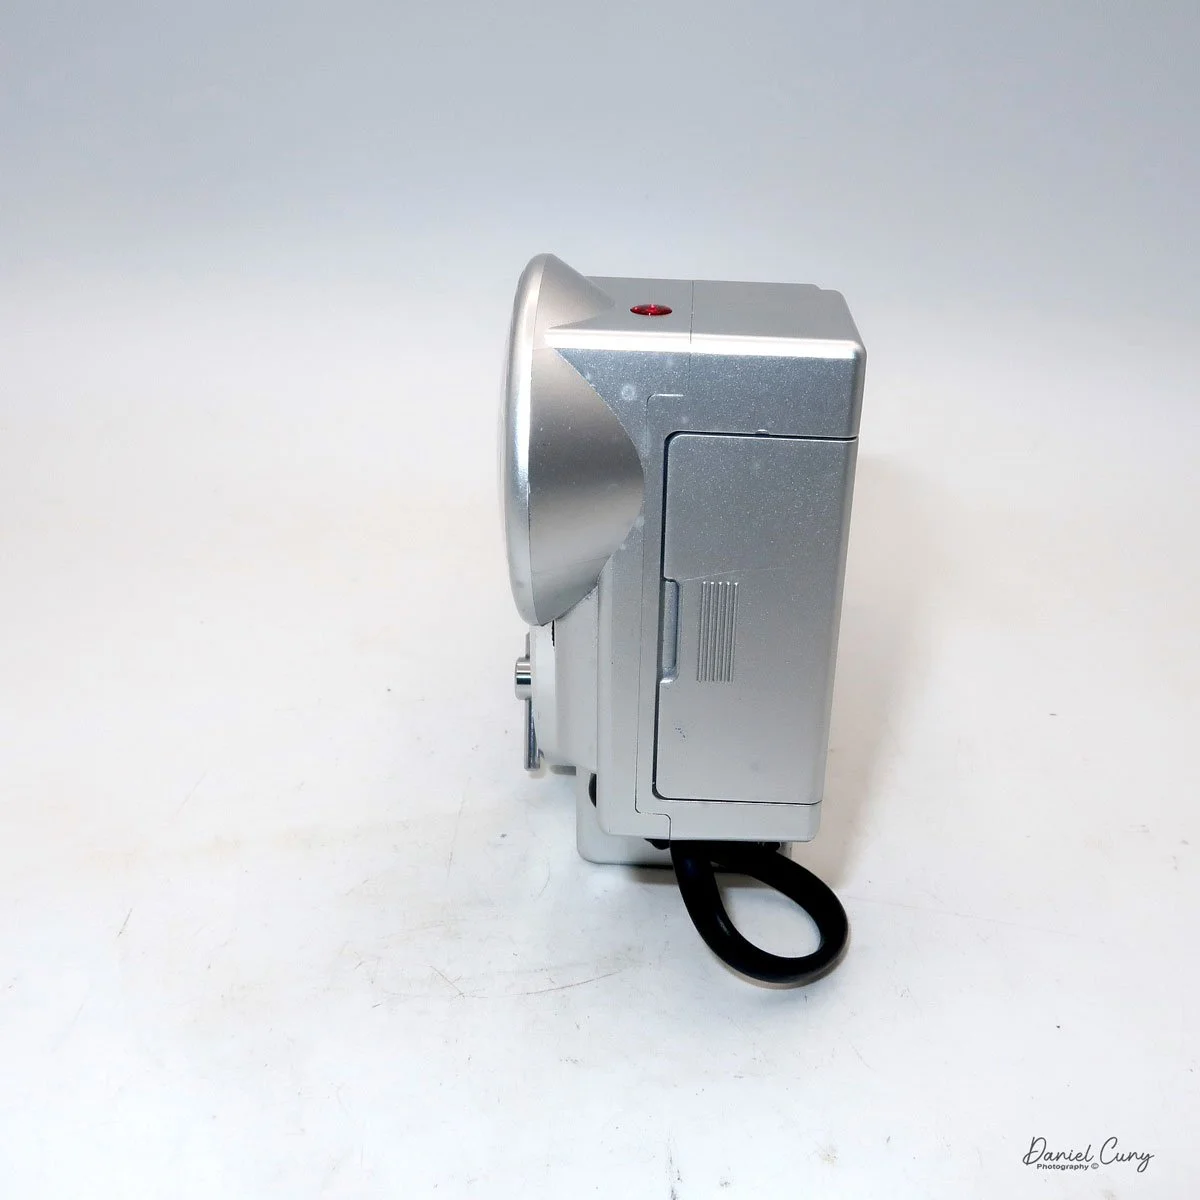
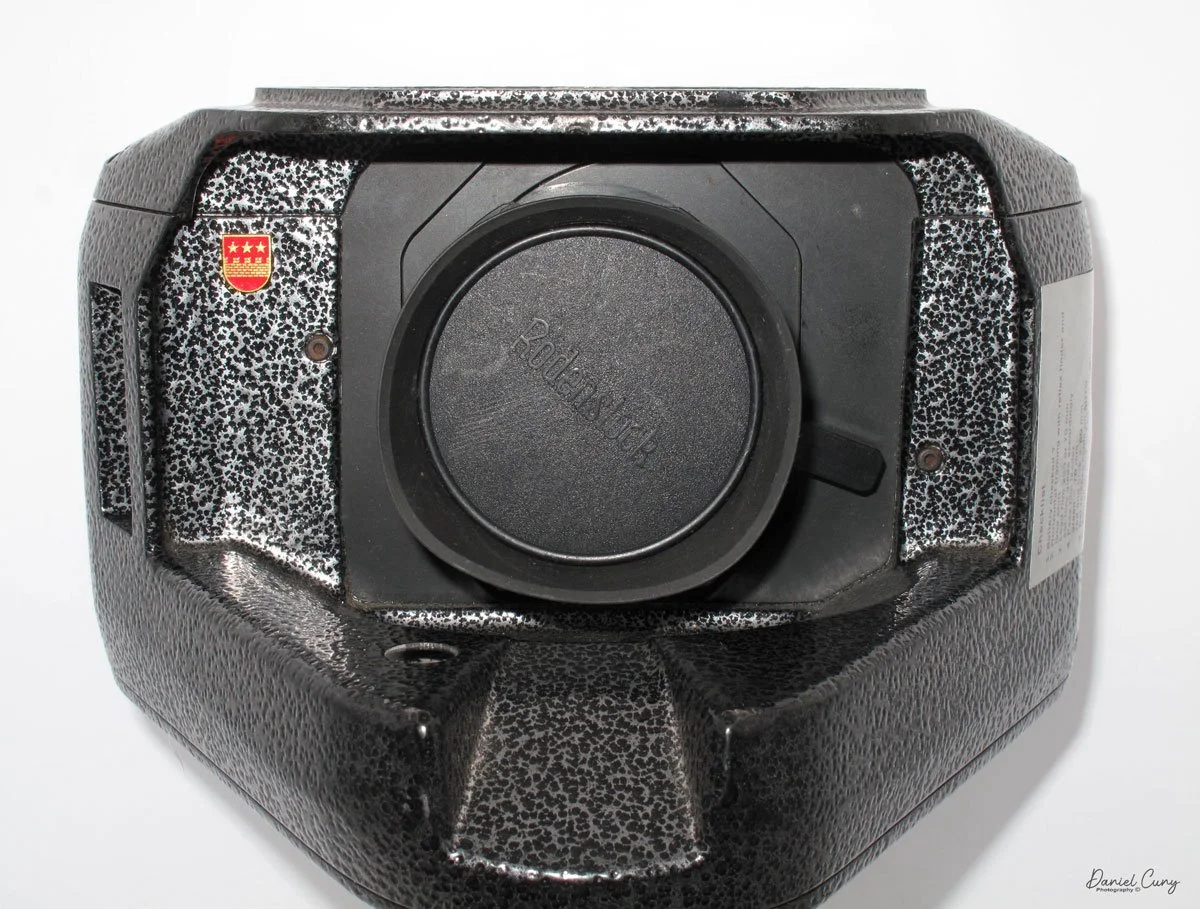
Fitted case for Photax 1 camera. Note the large plastic front cover.
IMPORTANT: Be sure to turn the chrome ring so that your lenses are in the taking position before you start taking photographs. Failure to do this will result in your pictures being incredibly out of focus. On other MIOM cameras, if the lens is in the transport position, the shutter will not work. Unfortunately, with this camera, the shutter works when the lens is in the retracted or transporting position.
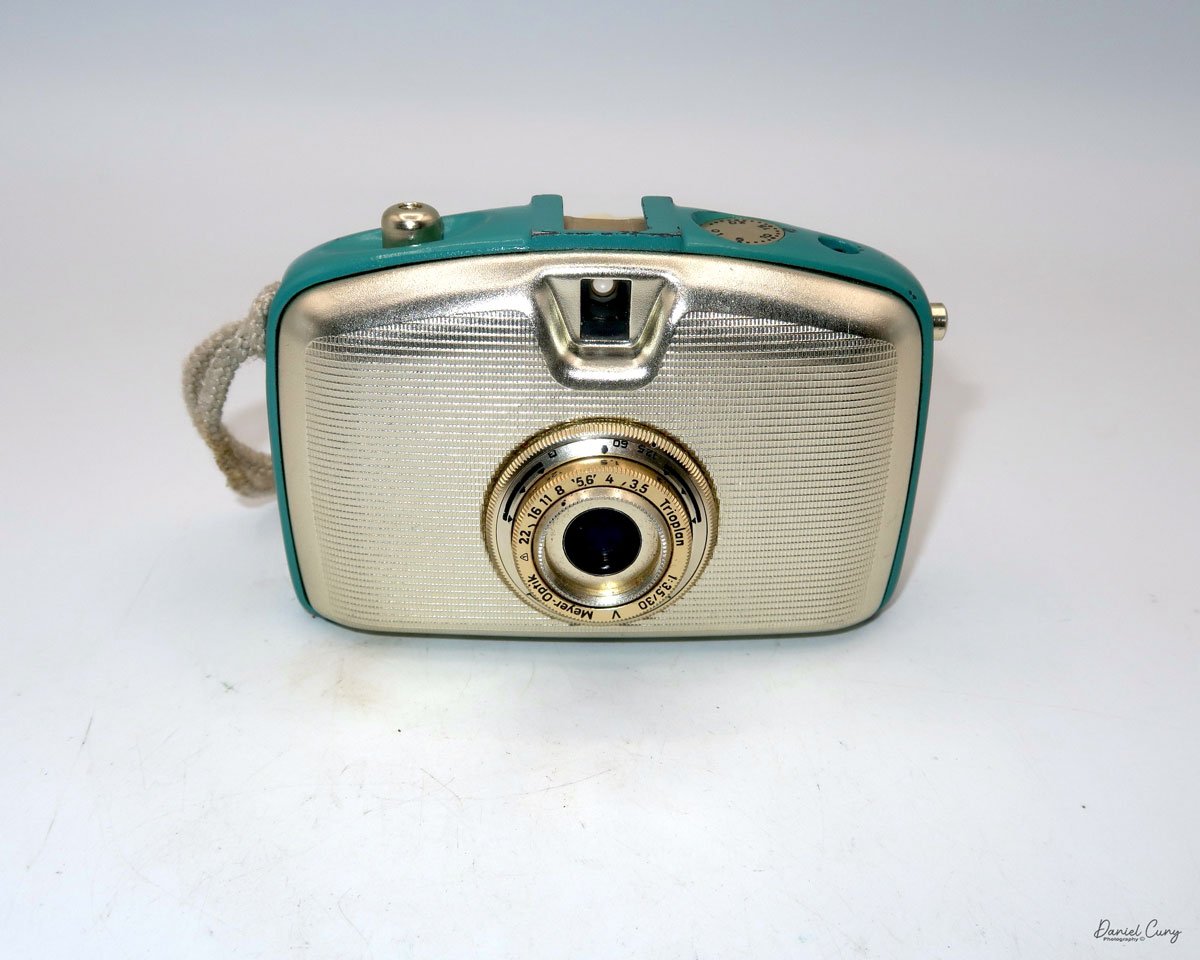
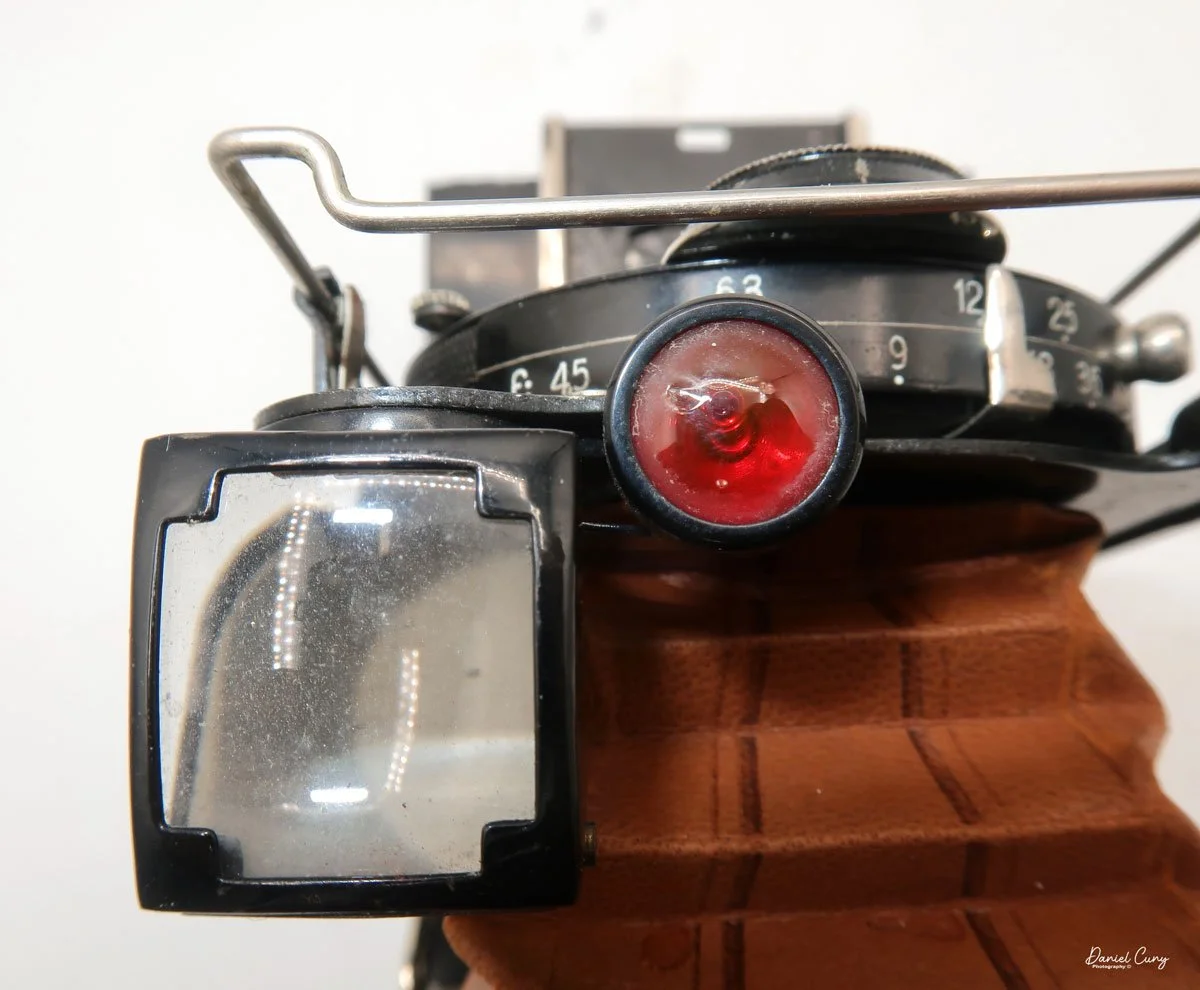
The viewfinder on top of the camera is tiny, making it difficult to view your subject when framing your photograph. To take your photograph, the shutter release is located in the upper right-hand corner of the lens. Press the shutter button to take your picture. My camera has a cable release socket, and on the bottom of the camera, there is a tripod socket as well.
My Results:
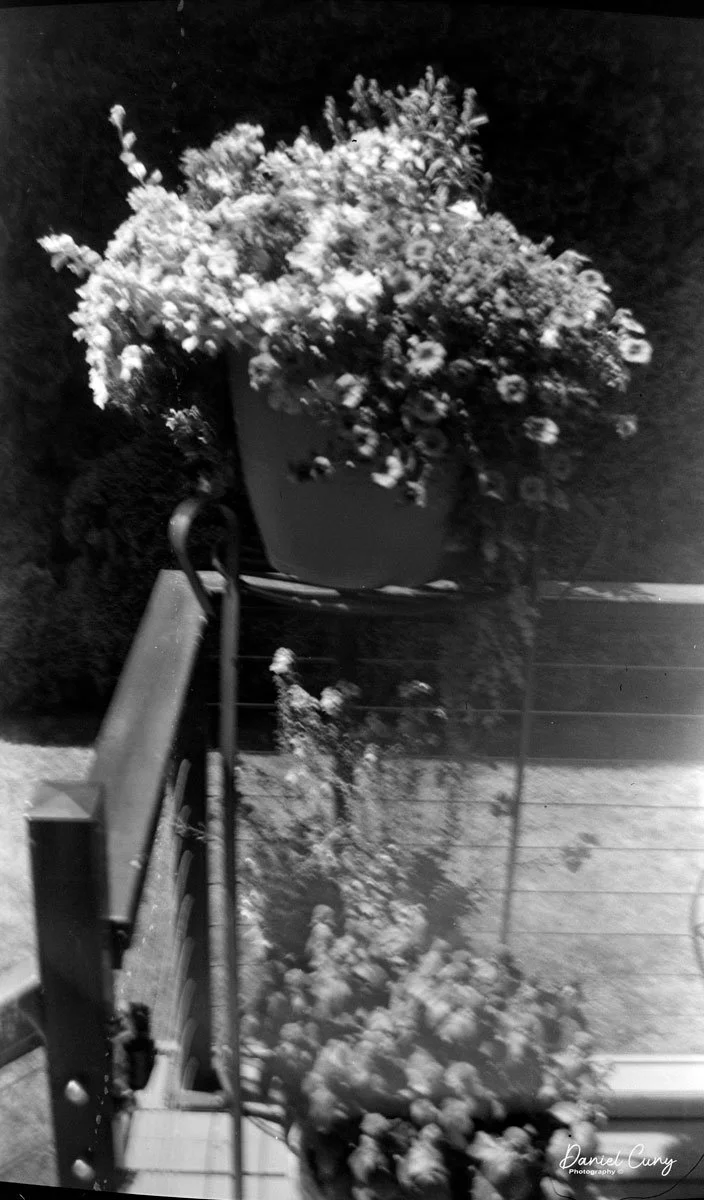
I cleaned the lens on the camera, loaded a fresh roll of 120 film, and took a walk around the neighborhood to see how this camera would perform.
For 100% transparency. I broke my arm two days before I took these photographs. It was challenging to hold the camera while taking the photos, so some of the blur or out-of-focus images may have been caused by camera movement.
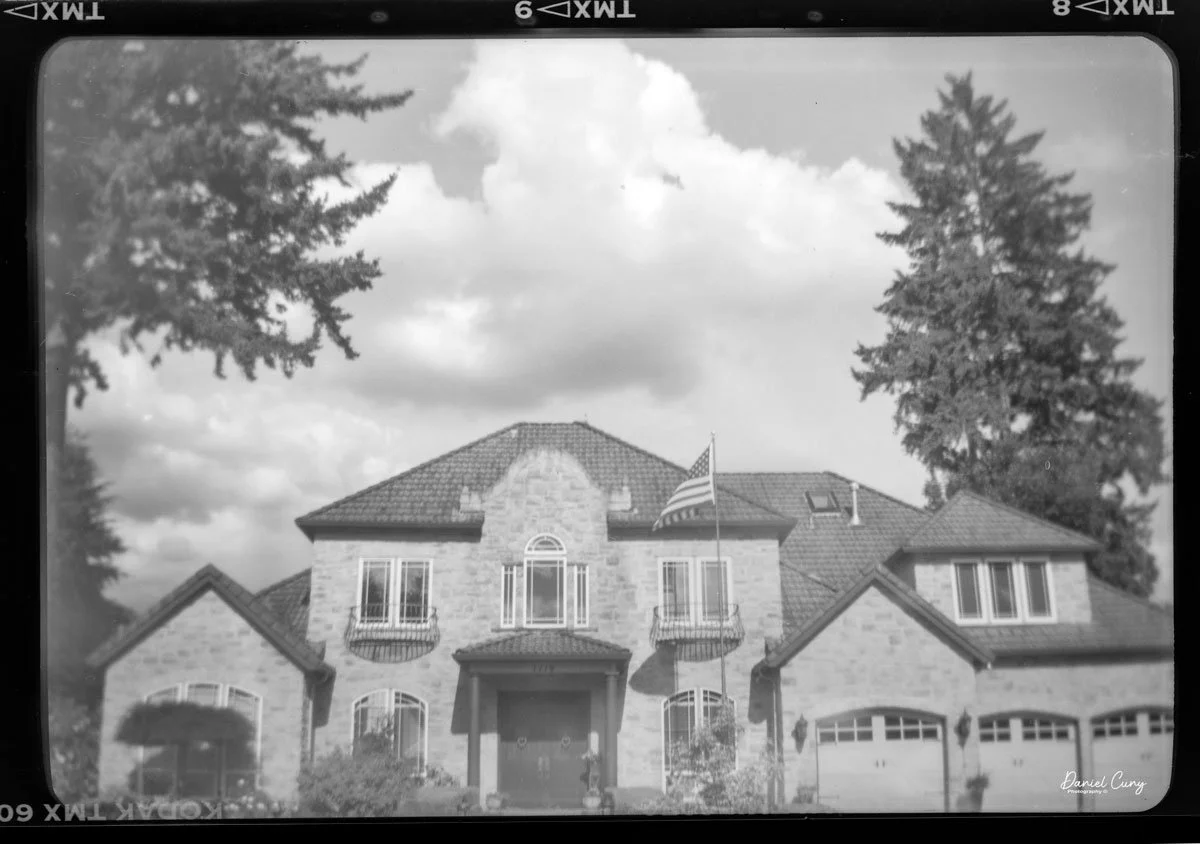
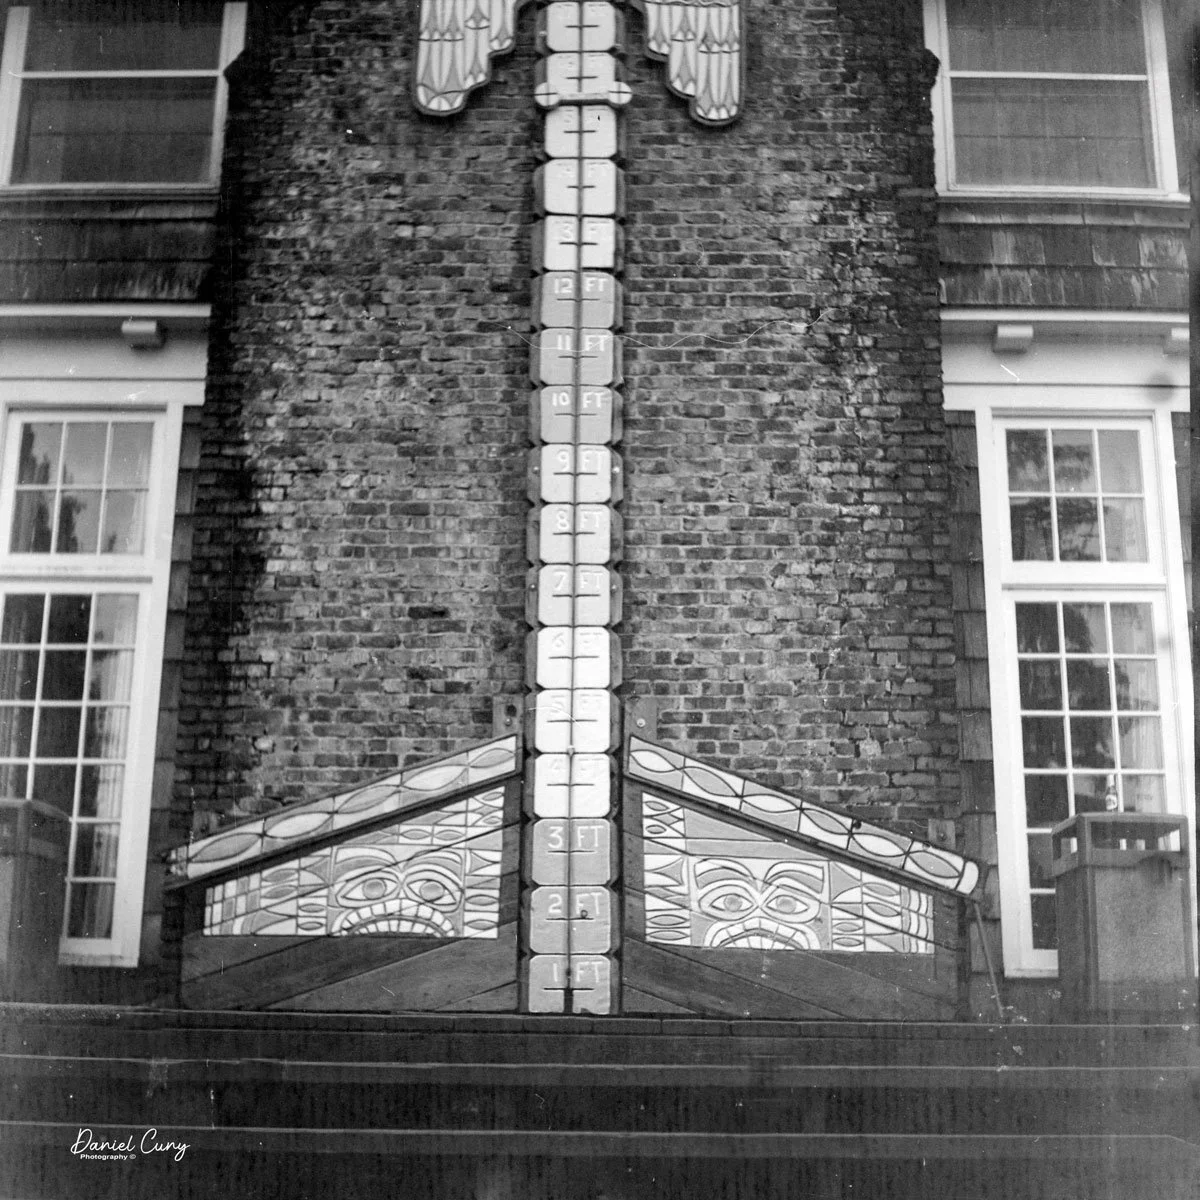
Here are the results.


Conclusion:
The images produced by the camera were disappointing. I'm not sure if the blur in the
photo was caused by my lack of holding the camera still. According to the information on the back of the camera, the minimum focus distance is approximately 1 m. Many of the photographs I took, I tried to be more than 1 m away from the subject.
Due to the sunny situation, having only one shutter speed to work with, and using the smallest aperture, the photographs are unimpressive. At this point, I'm not sure I'll use this camera again due to the quality of the images, which I found disappointing, especially considering it's a 6x9 format camera.
Thank you for taking the time to read about this interesting Camera from France, built in the late 1930s.
If you're interested in seeing other camera reviews, click the link.
I also have a store on eBay where I sell some of the cameras reviewed, along with a host of other photo items, Cuny's Camera & Photo.
Until next time, please be safe.