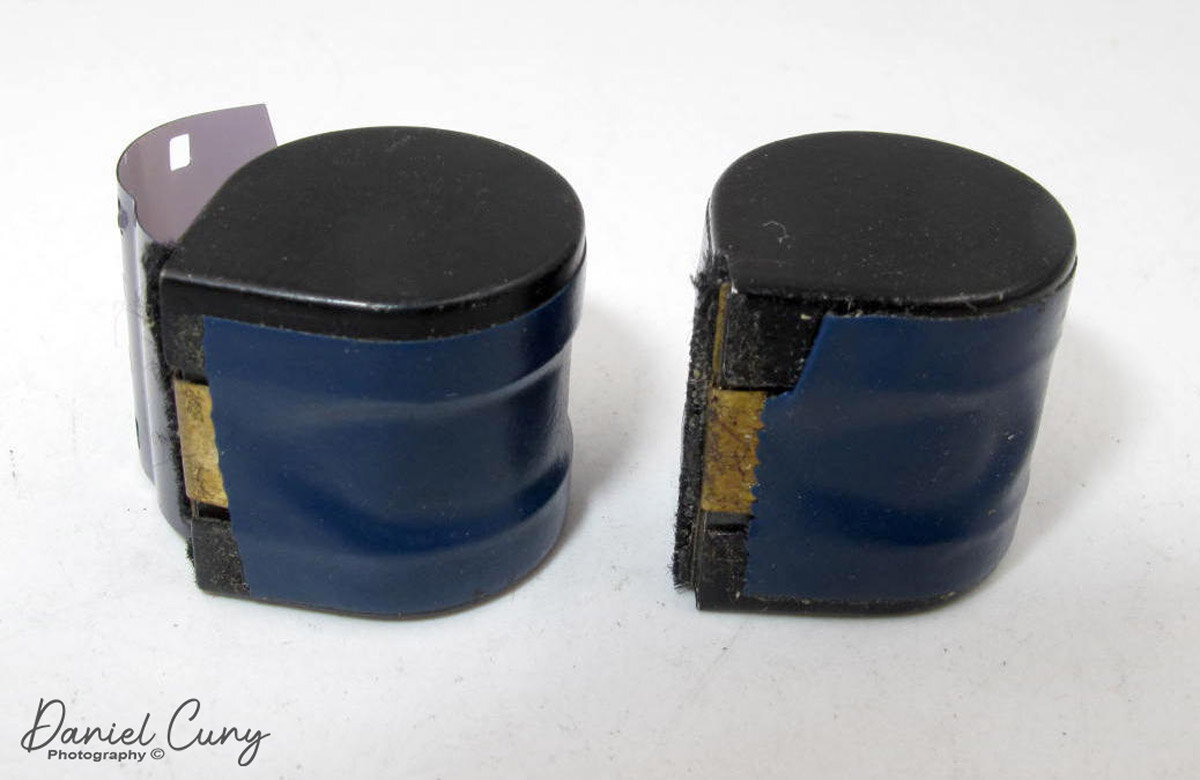
Early M.I.O.M. Camera

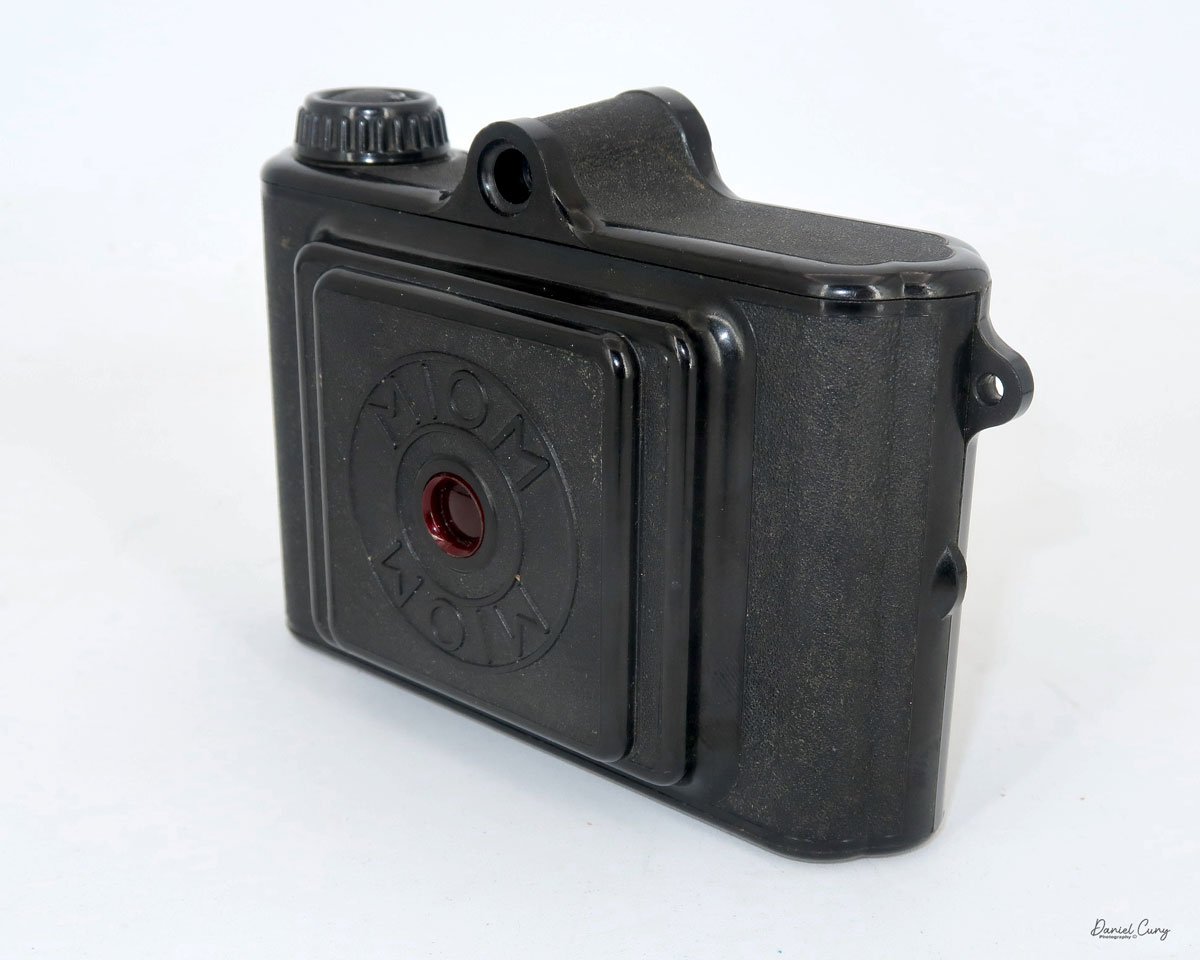
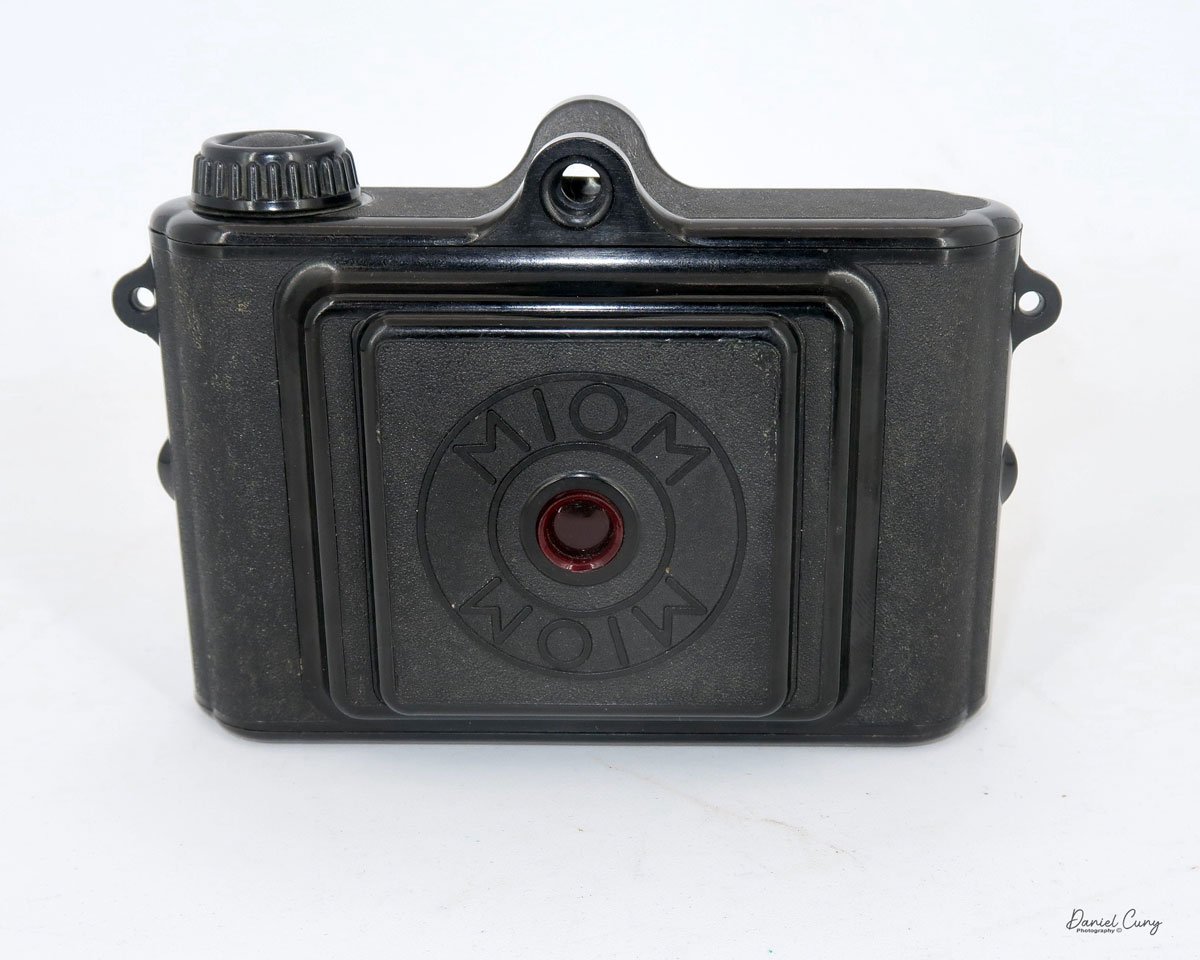
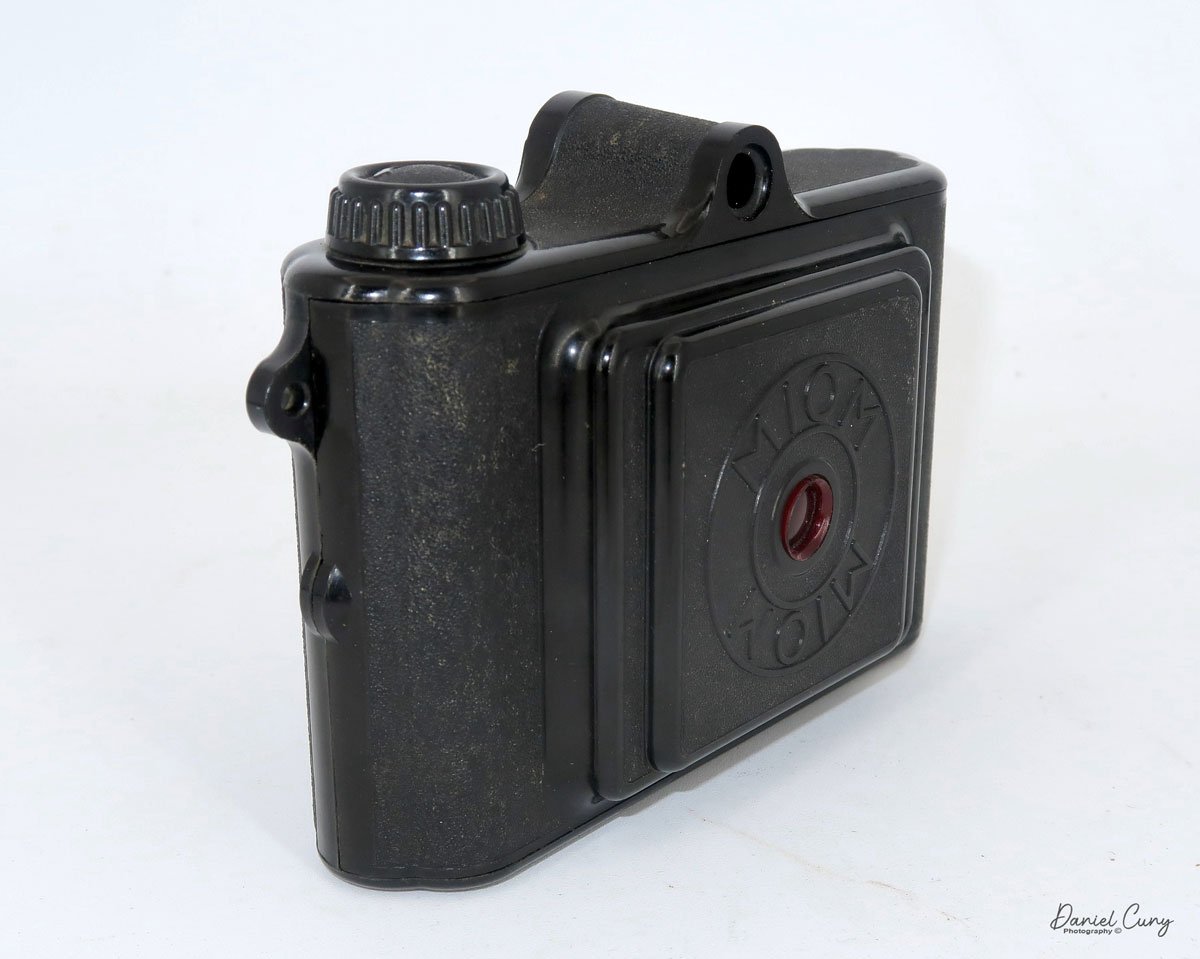
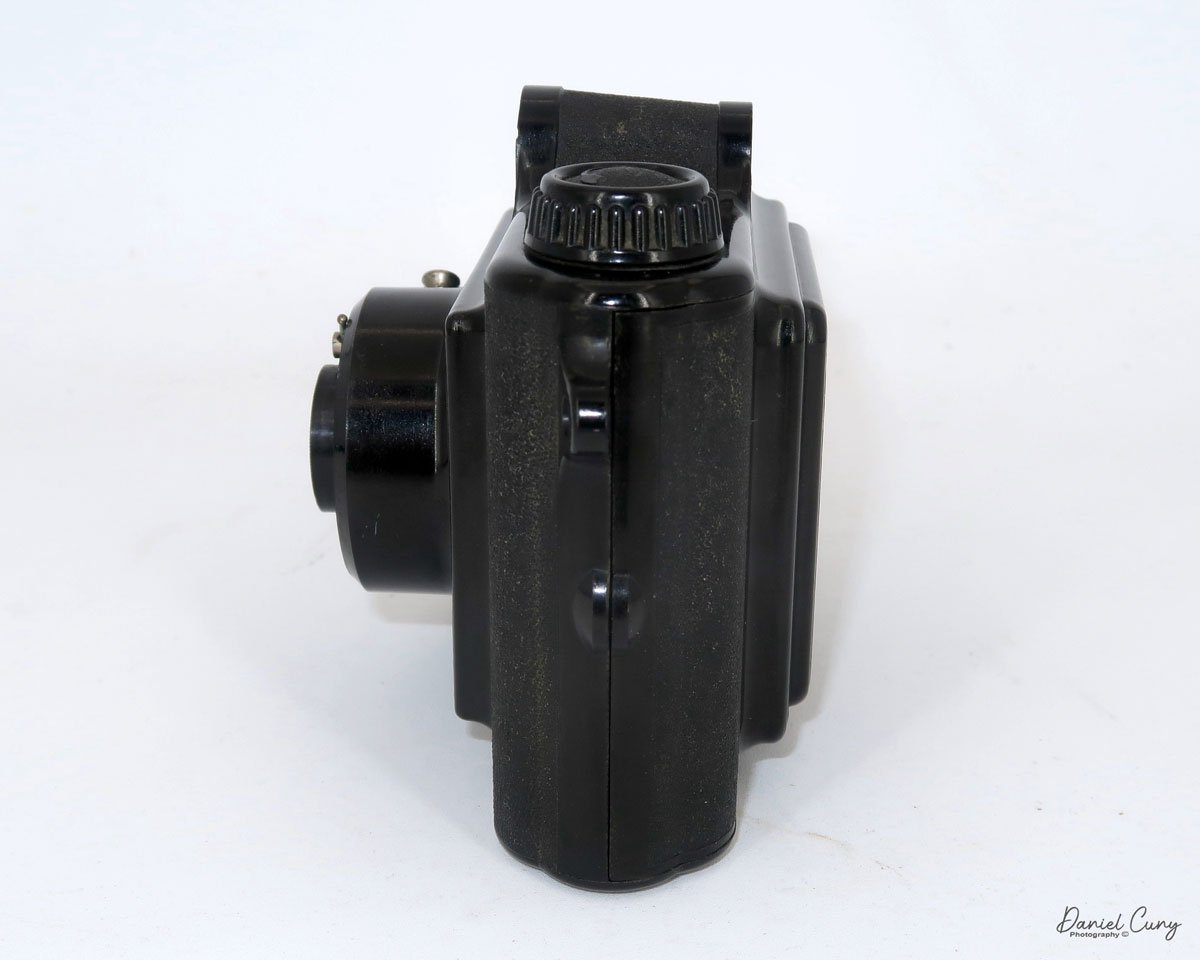
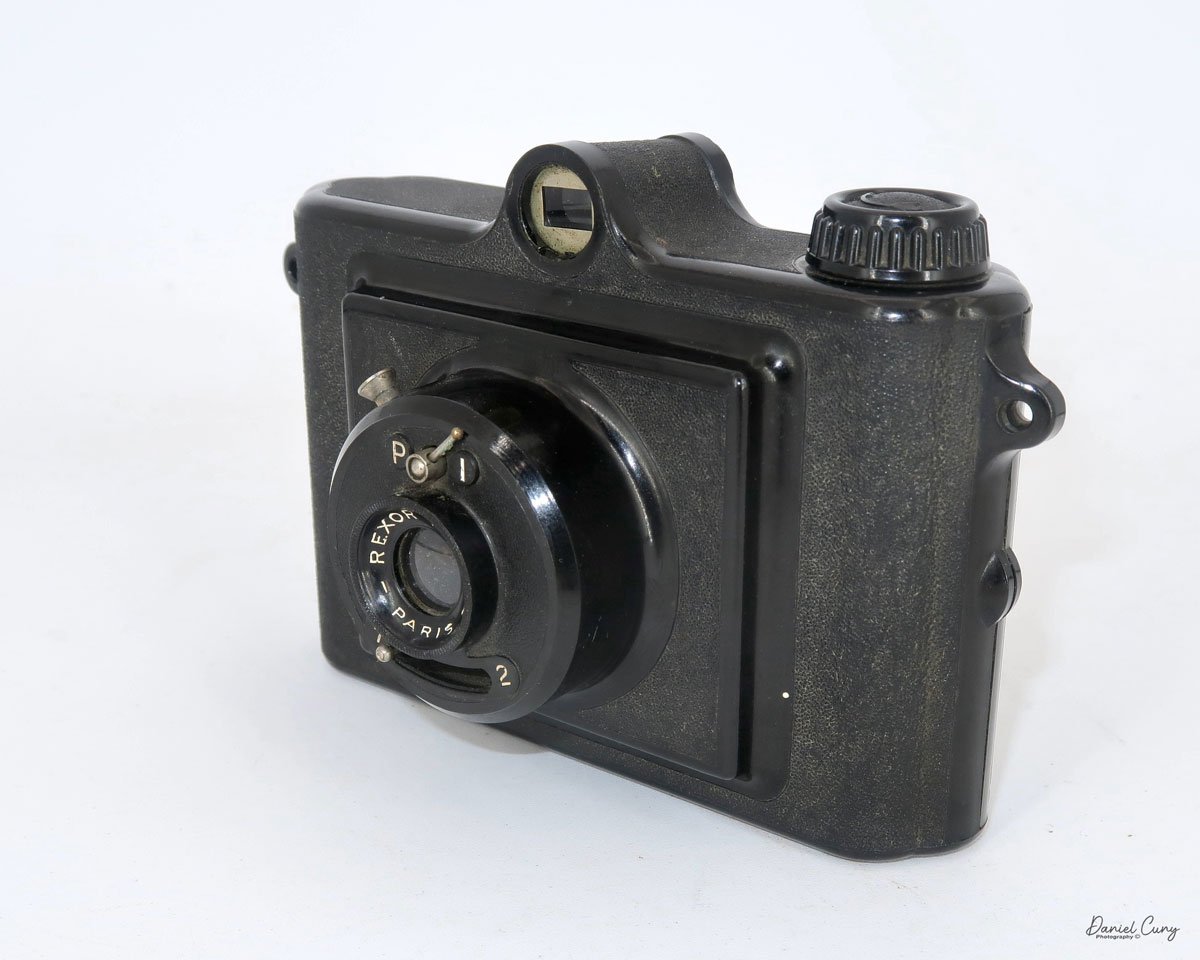
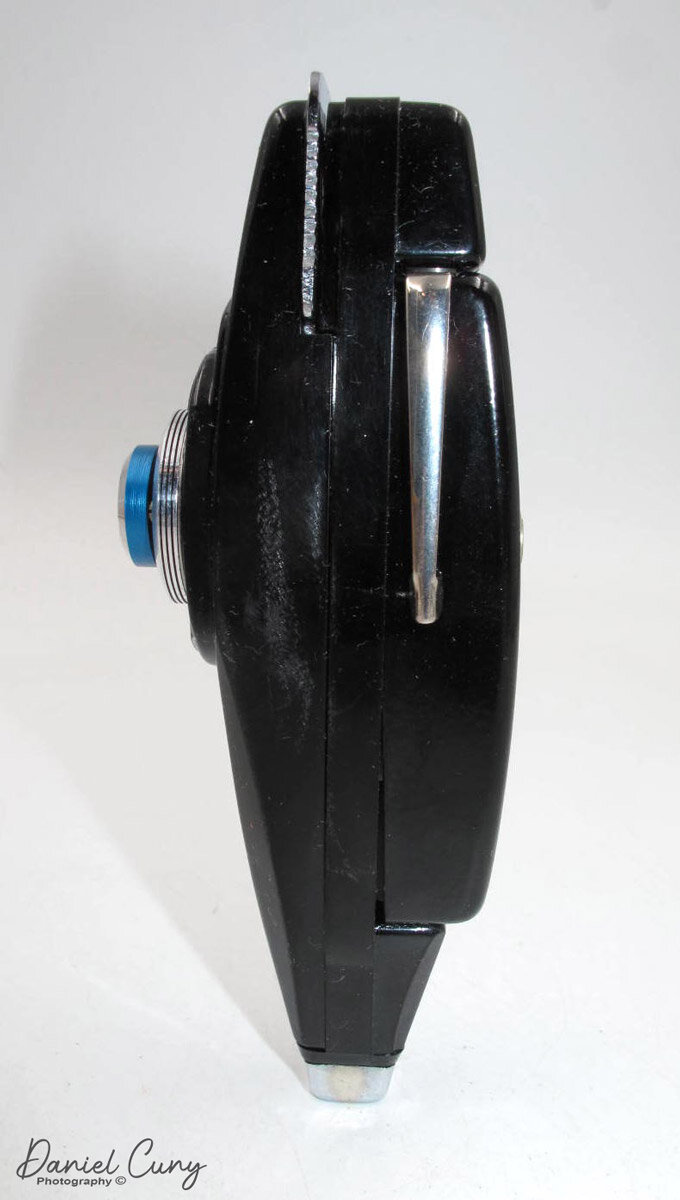
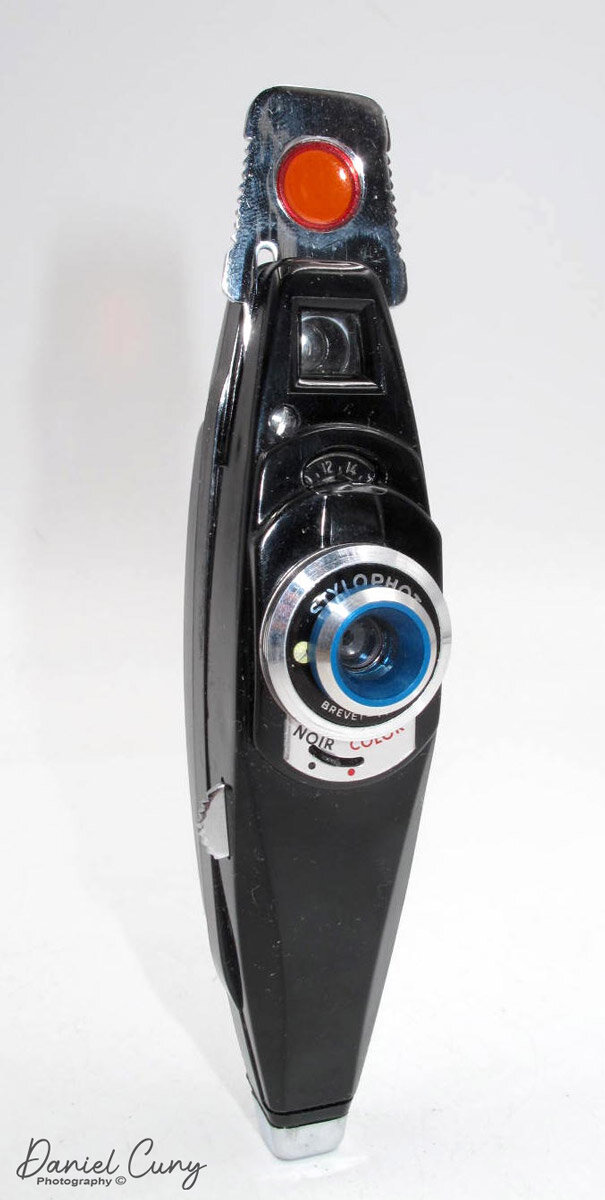
My early MIOM camera

This blog is a journey into the world of a camera I stumbled upon during our European escapade last year. Whenever we venture to a new destination, I make it a point to unearth the local flea markets, a treasure trove of unique cameras and photo items that are often elusive in the US. The thrill of discovering these items, especially being on the West Coast, where European finds are a rarity, is an experience in itself. 

 One of my favorite flea markets was just outside Prague, and my wife and I went to it. It was in an industrial area, and we took the train to get to it, but it wasn't so much the cameras and photo items found as the atmosphere of the place that made it memorable. I did find some great cameras there, too, that are harder to find on the West Coast of the US.

 While in Brussels, my wife and I went to a flea market in a square or small park in town. There were about 40-50 vendors there. Most of the items were in boxes with many other items, so you needed to rummage through a lot of items to find what you were looking for. I didn't have much time to look as my wife was under the weather, and it would start to rain later in the morning. I picked up a few Rollei parts for a reasonable and fair price along with this MIOM compact bakelite camera, for which I paid 1-2 euros.

The Company:

Let's delve into the intriguing history of MIOM, a brand that has left an indelible mark on the world of photography. The journey of MIOM begins in 1887 with architect Félicien César and engineer Fabius Henrion, who founded the local lighting distribution company: 'Fabius Henrion et Cie,' with a capital of 100,000 francs in the Nancy and Lorraine region. Despite facing numerous challenges, the company's legacy was preserved when it was acquired by the CGE, Compagnie Générale d'Électricité (General Electric Company), in 1898.

 MIOM, an acronym for Manufacture d'Isolants et Objets Moulés, (Manufacture of Insulators and Molded Objects) was a subsidiary of the Compagnie Générale d'Électricité (General Electric Company) which started in 1929. As the MIOM name suggests, It was created to produce electrical components for the company. 

 As photography grew during this time, MIOM created a photographic department in 1937 that molded simple cameras in "Cégéite," which was similar to what we now call bakelite. The name derived from the name of the parent company: the Compagnie Générale d'Électricité.

MIOM's early cameras were very similar to the model I have. They were very flat in appearance and used 127 film to produce 6x4.5cm negatives. Some of the other early models were the Rex and Lec Junior. I believe the model I have is only known as the MIOM, which is printed on the back. There is no camera name produced on the camera like the REX or other cameras of that time.

MIOM Ad in the 1930s

Then, in 1938, the cameras took on a different appearance, resembling the Czechoslovakian Pyonyr cameras, designed by Fritz Kaftanski, who had recently moved to France to get away from the war problems taken on within that region during the late 1930s. It's suspected that Fritz Kaftanski was involved in the design of the newer Photax camera.

 The Photax cameras had a larger negative area, used 620-size film, and produced 6x9cm negatives. The Photax design had a lens that rotated out from the body on a helical and included a very simple shutter that only worked when the lens was in the extended position.

This new system was beneficial to amateur photographers at the time. It prevented the camera from accidentally taking a photo if the lens was retracted. The new Photax camera also included lenses from Boyer, a French optical company that produced wonderful optics.

 Photax cameras were the best-selling cameras in France for 20 years and produced cameras well into the 1960s, with the Photax VI released in 1966. However, like many European camera manufacturers of the era, MIOM faced significant challenges in the 1960s with the rise of Japanese brands such as Nikon, Canon, and Minolta.  

 Today, MIOM's legacy lives on in the vintage camera market, where its models are sought after for their distinctive design and the quality of their optical systems. The story of MIOM reminds us of a golden age in photography when craftsmanship and innovation defined the industry.

My Camera:

This description should be straightforward and short, as this camera is simple without many bells or whistles. However, its simplicity and unique design make it a valuable addition to any vintage camera collection.

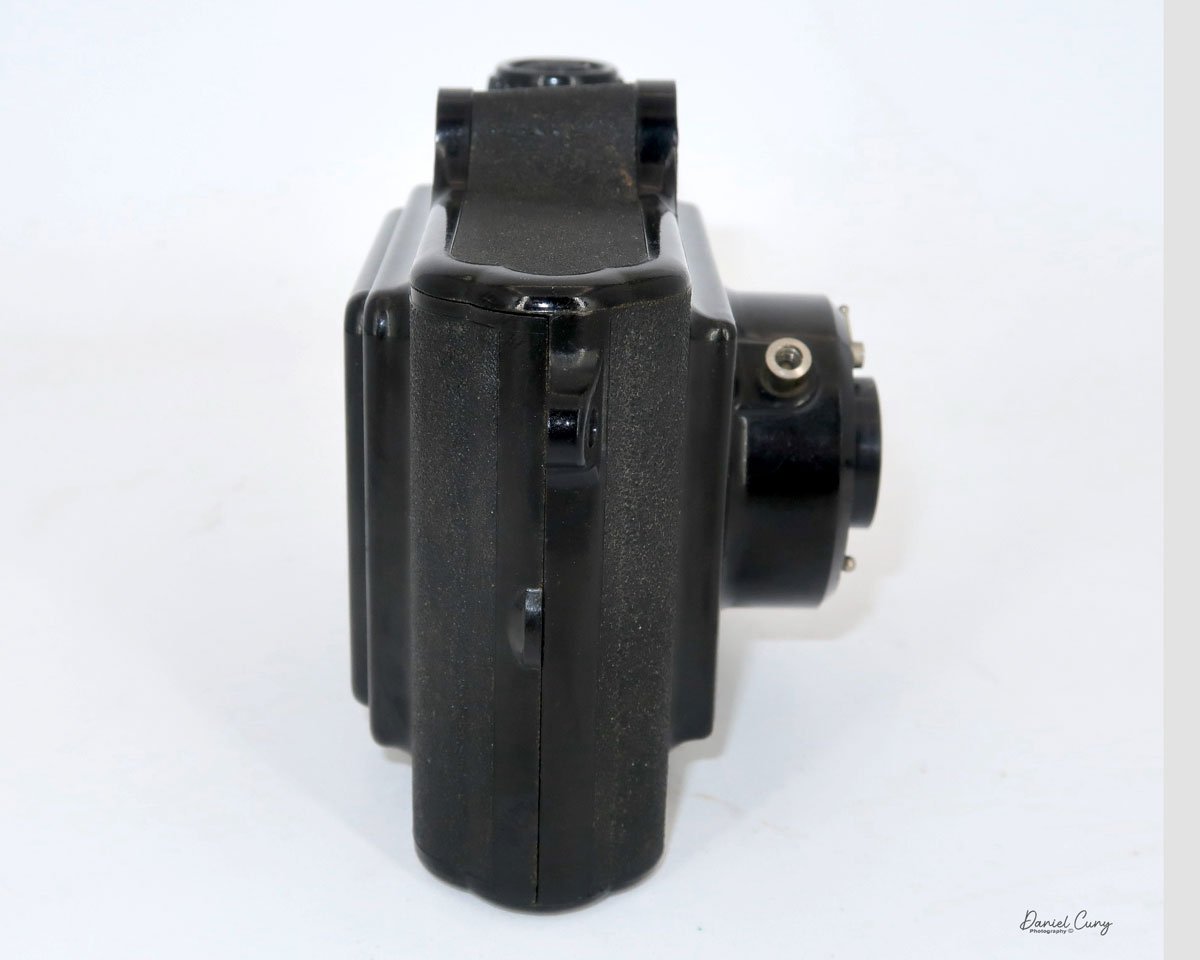
 My MIOM camera is 3.5" tall, including the viewfinder, by 5.5" wide, including the strap lugs, and 3" deep, weighing 9.4oz. It is very lightweight and compact. On the front of the camera, there are two shutter options. These settings are on the top and bottom of the 60mm Rexor lens, serial number 3147, on the camera. The camera has a crinkle finish within the acrylic, which makes the gripping easy and somewhat drop proof.
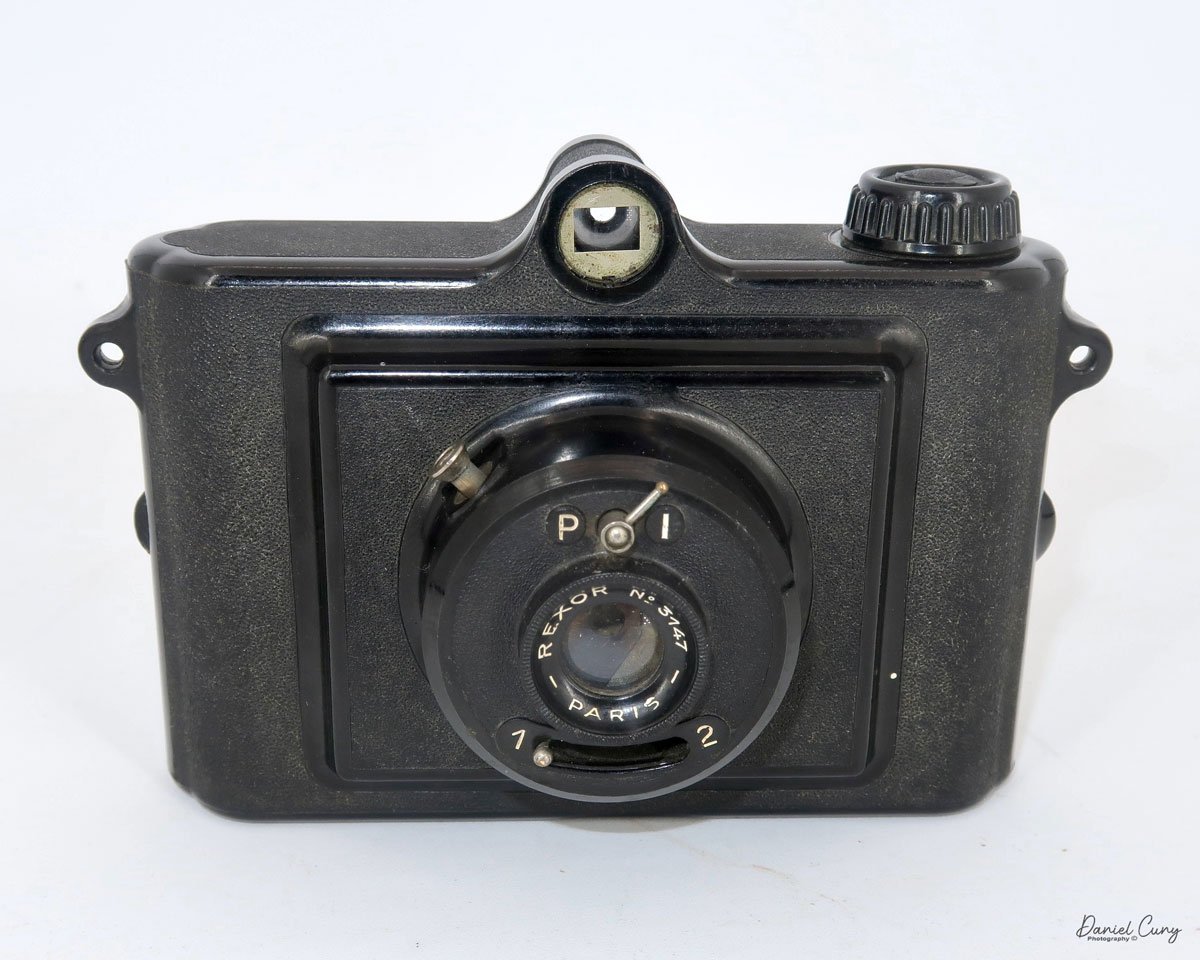
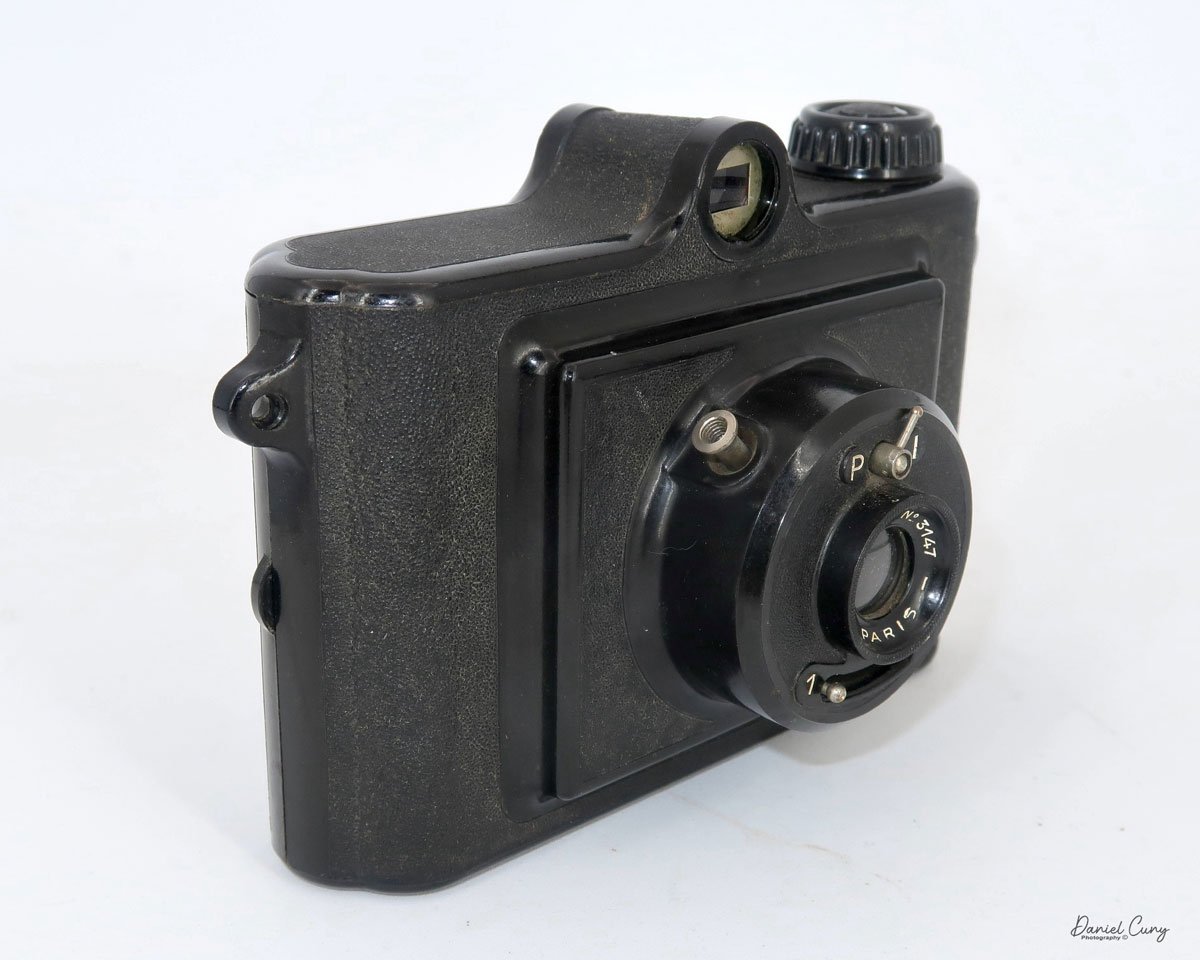
Above the lens are your shutter settings: "I" for instant, which has a shutter speed of approximately 1/50 sec., or "P" (B) for timed photos. Below the lens are two options for aperture settings. Looking online at other information on the Photax camera, the settings are 1 (Grand Diaphragme) for f16 or 2 (Petite Diaphragme) for f22. The words in the paratheses are written inside the camera's back door.

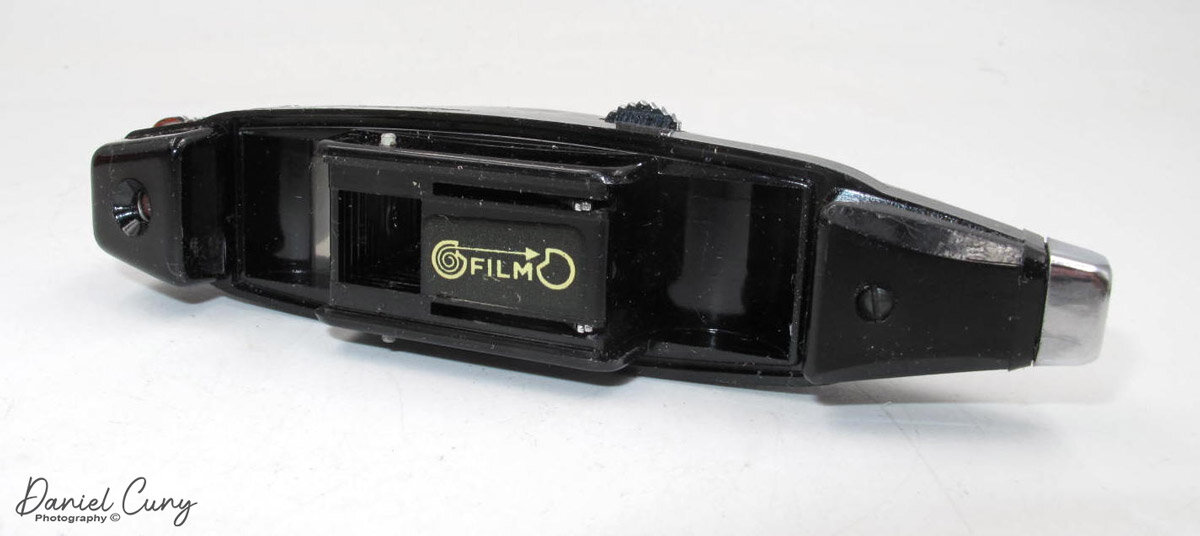
There is no latch or lock to hold the back onto the camera to load the MIOM camera with film. The back is held onto the camera's body with friction, and the back fits snuggly onto the camera's body. On either side of the camera are a couple of protrusions. I put my fingernail in between these nubs and pull, and the back will pull away from the body. You must do this on both sides so as not to crack the plastic and render the camera useless.

Once you get the back off the camera, I notice there are two red dots on the protruding nubs, which indicate which side fits together. The camera winds to the left, so you put the empty spool from the previous 127 rolls from the right side to the left and put the fresh roll of 127 films into the right side. Break the tape on the roll and bring the leader to the empty spool. Thread the leader into the spool slots and wind the film a few turns to ensure the film is lining up on the spool or until you see the arrows on the paper backing pointing outwards. Once you reach this point, it's time to put the back onto the camera. Once the back is on the camera, wind the film until you see the number 1 in the red window. Now you're ready to take the first photo.

 Once you take the photo and wind to the next frame, you'll get eight exposures on each roll of 127 film. Now that all the frames are taken, it's time to take the back off the camera and process your film.

My Results:

For total transparency, I had three rolls of older VP 127 film in my drawer. One roll's expiration date was June 1971. That roll went through the camera fine, but when I rolled the film onto the developing reel, something went array, and the film didn't process correctly. I loaded one of the other two rolls I had left, dated Sep.1968. This roll got jammed within the camera, so I'm unsure if I didn't load it properly or, due to the age of the film, it broke, but the film was very crinkled when I went to process it, and none of the images came out.

 It was an operator malfunction, and I didn't load it properly. Five rolls of film are arriving today from one of my favorite camera stores, Glazer’s Camera, in Seattle, WA, so I'd like to take the film, process it, and scan the images today.

I received the film, loaded the camera, walked through the neighborhood, and took images. Luckily, this roll turned out, and you can see the results below.

My Conclusion.

I'm writing this portion of my conclusion before I have images from the camera, so at this point. In contrast, the camera is compact, and an earlier version of the MIOM cameras made, the film issues have made the experience somewhat frustrating. Once I get the images, I'll complete my conclusion and give you an honest assessment of the camera.

The images confirmed my suspicions. The camera was made to put cameras in the masses hands and for them to go and take photos of friends, family, and memorable moments. This camera did a decent job for a camera almost 90 years old. The plastics are rugged and on my camera, I’m missing the rear viewfinder glass so it was a bit more difficult to fame the images, but overall a decent camera.

 Thank you for taking a few minutes from your day to read about this early version of the MIOM cameras.

 Until next week, please be safe.

Gallus Derlux Camera

I can still remember when my wife and I visited Paris about 10-12 years ago and went to a small flea market in one of the arrondissements we were staying near and seeing for the first time the Gallus Derlux camera. My first impression was the camera needed the leather coverings that usually adorn cameras. Still, upon further inspection of the camera, it was made to have a silverish metal body as its covering. This was a camera I needed to have since its appearance was so different from any camera I had seen in the past.

My Gallus Derlux camera

 That was the first Gallus Derlux I've owned over the years. I sold that camera at the Paris flea market a couple of years after purchasing it, and I have bought and sold a couple of other Gallus Derlux cameras over the years. Recently, I had the bug to purchase it again to add to my collection. 

 I talked to a fellow camera collector, and he told me he had one and would sell it to me for a reasonable price, as I know he's downsizing his collection. I need to do the same thing but I purchased it from him. This camera has a working shutter and a nice pouch case. At this point, since I've had a few of these in my life, it's time to put some film in the camera, take it for a spin around the neighborhood, and write a post on it.

The Company:

To discuss the camera company, Gallus, we need to include the German company Foth in this discussion. After WWII, Gallus, which was in Paris, was either licensed by Foth or Foth moved their operation to Pari and renamed the company Gallus due to what was going on in Germany after the war. Let's start with a bit of information on Foth and work our way forward.

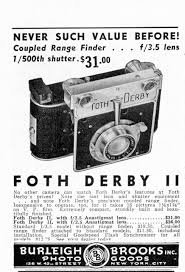
 The C.F. Foth Company, established in 1930 in Berlin, Germany, gained recognition for its innovative design and engineering of compact cameras. The Foth Derby series stands out as a celebrated line of cameras known for their portability, affordability, and reliability. The original models were a less expensive alternative to the more expensive Leica and Contax cameras of their time, but they utilized 127 film as opposed to 35mm from Leica and Contax. These cameras catered to the needs of amateur photographers and gained a reputation for their high-quality performance in a compact form.

 The Foth Derby cameras were introduced in the 1930s and remained in production through the late 1940s. They were designed with portability in mind, featuring a folding bellows system and compact dimensions that made them a popular choice for travelers and casual photographers. The cameras used 127 roll film, producing images in 4x6.5 cm format, a size well-suited for personal and artistic photography.

One of the defining features of the Foth Derby was its focal-plane shutter, which was uncommon in compact cameras of its time. This shutter system allowed for faster shutter speeds, up to 1/500th of a second, allowing photographers to capture motion and shoot in bright lighting conditions. The Derby series was also equipped with high-quality lenses, such as the Foth Anastigmat, or later upgraded models like the Foth Derby Anastigmat f/3.5, ensuring sharp and well-resolved images.


The Foth Derby evolved through several iterations, each offering incremental improvements and adaptations to meet changing photographic trends. Here are some general differences:

  1. Foth Derby I (1930): The original model featured a basic lens and a simple shutter mechanism. It utilized a 24x36mm format on 127 film and was praised for its ease of use and portability, making it accessible to novice photographers. 

  2. Foth Derby II (1931-): This version introduced the 3x4 (30x40mm) film format. The camera's build quality was also refined for greater durability, and several different lens options were offered.

  3. Foth Derby III (1935-39): This model had several different viewfinder and lens options. Some models had interchangeable mounts that allowed the use of some Zeiss and Dallmeyer lenses.

  4. Foth Derby IV (1936-40): This model had an aluminum front standard that housed an integrated rangefinder for focus. It also offered a choice of different lens options.

 Somewhere around 1937, the combination of both Foth and Gallus became intertwined because in 1937, Foth came out with:

  1. Derby V: Made by C.F. Foth & Cie in Paris. It still has the 30x40 film format on 127 film, but the build quality was a bit rougher coming out of the French factory.

  2. Gallus Derby (1937-) was the start of the Gallus line of cameras, taken from the Foth Derby. The build quality was rougher than that of the German-made cameras and about 10% heavier.

 As a collector, you can see the progression of design and features from the Foth Derby and how it morphed into the Gallus Derlux, using part of the Derby and Delux naming and wanting to separate from the originating company.

My Camera:

My Gallus Derlux camera is 5" wide by 3" tall by 2" deep with the lens retracted and 3" with the lens extended in the usual picture-taking position. My camera weighs just under 15 oz, at 14.9 oz. and has a Gallus 50mm f3.5 lens built into the camera. The camera is a fundamental one without an integrated focusing system, but rather a simple viewfinder on top of the camera for general framing of the photo you desire. The Gallus Derlux has a vertical focal plane shutter and takes 16 30x40mm exposures on a roll of 127 film. 

To take a photo, you must pull the front lens section from the body. The lens plate has a small "hump: on the top and bottom to grip onto to pull the lens plate away from the camera body. The lens plate is on a strut on either side of the plate, which exposes the internal bellows built into the camera. After taking photos, you push the lens plate back into the body, where it stays for transportation. This makes the camera slimmer and more manageable to slip into the case or pocket for transportation.

 The lens and focus system are located on the lens plate. To focus the lens, hold onto the larger focus arm, which is very similar to what's used on the Leica system, and rotate the helicoid lens to the desired guessed distance to the subject. There is a stop arm, so you cannot unscrew the lens from the body. The minimum focus distance is 1 meter to infinity. The aperture settings are on the lens. The aperture goes from f3.5 to F18. To adjust the aperture, turn the lens to the desired aperture settings, which is the same indicator that tells the focus distance. This makes it easy to use because you can set aperture and focus in the same area.

The shutter speeds are set on the camera's top. The shutter speeds go from 1/500 down to 1/25, along with "B" for timed exposures. To set the different shutter speeds, you need to lift the shutter speed dial and rotate the dial to the desired speed, which is indicated by a small dot. You also need to wind the shutter to cock the shutter as it's not incorporated in the winding process, which is what most current cameras have. To cock the shutter, just turn the knob on top of the camera, which have the shutter speed on it in the clockwise direction until it stops. The shutter is now cocked and ready for the subsequent exposure. The shutter release is located on the front of the camera on the right side and just next to the film plate.

Shutter speed dial. Lift and turn to set speed..

The Gallus Derlux utilizes two red (and green) windows on the back of the camera. These two windows are inside an immense depth-of-field scale on the back of the camera. Two windows allow the photographer to get 16 images on 127-size film. 

Back of Gallus Derlux camera

The film doors release is located on the right side of the camera to load the camera with film. Pull down the release button and swing the door open, which exposes the film chamber. Take the blank 127 reels from the right side of the film chamber by pulling up the knob above it and taking out the blank reel. Put the blank 127 film reel into the left side where the film transport knob is located. Lift the winding knob to insert the blank reel. Put your fresh and unexposed roll in the right chamber and press down the knob that holds it into place. Put the paper from the unexposed toll into the blank reel and wind it, ensuring the film moves. Stop when you see "start" and close the back of the camera.


To get 16 exposures on your roll of 127 film, wind the roll of film in the camera to frame number 1 to the first window, which on this camera is the window on the right-hand side of the backdoor. After you take that photo, wind the film until you see frame number 1 in the other window or the one on the left side of the backdoor. After you take that photo, frame number 2 will appear on the right side of the red window. Continue this process until frame number 8 is taken on the left side of the window. Wind until the film is all the way onto the take-up spool, open the back, and take the film out for processing.

My Results:

I put a roll of 400 ISO film in the camera and wandered around my backyard and the neighborhood streets. I used 400 ISO because the fall and winter in my neck of the woods are usually overcast. During my walk, the sun just so happened to come out, so I was forced to use the faster speeds on the camera.

After I took the photos and processed the film, I also noticed a gap between the two shutter curtains when winding the shutter to the next photo, causing a light leak on many of the images. I must have pointed the camera down or had the lens in a darker area several times because there were a few good images, but many were terrible. I also don't have a lens cap for this camera, so the next time I use the camera, I'll need to cover the lens when cocking the shutter so I don't expose the film to light before or after exposure.


If you have this or similar cameras and are mechanically inclined, I found a great article on someone overhauling the shutter on his Gallus Derby Lux camera.


Conclusion:

This was a fun camera to use. It's very simple, takes a nice larger image, and is small and compact. I'll need to find a lens cap for the one before I shoot again or just place my hand over the lens when cocking the shutter.

 Thank you for taking a few minutes from your day to look over this post.

 Until next week, please be safe.


Marchand Fischer Baby Camera

Whenever my wife and I visit a foreign city, I check to see if the town or a surrounding city has a Flea Market to check out the local market of used and collectible cameras. This spring, my wife and I returned to Paris, which has a robust and large Flea Market area that thrives on the weekends. 


The Flea Market, which comprises smallish stalls selling goods from carpets to antiques and almost anything imaginable, was a used camera store. It was not in the flea market but on one of the main roads surrounding the markets. Looking around the camera store, I noticed that the shop owner had many great cameras, but one that caught my eye was the Fischer Baby camera made by Marchand.


The Company:

I don't have much to say here, as I've searched the Internet and cannot find out much about this company. It's most likely because they were a small French company in Charbonnieres, France, after WWII. They produced a minimal amount of toyish cameras in the 1950s sold in toy stores. Due to their build quality, which I'll get into more when I explain the camera below, they were poorly received and, therefore, went out of business.

 If you or anyone who reads this post knows anything about Marchand Co., which produced these cameras, I'd love to know, and I will update the blog post with that information.

The Camera:

There are a few items that drew me to this camera. The faceplate is typical, but it does have a 6 on one side of the lens and 9 on the other. My first thought was that it was a fascinating film format. I'm a real enthusiast of anything panoramic, so this was the first light bulb in my head. Then, when I got closer to the camera and picked it up, the bulbous size and extremely light weight of the camera were pretty fascinating. It has almost a circular look and feel to the camera. Being someone who enjoys panoramic cameras and images, the 6x9 format made this very intriguing.


The camera is straightforward and similar to a Box-style camera but even simpler as there is no aperture setting and only two shutter speeds. The Fischer Baby has a very simple shutter with a bulb setting  "P" for time exposures and an "I" setting for instant. The camera's shutter, at least on my camera, "clicks" when you press the shutter button down, which exposes the film, but it does the same thing when you pull the shutter button up to what most people would think it to be the starting position. The shutter speed is about 1/80th sec, and possibly even slower.

Another fascinating point about the camera is how thin the plastic is. It doesn't have a lot of "heft" to it, and it's pretty light—the camera loads like any other simple point-and-shoot style camera from the late 1940s to mid-1950s. There's a red window on the back of the camera so you know when you're at the next frame to take a photo. The transport continues, but you can wind past the next frame if you're not careful.

 The Baby Fischer has no frills in its design. Two clips on the side of the camera keep the front of the camera attached to the back of the camera. There is no locking mechanism, and the clips could open easily, exposing the photos already taken. My camera is missing its strap because one of the eyelets has broken off, which I'd guess is pretty standard due to its build quality.

The Results:

My first impression was that this camera takes 120 film. When I went to load the film, the 120 roll was too big, so I thought this must be a 620 film camera. Its re-spooling capability allows you to re-spool 120 films onto a 620 reel. I found an empty 620 film spool and a 120 roll of T-Max film, put them into my dark bag, and re-spooled the film.

 I had never done this before, and when I took the film out of the dark bag, it looked OK. It was not professionally done, but it was my first time doing so. After loading the film into the camera, I took photos with my second spare 620 spool.

 The results showed that my re-spooling wasn't perfect. In fact, it was poor, as there was some light leakage coming from the end of the spool where the film wasn't tight enough. Other than the light leaks, the results were pretty good.

The Conclusion:

After walking around my backyard and in front, too, the camera could have been better to work with. The viewfinder was challenging to look through and not precisely in its proportions. The winding was OK; you can see the film advance and frame numbers in the red window on the back. Since there wasn't a strap on my camera, I had to carry it, which wasn't uncomfortable, but I was always thinking about not dropping it. I'm glad I did a post on this camera and have already picked the camera for my next post, which will be on the Exakta 66 camera.

 Thank you for reading this post. I appreciate your time. Until the next post, please be safe and well.