My Canon Demi camera.
I've never really been a big fan of Canon cameras, as I've always been a Nikon person. In my opinion, Canon cameras weren't well-made, especially in the 1960s, when this camera was manufactured. Their line of early rangefinder cameras has nice optics and is comfortable to shoot with, but I just prefer the Nikon line.
One of my frustrations with Canon was working in a camera store during the 1970s, when the unbelievably popular Canon AE-1 was introduced. For over a year, the camera was the top seller in our chain of stores as we couldn't keep them in stock, and people absolutely loved it. Personally, I think that Canon held back production on the camera to add to the mystique of having a camera "hard to get", which added to the popularity of the camera. Daily, we had so many questions about that camera. Today, I could do a demo on the camera with my eyes closed.
I don't remember the exact year I purchased the Canon Demi camera, but I know I've had it for several years. My guess is it's been about 8-9 years. I do remember, I purchased the Canon Demi camera at a flea market, mainly because the camera was red, and I'm a sucker for colored cameras. Checking out the camera at the time, it had the original red camera case, and the person who sold it to me said the camera's meter wasn't working.
Having had many cameras with a selenium cell light meter, they tended only to last around 20 years or so until the selenium cell loses the ability to read light and work in cameras. I wasn't worried about that at the time of purchase, as the primary motivation to purchase the camera was that it was red and had a red case.
The Canon Demi was introduced in February 1963. The camera has a sleek and modern design from this expressive period. The camera has rounded corners and a straightforward point-and-shoot viewfinder with a zone focus system. It wasn't made to be a professional camera with built-in focus capabilities, but for the family and photo hobbyist. A selenium match needle metering system was easy to operate, keeping costs down for the consumer. By the end of 1963, the Canon Demi came in four colors: traditional, black, white, blue, and red. These colors didn't last long and were quickly discontinued.

My Canon Demi with wrist strap, and 27mm UV filter
Another advantage of the Canon Demi was that it was Canon's first half-frame camera, introduced four years after the Olympus Pen camera in 1959. Rolls of film at that time had either 20 or 36 exposures, so shooting 40 or 72 photos on a roll of film was excellent and considerably less expensive for the family to use.
In September 1964, Canon introduced the improved Demi S, which had a 30mm f/1.7 lens and an improved metering system.
In April 1965, the Demi C, with interchangeable lenses, was introduced. You had the standard 28mm f/2.8, and a 50mm f/2.8 was available for the camera.
The Demi Rapid, with a rapid loading system, battery-operated CD meter, and self-timer, was released in June 1965.
May 1966 saw the release of the very popular and top-of-the-line Canon Demi EE17. This camera was the same as the Demi Rapid without the rapid loading system.
In April 1967, Canon returned to the original style with the Demi EE28, back to the Selenium cell metering system, and a 28mm f/2.8 lens. In four years, Canon introduced five different models of the same camera, which were very similar to what the auto industry was doing then.
History:
Canon Inc., a large Japanese multinational corporation, has played a significant part in the evolution of camera technology. The company's journey in the camera industry began in the 1930s and has since developed into one of the most recognized names in photography worldwide.
Canon's first camera, the Kwanon, was developed in 1934 by a small team of Japanese engineers. It was Japan's first 35mm focal-plane shutter camera named after the Buddhist goddess of mercy. Although it was never mass-produced, it laid the foundation for Canon's future success. In 1935, the company adopted the name Canon, signifying precision and excellence.

Canon ad for Canon Demi
During the 1940s and 1950s, Canon focused on refining its rangefinder cameras. The Canon II, released in 1946, helped the brand establish itself as a competitor to German camera makers like Leica. In the 1950s, Canon began to diversify its product line. By 1959, it introduced the Canonflex, its first single-lens reflex (SLR) camera—this marked Canon's entry into a growing market that prized versatility and interchangeable lenses.
The 1970s and 1980s were transformative decades. In 1971, Canon launched the F-1, a professional-grade SLR that rivaled Nikon's offerings. Later, in 1976, the company released the AE-1, one of the world's first cameras with a built-in microprocessor. The AE-1 was affordable, reliable, and popular with amateur photographers, helping Canon grow its user base significantly.
In 1987, Canon introduced the EOS (Electro-Optical System) line, beginning with the EOS 650. This groundbreaking autofocus SLR system used a fully electronic lens mount and paved the way for future innovation. The EOS series would become one of history's most successful camera lines.
Canon embraced digital technology in the 1990s and 2000s. The release of the EOS D30 in 2000 marked Canon's serious move into digital SLRs. This transition peaked with iconic models like the EOS 5D series, which brought full-frame digital photography to a broader market.
In the 2010s and 2020s, Canon adapted to mirrorless technology, introducing the EOS R system in 2018. This full-frame mirrorless platform represents the company's latest push to stay at the forefront of imaging technology.
Today, Canon continues to be a leader in photography, producing a wide range of cameras that cater to everyone from beginners to professionals, while also advancing imaging technology across multiple industries.
My Camera:
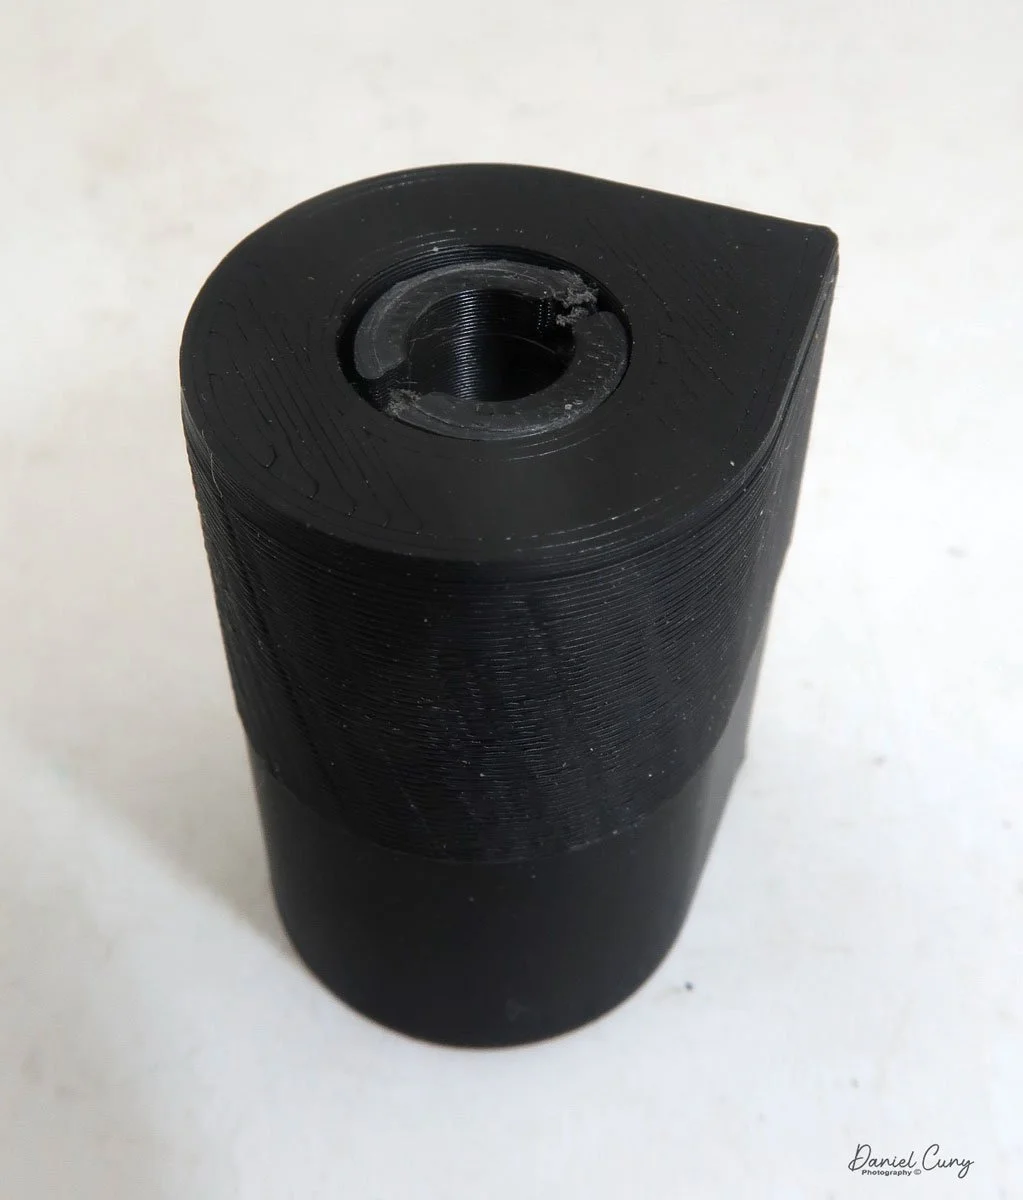
My Canon Demi camera is 4.5" wide by 2.75" tall and only 1.5" deep, including the compact 28mm f2.8 lens. It weighs 14.4 oz and is not adorned with frills, bells, or whistles. It's a very typical 35mm camera with a zone focus system and shutter speeds ranging from 1/250 to 1/30. The aperture settings range from F/2.8 to F/22.


The zone focus is set by moving the lens to either a mountain for infinity, three people for a group, or one person for a portrait, and these symbols are set around the lens.


The camera uses a match needle system. You point the camera at your subject, and when you turn the dial around the outer ring of the lens, the shutter speed and aperture are set to the ASA/ISO you set within the exposure ring.


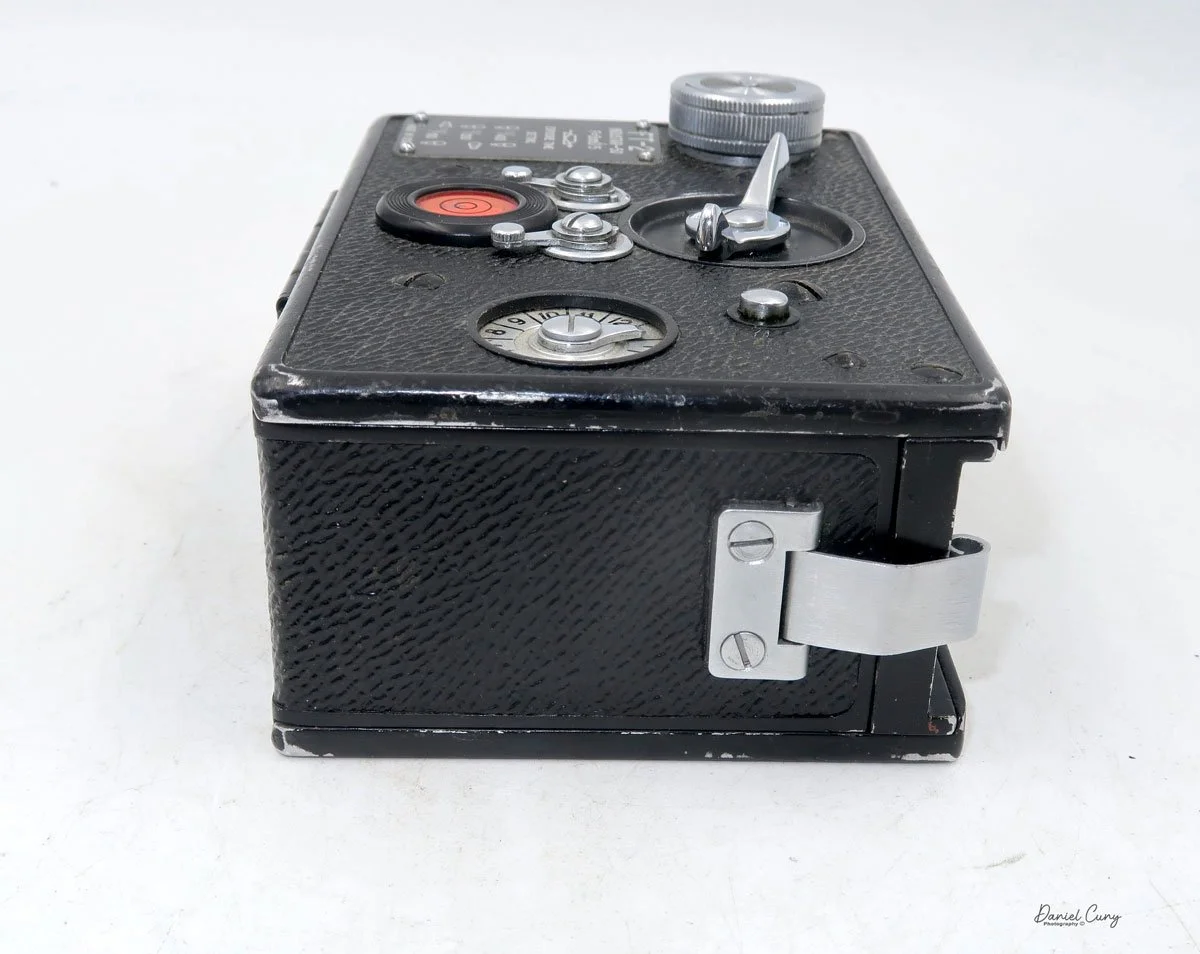
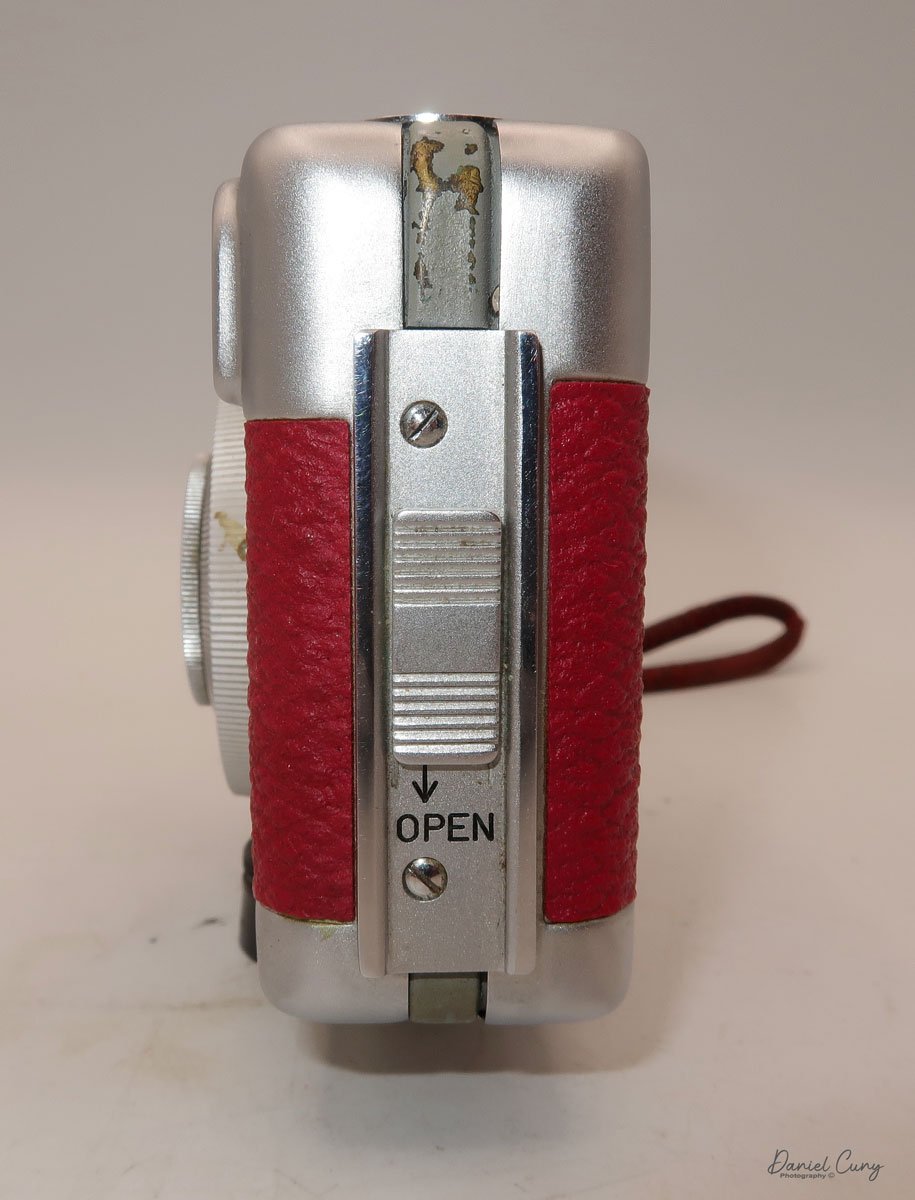
The back door latch is on the left side of the camera, which unlocks and opens the film door to load film into it. Drop the 35mm cassette into the camera's left side and bring the leader to the take-up spool. Slide the end of the film leader into the slot on the take-up spool. Make sure the film sprockets are on the back drive gear.
One thing I do to make sure the film is moving in the camera is take up the slack by winding the rewind knob a few turns to take uo the slack in the film cassette. That way when you close the back of the camera and wind the camera to get it to the first frame, watch the rewind knob turn so you know the film is advancing in the camera. Checking the rewind knob is a good thing to do with any 35mm camera. I can't tell you how many times I've seen where people think the film is advancing, but the film wasn't loaded correctly, and no images were ever recorded on the film.

Once you've taken all the photos on your roll of film, press the button on the bottom of the camera. This releases the winding gear inside the camera so you can easily rewind the film back into the film cassette. If you don't press the rewind button, you'll tear all the film sprockets on the roll of film, making the process more difficult. After the film is rewound into the film cassette, open the back and load a new roll of film.
My Results:
I took this camera on my trip to Barcelona this week, partly because I had a roll of older Plus-X film with 20 exposures, and the second reason was the camera's shutter works, but the meter doesn't. I wanted to experiment with some of the exposures to see if I could get exposures on the roll of film. It probably wasn't the best idea to try a 40-50-year-old roll of film under these circumstances, but I wanted to write about the camera and didn't want to shoot 72 exposures to get bad results.
The results turned out pretty well, and the camera meter is in decent condition, as many of the images turned out pretty well. However, the film is pretty grainy for being ASA 125. Nonetheless, here are a few photos from walking around one of the main shopping areas in Barcelona.


Conclusion:
My expectations for the camera weren't high, so I was pleasantly surprised by its relatively easy-to-use nature. Basic focus and a match needle meter make this compact camera very fun and easy to use.
If you enjoy vintage manual cameras, this is one to put in your coat pocket or hang around your neck. It gets twice as many photos from a roll of film and records memories for the photo albums. It is another excellent camera to use on a daily basis.
Thank you for taking a few minutes to read about this fantastic, compact half-frame camera. A faster lens would have been nice, but it's unnecessary under most circumstances.
I also sell cameras on eBay under Cuny's Cameras and Photos. Take a look, and you may see something you are interested in or a camera or two that piques your interest.
Click on the link to read about some of the other cameras reviewed.
Until next week, please be safe.