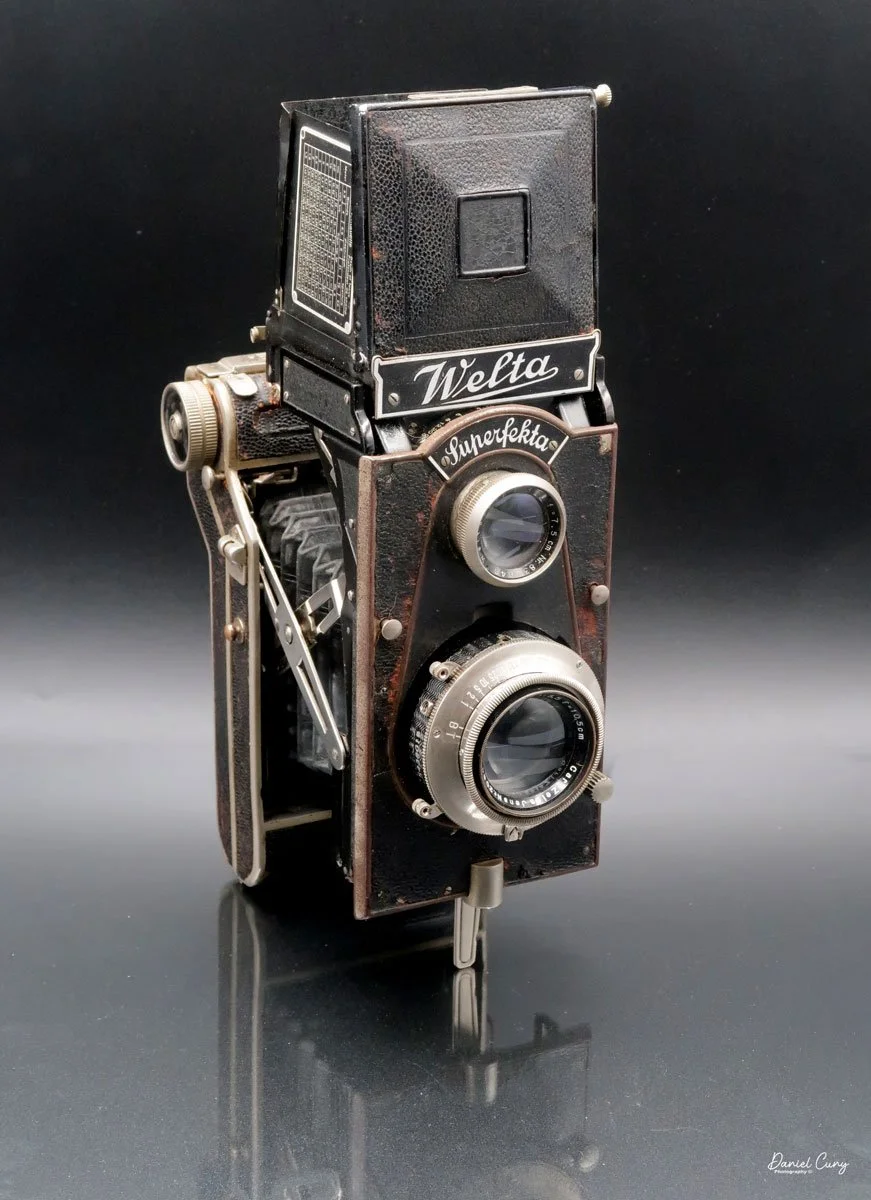
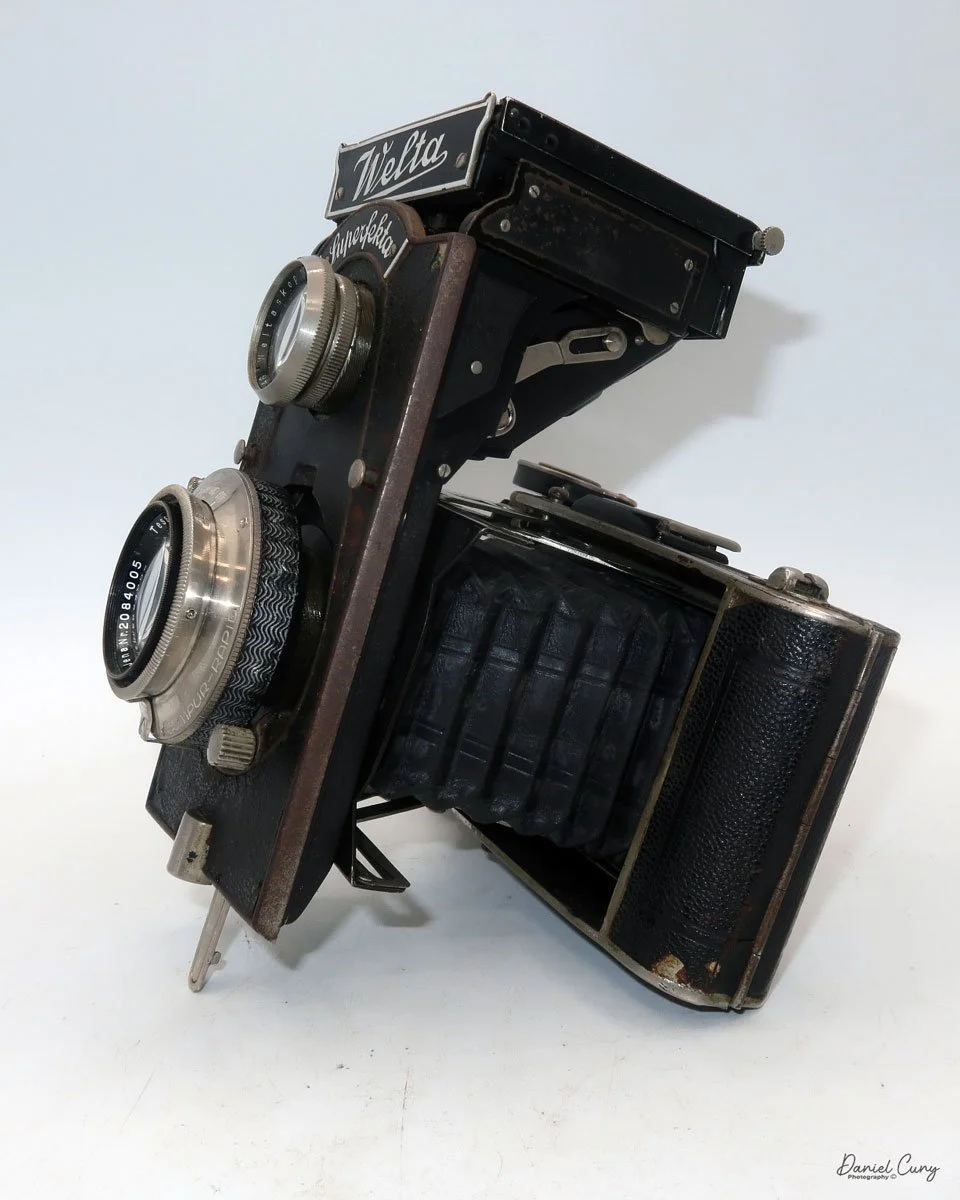
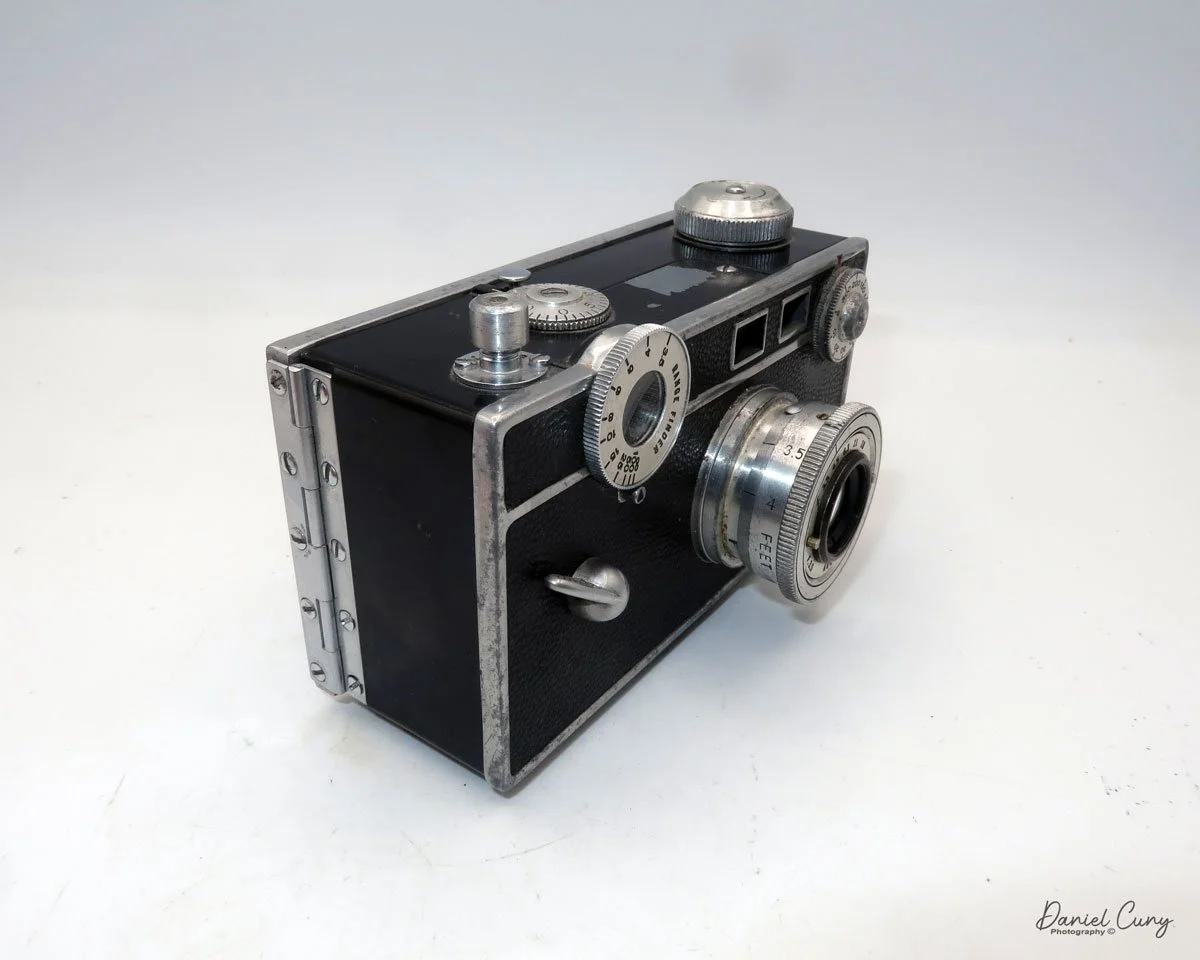
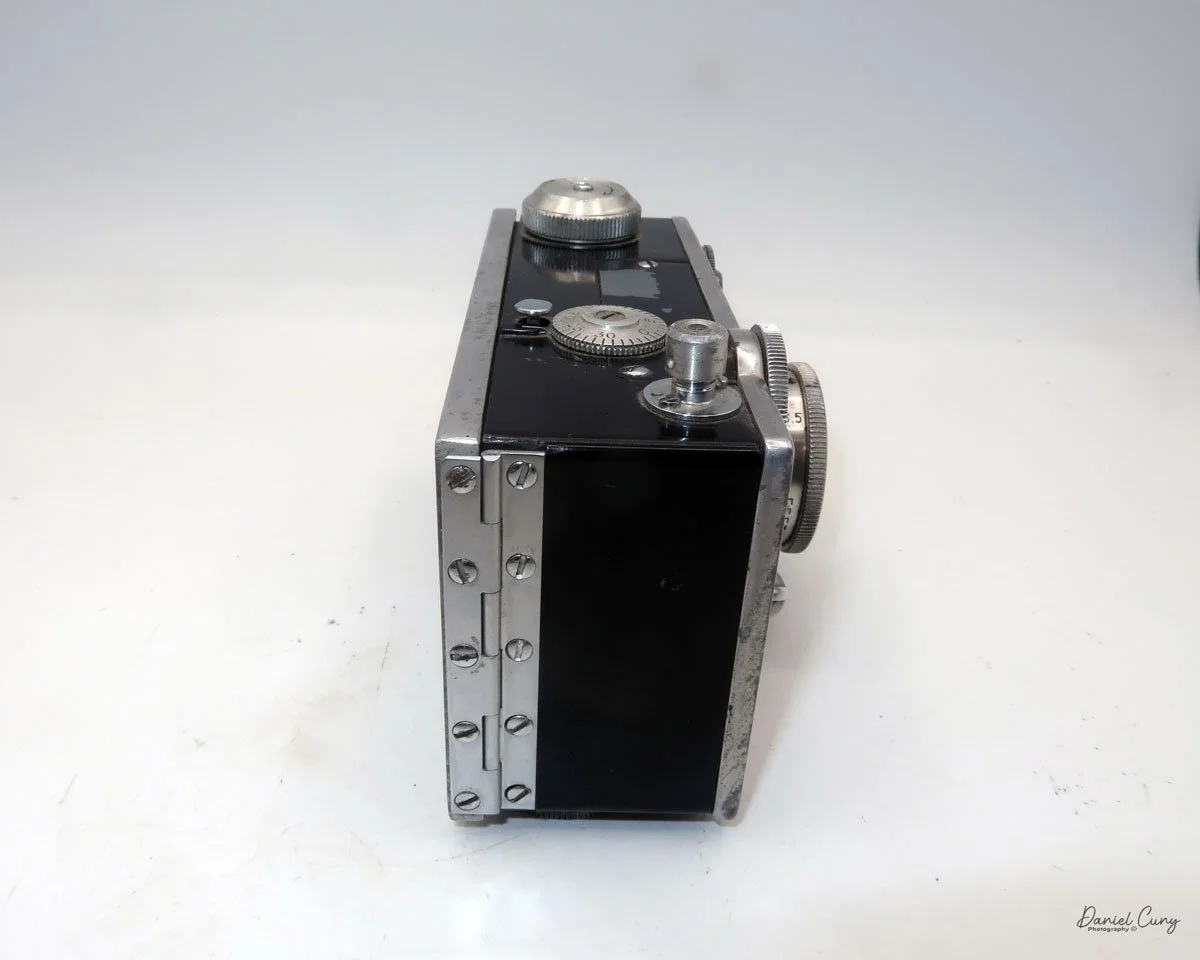
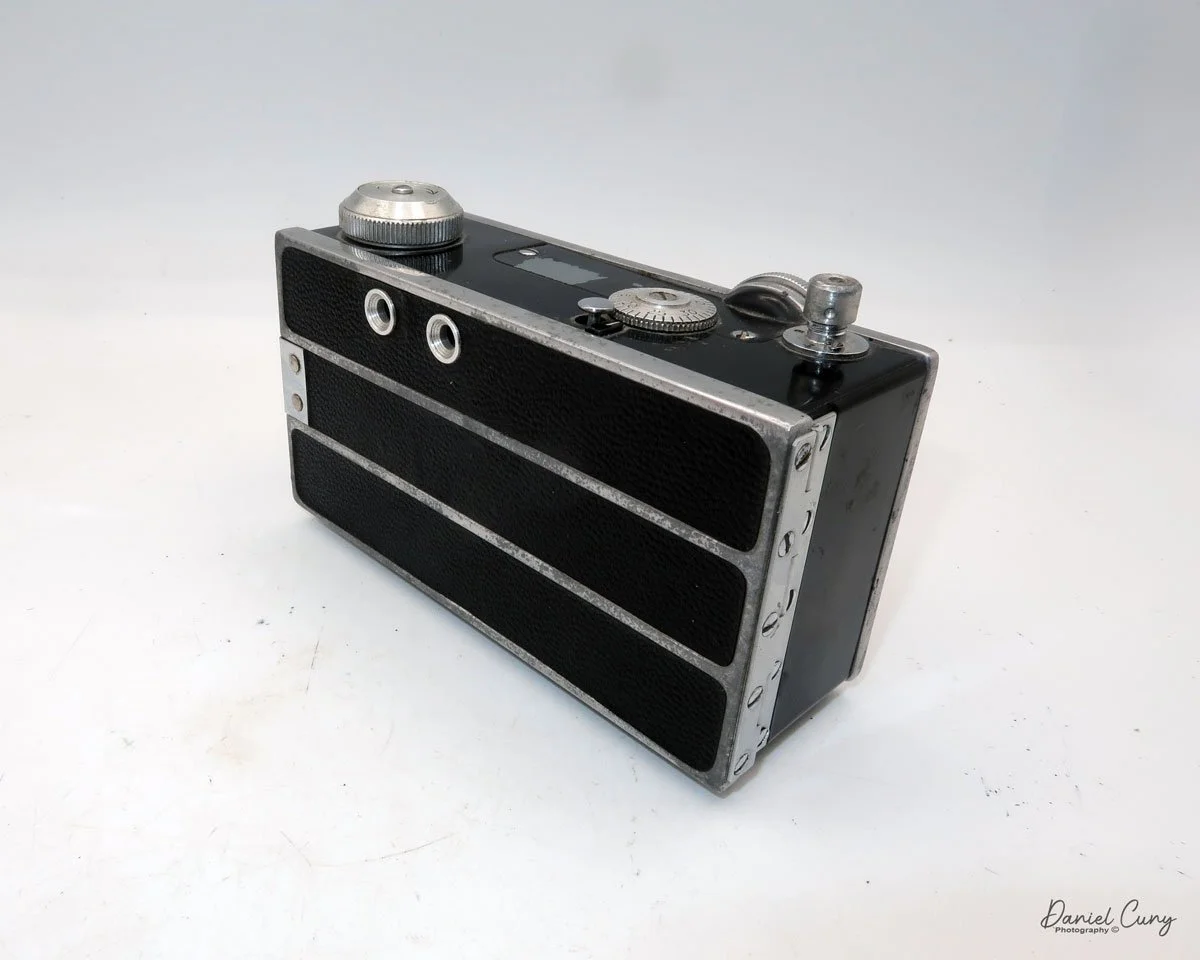
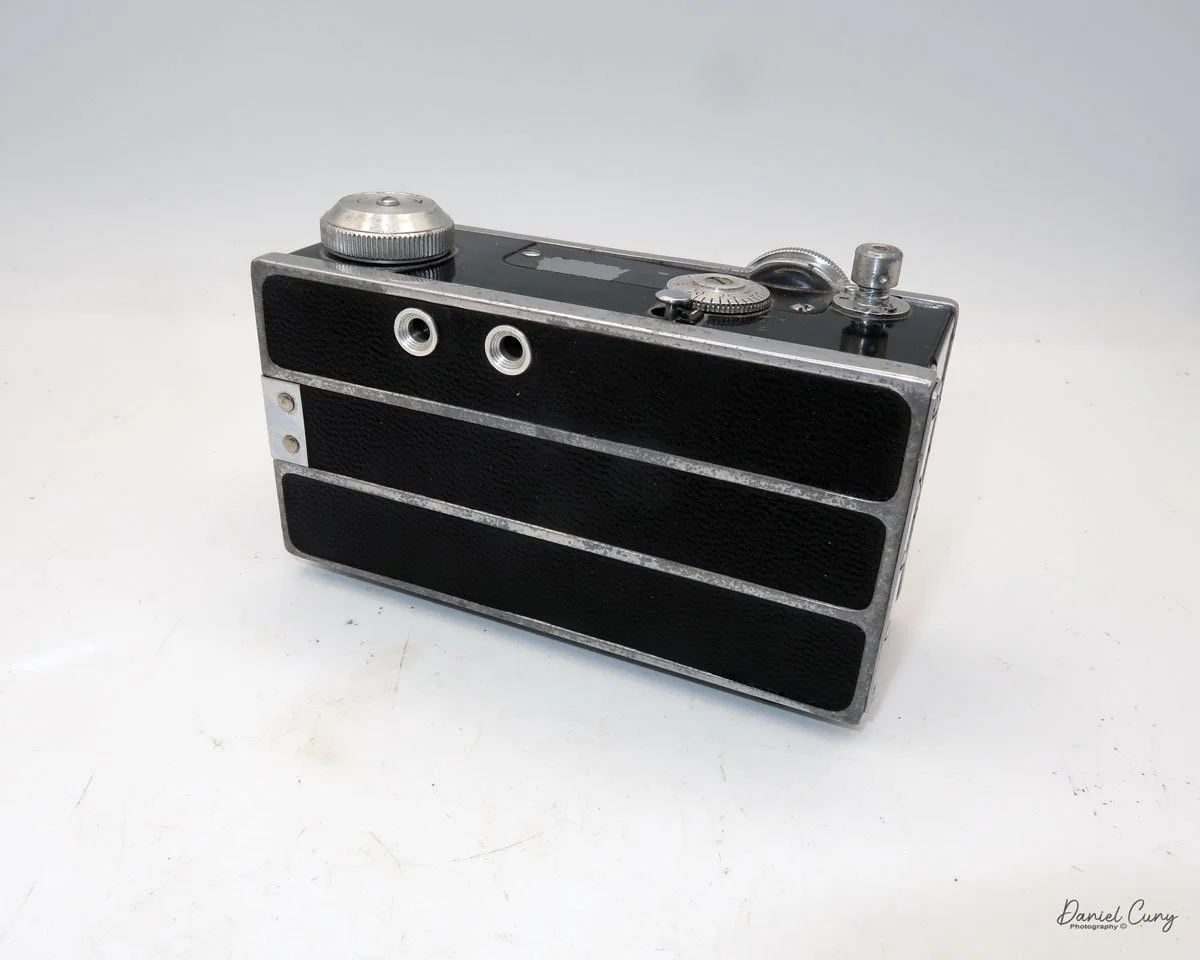
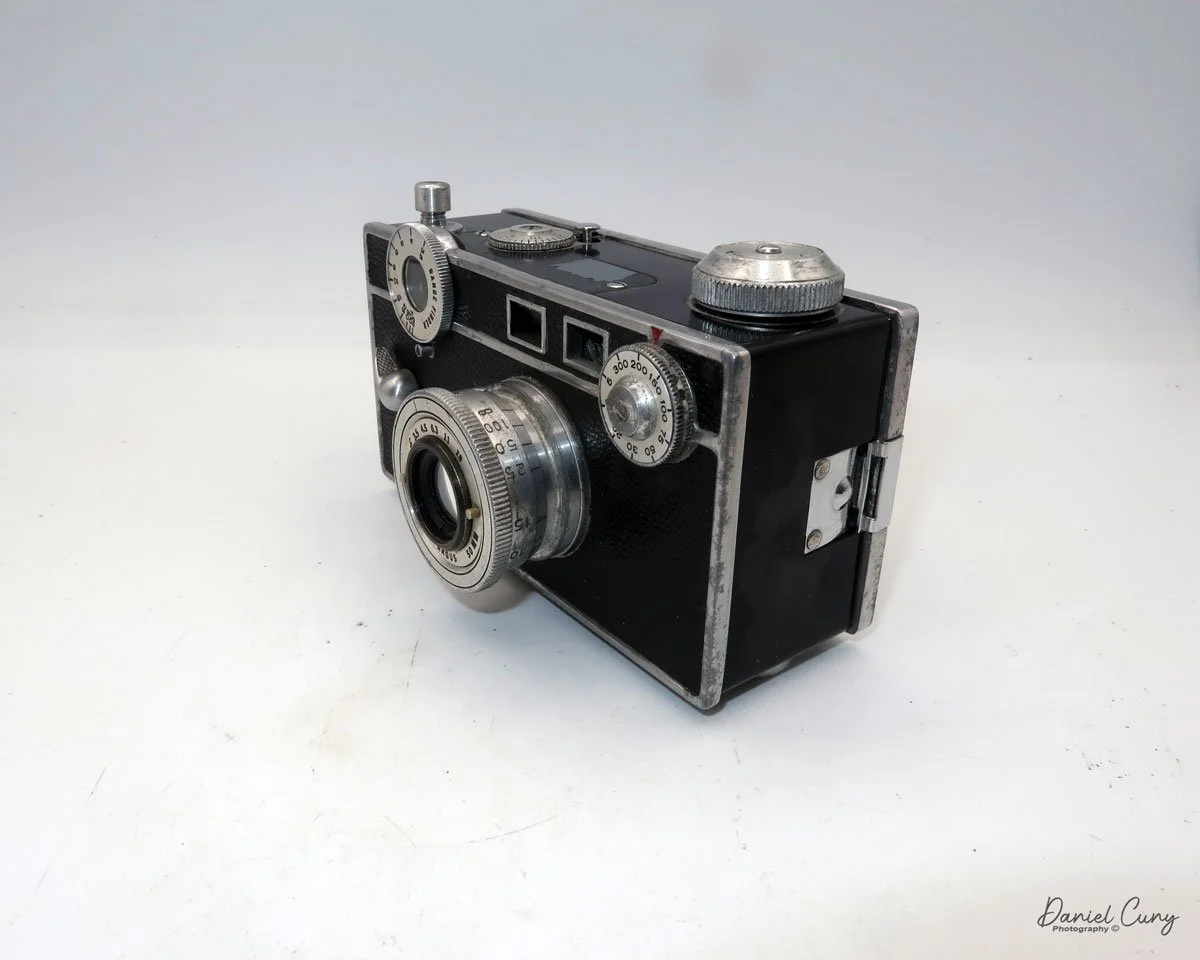
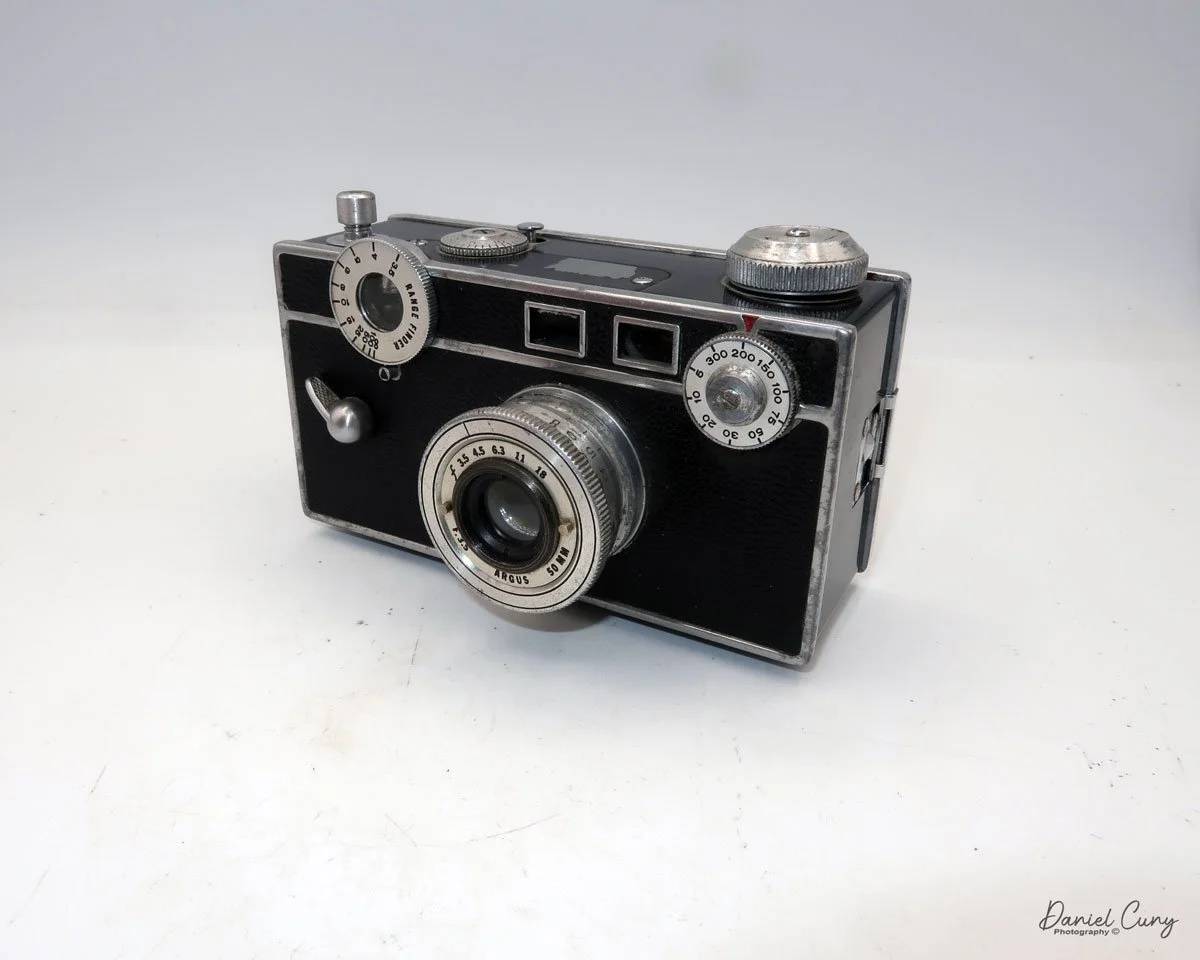
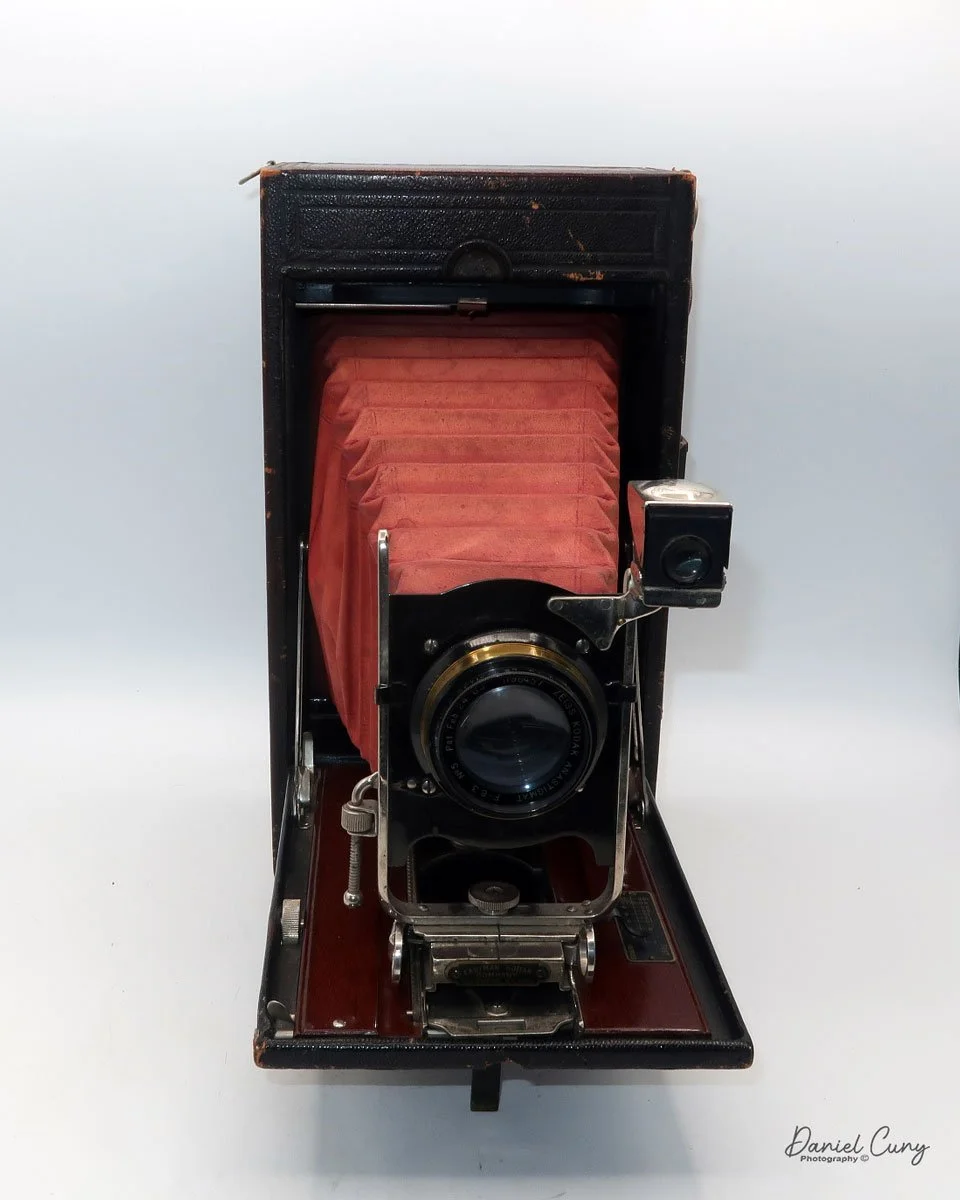
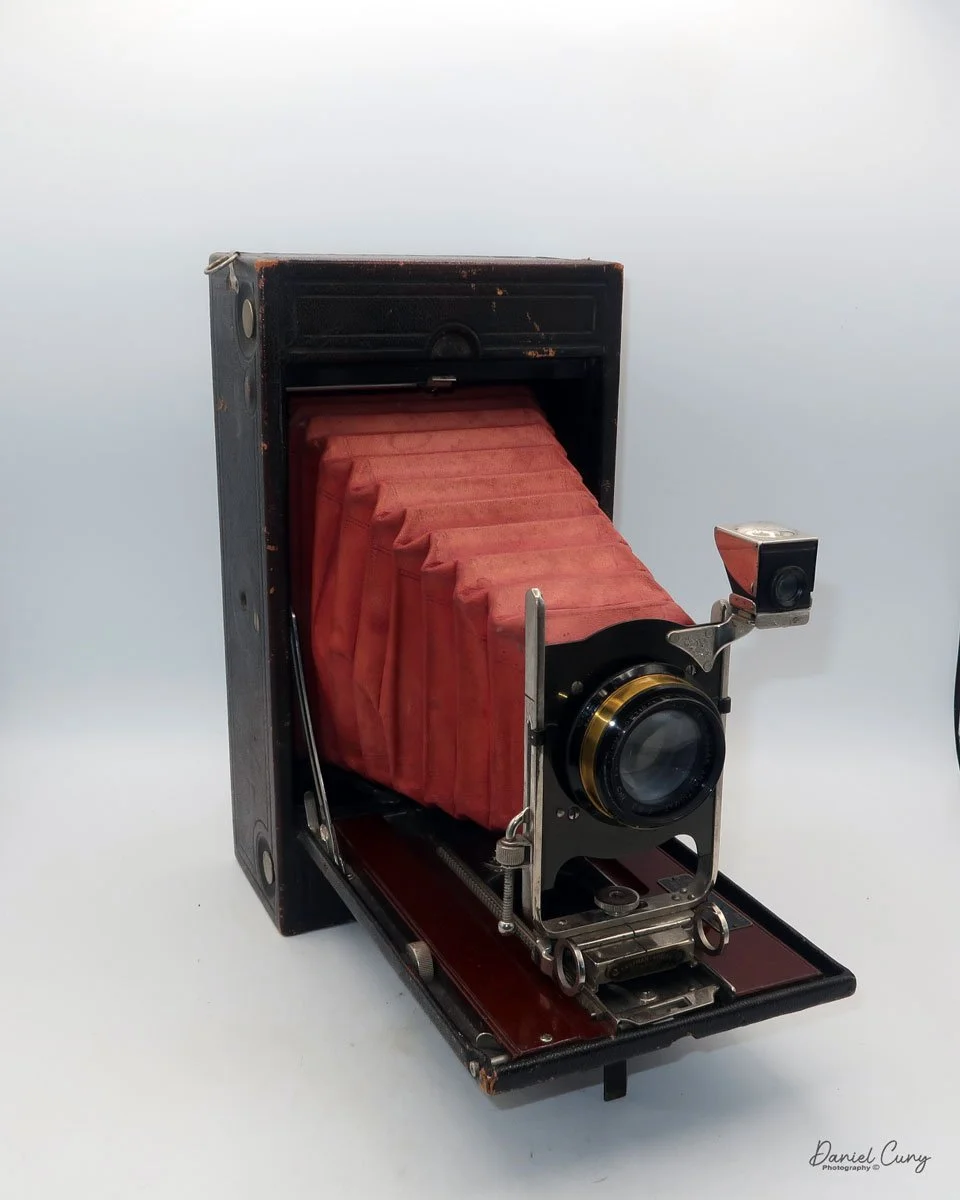
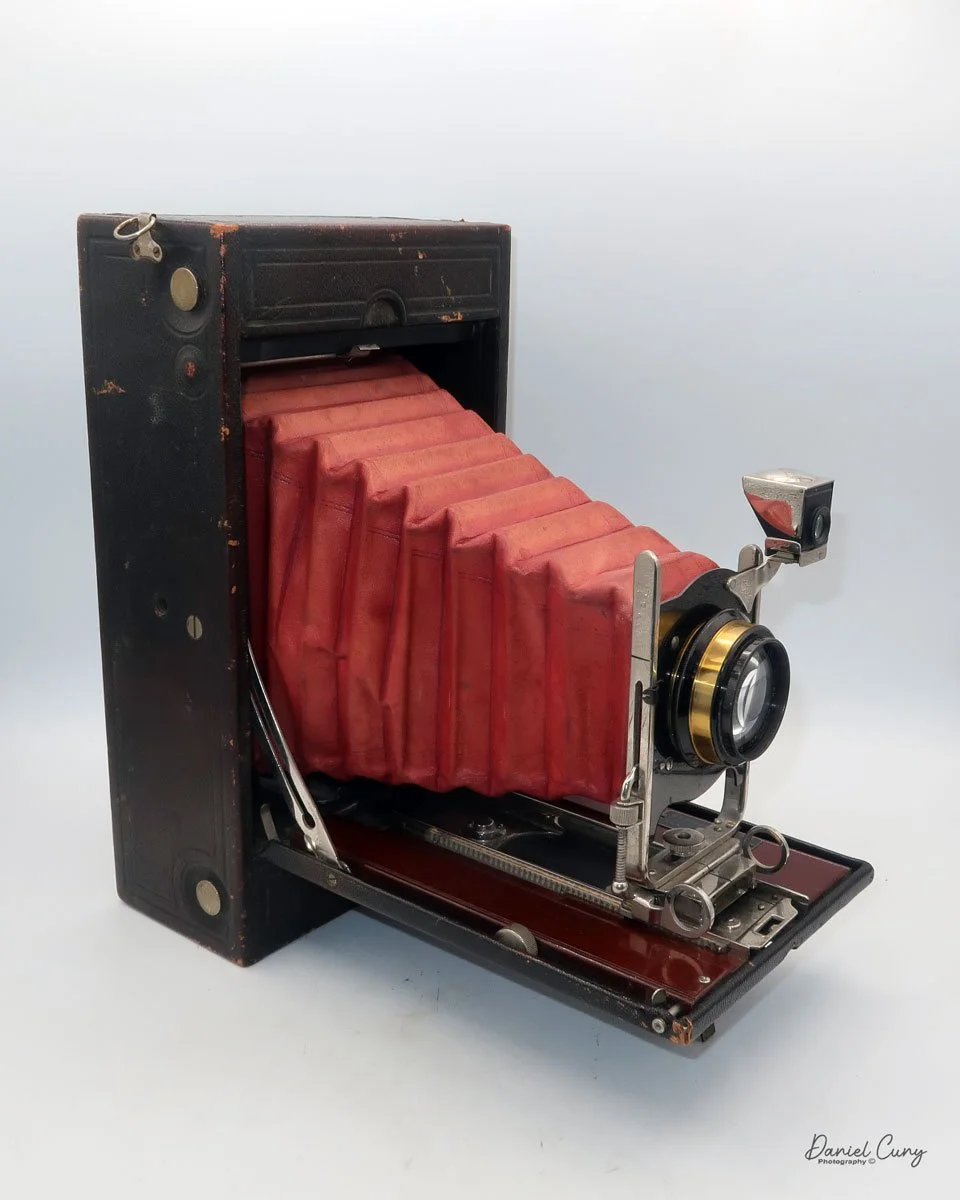
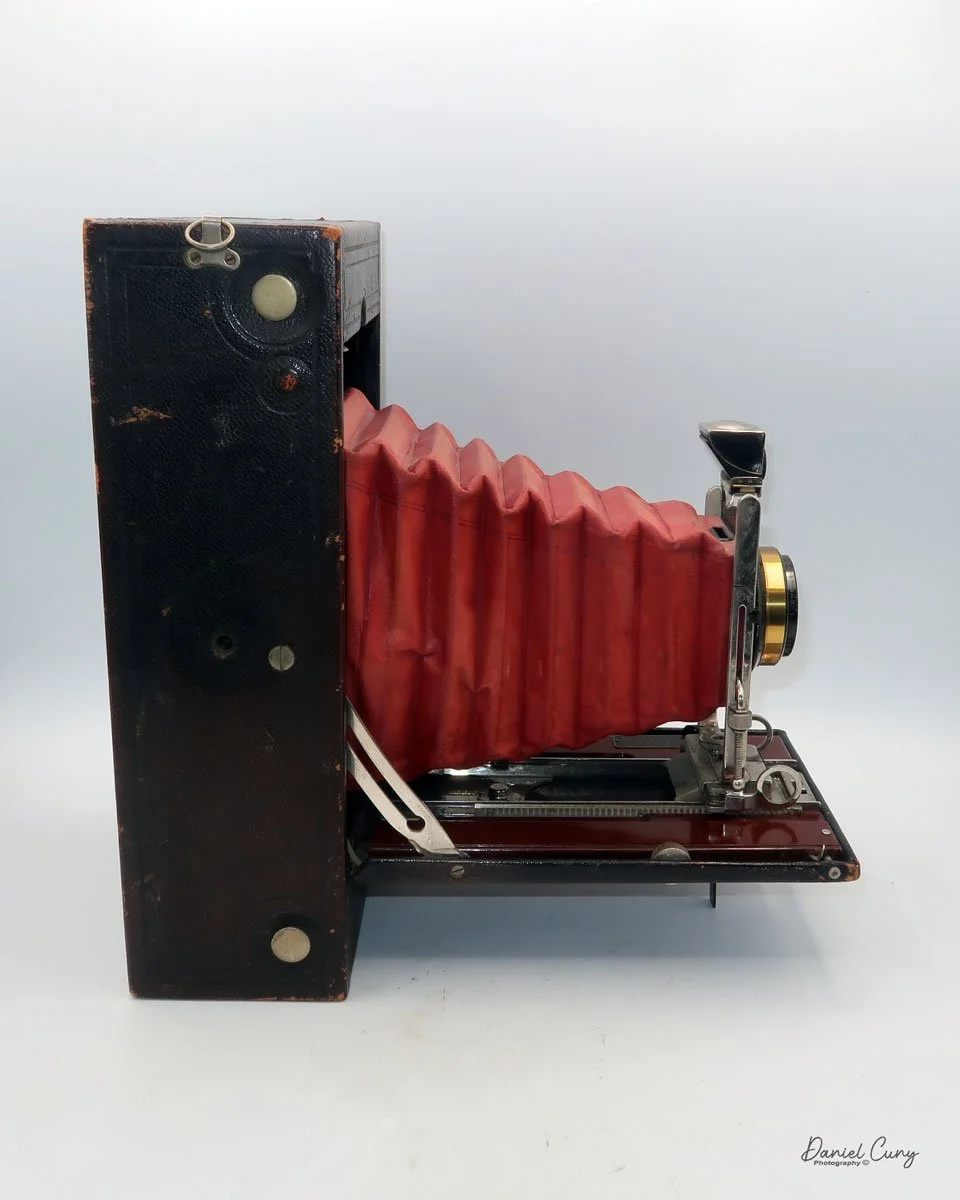
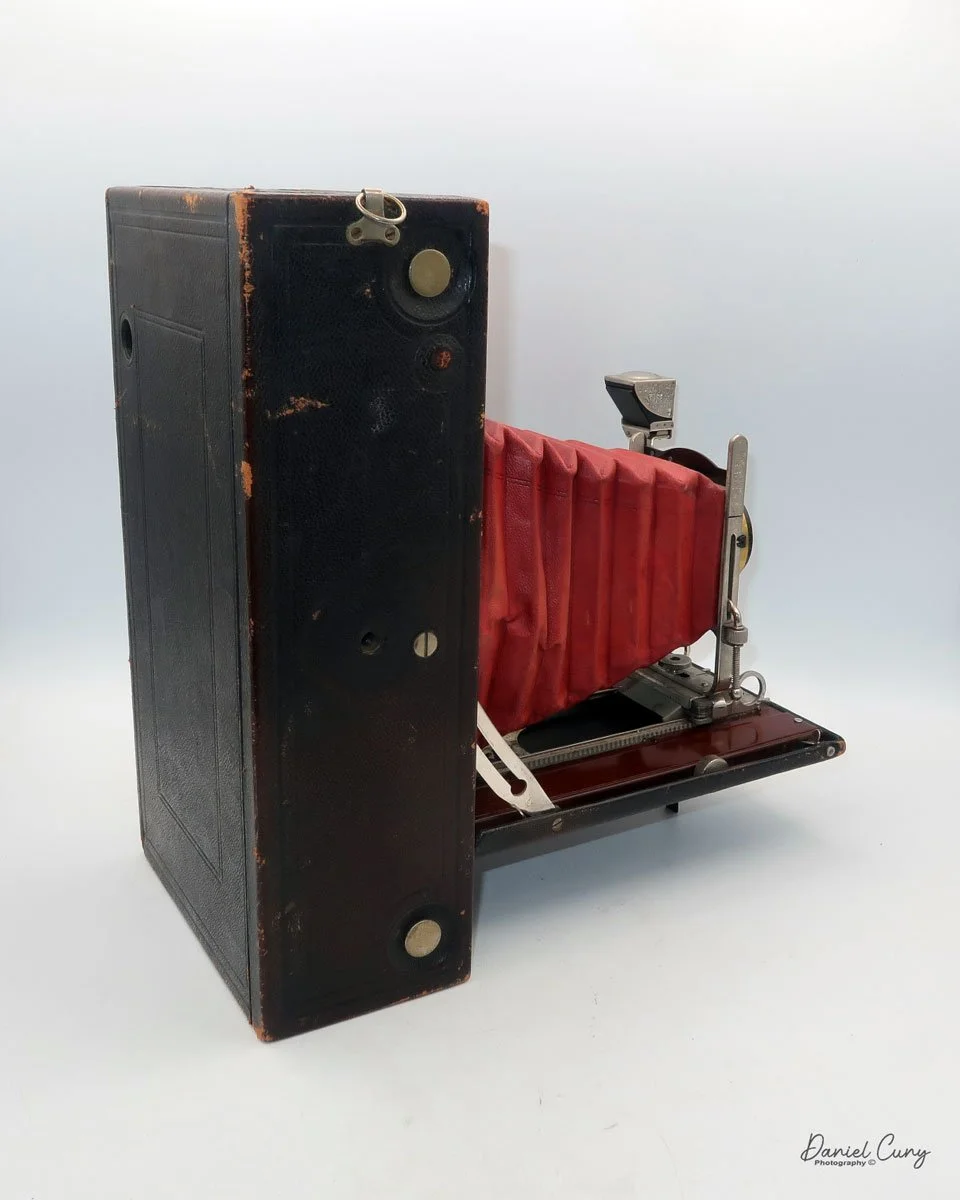
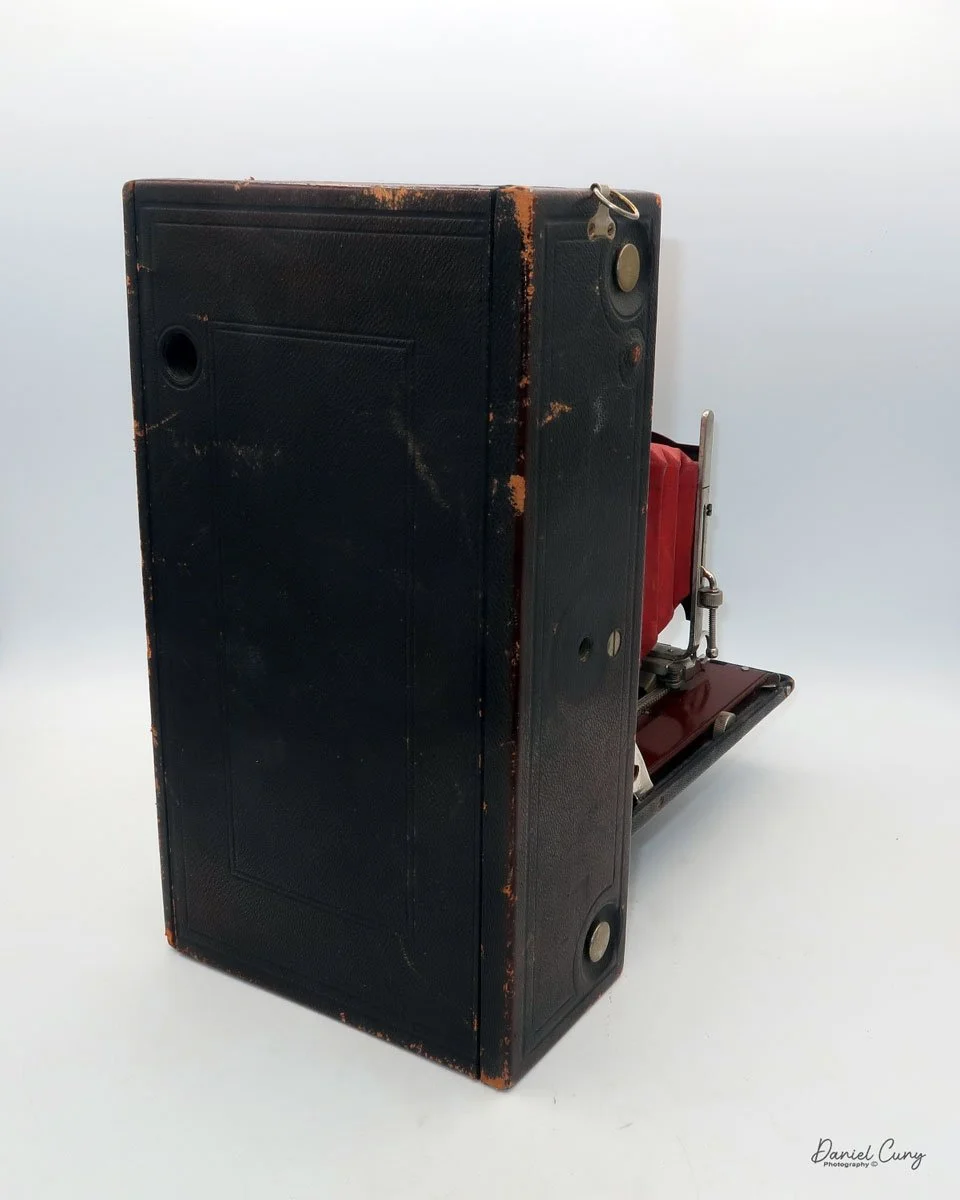
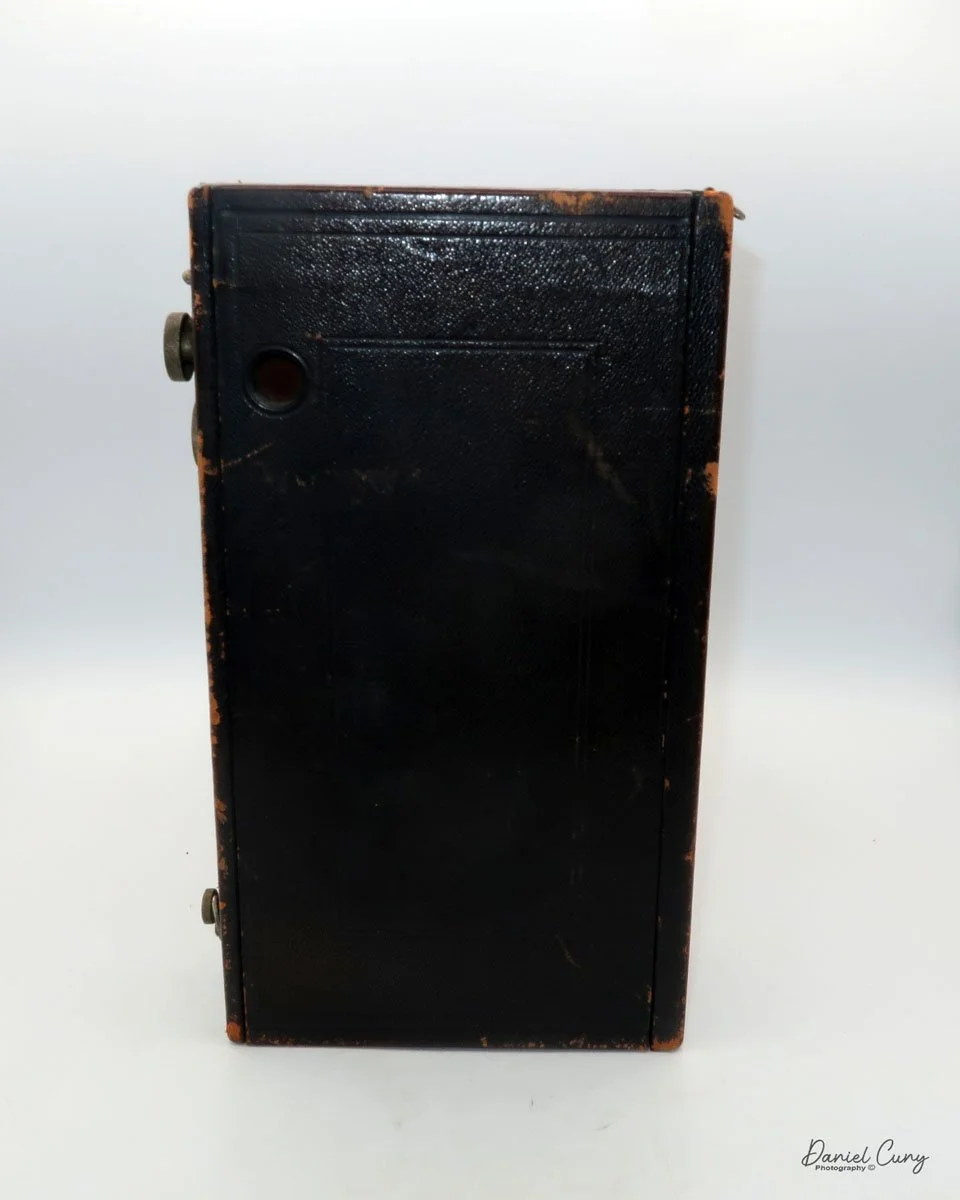
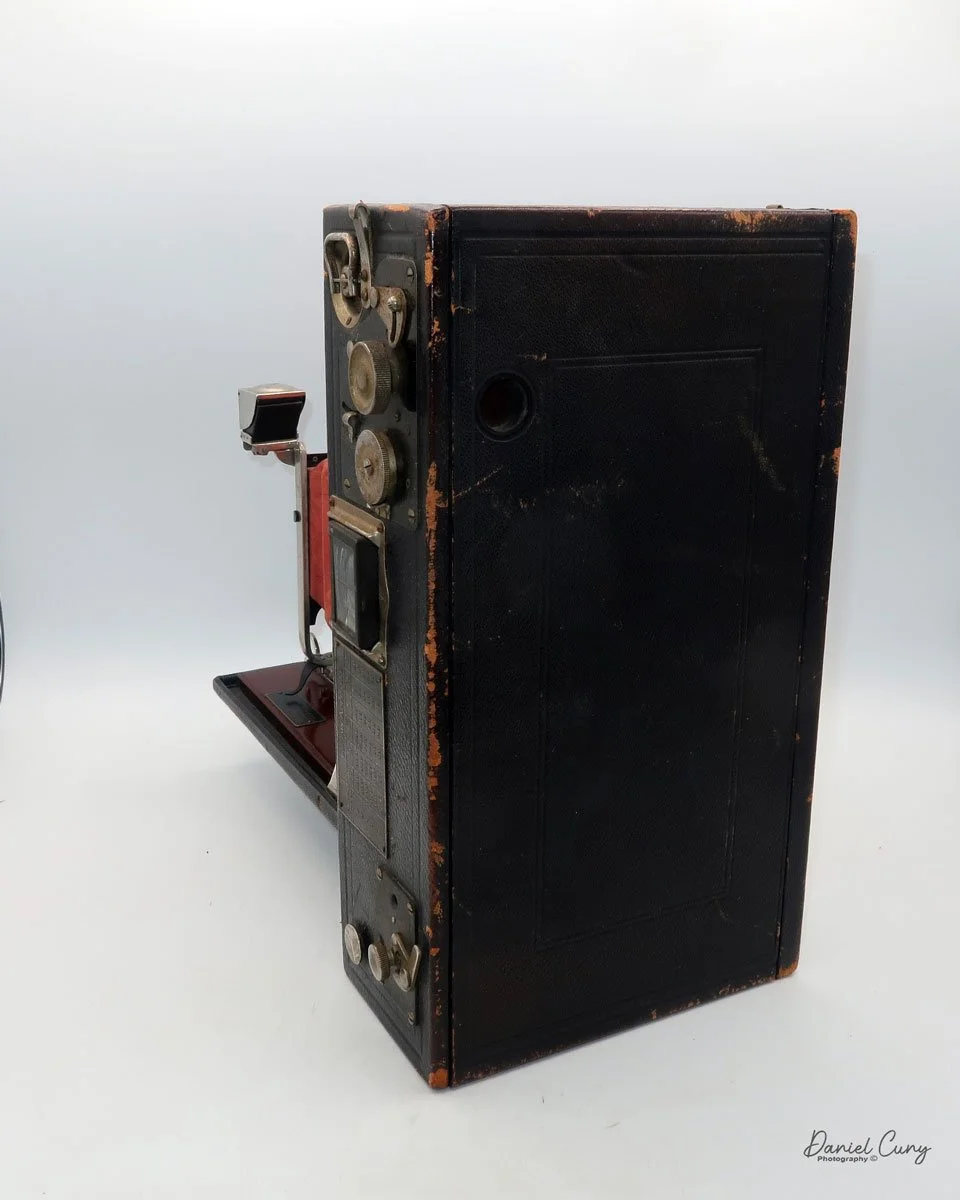
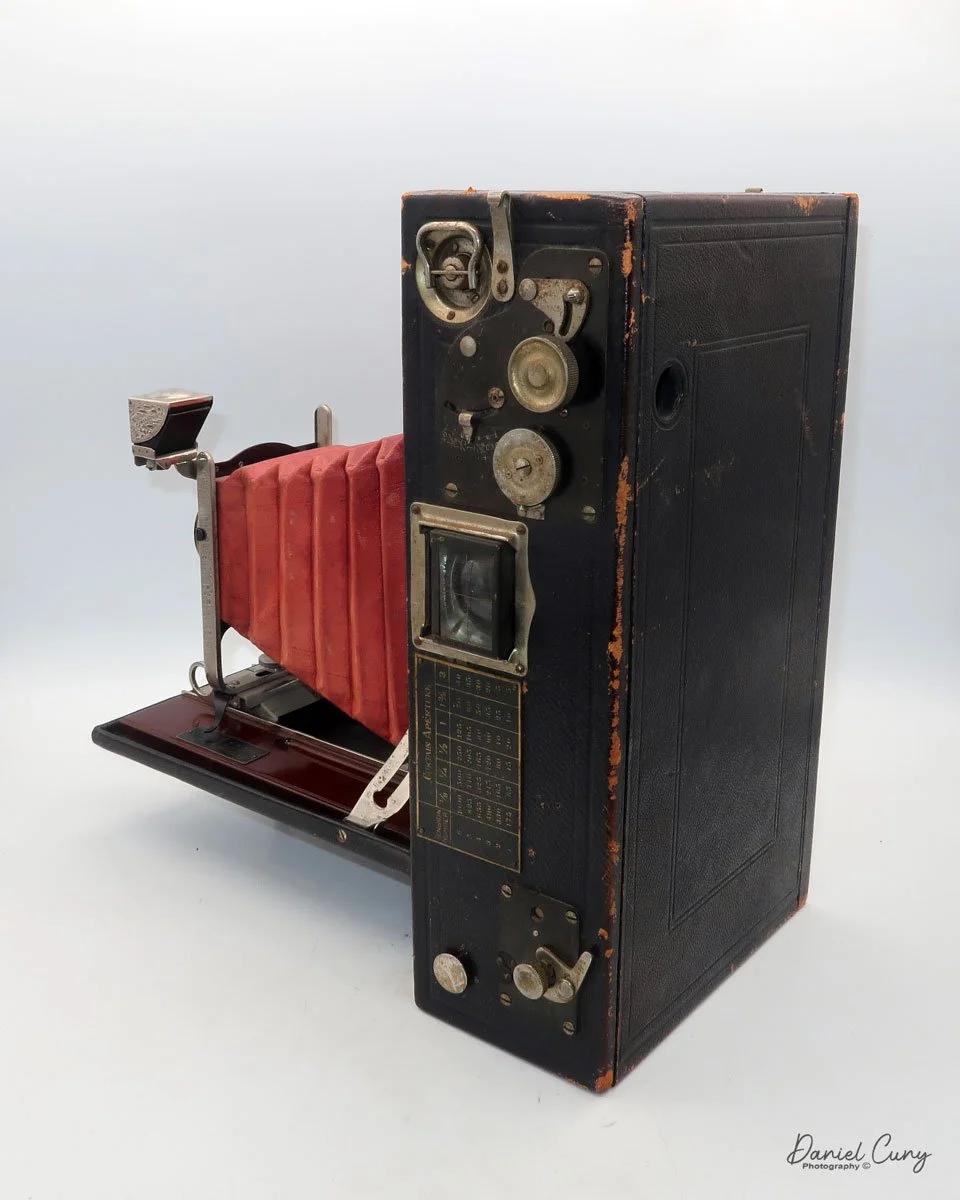
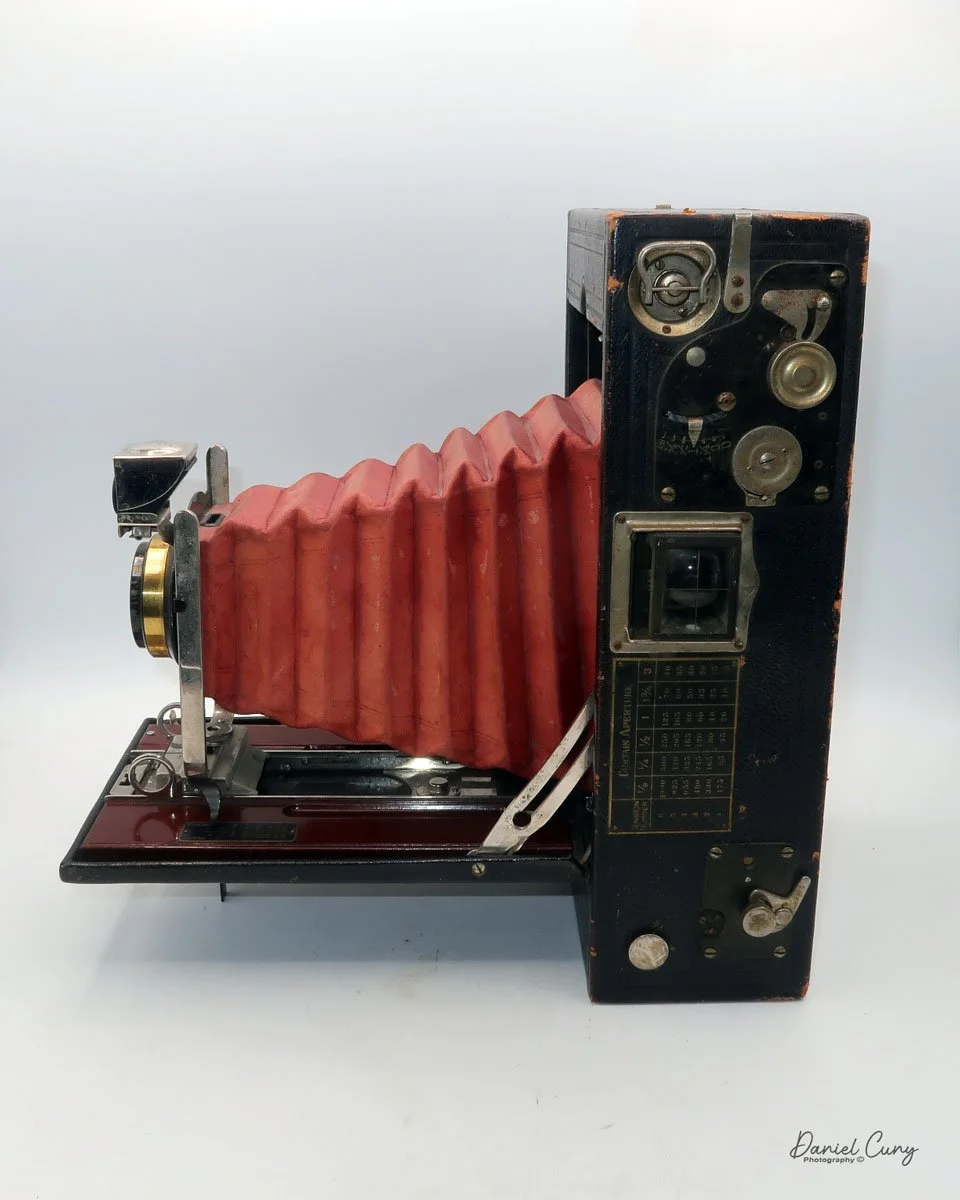
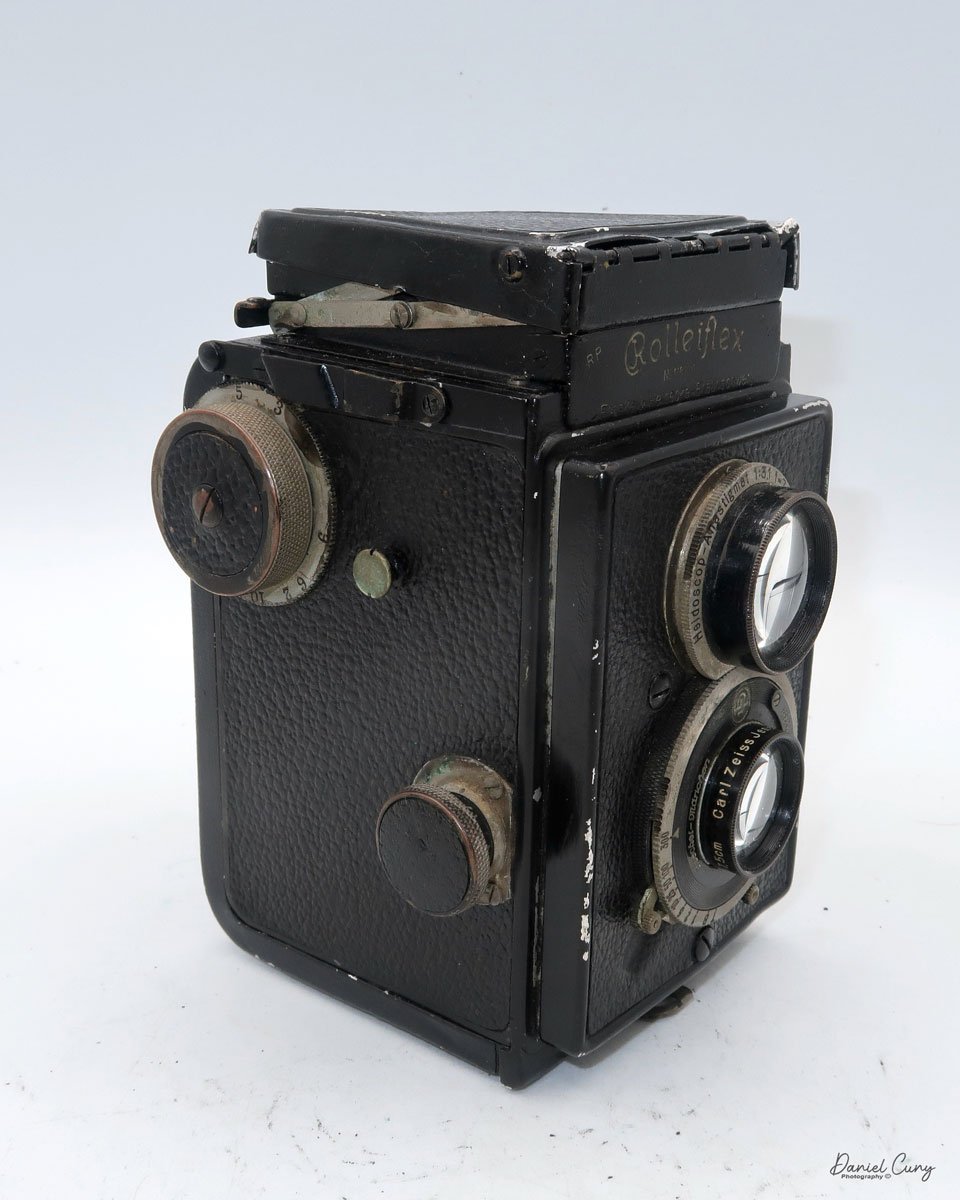
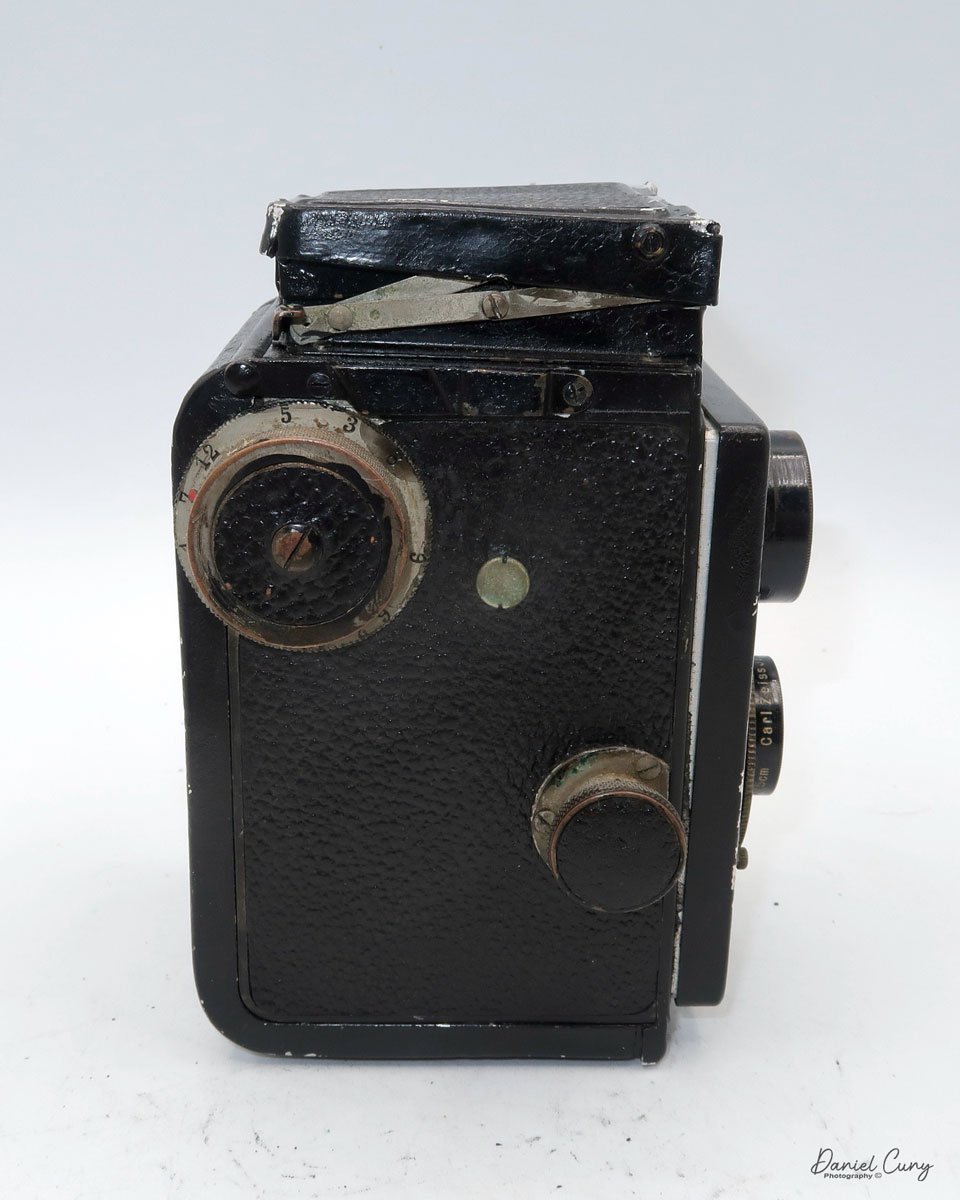
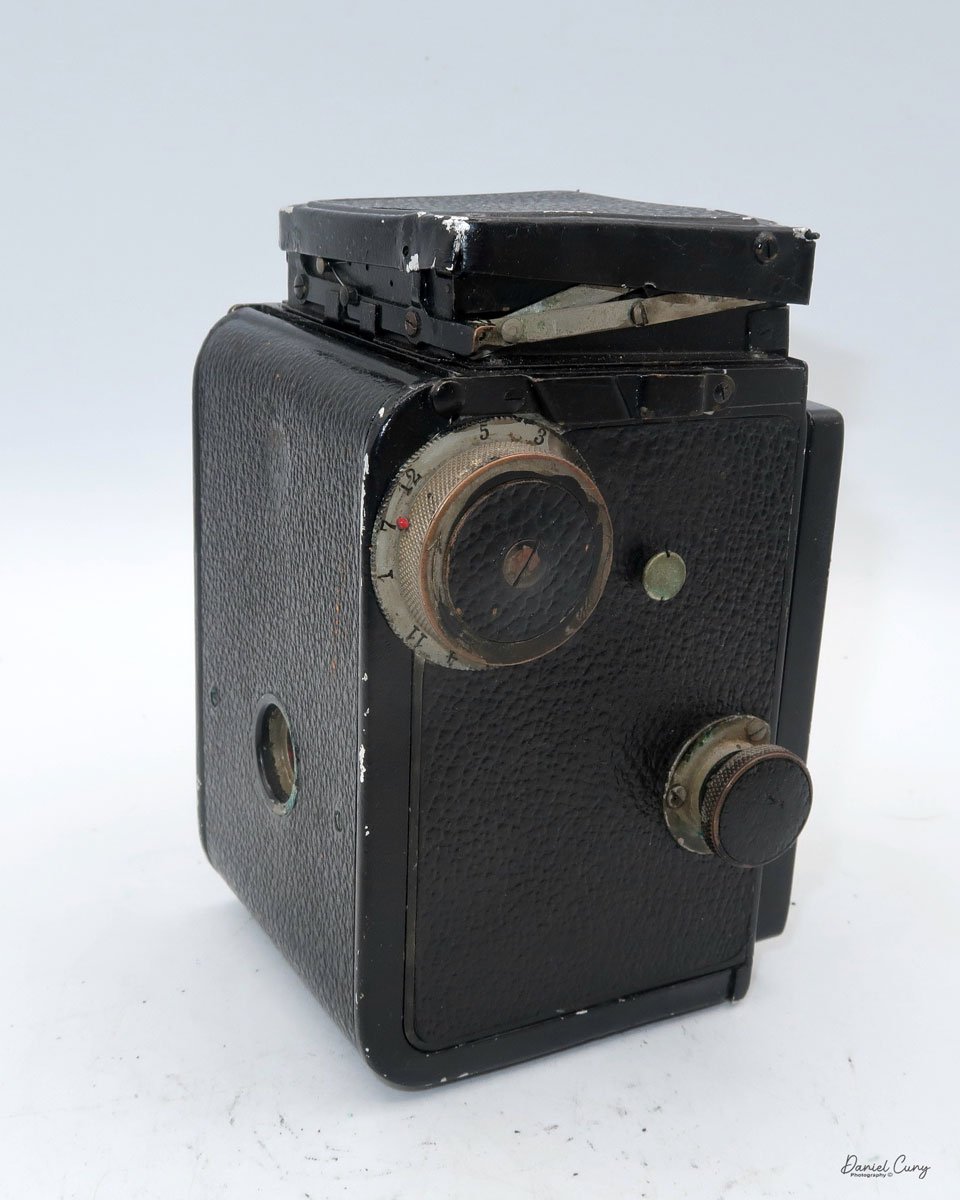
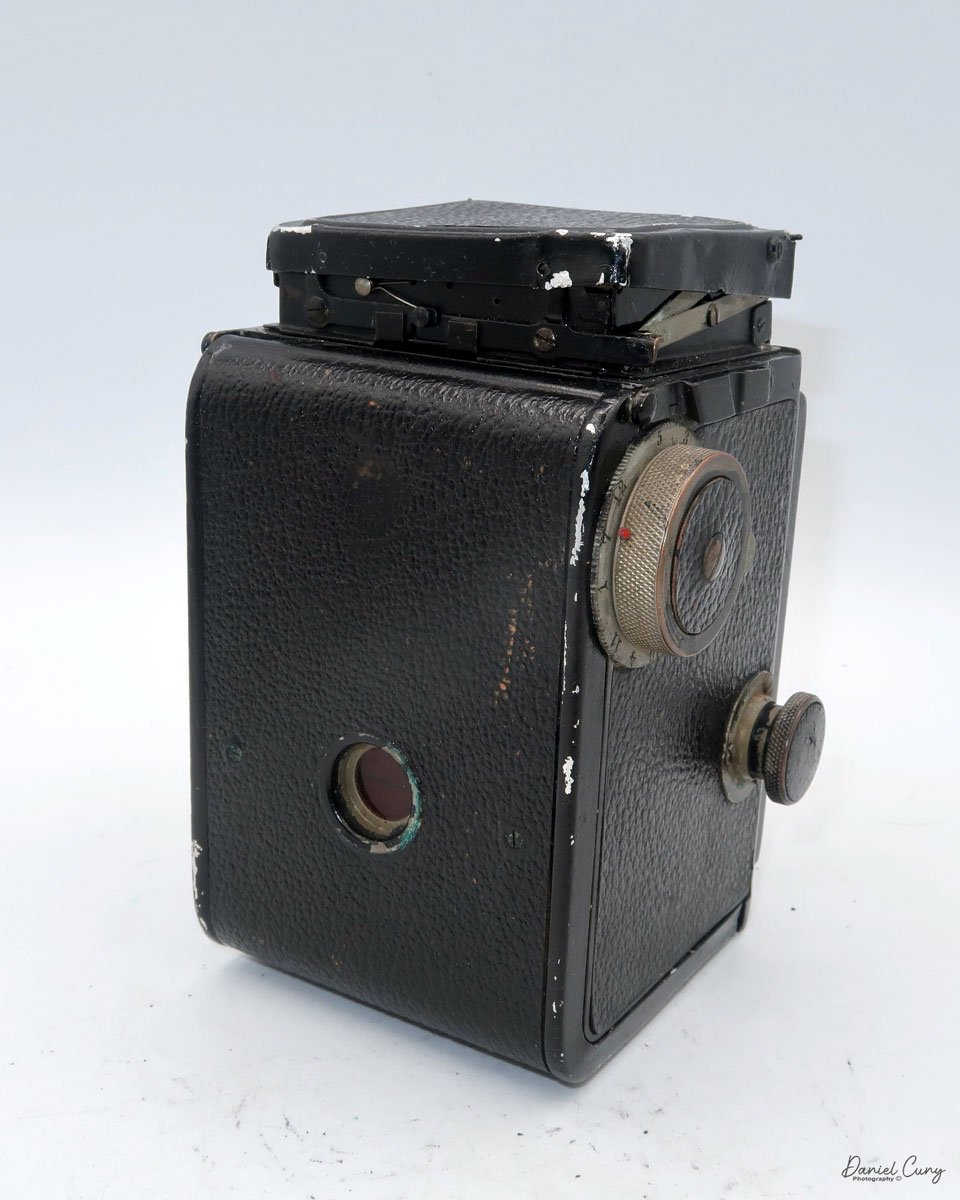
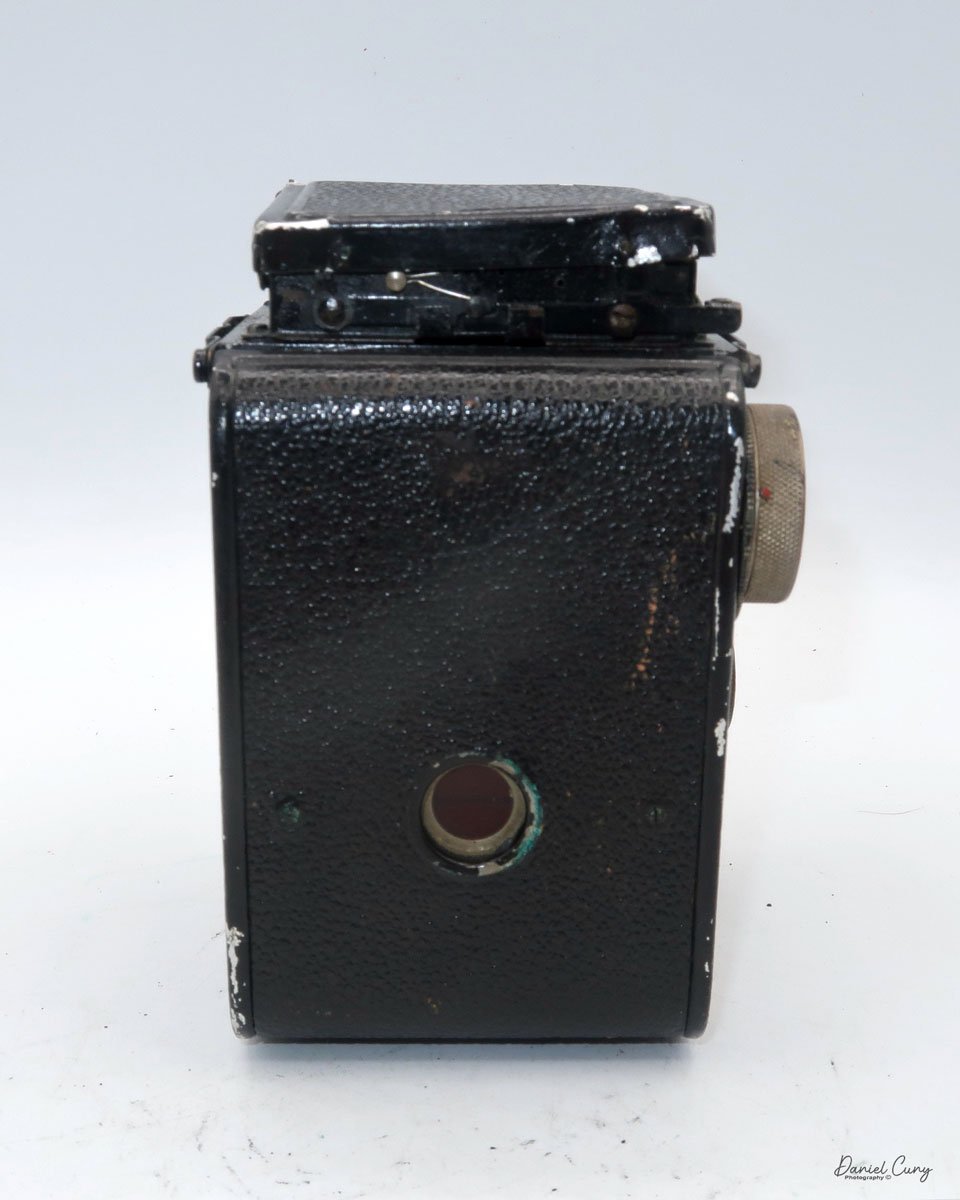
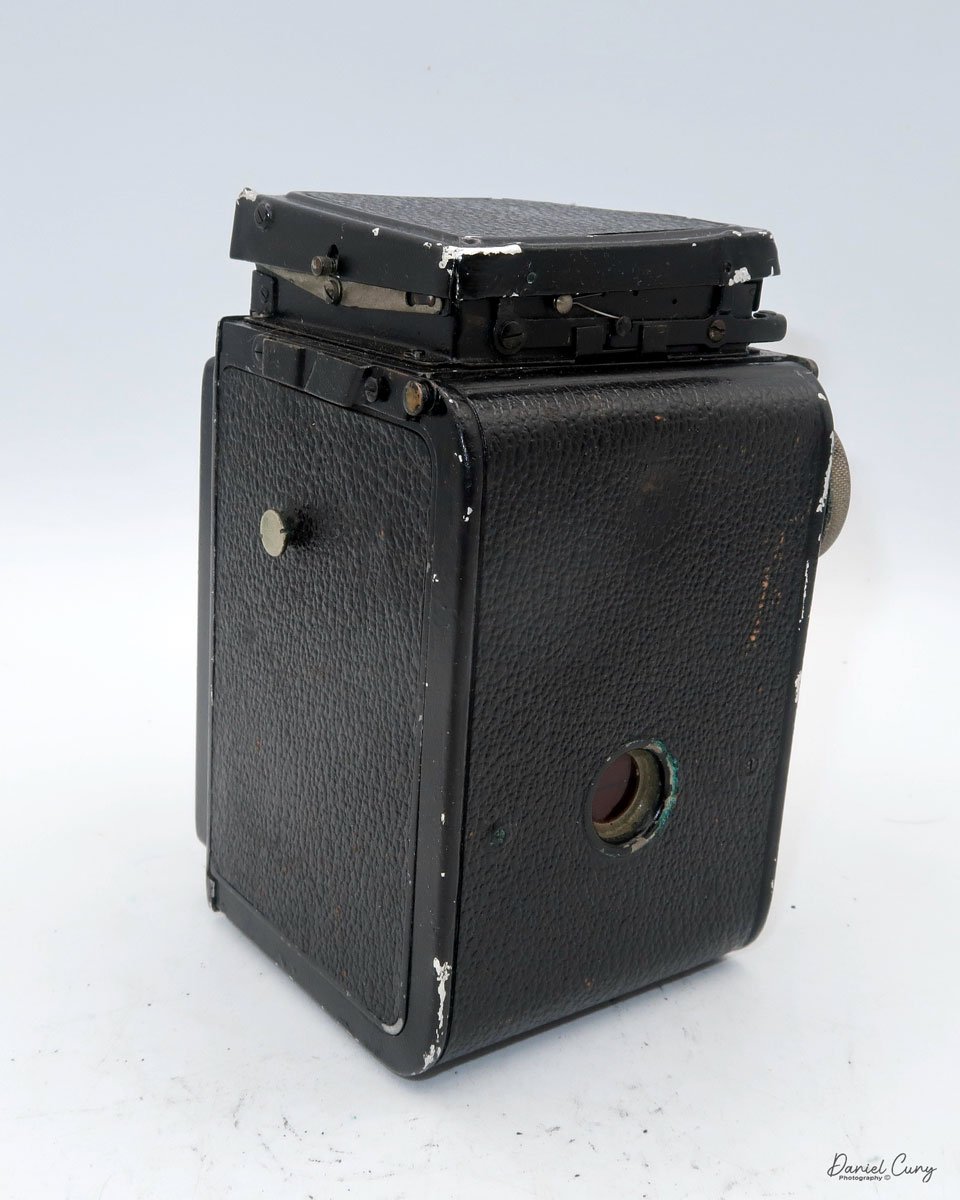
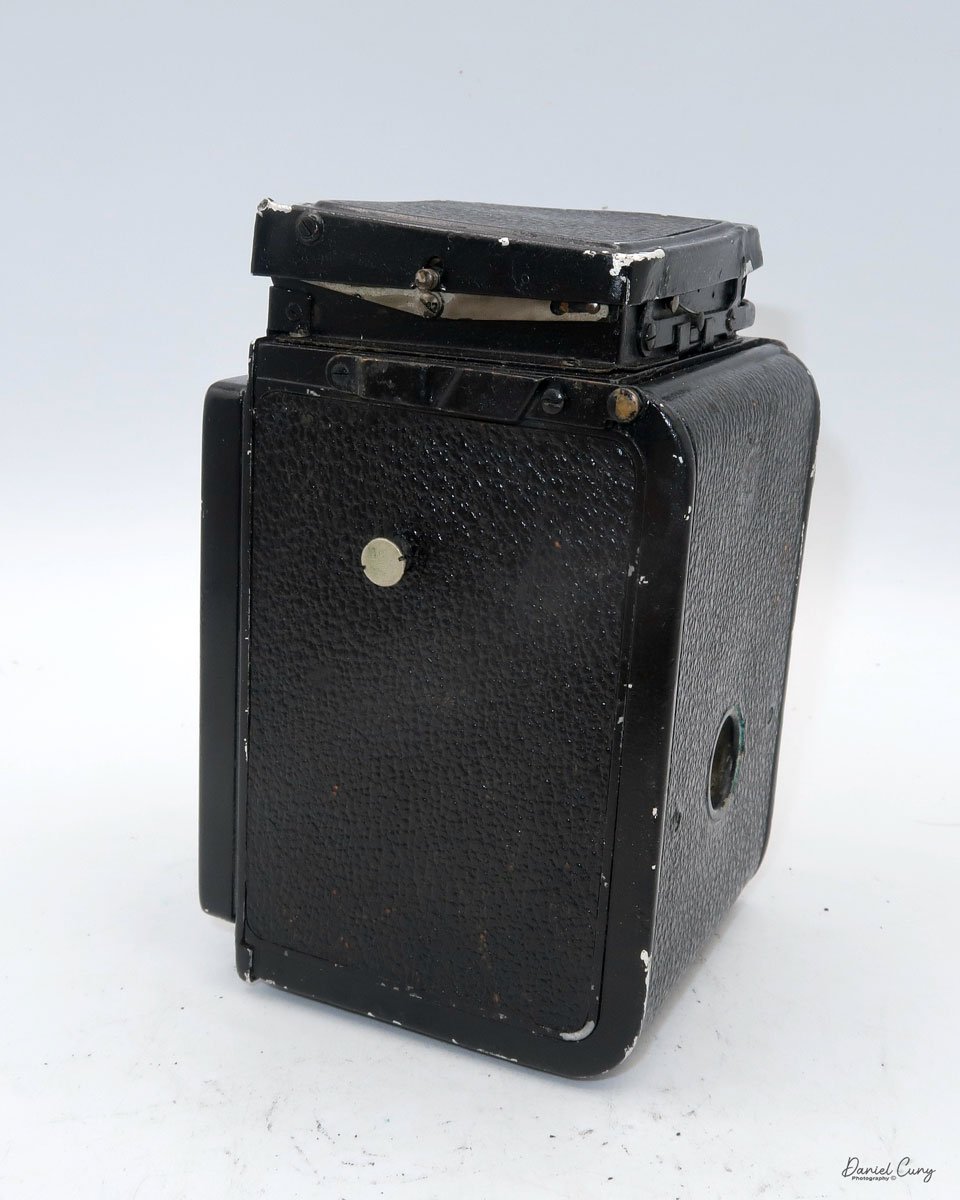
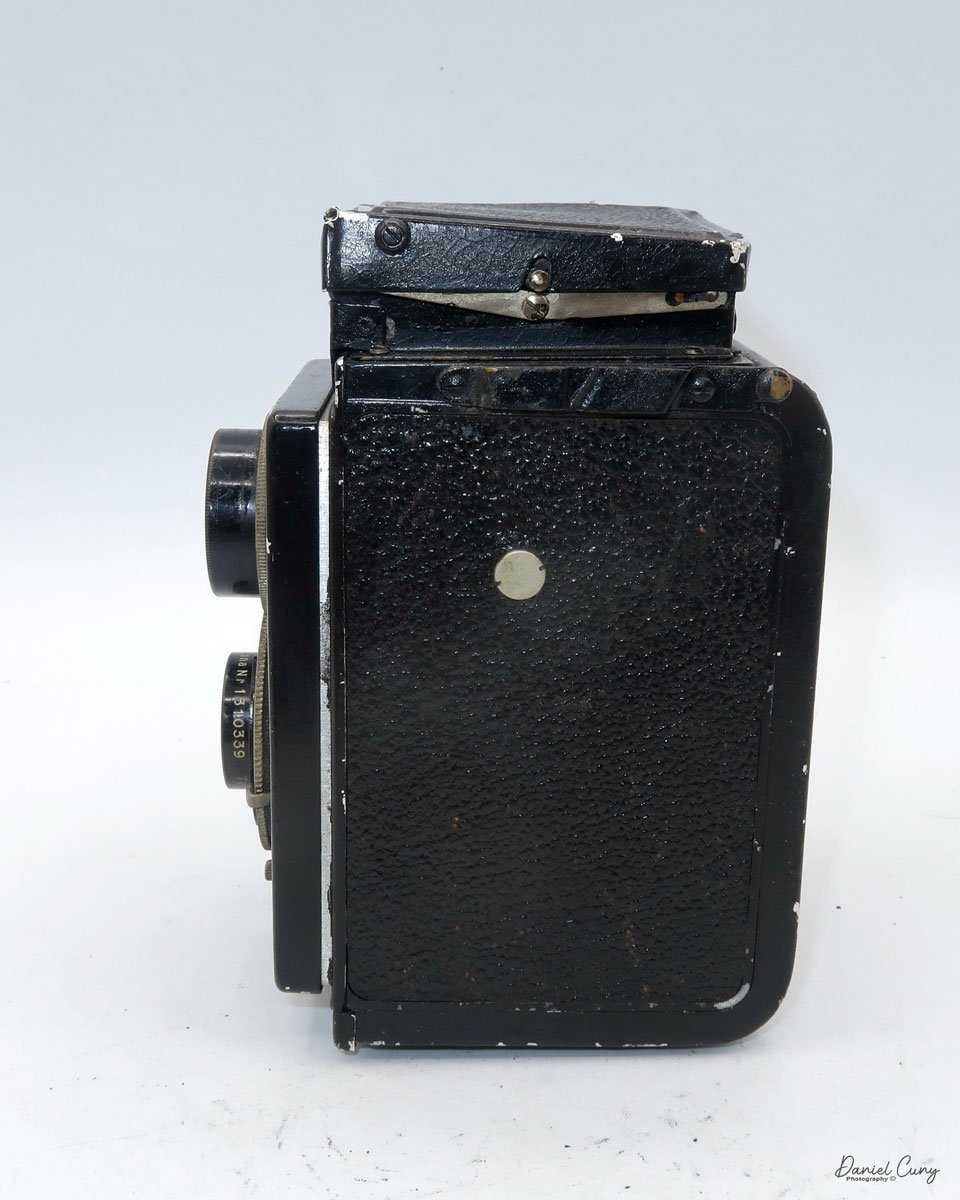
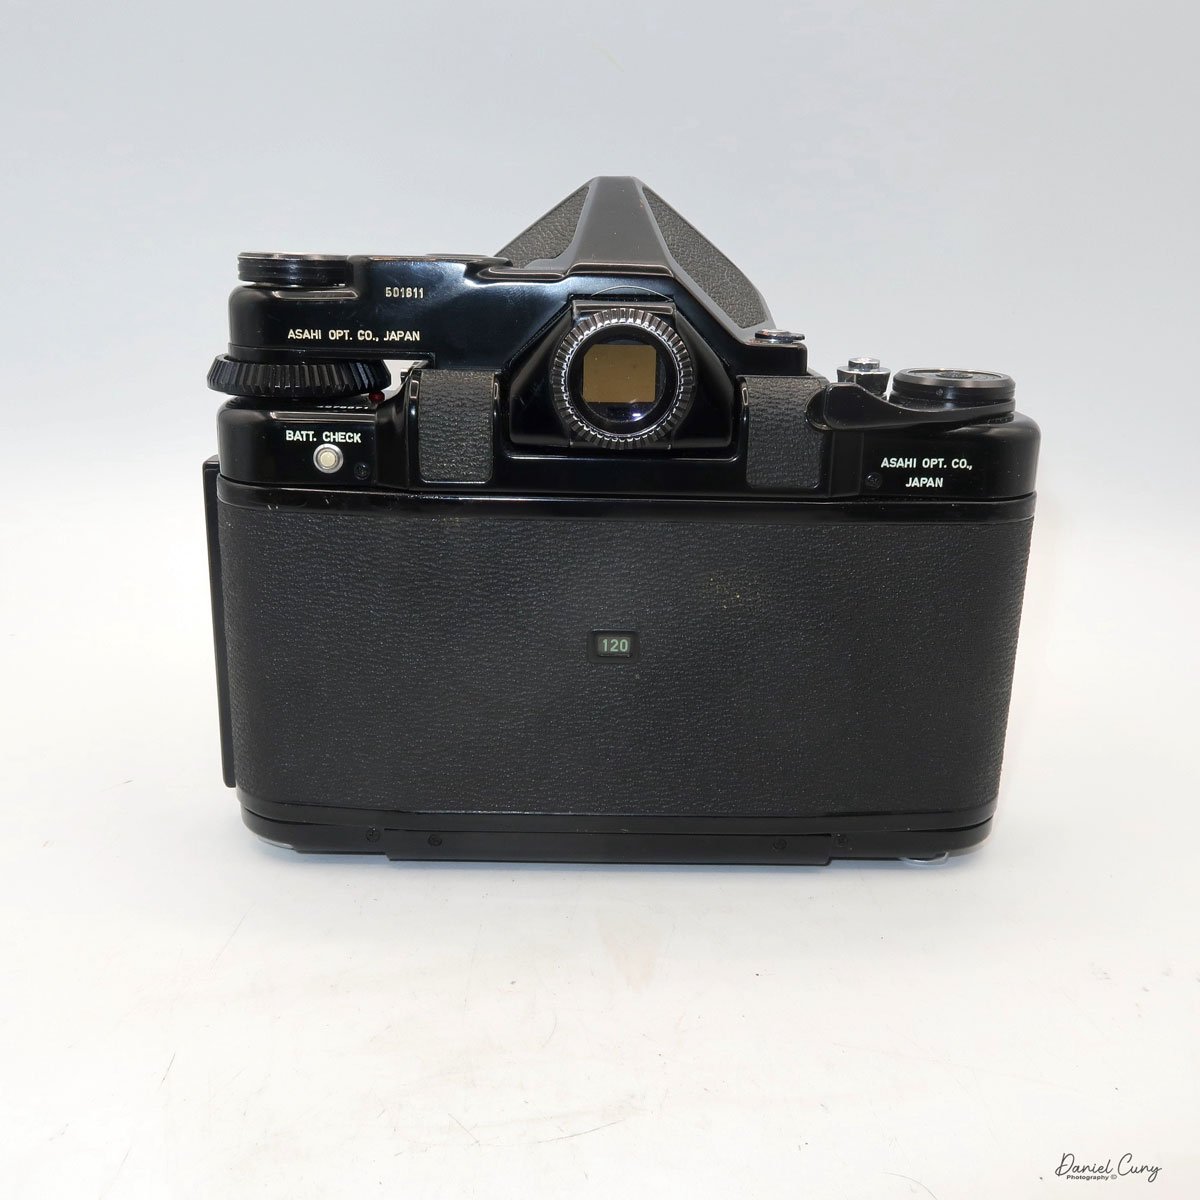
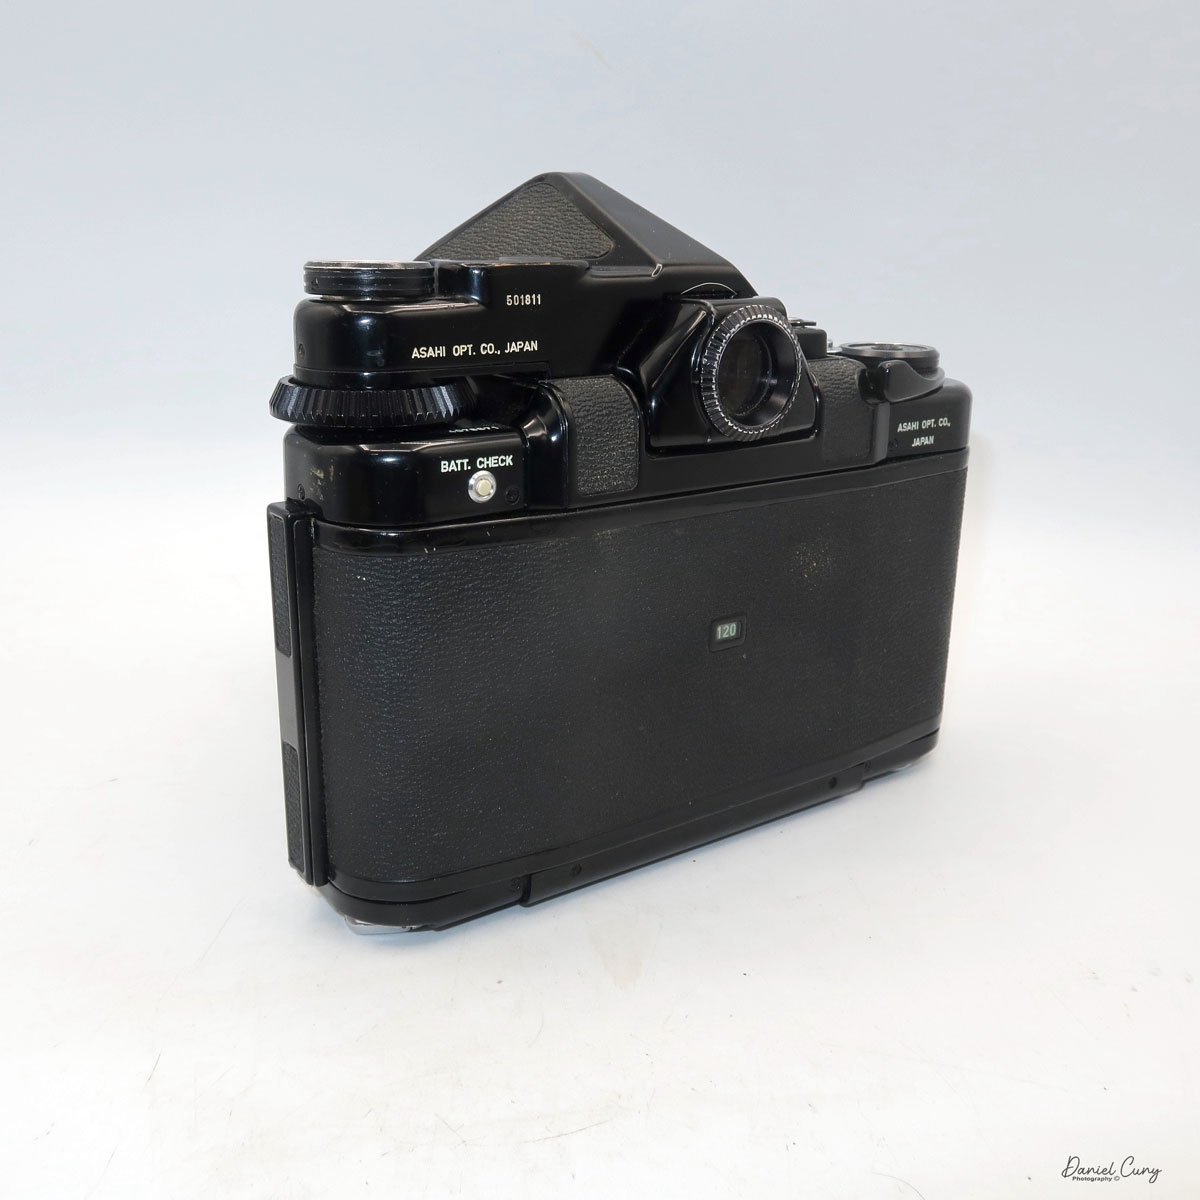
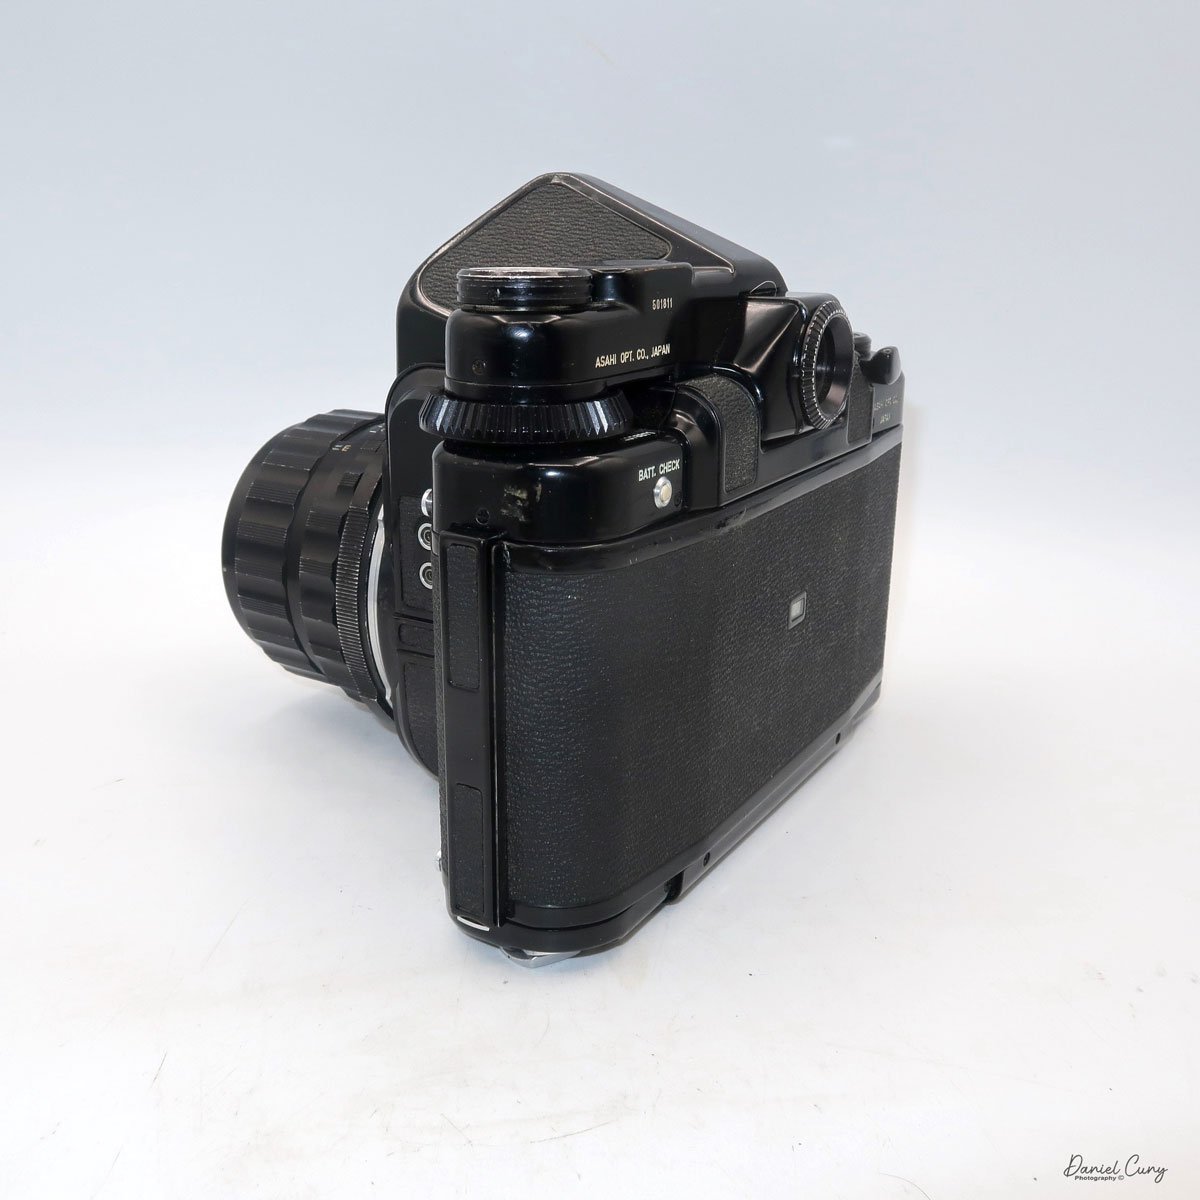
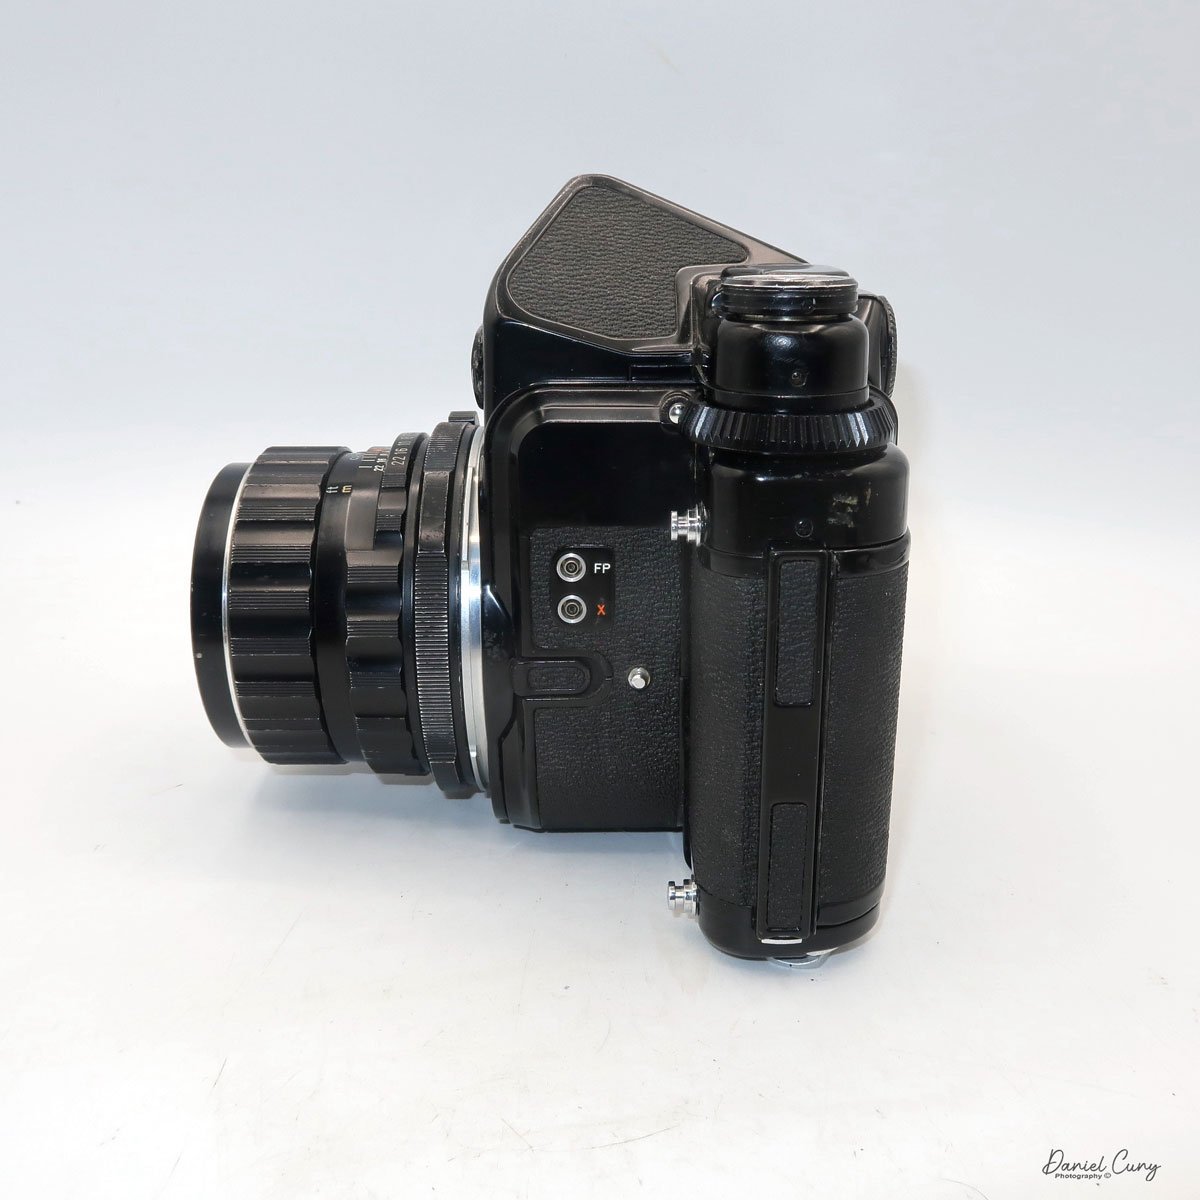
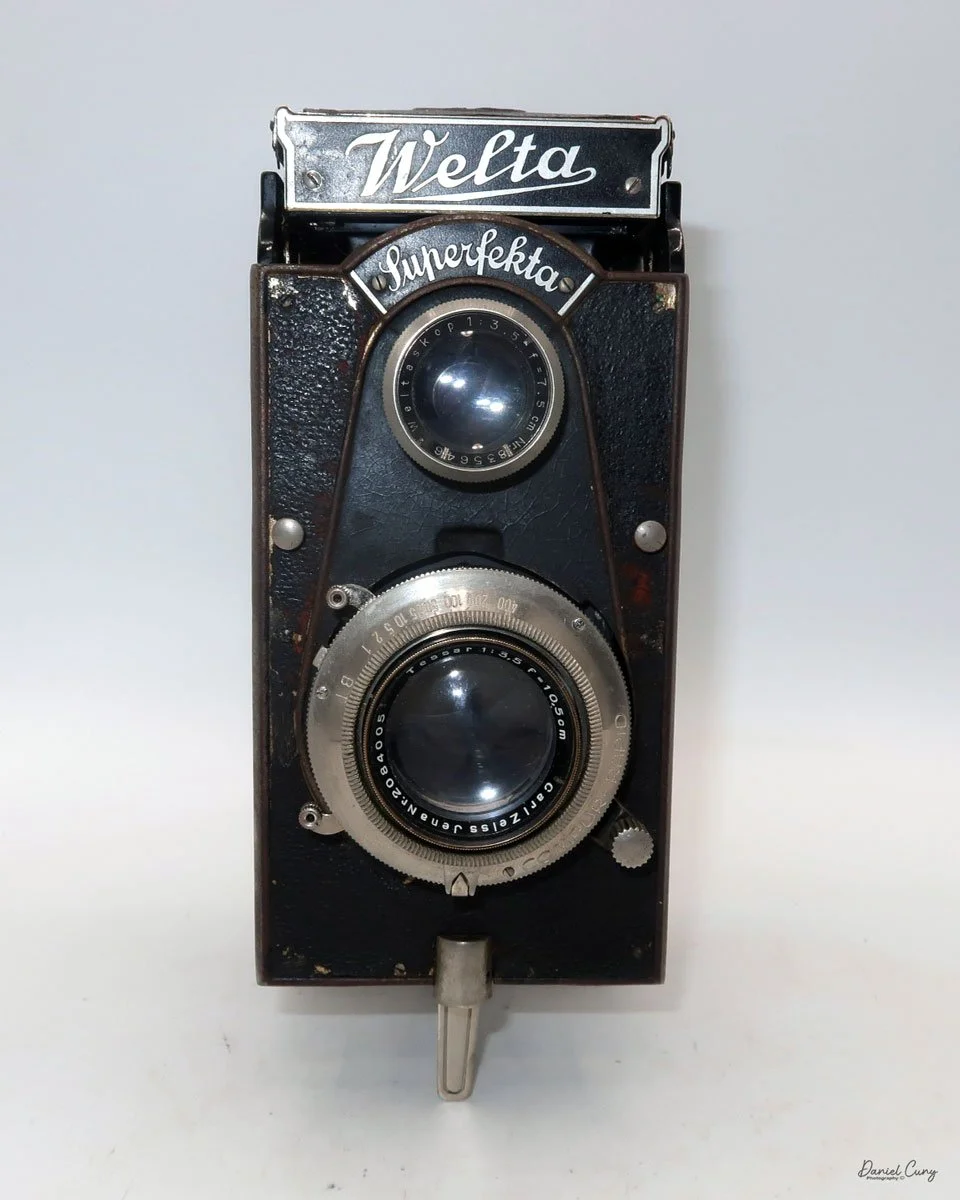
My Welta Superfekta camera
Not being wealthy, my collecting has always been focused on cameras well within our family's financial means. Up until my final ten years of working and before retirement, the cameras I purchased were items you could find at local flea markets and estate sales, or occasionally I made a trade for an item while selling at a camera show where I had a table.
Being drawn to obscure and unusual cameras and having devoured McKeown's Camera Guide for many years, the Welta Superfekta is one camera I've always dreamed of adding to my collection. Due to its price and relative scarcity in the U.S., it's always been out of reach for me until this past few years.
It wasn't until I looked at an online camera auction that I found the Welta Superfekta at a price that was not only reasonable but also inexpensive. Online, the camera looked in good to decent condition, but they said the shutter was erratic. To me, those words mean I'll need to send the camera in for a shutter repair, which isn't too uncommon for a camera reaching 100 years old.
I purchased the Welta Superfekta online, and when the camera arrived, as suspected, its shutter was extremely sluggish and needed to be CLA'd. I reached out to the person I usually send cameras for servicing, and he confirmed he could service the shutter but wasn't sure about other areas of the camera, as he wasn't too familiar with it.
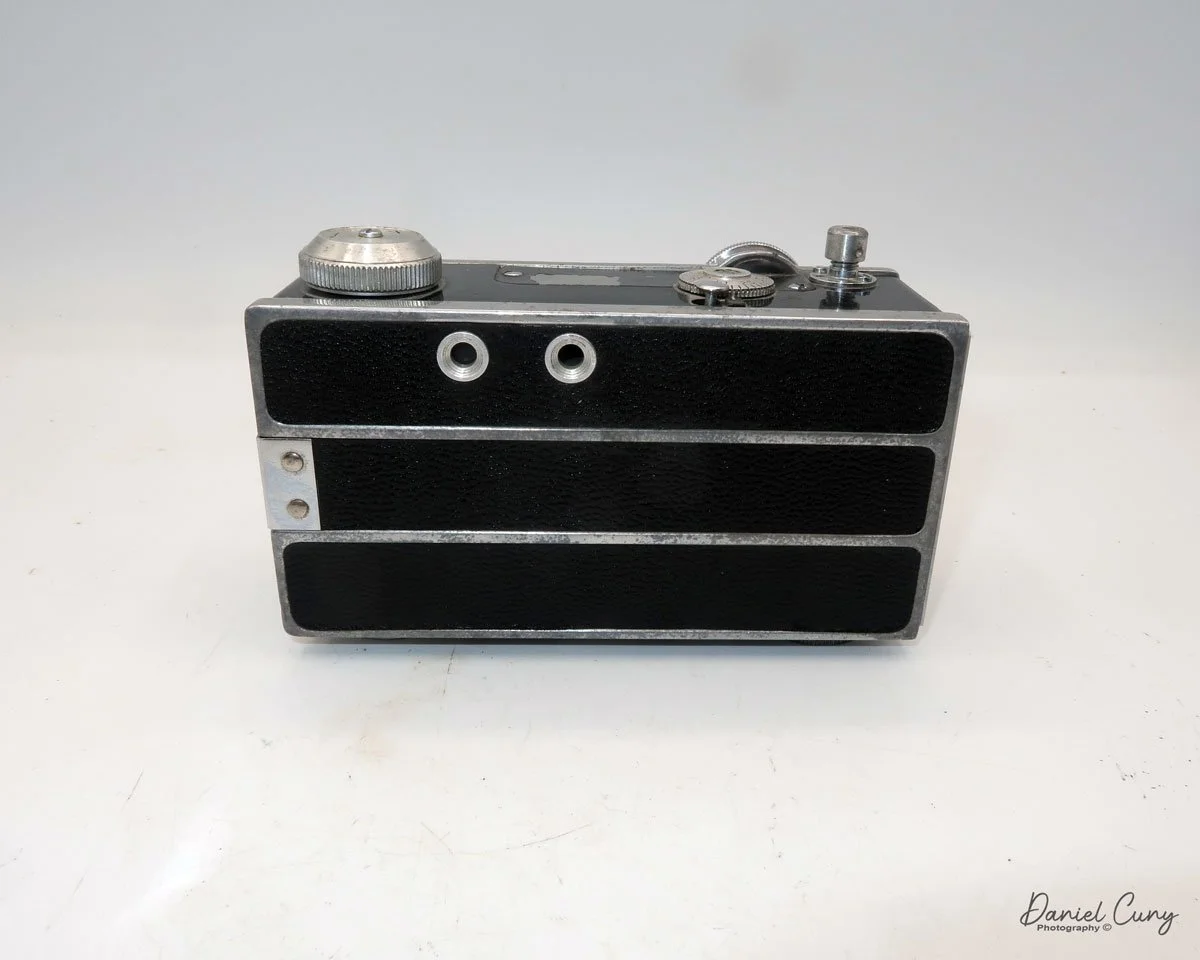
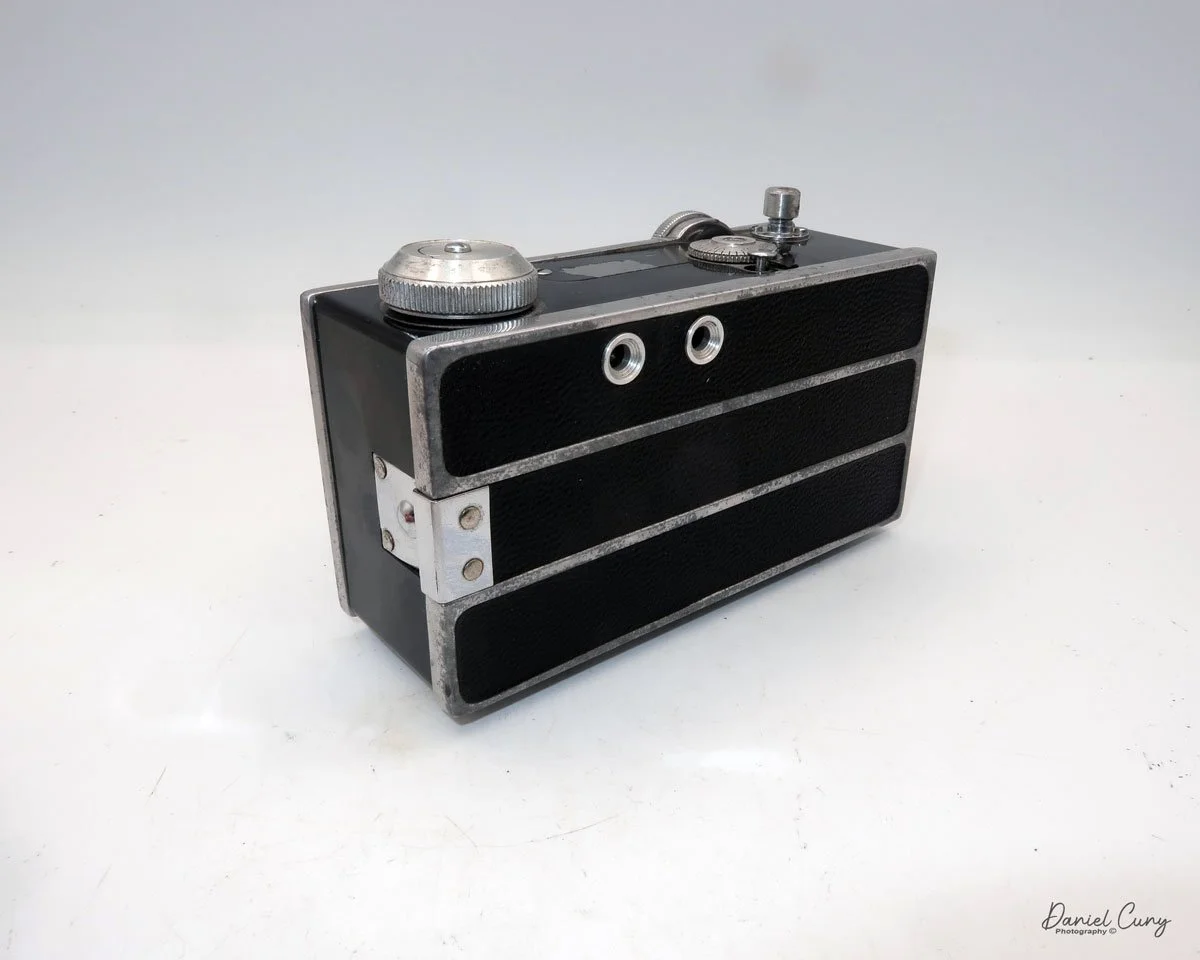
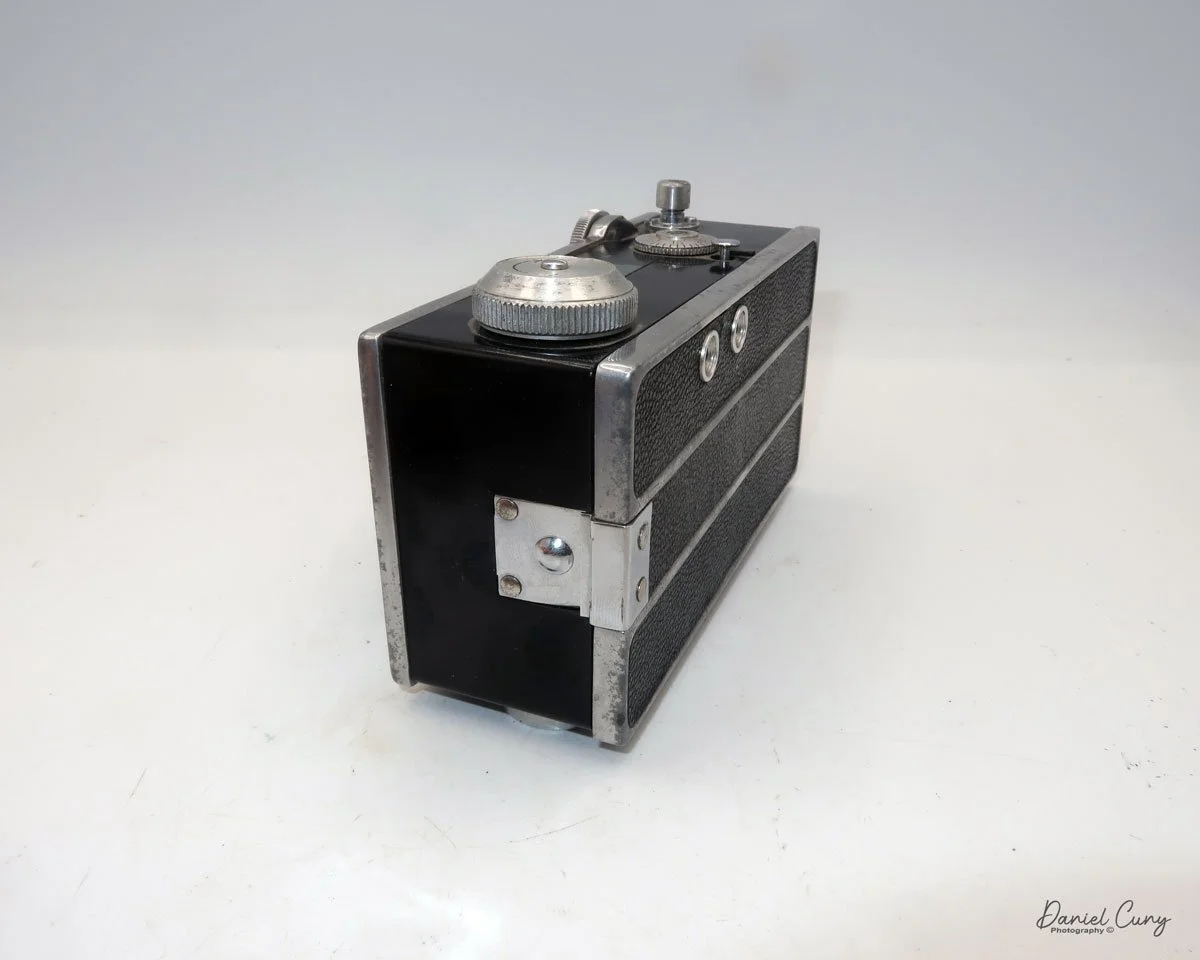
The excitement of adding the Welta Superfekta to my collection was wonderful, especially since it's a 6x9 cm-format camera that takes 120 film. Still, the more exciting part of the camera is that it's very similar to the Cornu Ontoflex, which has a rotating back, allowing the photographer to shoot both vertically and horizontally without turning the camera sideways. Just rotate the back from vertical to horizontal and flip the image orientation, as with the Mamiya RB67.
The one thing I noticed when I turned my camera from vertical to horizontal is that the back doesn't turn all the way, which makes me curious about its history. This flaw, while concerning, adds character and a story to the camera, resonating with collectors who appreciate Imperfections.
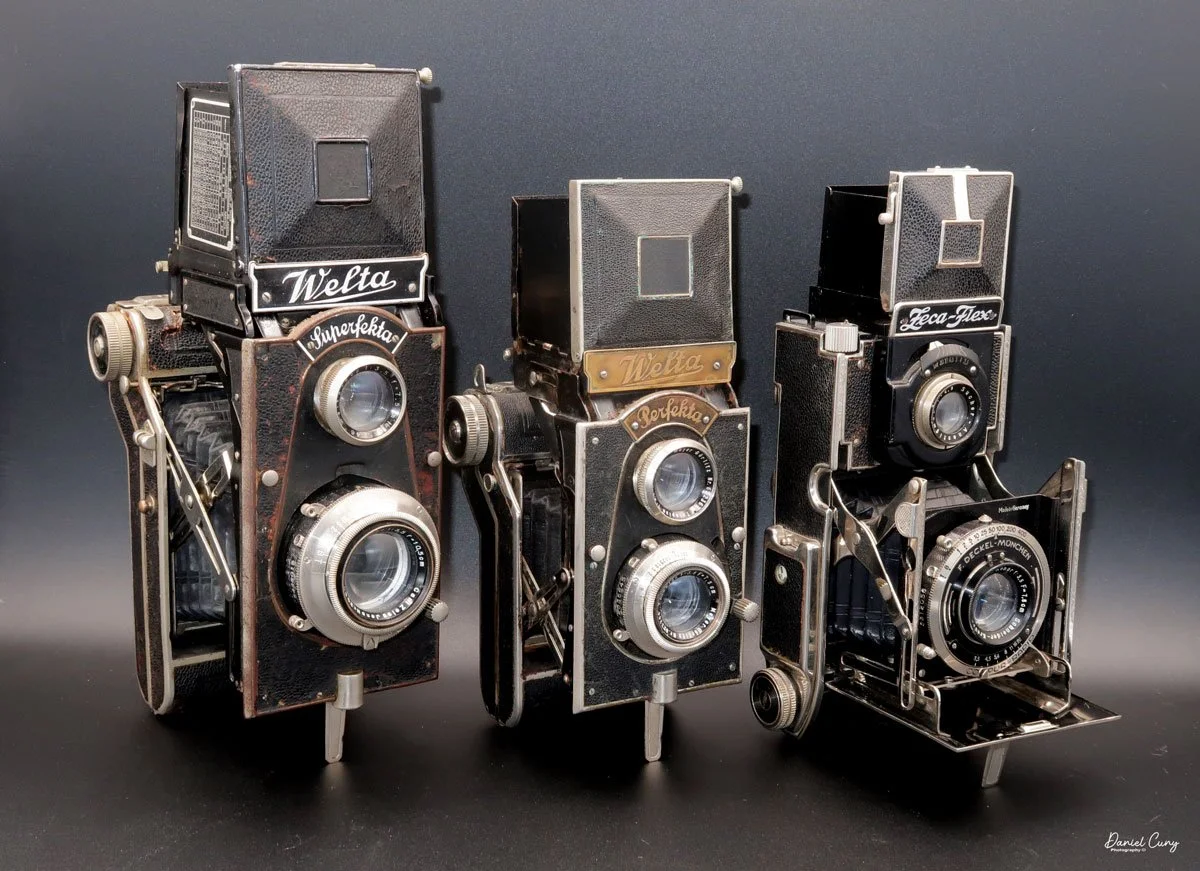
Another reason for my excitement to add the Welta Superfekta to my collection is that it would be the third folding Twin Lens camera in my collection. I had already purchased and written about both the Welta Perfekta and the Zeh Zeca-Flex cameras, making this the “Trifecta” of this camera style.
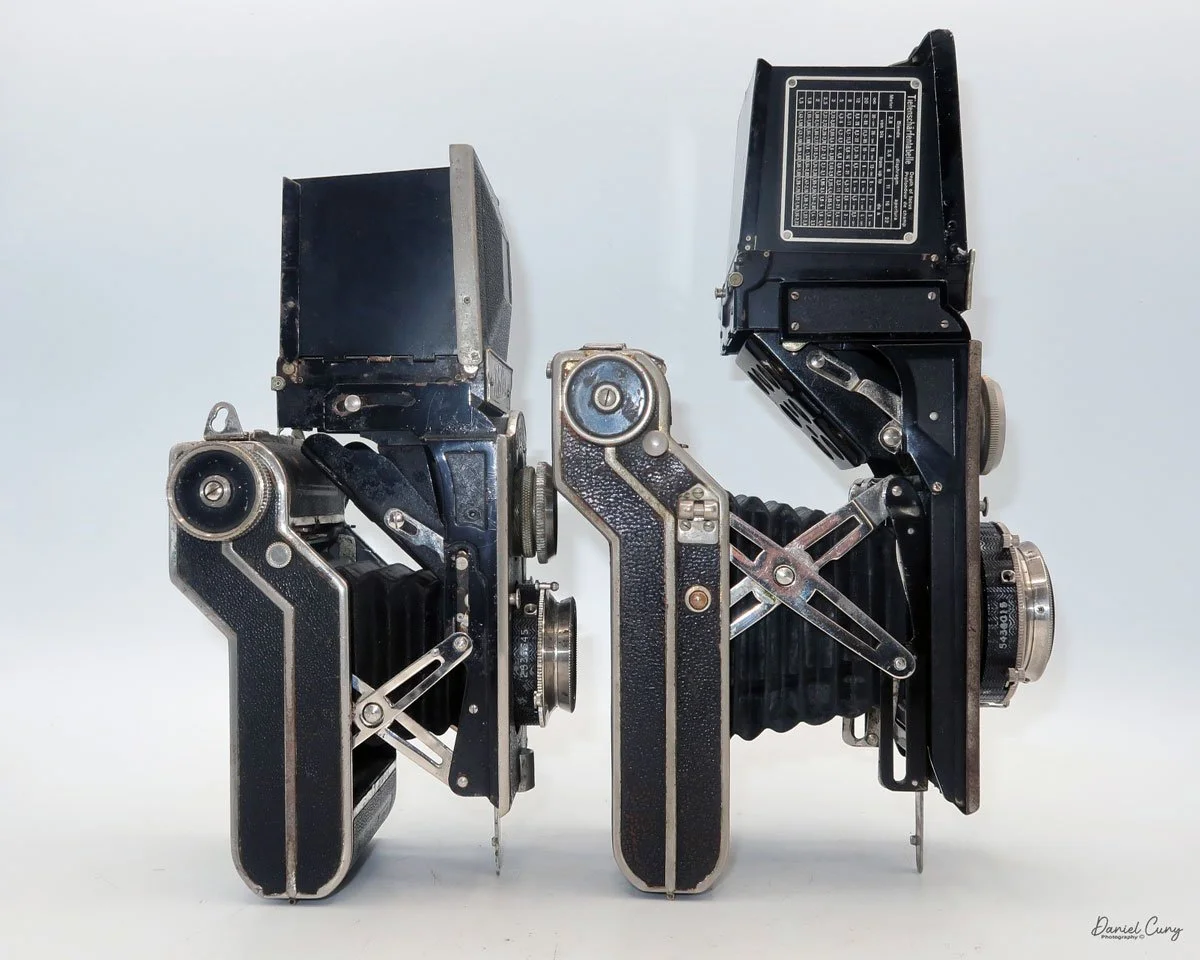
Welta Superfekta, Perfekta and Zeh Zeca-Flex camera.
Welta before World War II:
The history of Welta Kamerawerke leading up to World War II is a testament to the rapid innovation and high-precision craftsmanship that defined the German photographic industry in the early 20th century. Founded in 1914 by Walter Waurich and Theodor Weber in Freital, near Dresden, the company began as "Waurich & Weber" before adopting the "Welta" brand name that would eventually become synonymous with high-end folding cameras.
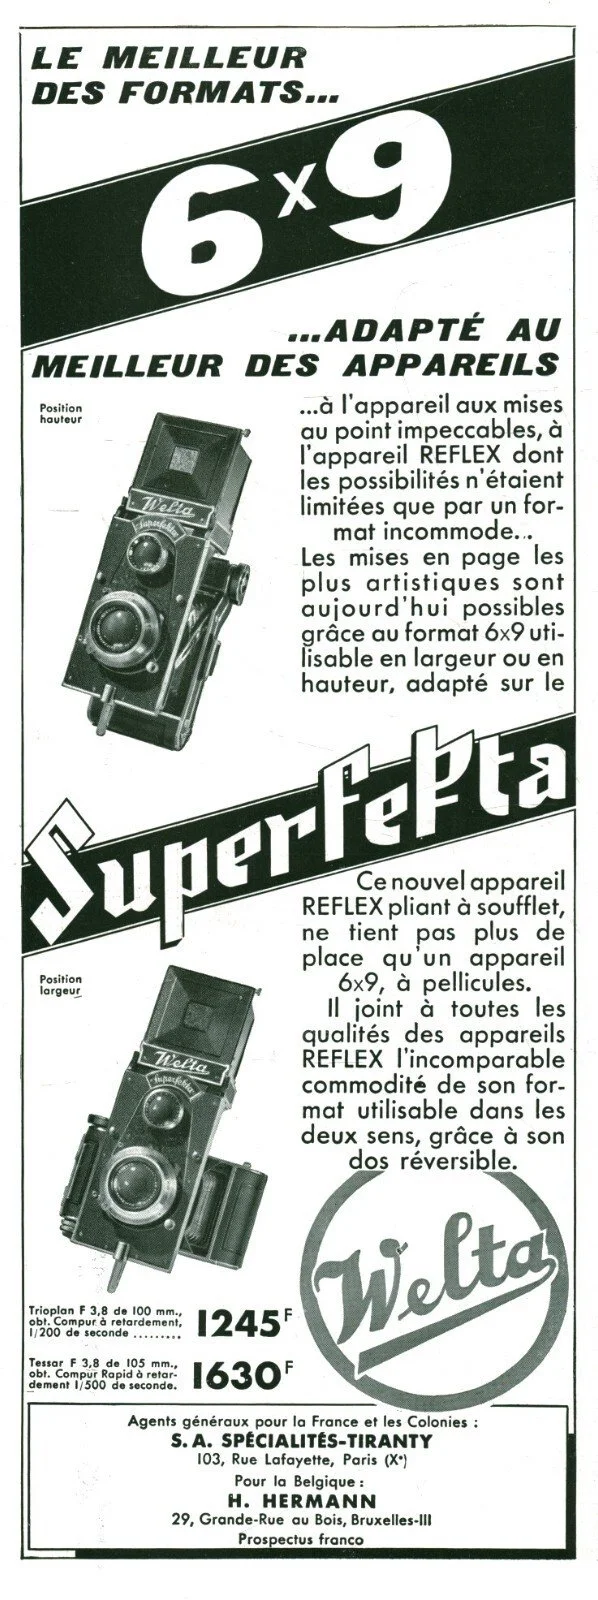
French ad for the Welta Perfekta and Superfekta cameras
In its first decade, Welta focused on the transition from heavy glass-plate cameras to the more versatile roll-film formats. By the 1920s, Freital and the surrounding Dresden area had become the global epicenter of camera manufacturing, and Welta held its own against giants like Zeiss Ikon. Their early success was built on the folding camera—a design that allowed a high-quality lens and shutter to collapse into a slim, leather-covered metal body.
The 1930s marked Welta's "Golden Era." During this decade, the company moved beyond standard designs to create some of the most mechanically complex cameras ever made. While competitors were focusing on the emerging 35mm trend, Welta mastered the 120 roll-film market with innovative models like:
The Weltur: A rangefinder folding camera known for its incredible build quality and integrated viewfinders.
The Perfekta and Superfekta: These folding Twin Lens Reflex (TLR) cameras were engineering marvels, offering the ground-glass focusing of a studio camera in a portable, collapsing frame.
The Welti: A foray into the 35mm market that proved Welta could compete with the Leica in terms of precision and optics, often featuring high-end Carl Zeiss Jena or Schneider lenses.
Welta's pre-war philosophy was to offer a variety of price points without sacrificing mechanical integrity. You could find a simple Welta Trio for the casual hobbyist, or a Superfekta with a rotating back for the professional who demanded perfection. This versatility allowed Welta to export heavily to the UK and the United States, where their cameras were often rebranded for local retailers.
By the late 1930s, Welta was a premier name in photography. However, as Germany shifted toward a war economy, production began to pivot away from consumer optics. After the war, Freital was part of the Soviet occupation zone (later East Germany), and Welta was eventually absorbed into the state-owned VEB Pentacon, marking the end of its era as an independent, family-founded innovator.
My Camera:
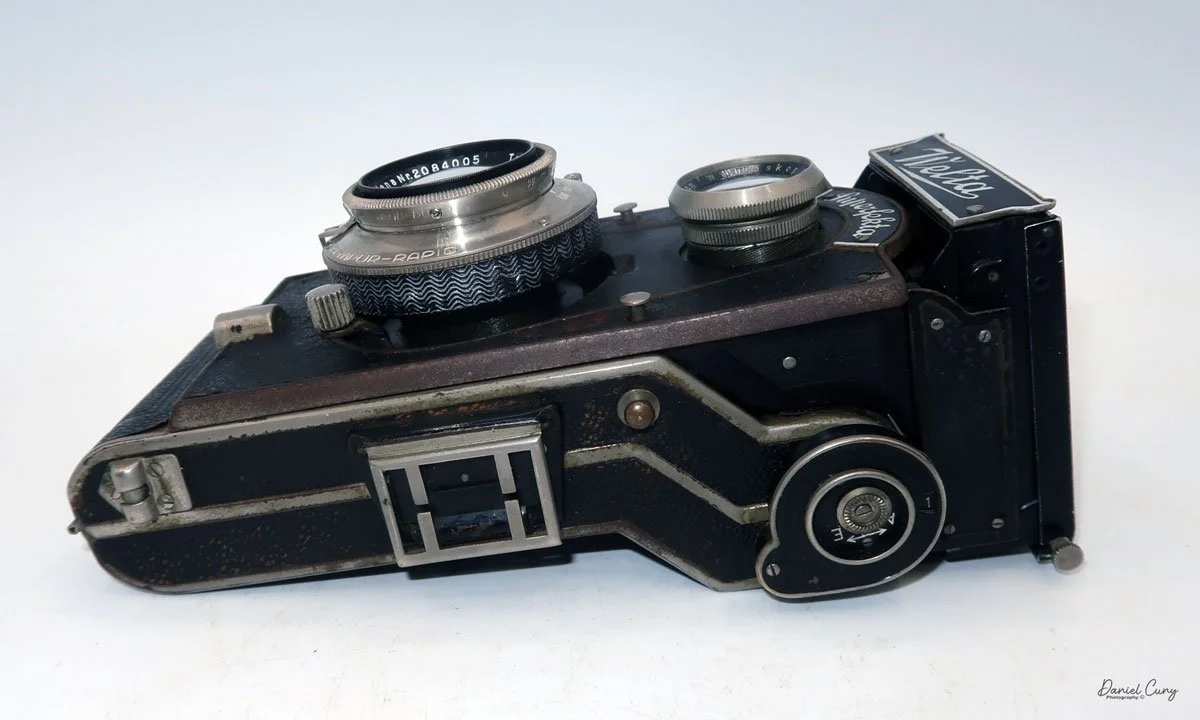
My Welta Superfekta camera is 7.5" tall without the light chimney opened, and 10" with it opened, by 4" wide, and 3.5" deep with the body retracted, and 6.25" deep when the body of the camera is extended. The camera weighs 3 pounds, 0.2 ounces without film, so it has some heft.
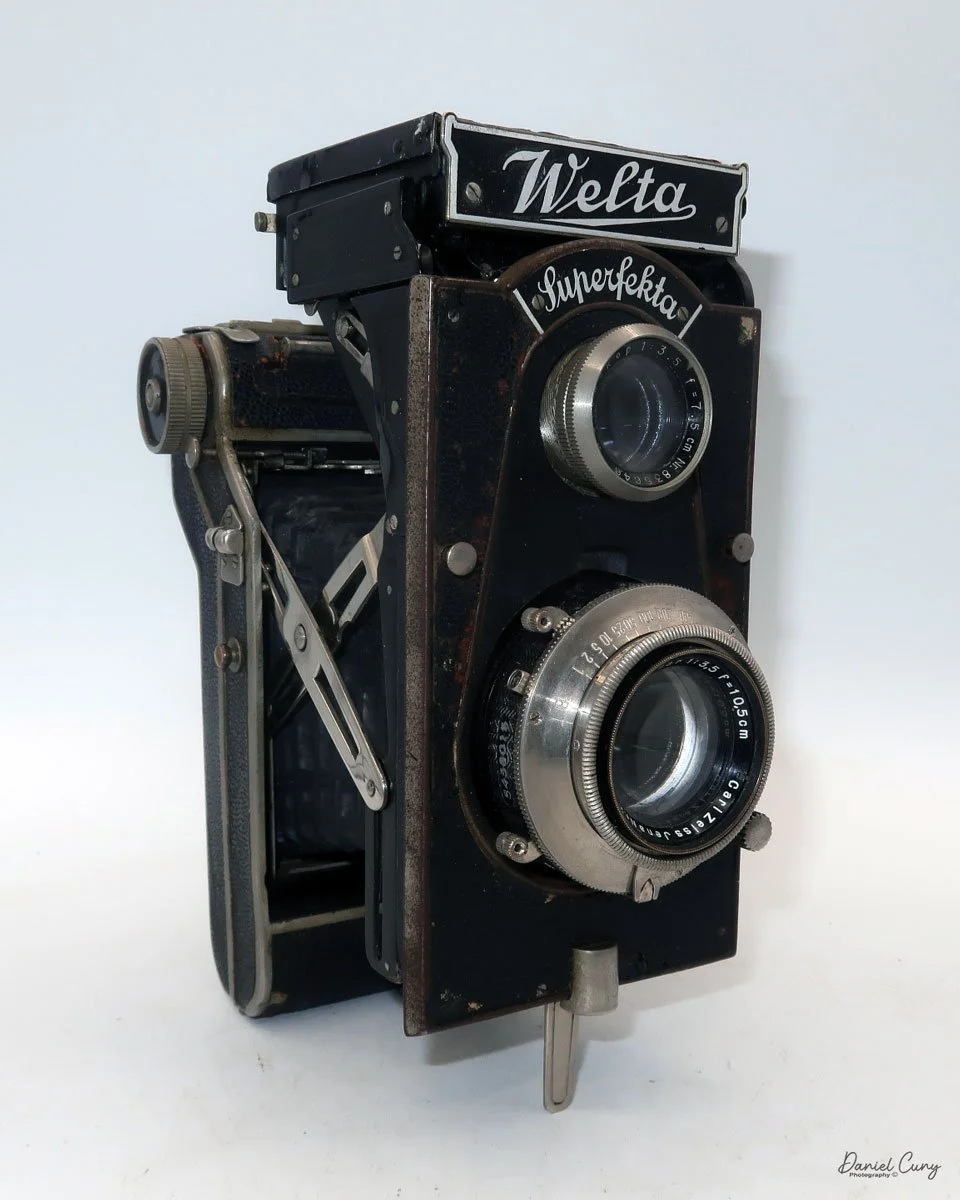
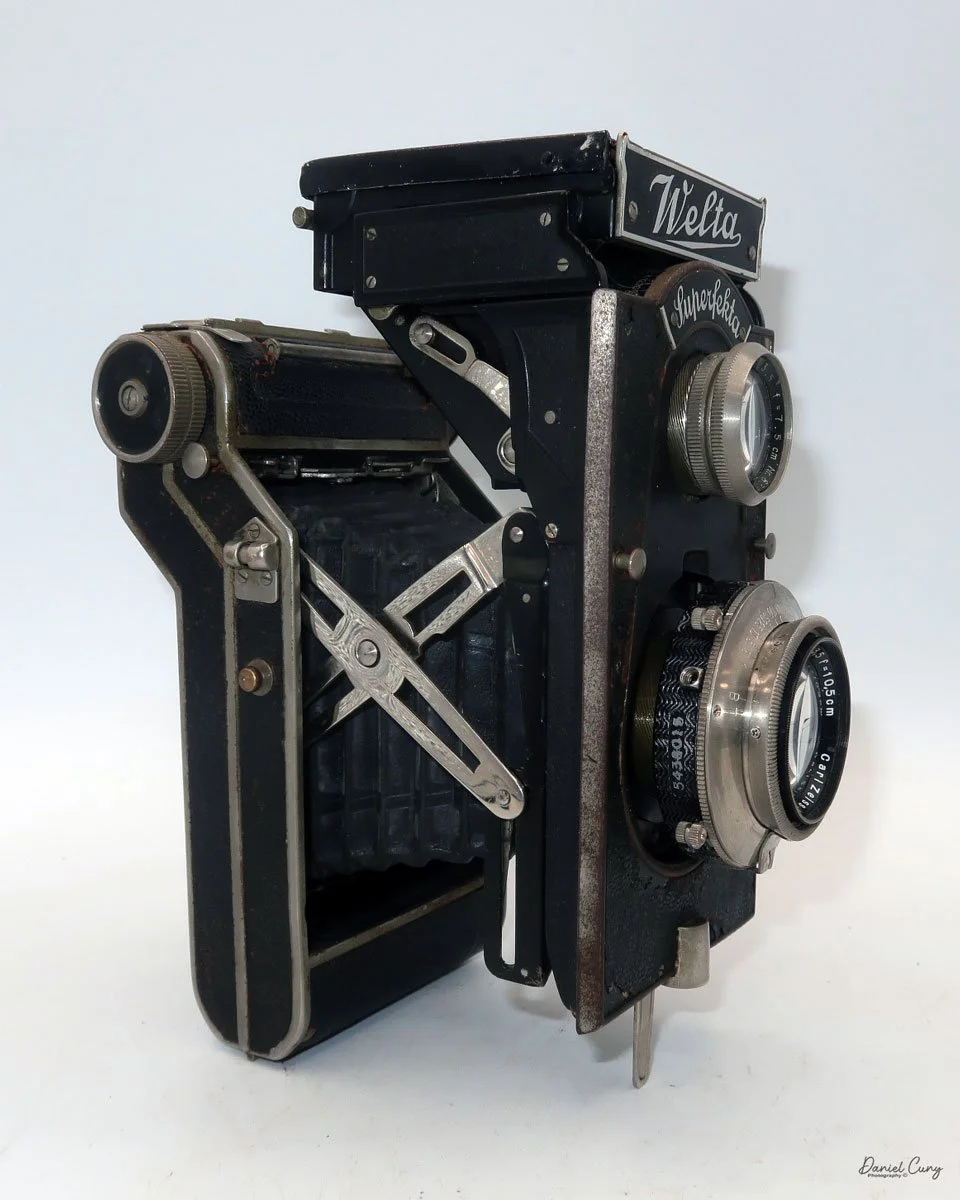
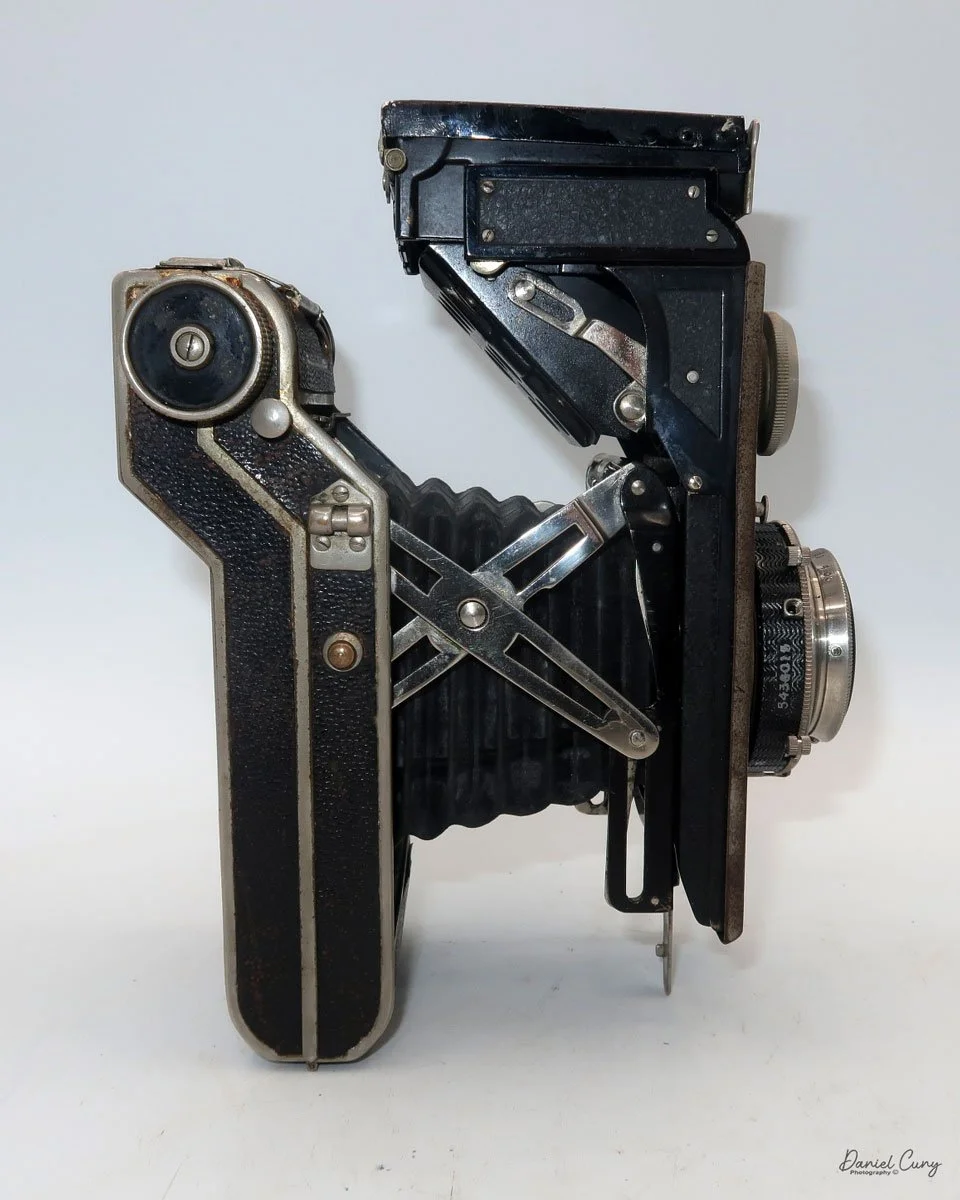
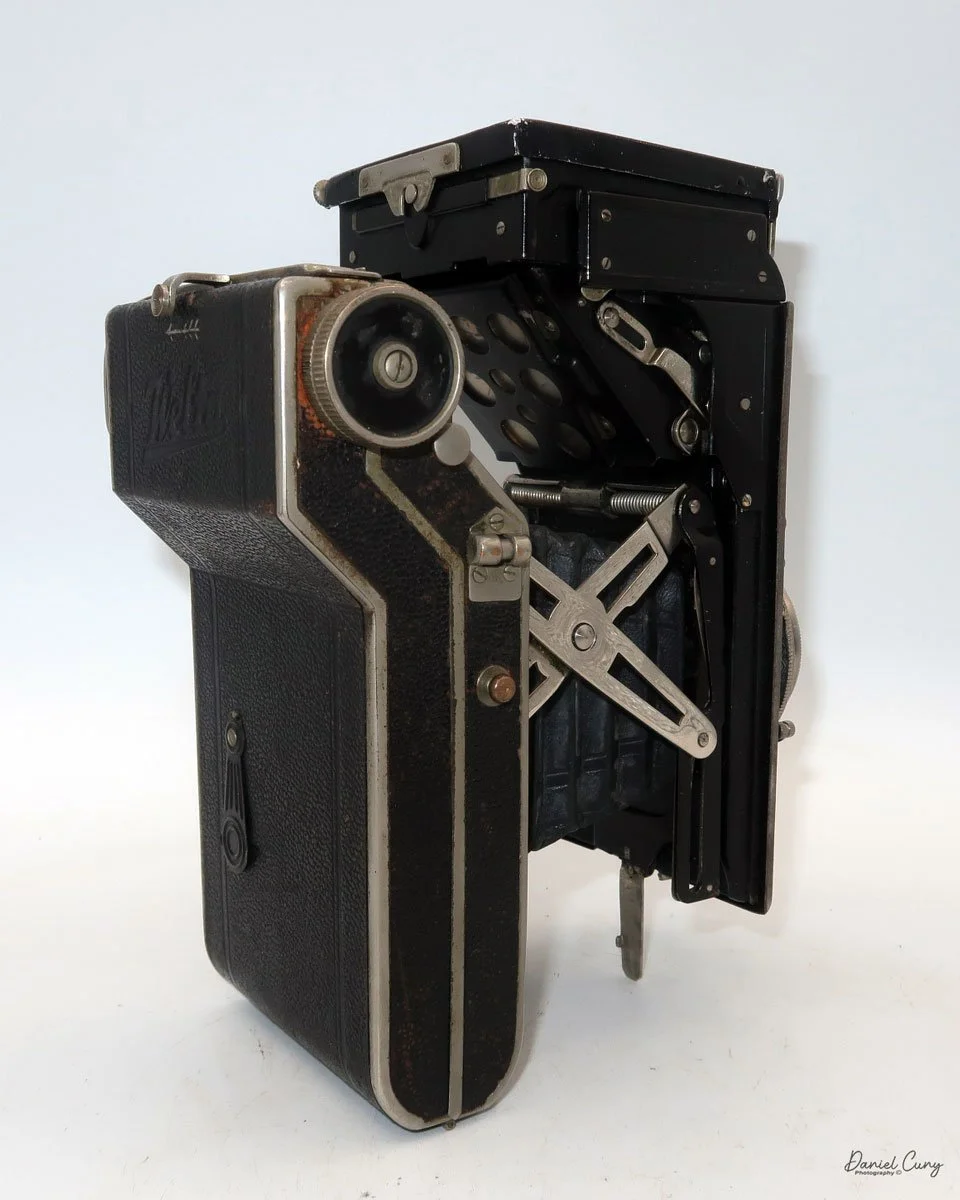
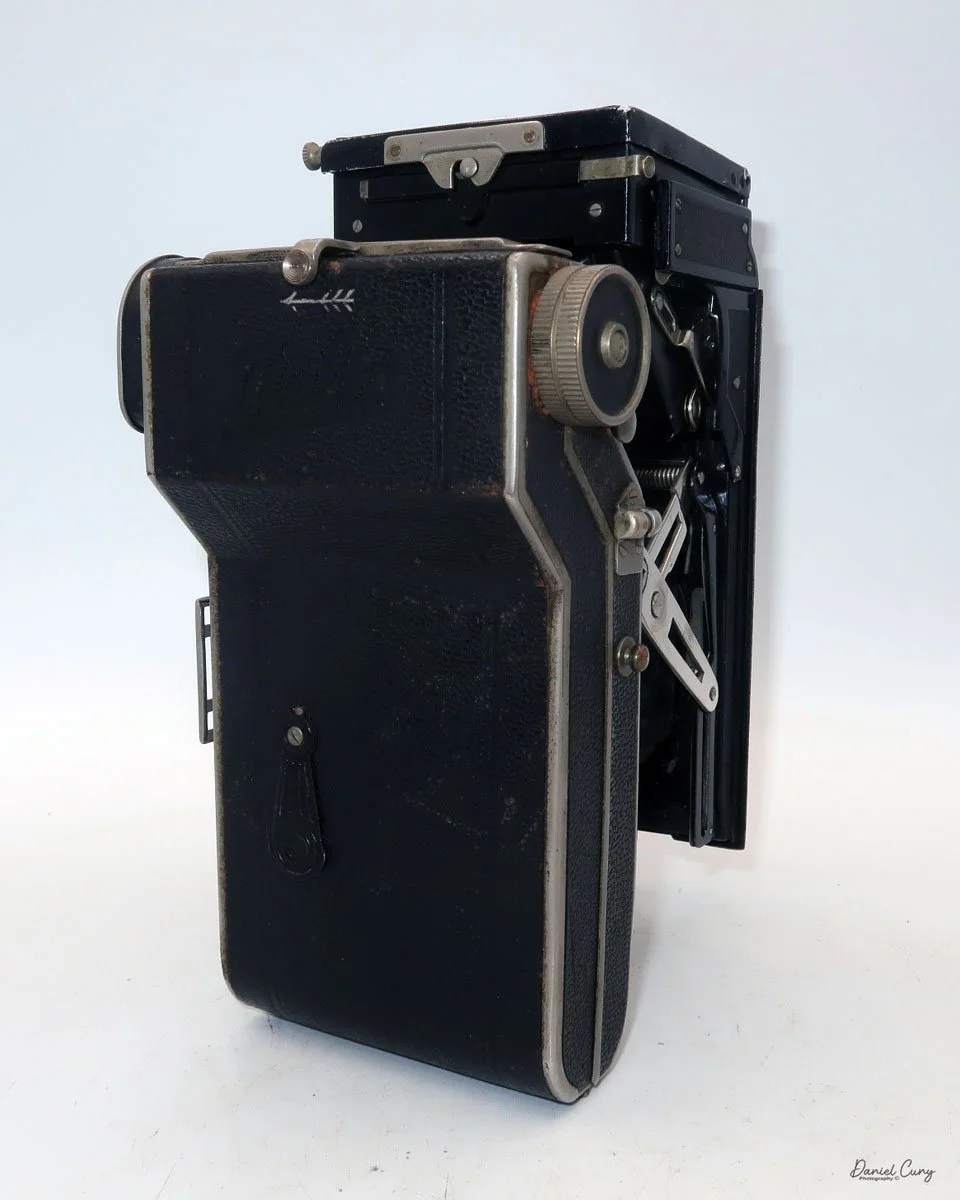
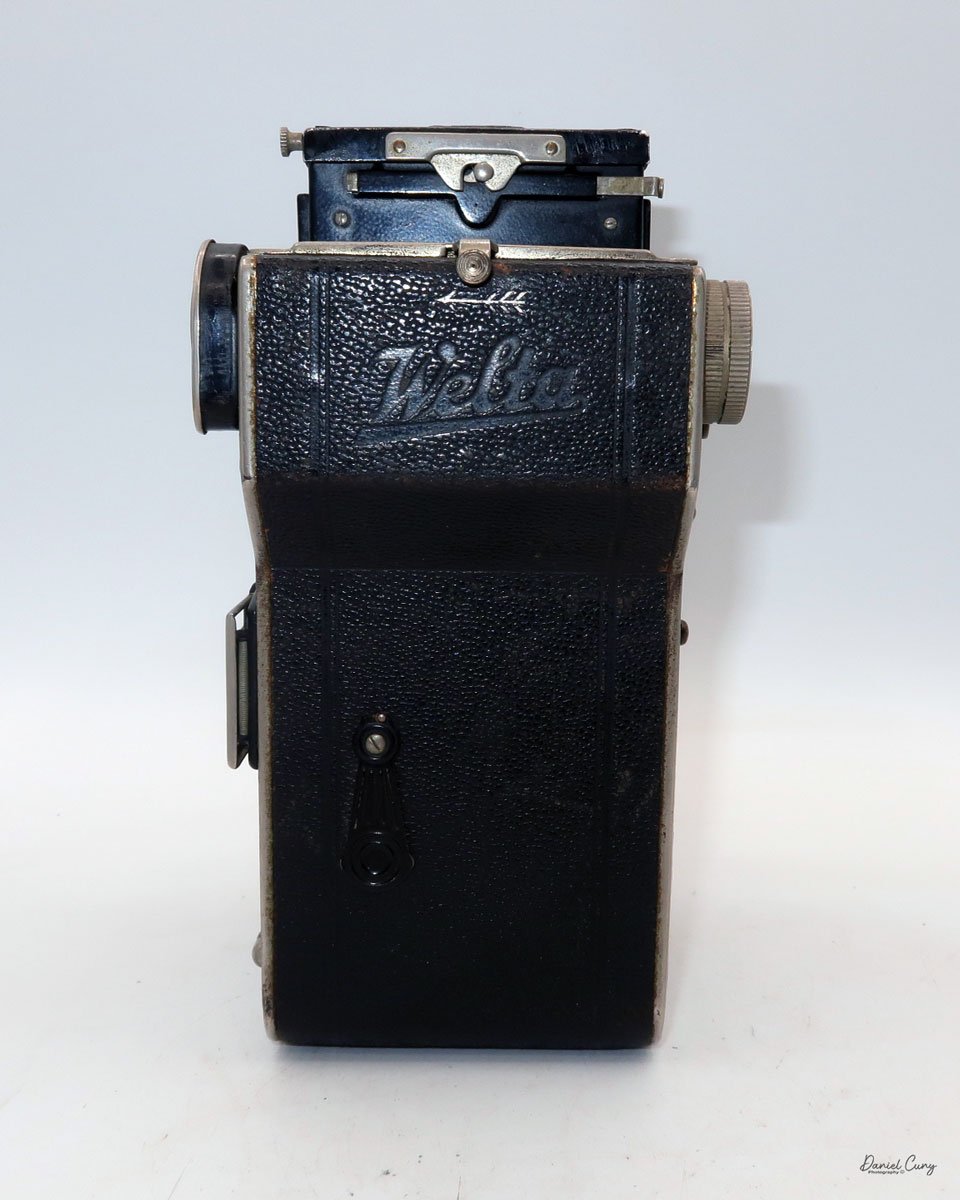
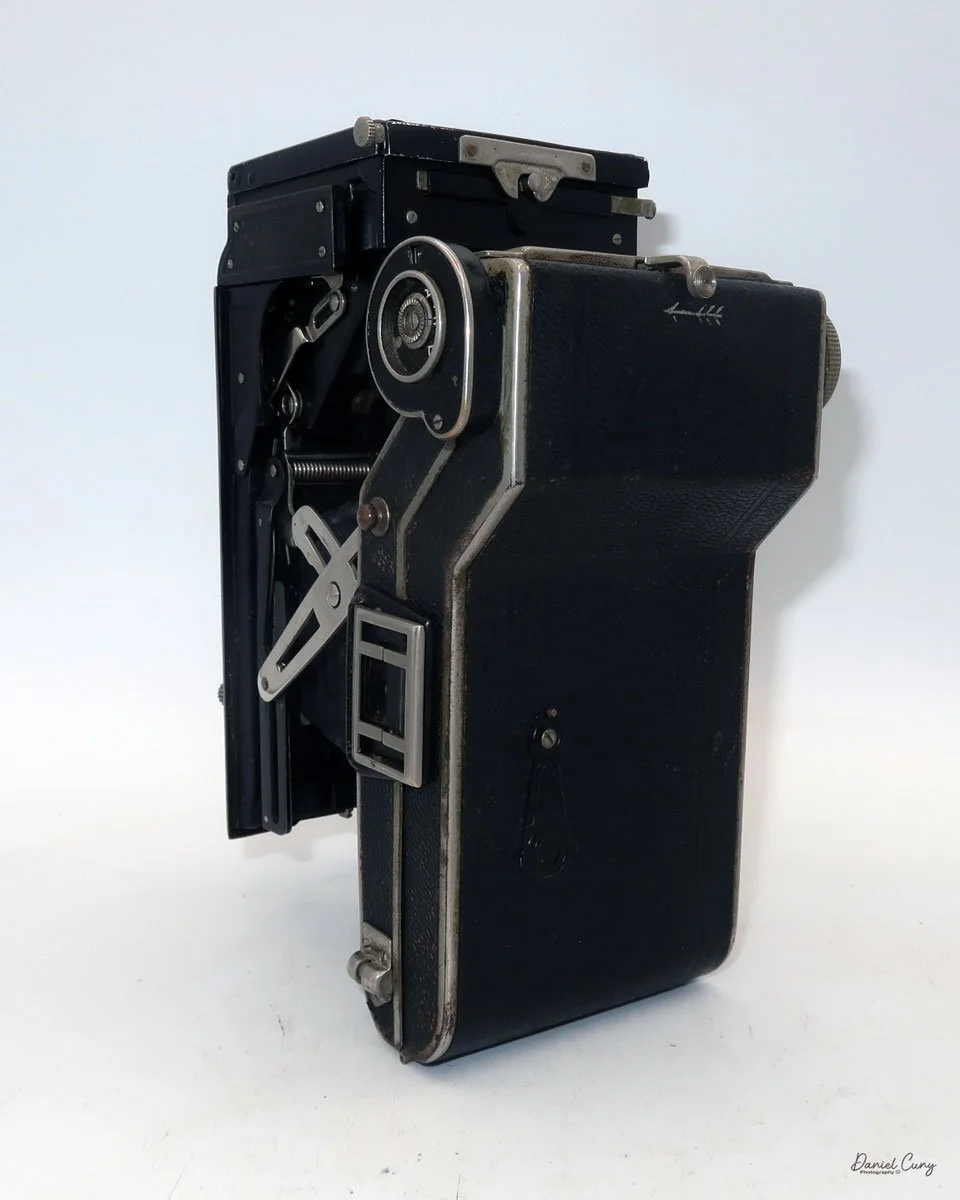
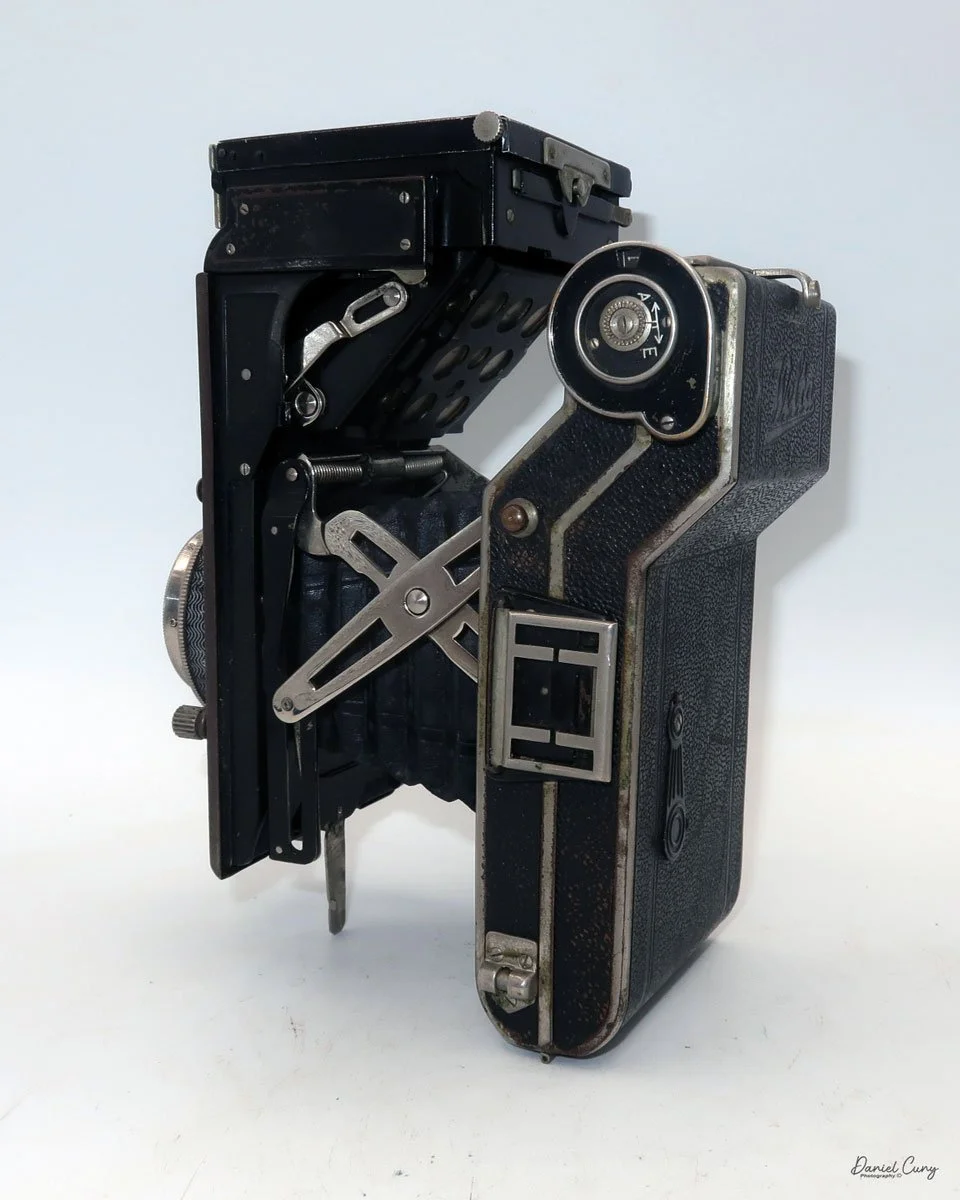
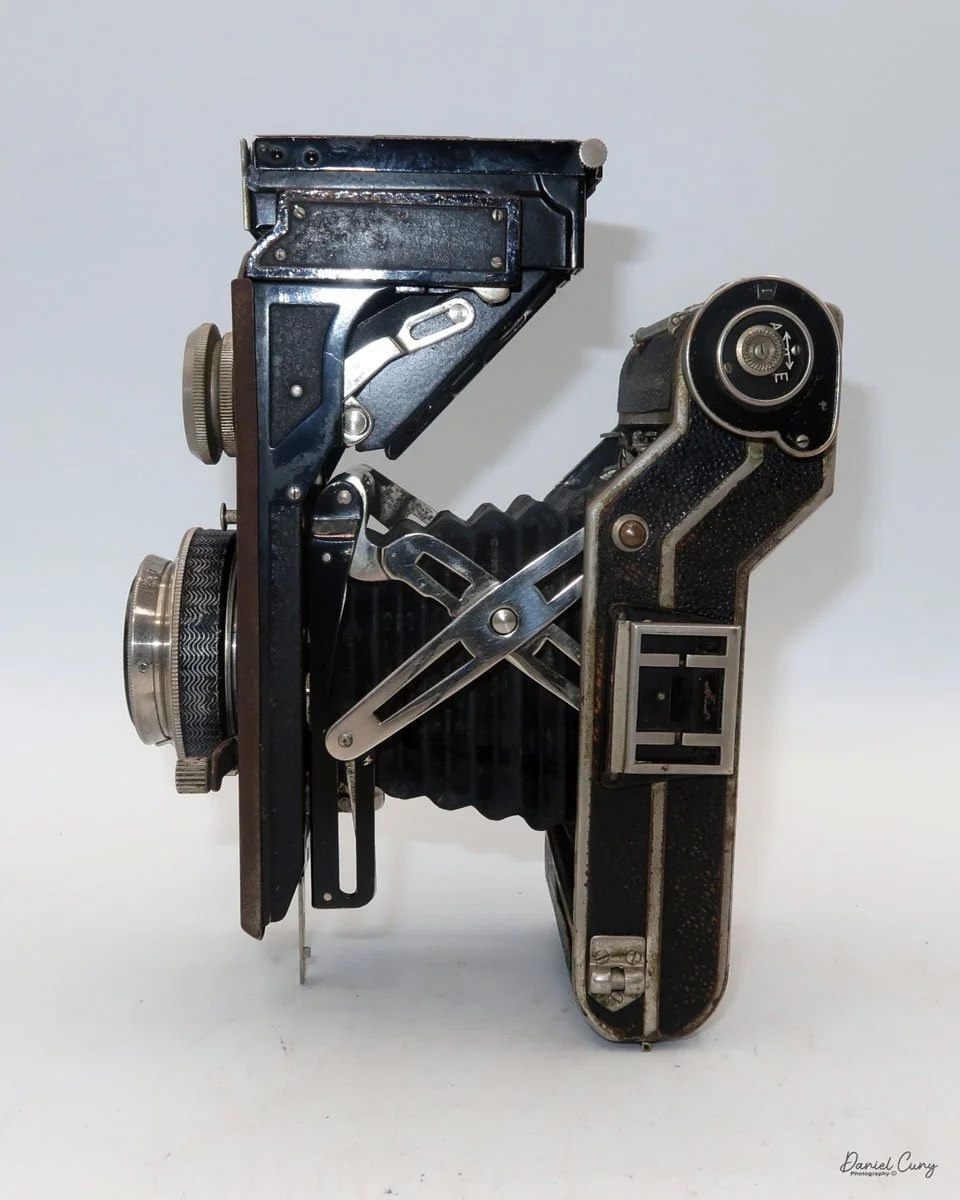
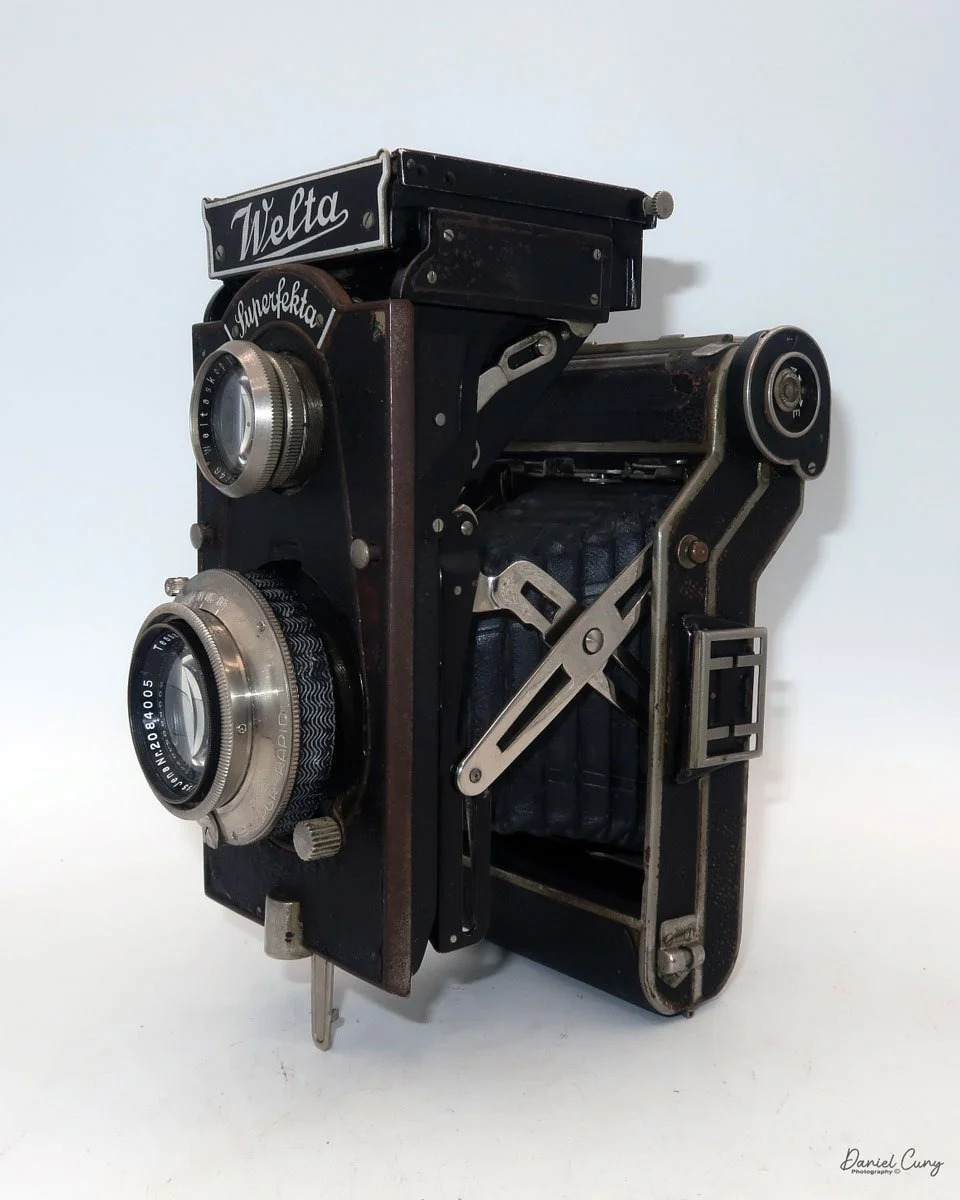
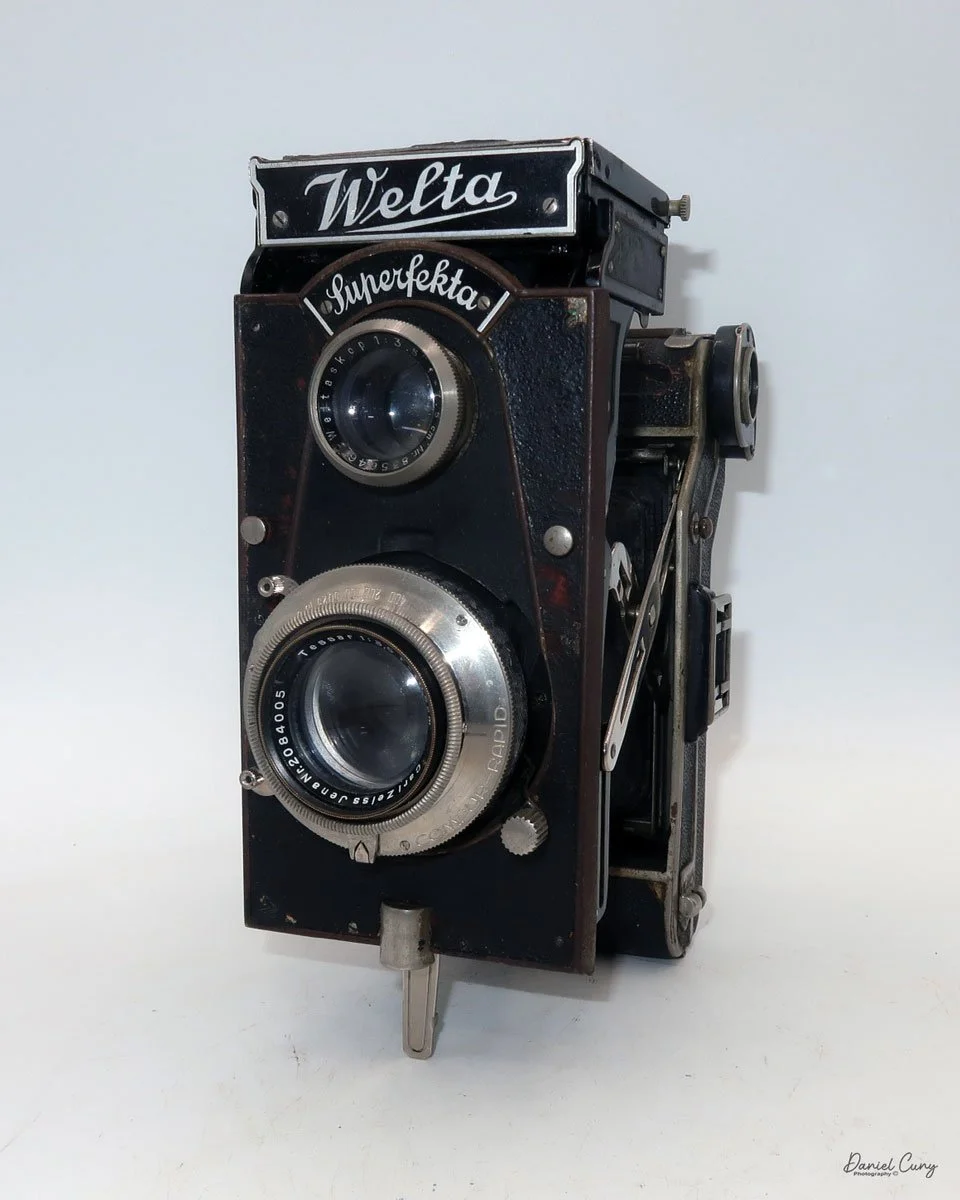
To extend the camera body away from the film chamber, press the silver button on the right side of the camera body, located just below the film winding lever. Pressing the button quickly extends the camera lens area, and you'll be able to see the bellows. By doing so, you'll see how the camera gets its name, a folding twin-lens camera. When I extended the camera's front from the rear, I noticed the bellows were in excellent light-tight condition.
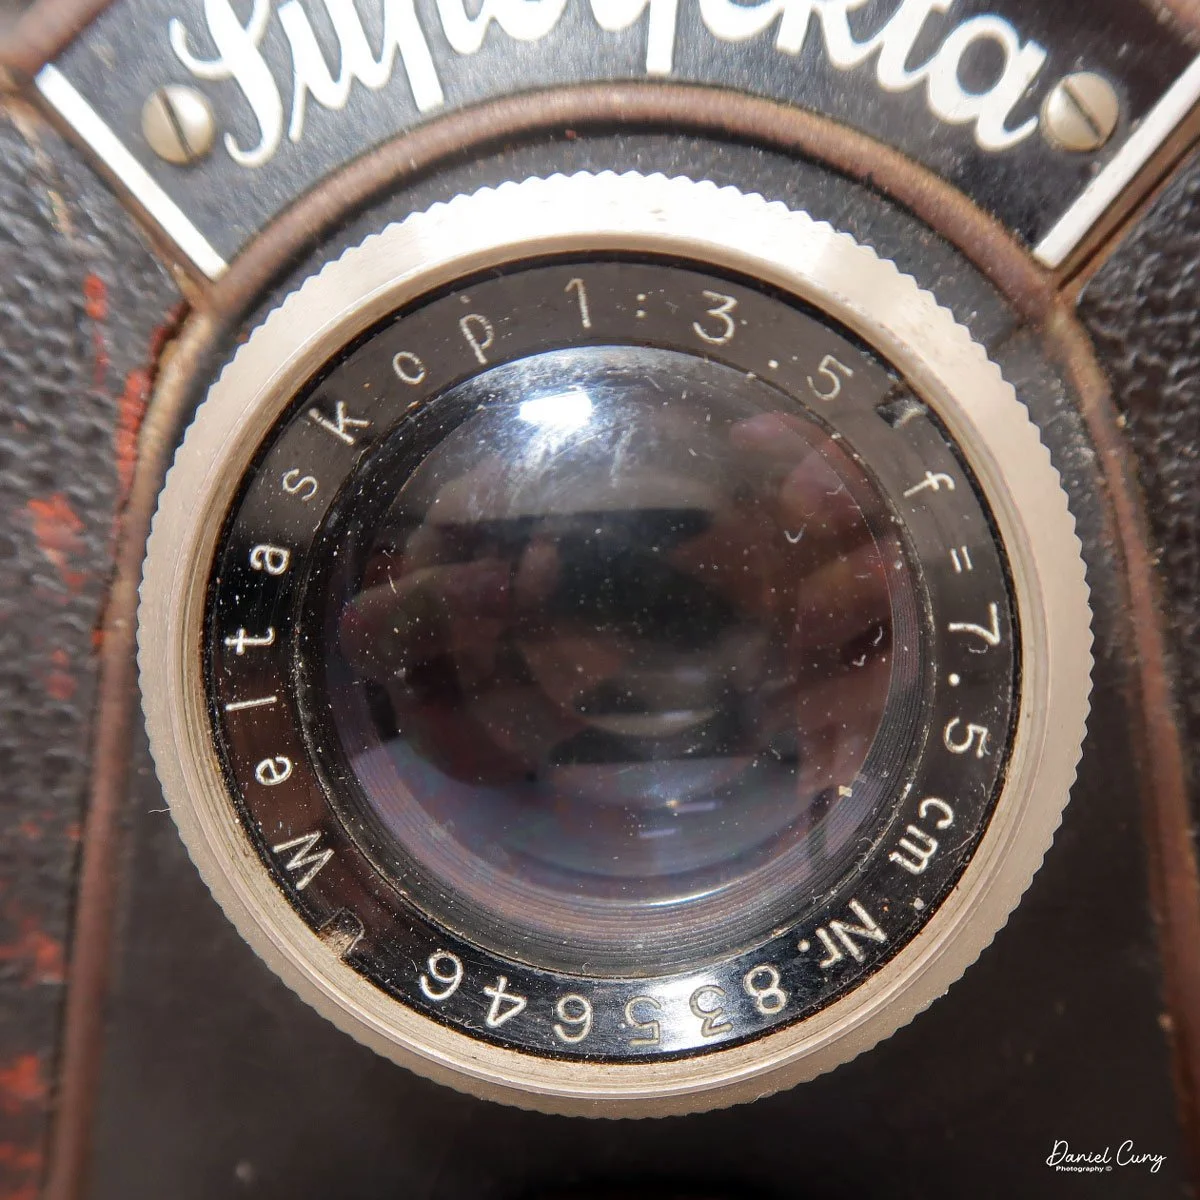
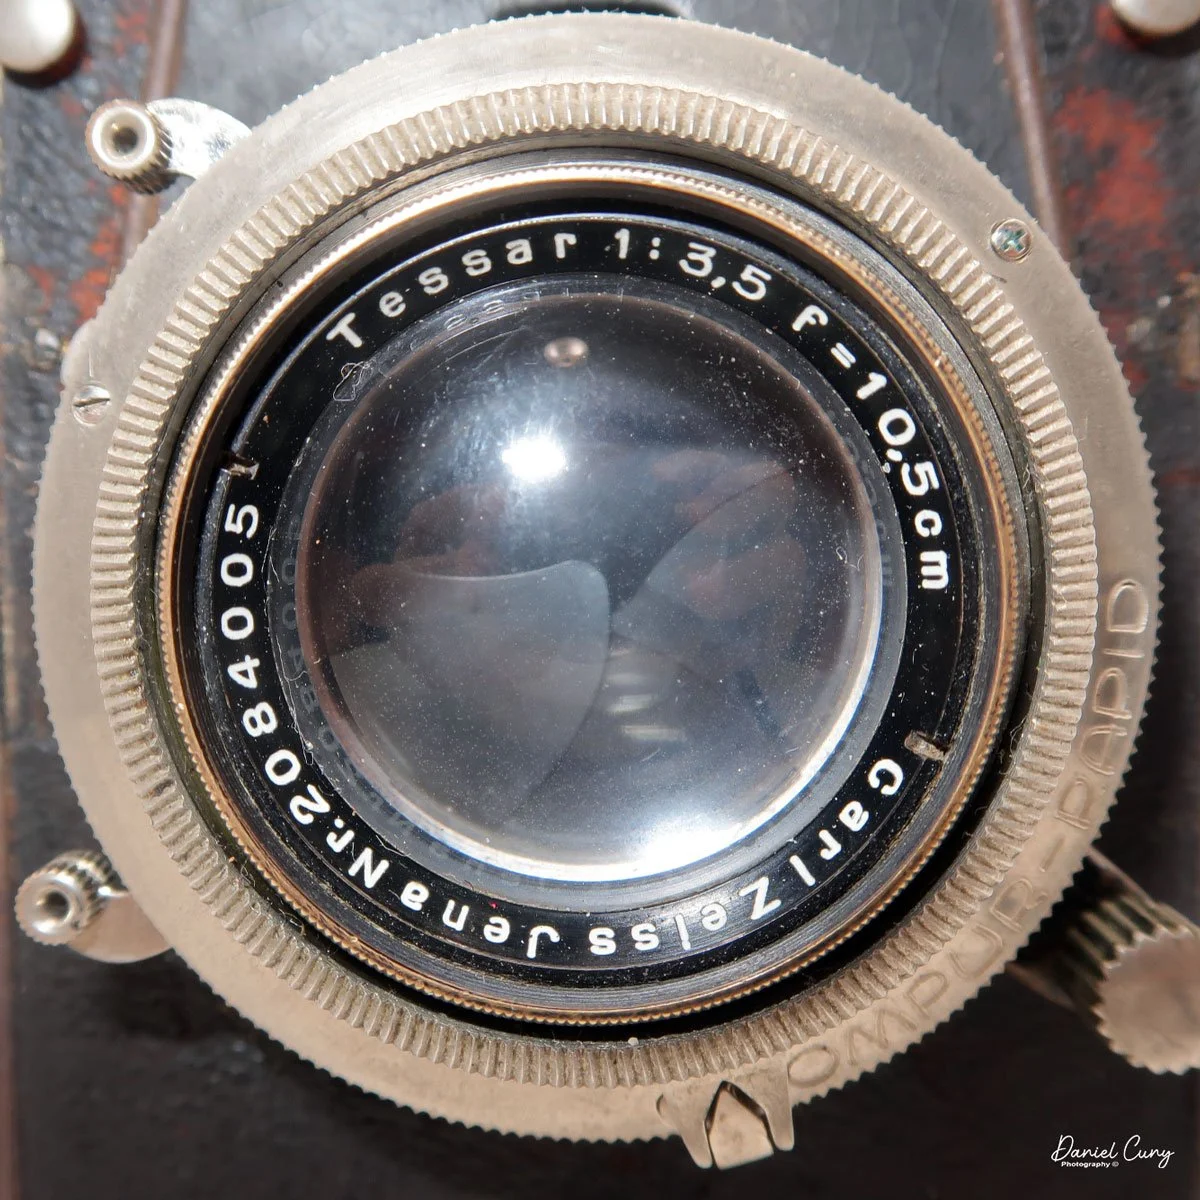
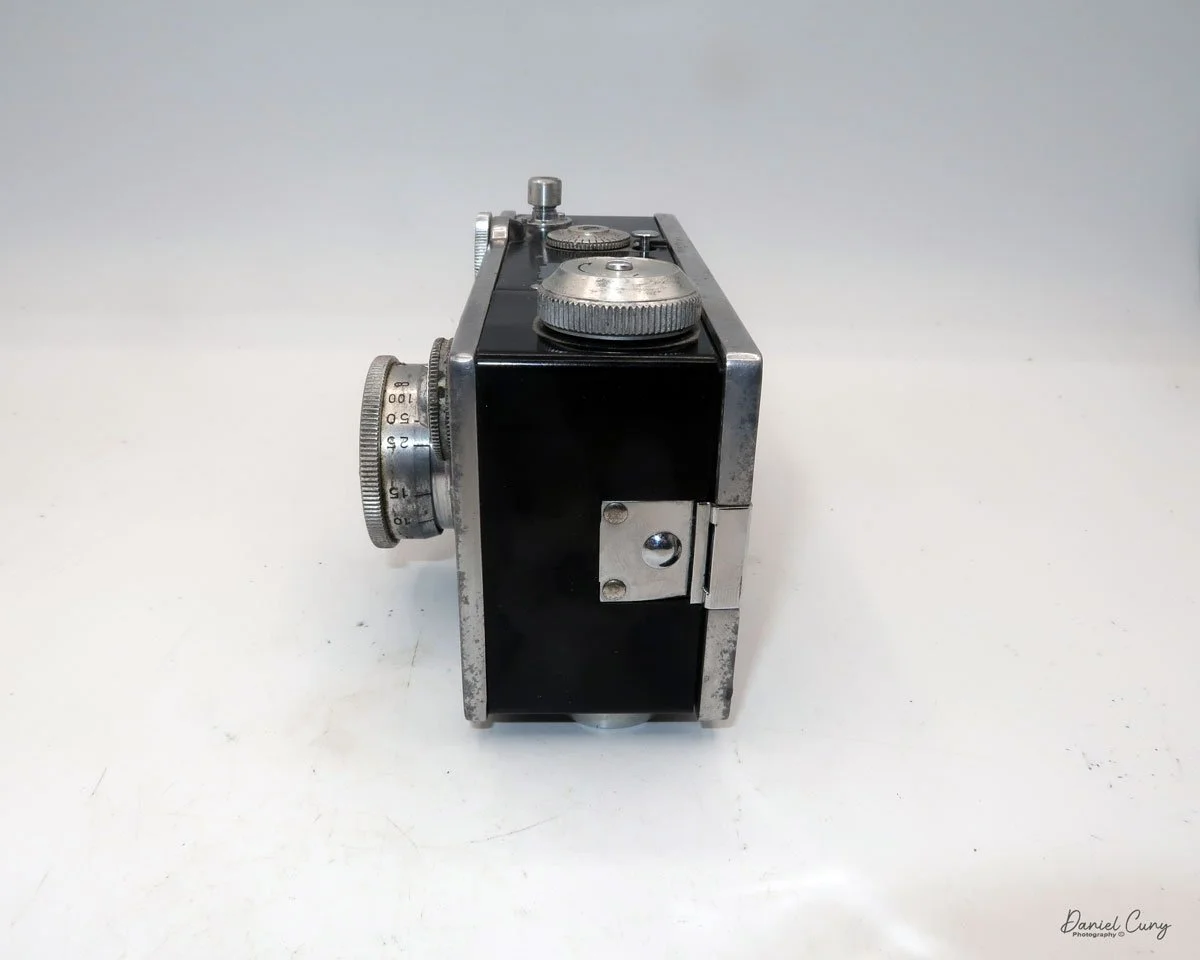
My camera has a 7.5cm f/3.5 Weltaskop viewing lens, along with a Carl Zeiss Jena 10.5 F/3.5 Tessar taking lens, so the viewing lens is wider than the taking lens, and the taking lens is in a Compur-Rapid shutter with shutter speeds from 1/400 to 1 sec. along with "B", and "T". The focus lever is located on the left side of the lens when you're holding the camera, and it slides up and down to focus on your subject.
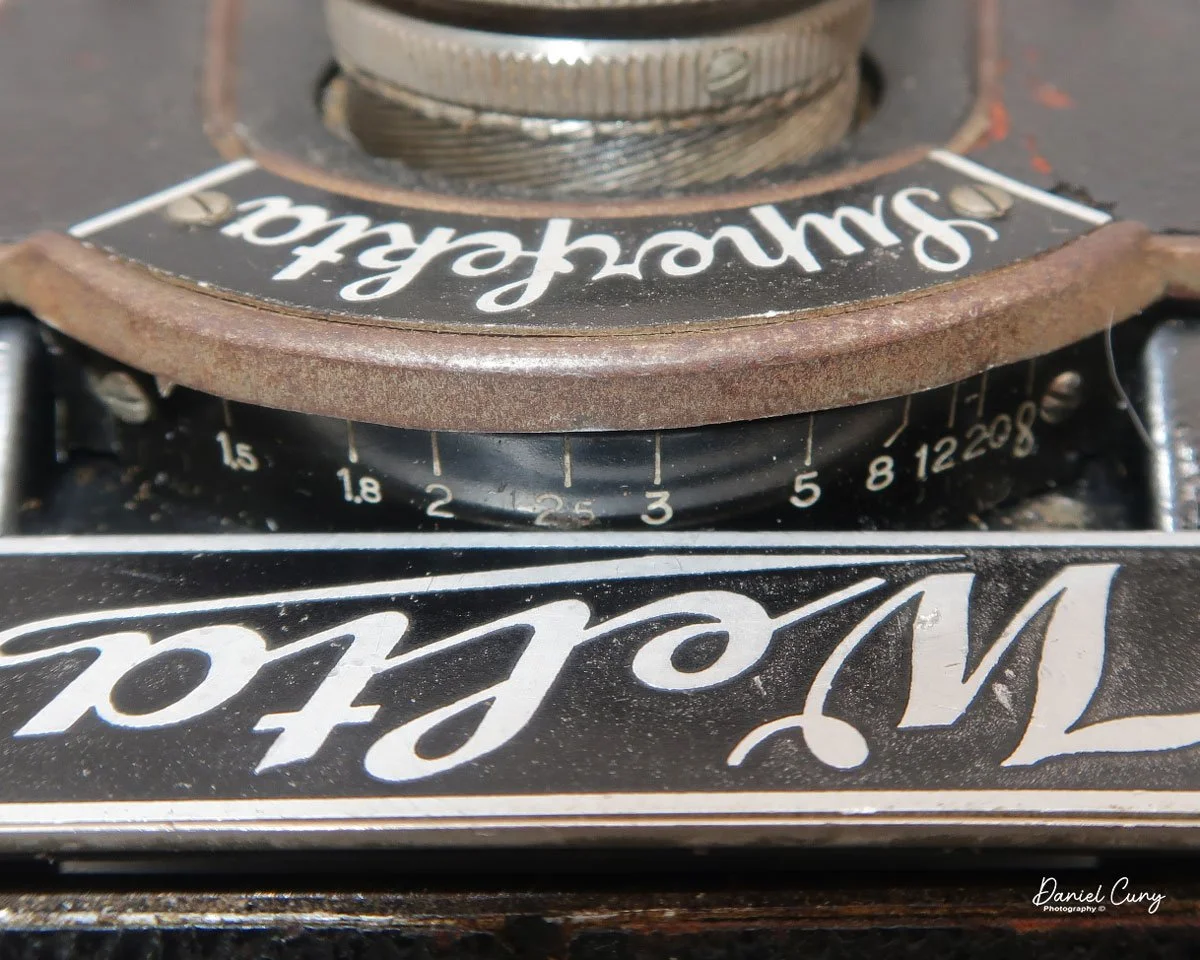
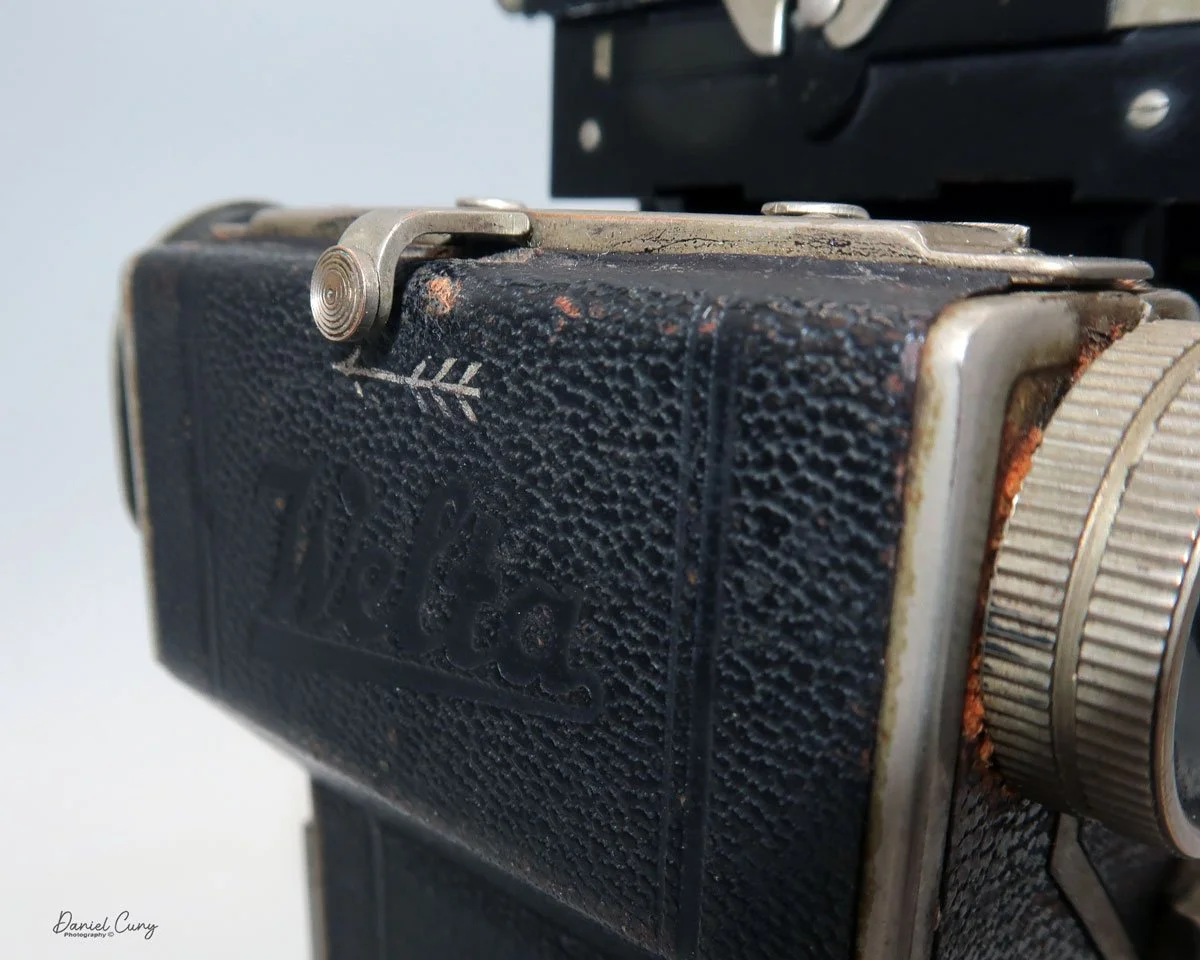
There is also a focus scale along the top of the camera, between the Welta sign on the film body and the Superfekta sign on the lens area. As you slide the focus lever up and down, you'll see a triangle move from side to side, indicating the distance to the subject on the focus scale, which is in meters.
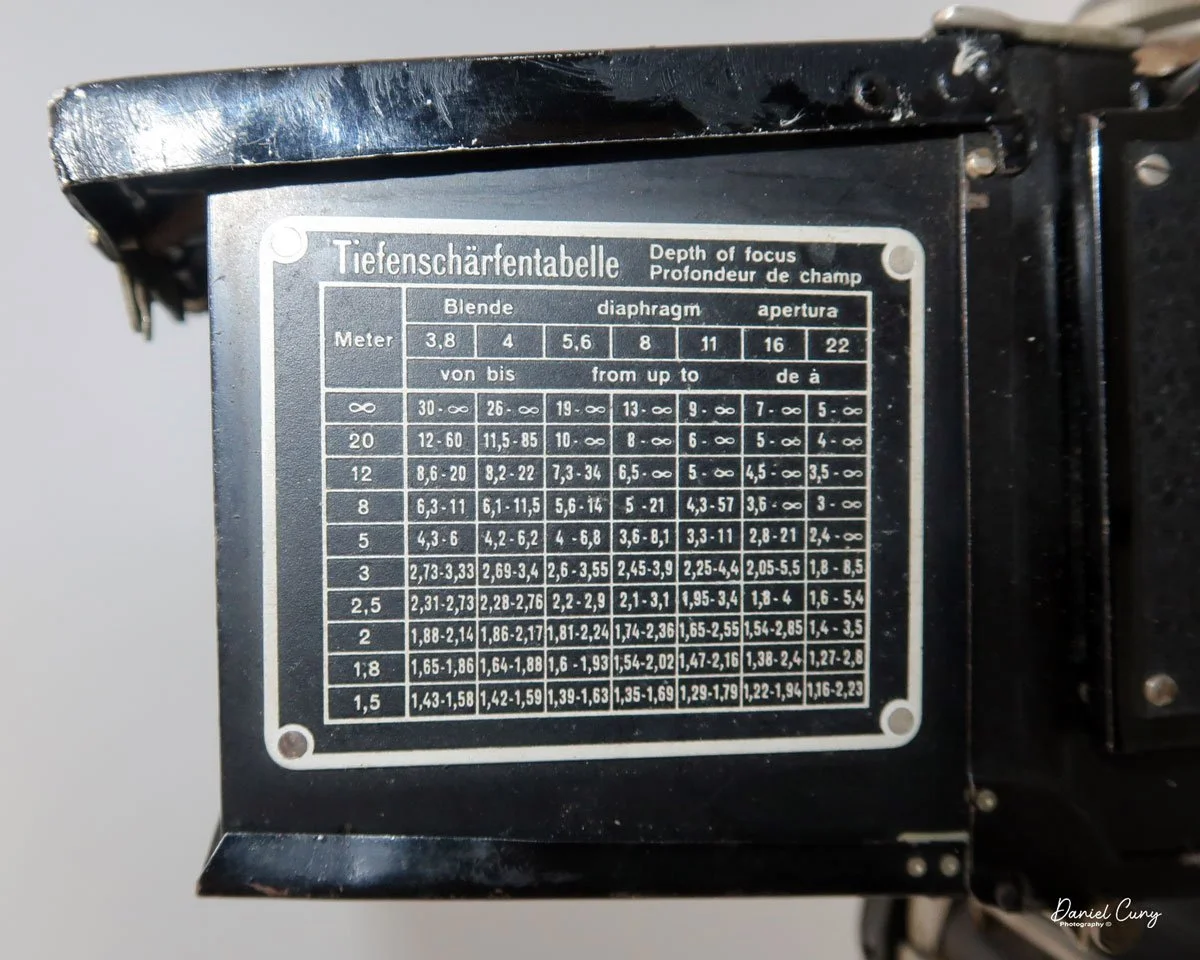
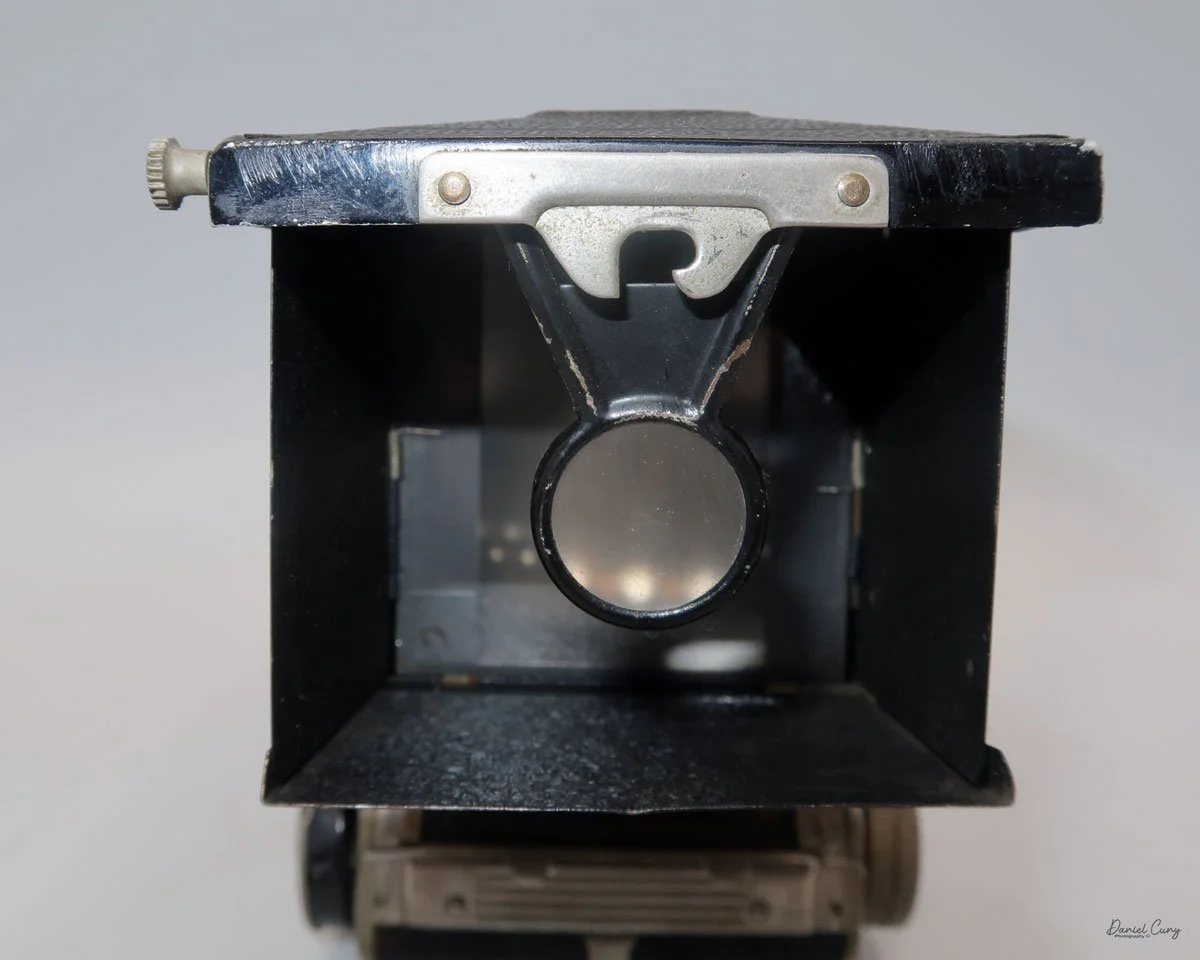
Along the back of the camera, by the viewfinder, there is a button to press to open the light chimney. The light chimney popped up, and along one side is a depth-of-field scale for the camera, and on the front is the magnifying lens, which flips as it should.
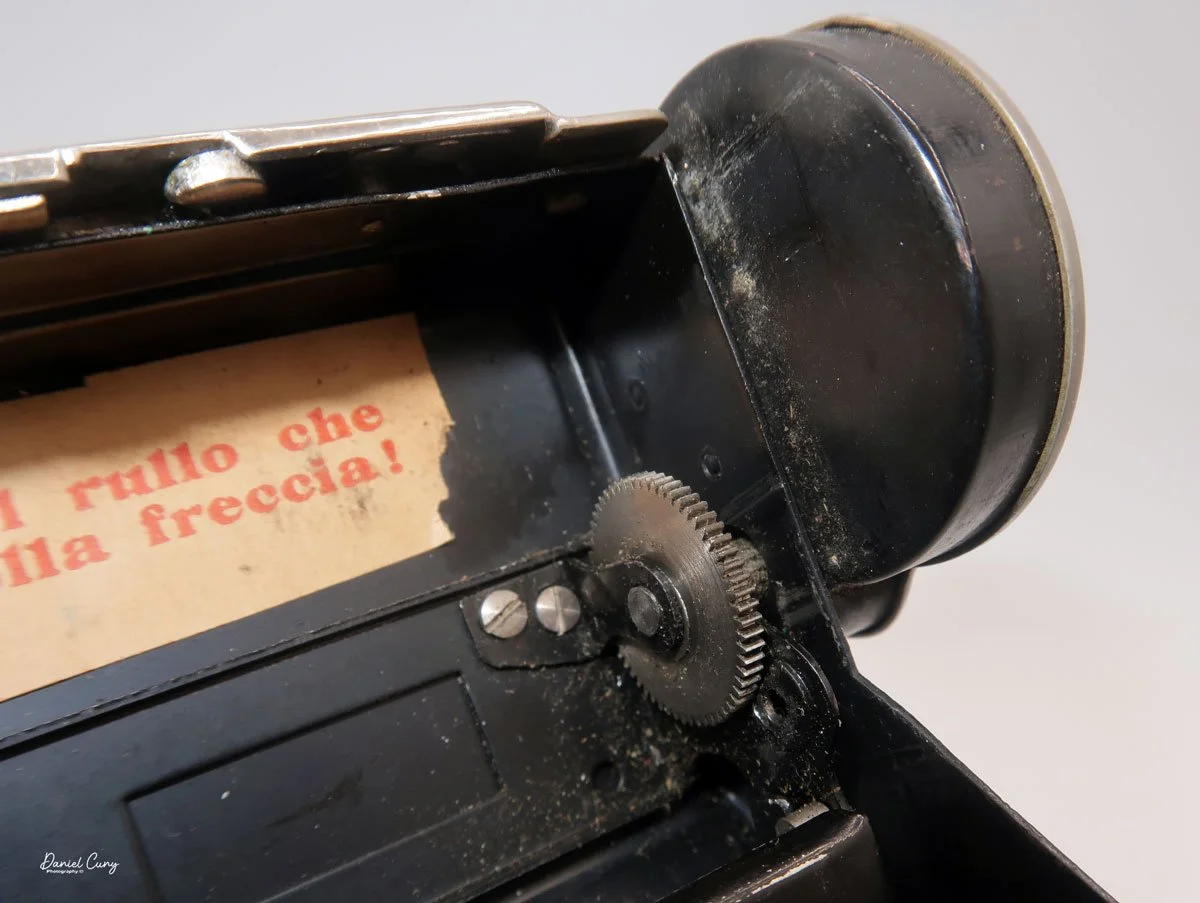
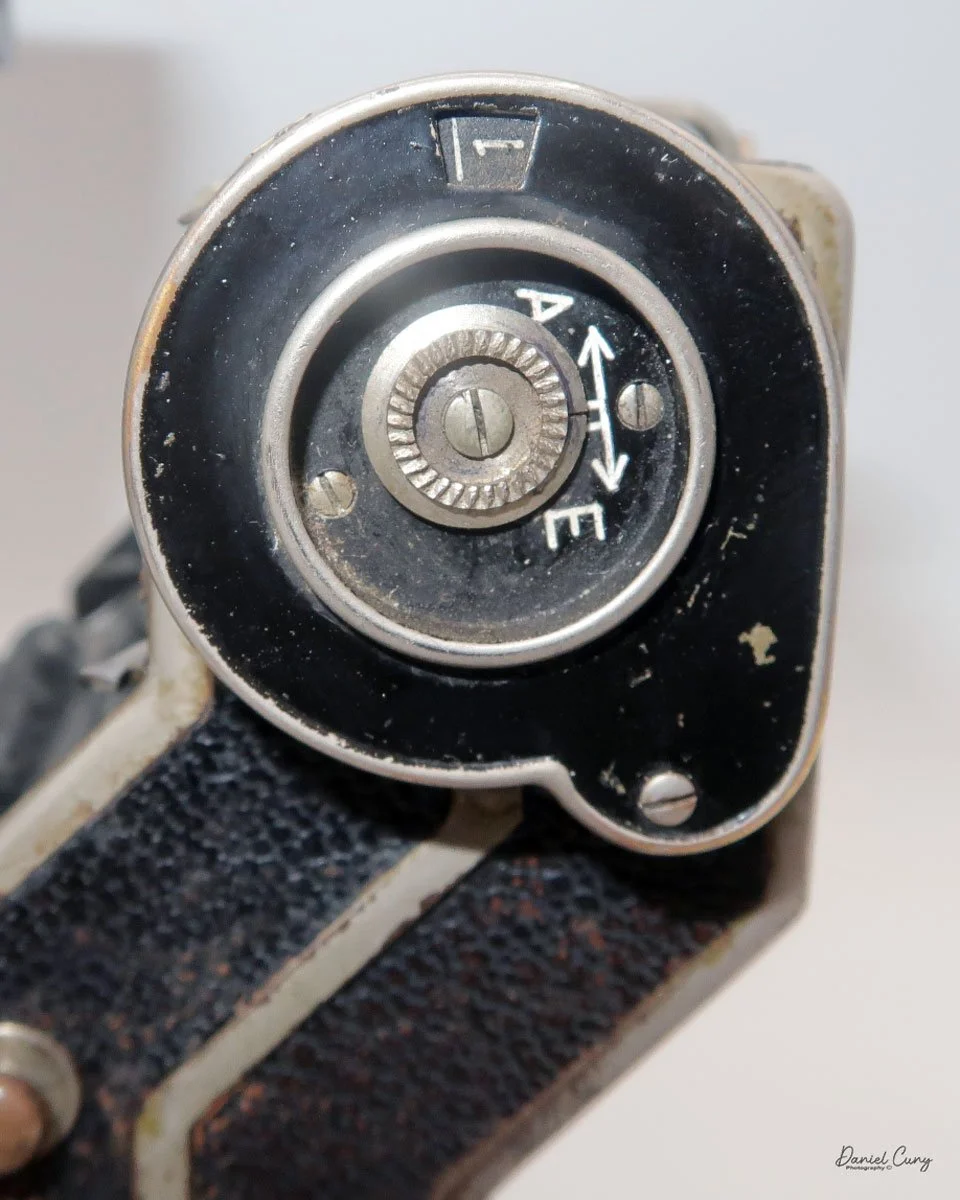
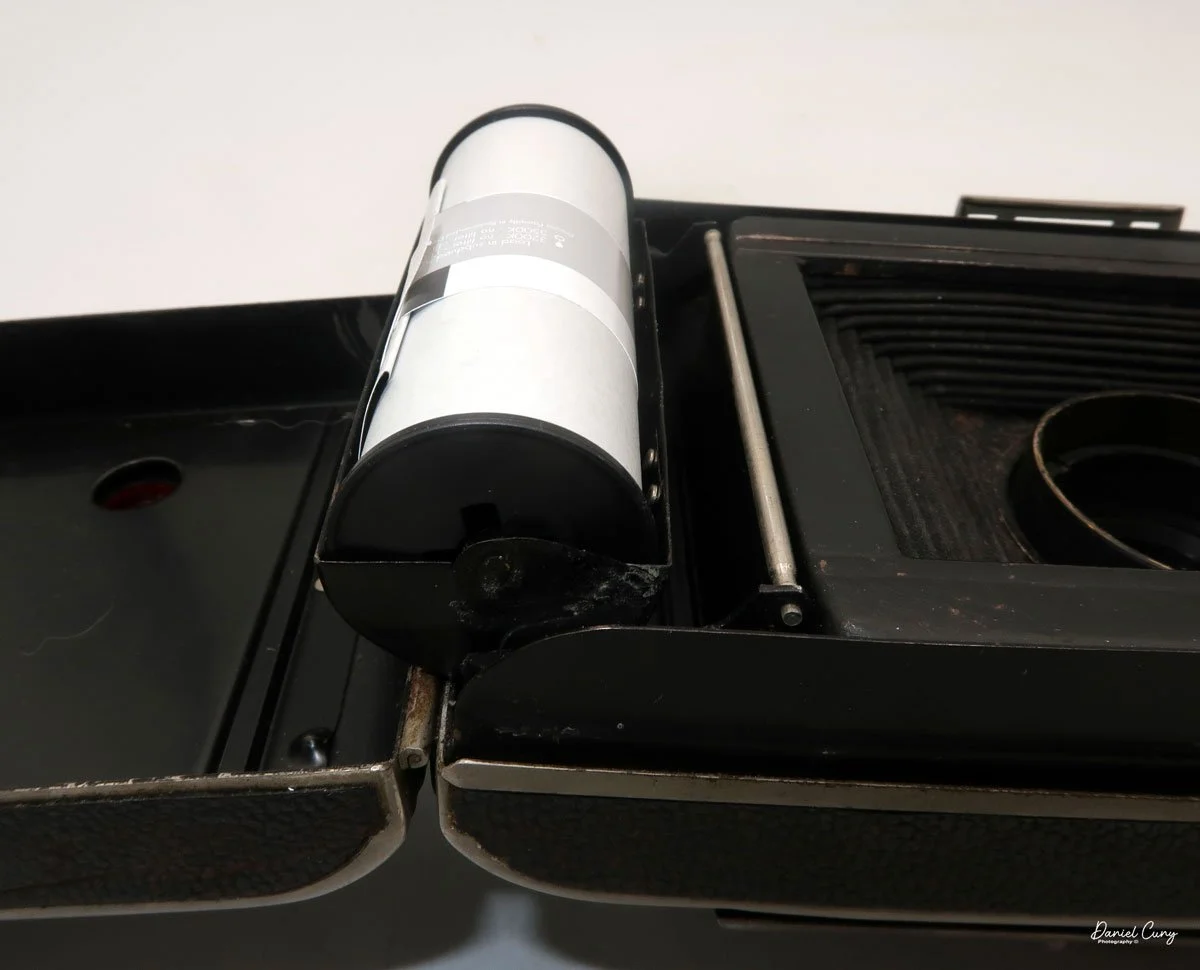
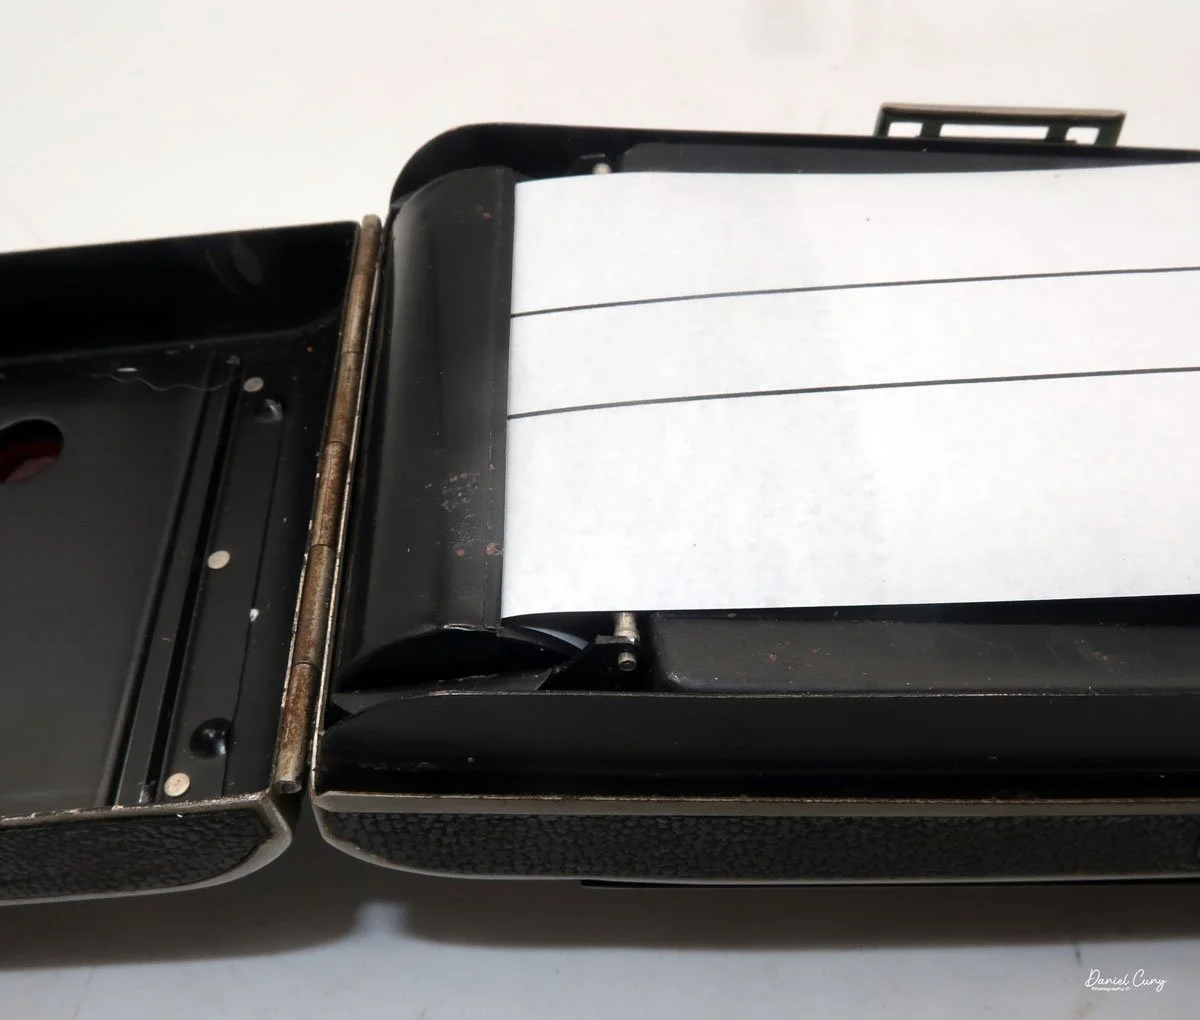
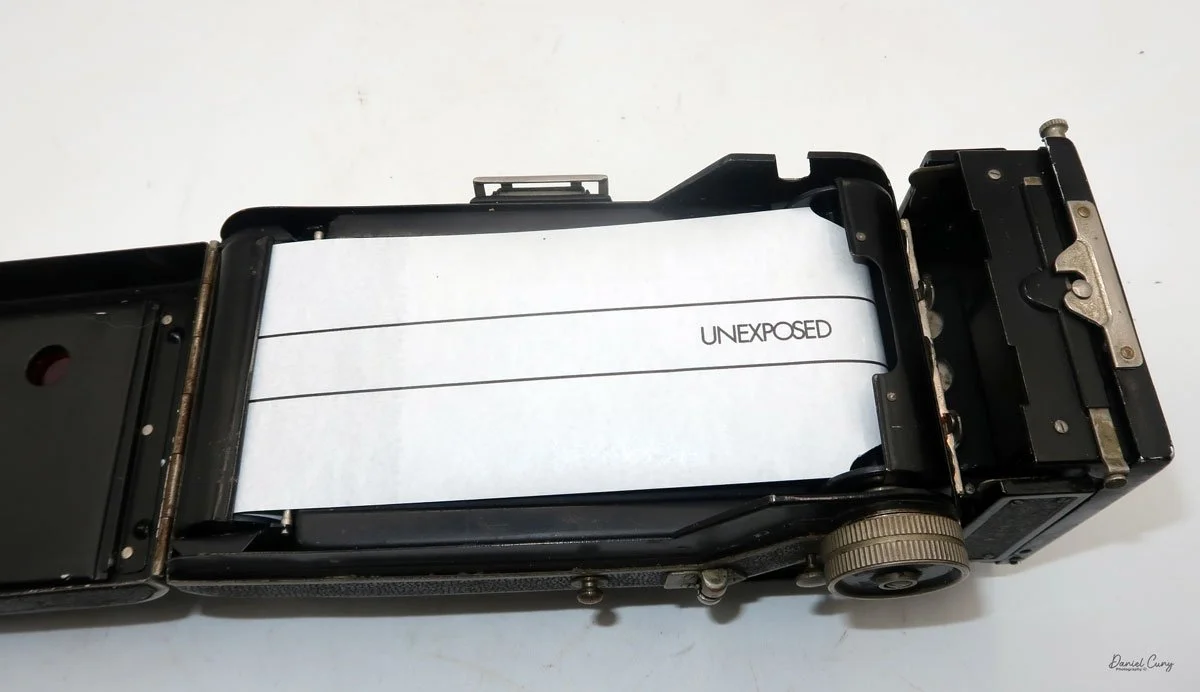
On the back of the film body is another sliding lever that you move to the left, in the direction of the arrow, and the back will open. Opening the back of the camera, I noticed that the film advance roller, which activates the frame counter, is missing, so the frame counter isn't operational on this camera. Luckily, there is a red window on the back door so you can see the numbers being transported as you roll the film from one image to the next.
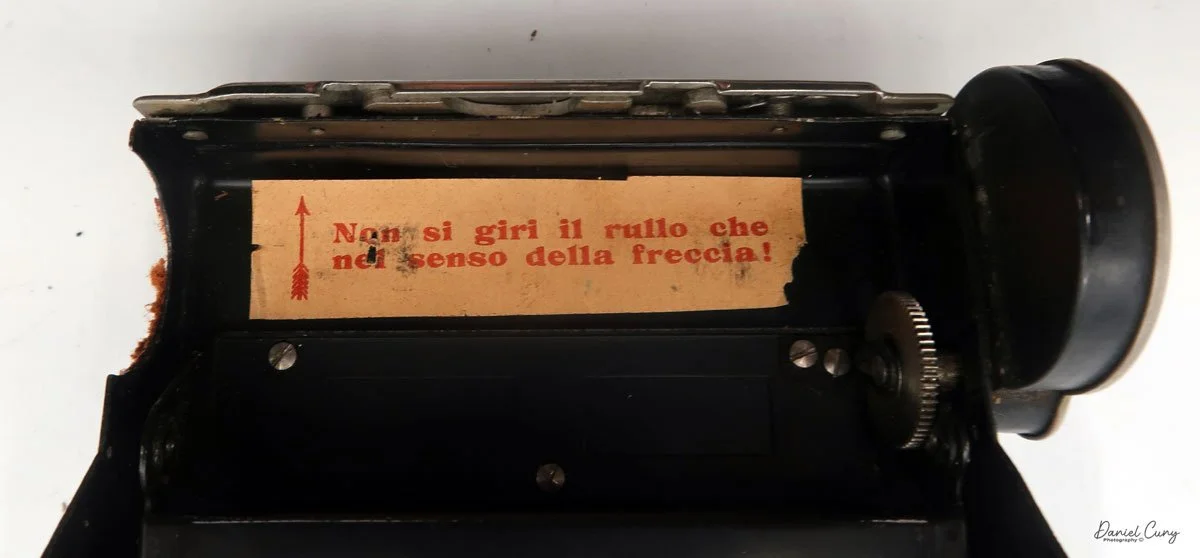
I also noticed a paper sign glued to the inside of the back door at the top, which read, "non si girare il rullo che nel senso della freccia" (translation from Italian to English: "do not turn the roller in the direction of the arrow"). This message on the inside tells me the camera is originally from Italy. I guess the camera was made for the Italian market, but the reseller may have added that; I'm not certain. Still, it's interesting that a German camera was sold in Italy and found its way to the USA.
To load the camera with film, the chamber where you put in a fresh roll of film pulls up to make it easier to put in the film, which is a nice feature in the camera. Otherwise, the camera loads just like many roll film cameras, but it would have been nice to have a frame counter that advances from the roller on the back to indicate the frame numbers. I'll just have to do it the "old-fashioned" way and look through the red window to get to the next frame when I shoot.
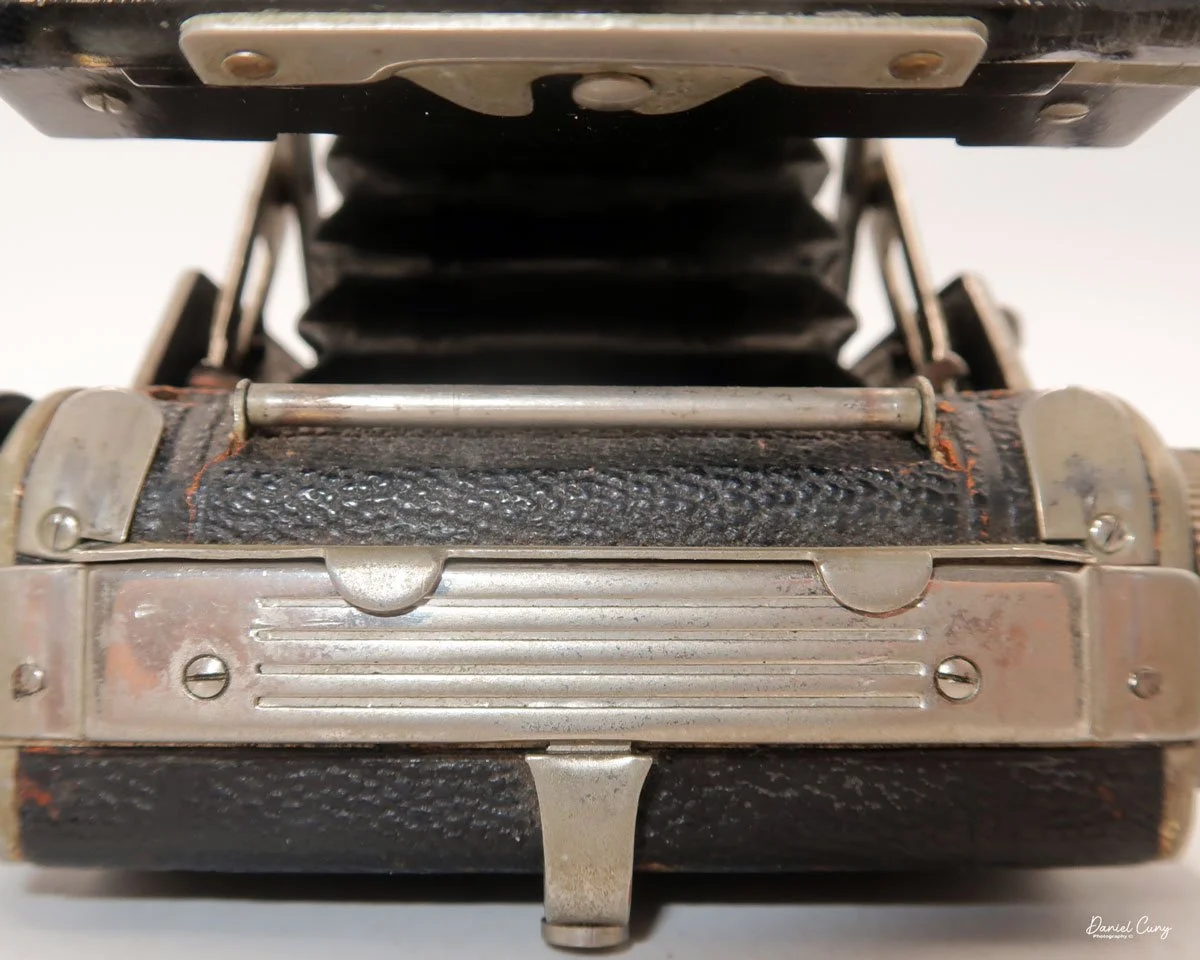
To collapse the camera lens area into the camera body, you'll need to press in two silver buttons on the front of the camera, placed between the viewing and taking lens, and press the lens area into the film body, which is extended by a couple of scissor struts on each side of the camera. Be sure to retract the camera stand leg, under the front lens area, just behind the tripod socket, before closing the camera. If you don't do this, the camera will not close. I know because I've tried a few times by accident.
When you close the camera, another interesting thing is that there's a roller at the tip of the film area on the outside. When you close the lens into the film body, the viewfinder rolls along the roller, sliding it forward and covering the focus scale. Given that the camera is almost 100 years old, it's still interesting how it opens and closes mechanically.
If you don't want to rotate the film chamber when shooting, there is a flip-up sports-type finder on the side of the camera you can use if that's easier for taking horizontal images. It just gives the photographer another option when using the camera.
My Results:
I don't have a case that fits my Welta Superfekta camera. The camera doesn't have the standard loops you can snap into a carrying strap, so when I went out shooting a few times, I just put it in a pouch-style case to carry it and took it out when I was ready to shoot.
Looking at the side of the camera, there are a couple of studs and other areas where a strap might fit, but without a manual or a nomenclature for the items on the camera, I'm unsure what they are used for.
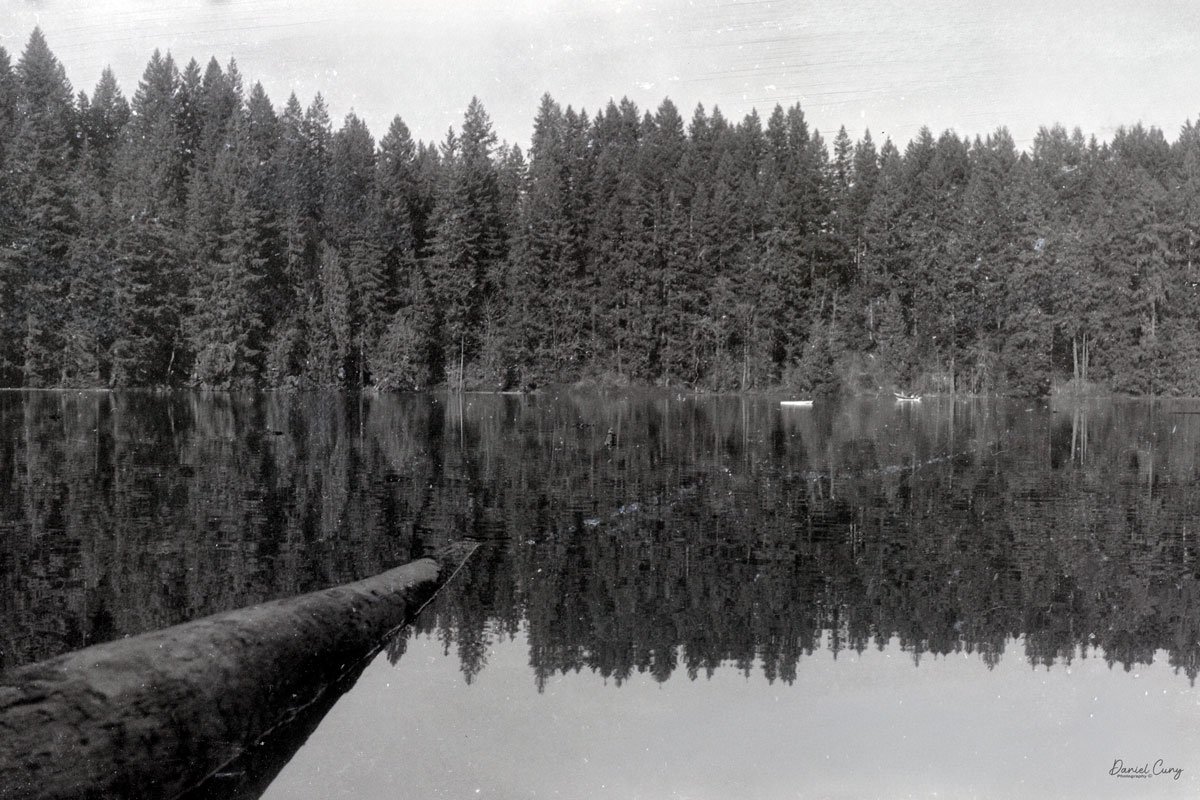
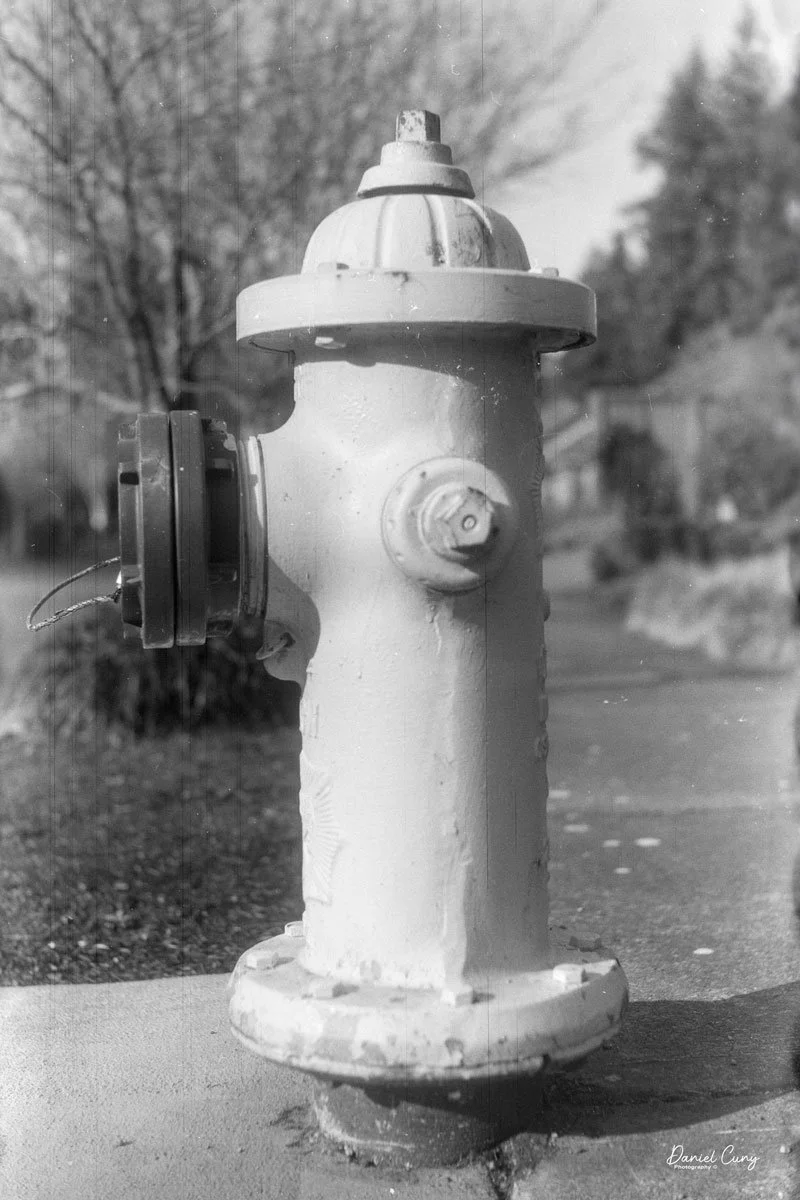
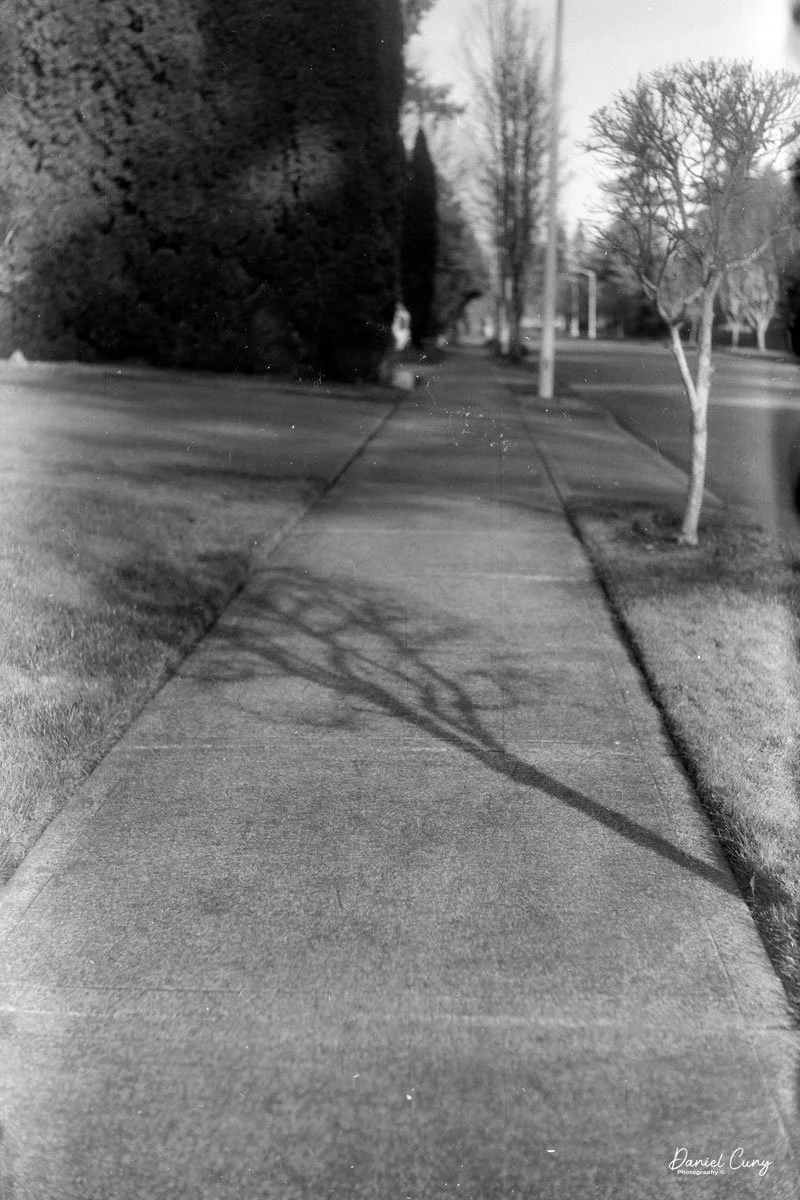
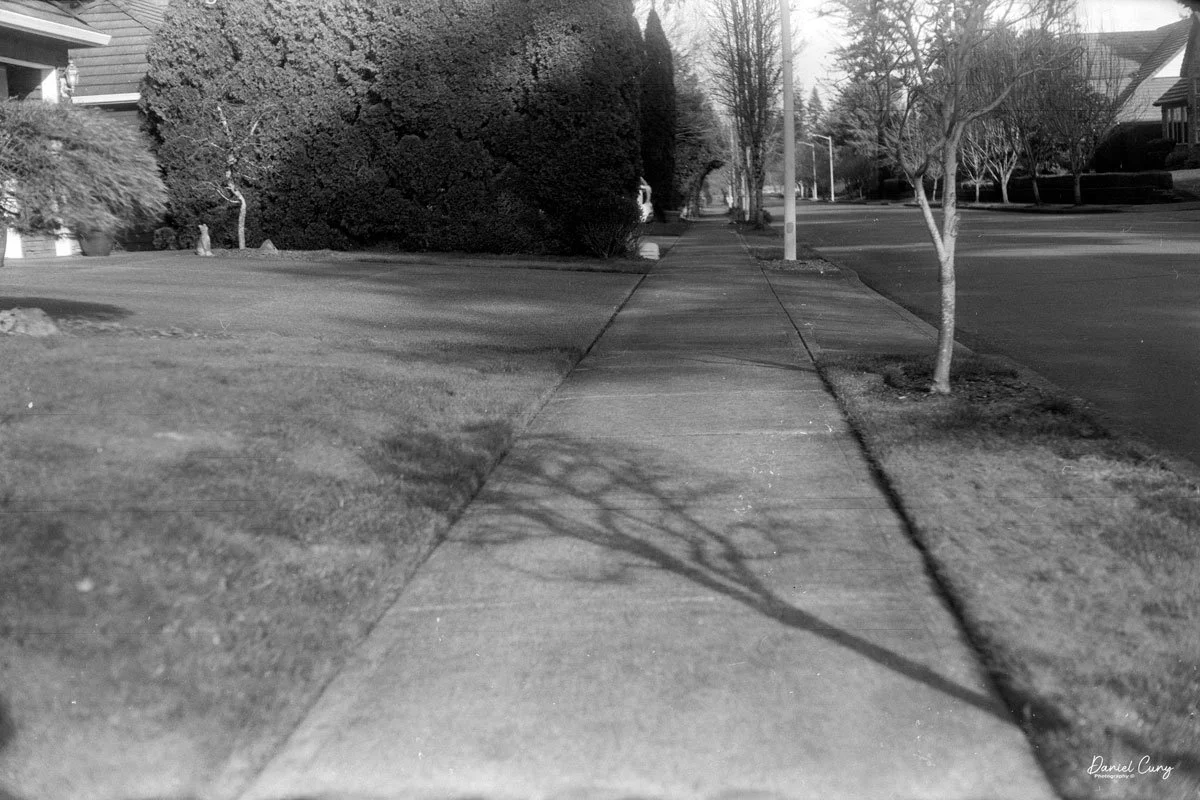
I took the Welta Superfekta out a couple of times to shoot with: once to a local lake and another time while walking around the neighborhood to get closer-up images.
Here are the results from my two times using the camera.
Conclusion:
The camera's results underwhelmed me, as one of two things is happening. First, I didn't think the images would be as sharp as I had imagined; that may be because something happened to the camera, like a drop or impact, which is also why the camera doesn't flip all the way horizontally when shooting.
My weakening eyesight may also cause it, but because of eye surgery I had last year on my right and dominant eye, I'm becoming more and more dependent on using my left eye for focusing, which is difficult for me at times. Personally, I feel it's more the first issue: something tweaked the camera body, and the lens doesn't align properly, which is why I wanted to shoot the second, more close-up images walking through the neighborhood.
Nonetheless, it's somewhat awkward to hold without a neck strap to keep it steady. Still, I absolutely love the camera's ability to rotate the film back for both vertical and horizontal photography. It's a wonderful camera to have in my collection, and for the price paid, even with the servicing, it's still a bargain.
Welta Perfekta and Superfakta side views
Thank you for taking the time to learn about this wonderful photographic marvel from almost 100 years ago.
Here's a link to my other Camera Reviews.
Cuny's Cameras and Photo is my online eBay store, which sells some of the cameras reviewed, along with many camera and photo accessories.
Until next week, please be safe.
