Olympus O-Product Camera

My Olympus O-Product Camera

In high school, my good friend Greg Copeland introduced me to the Olympus camera system in the early 1970s. He was the first person I knew who bought into the Olympus OM system with the OM-1, which I believe was in 1973. At that time, Olympus was very innovative, making the most miniature SLR camera system, which included a complete line of small, compact lenses with very nice optics. I can still remember Greg telling me how much he enjoyed how nice the camera was made. He would take the camera with him all the time. At the time, I was using either the Topcon Super D or, possibly, I had moved on to shooting with a Nikon Nikkormat.

 I started working in the photo industry in late 1973 when I was hired as a seasonal employee in the camera department at my local K-Mart. That position didn't last long, but it led me to work at the local camera store chain about a year later. I was hired to work in the warehouse and handle all the camera and lens repairs.

 When I started working at the local camera store, the Olympus OM system had a decent hold on the market. However, it was still lagging behind the big kids in the marketplace. Olympus was continually pushing the envelope with many new and exciting products like the terrific XA camera line, which, to this day, is one of my favorite cameras. Olympus introduced new additions to its system yearly, which always had customers in the store talking about its products.

Olympus O camera & Flash

 I tell you this because I have seen many odd and unusual cameras introduced by camera companies over the years, and many of them came out in the 1980s to the mid-1990s. The Minolta Prod 20, the Yashica Samurai, and Canon had the Epoca series of cameras. There's a great blog on some of these cameras on the Kosmo Foto Blog.

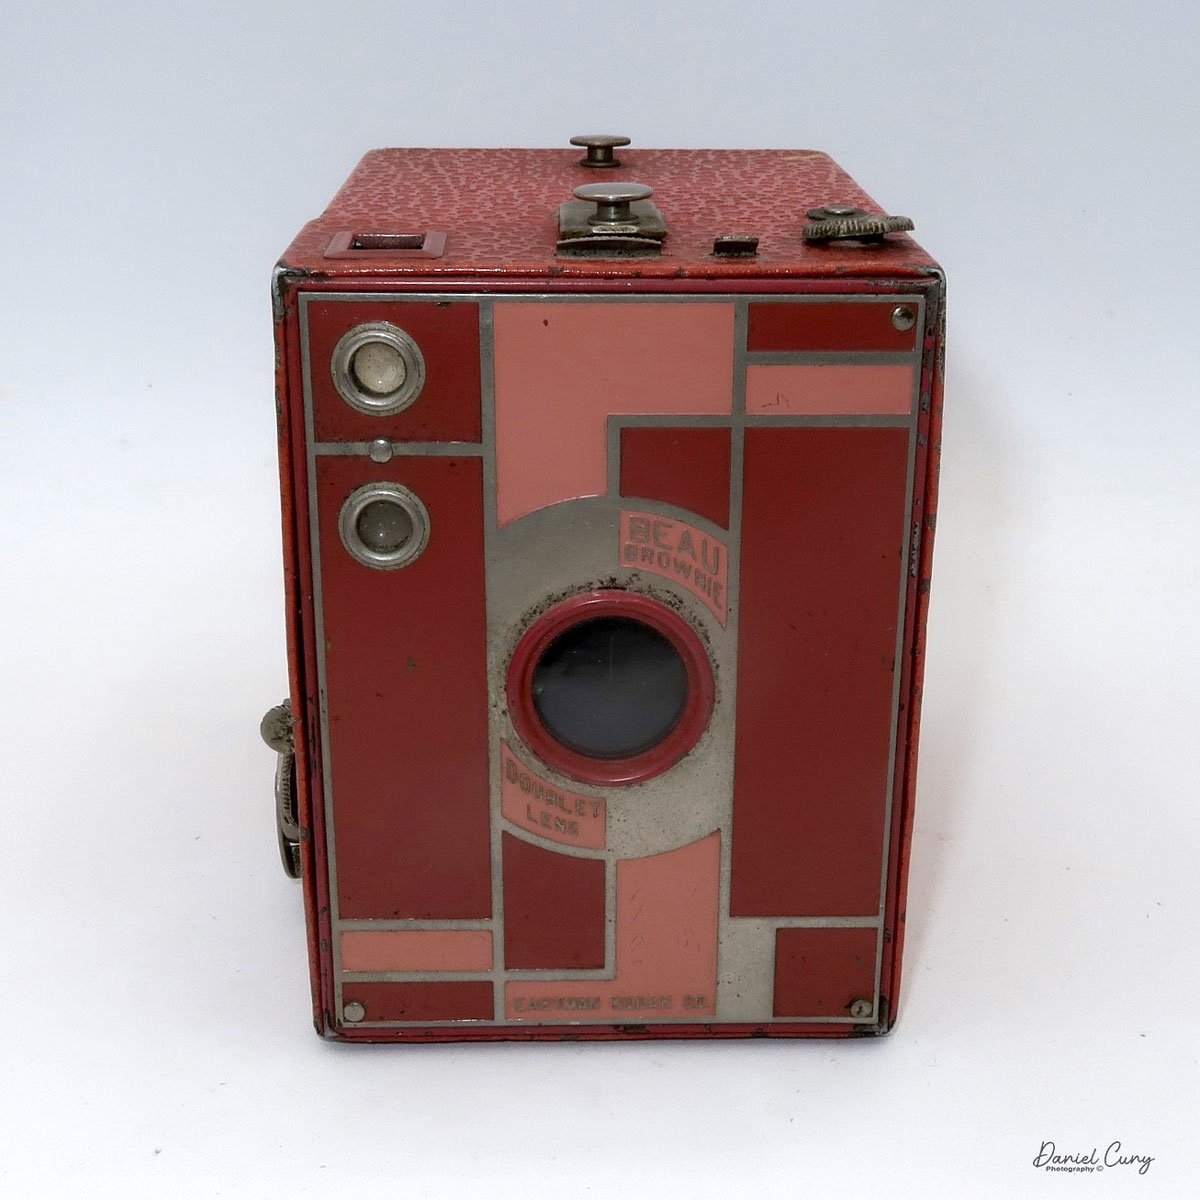
 One of the cameras that greatly impacted me when it was introduced in 1988 was the Olympus O-Product camera. It was a limited edition, and only 20,000 cameras were made. The Olympus O-Product camera had a very unusual, art deco look of a circle in a square and was made of brushed aluminum. At the time, the cost was prohibitive for me to purchase, but I remember thinking that someday, I'd really like to have one in my collection. Its unique design always intrigued me.

The Company:

The history of Olympus cameras is a story of innovation, precision engineering, and a relentless pursuit of compact, high-quality imaging tools. Founded 1919 in Japan as Takachiho Seisakusho, the company initially specialized in microscopes and thermometers. In 1949, it was renamed Olympus Optical Co., Ltd., and it soon began making a name for itself in photography.

 Olympus entered the camera market in 1936 with the launch of the Semi-Olympus I. This bellows camera used the German-made Zuiko lens, setting the stage for a signature brand name synonymous with Olympus Optics. However, it was not until the post-war period that Olympus truly revolutionized the photography industry.

 One of the most pivotal moments came in 1959 with the release of the Olympus Pen. Designed by the legendary Yoshihisa Maitani, the Pen was a half-frame 35mm camera, meaning it could shoot twice as many exposures per roll of film. It was compact and affordable and helped democratize photography for a wider audience. The Pen series enjoyed massive popularity and marked Olympus as a leader in miniaturization without sacrificing quality.

 The next major innovation came in 1972 with the OM system. Again spearheaded by Maitani, the Olympus OM-1 was a compact, lightweight SLR (single-lens reflex) camera that offered full functionality in a significantly smaller body than its contemporaries. This system appealed to professionals and enthusiasts alike, reshaping expectations for what an SLR could be.

 In the digital age, Olympus continued to push boundaries. In 1996, they released their first digital camera, the Camedia C-800L. However, the Four Thirds system, introduced in collaboration with Kodak in 2003, made a lasting mark. This was followed by the Micro Four Thirds system in 2008, which eliminated the mirror box of traditional DSLRs, allowing for even more compact and lightweight cameras. The Olympus PEN E-P1, released in 2009, revived the classic Pen design in a digital form and was among the first mirrorless cameras to gain traction in the market.

 In 2020, Olympus exited the camera business, selling its imaging division to Japan Industrial Partners, which rebranded the line as OM SYSTEM. Despite the transition, Olympus's legacy lives on through continued innovation and the enduring influence of its designs on modern photography.

The Camera.

I've always thought of the Olympus O-Product camera as more of an art piece rather than a functioning camera, but it is fully functional. In its simplest form, the Olympus O-Product is a "point-and-shoot" camera. There are no settings on the camera that the photographer needs or can really set, which makes it incredibly simple and straightforward to use.

Camera’s number from production lot.

 The camera is relatively small, measuring 4" wide by 3.5" tall and 2" deep. These measurements are for the camera alone and not with the flash attached. If I add the detachable flash, the camera is 5.75" wide by 4" tall. The camera weighs just under 1 lbs. at 15.2 oz. with the flash attached. My camera is number 11289 out of 20,000. The camera also features a unique circular viewfinder and a distinctive shutter button, adding to its charm and functionality.

 The Olympus O-Product camera is powered by 2-AAA batteries that fit into the camera's bottom. The 2-AAA batteries also power the detachable flash. The camera is very simple and basic. Once the batteries are in the camera, you can load film, which is autoloading. There is no need to set the film's ISO because the camera has DX coding for the film loaded. Once you put the leader on the take-up spool and close the back of the camera, the camera automatically winds the film to frame number one.

 To turn on the camera, a lever you pull down on the front opens the front door, exposing the 35mm f3.5 Olympus lens. To turn the camera off, close the front door. There are no shutter speeds to set as the camera has a programmed electronic shutter. The camera is also autofocusing. In the center of the viewfinder,  you'll see a white circle when you depress the shutter button halfway on the front of the camera. In that case, a light will light up next to the "AF" in the upper right-hand corner, letting you know the camera has focused on the subject, and you can press the button to take the photo. Once you take the picture, the camera automatically advances to the next frame. Once you've taken all the photos on the roll of film, the camera will automatically rewind the film into the film cassette.

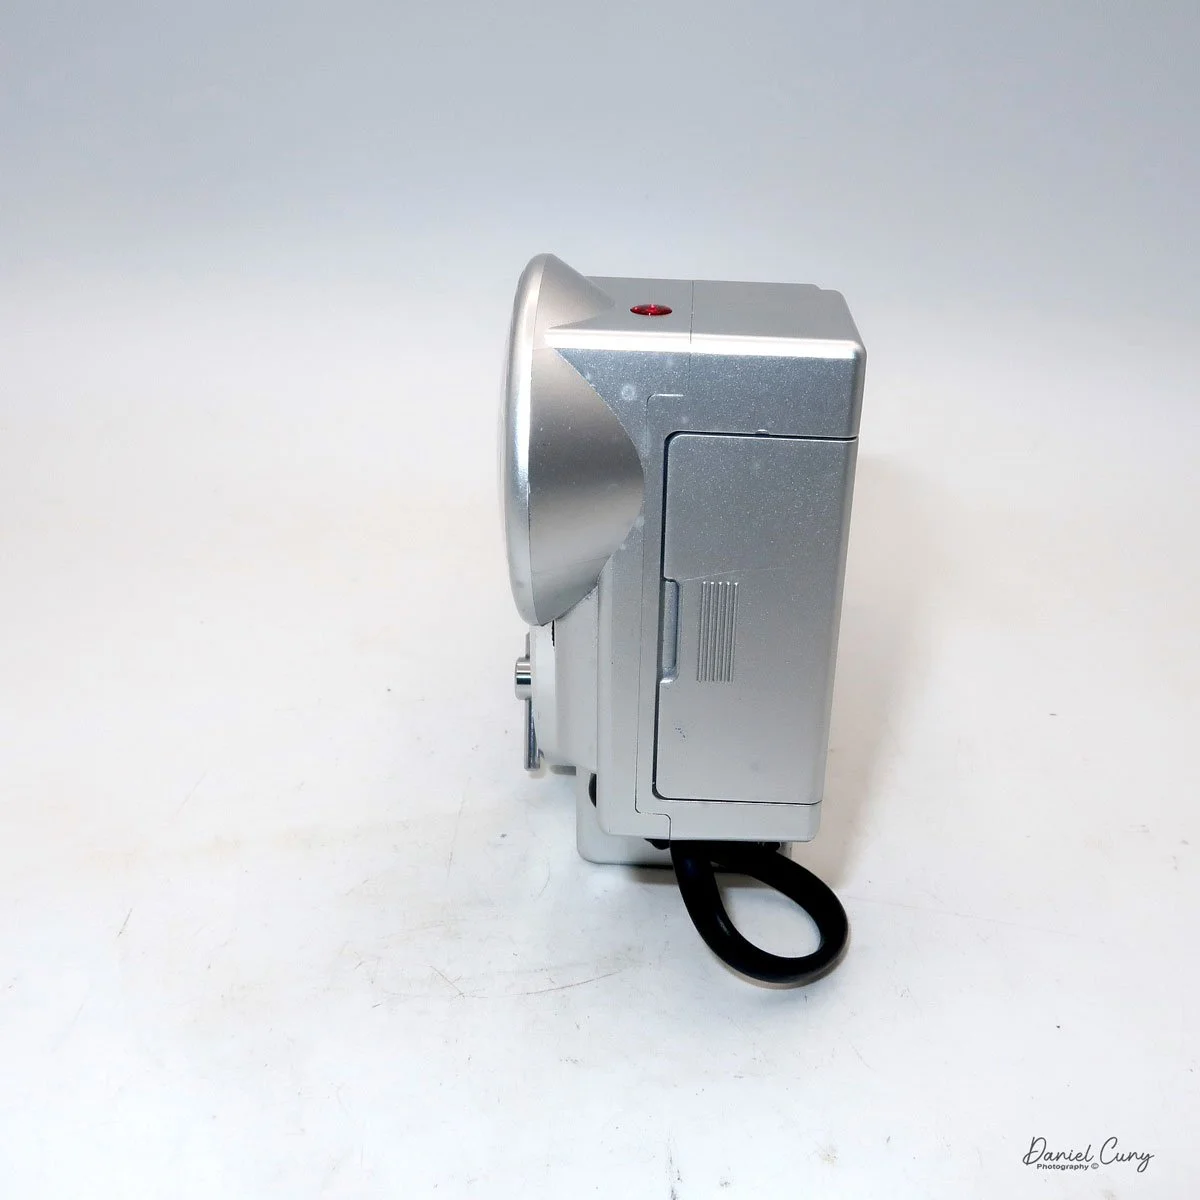
 The flash for the camera is detachable, so if you don't need it, you can take it off. To take the flash off, you need to unscrew the mounting screw, and the flash will come off the camera. You still need to unplug the cord from the flash to the camera, which pulls out, so it's very simple. To attach the flash, you screw it onto the camera and plug in the cord. If the camera needs the flash, a red ready light on top of it lights up when the flash is ready and will fire if it determines it needs the extra light to make a proper exposure.

 There are two buttons on the camera's top next to the flash attachment that allows the photographer to make adjustments when shooting.  One of the buttons is a self-timer. If you want to get into the photo, press the self-timer, giving you 10 seconds to get into it. The other button is a rewind button. Suppose, for some reason, you want to change to a different type of film. In that case, you can depress the rewind button. The camera will automatically rewind the film back, leaving a little bit of the leader exposed so you can re-load it when you want to finish that roll of film.

My Results.

I put batteries in the camera and flash, loaded it with a roll of Ilford Plus 50 black and white film, walked through the house, and strolled around the block taking photos. The camera determined if the flash was needed, which was pretty fun. It was too simple for my taste as sometimes I like to use fill flash, but this camera didn't allow me to do so. I could trick the meter by putting my finger over the meter area, but for this blog post, I wanted to be free and let the camera do all the work.

 Here are a few of the photos taken on my walk.

Conclusion.

Using such a simple but beautifully made camera was a lot of fun. The camera produces very sharp images and is extremely easy to use. When I was working at the camera store, we used the term PHD cameras, which always meant "push here dear," meaning the camera was very simple for either men or women. Put the camera to your eye, point it at your subject and "push here dear".

 As I mentioned earlier, the Olympus O-Product camera is more of a work of art or statement camera that looks terrific in the collection. It's not really made to be used on a daily basis, but using it every once in a while is good. I wouldn't want the camera to get more scuffed than it already is, but taking the camera out was fun, as was running film through it.

 Thank you for taking a few minutes from your day to read about this art piece that can also be used as a camera.

 Until next week, please be safe.

Kodak Beau Brownie Camera

My Rose Beau Brownie Camera

To end the unofficial box camera month for my blog post, I was thinking about writing about a few different cameras, but my thoughts kept coming back to one specific model of Eastman Kodak camera, one of the most beautiful cameras made, the Beau Brownie camera.

 The two factors of the Beau Brownie line of cameras that I enjoy are the five different colors they come in: black, tan, blue, green, and the most sought-after rose. The art deco design by one of America's outstanding industrial designers, Walter Dorwin Teague, is also bundled into a very uncomplicated camera marketed more as a fashion statement than the ordinary black box camera. 

 George Eastman and his marketing team realized early on that to broaden the photographic marketplace, they needed to expand the scope of photographers using cameras. Until the early 1900s and into the 1910s, the vast majority of photographers were males due to the time-consuming process of making photographs. While Kodak didn't invent photography, much like Henry Ford, he sold cameras to the masses due to the newer methods of making glass plates easier to obtain and process, making roll films, film processing, and printing available to the masses.

My set of Nos. 2 Beau Brownie cameras

 In the late 1920s, Eastman Kodak started a relationship with Edwin Dorwin Teague, which forged a relationship and changed the design and quality of cameras for thirty to forty years until he died in the early 1960s.

The Relationship:

Walter Dorwin Teague, born Dec. 18, 1883, is often regarded as one of the pioneers of industrial design in America. He had a long and influential relationship with the Eastman Kodak Company. His collaboration with Kodak helped shape the visual and functional identity of the company's products, particularly its cameras, during the mid-20th century.

Portrait of Walter Dorwin Teague

 Teague, known for blending aesthetics with functionality, first worked with Kodak in the late 1920s. He continued influencing the company's product designs for several decades until his death on Dec. 5, 1960. His designs embodied the principles of streamlining, an artistic and engineering approach emphasizing smooth, flowing lines and modern, user-friendly aesthetics. Kodak sought to enhance its product appeal in an increasingly competitive market. Teague's expertise gave the company a fresh, contemporary design language that resonated with consumers.

 One of Teague's most iconic contributions to Kodak was the design of the Kodak Bantam Special, introduced in 1936. The Bantam Special was a masterpiece of Art Deco design, featuring a sleek, black enamel and chrome finish. It was visually striking, compact, and easy to use, aligning with Kodak's mission to make photography accessible to a broader audience. The camera became a symbol of modern design and demonstrated how industrial design could elevate consumer products beyond mere functionality.

Walter Teague designed Kodak Super Six-20 camera

 Teague's impact on Kodak extended beyond individual products; he played a key role in shaping the brand's overall aesthetic identity. His work helped Kodak establish a reputation for producing elegantly designed, high-quality, practical, and stylish cameras. His collaboration with Kodak set a precedent for integrating industrial design into mass-market consumer products, influencing Kodak's future designs and the broader field of product design.

 Beyond the Bantam Special, Teague worked on several other Kodak models, including the Kodak Baby Brownie and the Kodak Medalist. These cameras showcased his ability to balance form and function, making photography equipment more appealing and accessible to everyday users. His designs helped Kodak maintain its position as a camera industry leader, reinforcing its image as both innovative and consumer-friendly.

 Walter Dorwin Teague's relationship with Kodak was a testament to the power of industrial design in shaping consumer products. His work not only enhanced the usability and attractiveness of Kodak cameras but also set new standards for the role of design in consumer technology. Through this partnership, Teague left an enduring mark on both Kodak and the history of industrial design.

The Camera:

Beau Brownie cameras came in two sizes: the smaller Nos. 2, which takes 120 film, and the larger No. 2A, which takes 116 film. They were both introduced in October 1930 and ended production in 1933. However, the two rarer versions, the green and rose colors, were in production for 1 year, which ended in 1931. Luckily, I have all five colors in different sizes in my collection. I've had all five for many years, and this is the second time I've owned all five colors in both sizes. 

 The camera that I used for the blog post is the smaller Nos. 2 camera due to the easily accessible 120 film the camera uses. The Beau Brownie No. 2 camera is 4" tall by 3" wide or 3 3/8" wide if you include the film advance knob by 4 3/8" deep. The camera has a 6x9 negative size and weighs 14.1 oz.

 The larger Beau Brownie, Nos. 2A is 5" tall, by 3 3/8" wide, or 3 3/4" wide if you include the film winding knob, by 5" deep. The No. 2A film format is 2.5" x 4.25" on 116 film, weighing 1 lb.—3.8 oz. 

My Nos. 2A Rose Beau Brownie (L) and Nos. 2 (R). Note the size difference

Looking online, I found a Beau Brownie Camera Manual, which is where I look for manuals for the cameras in my collection. It's a fabulous website and something we all should support.

 The front of the camera has a beautiful, enameled Art Deco geometric design that is two-toned with an accent color to enhance the camera's beauty. The black version has a dark burgundy accent color. In contrast, the other colors have a lighter and darker version of the camera's color. The rest of the camera is made of thin metal material covered in pebbled imitation leather, the same color as the camera. The carrying handle is on the top of the camera, which is the same color as the camera's body.

Also, two round windows are used for the viewfinder on the front of the camera. The top circle is for viewing vertical-format photos from the top of the camera, and the bottom is used when you turn the camera on its side for horizontal-format photos. There is no focus on this meniscus doublet lens, so like many box-style cameras, the minimum focus is around 10 feet, but items around 8 feet may still be in focus.

 The Beau Brownie cameras have two latches securing the back of the camera to the front. One latch is on the top of the camera, and one is on the side of the camera. Before you open the camera, you'll need to pull out the winding knob, which is engaged with the film transport. The winding knob needs to be pulled out; otherwise, the camera's front and back won't slide apart easily.

Once you have the camera apart, you can load the roll of film into the camera. Take the empty film spool from the top of the camera and move it to the bottom. Ensure it's adequately engaged, which will move the film from frame to frame. The fresh, unexposed roll now gets loaded into the camera's top film holder. Break the tape holding the film together and pull the leader over the opening with the paper backing looking outwards. Feed the leader into the empty spool on the bottom and wind a bit so you know the film is transporting properly. Also, check that the film fits within the walls of the spool so it can be transported easily. Wind the film until you see arrows pointing outwards. Ince you see the arrows, put the back onto the camera, press the winding knob, and secure the two latches. Now wind the film until you see the #1 in the red window. That's the indication that you're ready to make the first exposures.

 There are only two controls for the camera, located on the top of the camera. There are two levers just in front of the handle. One is on the left, and the shutter speed controller is the smaller of the two controls. There are only two settings. When the lever is down, the camera is in "instant" mode and has a shutter speed of around 1/100 sec. Pulling that small lever up puts the camera in "B" or timed exposure mode. In this setting, you'll need to set the camera on some camera tripod or bracket to hold the camera still so as not to cause a blurry photo.

The other controller is the larger of the two levers that control the aperture settings. The lever can be in three positions to change the different apertures. When the lever is down, the camera has an approximate aperture of F11, the middle position is approximately F16, and the top position is approximately F22.


My Results:

I loaded the camera with Ilford 400 ISO/ASA film and walked through the neighborhood on a very overcast and sometimes rainy afternoon in February. The neighbors are getting used to the old man walking through the streets with an odd-looking camera in his hand, taking photos of houses, objects, or other items I find on my walks.

 Here's what I took.

Conclusion:

Other than the stunning beauty of this camera, it's a fundamental camera with minimal controls and a fixed Meniscus Doublet lens that takes a significant negative. According to the manual, the minimum focus is approximately 8-10 feet. My judgment of distance was off in some photos, as the images are out of focus.

 Overall, it was a fun camera to shoot with, and I'll need to take it out on a sunnier day to get more contrast images. There are a couple of filters available for the Beau Brownie, one of which is a portrait filter that allows for closer focus for portrait photos, so I'll need to dig through the box of old filters to see if I have one of the recommended filters to try on the camera.

 Thank you for taking a few minutes to read about one of the most beautiful cameras ever made. I'm truly honored to have one in my collection.

 Until next week, please be safe.