Kodak Beau Brownie Camera

My Rose Beau Brownie Camera

To end the unofficial box camera month for my blog post, I was thinking about writing about a few different cameras, but my thoughts kept coming back to one specific model of Eastman Kodak camera, one of the most beautiful cameras made, the Beau Brownie camera.

 The two factors of the Beau Brownie line of cameras that I enjoy are the five different colors they come in: black, tan, blue, green, and the most sought-after rose. The art deco design by one of America's outstanding industrial designers, Walter Dorwin Teague, is also bundled into a very uncomplicated camera marketed more as a fashion statement than the ordinary black box camera. 

 George Eastman and his marketing team realized early on that to broaden the photographic marketplace, they needed to expand the scope of photographers using cameras. Until the early 1900s and into the 1910s, the vast majority of photographers were males due to the time-consuming process of making photographs. While Kodak didn't invent photography, much like Henry Ford, he sold cameras to the masses due to the newer methods of making glass plates easier to obtain and process, making roll films, film processing, and printing available to the masses.

My set of Nos. 2 Beau Brownie cameras

 In the late 1920s, Eastman Kodak started a relationship with Edwin Dorwin Teague, which forged a relationship and changed the design and quality of cameras for thirty to forty years until he died in the early 1960s.

The Relationship:

Walter Dorwin Teague, born Dec. 18, 1883, is often regarded as one of the pioneers of industrial design in America. He had a long and influential relationship with the Eastman Kodak Company. His collaboration with Kodak helped shape the visual and functional identity of the company's products, particularly its cameras, during the mid-20th century.

Portrait of Walter Dorwin Teague

 Teague, known for blending aesthetics with functionality, first worked with Kodak in the late 1920s. He continued influencing the company's product designs for several decades until his death on Dec. 5, 1960. His designs embodied the principles of streamlining, an artistic and engineering approach emphasizing smooth, flowing lines and modern, user-friendly aesthetics. Kodak sought to enhance its product appeal in an increasingly competitive market. Teague's expertise gave the company a fresh, contemporary design language that resonated with consumers.

 One of Teague's most iconic contributions to Kodak was the design of the Kodak Bantam Special, introduced in 1936. The Bantam Special was a masterpiece of Art Deco design, featuring a sleek, black enamel and chrome finish. It was visually striking, compact, and easy to use, aligning with Kodak's mission to make photography accessible to a broader audience. The camera became a symbol of modern design and demonstrated how industrial design could elevate consumer products beyond mere functionality.

Walter Teague designed Kodak Super Six-20 camera

 Teague's impact on Kodak extended beyond individual products; he played a key role in shaping the brand's overall aesthetic identity. His work helped Kodak establish a reputation for producing elegantly designed, high-quality, practical, and stylish cameras. His collaboration with Kodak set a precedent for integrating industrial design into mass-market consumer products, influencing Kodak's future designs and the broader field of product design.

 Beyond the Bantam Special, Teague worked on several other Kodak models, including the Kodak Baby Brownie and the Kodak Medalist. These cameras showcased his ability to balance form and function, making photography equipment more appealing and accessible to everyday users. His designs helped Kodak maintain its position as a camera industry leader, reinforcing its image as both innovative and consumer-friendly.

 Walter Dorwin Teague's relationship with Kodak was a testament to the power of industrial design in shaping consumer products. His work not only enhanced the usability and attractiveness of Kodak cameras but also set new standards for the role of design in consumer technology. Through this partnership, Teague left an enduring mark on both Kodak and the history of industrial design.

The Camera:

Beau Brownie cameras came in two sizes: the smaller Nos. 2, which takes 120 film, and the larger No. 2A, which takes 116 film. They were both introduced in October 1930 and ended production in 1933. However, the two rarer versions, the green and rose colors, were in production for 1 year, which ended in 1931. Luckily, I have all five colors in different sizes in my collection. I've had all five for many years, and this is the second time I've owned all five colors in both sizes. 

 The camera that I used for the blog post is the smaller Nos. 2 camera due to the easily accessible 120 film the camera uses. The Beau Brownie No. 2 camera is 4" tall by 3" wide or 3 3/8" wide if you include the film advance knob by 4 3/8" deep. The camera has a 6x9 negative size and weighs 14.1 oz.

 The larger Beau Brownie, Nos. 2A is 5" tall, by 3 3/8" wide, or 3 3/4" wide if you include the film winding knob, by 5" deep. The No. 2A film format is 2.5" x 4.25" on 116 film, weighing 1 lb.—3.8 oz. 

My Nos. 2A Rose Beau Brownie (L) and Nos. 2 (R). Note the size difference

Looking online, I found a Beau Brownie Camera Manual, which is where I look for manuals for the cameras in my collection. It's a fabulous website and something we all should support.

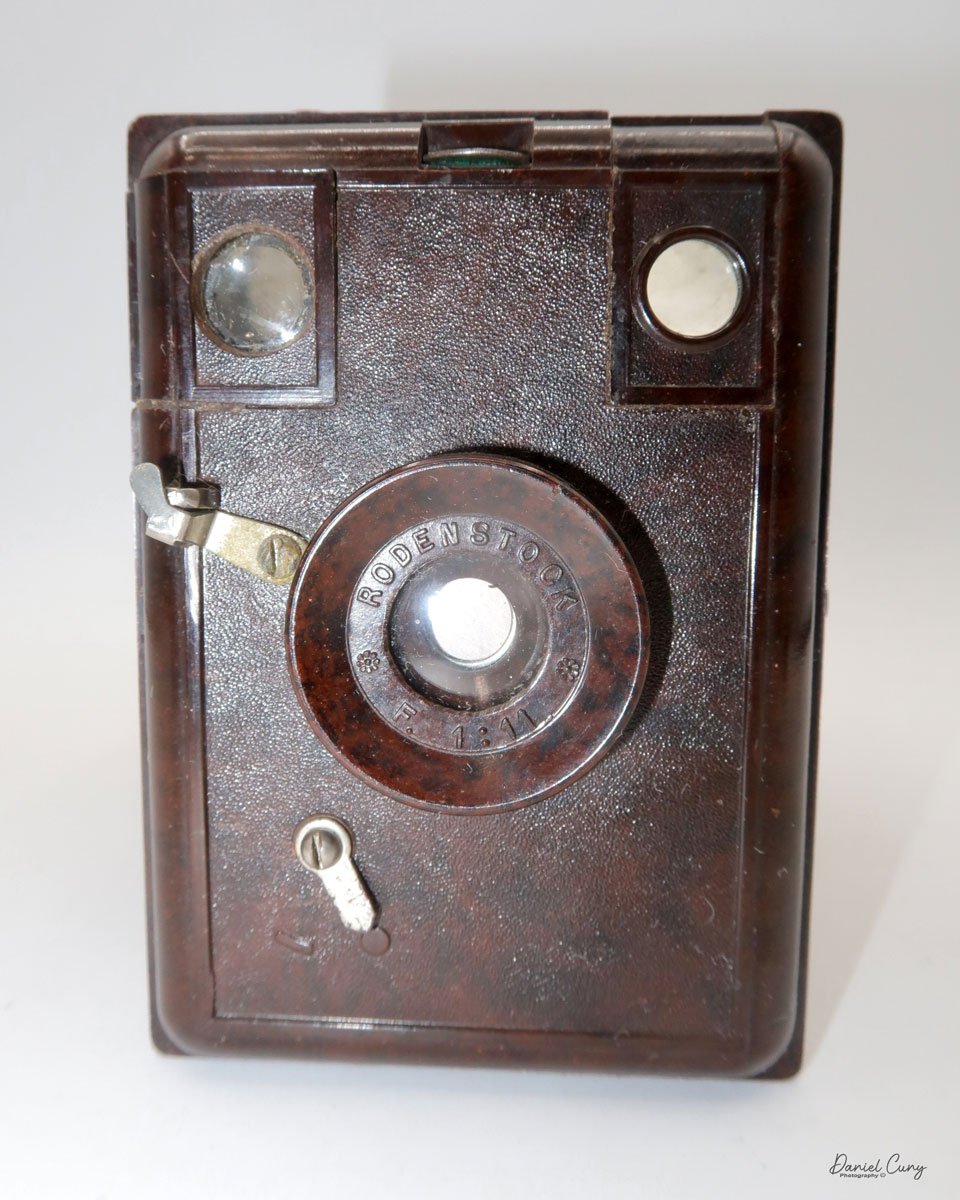
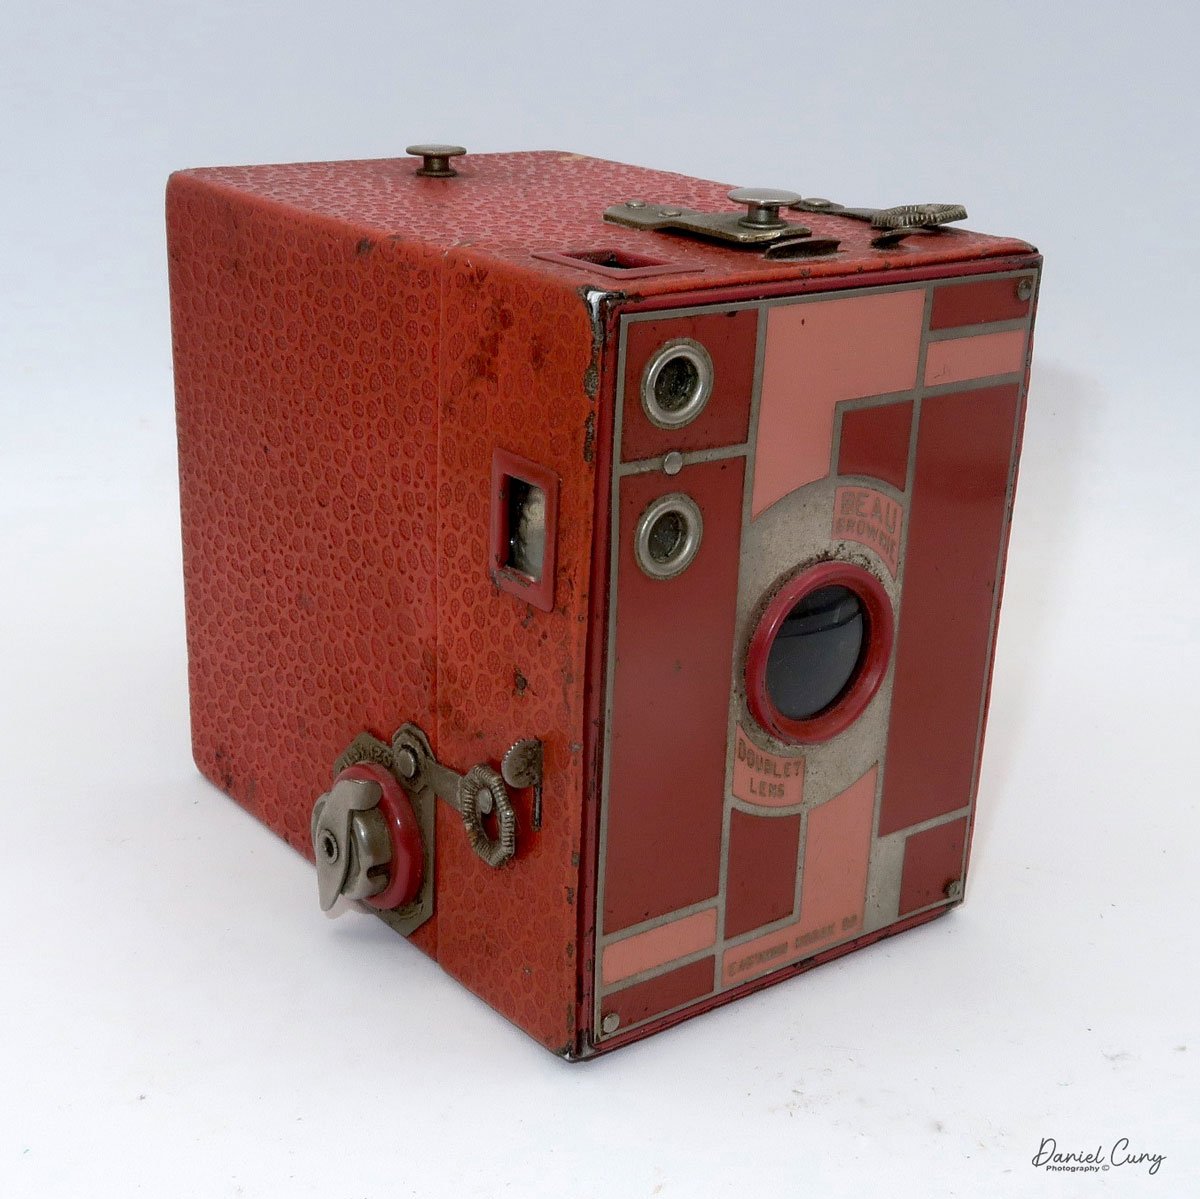
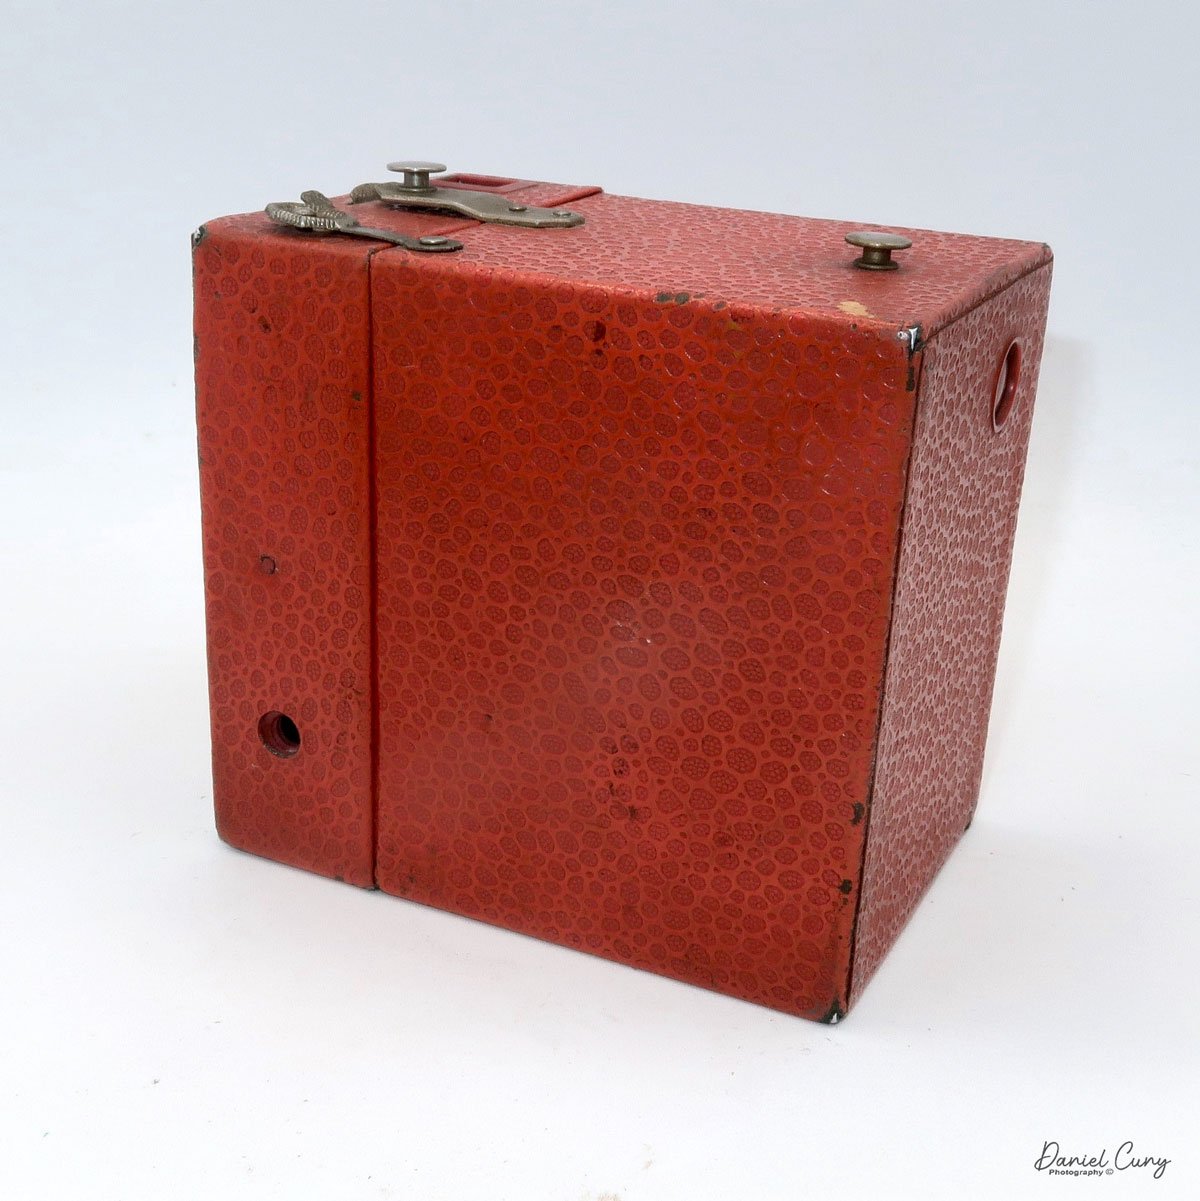
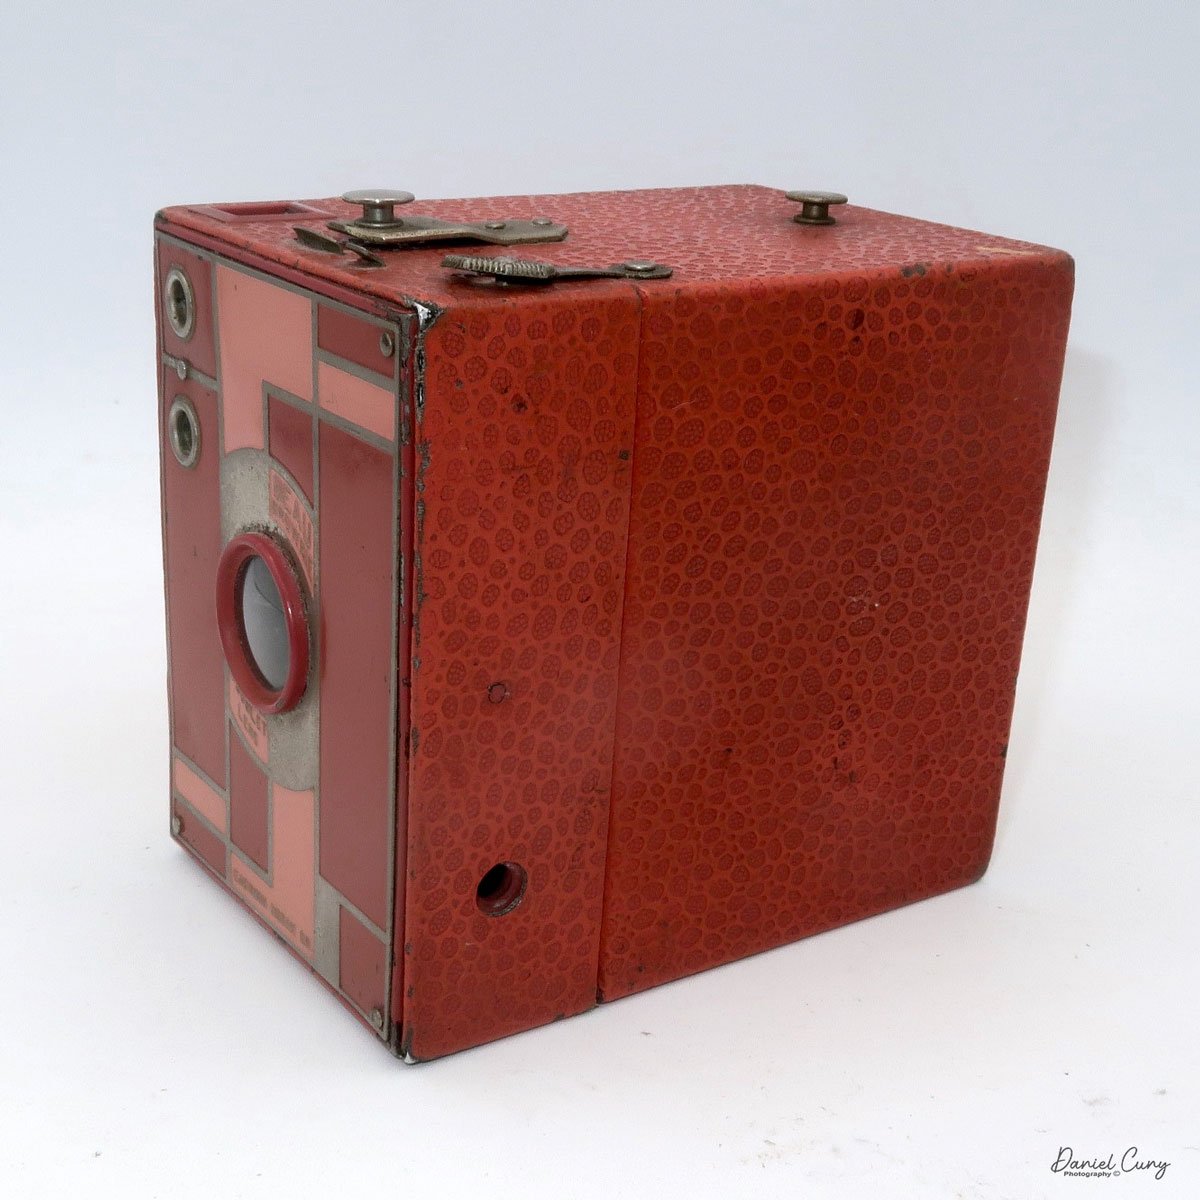
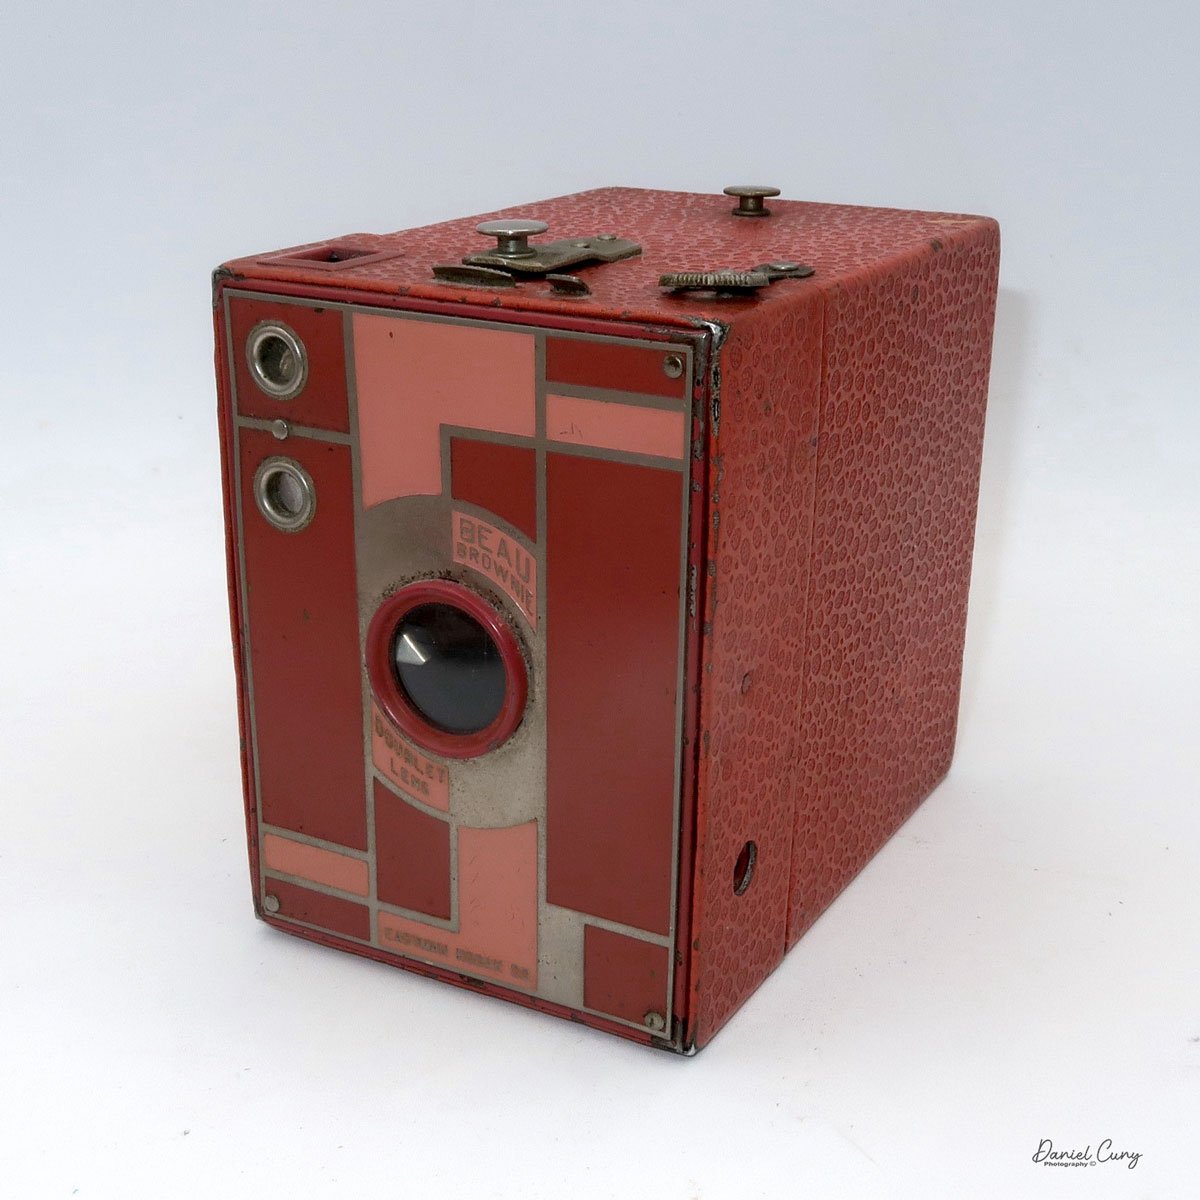
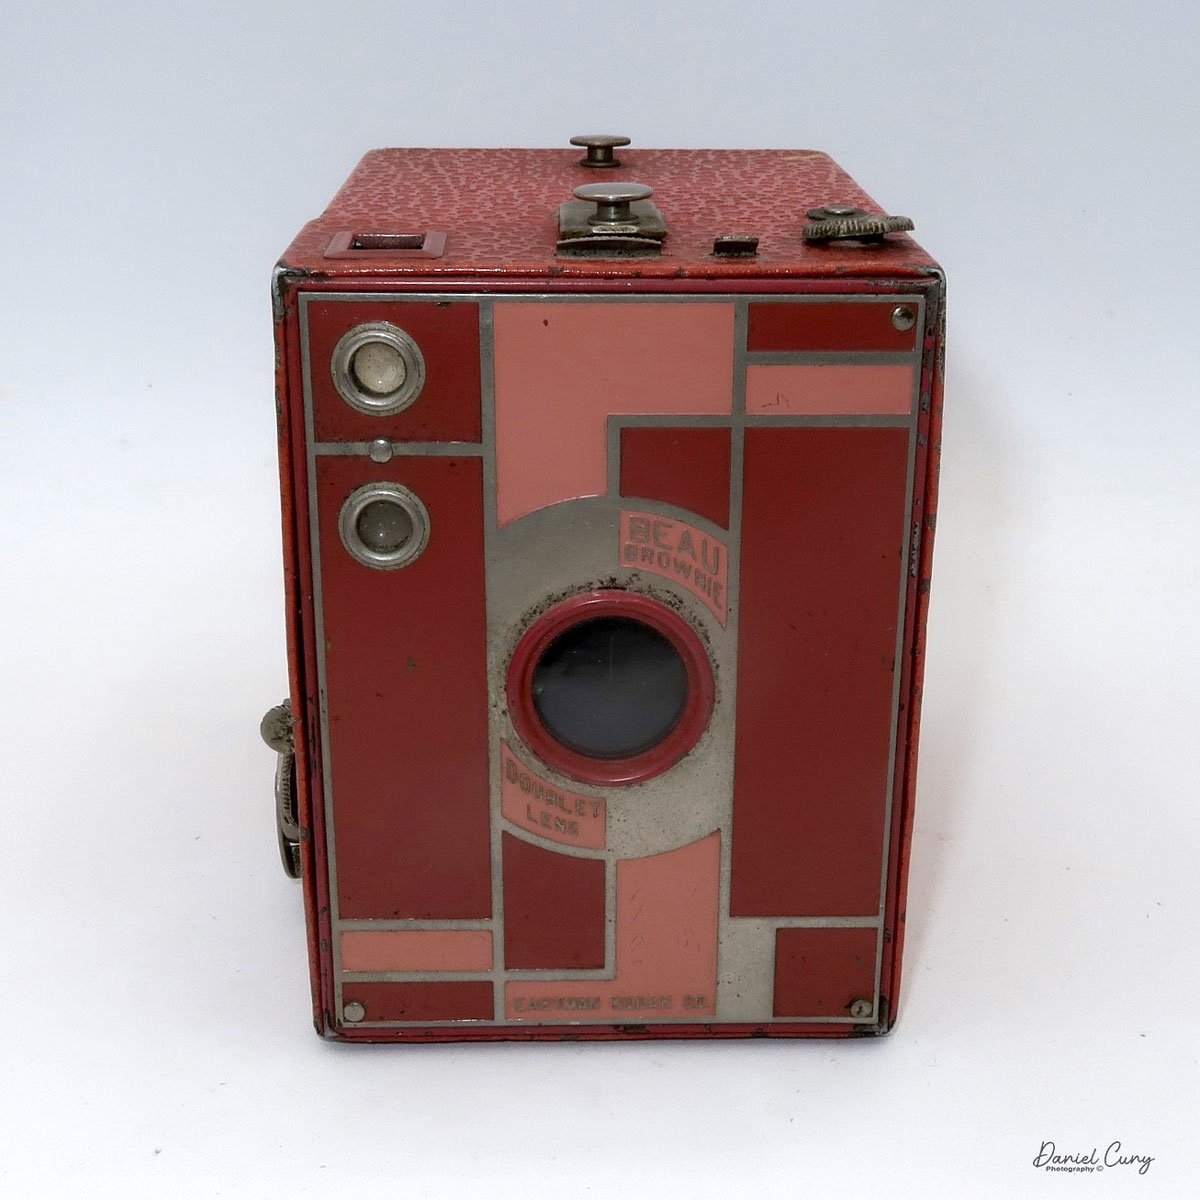
 The front of the camera has a beautiful, enameled Art Deco geometric design that is two-toned with an accent color to enhance the camera's beauty. The black version has a dark burgundy accent color. In contrast, the other colors have a lighter and darker version of the camera's color. The rest of the camera is made of thin metal material covered in pebbled imitation leather, the same color as the camera. The carrying handle is on the top of the camera, which is the same color as the camera's body.

Also, two round windows are used for the viewfinder on the front of the camera. The top circle is for viewing vertical-format photos from the top of the camera, and the bottom is used when you turn the camera on its side for horizontal-format photos. There is no focus on this meniscus doublet lens, so like many box-style cameras, the minimum focus is around 10 feet, but items around 8 feet may still be in focus.

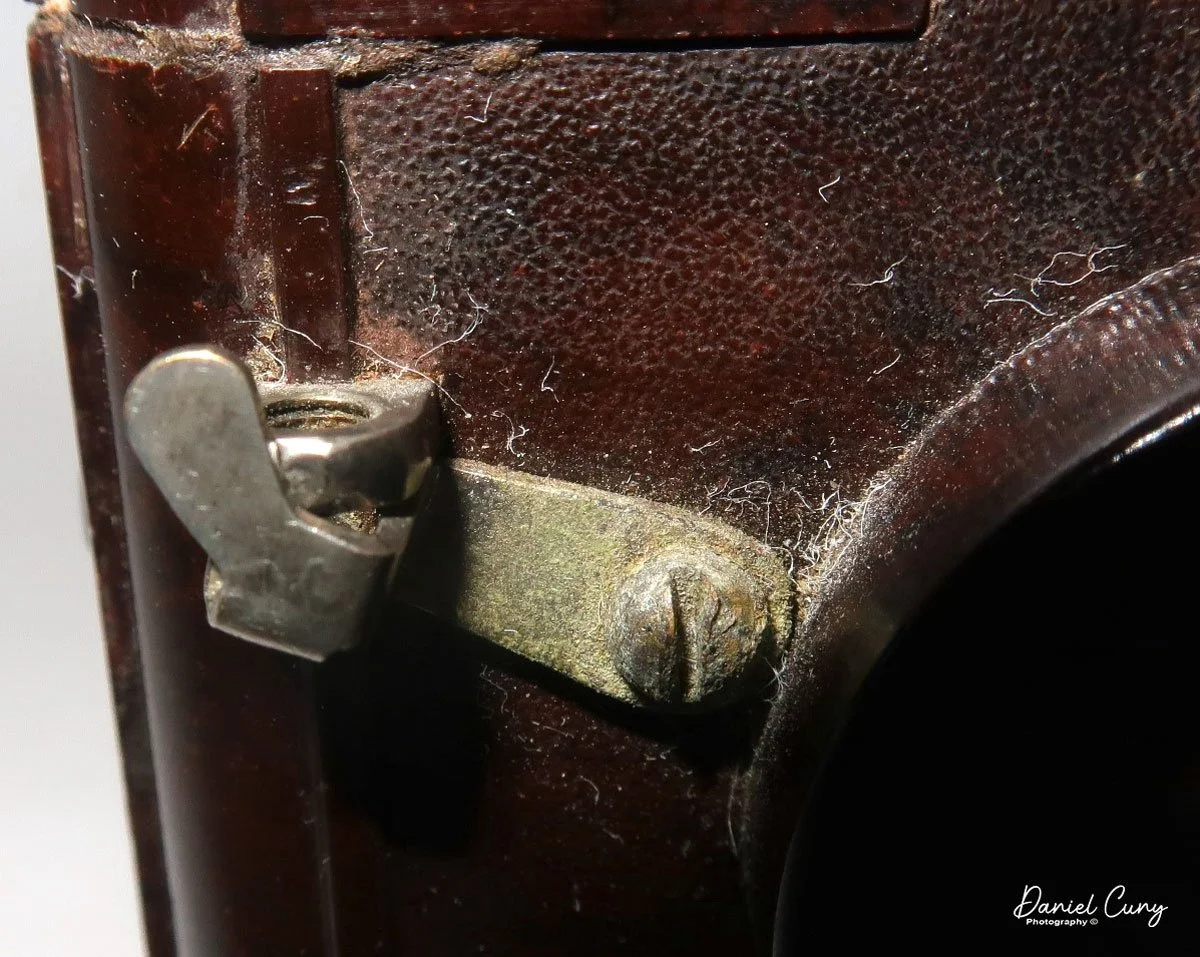
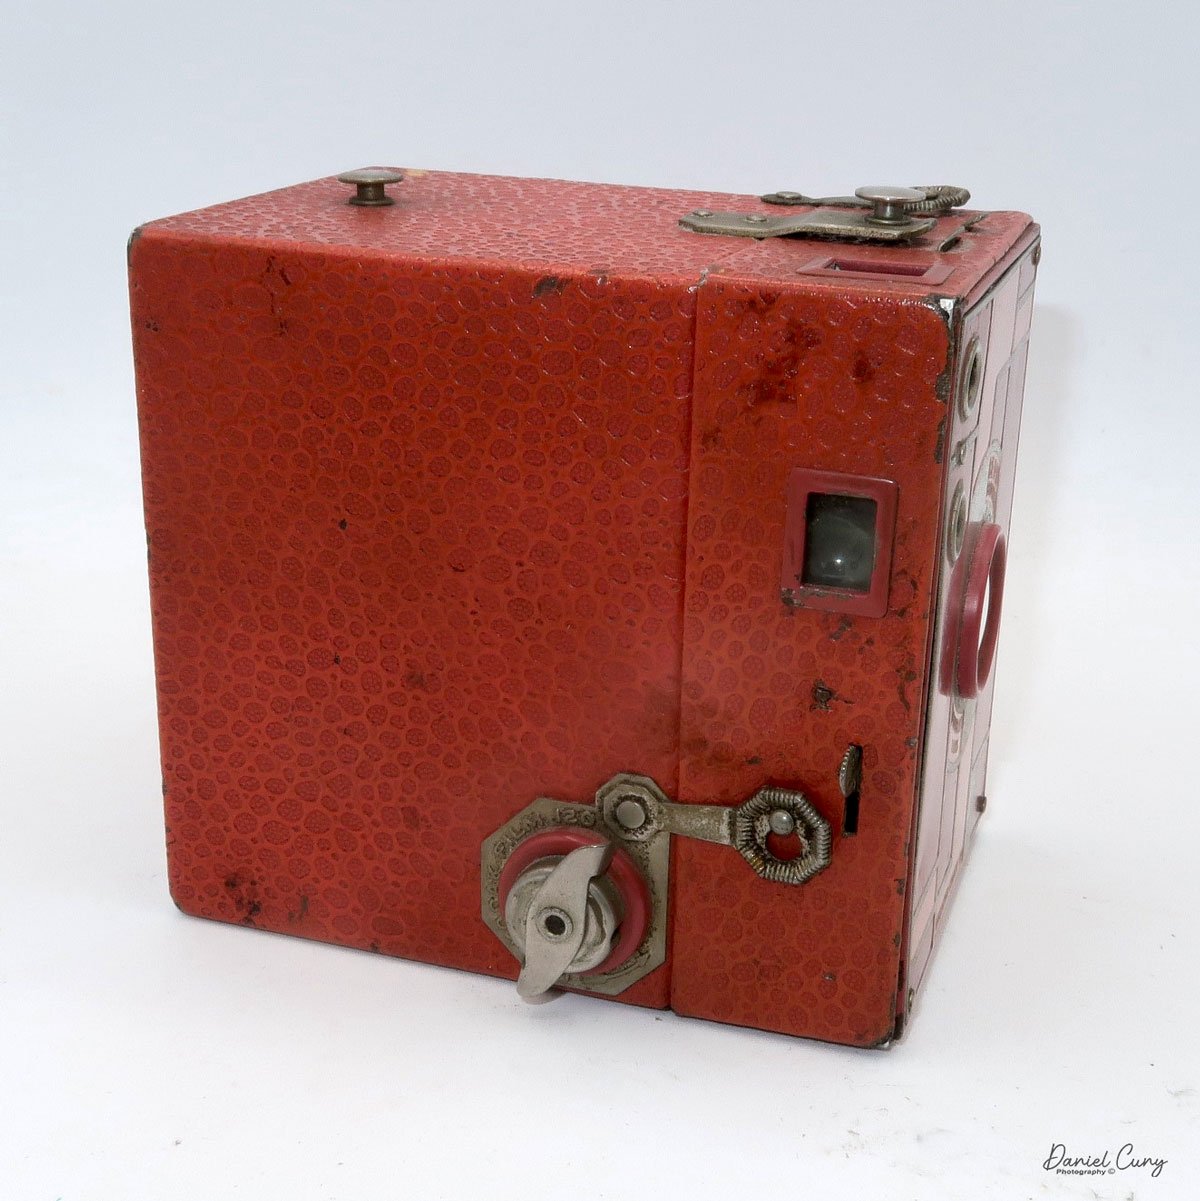
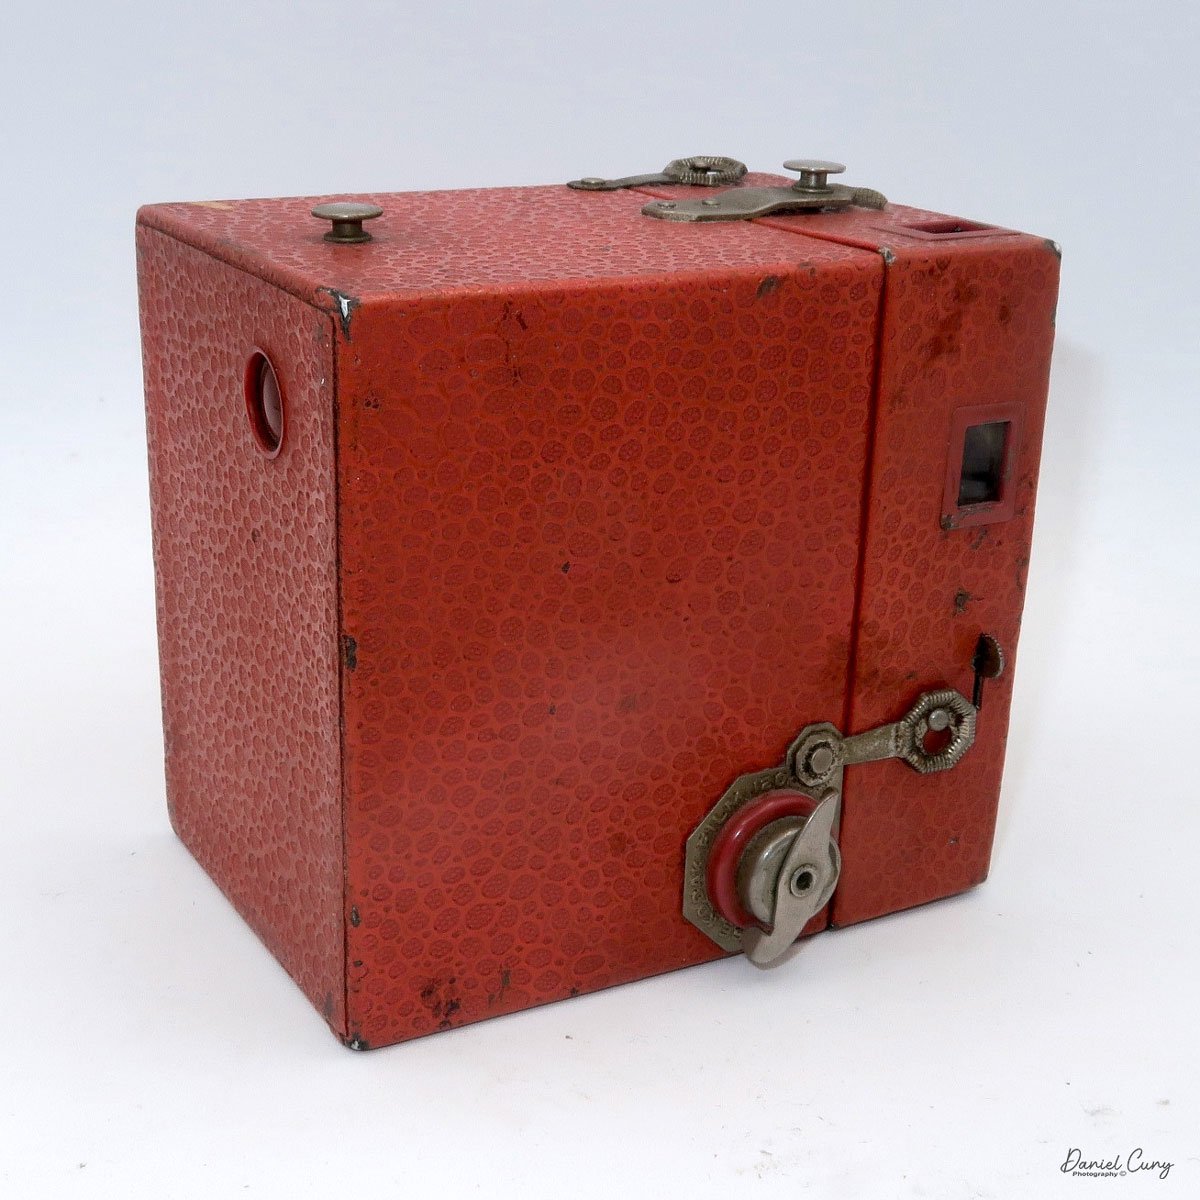
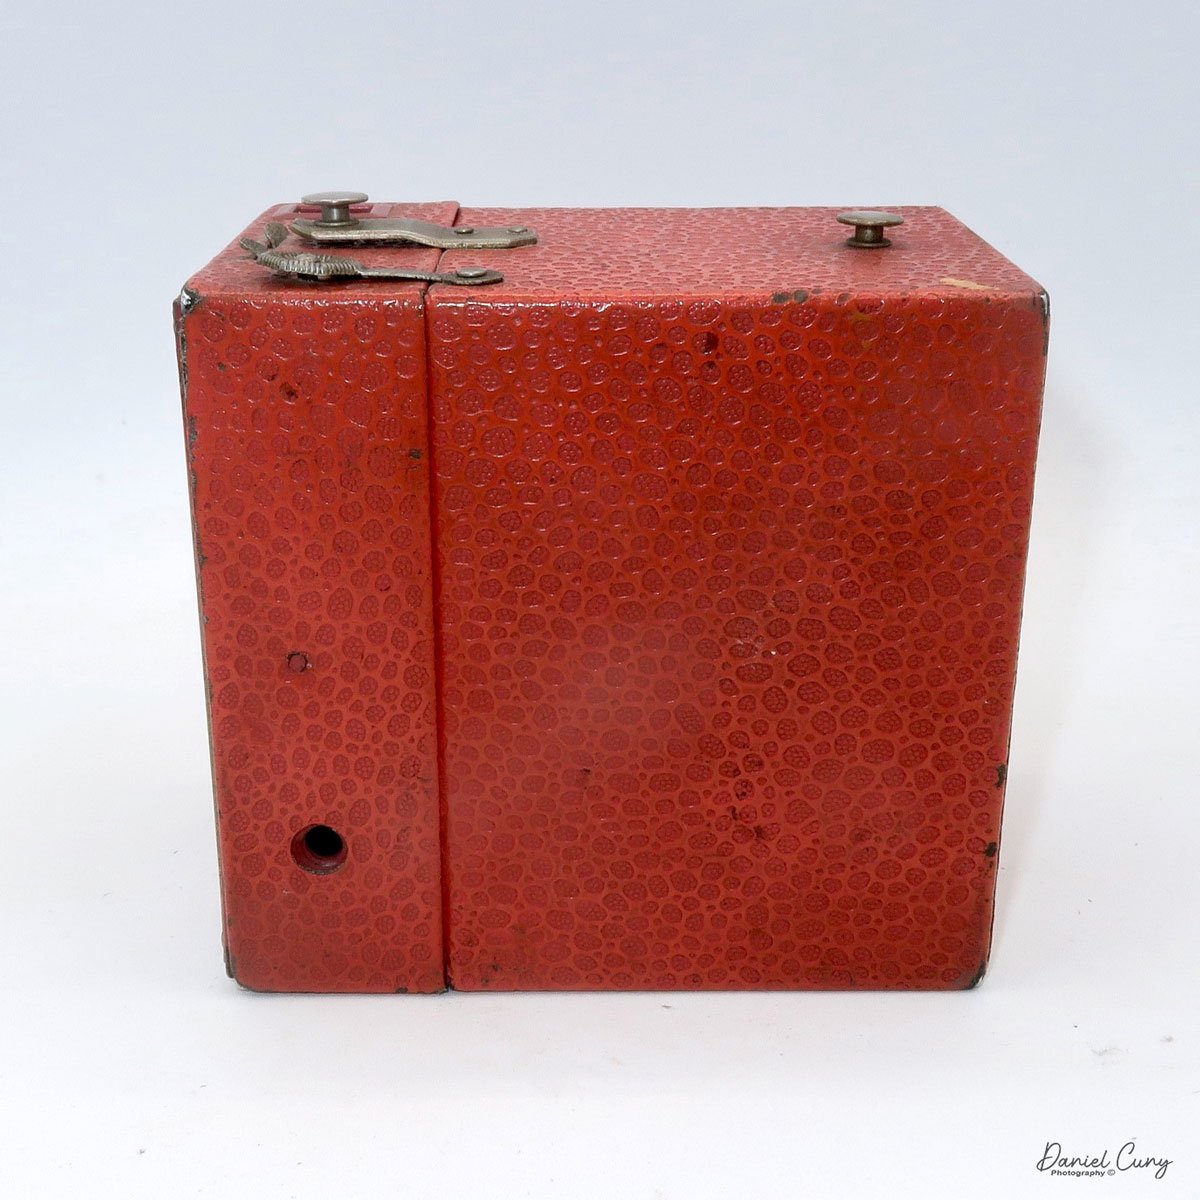
 The Beau Brownie cameras have two latches securing the back of the camera to the front. One latch is on the top of the camera, and one is on the side of the camera. Before you open the camera, you'll need to pull out the winding knob, which is engaged with the film transport. The winding knob needs to be pulled out; otherwise, the camera's front and back won't slide apart easily.

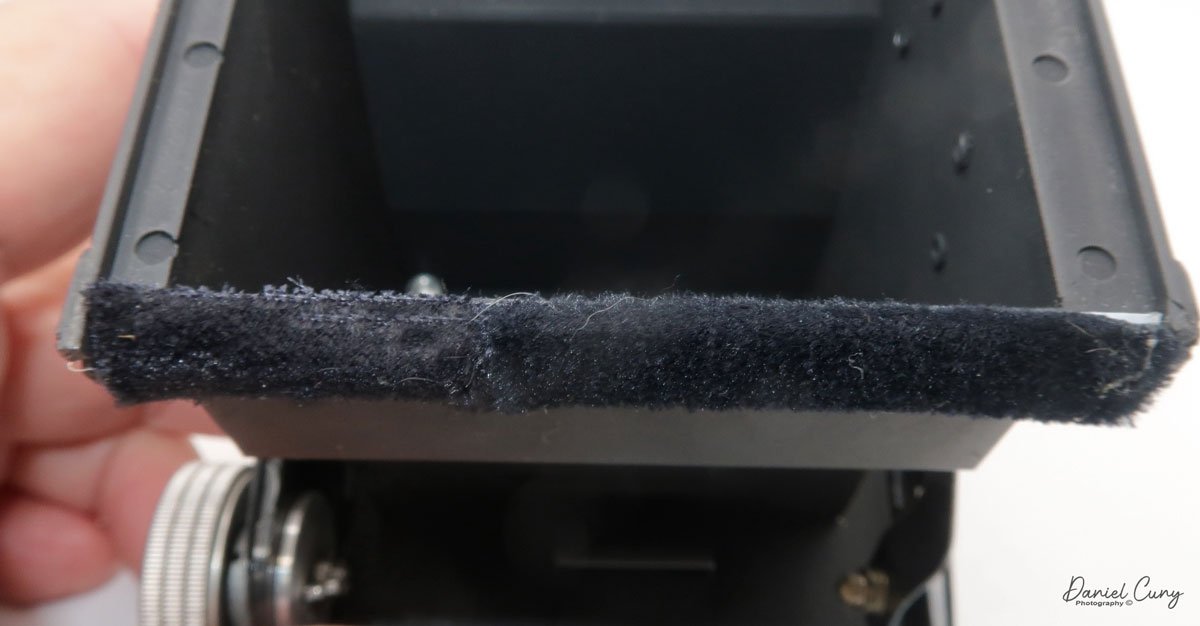
Once you have the camera apart, you can load the roll of film into the camera. Take the empty film spool from the top of the camera and move it to the bottom. Ensure it's adequately engaged, which will move the film from frame to frame. The fresh, unexposed roll now gets loaded into the camera's top film holder. Break the tape holding the film together and pull the leader over the opening with the paper backing looking outwards. Feed the leader into the empty spool on the bottom and wind a bit so you know the film is transporting properly. Also, check that the film fits within the walls of the spool so it can be transported easily. Wind the film until you see arrows pointing outwards. Ince you see the arrows, put the back onto the camera, press the winding knob, and secure the two latches. Now wind the film until you see the #1 in the red window. That's the indication that you're ready to make the first exposures.

 There are only two controls for the camera, located on the top of the camera. There are two levers just in front of the handle. One is on the left, and the shutter speed controller is the smaller of the two controls. There are only two settings. When the lever is down, the camera is in "instant" mode and has a shutter speed of around 1/100 sec. Pulling that small lever up puts the camera in "B" or timed exposure mode. In this setting, you'll need to set the camera on some camera tripod or bracket to hold the camera still so as not to cause a blurry photo.

The other controller is the larger of the two levers that control the aperture settings. The lever can be in three positions to change the different apertures. When the lever is down, the camera has an approximate aperture of F11, the middle position is approximately F16, and the top position is approximately F22.


My Results:

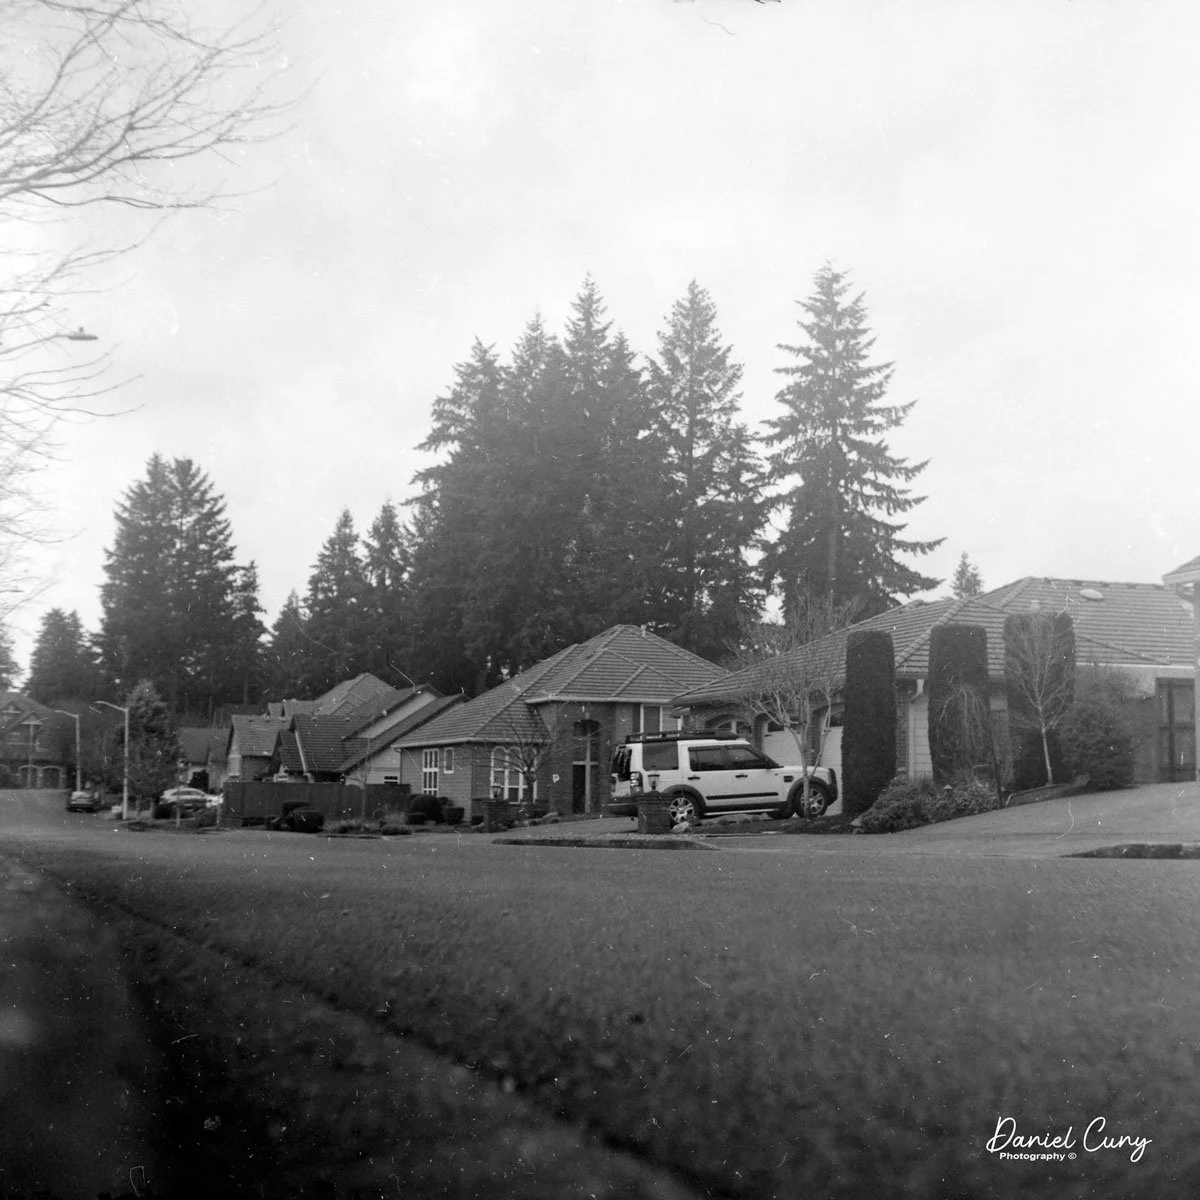
I loaded the camera with Ilford 400 ISO/ASA film and walked through the neighborhood on a very overcast and sometimes rainy afternoon in February. The neighbors are getting used to the old man walking through the streets with an odd-looking camera in his hand, taking photos of houses, objects, or other items I find on my walks.

 Here's what I took.

Conclusion:

Other than the stunning beauty of this camera, it's a fundamental camera with minimal controls and a fixed Meniscus Doublet lens that takes a significant negative. According to the manual, the minimum focus is approximately 8-10 feet. My judgment of distance was off in some photos, as the images are out of focus.

 Overall, it was a fun camera to shoot with, and I'll need to take it out on a sunnier day to get more contrast images. There are a couple of filters available for the Beau Brownie, one of which is a portrait filter that allows for closer focus for portrait photos, so I'll need to dig through the box of old filters to see if I have one of the recommended filters to try on the camera.

 Thank you for taking a few minutes to read about one of the most beautiful cameras ever made. I'm truly honored to have one in my collection.

 Until next week, please be safe.

Merten Merit Box Camera

My Merten Merit Box camera.

We're three weeks into February, which I've deemed Box Camera Month for my blog posts. I purchased this camera about five years ago at a camera show I attended in Kent, WA, a suburb of Seattle. This show, which is a gathering of camera enthusiasts and collectors, is coming up again in early April. It's a great opportunity to see a wide variety of vintage cameras and photography equipment. If you're in the Seattle or Portland area, please stop in. I plan on having another few tables to sell off some of my collection.

 Getting back to the camera of the week, I had previously owned the Merten Merit Box camera many years ago. Still, it wasn't nearly as good of condition as this one. It was missing one of the outer viewfinders, and there were many chips in the Bakelite, so I was pleased to see this example at the Kent camera show, and it was at a very reasonable price. One of the things that initially drew me to the camera was the color of the camera. It has a dark brown color with a smooth texture throughout the camera, with the exception of the faceplate, which has a pebble finish to the Bakelite.

 The other nice thing about this camera is that Merten made two different models. The one I had previously was a 6x4.5cm format camera on 127 film. This camera is a rare version as it takes 120 films and produces a 6x9cm format image, so the negative is larger, and the film type is a lot easier to purchase. The other nice thing about this camera was the handle was intact. Due to how the camera is built, I have seen many examples where the strap is broken or missing. This camera has very few chips in the Bakelite, and the strap is intact and in overall great condition. The shutter also works.

 Since all the stars are aligned with a 6x9cm format camera and a working shutter, the camera takes 120 film. I figured it was time for me to take the camera off the shelf, load film into the camera, dust off and clean the lens, and take a walk around the neighborhood to take photos with this wonderful photo-making machine.

The Company:

French ad for Merit Box

In 1906, the Merten brothers Ernst, August, and Emil founded the Gebrüder Merten Gummersbach (GMG) company in Windhagen-Gummersbach, Germany. They started manufacturing electronic installation components. In 1926, they focused their attention on manufacturing plugs and sockets, which is where their business grew.

 In the early 1930s, Mertens used their Bakelite presses for various purposes, such as producing equipment for laboratories and, yes, in 1933, even producing a series of cameras for the rapidly growing photographic market. These were the only cameras produced by Mertens, and they turned their focus back to the electronic field.

 By 1985, Mertens had grown to the point where they were producing electronic accessories items for the commercial trade, and by the year 2000, intelligent devices were added to their portfolio of electronic products. Merten's products for smart buildings are available in more than 130 countries, where they produce electronic products for residential buildings, offices, public buildings, hotels, schools, hospitals, and businesses. 100 years after they started their business, Schneider Electronics purchased Mertens in 2006.

My Camera:

My Merten Merit Box Camera is 4.5" tall, including the leather strap, 3.5" wide with the winding knob 5.5" deep from the front of the lens to the back of the camera. The camera weighs 1 lb, 1.6 oz without film loaded into the camera. The camera is a typical box camera with two different viewfinders, one for vertical images on top of the camera and one for horizontal images on the right side. 

The Merit Box camera has a Rodenstock lens, around 80mm, and the aperture is F11. There are two positions for the shutter, which is set by a toggle arm below the lens, either a line for instant photos or a round circle setting for timed exposures. There is an option to screw in either a self-timer or cable release just above the shutter release button, which is located just to the right of the lens as you're preparing to take a photo. There is also a sliding bar on top of the camera, which allows for three different aperture settings. When the sliding bar is in the lowest position, the aperture is F11. Then, slide the bar up to the following setting, F16, and all the way to the top would be F22.

On the back of the camera is the name of the camera embossed into the Bakelite, the red window to tell the photographer which frame they are on, Germany, Film B-2, which is an Agfa reference to 120-size film, and finally, the film format 6:9.

 One of the very unique features of the camera other than the beautiful dark brown color is the interwoven strap on top of the camera. The strap or top handle doesn't come off. Instead, it has two interlooped sections that allow the strap to lengthen as you take the front off the back of the camera to load film. This makes it more difficult to load the film as you need to deal with both the front of the camera and the rear when you load film into it. It's not difficult to deal with, but at the same time, it's more than most people are used to when loading a simple box camera, mainly used for the less professional photographer.

There are two locking mechanisms on each side of the camera to load the camera. Rotate the knobs counterclockwise to unlock the back from the front. Then, you'll need to slide the strap apart to allow the camera's front and back to be removed from each other. On my camera, the strap holds the two pieces together as the strap is somewhat tight and stiff. Once you slide the two strap pieces apart, the front and rear of the camera open easily; from there, you can load the film into the camera.

 Once I put a roll of film into the camera, I attached the front to the back of the camera. I turned the locking knobs clockwise to lock the two together and slid the strap back to the shorter position so it would hold the front and the back together a bit better. It could quickly be done if I needed to make the handle a bit longer to hold the strap as I used the camera.

The one thing I noticed when I went to load the film into the camera was the winding mechanism didn't engage with the film spool very well. I needed to press the winding knob, and I was turning the knob to advance the film. The flat end of the winding mechanism that fits into the spool didn't seem long or thick enough to fit tightly into the film spool. The whole winding mechanism seemed very wobbly. I did try t tighten the screw, but that didn't help. The camera is almost 100 years old (92 years), and I'm guessing that it's just worn a bit, but I doubt it's been used very much because the strap is in great condition and still intact.


My Results:

Now that I had wrestled with the strap and held both the front and rear of the camera in my lap to load the camera with a roll of 120 films, it was time to take a walk through the neighborhood to see the results from this beautiful brown bakelite camera from the early 1930s. Here are some of the results from my walk.

Conclusion:

The one thing that I struggle with when using these simple box cameras is the close distance required to get a somewhat sharp image. Since it was somewhat sunny outside, I figured that using the sunny 16 rule would be my rule of thumb for exposures. 

 For those unfamiliar with the Sunny 16 rule, you use the shutter speed closest to the ASA, or as it's known now, ISO in your camera. (Yes, I'm old school.) If it's sunny outside, you use f16. I had ASA 125 film in the camera and figured the shutter speed was close to that, so I put the aperture setting in the middle setting for my exposures outside.

 I photographed my daughter and her dog, Bean, initially about 4 to 5 feet away. Then I took a step back, and the photo still was out of focus, as were many of the images I took between 4-6 feet from the subject. The one image that is nice and sharp is the more scenic photo of one of the neighbors' houses, which turned out very well. My guess is the best minimum distance is 8-10 feet away, looking at some of the results I achieved.

 Thank you for taking a few minutes from your day to look over this unique and simple camera from about a century ago. It was fun to take it off the shelf and use it as it was intended. The results are the best, and my guess is that due to several different reasons, the Merten Merit Box camera wasn't a huge seller during its time.

 Until next week, please be safe.

Gomag Holly Camera

My Gomag Holly Camera

As I declared February as 'Box Camera' month, I found myself gazing at the camera collection on the shelf above my desk. Tucked away in the back corner was a hidden gem, the Gomag Holly camera, a treasure I had forgotten about until I reached my hand back there. The joy of rediscovering this unique piece of history was overwhelming, and it brought back a flood of memories.

 Looking back at my records, I purchased this camera in late 2010 or early 2011 from an online auction with a few other box-style cameras. What intrigued me about this camera was its unique design, with two viewfinders built into one camera, and its ability to set both shutter speeds and aperture, which was unusual for a simple box-style camera. The rarity of the Gomag Holly camera added to its allure, making it a prized possession in my collection. 

 Another thing I liked about the Gomag Holly camera was the rounded corners, which gave it a less industrial look and a more refined appearance—something you'll want to pick up and use. When I picked up the camera to start writing about it, I heard something rattling around in it. My initial thought was that the camera wouldn't be usable. Still, I opened the camera and found one of the film transport rollers lying in the back of the camera.

 When I initially purchased the camera, I can't remember if I noticed that three of the sockets that hold the two rollers on the back of the camera, which prevent the film from scraping across the film plane, were missing. If I remember correctly, I didn't think much of it then because I thought, "I'd never really put the camera to use," as it was mainly for the show in my collection. That was until recently when I viewed the camera and wanted to write about it for my weekly blog post.

The Company:

I've done exhausting searches on the web. I cannot find anything about this camera or its manufacturer. I did come across an article from the Photographic History Society of Canada named The Holly and the Ivy that did a very short article about this camera, and in the article, they state the camera was made by Allgäuer Kamerwerkstatte Gomag, which roughly translates to (Allgäuer) a region in southern Germany, (Kamerwerkstatte) Camera Workshop, (Gomag), which is my guess of the company that produced the camera. They were located in Pfonten, Germany.

Holly camera logo

The only other information I can find about this camera comes from McKeown's Camera Guide from 2005-2006 on Pg. 361, which states there were actually two versions of the camera. The first version was from Gomag and had "HOLLY" embossed above the lens in 1950. Then, the company was purchased by Dr. Riemerschmid & Co., and the later version without the embossed name and with different lenses and shutters was shown at Photokina the same year but was not released until 1952. According to the McKeowns' Guide, the earlier Gomag version has Emylar or Gomar lenses, and the later Riemerschmid has the Rictar lens. They also state that the last version has "Riemerschmid & Co. Munchen" around the shutter face. Still, my camera doesn't have that, so there must be different versions, or I didn't bother with this camera.

 I've looked at several websites about camera manufacturers but cannot find any information about them. If you're reading this and do have information, please write to me and let me know. I'd love to add that information as an update when I have it.

 The one thing that I enjoyed reading the article on the camera was that the camera they were writing about was red. Now, that excited me, as I'd love to have a red version of the camera. The thought of owning a rare and unique red Gomag Holly camera keeps me hunting for the odd and unusual cameras. There may be a red version somewhere that they won't appreciate and will let me purchase for a reasonable price. My fingers are crossed.

My Camera:

My Gomag Holly camera is a bakelite camera that measures 4.25" tall, including the viewfinder in the collapsed position, by 3.5" wide, including the winding knob, by 4" deep, and it weighs 11.3 oz. The Gomag Holly camera has an 80mm f3.5 Rictar lens; mine has serial number 1886T. The camera has three different shutter speeds: 1/200, 1/50, 1/25, and "B" for timed exposures. The shutter speeds are set by sliding a ring around until you get the black pointer pointing to the desired speed. There is a small knob on the shutter speed ring that makes moving the shutter speed dial easier. You'll need to cock the shutter t, which is above the shutter speed setting ring and is pulled in the counterclockwise motion to cock the shutter. The shutter release is in the upper right-hand corner as you hold the camera to fire. There is a flash PC outlet on the other side of the shutter release, which I find somewhat odd, especially for a box-style camera.

 When  I first picked up the camera for this blog post and started to fire the shutter, I noticed that the shutter was lagging. It would fire, but the speeds seemed very slow. One thing I learned early on was to "exercise" shutters, so I spent the next ten minutes cocking and firing the shutter, which seemed to work well. After just a few minutes, the 1/200 was working as it should, and all the shutter speeds seemed to spring back to life and were firing at what sounded like the correct speed.

 The aperture setting ranges from F3.5 to F16. It is set under the lens, indicated by a silver pointer indicating which aperture is being set. The focus on the lens ranges from 1 meter to Infinity. It is stated on the top of the camera by a black triangle, along with the depth of field scale on either side of the focus mark.

A dial on the side of the camera is turned counterclockwise to open the back to open the camera. A small red dot on the dial points forward when the camera is locked and to the rear of the camera when it is unlocked, and the camera body can pull away from the lens to load the film.

Since my camera was missing the two rollers that the film rolls across during transport, I didn't want the roll of film to drag across the shutter, causing scuffs and possible static on the film during transport from frame to frame. I wanted to add felt to the sides of the film opening to decrease the possibility of scratches. I didn't have felt in my bag of tools, etc., but I did have some very old and expired rolls of 35mm film, which I use as test rolls. I thought these canisters were made of felt material, so I took the canisters apart and peeled the felt from them. Unfortunately, the felt on the 35mm canisters is too short, so I needed a couple to cobble together.

Once I took the back off the camera and pulled the felt off the 35mm canisters, I did have some excellent double-sided tape, which I cut into strips and placed on the top and side of the film opening. After that, I cut the felt from the film canisters into lengths that would fit onto the back of the film area, and since I needed two to cover the area, I staggered them on different sides of the film chamber. I probably didn't need to stagger them, but in my mind, it was the right thing to do.

 Once the film was in place, I let them adhere for a few minutes. I took an Exakto knife and trimmed any excess from the film area so I didn't have straggler hairs from the felt hanging over the film chamber. I wanted a clean edge between frames. Once I had that done, I loaded the camera with a roll of 100 ISO/ASA film into the camera. I proceeded to advance the film until I saw the "start" on the film backing. I put the film back onto the camera body and locked the back in place, then proceeded to wind to my first frame, looking through the closable window on the back of the camera.

On top of the camera are the viewfinders. There are actually two on this camera. In the back of the collapsed viewfinder is a small ridge. You pull back, and the "sport" finder pops up. You can pull up a smaller glass finder within the more extensive sports finder. A round glass lens is on the bottom of the rear portion of the sports finder. When the glass finder is pulled up, you can view your subject through the rear glass lens, which looks clever for a simple box-style camera and does a fantastic job when viewing through. To collapse the glass finder, push it down, and a clip will hold it into place. Then, you can close the "sport" finder's back portion and the larger front folds to keep them in place. It is a straightforward but valuable addition to the camera.

My Results:

Now that I have the camera loaded with film, it's time to walk through the neighborhood and see what results I can get from it. Since the camera has a "B" setting, I wanted to see how it would do on some longer exposures, especially since, living in the Northwest, we don't get much sun between November and March.

 Here are some of the results I achieved with the Gomag Holly Camera.

Conclusion:

The camera did an outstanding job. The images were sharp, well-exposed, and very good for a relatively simple box-style camera. The camera was very fun to use, and I had a fun time getting the camera in the proper shooting condition. The felt on the back of the film chamber worked well, especially since the two film rollers were missing. I'll need to get a small swatch of felt to keep in my bag of tricks in case I need to do the same to another camera I come across. If I go to sell the camera, I can always take the tape off along with the felt and have the camera back in the condition in which I purchased it.

 Thank you for taking a few minutes from your busy schedule to read about a very unknown but fantastic camera.

 Until next week, please be safe.