My Envoy Wide Angle camera
I’ve always been drawn to anything panoramic—cameras, negatives, even yard‑long prints. I love images that feel like the way I actually see: scanning the edges, noticing subjects on the periphery, wanting just a little more in the frame.
That’s why I’m so fond of cameras that may not be truly panoramic, but still give a generous wide‑angle view. I enjoy classic street and fashion work—Diane Arbus, Elliott Erwitt, Henri Cartier‑Bresson, Richard Avedon, Herb Ritts, Irving Penn—I can happily look at their photos all day long. But when it comes to scenic images, even with masters like Ansel Adams and Edward Weston, a part of me is always wondering what’s just outside the edge of the frame.
So when I went hunting for a camera to feature in this week’s camera‑collecting blog, the Envoy Wide Angle was sitting there on one of my shelves, quietly staring back at me. It isn’t famous, it isn’t flashy, but it’s a small English wide‑angle box that happens to see the world a lot like I do.
My friend, fellow camera blogger, and co‑host of the Camerosity podcast, Mike Eckman, wrote an excellent review of the Envoy Wide Angle a while back, so I deliberately let some time pass after his piece. Now that the dust has settled, it felt like the right moment to pull my Envoy down, load some film, and see what I could add to the conversation.
Brief History of Ilford:
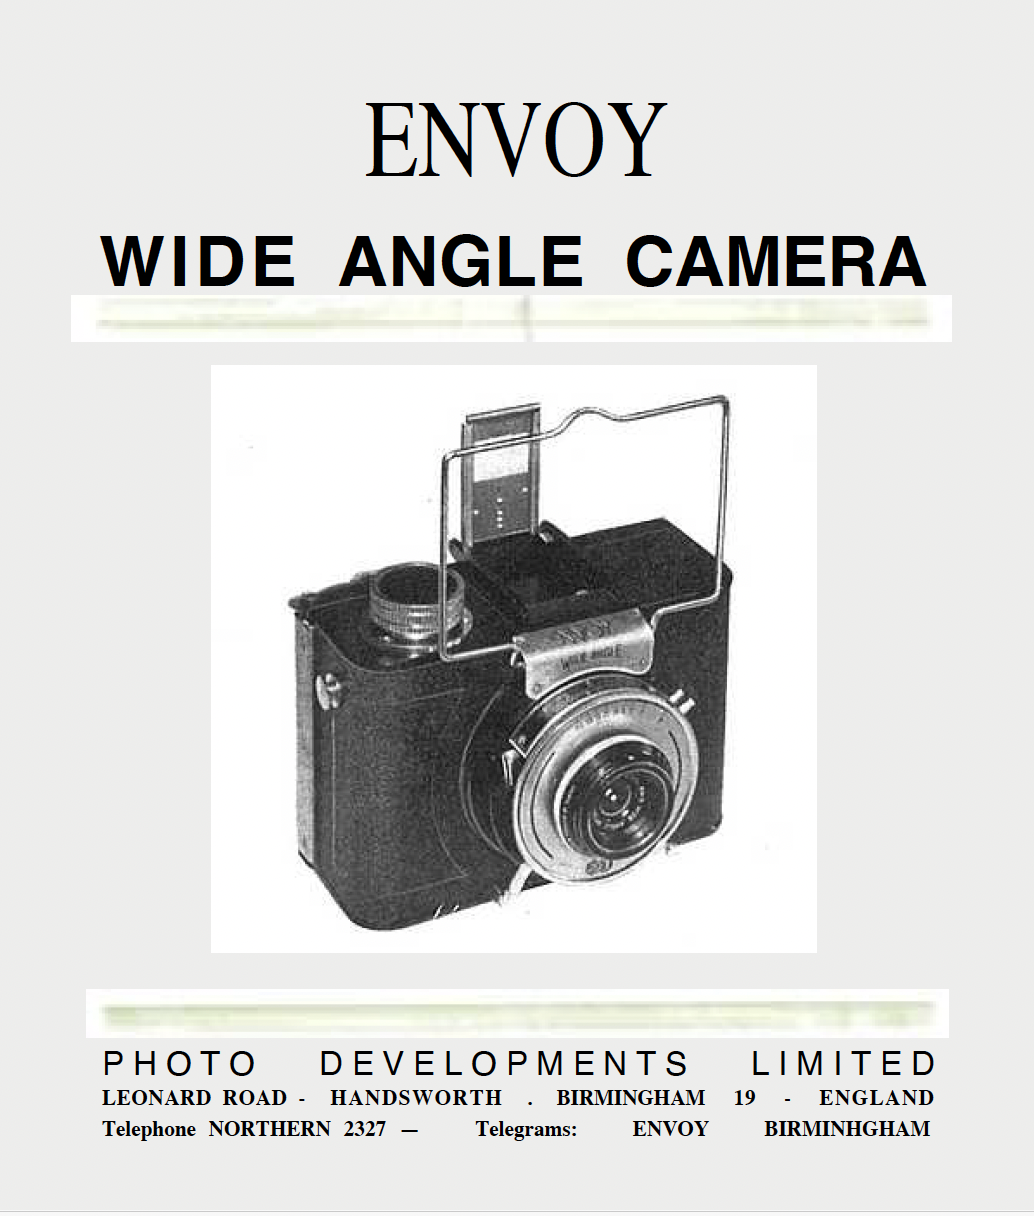
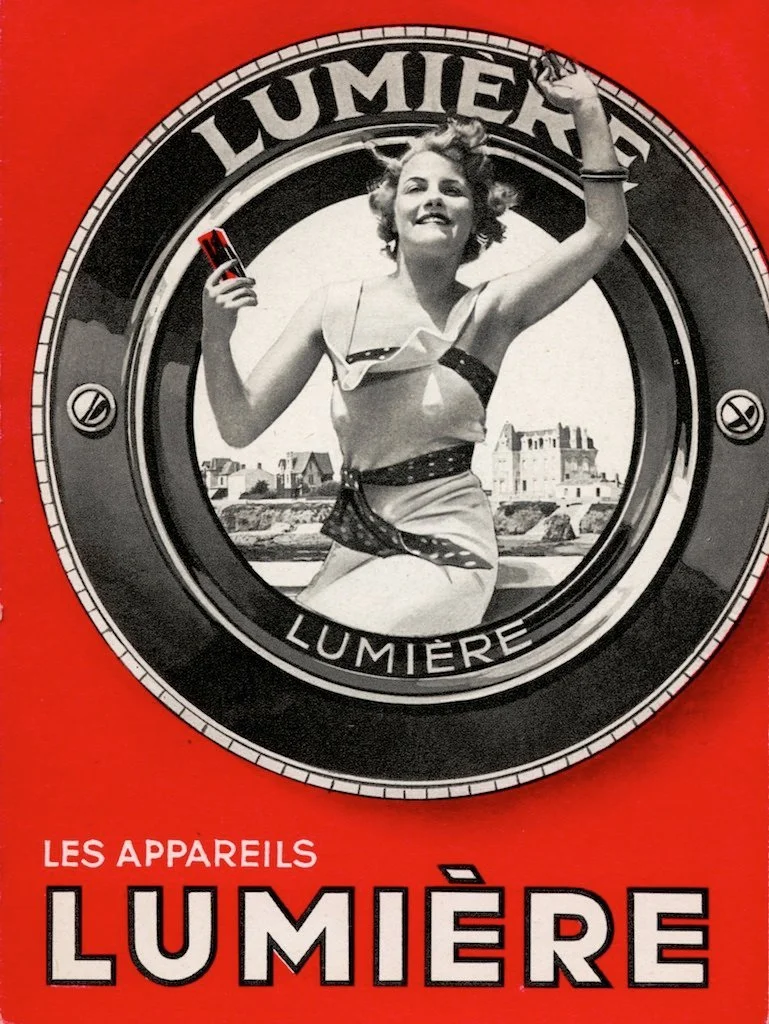
Cover of the Envoy Wide Angle manual
While often synonymous with high-quality black-and-white film, Ilford Ltd. holds a distinct and fascinating place in the history of camera manufacturing. Founded in 1879 by Alfred Hugh Harman in Ilford, England, the company initially focused on dry plates. However, as the photographic medium evolved, Ilford expanded into the hardware that would utilize their world-class emulsions.
Ilford's foray into cameras began in the late 19th century with specialized plate cameras. By the early 1900s, they introduced models like the Ilford Falling Plate camera. These were designed to be robust and reliable, catering to a growing market of serious amateur photographers. As roll film began to dominate, Ilford transitioned, ensuring its hardware remained a perfect vessel for its advancing film technology.
The post-WWII era marked Ilford's most ambitious period in camera design. Two models, in particular, stand out to collectors and historians:
The Ilford Witness (1953): A legendary 35mm rangefinder that is now a rare prize for collectors. It featured a unique interrupted screw mount and was designed to compete with the likes of Leica and Contax. Though technically brilliant, its high production costs led to a very limited run.
The Ilford Advocate (1949): Instantly recognizable by its ivory-white stove-enamel finish, the Advocate was a 35mm camera designed to stay cool under the sun (ideal for tropical climates). Its distinct aesthetic and reliable performance made it a mid-century icon.
By the 1960s, Ilford pivoted toward the mass market, collaborating with manufacturers like SND (West Germany) to produce the Ilford Sportsman series. These were affordable, user-friendly 35mm cameras that brought the Ilford name into households across the UK and Europe.
Today, while Ilford's focus has returned to its roots in chemistry and paper, the "Ilford" badge on a vintage camera remains a symbol of British engineering and a golden era of silver halide photography.
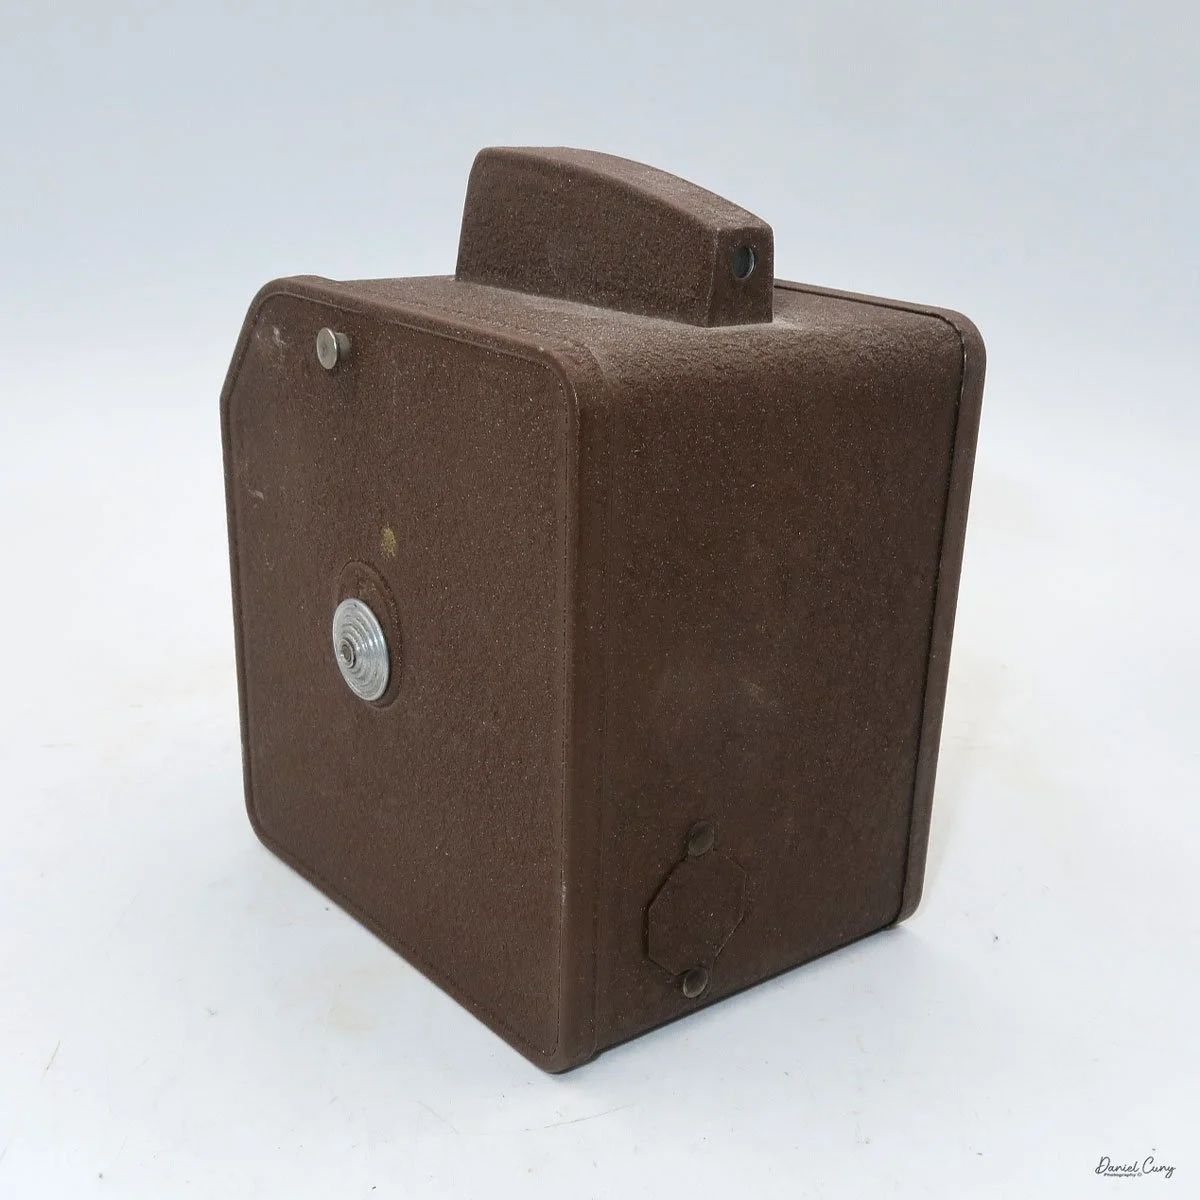
My Camera
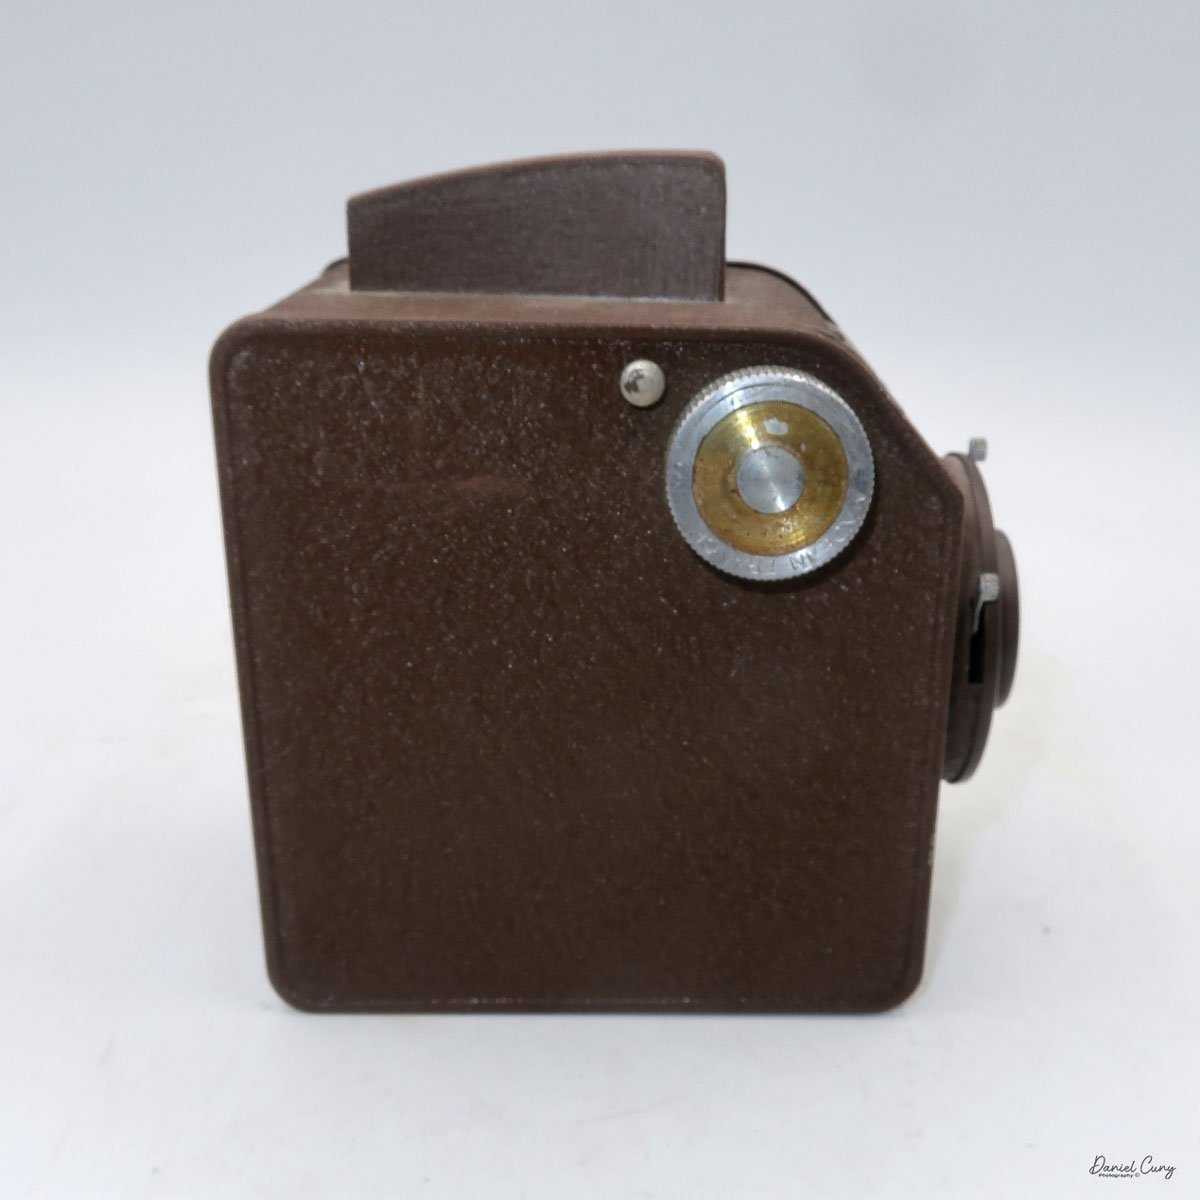
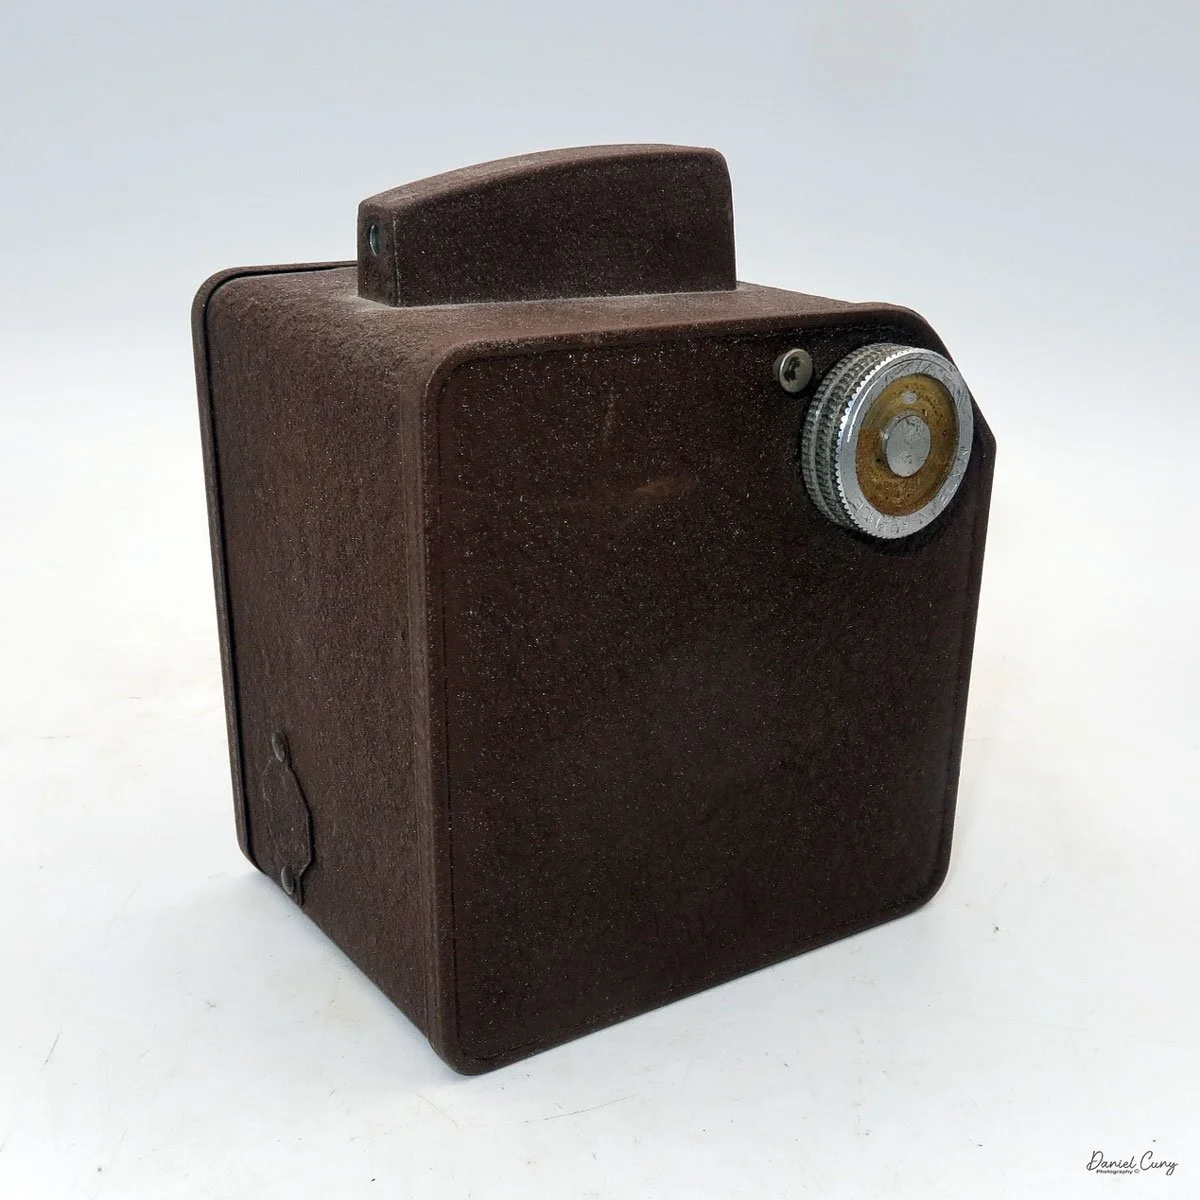
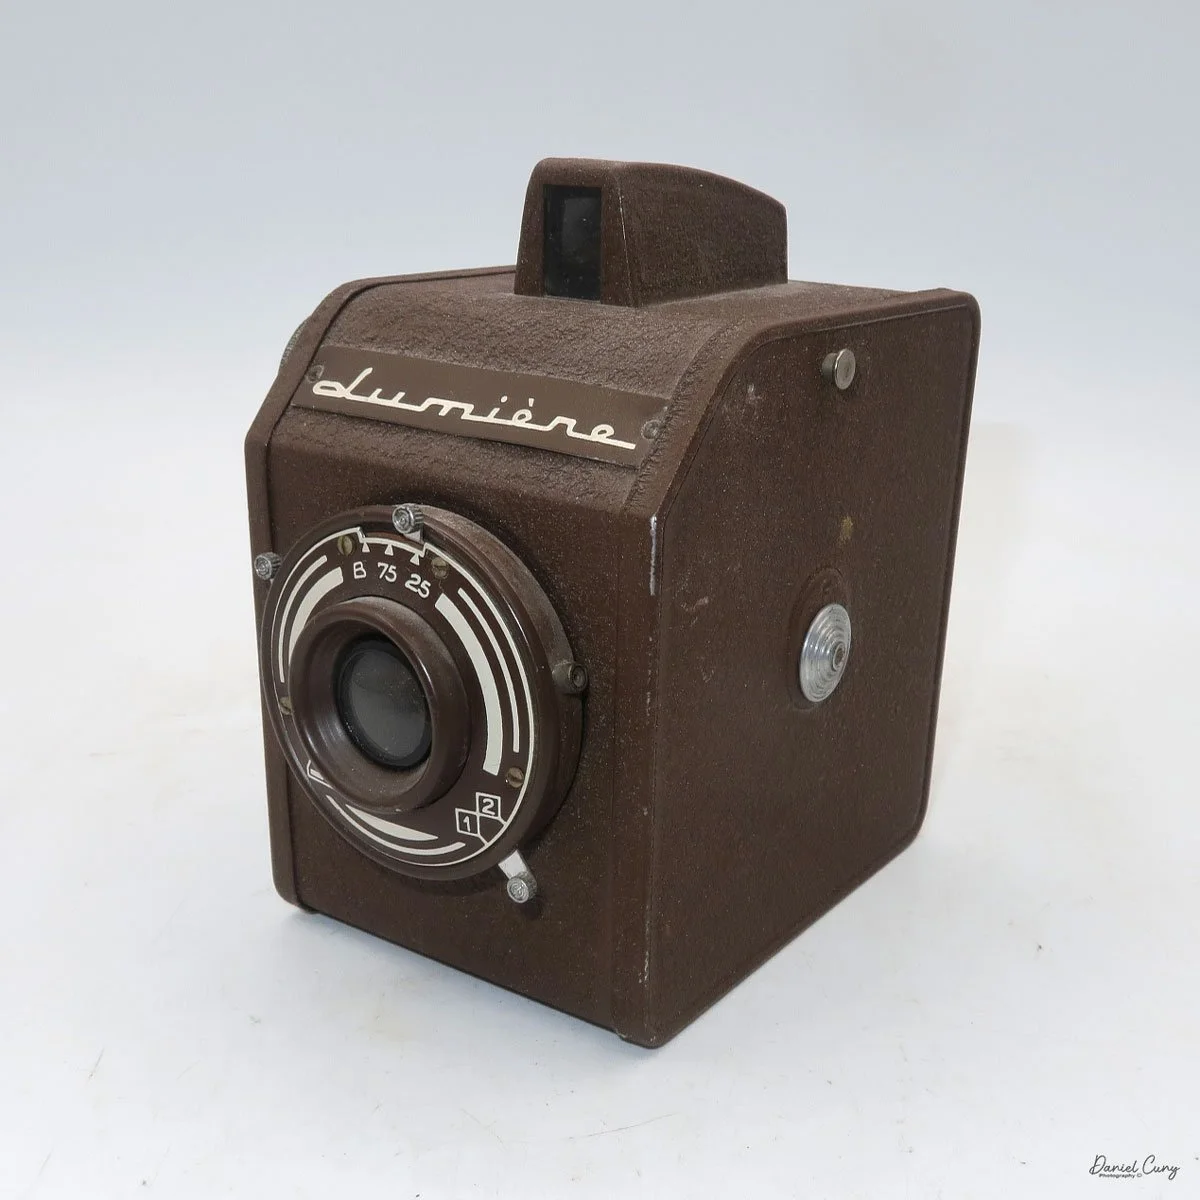
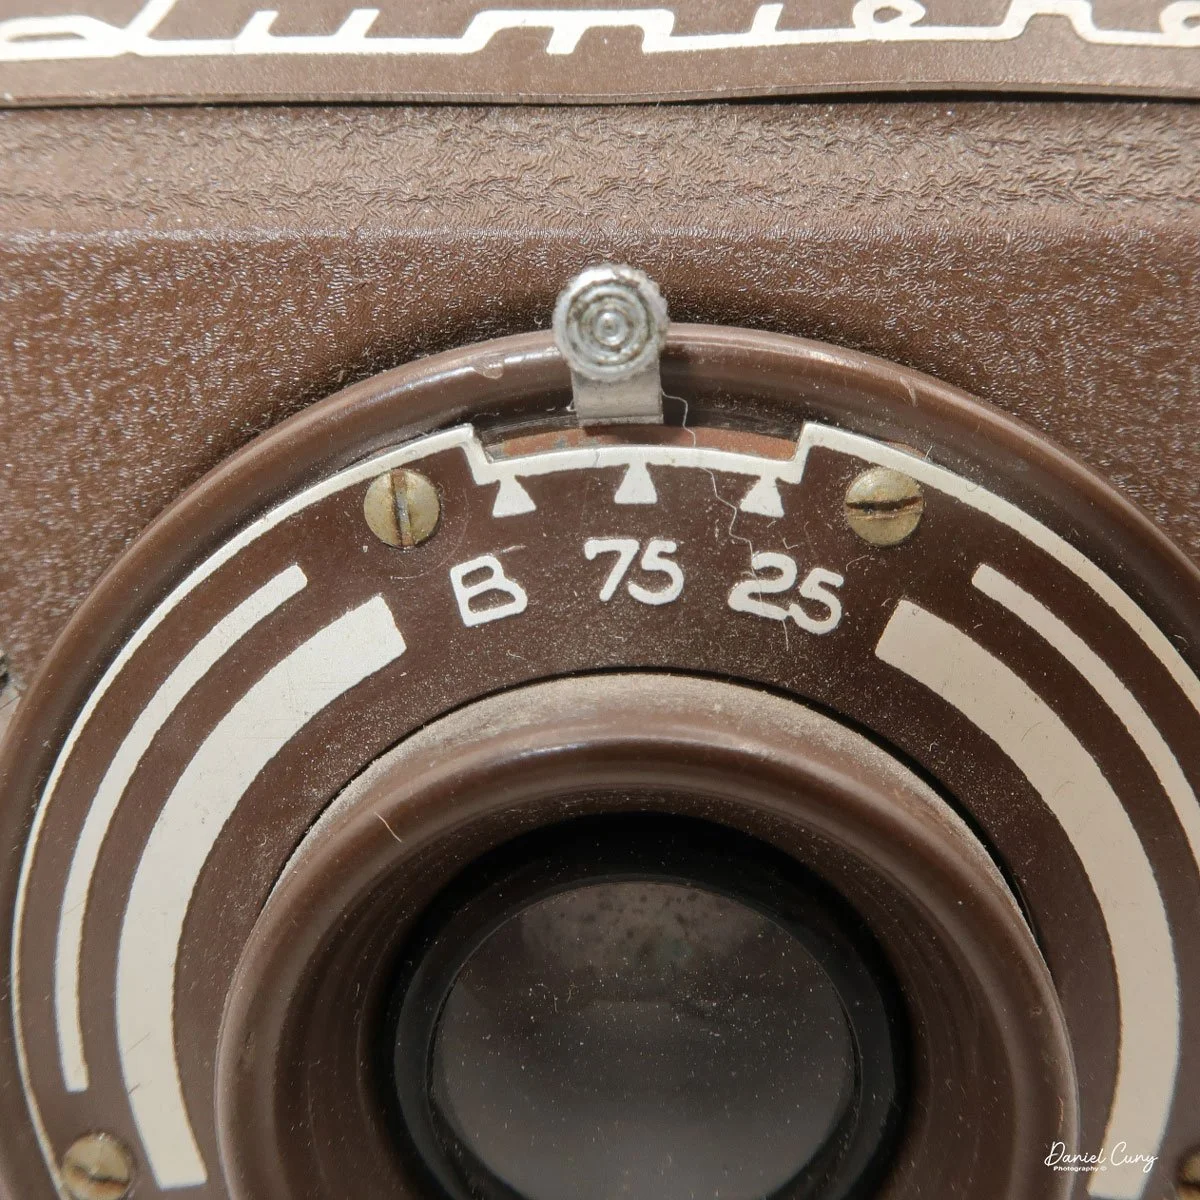
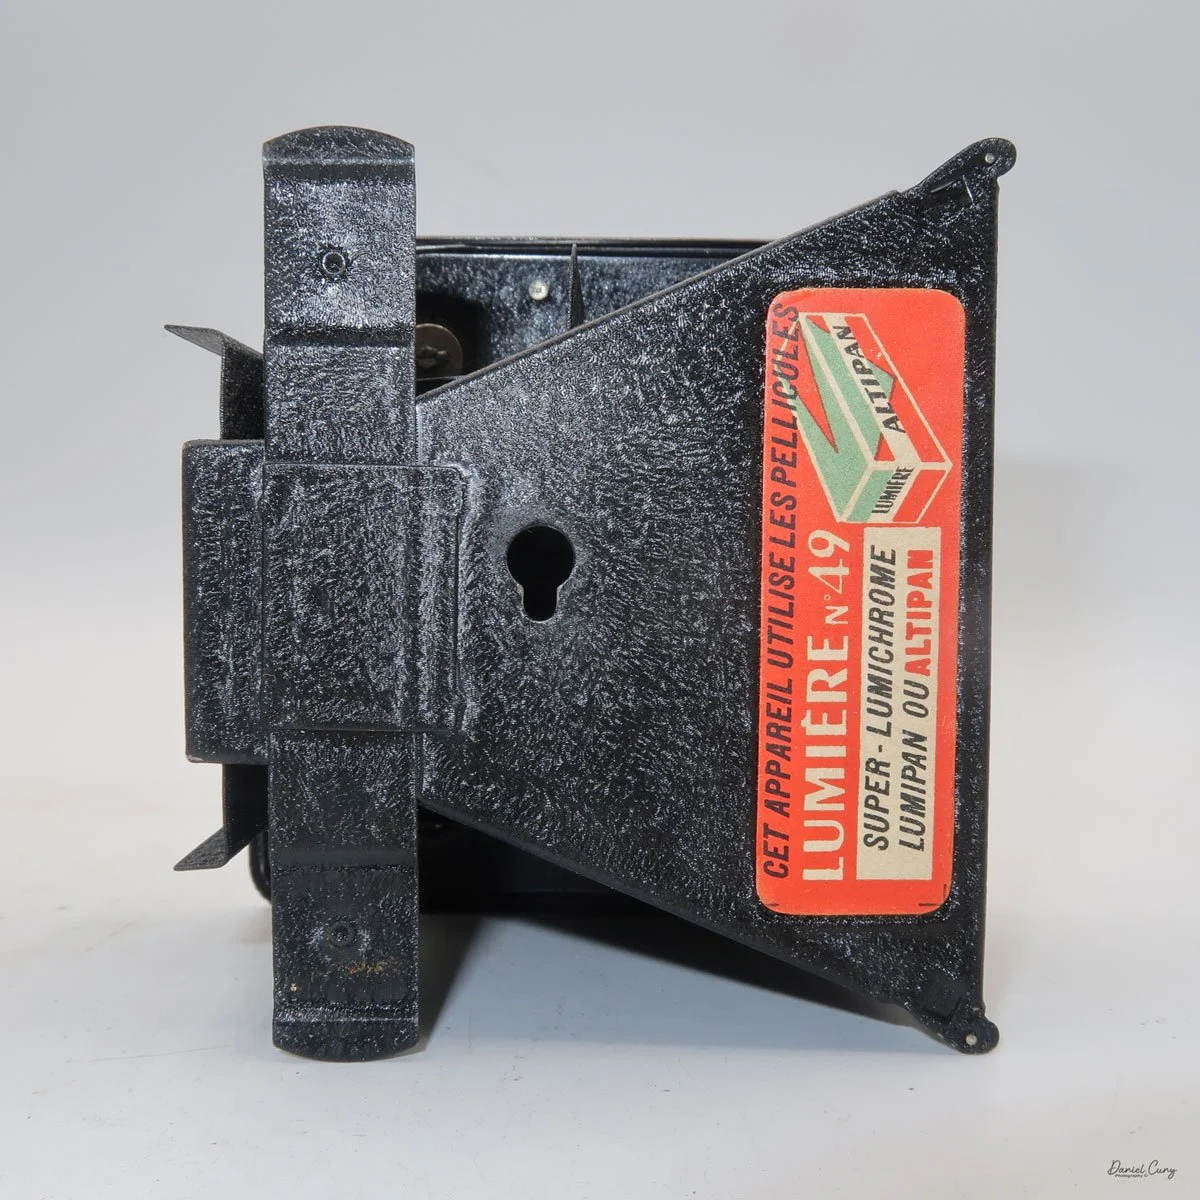
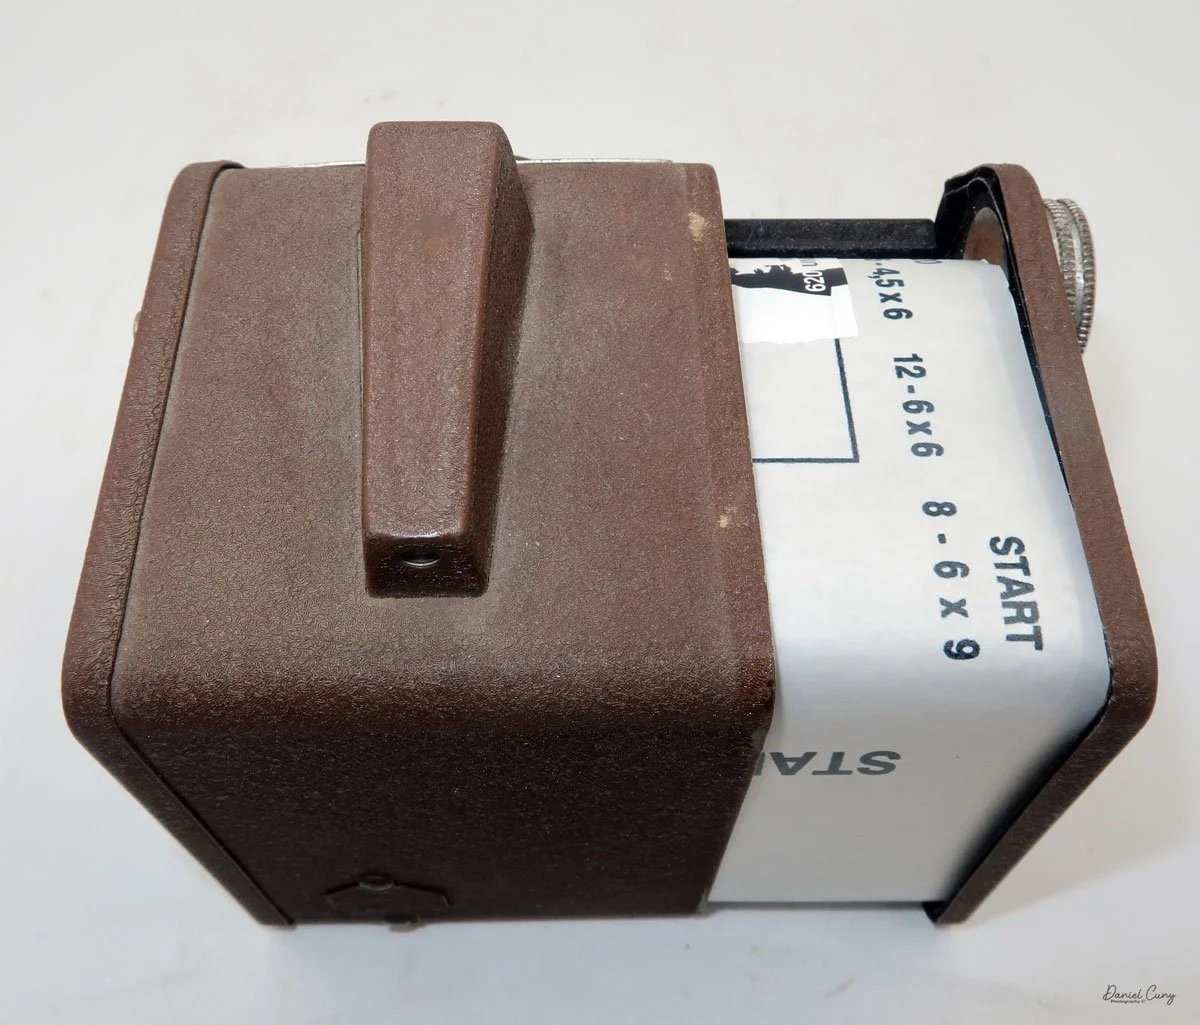
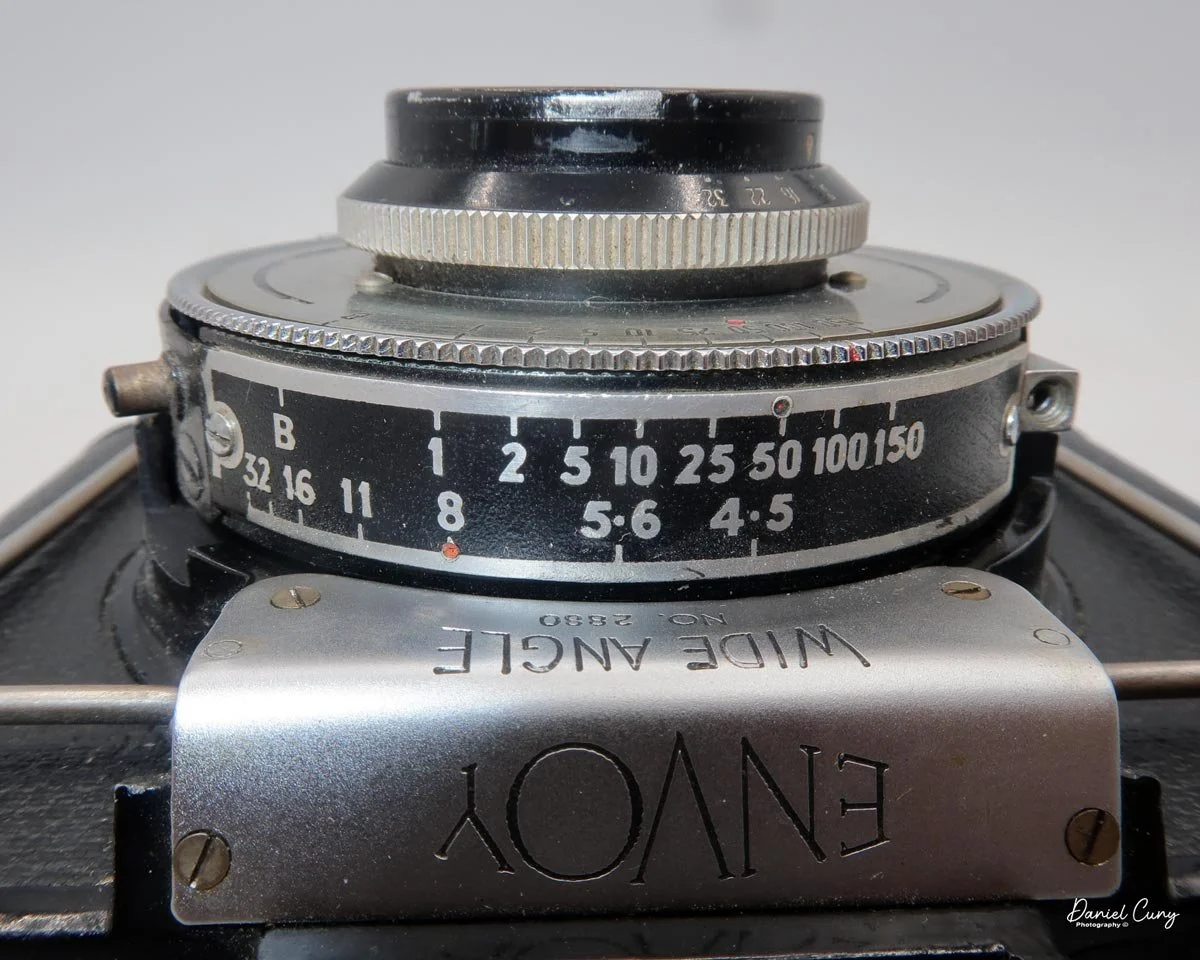
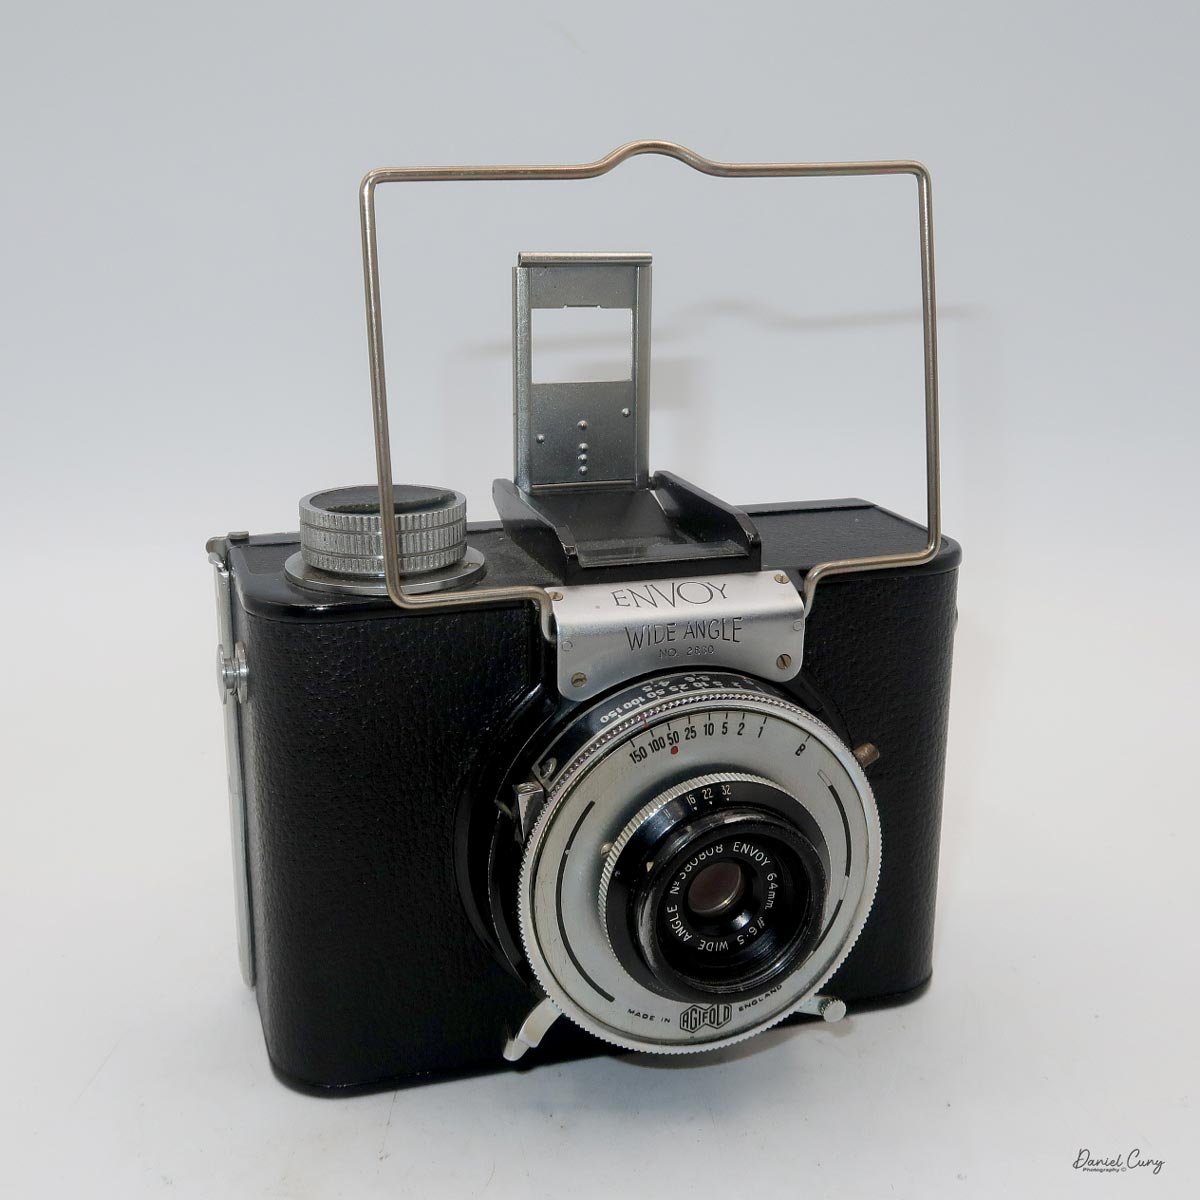
The Envoy Wide Angle is a deceptively simple, very boxy camera that shoots big 6×9 images on either 120 or 620 roll film, or on plates with a removable back. It measures roughly 5 inches wide by about 3.75 inches tall and 3.5 inches deep, and it has the solid, brick‑like feel you’d expect from a mid‑century British box. Controls are straightforward: shutter speeds from about 1/150 to 1 second plus B, set by rotating the ring around the shutter until the red dot aligns with your chosen speed.
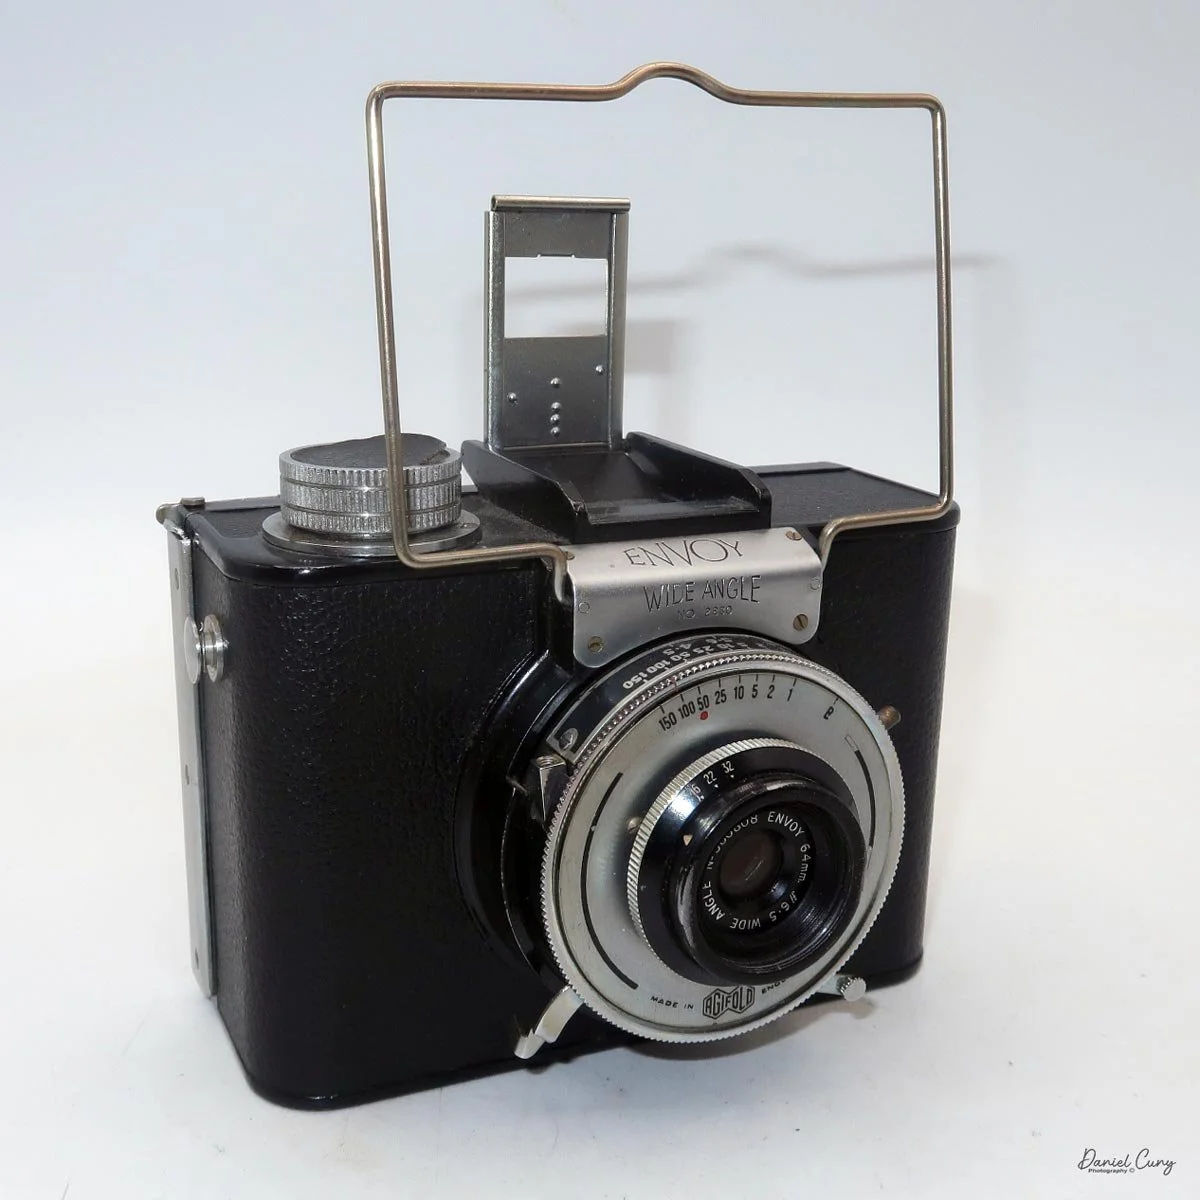
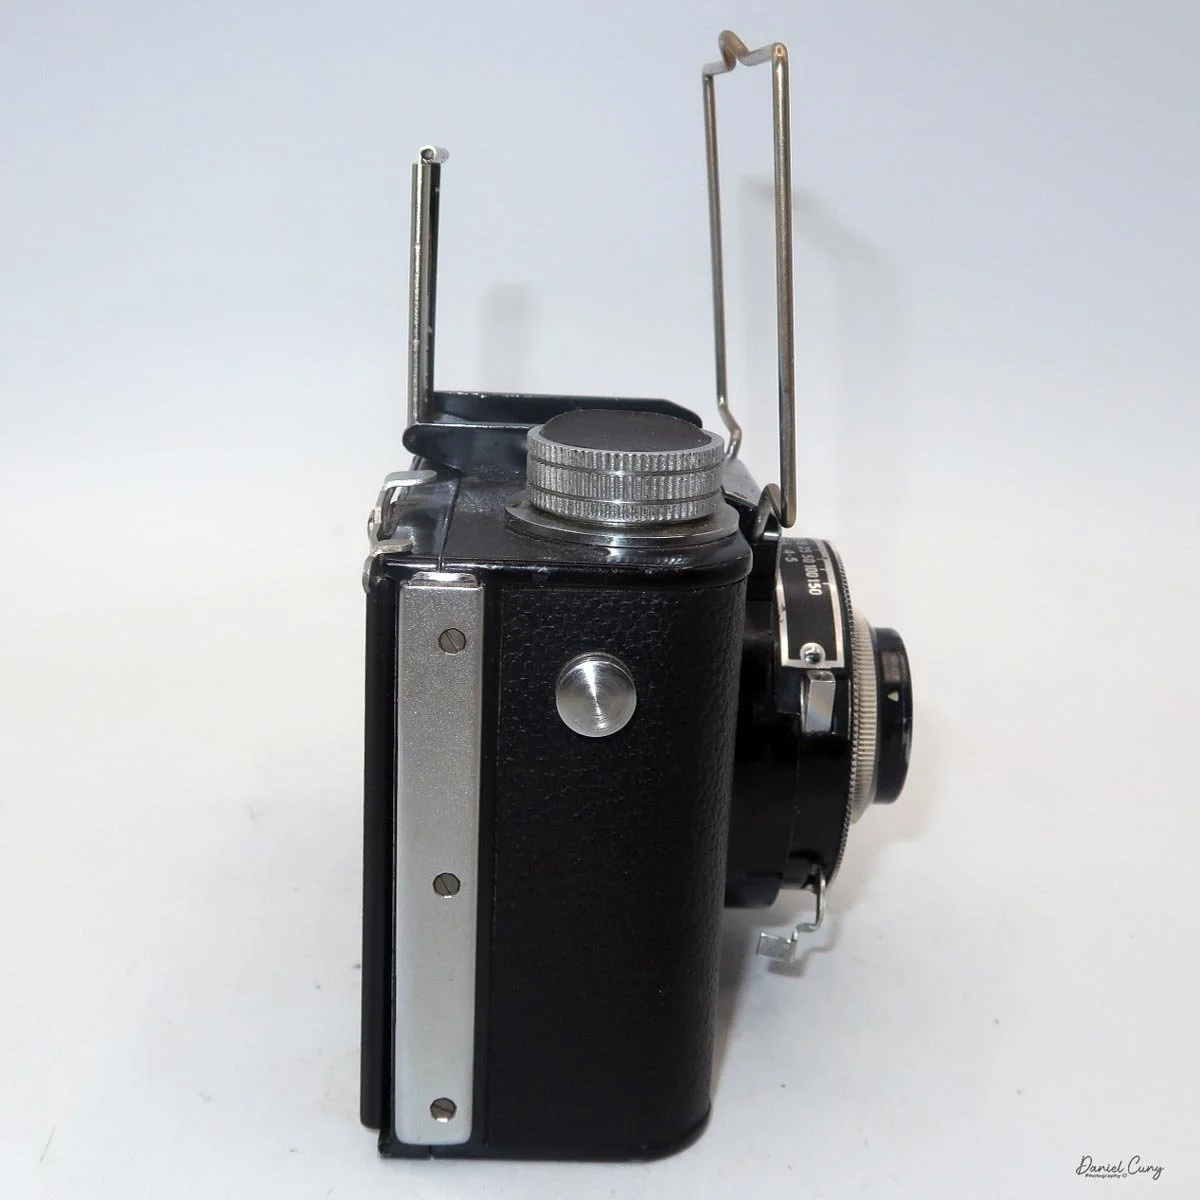

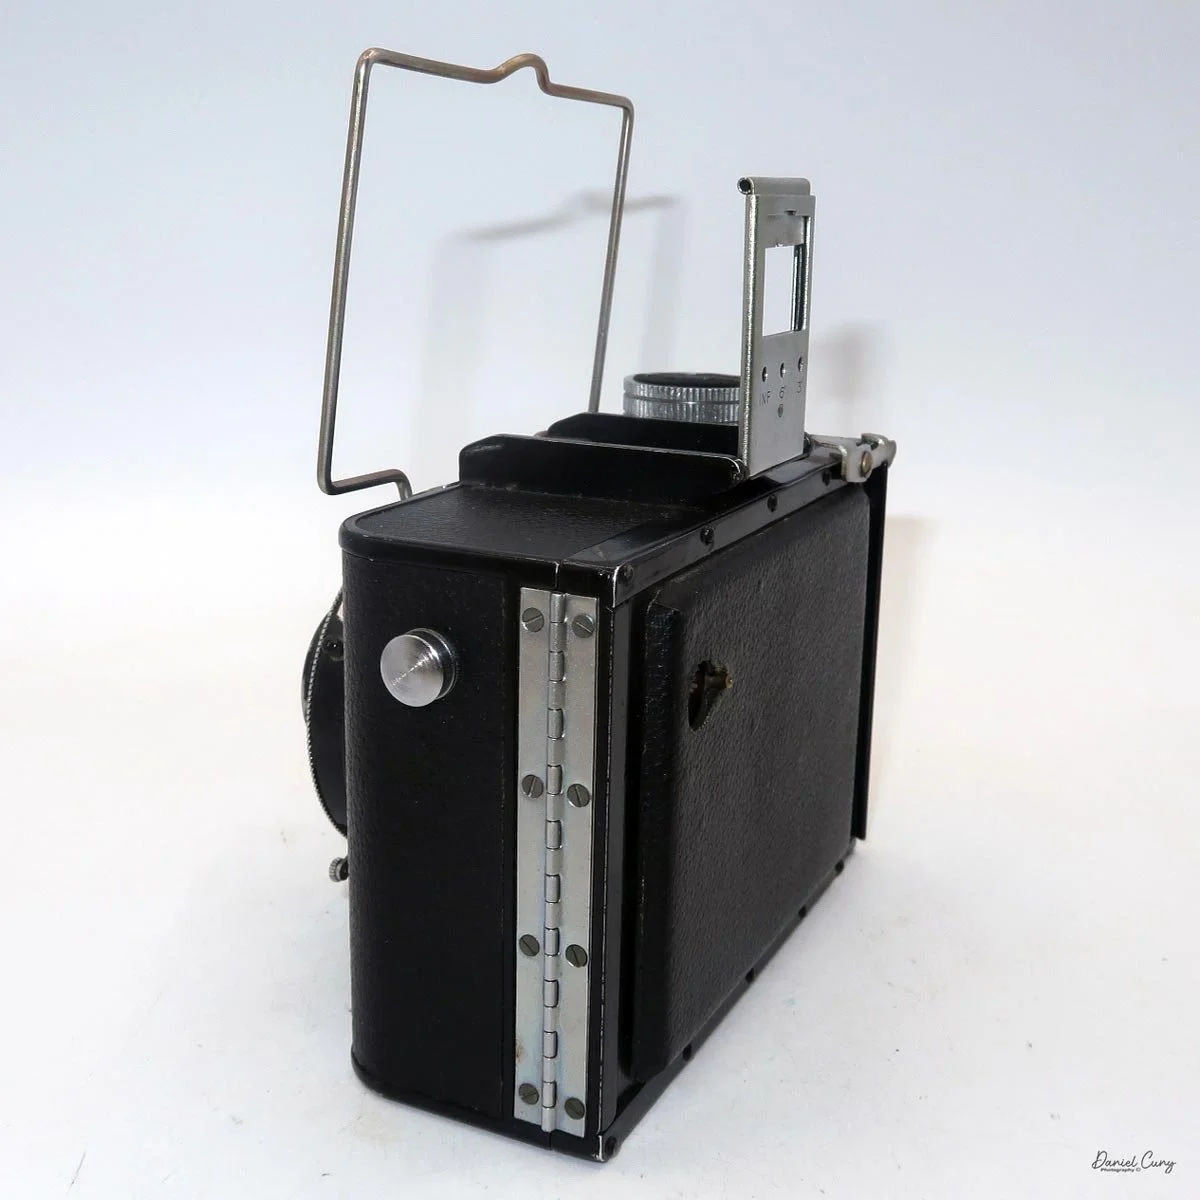

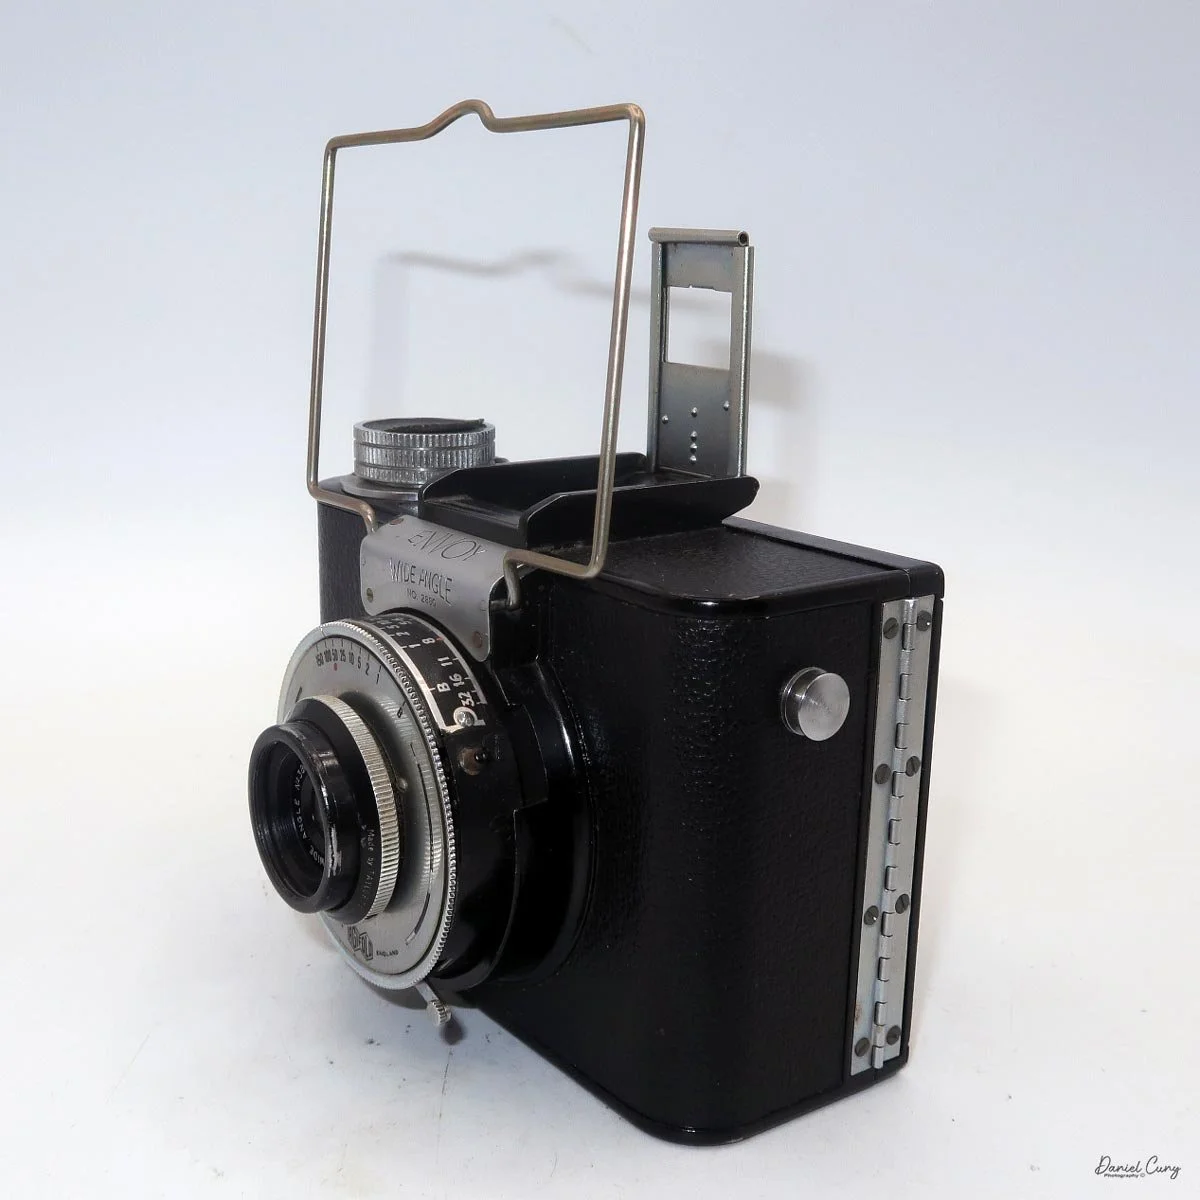
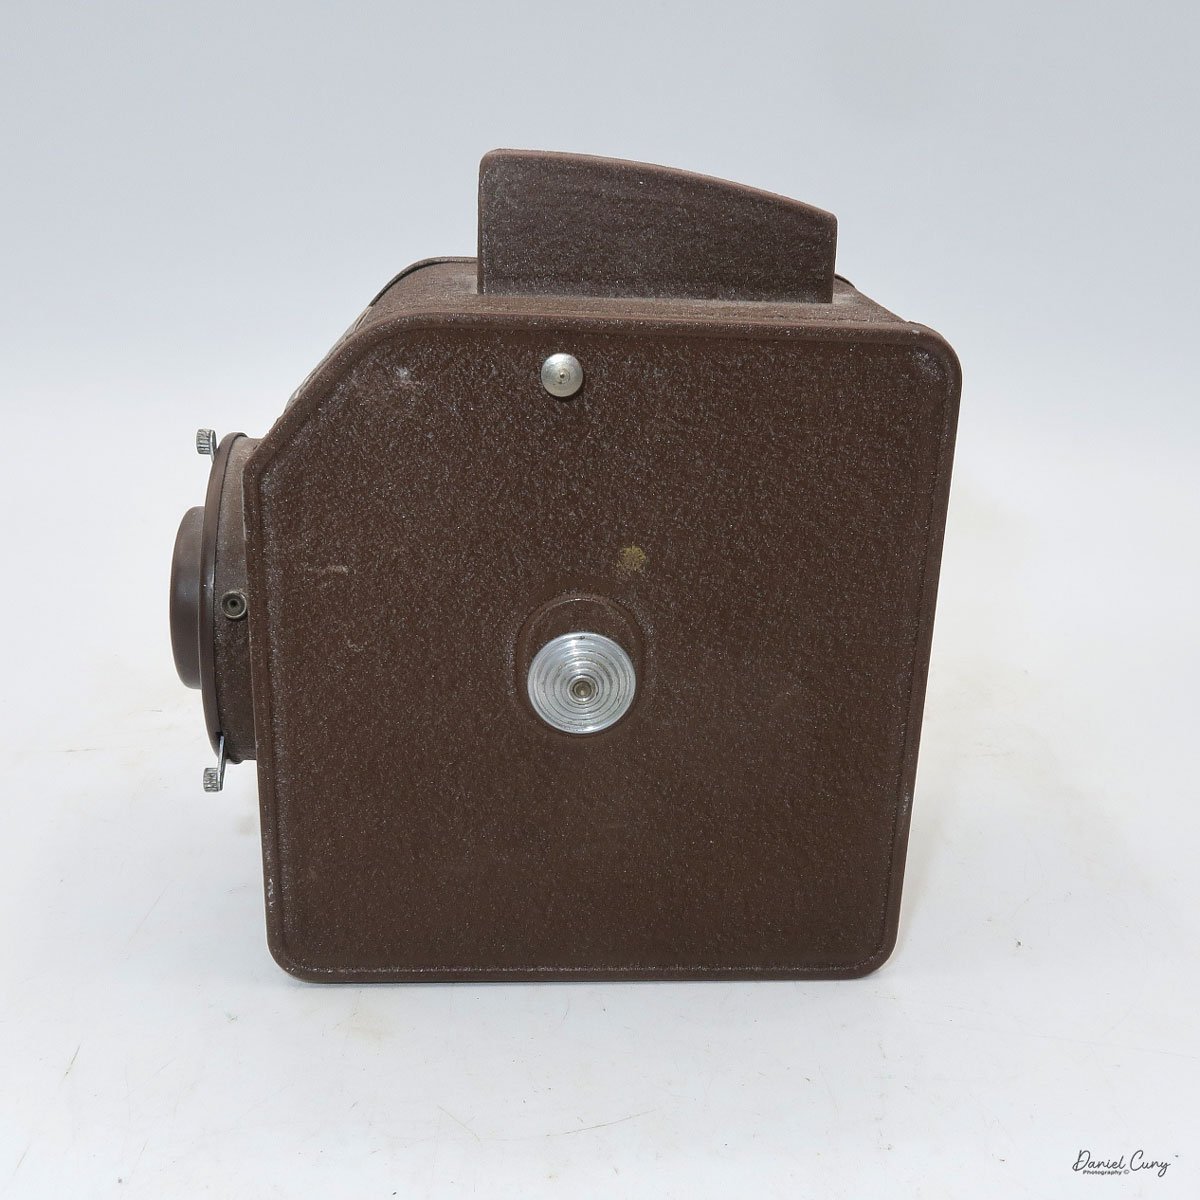
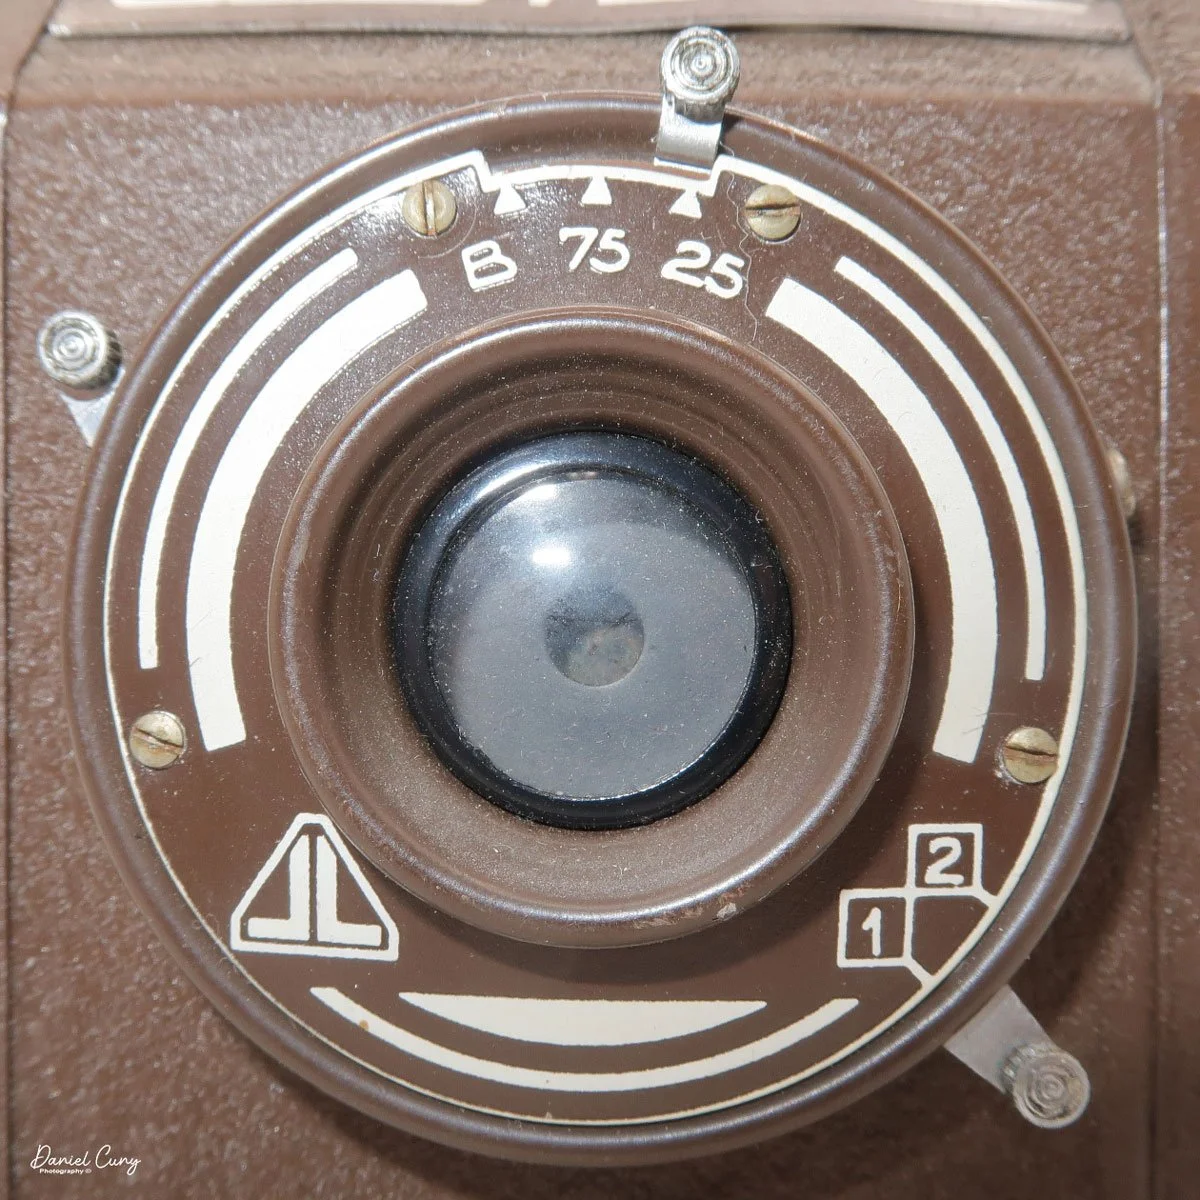
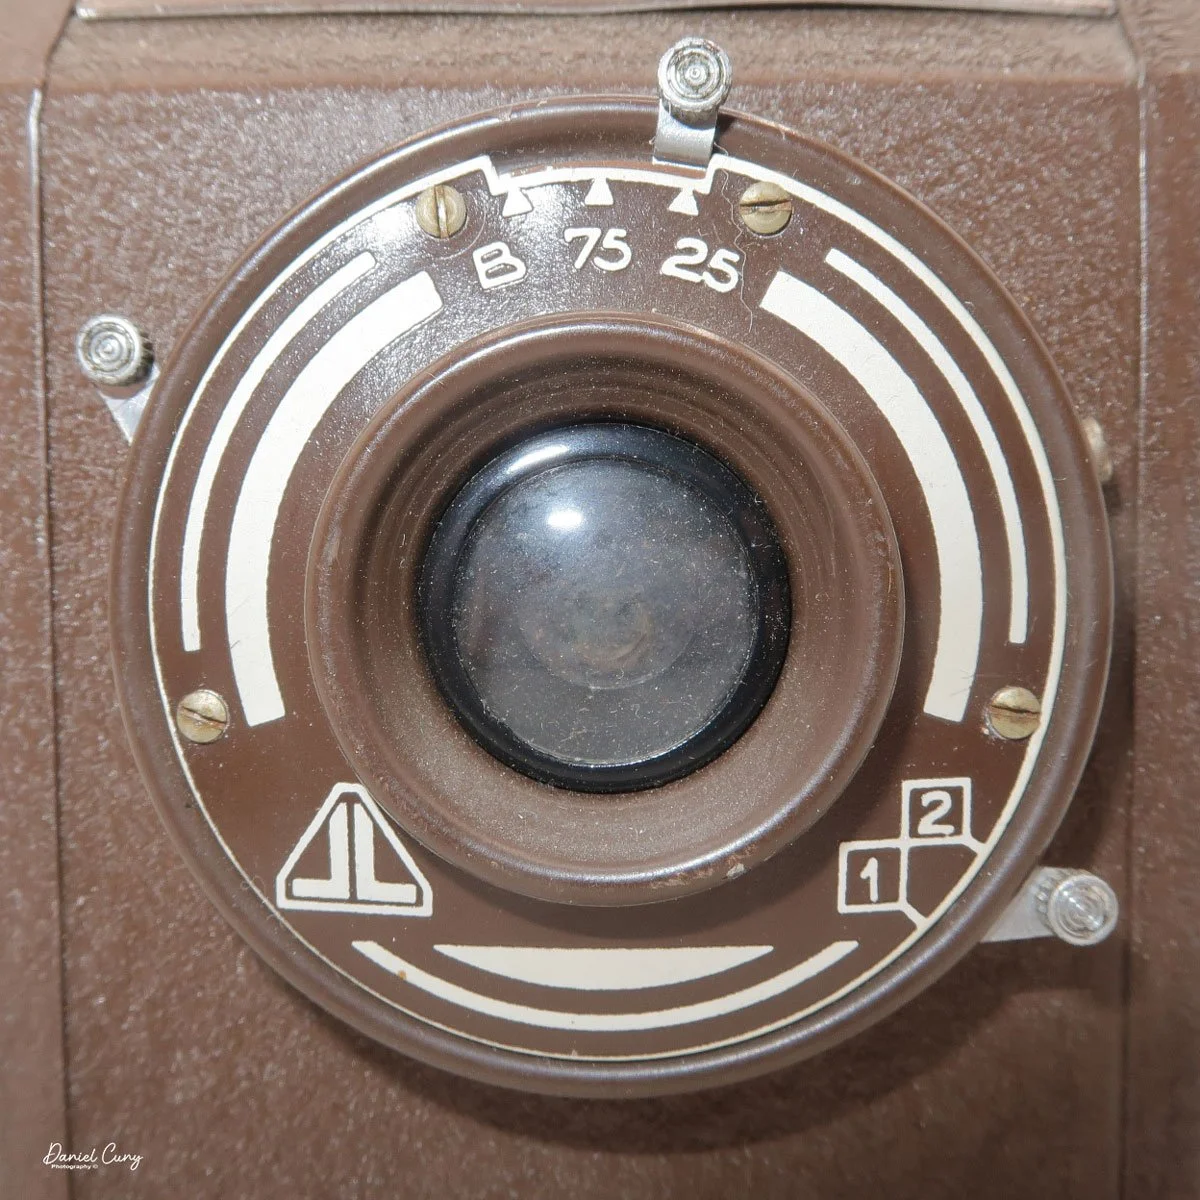
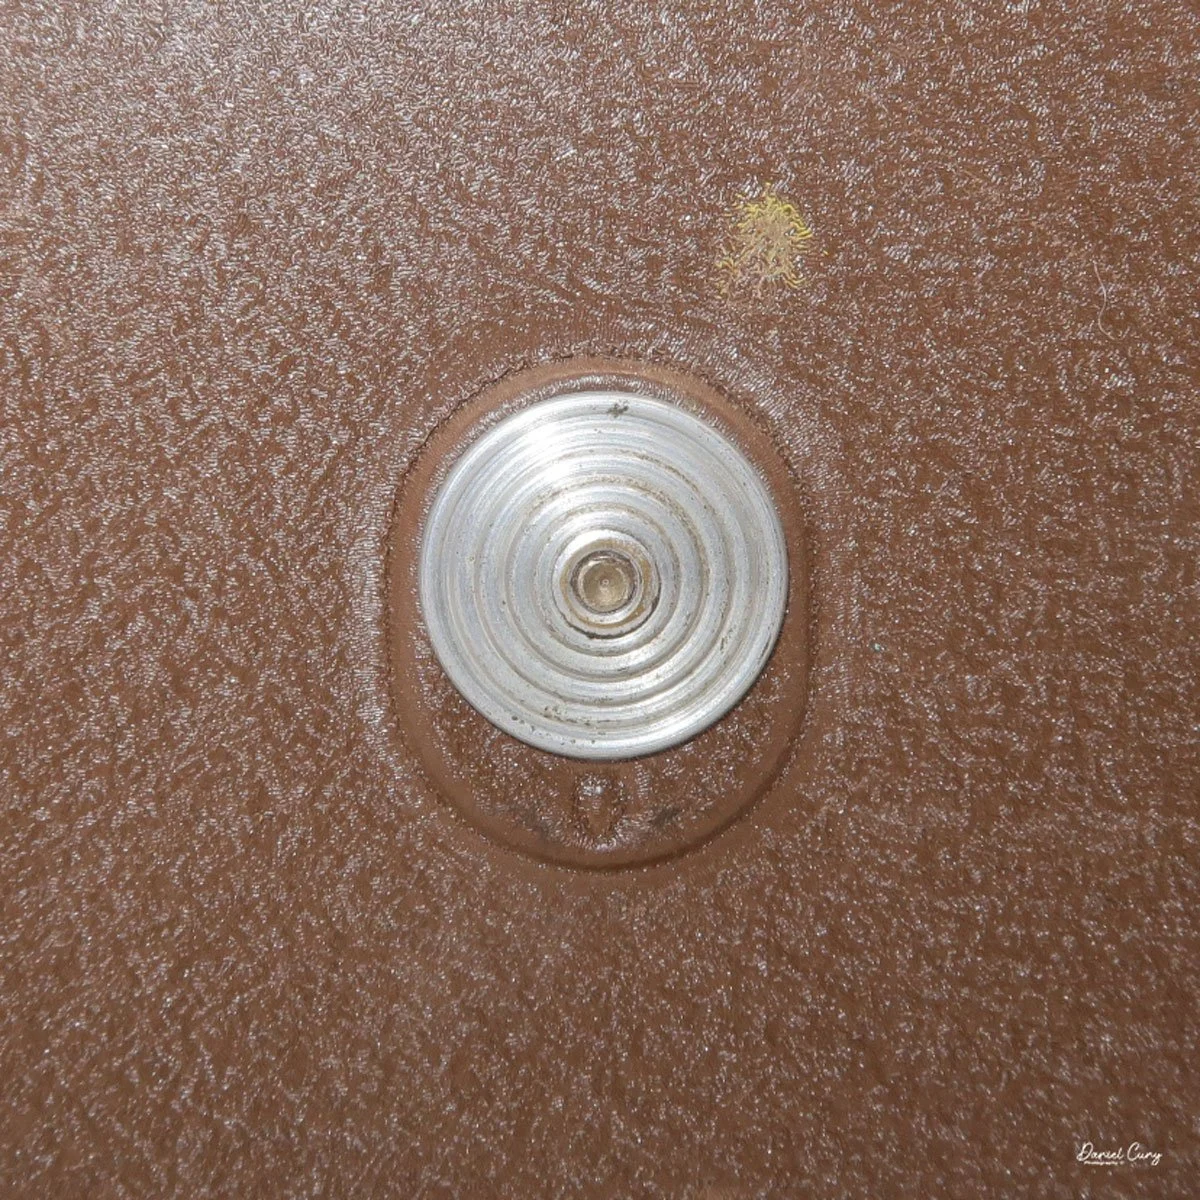
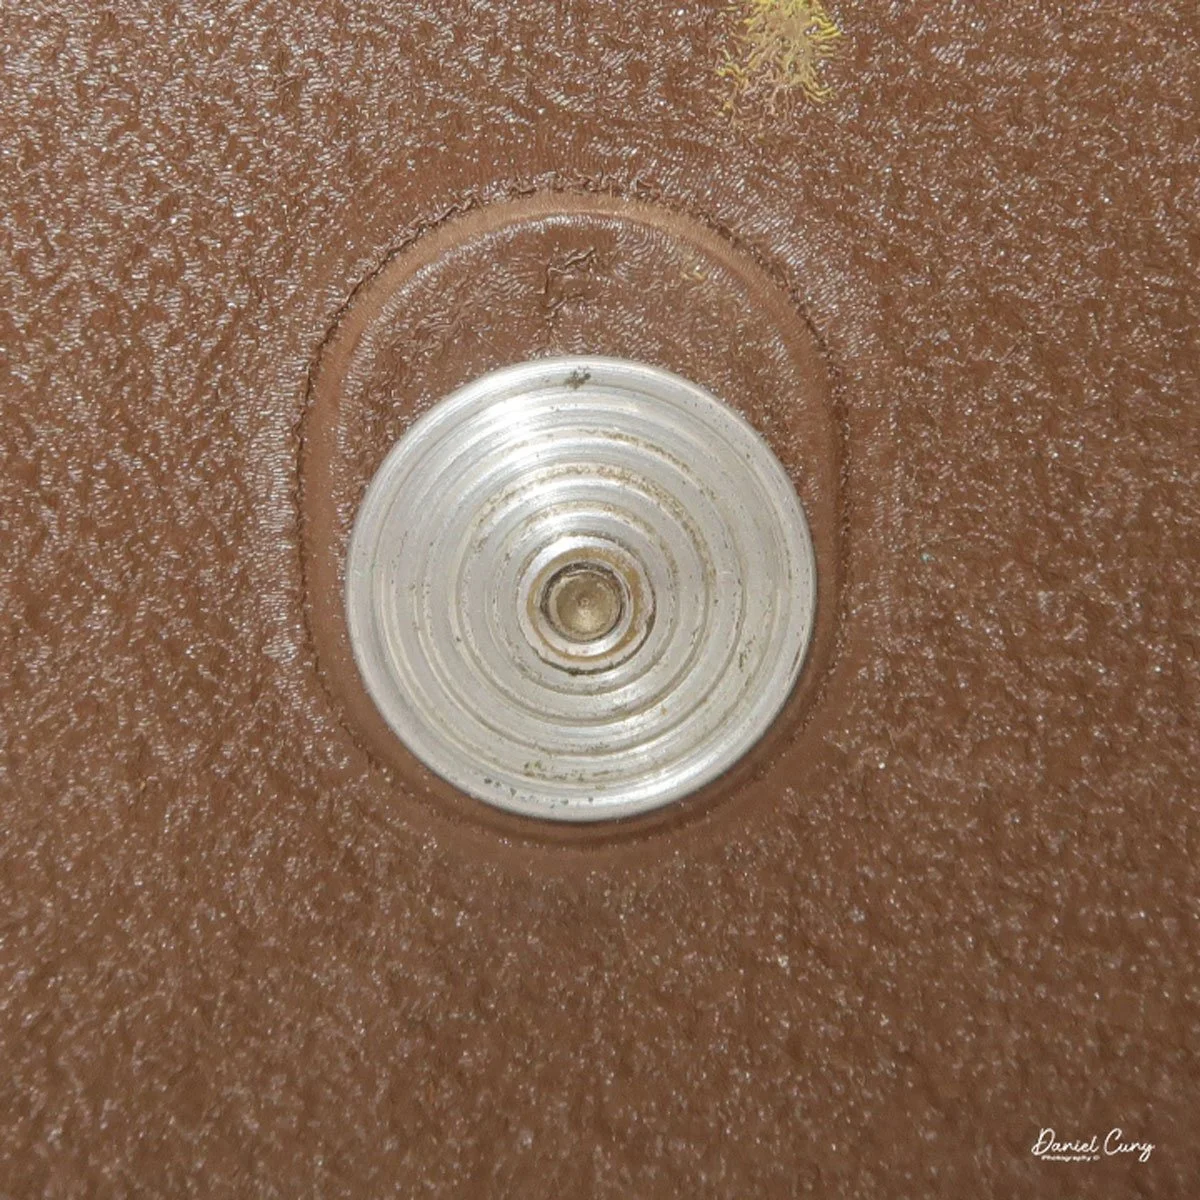
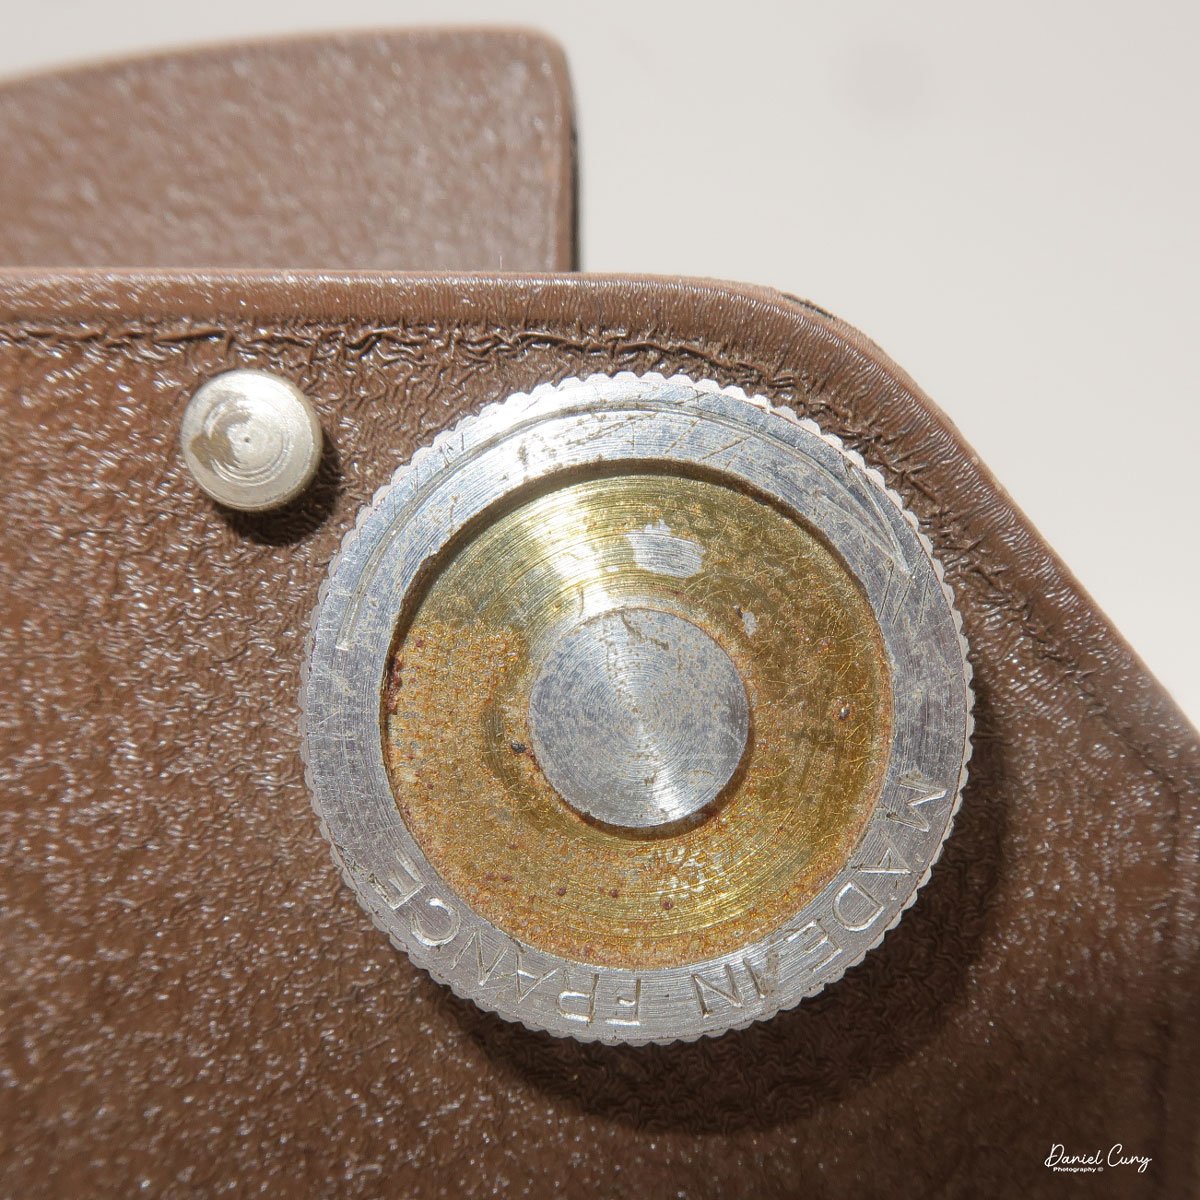
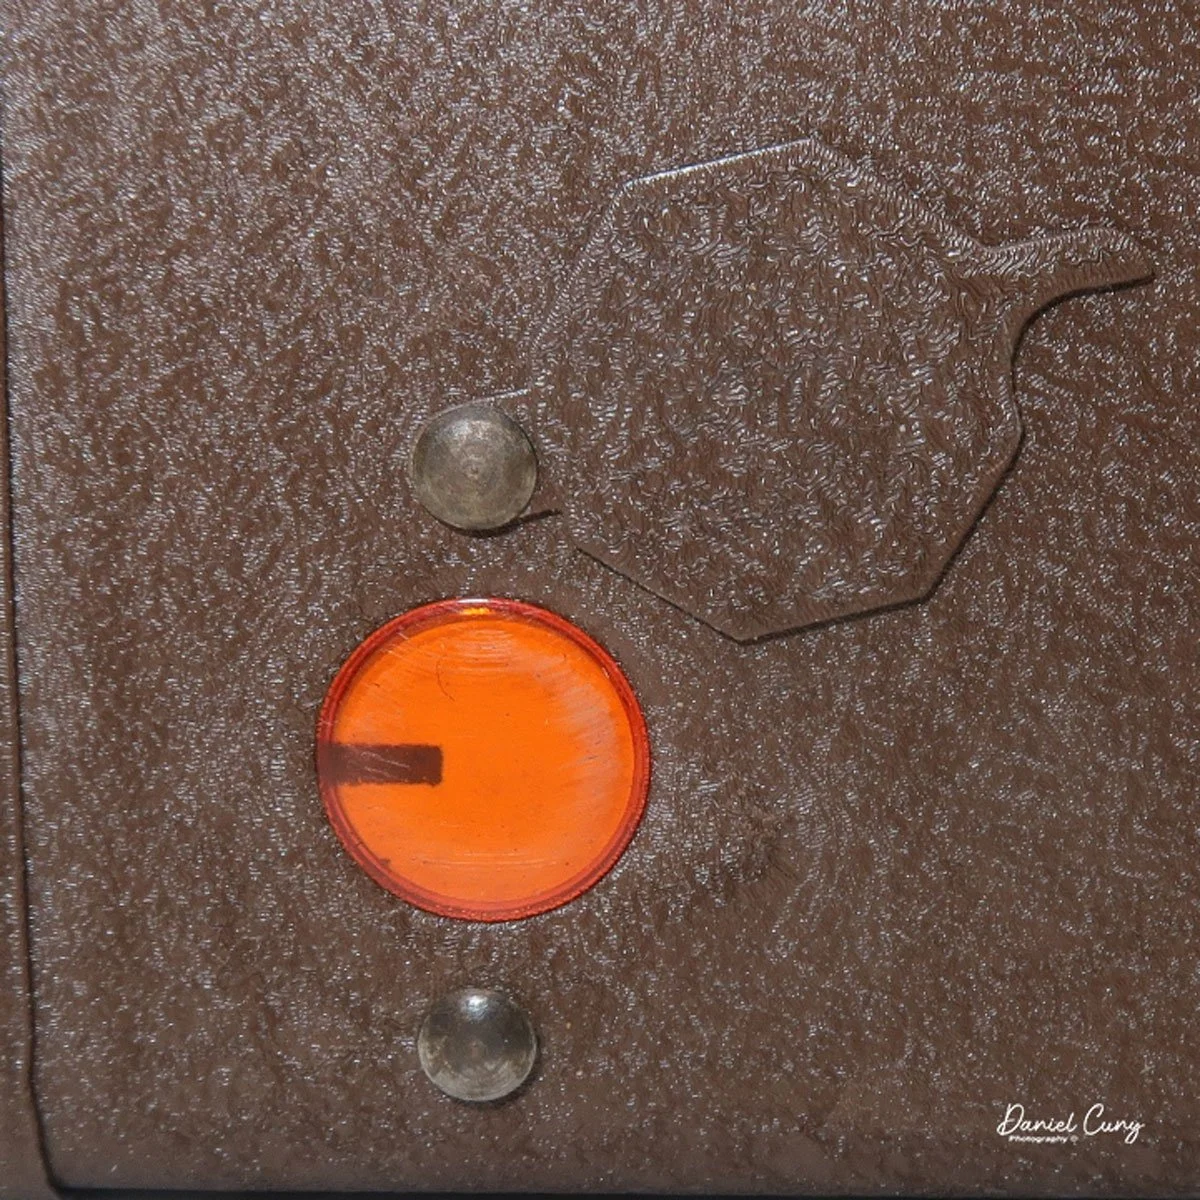
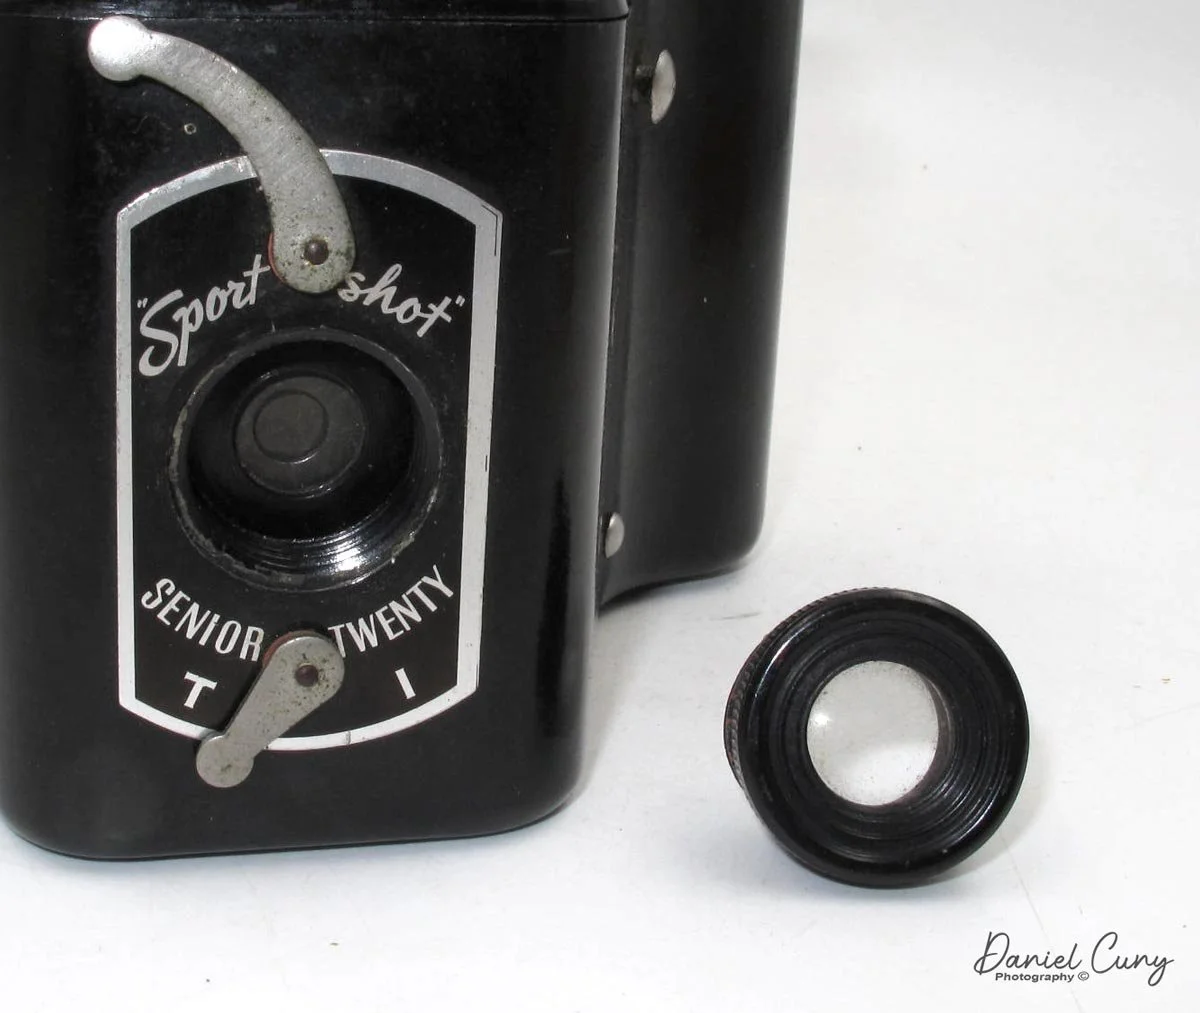
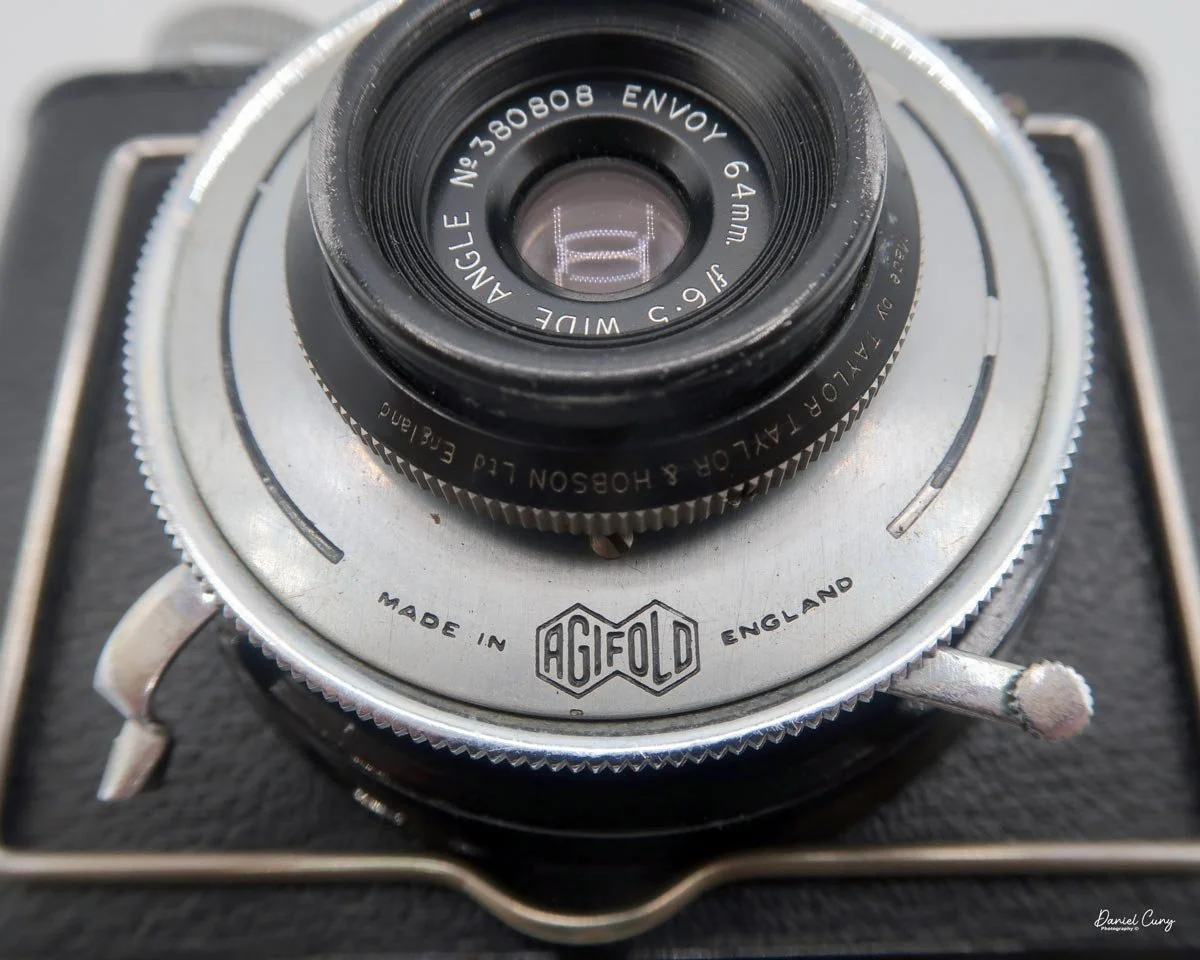
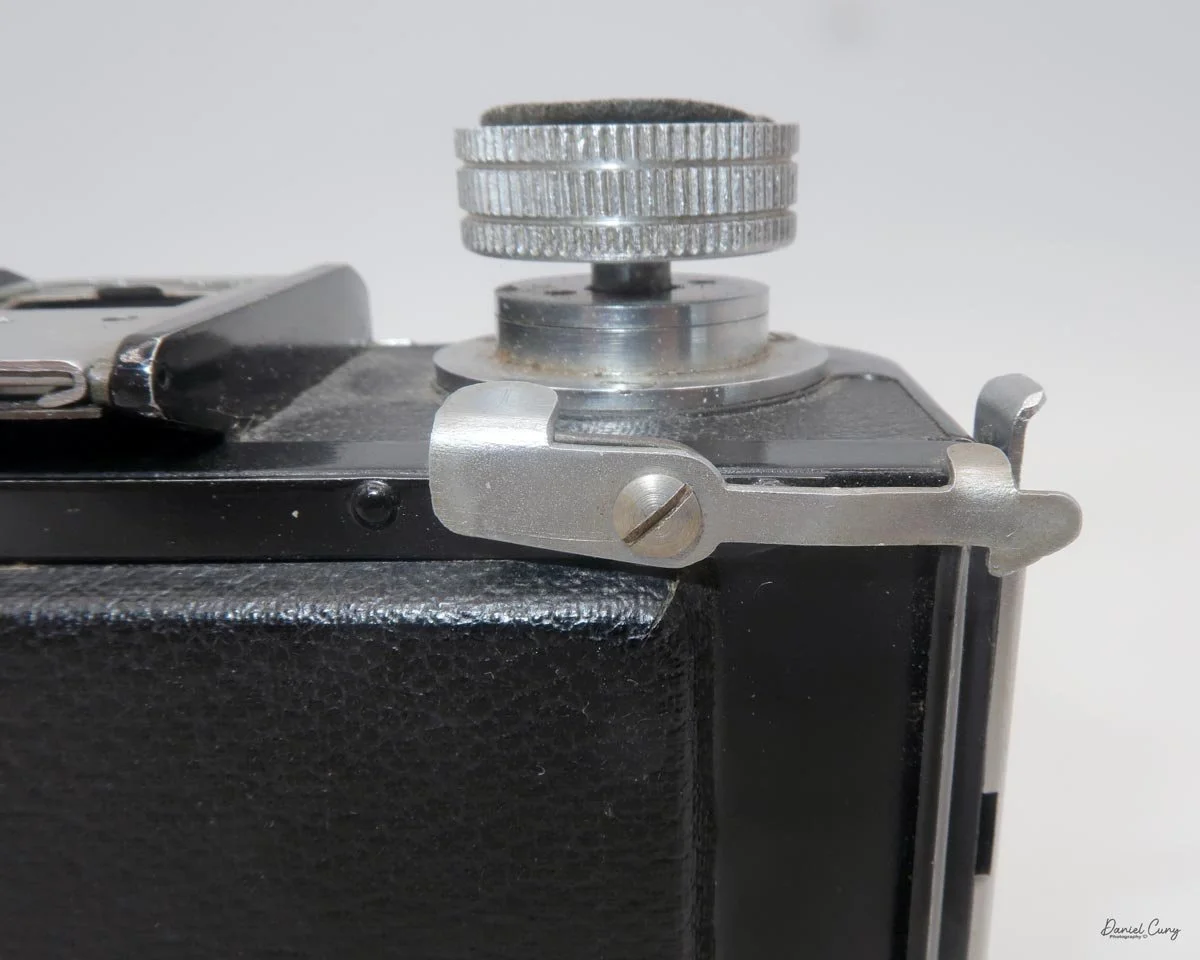
On my example, the shutter unit is from Agilux (Agifold), who also produced their own cameras in the late 1940s and 1950s. The cocking lever sits around the 5 o’clock position on the front, while the shutter release is down at about 7 o’clock. It’s not an ergonomic marvel by modern standards, but after a couple of frames your fingers know where to go.
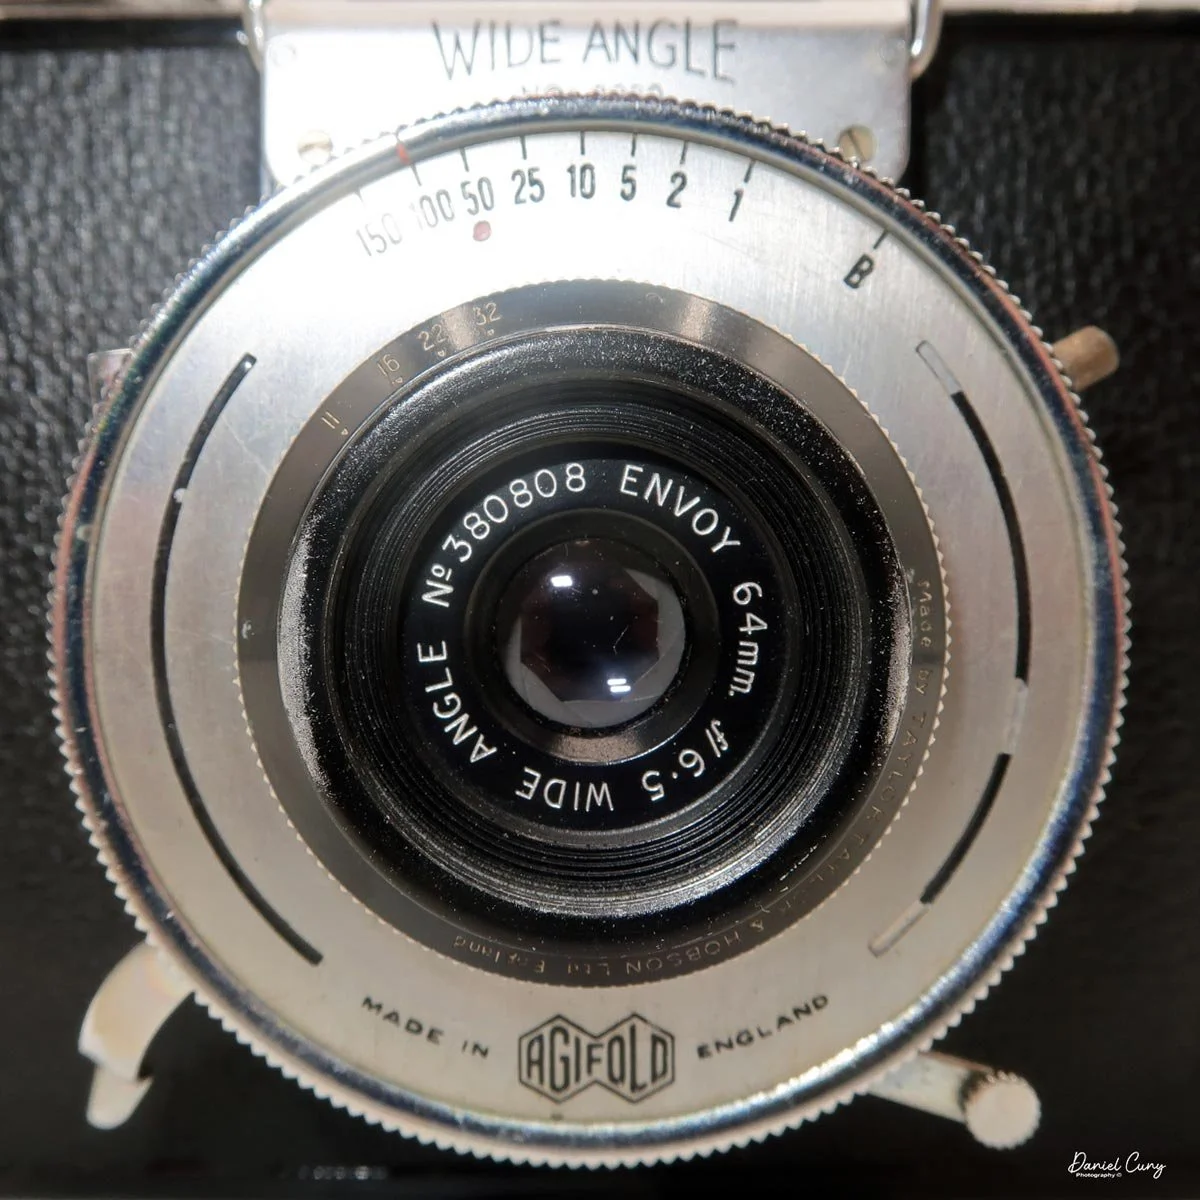
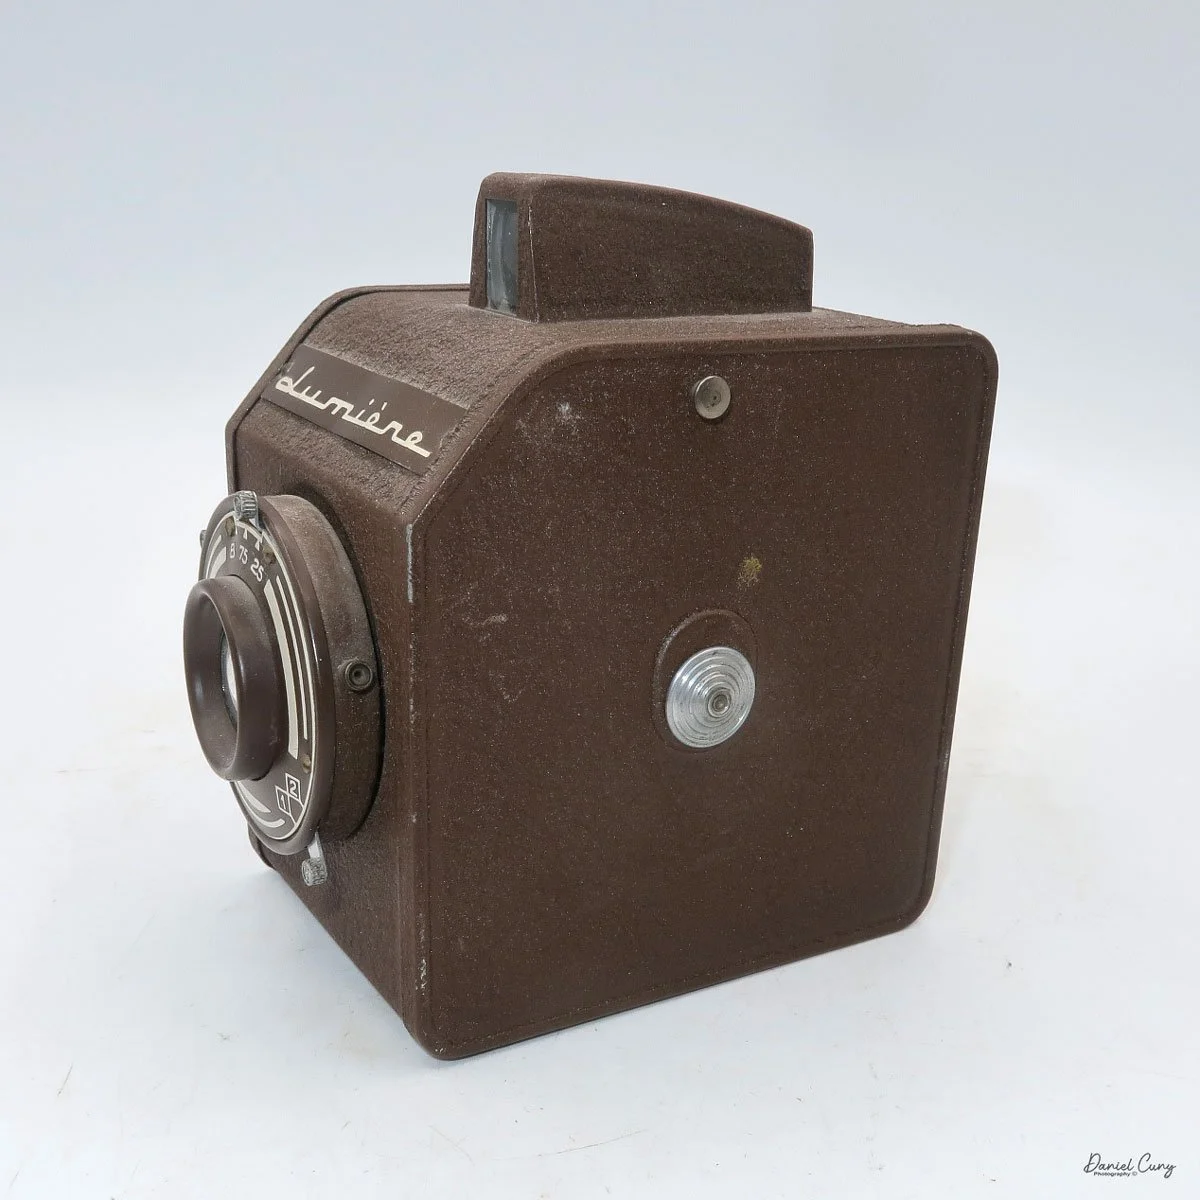
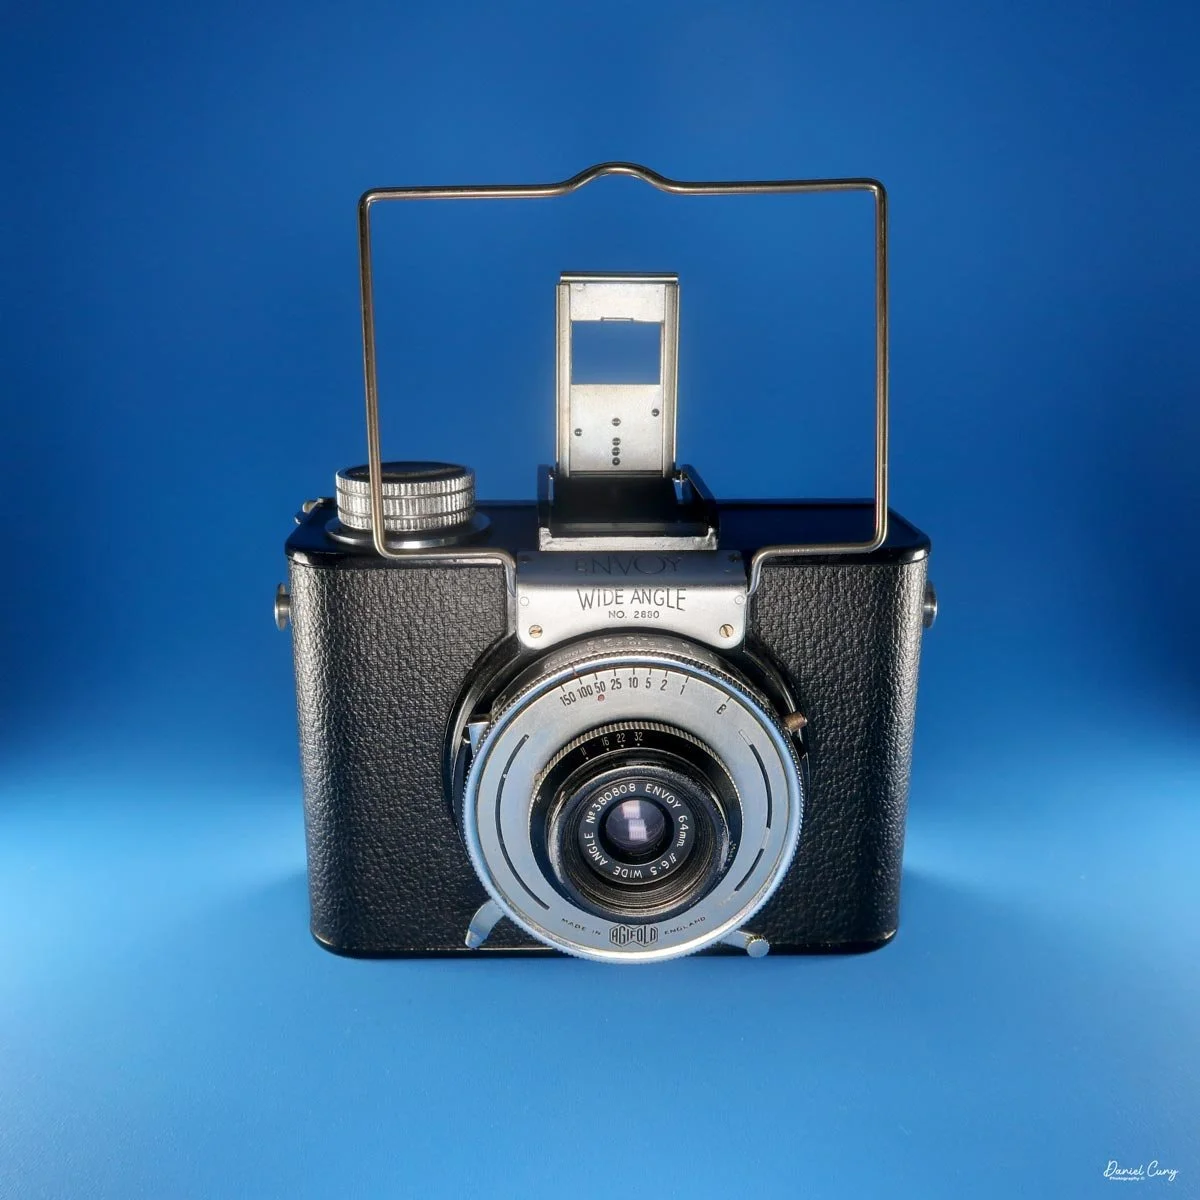
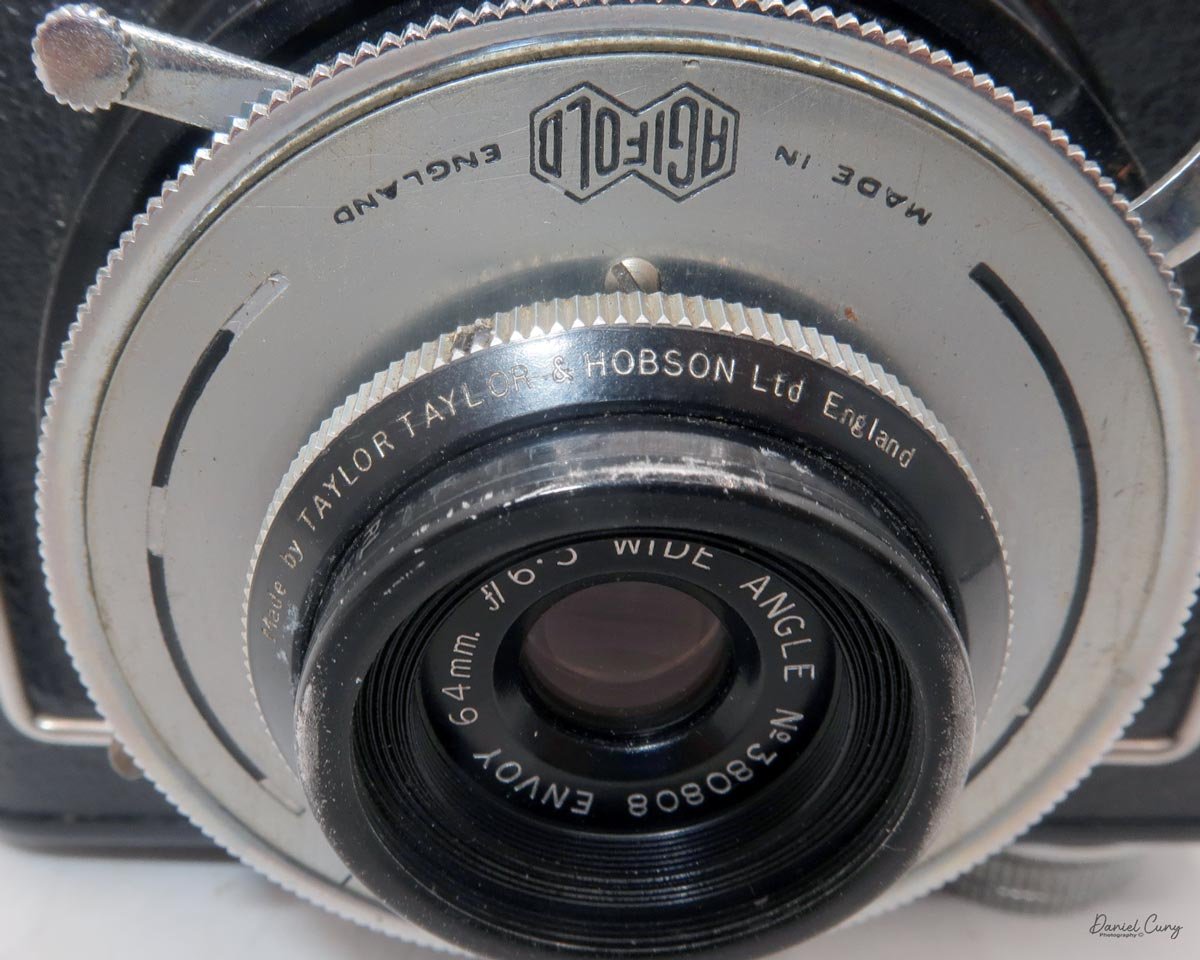
The Envoy’s party trick is the lens: a 64mm f/6.5 Taylor, Taylor & Hobson wide‑angle, a 4‑element design covering an angle of about 82 degrees, roughly equivalent to a 25–28mm lens on 35mm. For what is otherwise a plain, fixed‑focus box, that’s an unusually ambitious piece of glass. Held level, distortion is minimal, and the lens has a reputation for being impressively sharp, especially stopped down.
Although the lens opens to f/6.5, the manual is clear that this full opening is only for focusing on the optional ground‑glass screen when using plates. In normal use on roll film, the working apertures start at about f/11 and go down to f/32; f/16 will satisfy most situations, and f/22 is where the lens is said to give its best coverage and performance. There is no focusing mechanism at all—sharpness comes purely from depth of field, with approximate ranges as follows:
f/11: 10 ft to 60 ft
f/16: 6 ft to 400 ft
f/22: 4 ft to infinity
f/32: 30 in to infinity
In other words, once you’ve set a sensible aperture for the light, the Envoy behaves like a very refined point‑and‑shoot: you concentrate on framing, and the lens quietly takes care of focus.
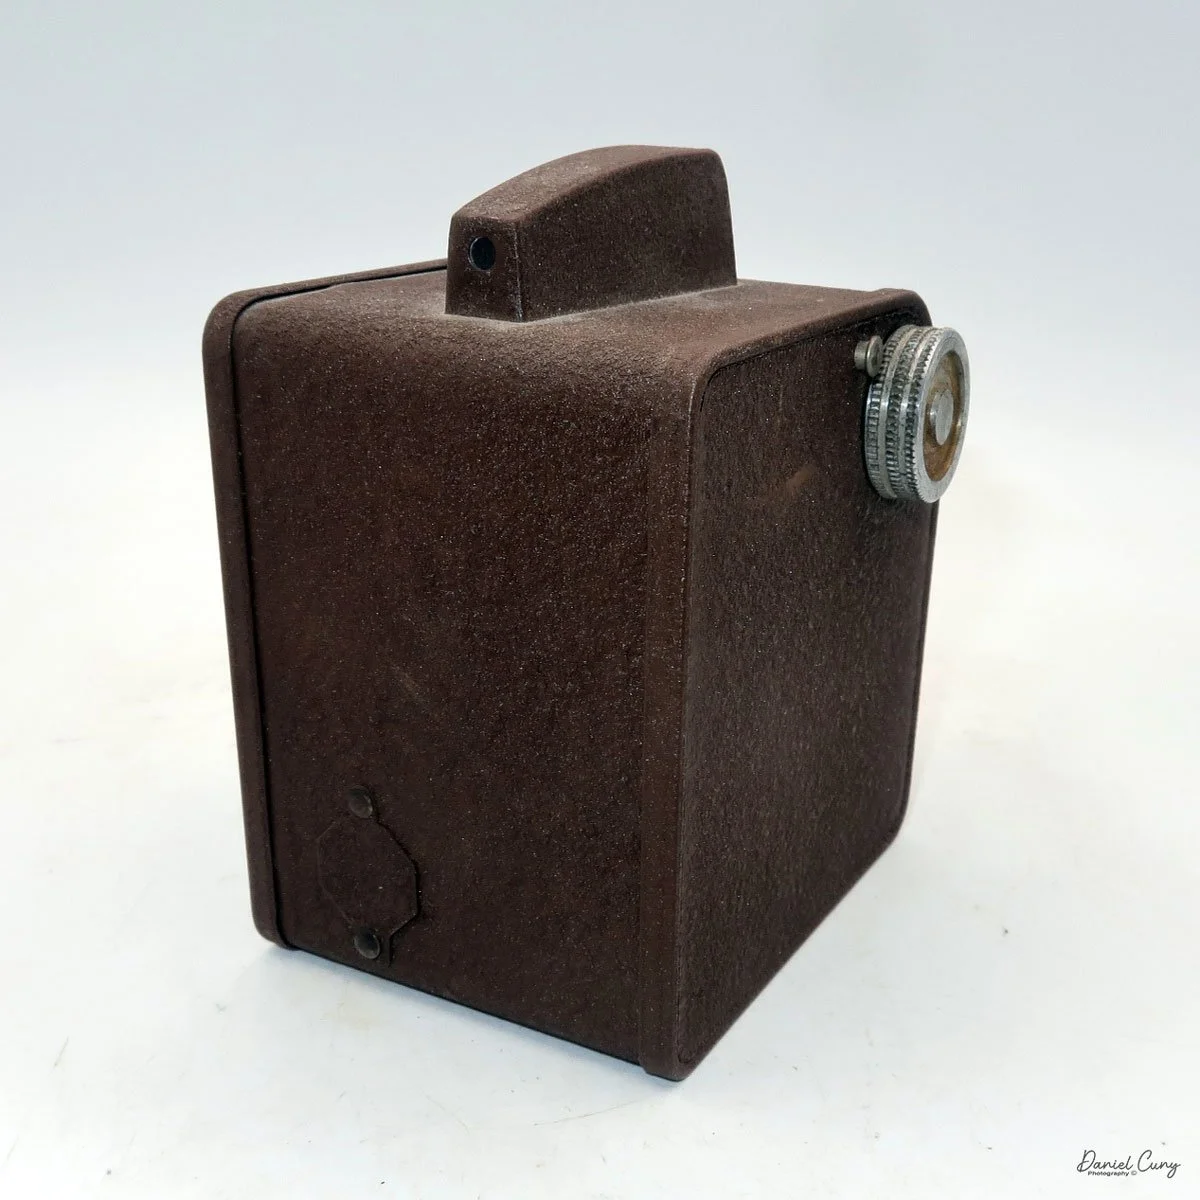
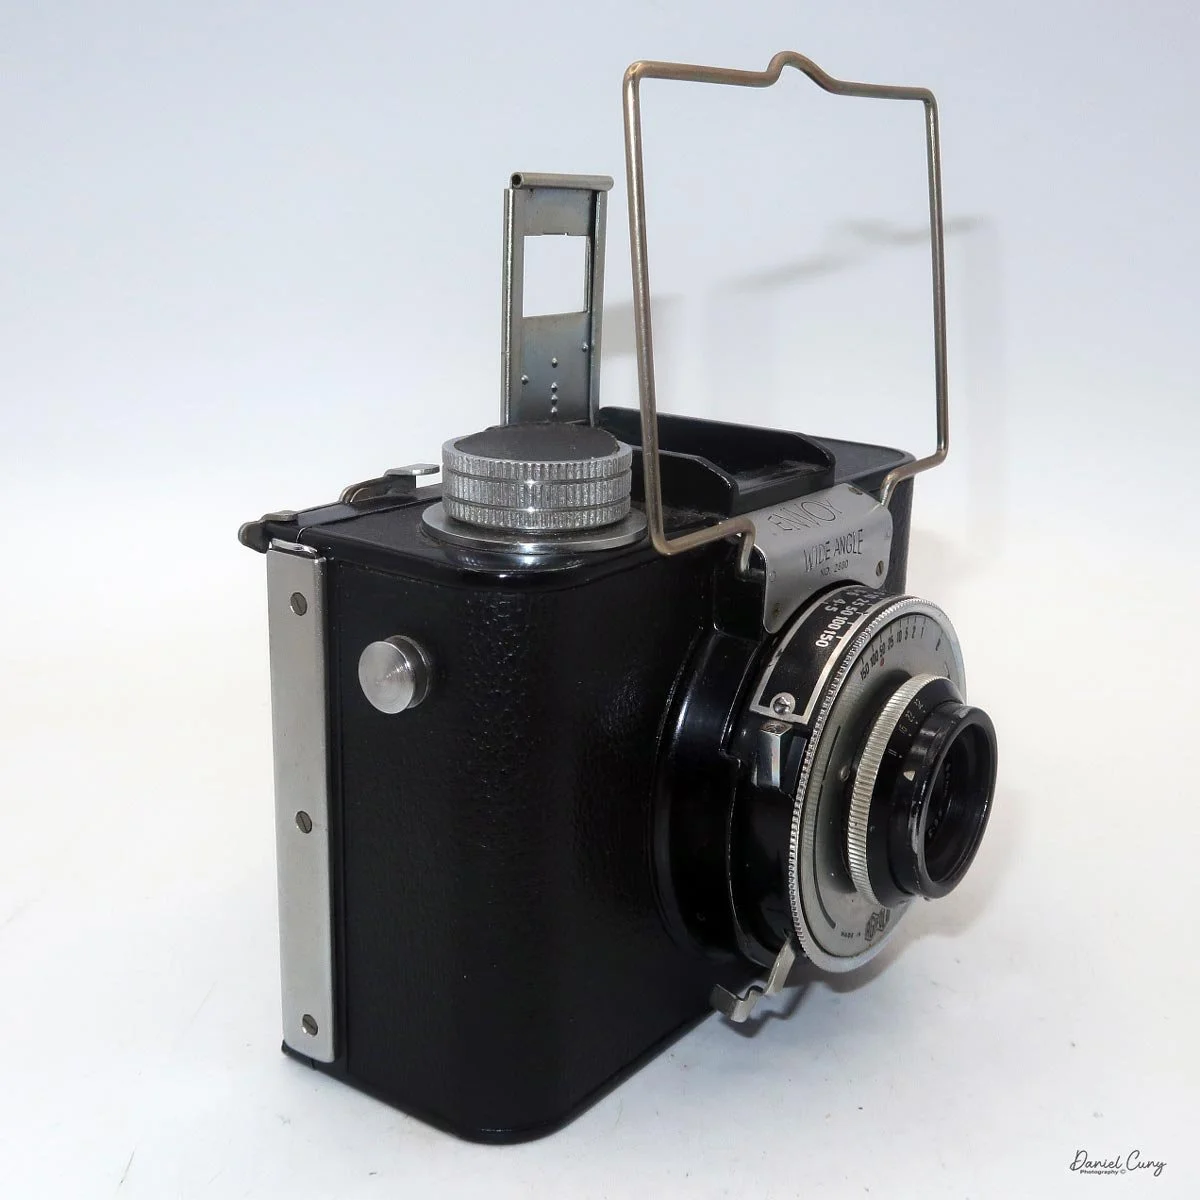
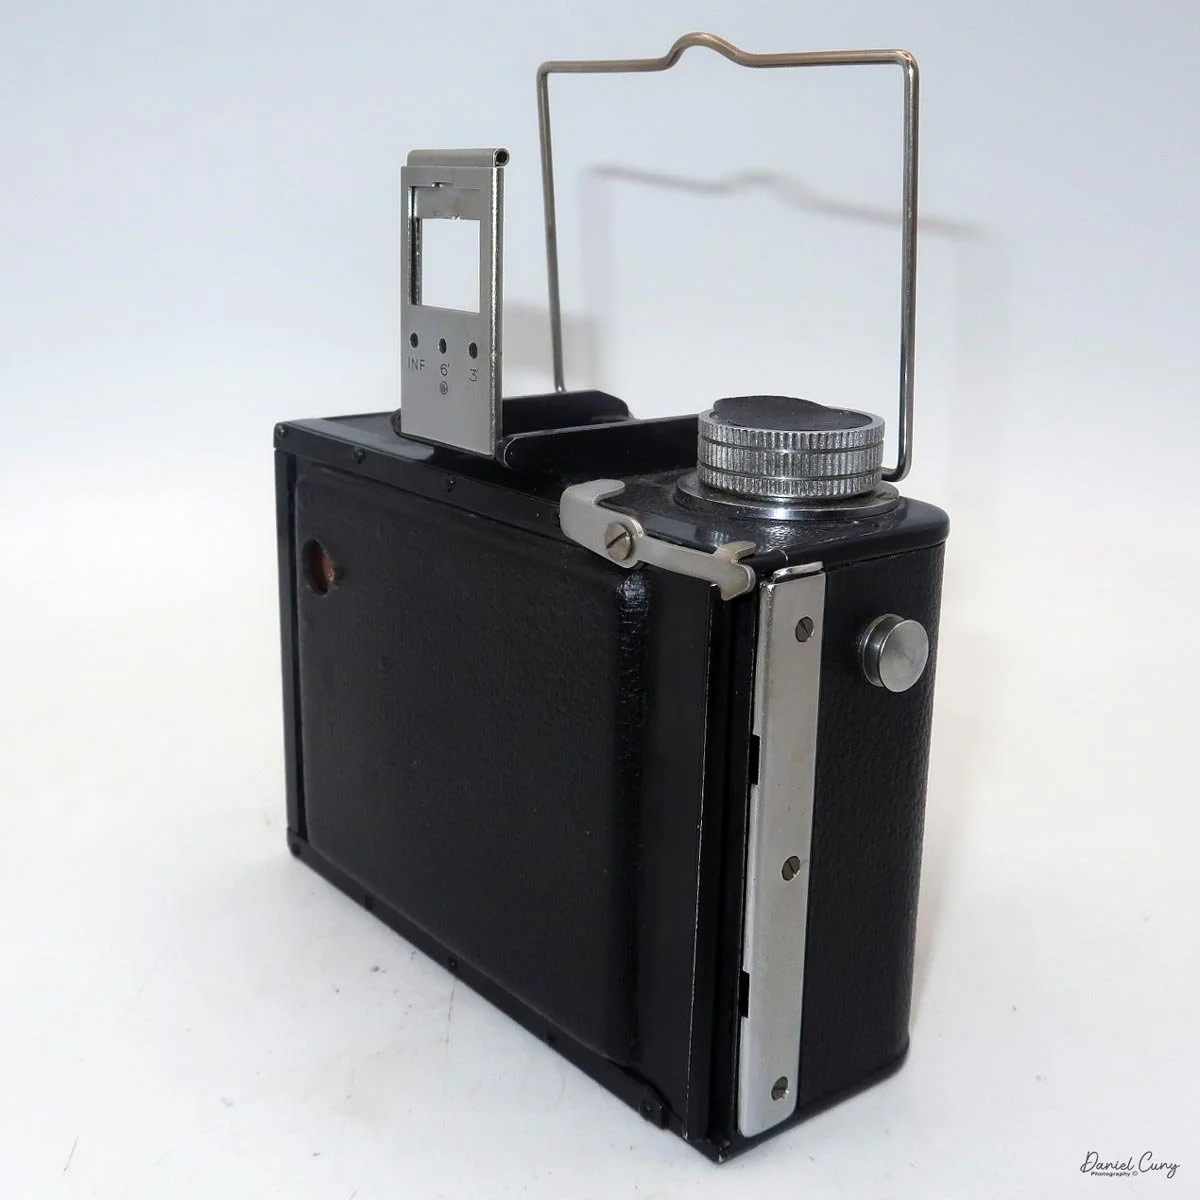
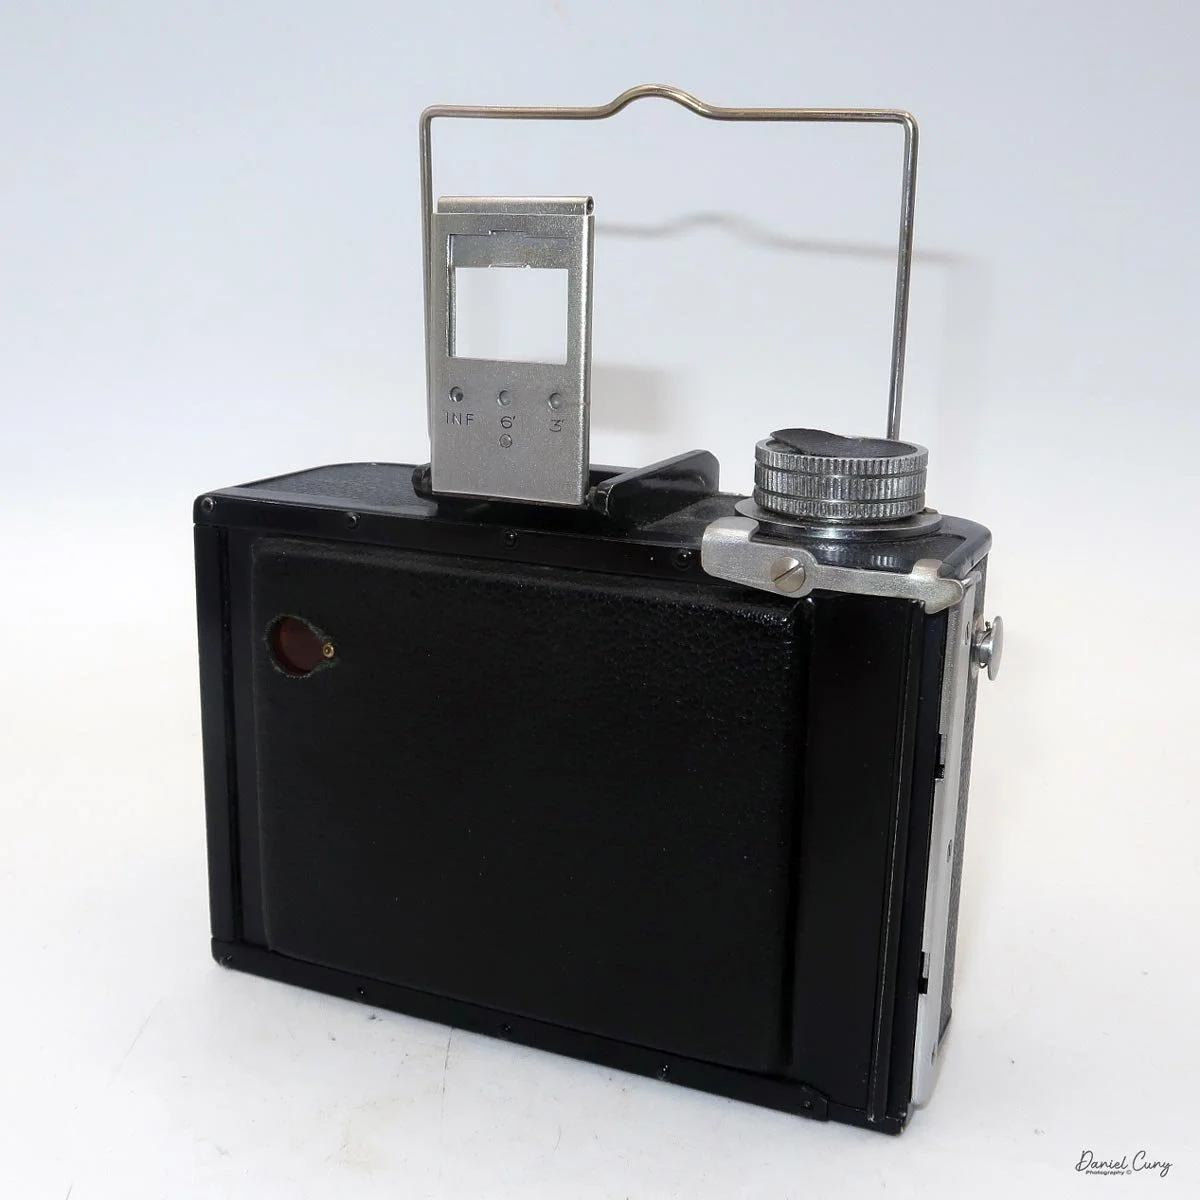
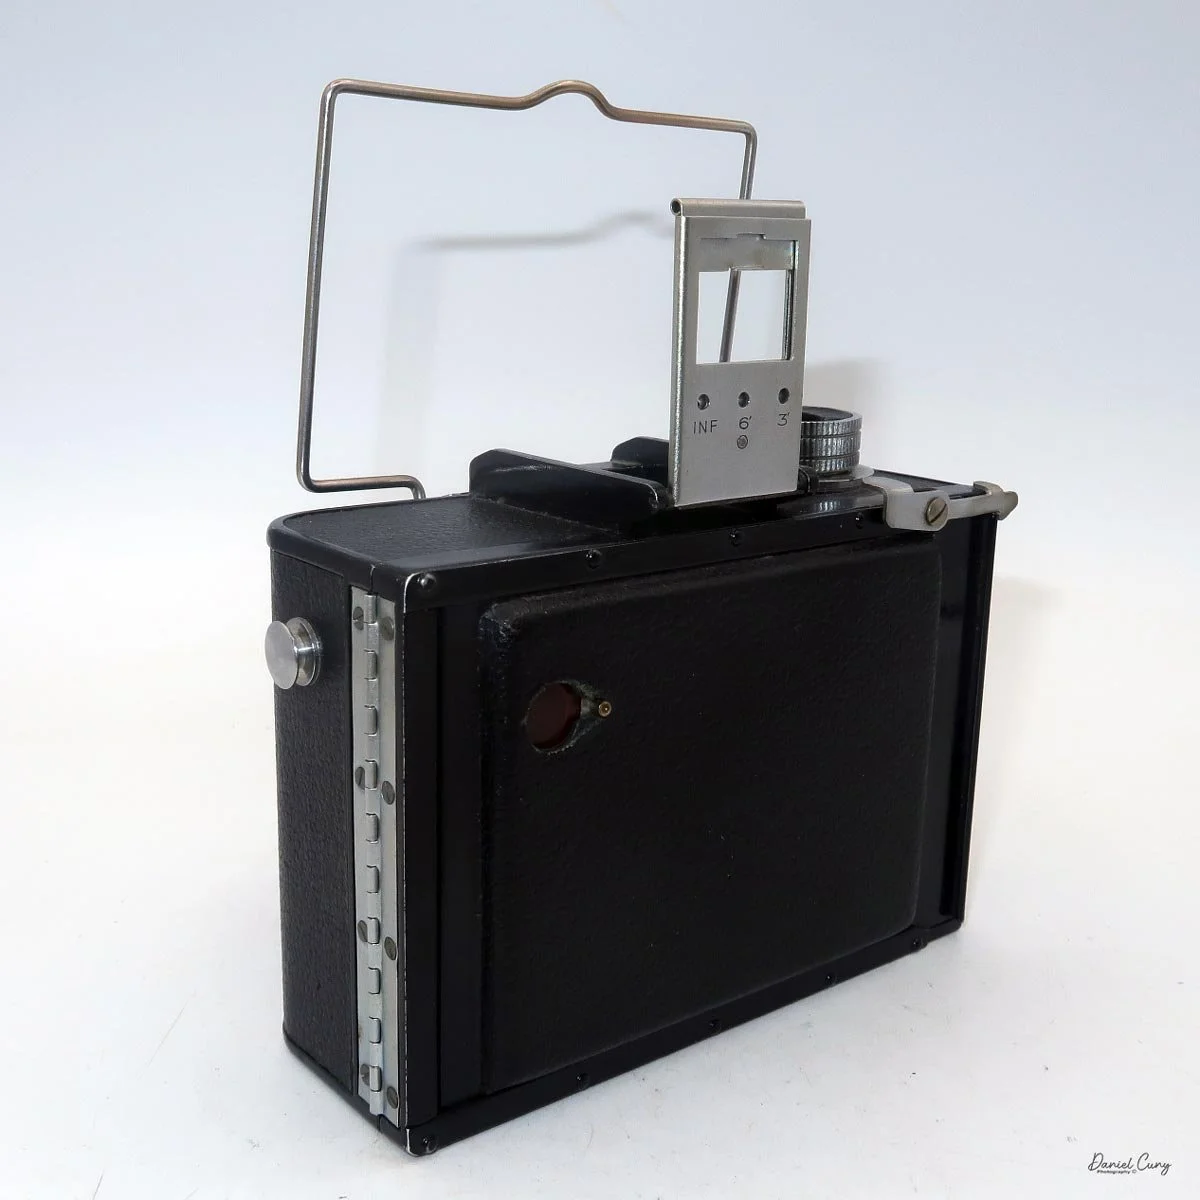
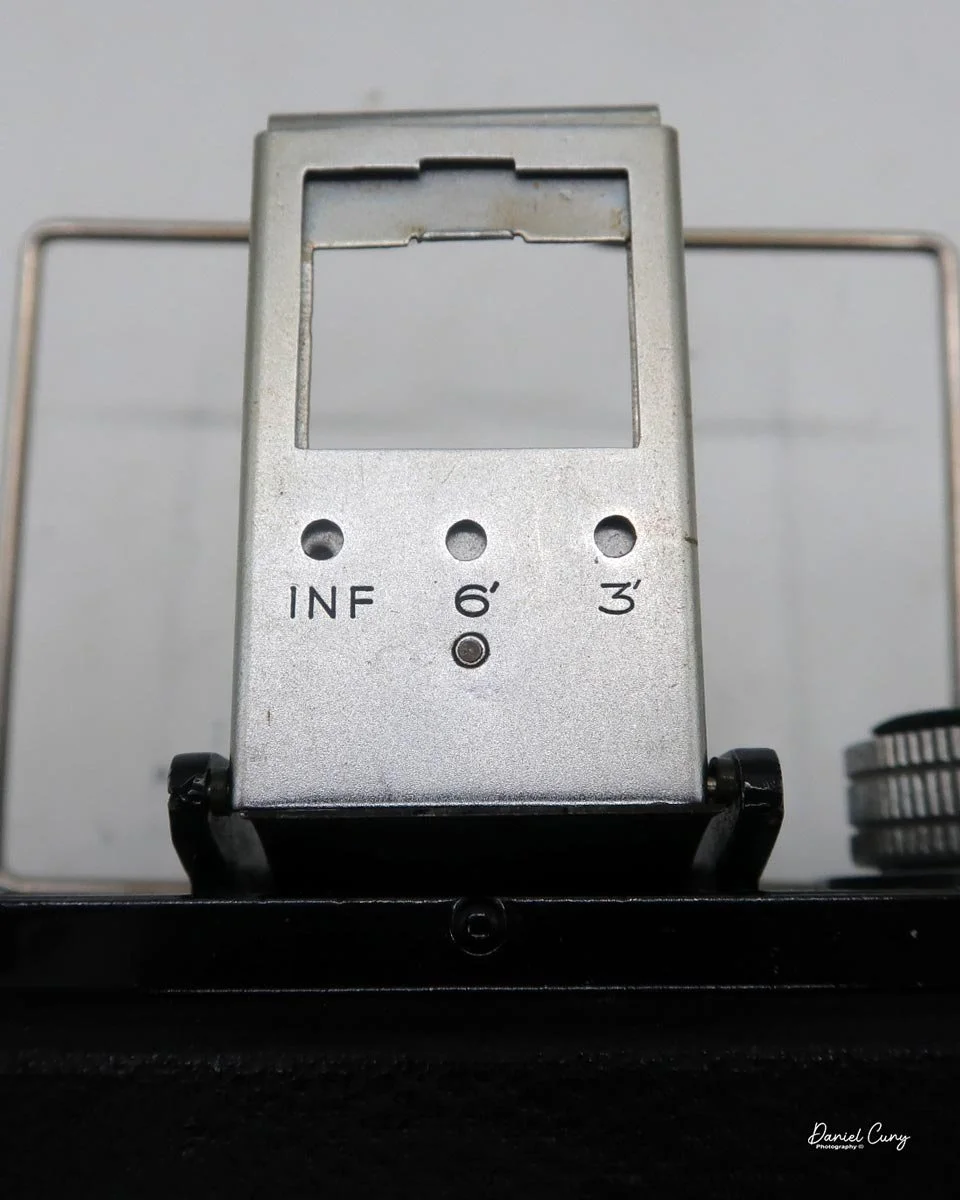
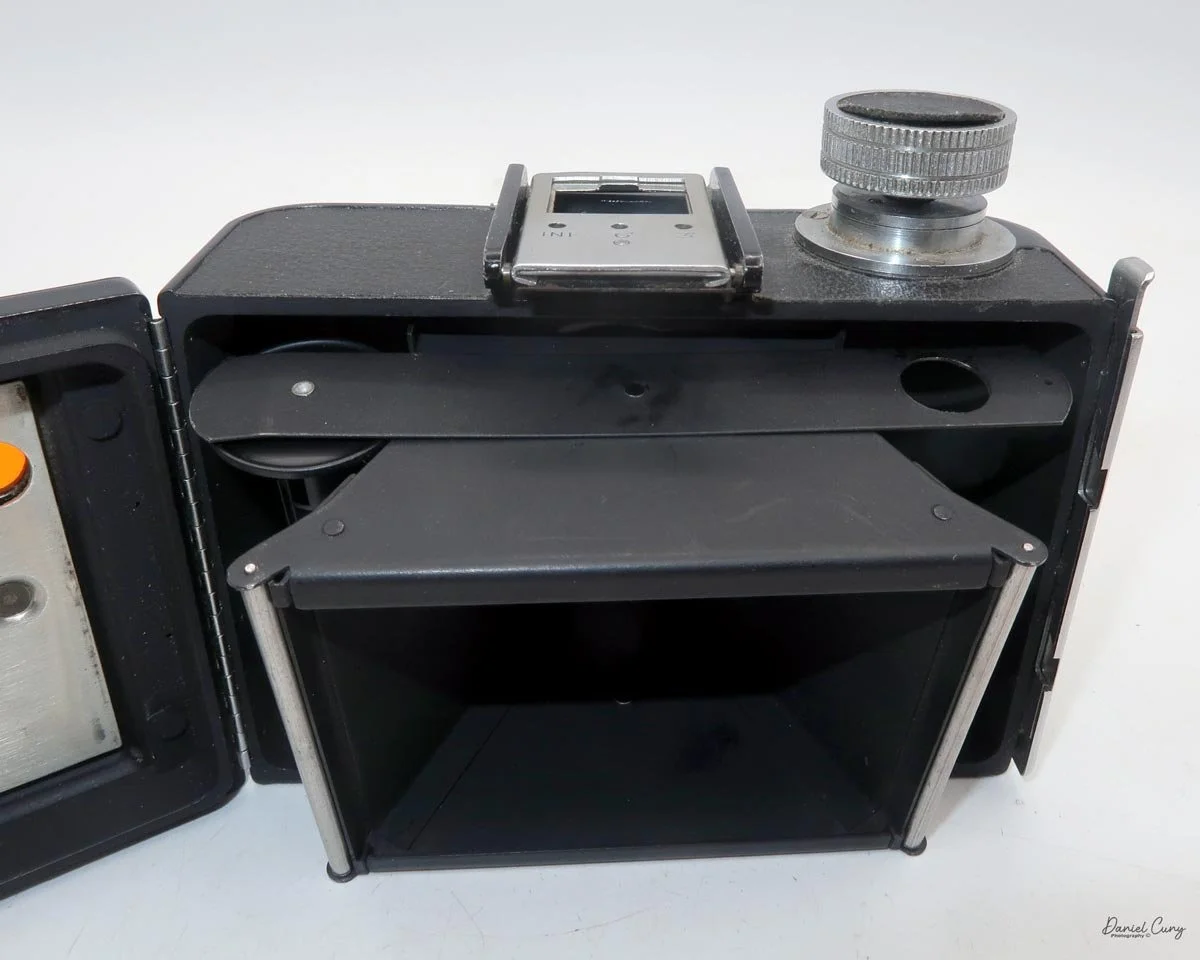
Using the Finder and Framing:
The Envoy doesn’t give you an optical viewfinder in the usual sense. Instead, you flip up a rectangular sports finder on the front and a matching chrome frame on the back, then look through and do your best to line things up. The rear frame has a little slider for 3 ft, 6 ft, and infinity, but in practice those settings don’t seem to change much—the framing is more of an approximation than a precision instrument.
When using the Envoy Wide Angle camera, I treated it like a loose, intuitive framing aid. I composed a bit wider than I might with a “normal” camera, knowing I could afford to include extra space in those big negatives. Between the generous depth of field and the easy loading of 120 roll film, the camera encourages you to work simply: point, estimate, and trust the lens.
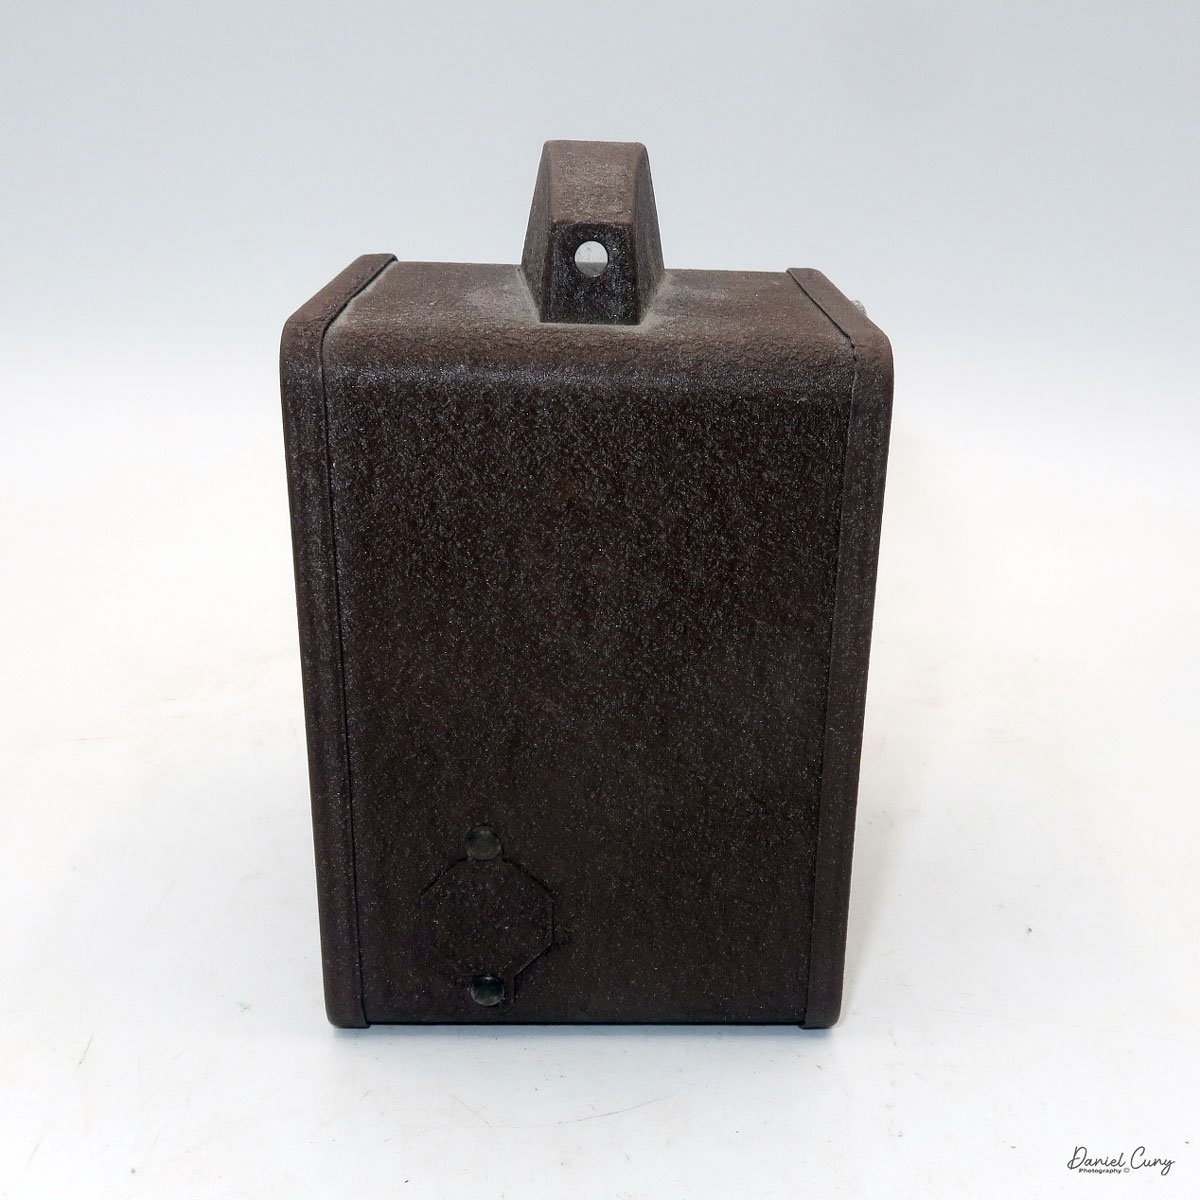
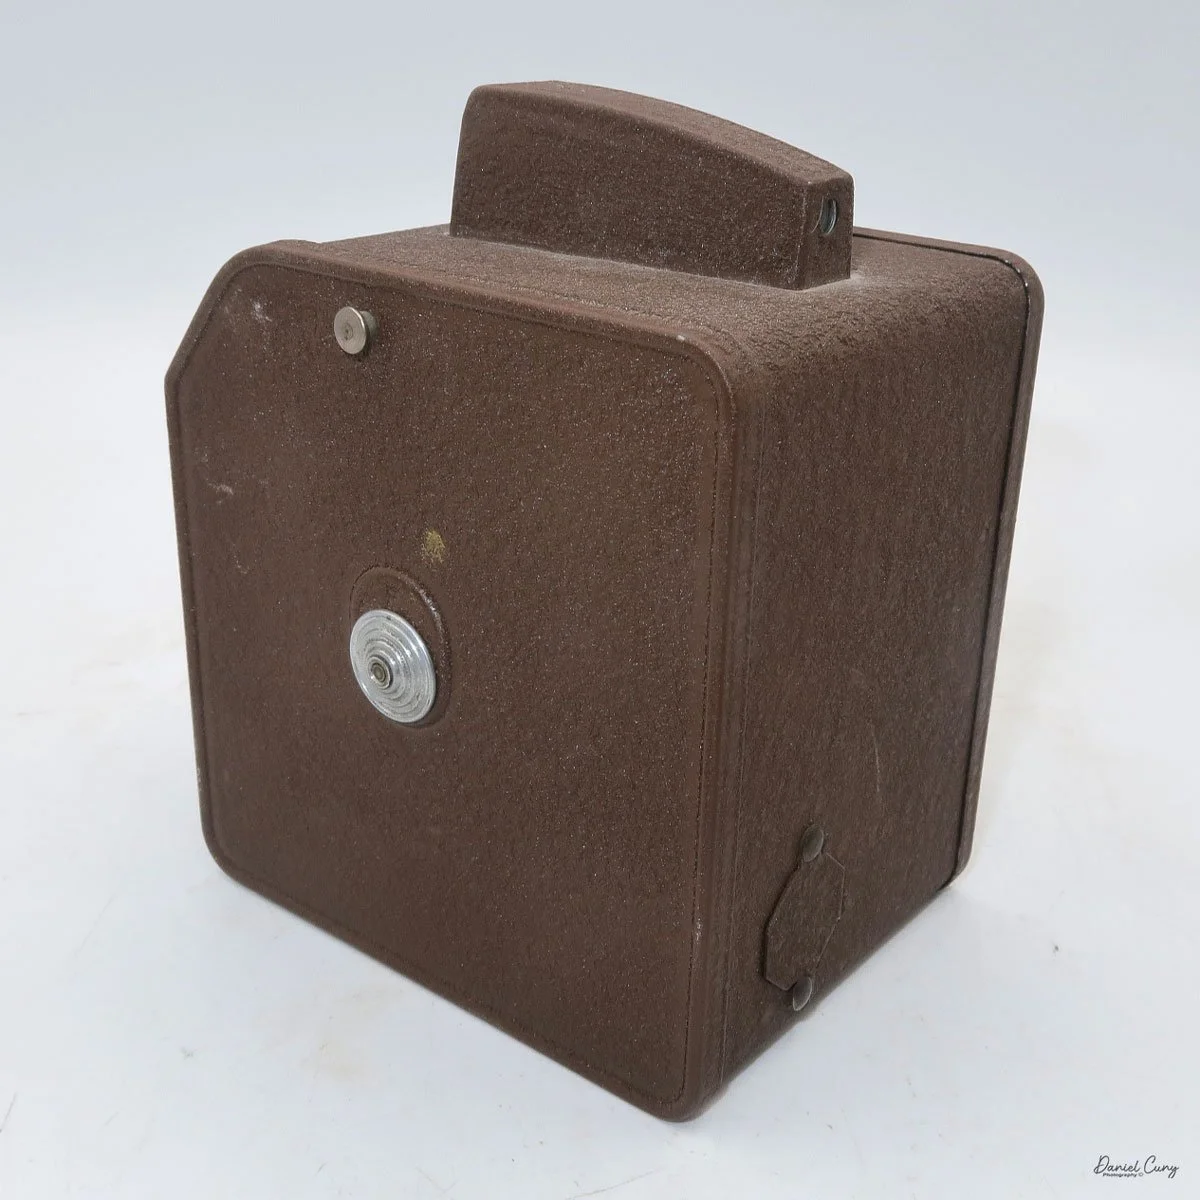
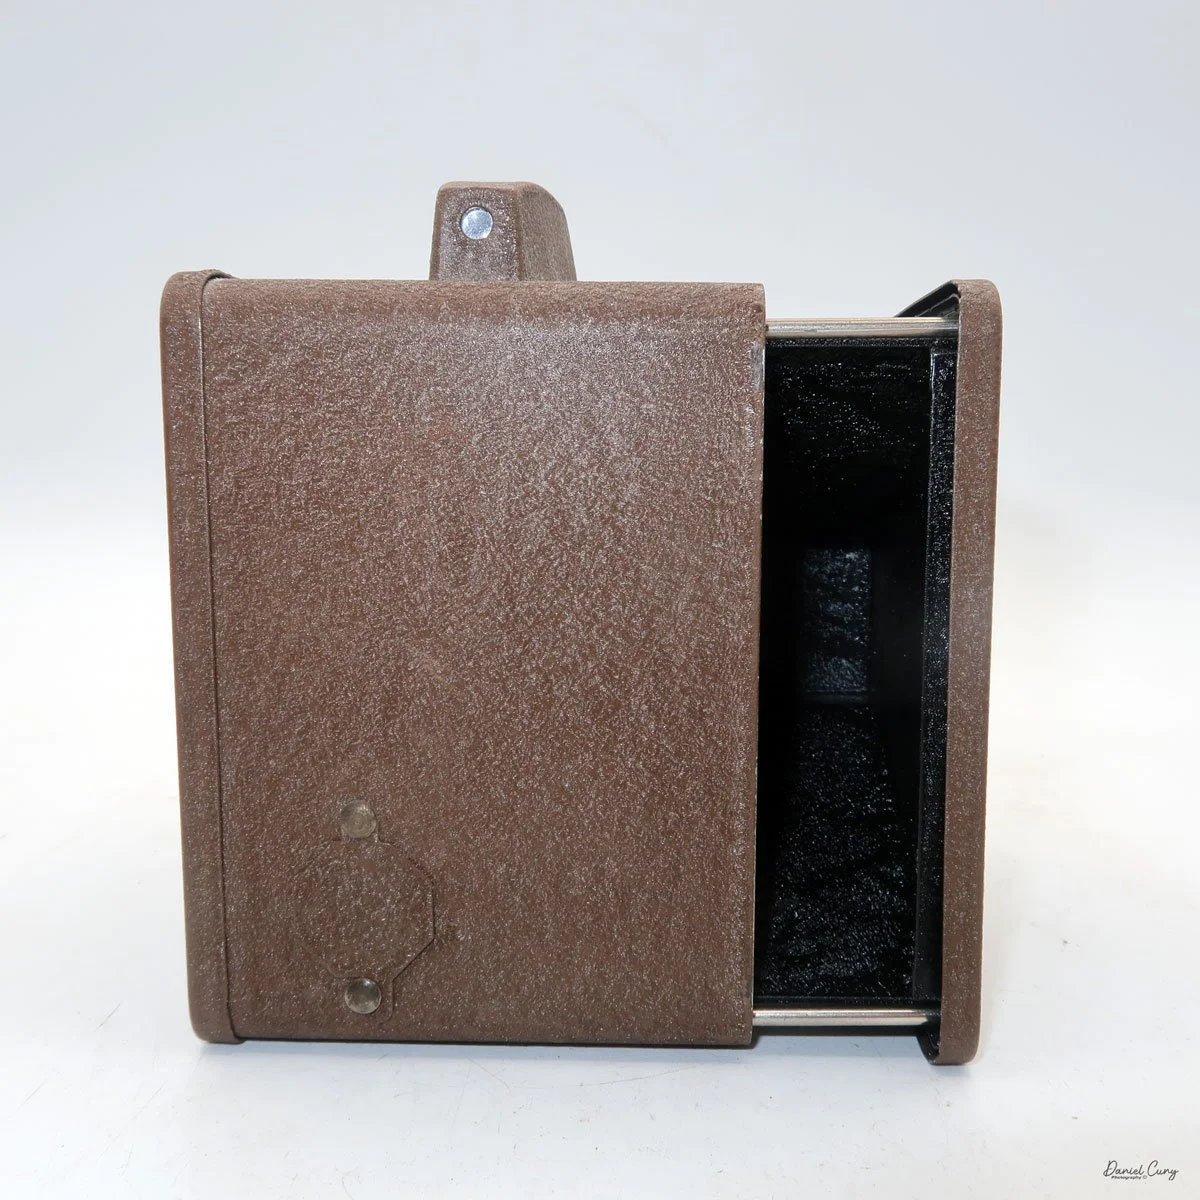
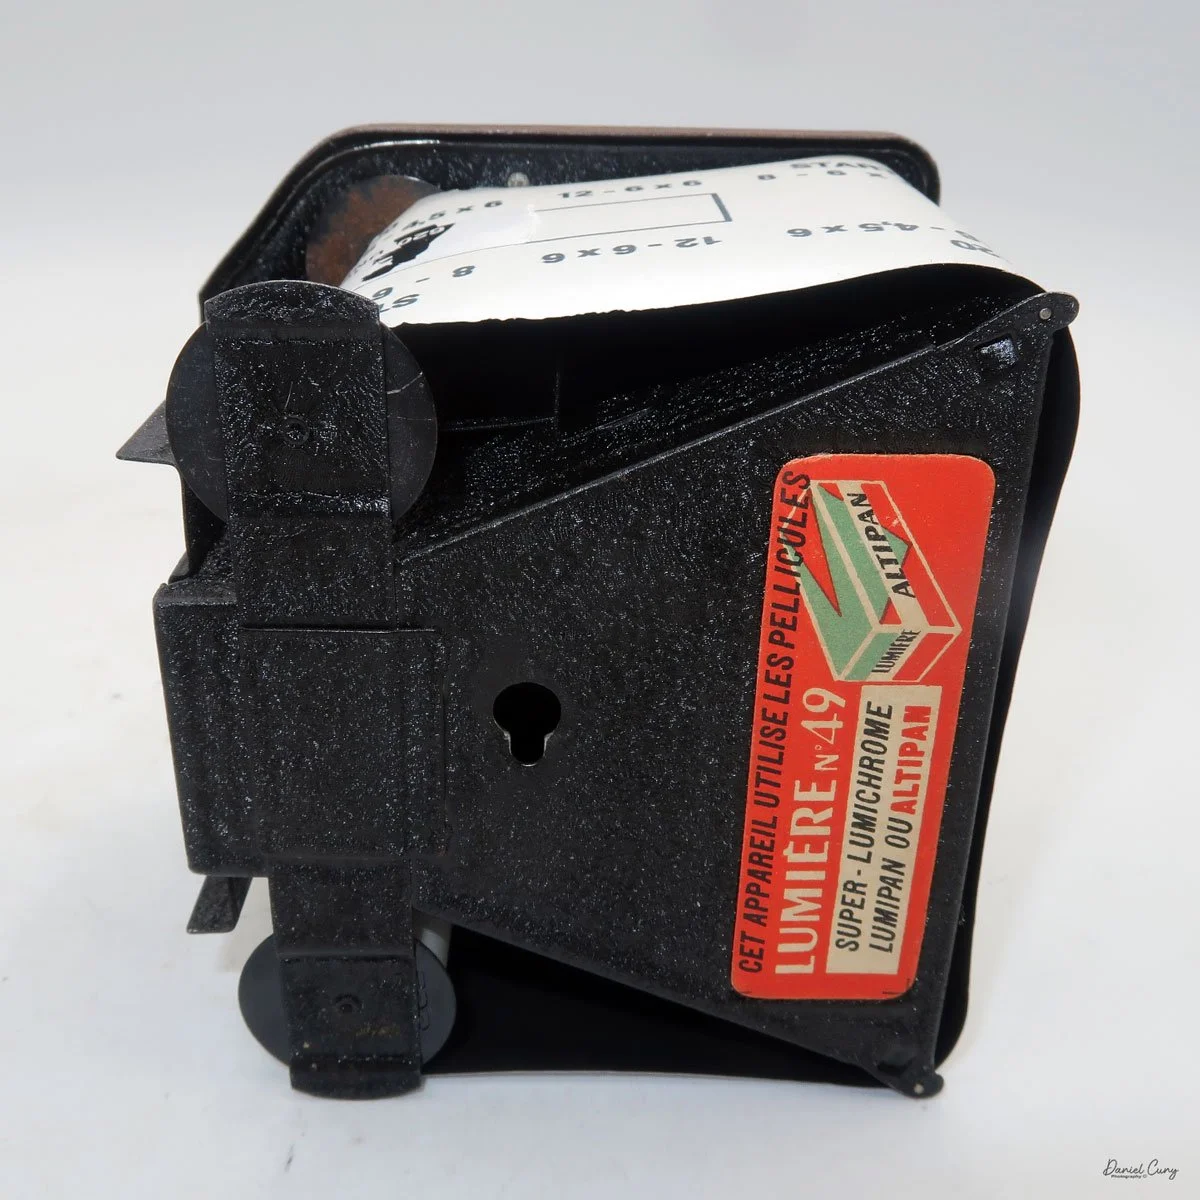
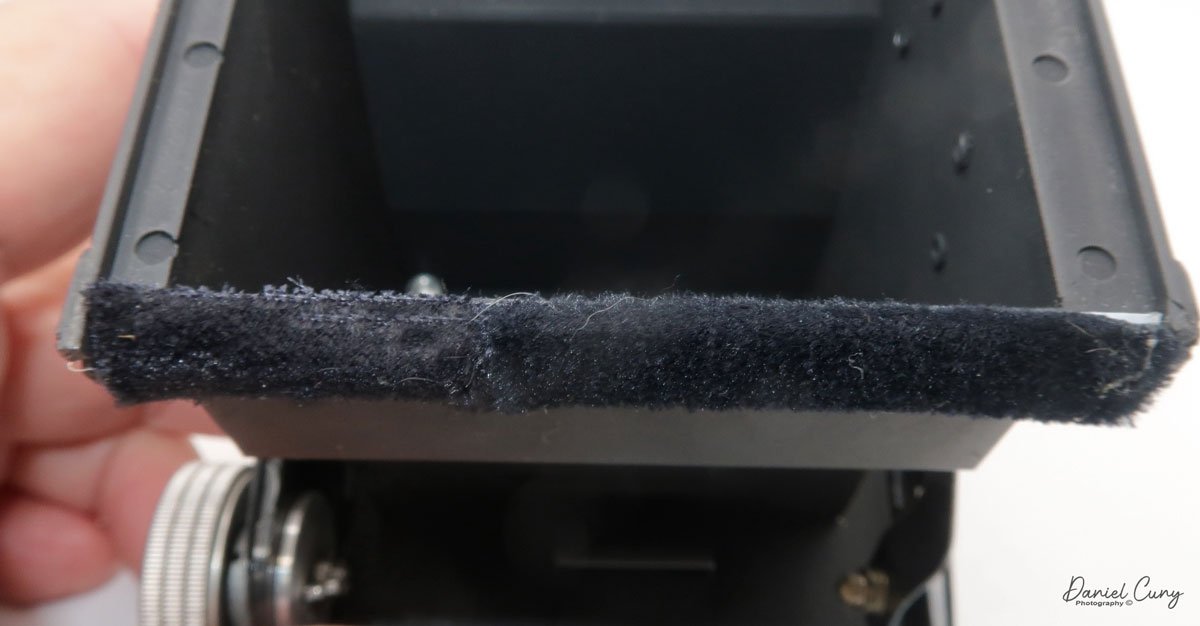
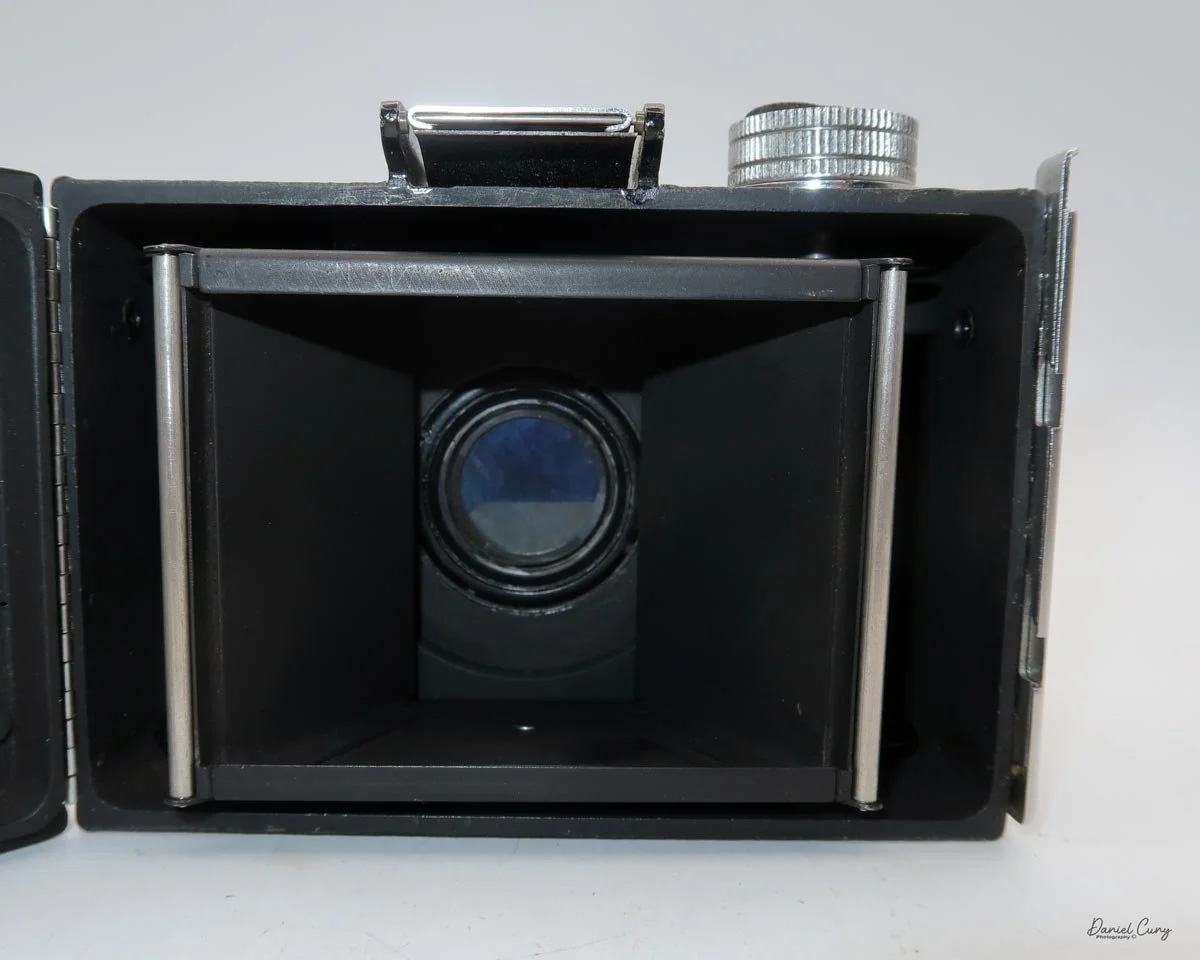
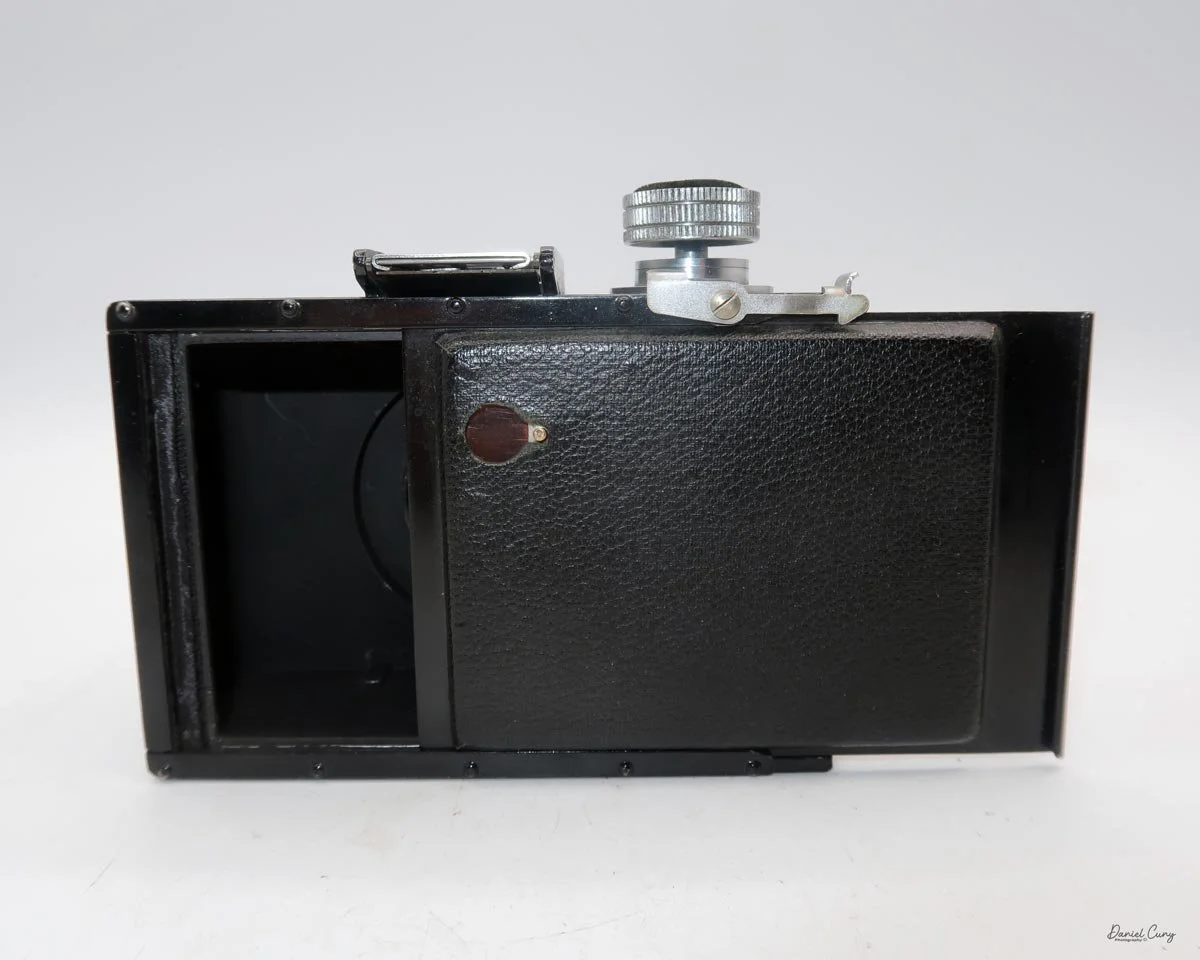
To open the back of the camera to load film, on the right side is a top slider that pulls up, and the film back will open for roll film. On the back of the camera, when using roll film, there is an insert. Pull up the winding wheel, and the film insert is removable. Pull out the insert and load the roll of film as you would any 120 or 620 film. Put the insert back into the camera's body, press down the winding wheel to engage the film's notches at the end, close the back, and make sure it's fully closed and locked. On the back of the camera is a sliding cover for the red window, which you use to wind the film and note the frame number. Wind the film until you reach the number 1, and you're now ready to take your first photo.
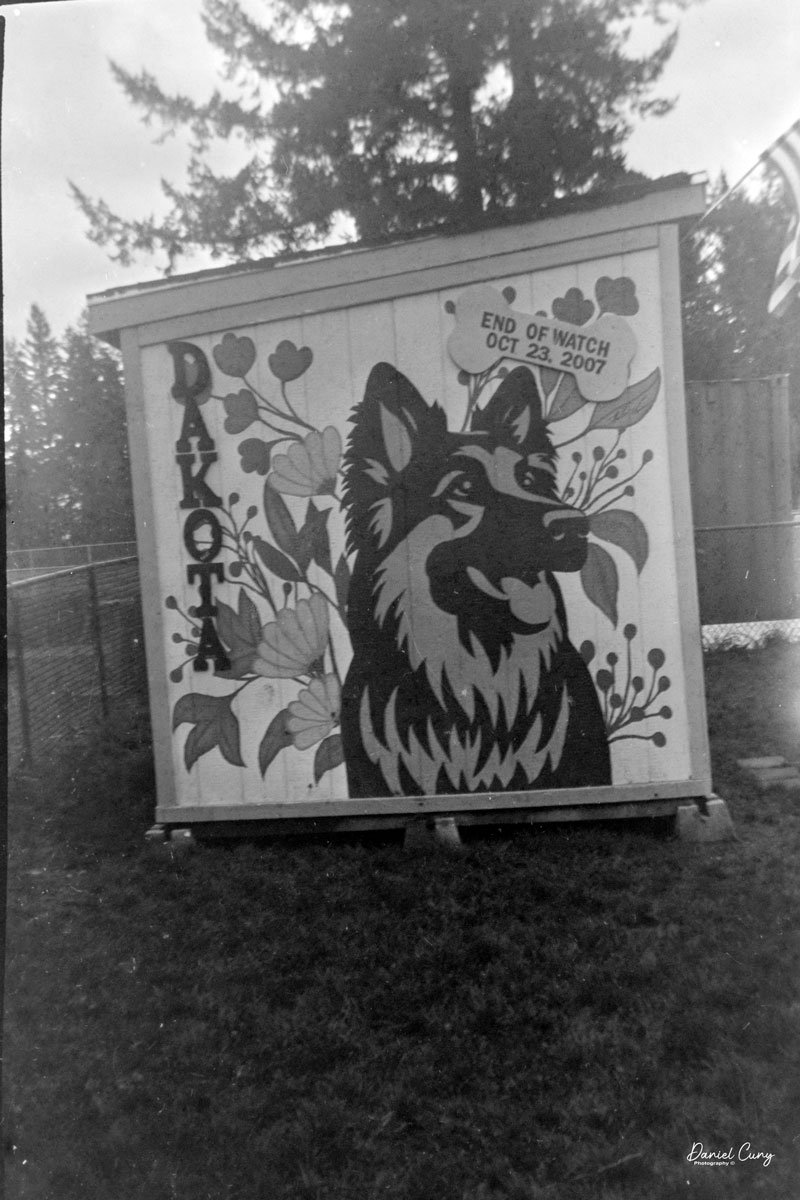
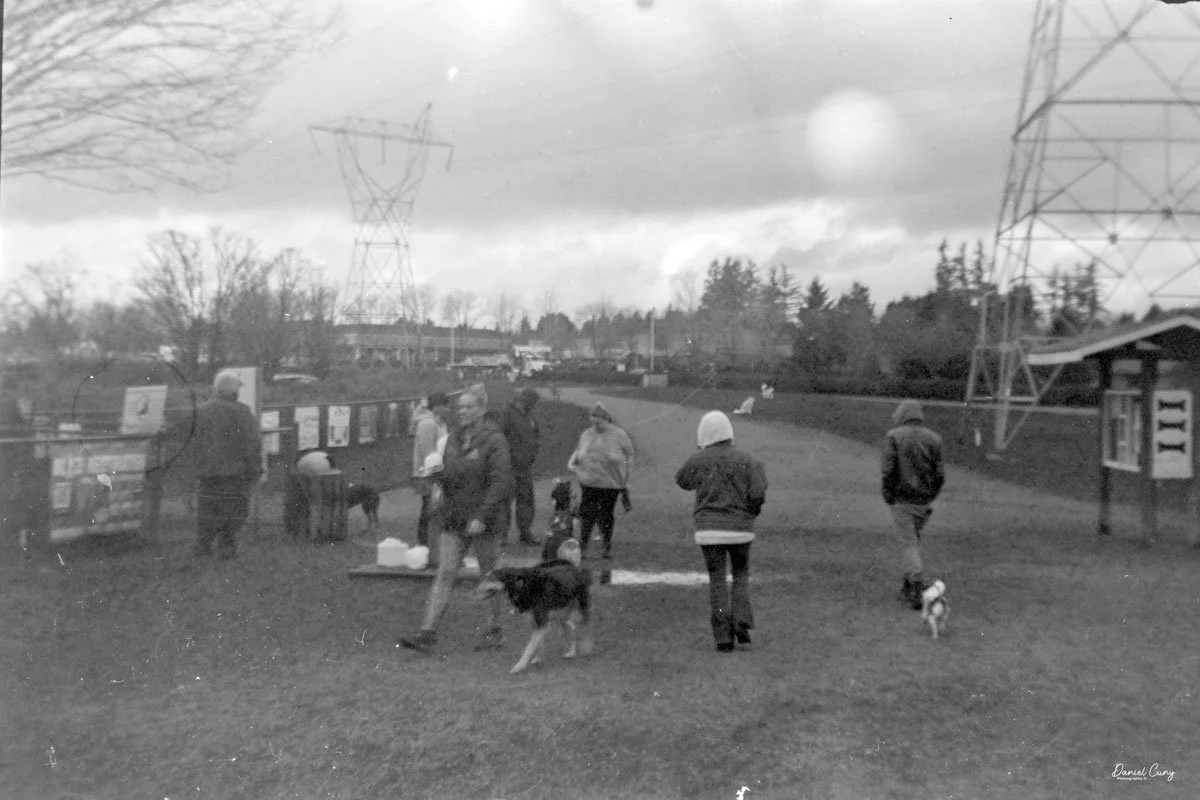
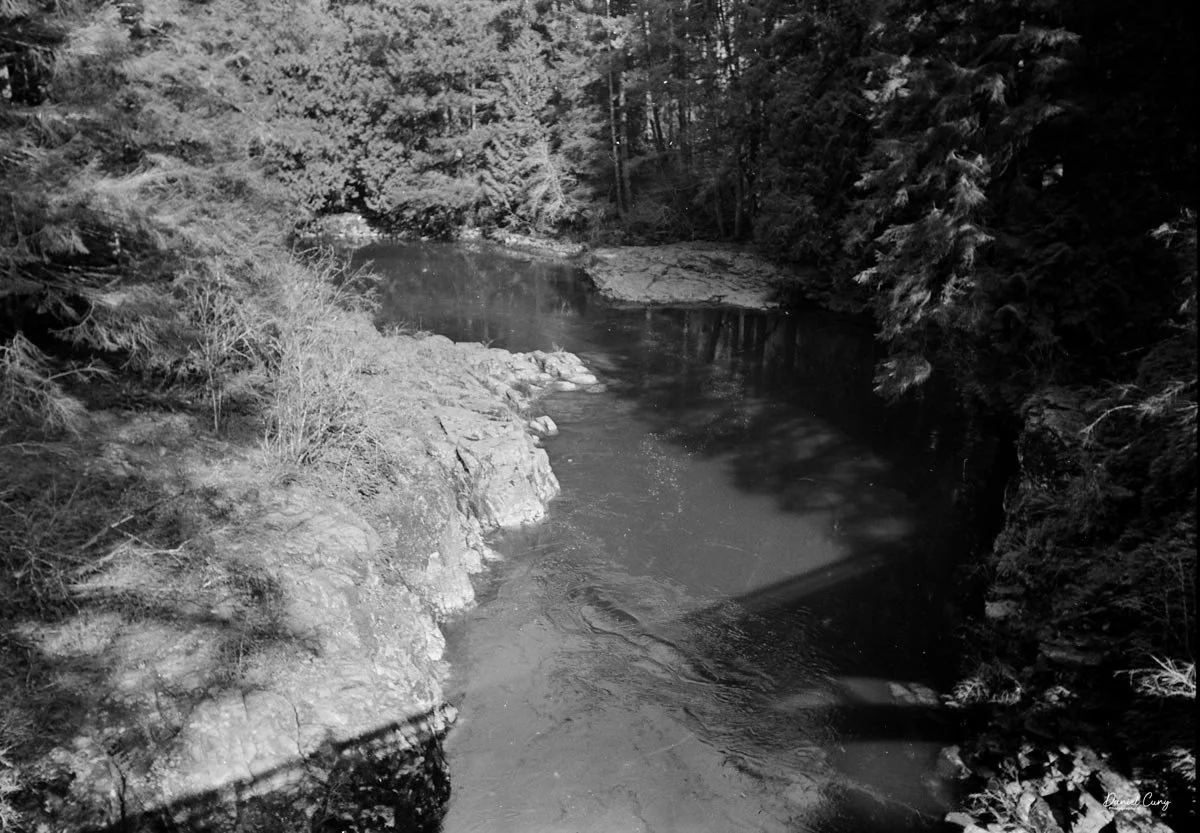
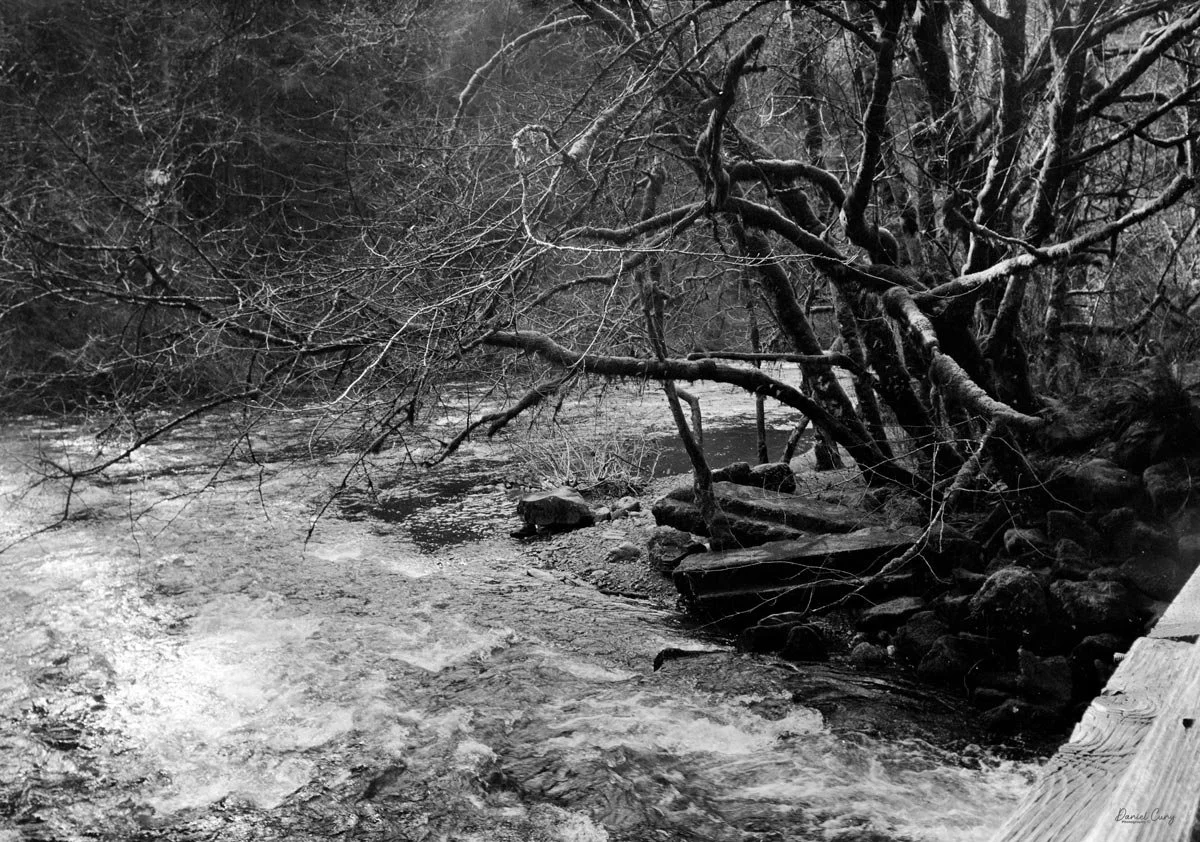
A Morning at Moulton Falls:
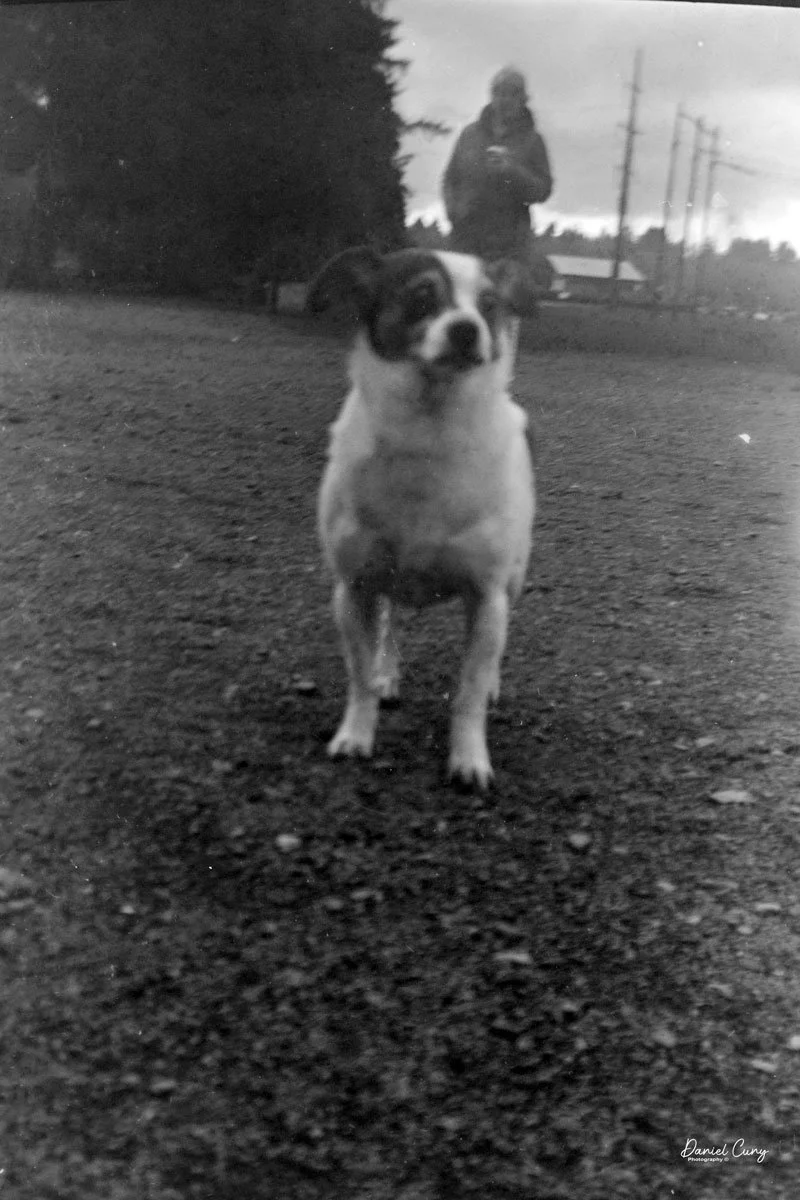
Once I pulled the Envoy Wide Angle off the shelf, I did what any curious wide‑angle fan would do: I loaded a roll of 120 and took it somewhere with space to breathe. My wife and I, along with our grand‑dog Bean, headed up to Moulton Falls in Washington, about 15 miles from home. It was a sunny day, but we went out early, while the sun was still low and brushing the trees and river with softer light.
Knowing the Envoy really comes into its own at smaller apertures—f/16, f/22, even f/32—I chose 400‑speed film to give myself some flexibility in the forest shade and along the river. With a fixed‑focus lens, the only “decisions” you really make are shutter speed and aperture, so I quickly settled into that mindset: pick a stop for the depth of field I wanted, set a reasonable shutter speed, and let the camera do the rest.
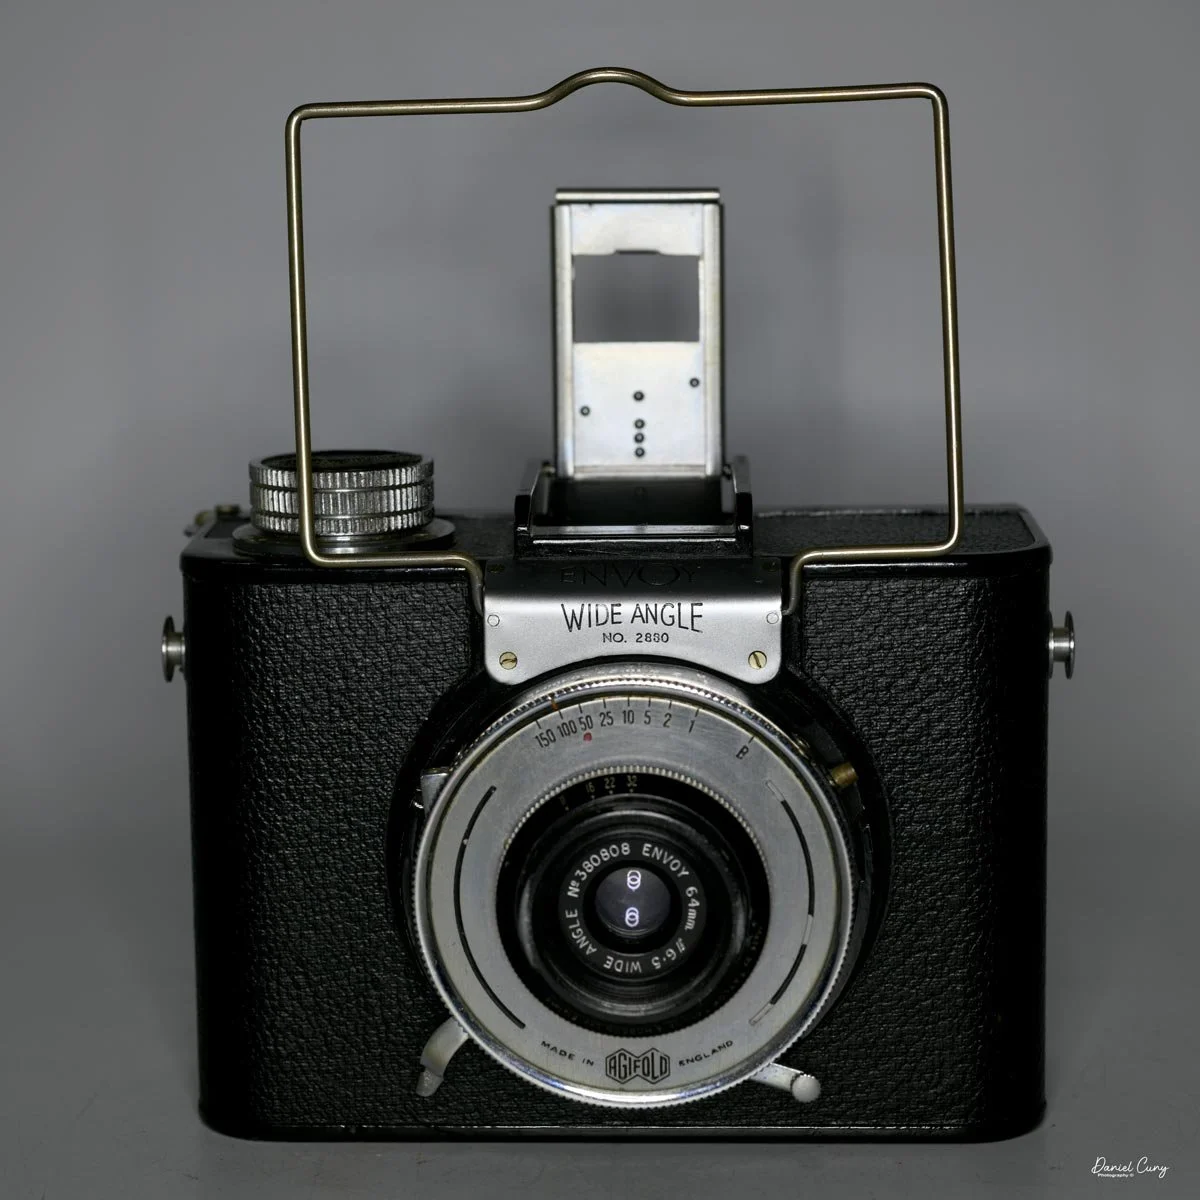
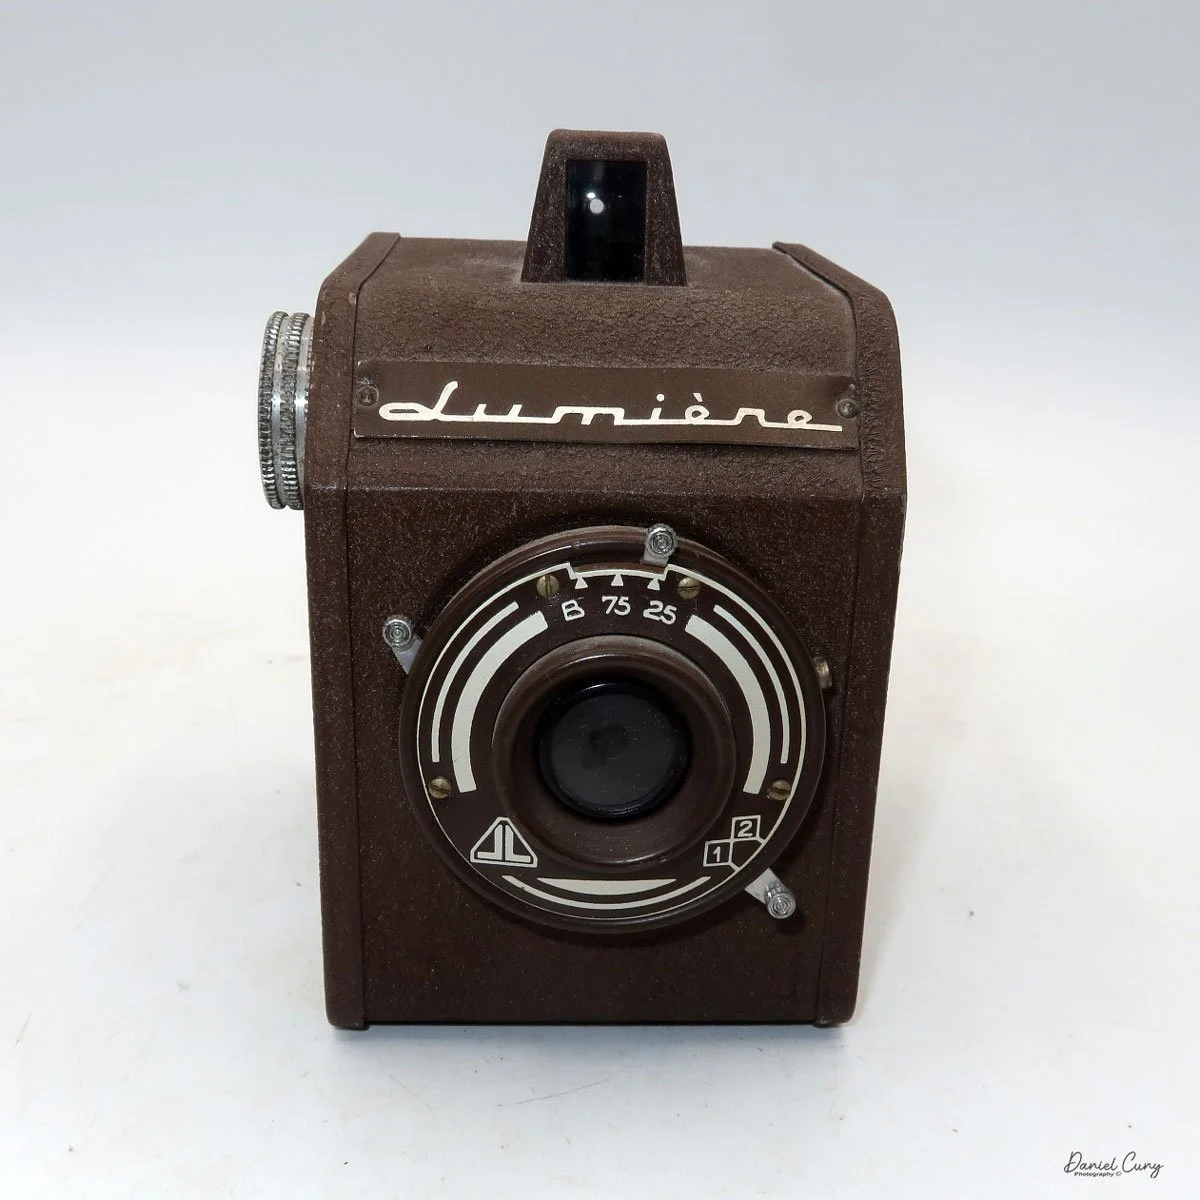
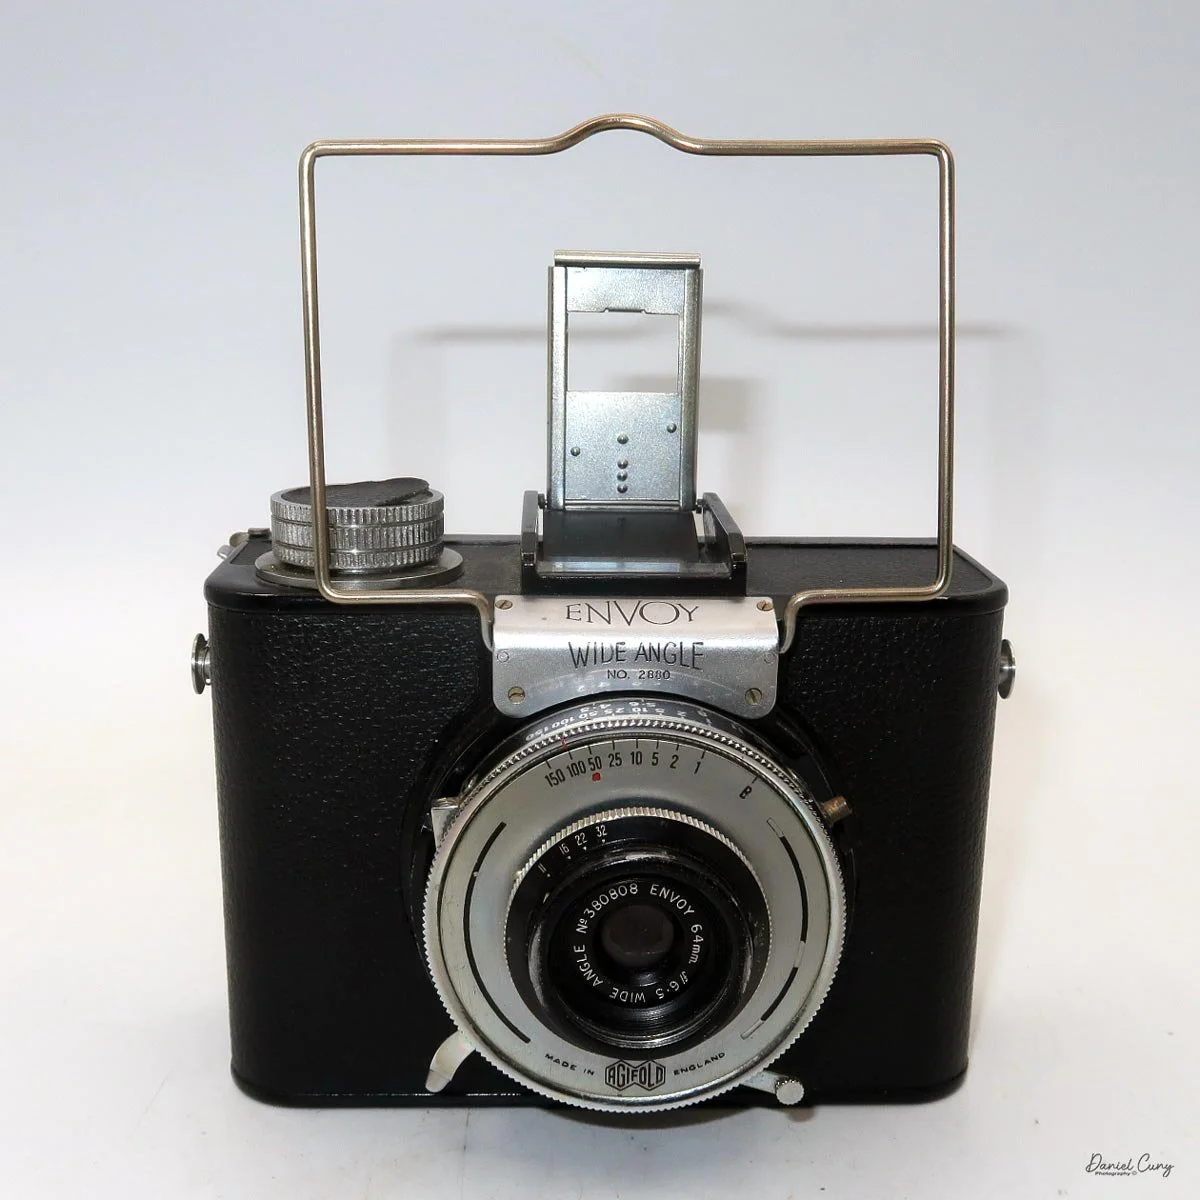
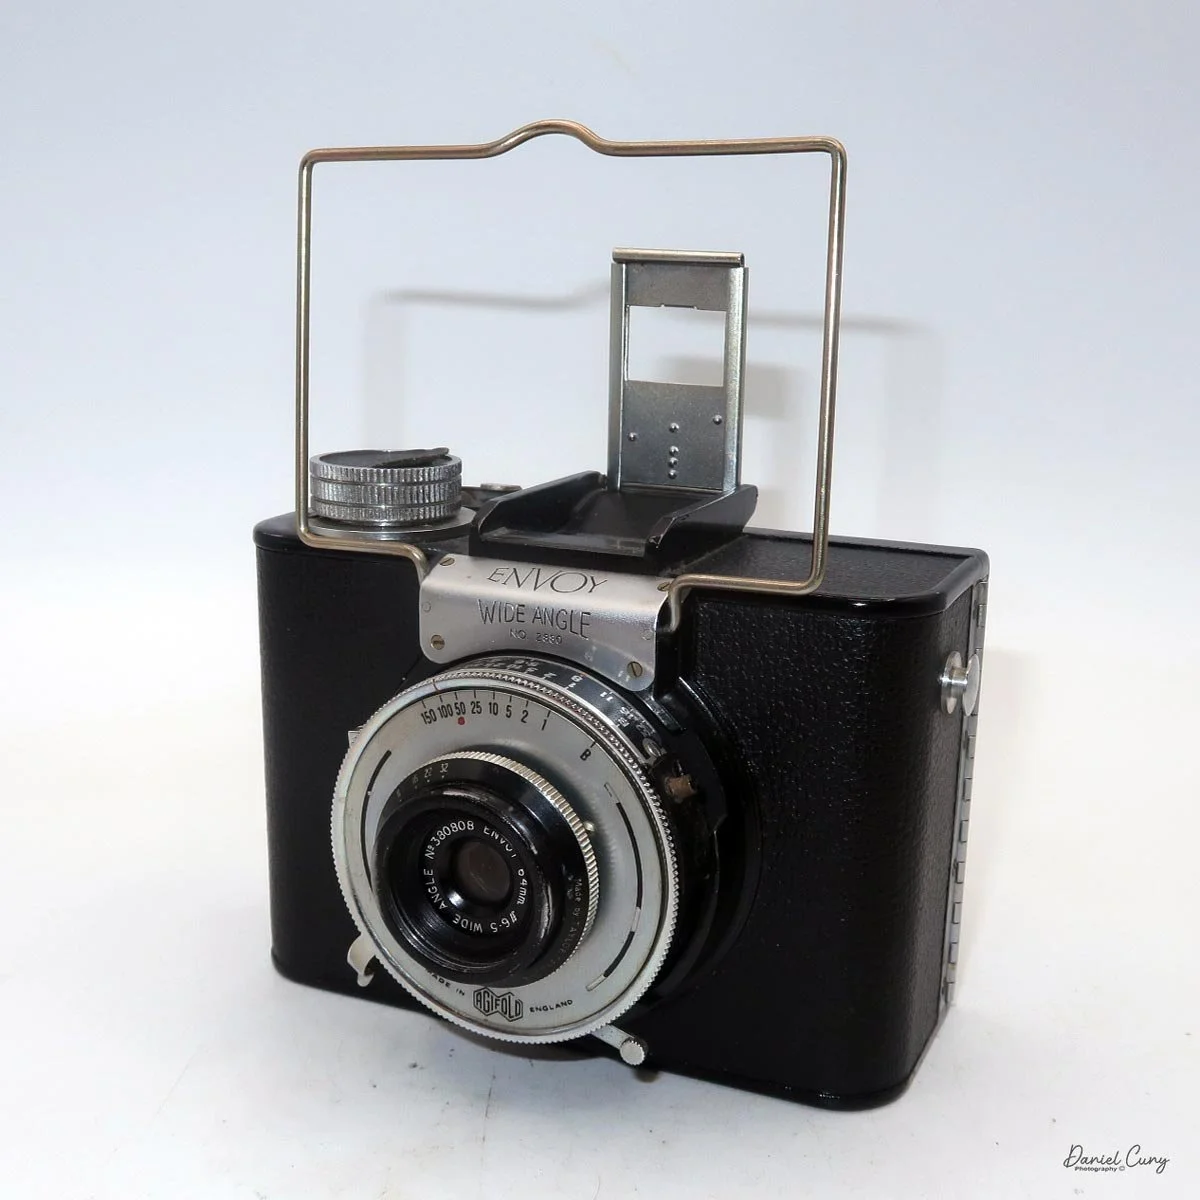
Front view of Envoy Wide Angle, No. 2880.
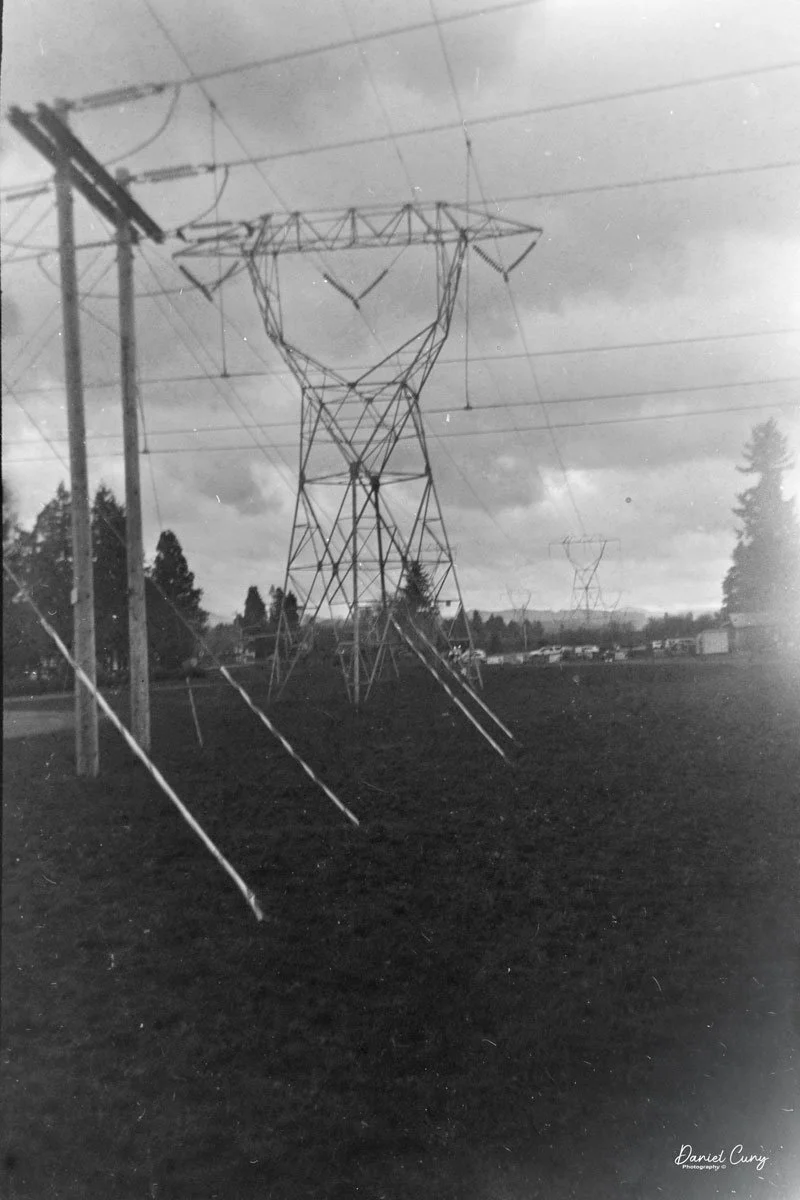
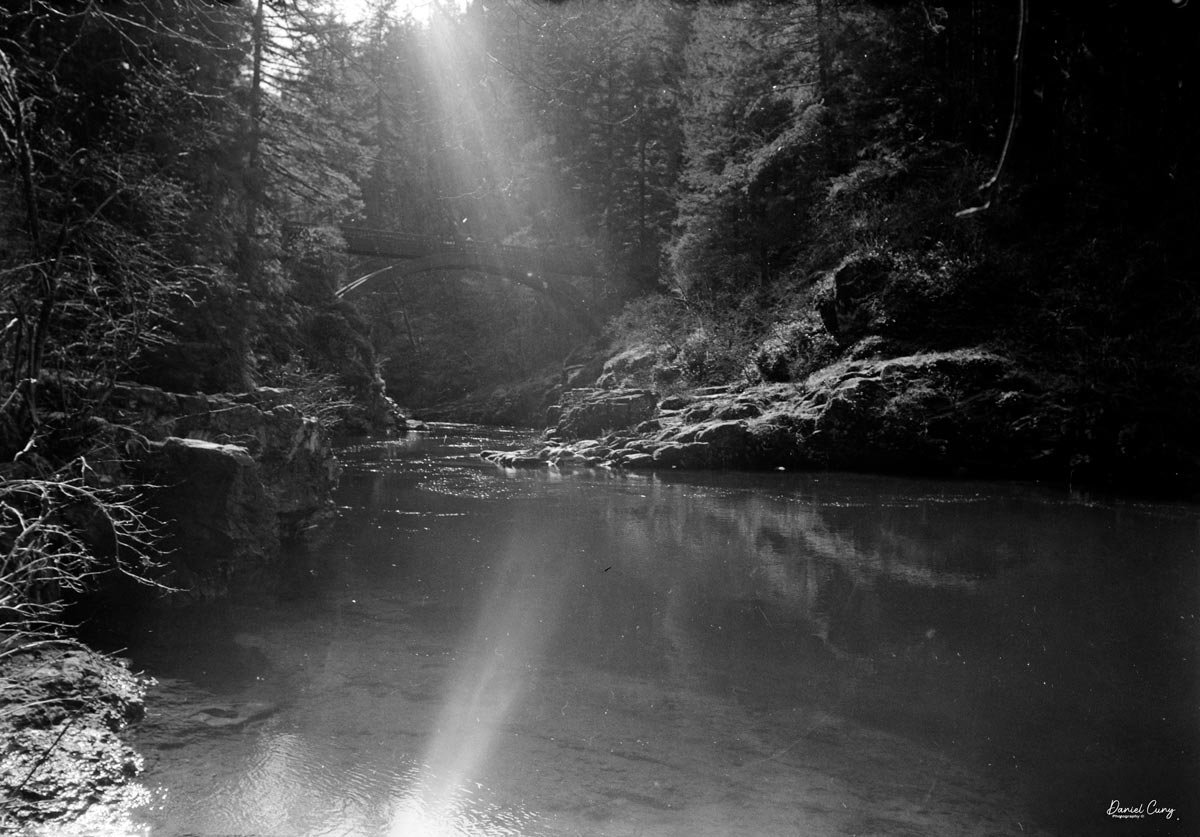
Moulton Falls is one of those places that suits a wide‑angle view: the arched bridge, the rocky river, the trees crowding the edges of the frame. It’s exactly the sort of scene where I’m always wishing I could see “just a bit more” to the left and right, and the Envoy happily obliged, giving me big, expansive 6×9 negatives from a very compact box.
My Results:
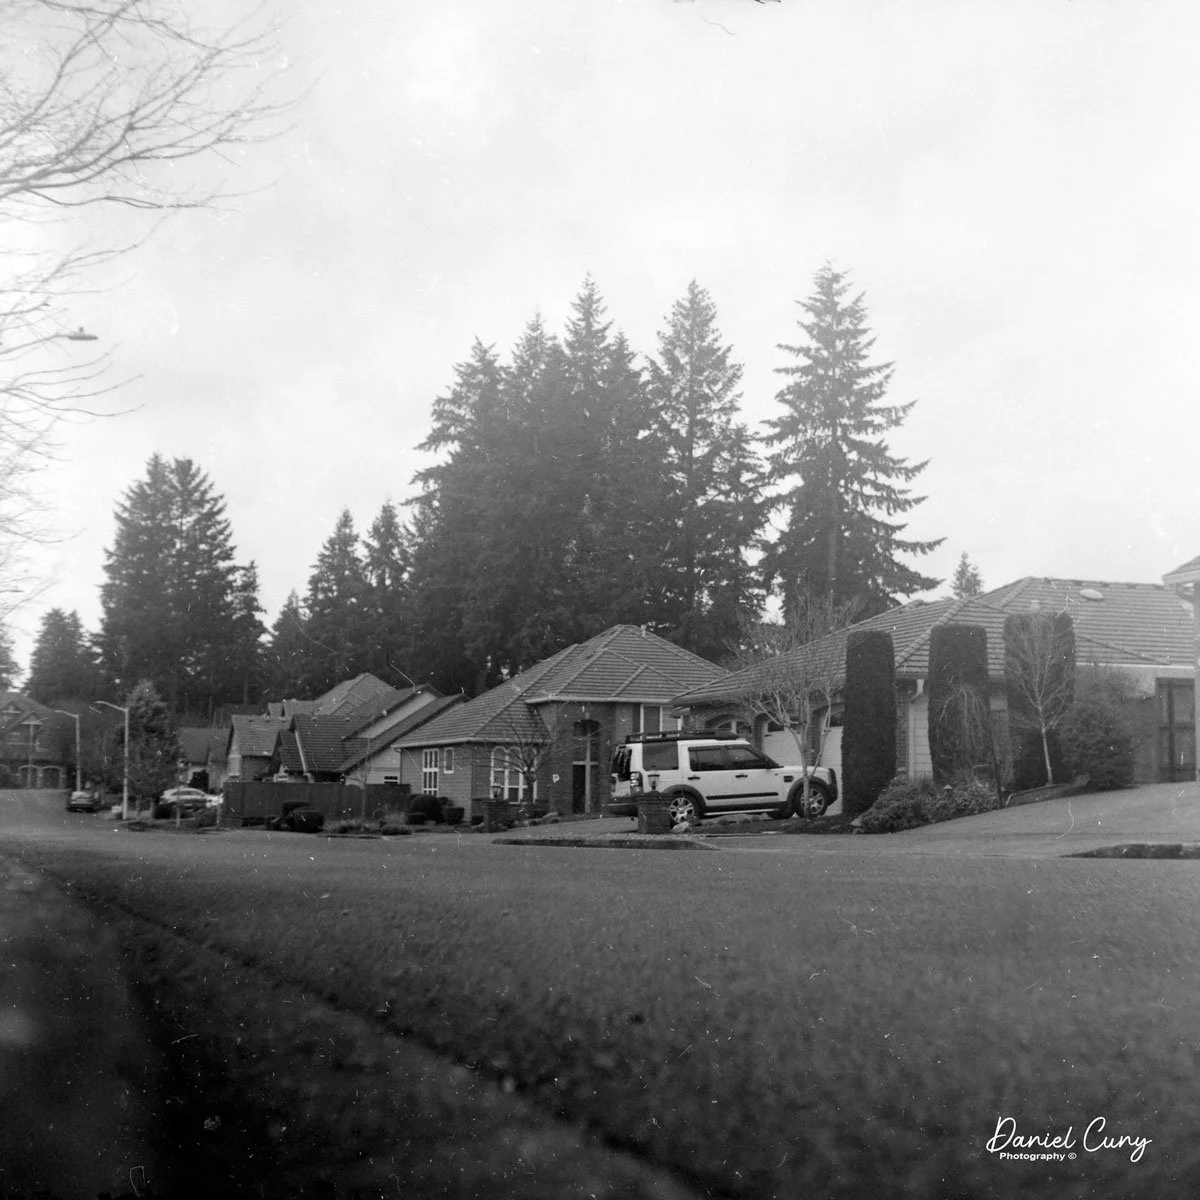
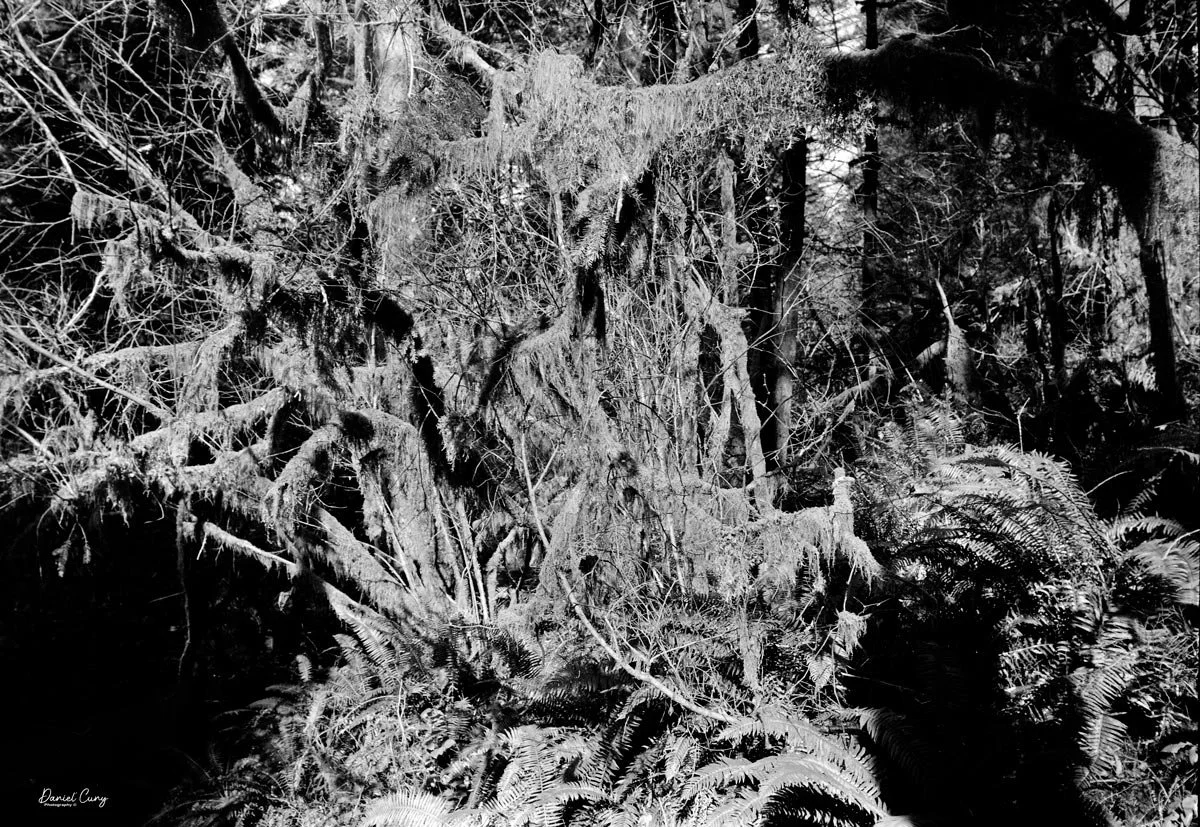
Back from the walk, I was pleasantly surprised by what came out of that first roll. For a camera with no focusing mechanism at all, the Envoy’s lens is very sharp, with good contrast and a pleasing tonality across the 6×9 frame. Stopped down, the corners hold up better than you’d expect from a mid‑century wide‑angle box, and distortion is minimal as long as you keep the camera level.
The 400‑speed film paired well with the slower shutter speeds and small apertures I was using under the trees and near the water. Scenes that could easily have turned muddy or soft came out crisp, with plenty of detail in the rocks, foliage, and bridge structure. For a “simple” camera, the negatives have a surprisingly modern look once scanned.
Final Thoughts:
For something that looks like a straightforward box, the Envoy Wide Angle turns out to be a very capable wide‑angle 6×9 machine. The lens is sharp, contrasty, and handles scenery with confidence, as long as you respect its need to be stopped down. The fixed focus and sports finder mean it will never be a precision tool in the modern sense, but that’s part of its charm.
This one is a keeper in my collection, both for its compact size and for the quality of the images it produces. I’d happily put it in the same conversation as the Brooks Plaubel Veri‑Wide, a fun, wide‑angle medium-format option, with the Envoy winning on simplicity and portability. If you enjoy wide‑angle cameras and can live with fixed focus and a guessy finder, it’s well worth tracking one down and adding it to your group of “user” cameras.
I’d love to hear your thoughts—if you have an Envoy Wide Angle or another fixed‑focus wide‑angle medium-format camera you enjoy, let me know how you use it and what you like about it.
Here's a link to my other Camera Reviews.
Cuny's Cameras and Photos is my online eBay store where I sell some of the cameras I've reviewed, along with lenses, and other odd photo items. Please stop by and browse around. I list my items with a "make offer" option, so if you see something you like, make a fair offer, and I'll most likely accept. Let me know you saw my blog.
Until next week, please be safe.