Zeiss Kolibri-The Hummingbird

My Zeiss Kolibri Camera

The Zeiss Kolibri, which means "Hummingbird" in German, has always been a camera I wanted for my collection. I liked it mainly because it's very sleek and petite and resembles a 35mm camera, but its main attraction was its use of a larger 127 film size. The camera was built only for a few years, from 1930 through 1932, but I've seen ads for it through 1935.

 I had the opportunity to purchase one when I visited an antique store while on a trip to Minneapolis a couple of years ago. Still, I didn't pull the trigger to buy it, and ever since that trip, I've regretted it, so when I noticed an online auction for a few of the Zeiss Kolibri cameras come up for auction, I jumped on the opportunity and bid on two. At first, I thought these were different years of production, one being older than the other. One is more worn and used than the other. Both have the "cane," which keeps the camera upright, and both are in working condition.

 I won the cameras in the auction for a fair price, including the auction house commission and shipping fees. When the cameras arrived, I was pleased to see both in good working condition. One of the cameras seemed well used, and the other needed the aperture scale indicator, something I didn't notice when I bid on the items. Still, overall, I was pleased with the purchase and wanted to take one of the cameras out to see how it would perform.

History:

The story of Zeiss cameras is deeply intertwined with the evolution of optical technology and the art of photography. Founded in 1846 by Carl Zeiss in Jena, Germany, the company began as a precision mechanics and optics workshop. While its early focus was microscopes, the company's commitment to innovation soon extended to camera lenses and photographic equipment, establishing Zeiss as a pioneer in the optical and photographic industries.

The two Kolibri cameras purchased

 In the late 19th century, Zeiss gained prominence for its advancements in lens manufacturing. In collaboration with physicist Ernst Abbe, the company introduced revolutionary optical theories that improved lens quality and design. This partnership led to the creation of the Zeiss Anastigmat lens in 1889, which minimized distortions and chromatic aberrations, setting new standards for photographic lenses.

First Zeiss Logo

As photography gained popularity in the early 20th century, Zeiss partnered with other manufacturers to produce complete cameras. In 1926, Zeiss joined forces with several German camera companies to form Zeiss Ikon, consolidating its leadership in the industry. Zeiss Ikon cameras, like the Contessa-Nettel and the Ikonta, became renowned for their precision engineering and exceptional optics.

 One of Zeiss's most iconic contributions to photography was the Contax series, introduced in 1932 to compete with Leica. The Contax cameras were known for their innovative designs, including using a rangefinder system and superior Zeiss lenses like the Sonnar and Biotar. These cameras quickly became favorites among professionals and enthusiasts for their sharpness and reliability.

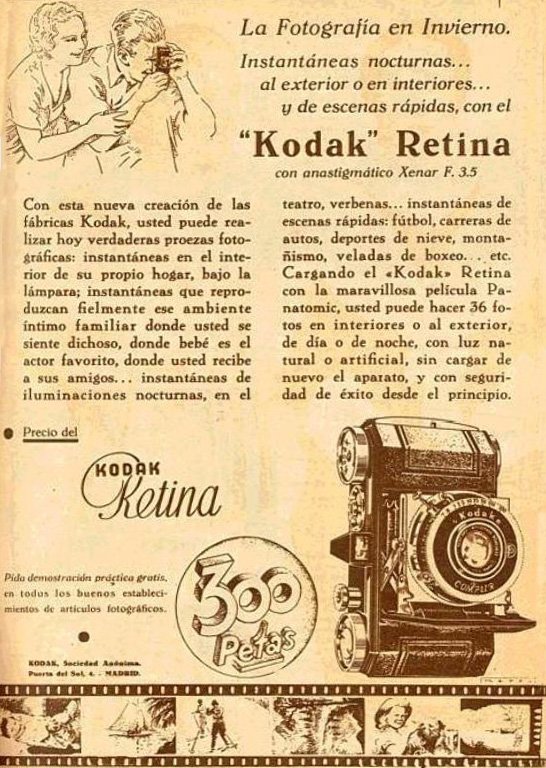
Ad for Zeiss Kolibri camera

During this period, Zeiss also developed a range of lenses that became benchmarks in the industry. The Tessar lens, introduced in 1902, remains one of the most widely used lens designs in photographic history, praised for its sharpness and compact size.

World War II disrupted Zeiss's operations, splitting the company into East and West divisions. The East German division, headquartered in Jena, retained the Zeiss Ikon name, while the West German division, based in Oberkochen, became Carl Zeiss AG. Despite the division, both branches continued producing high-quality photographic equipment.

In the 1950s, Zeiss partnered with Japanese camera manufacturers, most notably Yashica, to produce the Contax series. This collaboration introduced groundbreaking features like TTL metering, which became an industry standard.

 By the late 20th century, Zeiss shifted its focus from producing cameras to developing advanced lenses for various manufacturers. The company collaborated with brands like Sony, Hasselblad, and Nokia, bringing Zeiss optics to a broader audience. In 1996, the Contax G2, a rangefinder camera with autofocus and electronic control, became a cult favorite, blending modern technology with classic Zeiss craftsmanship.

In the digital era, Zeiss continues to push the boundaries of optical technology. Its lenses are widely used in professional photography, cinematography, and even smartphones. The company's commitment to precision, innovation, and excellence defines its legacy.

 From its beginnings in 19th-century Jena to its status as a global leader in optical technology, Zeiss has profoundly shaped the world of photography. Its cameras and lenses have captured countless iconic moments, leaving an indelible mark on history. Today, Zeiss is synonymous with unparalleled optical quality, a testament to over 175 years of innovation and craftsmanship.

My Camera:

My Kolibri camera is 4.5" tall without the viewfinder erected and 5.5" with it erected, by 3" wide and 2" deep without the lens in the taking position and 2.75" with the lens popped out and in the taking position. My camera weighs just over 1 lbs at 1 lbs .6oz. With the viewfinder down and the lens retracted, it's a very compact and sturdy camera that takes 16, 3x4cm images on 127-size film. The Zeiss Kolibri (523/18) has a couple of different lens and shutter combinations. The one I used to take the photos has a Novar Anastigmat 5cm F4.5 lens in a TELMA shutter. The other camera I received has a Carl Zeiss Jena Tessar 5cm F3.5 lens in a Compur shutter. A third model has a Zeiss Biotar 5cm F2 lens. All of the different lens/shutter combinations are in a chrome polished tube that pulls out to take the photos and to retract, grab the "wings" on either side of the lens, turn the lens slightly counter-clockwise, and press the lens back into the camera body. You also grab the "wings" to pull the lens out to take photos.

The Telma shutter has only three shutter speeds, 1/100, 1/50, and 1/25, along with "B" and "T" for timed exposures. The Compur shutter is more extensive, with shutter speeds starting at 1/300, 1/100, 1/50, etc., to 1 sec along with "B" & "T." The shutter release is on the left-hand side with the Telma shutter, and you do not need to cock the shutter; just press the shutter release and the shutter fires. On the Compur shutter, the cocking mechanism is on top of the shutter, and the shutter release is below, so there is a little difference between the two cameras in the shutter and shutter release function.

Telma shutter

On both cameras, the aperture settings are under the lens with a little slide that points to the aperture setting. Focus on both cameras is done by a slider knob on top of the camera, with the closest focus at 1 meter. On the bottom of the ring that has the "wings" on it is a hole that the "cane" or strut fits into to keep the camera upright, with either the lens out or retracted. Using the "cane" is excellent for timed exposures, connecting a cable release to take a timed exposure. There is a cable release socket on both cameras incorporated into the shutter.

The aperture ring is under the lens. The shutter release is on the left, and the self-timer is on the right with a red dot.

To load the film, you slide the knurled knob on the top of the camera in the direction of the arrow to open the back to load and unload the film. Once you open the back, you take the empty spool and put it on the left end, which has the winding knob, then put the fresh roll of film into the film chamber, pull the leader to the empty spool, put the leader into the slot on the reel and turn the winding knob until you see "start" on the film's paper backing. At this point, close the back of the camera and wind until you see the number 1 in the lower of the two windows. Now that you're ready to take your first photo, lift up the front and rear viewfinders so you can frame the image and take your photo.

 Since the camera has two red windows on the camera's back, the spacing between the top and bottom windows is the same as the negative size. You would take the photo once you wind the film so the number 1 appears on the bottom window. Once the photo is taken, wind until you see the number 1 in the top window, then take the picture. After you take the photo with the number 1 on the top window, roll until you see the number 2 on the bottom window and do this through the number 8.

Here's where I had some issues, and it's something I kept in mind when I was done taking the photos. In my small and simple mind, as I was holding the camera in a vertical position, it was in my mind that the camera would take a vertical photo. Unfortunately, that's not the case. If you're holding the camera in the vertical position, the camera is taking a horizontal image due to the orientation of the frame area in the camera. So, the photos I took that should have been horizontal were taken vertically and vice versa. I felt like an amateur when I finished taking the photos, only to realize I did it wrong.

 The viewfinder is tiny, and since I wear glasses, it's challenging to use. Its size also made it difficult to frame the photo accurately. Toward the end of the roll, I would just point the camera at the subject and "guess" on the framing, which seemed pretty good, with the exception of the vertical/horizontal format mishap.

Small viewfinder and glasses do not mix well.

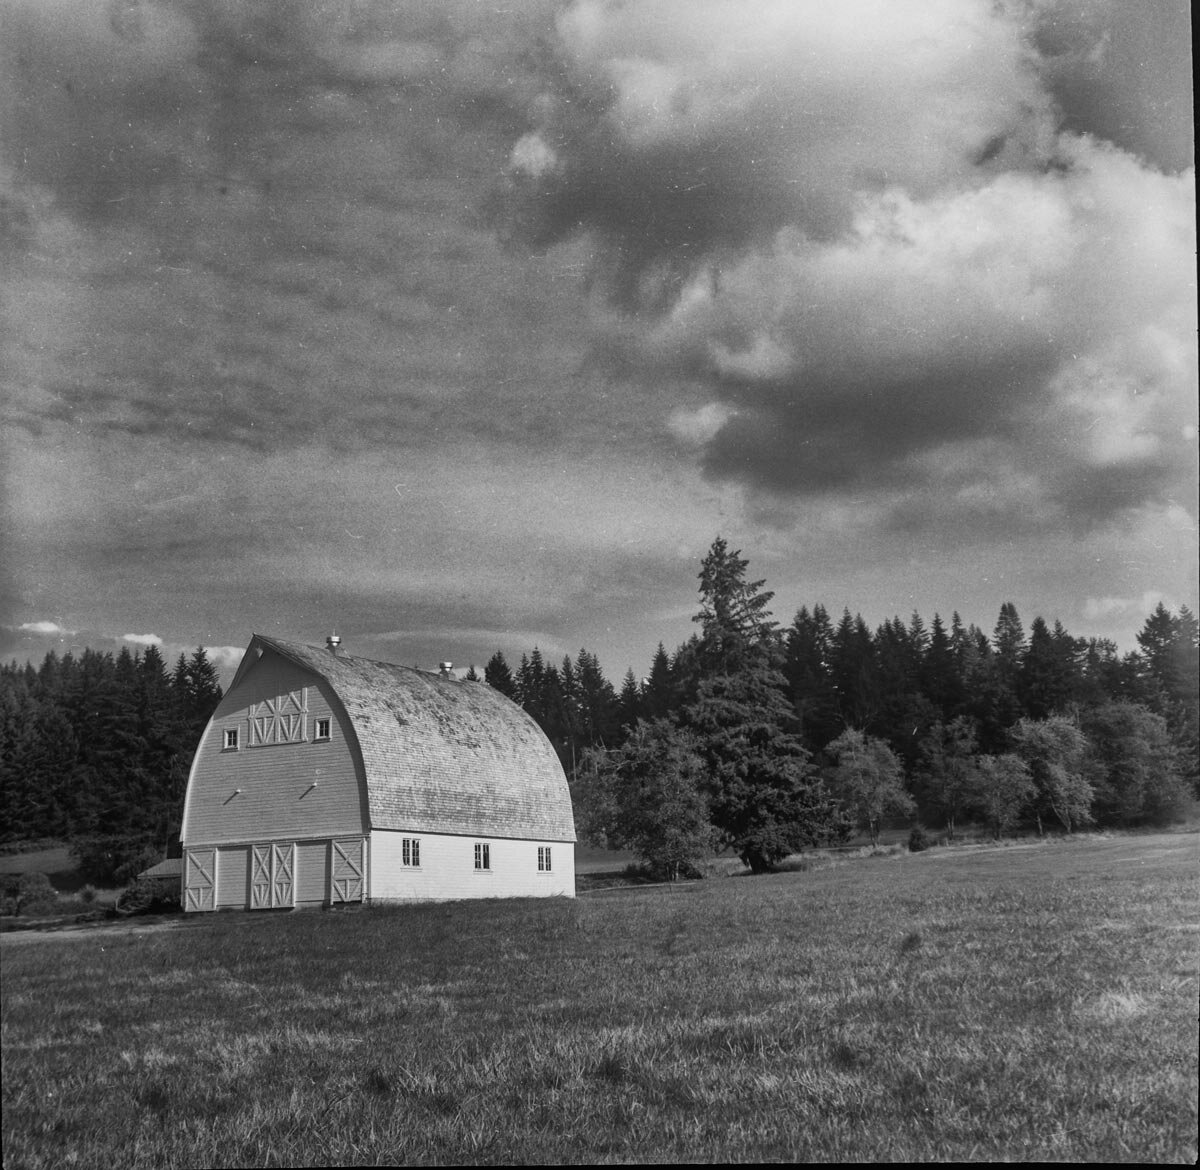
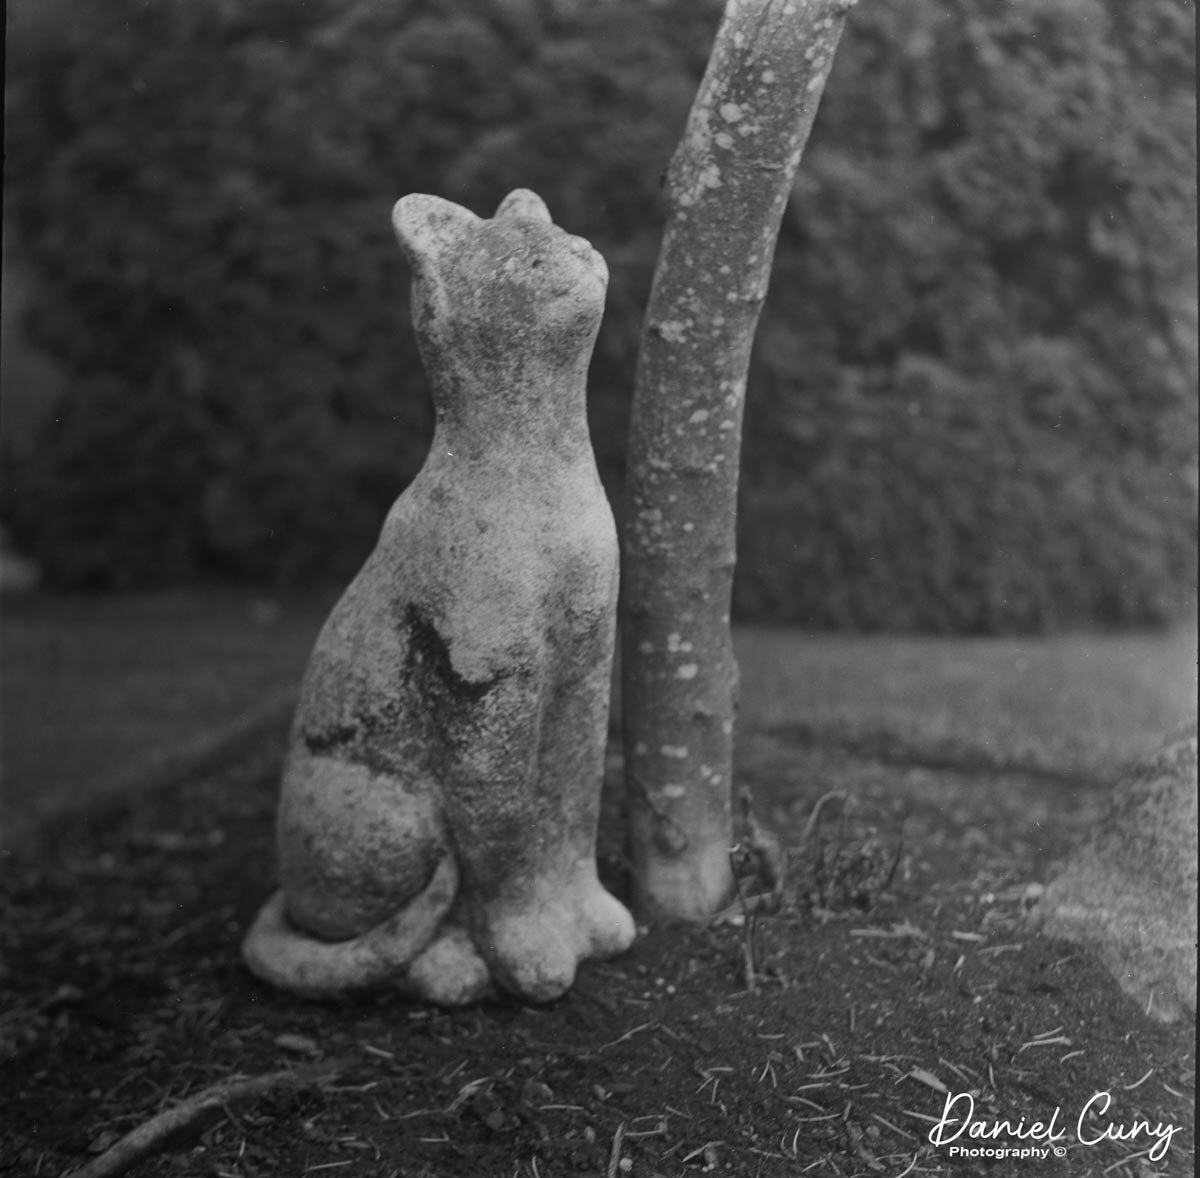
 Once the photos were taken, I unloaded the film and processed them, and they turned out nicely.

 The serial numbers for my two Kolibri cameras are only 40 pieces off. The more well-used version is S.98995, and the Kolibri with the Compur shutter is S.98955, so they were built relatively close to each other. 

 My initial belief was that the camera with the Telma shutter was an older version. I believed that it was an older model because one camera was more used than the other. Now, I realize that the shutter and lens combination would be for a more or less expensive model that the consumer would purchase. If someone wanted the less expensive Telma shutter with a slower lens or the more expensive faster lens and Compur shutter, that made more sense to me.

My Results:

Here are some of the images taken with my more well-used Kolibri camera. I used it because the other camera didn't have the aperture settings, and I would have had to guess at the aperture. That would have been okay, and I'm a pretty good judge of that, as I could have marked on the camera what I thought the aperture setting should be.

Conclusion:

Except for my confusion about the vertical/horizontal format and the camera orientation, it's a fun camera. It is very well made, the photos are nice and sharp, and the camera fits nicely in my pocket when the lens is retracted and the viewfinder is down. As it is compact and sturdy, I can use it more often.

I look forward to shooting more photos with this in the future, but I must remember that when the camera is vertical, it's taking a horizontal photo.

 Thank you for taking a few minutes from your day to read about this gem of a camera. I hope to see you next week when I review another camera from my collection.

 Until next week, please be safe.


Bussox-Sport Luxe Camera

he Bussox-Sport Luxe camera is another beautiful camera purchased at the Paris flea market when my wife and I traveled there this past summer. While visiting one of the hundreds of stalls within many buildings comprising the Paris flea market, I found a wonderful gentleman with a case of cameras and other photographic items for sale. 

My Bussox-Sport Luxe Camera

As I mentioned in many of my previous blog posts, I love cameras that are colorful or unusual. Maybe they are toy cameras shaped like a soccer ball or a cartoon character. I own many colored box and folding cameras that are different from ordinary black box or folding cameras. That's what drew me to this wonderful, small, and odd camera.

 Within the stall, there was a case containing a group of glass negatives, the Zeiss Super Nettel that I previously wrote about, and this lovely exotic brown camera, which looked very familiar but had a name that I wasn't familiar with. I purchased all the items and went on my way to find other treasures.

 When I returned to the hotel, I took the brown bakelite camera from its case and did some more research. I found out the camera is called Bussox-Sport Luxe, made by Ruberg & Renner and explicitly exported to France from their factory in Germany. Also, looking at the back of the camera, it appeared to have a roll of film still in the camera, and the number on the frame was four, so with any luck, I could process the film and find other photos that might interest me.

The Company:

A few years ago, I wrote a blog post on a different Ruberg & Renner camera, and at that time, there needed to be more information regarding the company. In that post, I wrote: The Ruberg cameras were manufactured by the Ruberg & Renner company, located in the Delstern district of Hagen, Germany, during the 1930s.  The company was started in 1918 by Josef Ruberg, who originally started producing drive trains for bicycles, motorcycles, and automobiles. After 1930, the company began making simple cameras. In 1931, Josef obtained a patent for constructing a simple camera in Germany. He also received a patent in the United States in February 1932.

 The patent application states that the simple and very inexpensive production of all the camera parts from synthetic resin, which was done from a single pressing process, "makes it possible to place a cheap camera on the market that is affordable to all. " In the 1930s, Ruberg & Renner manufactured four models with 25 designs for export to the USA, Great Britain, and France. The cameras' construction ended in the mid-1930s when the company started producing products to help the German war effort.

 After doing some digging, I came up with the following: Along with cameras, chains remained the company's main business. From 1935 onwards, the series production of ammunition belts marked the end of camera production in Hagen, which shortly afterward followed. 

 Josef Ruberg had designed new metal cartridge belts for machine guns in 1917. The Treaty of Versailles banned the production of automatic weapons and accessories from 1919 to 1935. In February 1936, Ruberg & Renner applied for a patent for a metal cartridge belt for the MG 17 (caliber 7.92x57 mm). These specialized units are equipped with ammunition for machine guns and military equipment in the military air force. The sons also worked in the company. Felix (1909-1994) was born in 1937 in Delstern. It manufactured on-board gun carriages until the beginning of 1945. In 1941, his son Werner (1912-2005) took over the management of the Ruberg & Renner chain works.

 Ruberg & Renner continued producing drive and transport chains in 1947. The Felix Ruberg metal goods factory manufactured household appliances. From the early 1950s, Ruberg & Renner promoted cycling and motorcycle sports. Roller chains were used in particular here. Until 1967, the company, like the Schweinfurt Torpedo Works and Fichtel & Sachs, had its racing teams in the Federal Republic. In the following years, the firm of the US-American company Rexnord was taken over. Rexnord Kette GmbH relocated its production from Delstern to its current location in the Lennetal near Fley in 1982. Much of the historical information comes from the Westfalen Museum.

My Camera:

My Bussox-Sport Luxe camera is 3" tall, including the winding knobs, by 3 5/8" wide, by 1 5/8" deep with the lens retracted and 2.5" deep with the lens away from the body and focused to the closest focus distance, which is 1 meter. The camera weighs 6.1 oz, which is very small and compact, and takes 127 rolls of film, producing 1.25" by 1 5/8" sized negatives. On my camera, it's etched by the previous owner 4x6 1/2 in many different places.

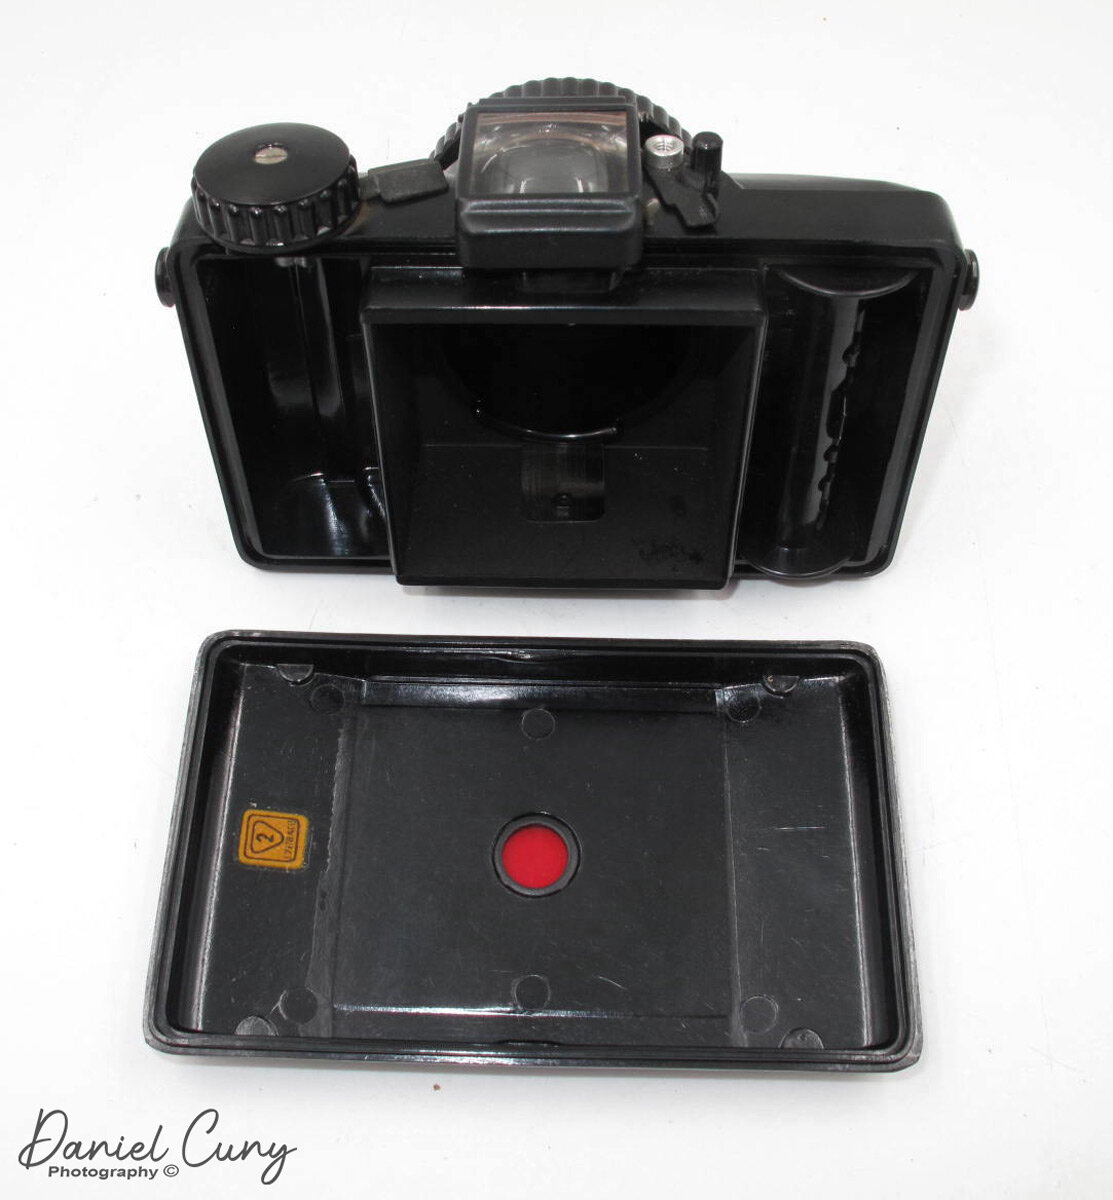
To open the camera to load the film, a chrome button is on the left side of the camera if you're holding it to take a photo. Press the chrome button, moving a brass grip from holding the door closed on the camera. There are a couple of "thumb grips" on both the back door's top and bottom, which you hold onto to open the back. The back door doesn't come off the camera as it's hinged, and the door swings to the right to open.

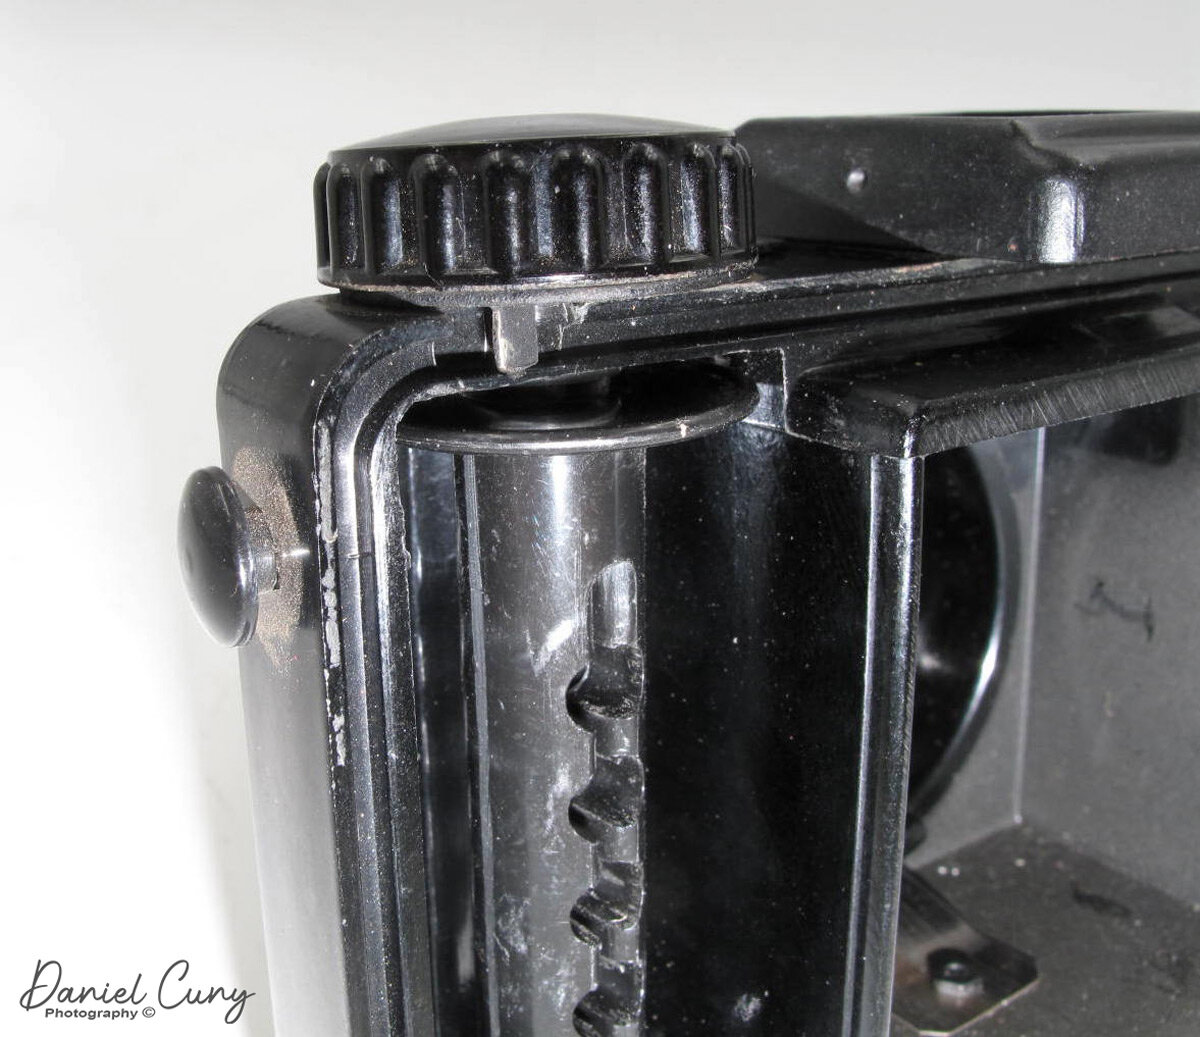
On many cameras, to load the film into the camera, you pull up the tabs that hold the spool into place, which I tried, but the knobs didn't move. You need to turn the knobs which make you think you're unthreading them. By doing so, the knobs move away from the body of the camera, and you can load a roll of film or move the empty spool into the take-up position. The fresh roll of film goes into the camera's right side and you pull the leader to the left side where the take up spool is. This is backward to many cameras, or the many that I use, as the take-up spool is generally on the camera's right side.

Now that the film is loaded into the camera, it's time to take photos. The camera has a straightforward meniscus lens. There is a knurled collar around the lens that you need to turn in a clockwise motion to extend before taking a photo. The lens barrel is on a helicoid, which extends the lens when the knurled ring turns, much like on a bolt.

 For the shutter, two settings are located in the upper right of the lens and include settings "I" for instant or turn the wheel to "T" for time. Below the lens are the aperture settings. On this camera, since it's for the French market, there is Grand for the widest setting and Petit for a smaller aperture setting. One of the settings is Ferme, which means firm. When the aperture is set at Ferme, it does not open over the lens or block all light from reaching the film. 

Focus control on Bussox-Sport camera

Since there is no lock for the shutter, the shutter release in the 7 o'clock position on the lens can fire at any time when pressed. Whether the lens is out or in, the shutter will fire. This setting is similar to a lens cap, and by putting it in position, if the shutter fires, no frame will be exposed to light or wasting film. The photographer would need to consciously set the camera into and out of this setting every time they put it into the case or pocket, then change it when taking a photo.

To retract the lens to put it back into the camera case, you turn the knurled ring counterclockwise, and the lens retracts into the camera body. I can now understand the "Ferme" setting, as many of the negatives on the roll in the camera when purchased were exposed with the lens in the retracted position, as you can see in the results area on the post.

The results:

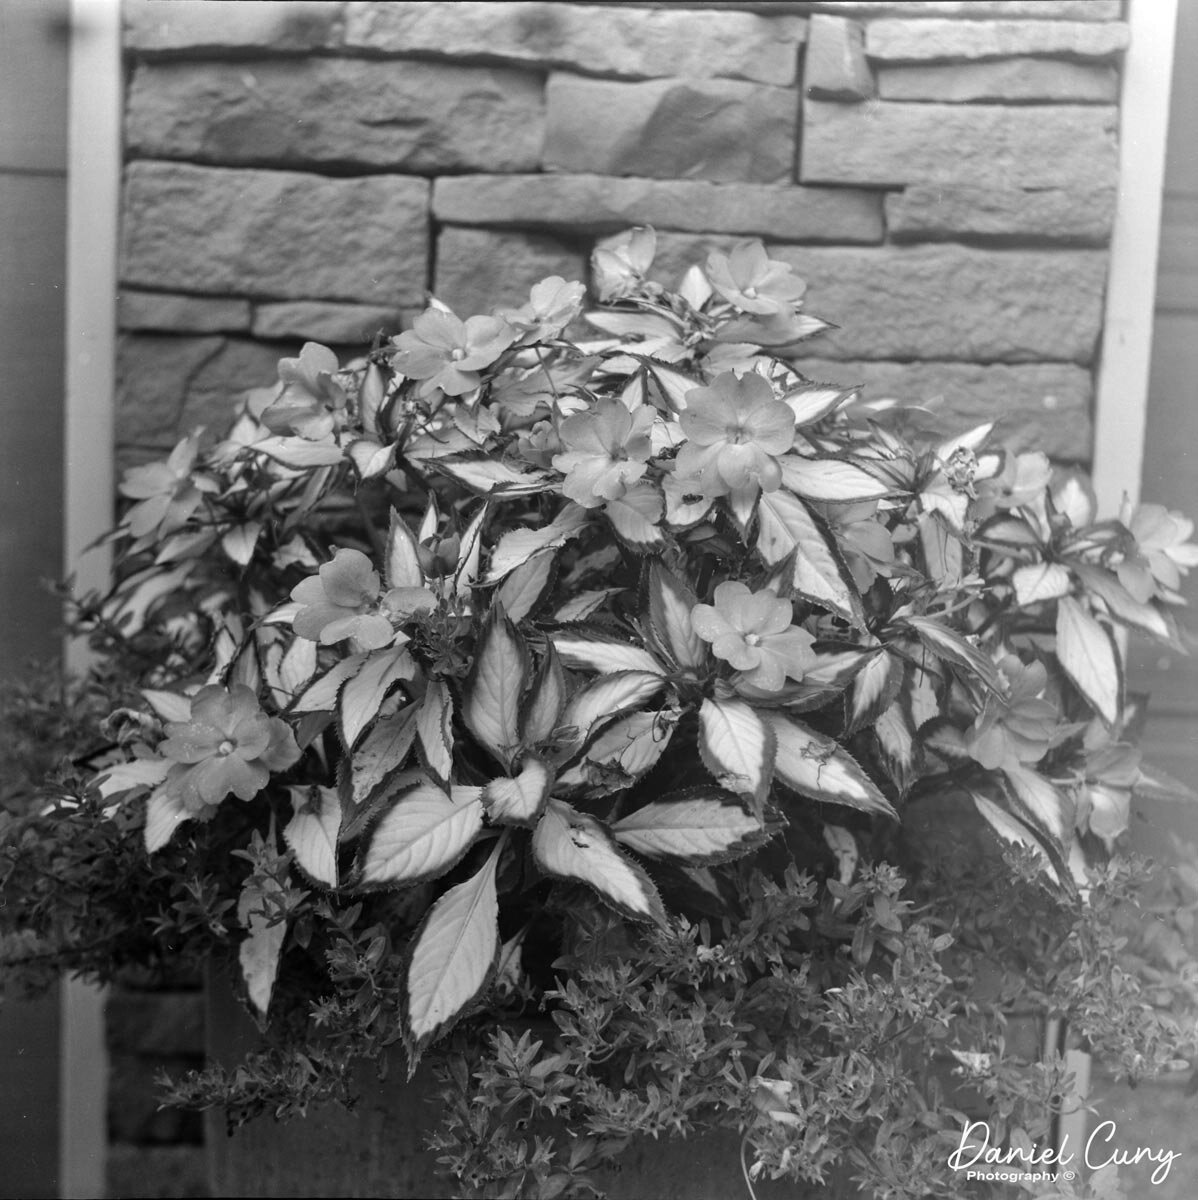
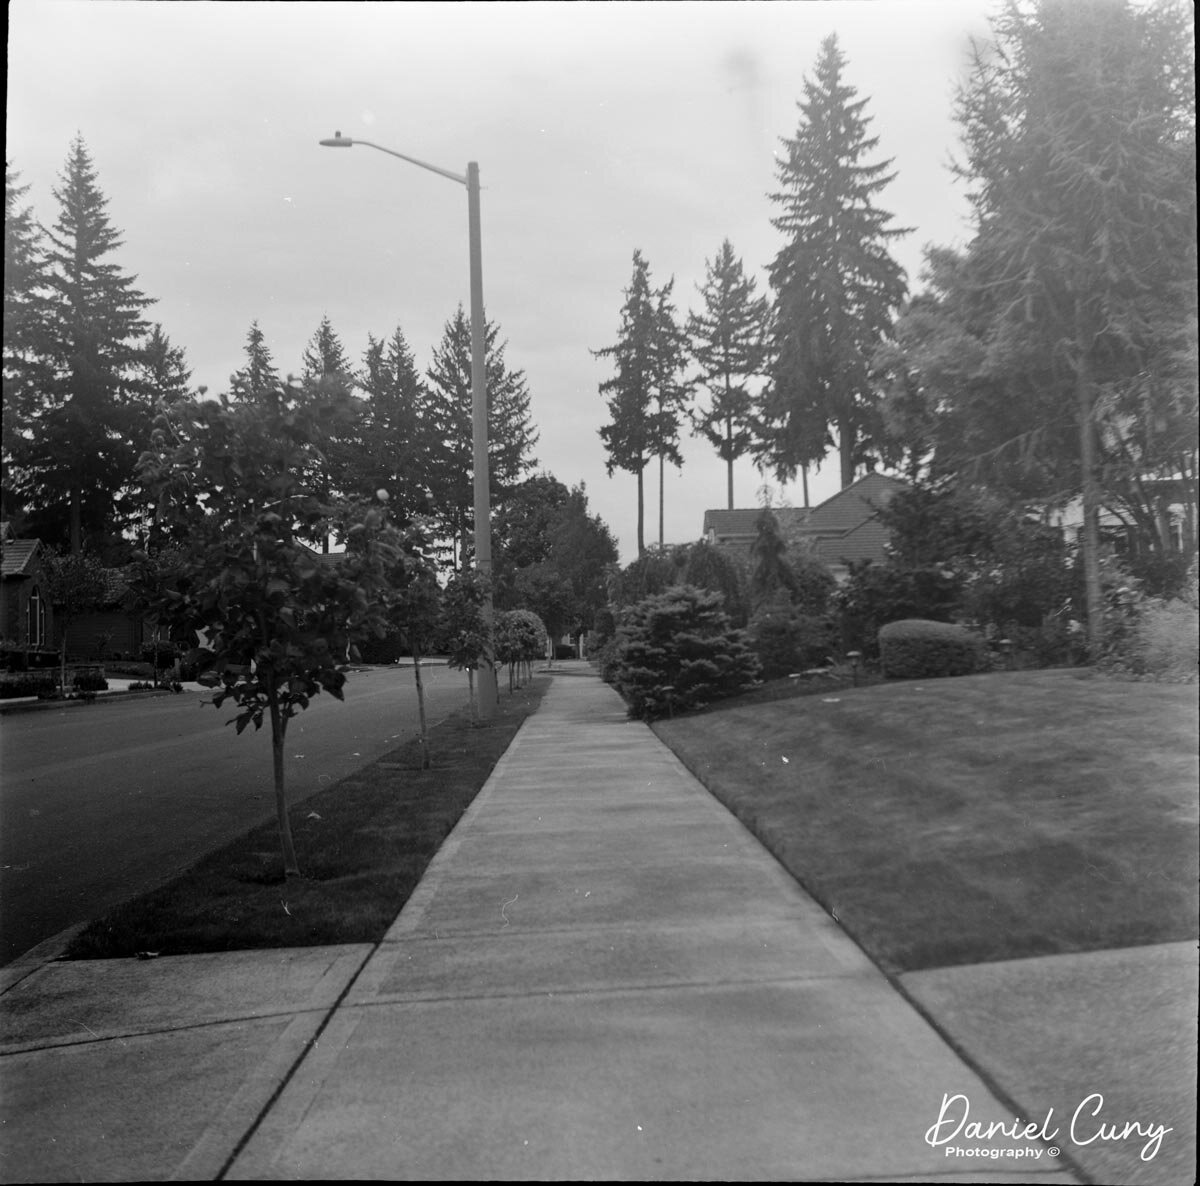
As mentioned, the camera had a roll of 127 Agfa film, so I walked in front of my house and took photos of a planter box and some trees in our neighborhood. There were only about four photos left. After taking the photos, I went home and processed the film. It didn't surprise me, but the images within the camera didn't turn out, and the ones I did around our hose turned out barely and were extremely thin in the exposure on the negatives.

 Here are the results from the film in the camera. As I mentioned earlier, I did note that it's easy to take a photo when the lens is retracted, making the image size smaller on the negative, which you can see on the negatives.

My Conclusion:

The shutter on my camera doesn't always work, so while I'd like to put a fresh roll in it and try it again, I don't think the shutter can take it as it's barely opening and closing as it is. I'll get brave and see if I can take the front off and fix it, but it's resting along with many other cameras in my collection. I love the color and the helicoid lens system.

Thank you for taking a few minutes to look over this week's blog post. I'd love to hear from you, so let me know your thoughts and if you have any of the Ruberg & Renner cameras in your collection.

Until next week, please be safe.


Nova Subminiature Camera

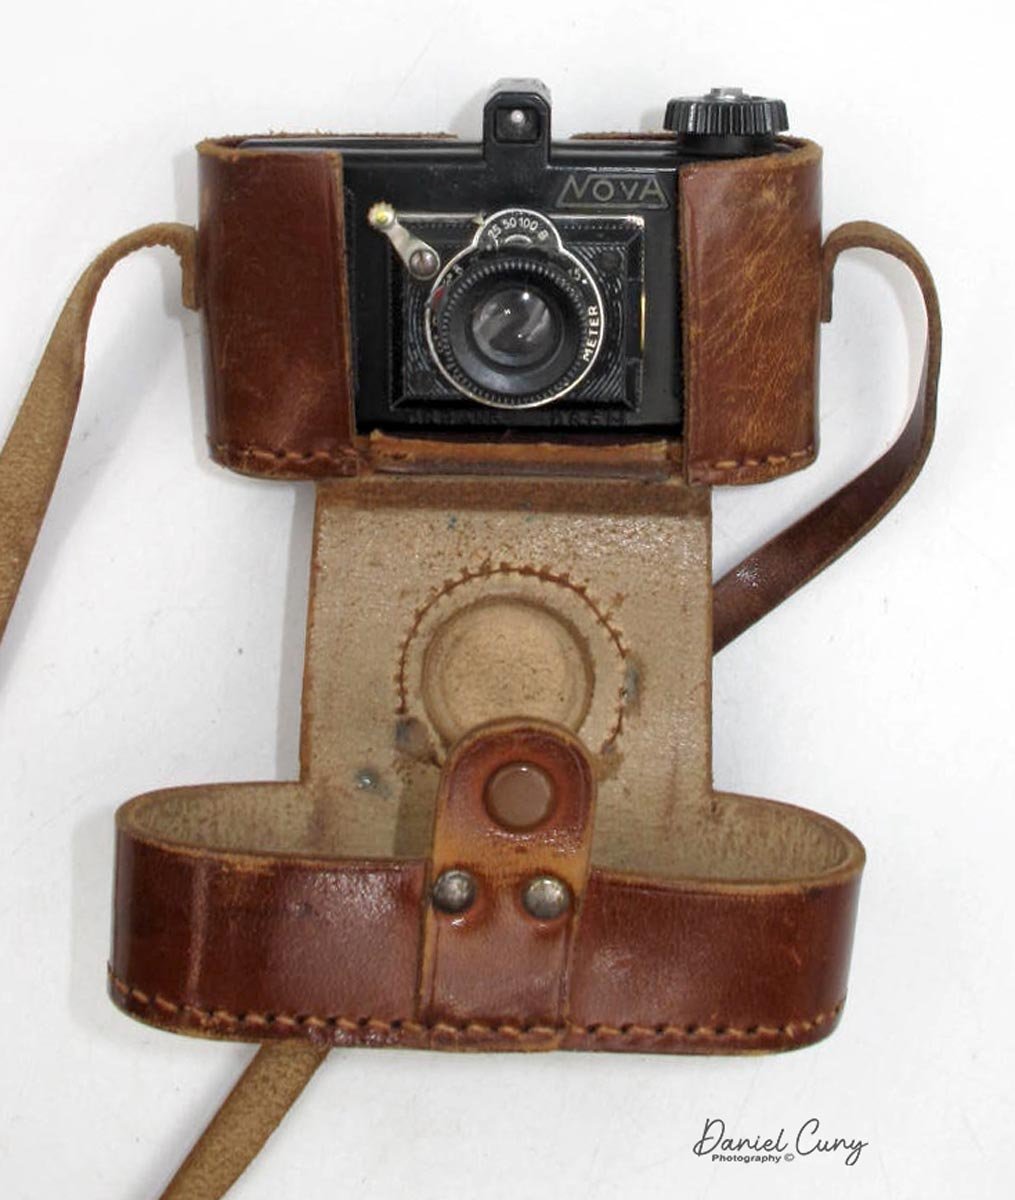
This is my Nova Camera

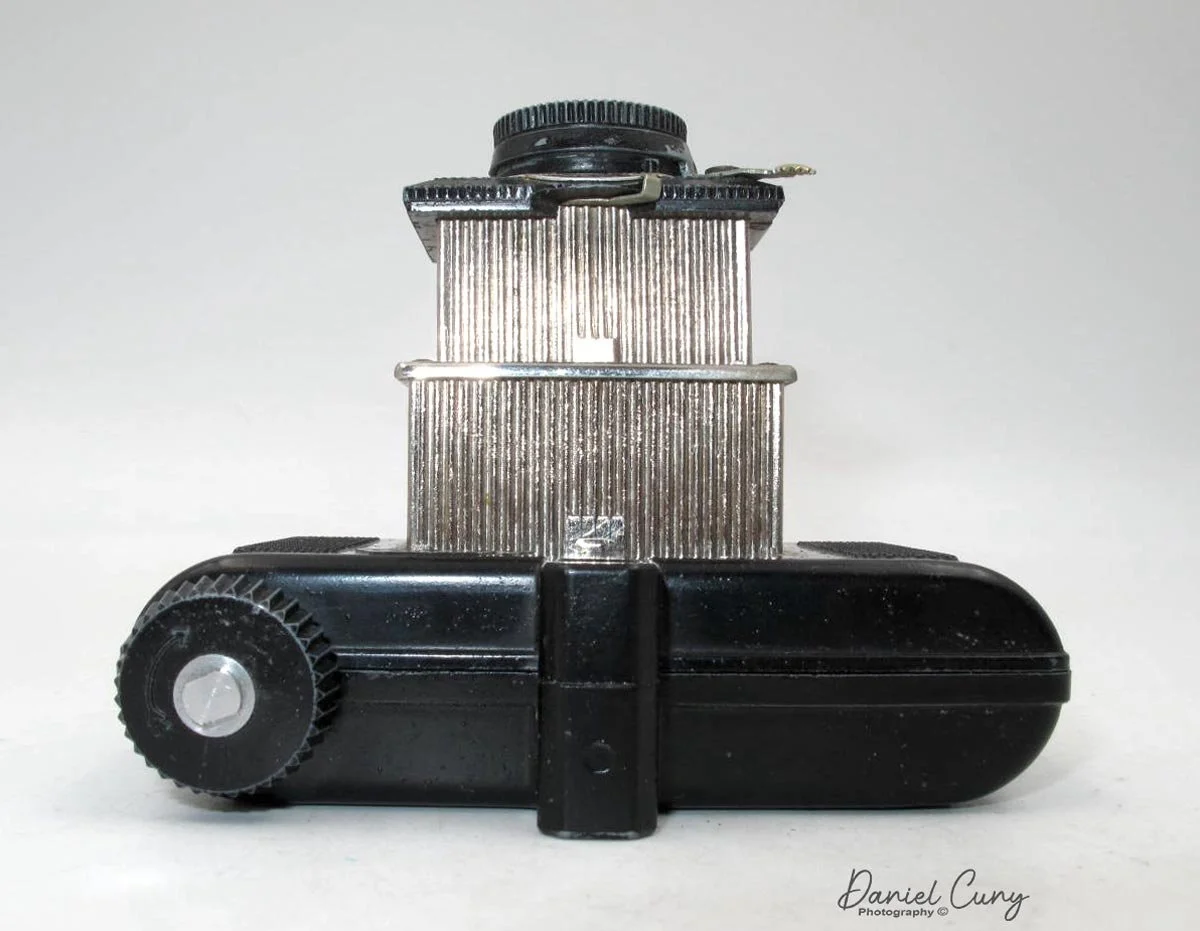
My camera collection is very eclectic, and I am drawn to odd and unusual cameras and photo items. I did a blog posting on the Minolta Six camera a couple of weeks ago. What drew me to that particular camera was that it didn't have the standard cloth bellows system but rather a series of metal cubes that pulled out and retracted back into the camera to form the bellows. These were very similar to a camping cup, where the larger rings pull away from the smaller ones on the bottom, creating a cone-shaped cup. 

 A year or so ago, there was a pretty major auction of cameras in the United States, with hundreds, if not thousands, of cameras and other photo items sold. There were many "lots" that had several cameras, maybe as many as 25-30 grouped into similar lots. I won one of these "lots" that had several smaller and subminiature cameras, many in their cases and several in the original box. The Nova Subminiature camera was in that particular lot.

I can still remember unwrapping the camera and opening the case to a camera I had seen in McKeown's Camera price guides many times. When I pulled the bellows out to find that they had a cubed bellows system, I immediately put the camera on my display shelf because I was drawn to its look.

The Company:

Here's where it gets odd. The only thing I can find about this camera or who made it was that it was created by Erwin Adloff Apparatebau, Berlin-Wilmersdorf, in 1938. Even that is suspect, according to McKeown's guide, as they have the Nova listed separately. There is a camera called the Adloff Tex camera, which has a body similar to the telescoping box bellows but with a more elaborate shutter. 

Nova Camera closed. It’s very compact.

Another oddity about this camera was that it was designed by Fritz Kaftanski, who was born in Essen, Germany, in 1899. According to the information found online, Kaftanski started designing Fotofex Kameras in Berlin in 1927. In 1932, Fotofex showed the Visorflex camera at the Leipzig fair and introduced other cameras a few months later.

 In 1934, the Sida and Extra Sida were tiny cameras produced in Germany, then later in Poland and Czechoslovakia under license in Italy. In 1937, Kaftanski moved to Czechoslovakia with the Sida patent, where production continued. Then, according to all I can find, Kaftanski moved to Paris in 1939, so sometime before moving to Czechoslovakia, he either designed the Nova for Erwin Adloff or someone else who remains unknown designed the camera.

Since little is written about this company, my best guess is that Erwin Adloff Apparatebau, Berlin-Wilmersdorf, was a small manufacturer producing one or two cameras just before World War II broke out. Many records either went missing or were possibly destroyed during the war. Fritz Kaftanski designed the Nova sometime before 1938, when it was produced. However, from what I can find online, I don't see any definitive proof or acknowledgment of Kaftanski designing the Nova, although he did create many other cameras during this timeframe.

 My Camera:

My camera is pretty small, measuring 3 5/8" wide by 2" tall by 1.5" deep with the lens retracted and 2 5/8" deep with the lens extended. The camera without the case weighs 7.1 oz, and with the case 9.9 oz. It uses paper-backed unperforated 35mm film, known as Bolta film, which was very popular during this timeframe and something I discussed in my last post.

When you first look at the camera, it looks extremely plain, yet it has some Art Deco features, like the lines around the lens and the text used for the name. Pulling the lens away from the body reveals the double box bellows, which are very ribbed silver. When the camera is flat on its back with the bellows extended, they almost give the camera a wedding cake look.

On either side of the camera is a textured finish to the metal design to help with gripping. I don't know how much gripping is needed for such a small and lightweight camera. On the back of the camera are two more grips on the sides of an exposure table explaining the shutter speed depending on the distance to the subject, shutter speed, and aperture set on the camera. There is no mention of different film speeds. Just above the exposure table is a green window, and another green window is the camera's viewfinder. Just below the exposure table is the word "FOREIGN," and on the front, below the lens, is D.R.P. ANG D.R.G.M, meaning this was made for domestic or international sales.

 The camera has three shutter speeds: 1/25, 1/50, and 1/100 sec, along with "B" for timed exposures. On the side of the lens is a lever that can be pulled out to change the aperture from wide open at f4.5 to f6.8. This is very similar to what box camera employed to change the aperture. At the 10:00 o'clock position, around the lens is the shutter release, and around the lens is the focus adjustment in meters, with the closest focus being 2 meters.

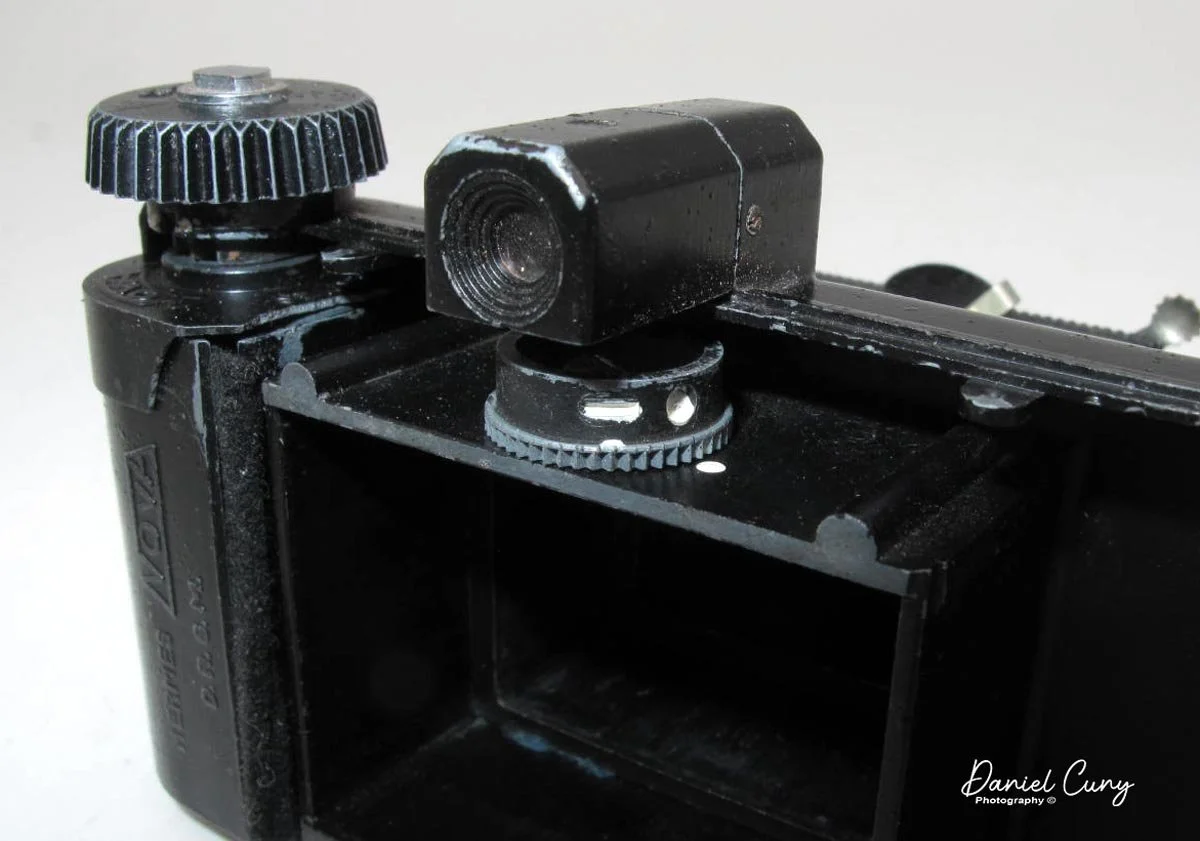
To take the back off the camera, there are two knobs you pull apart to get to loading and unloading the camera. Two films should be holding cassettes in the back of the camera, but mine only came with one. Interestingly, the film holding cassettes is Hermes Nova. Did the French company Hermes design the film holders, and how was a French company involved in this? This could be where the involvement of Fritz Kaftanski comes into play, as he did move to France in 1939, the year after the camera came out. Were there discussions between Kaftanski and Hermes during the mid-1930s?

Hermes Nova film cassette.

On the top of the film holder are four bumps or knobs that need to align with the slots on the camera film advance knob, otherwise, the film cassette won't fit in or out of the camera. Once the slots and the knobs are aligned, the film hold comes out quickly, and you can take it apart to load the film into the cassette. 

Once the film is in the camera, the film moves over a geared wheel above the film chamber, rotating a wheel with a white dot and white dash. As the film transports across this wheel, you can view this movement through the green window on the back of the camera, just above the exposure table, so you can tell when your following exposure will be as there is no frame counter on the camera, nor are there numbers on the Bolta film, so this was the only way to tell when you got to the next frame.

Conclusion:

I couldn't use this camera since I didn't have Bolta film to shoot with or a second film cassette, even if I did have the film. The Nova is a beautiful little camera, and I enjoy having it in my collection. Since the camera was only made for a year, how many cameras were made is unknown. Looking at the back door, there is 1114, which may be the serial number, but not 100% positive. Due to the lack of production and not seeing many for sale, I guess it's a reasonably rare camera.

My Nova camera in the fitted leather case

Thank you for taking time out of your busy day to review my film blog. I have another great camera picked for next week's blog, and I hope you'll look out for it.

 Until next week, please be safe.

Zeiss Ikon Super Nettel

Upon my first encounter with the Super Nettel camera, I was immediately drawn to its understated elegance and subtle Art Deco influence. This is my second Super Nettel, having previously owned the Super Nettel II, a similar model with a few distinct modifications.

My Zeiss Ikon Super Nettel Camera from 1934

 When my wife and I were in Paris earlier this year, I always enjoyed visiting local flea markets to look for anything photographic, whether it's cameras, lenses, old negatives to digitize, daguerreotypes, or just photo nickknacks or accessories. I made my way to their larger flea market area on a Saturday morning, and in one of the stalls, a lovely gentleman had some Leicas and other rarer cameras. I would have liked to purchase more than I did, but I'd pick up this very nice looking and working Super Nettel camera. In the back of my mind, I always pictured myself doing a blog post on it, especially since the camera was in good working condition, especially for a camera built 90 years ago.

 The Company:

Zeiss Ikon, a company formed in 1929 through the merger of four prominent camera companies in Germany, including Ernemann, Goerz, Ica, and Contessa-Nettel, was a significant investment by the Carl Zeiss Foundation. The company had two main divisions: the camera and the optical. 

 With the new company's formation, almost all of the cameras had Carl Zeiss lenses, and the other companies that had optical manufacturing, like Goerz, had to shut down their optical divisions. With the formation of the new company, almost all of the cameras were using Compur shutters, and like the optical companies, the majority of the shutter companies were also absorbed within the new company.

This group was one of the biggest manufacturers of cameras and lenses in the world, producing many top-quality 35mm cameras like Contax and several high-quality folding cameras like Super Ikonta, which to this day are highly desirable due to their workmanship and quality optics. Until WWII, Zeiss was also a major manufacturer of movie cameras and medical optics.

The cover of the instruction manual. Thank you Pacific Rim Camera.

 After WWII, Zeiss was split into East and West German companies. The company was in Stuttgart in the West, and there were disputes with East Germany about the trademark. The West German ceased production of cameras in 1972. In East Germany, many of the factories were dismantled and sent to the Soviet Union. The Soviet camera manufacturer Kiev received much of the equipment, and in 1948, the Zeiss company became government-owned

 In 1948, the company introduced the new Contax S model, which had a different look from their earlier line of rangefinder cameras, but due to the split between different countries, there were trademark and naming disputes with West Germany, so in 1958, the company changed the name to VEB Kinowerke Dresden and later was rolled into Pentacon.

 After Germany's unification, Carl Zeiss reintroduced the Zeiss Ikon name and produced a rangefinder camera that was introduced at Photokina in 2004. The camera was built by Cosina in Japan and had the Leica M mount for lenses. Like the Contax G and G2, there were lenses made in both Japan and Germany for the camera.

My Camera:

For me, the reason I enjoy shooting with a Rangefinder 35mm camera is due to a few different reasons. The cameras are smaller and more compact to carry. They are less noisy to photograph due to the shutter system and not having the noise of the clunking mirror flopping up and down. Granted, the rangefinder focus is more challenging to use. It takes some time to get used to, or the ability to see what you're getting when you put on different lenses, so there is a trade-off between an SLR and a Rangefinder-style camera.

 The Super Nettel camera was made in 1934 as a "less expensive" camera to their Contax line. To open the front door to expose the lens system, there is a button on the top center of the top plate you press in, and the lens, which is attached to the bellows, pops out. My camera has the less expensive Carl Zeiss Jena 5cm (50mm) f3.5 Triotar lens. The camera had a more expensive Zeiss Tessar 5cm f2.8  or 5cm f3.5 lens. Around the lens are three screws in the 2 O'clock, 5 O'clock, and 8 O'clock positions, which are for holding on an accessory filter or the lens hood.

When closed, my camera measures 5.5" wide by 3" tall by 1.5" deep. When the lens is exposed, it is 4" deep, including the front door, which folds down. The camera weighs 1 lb, 6.3oz. 

 Around the lens is the aperture control, which goes from F3.5 to f22. The Super Nettle incorporates the same or a very similar rangefinder system as the Super Ikonta cameras. Around the outer rangefinder window is a knurled ring that you turn to focus the rangefinder system, bringing the two images together to get a focused image. On the outside of the knurled ring is the focus distance in meters, along with a small depth of field scale.

Note the three screws aaround the lens to hold the accessory filters and hood.

 To retract the lens and close the front door for travel, there are two knobs on the outside of the door that you press in, and at that point, you can press the lens back into the camera body, which will also close the front door, which will lock once pushed in.

 On the back of the camera are two windows. The window on the left is the viewfinder for composing the photo, and the window on the right is the rangefinder window for focus. They are both pretty small windows, but they do an adequate job.

The left window is the viewfinder, and the right is the rangefinder.

On top of the camera is an accessory show for putting on an accessory viewfinder, which has a few different options according to the instruction manual. Next to the accessory show is the frame counter, and next to the frame counter is the advancing knob which also incorporates the shutter speed settings and cocks the shutter. Inside the winding knob is the shutter release. On the far left side is the camera's rewind knob to retract the film when you're finished shooting the entire roll of film. In between the frame counter and the winding knob is a small button. This button unlocks the winding sprocket, so when you rewind the film into the canister, you don't rip off the sprockets of the film.

From left to right are Rewind knob, Viewfinder window, Accessory Shoe with Opening button in front of AS, Frame Counter, Rewind unlock, Winding knob with Shutter Speeds.

To take the back off to load the film, you'll need to look at the bottom of the camera, where there are two handles on either end of the camera. Flip up the handle and turn the handle 90 degrees. One knob will go clockwise and the other counterclockwise. The back will slide off the camera, exposing the incredible metal rolling curtain-style shutter system, the same as the Contax and other Zeiss cameras have incorporated into them.

 You load the camera like you would any other 35mm camera with the film canister going on the left, pulling the leader to the take-up spool, and making sure the sprockets are engaged with the "advancing" sprocket, which is advancing the film across the shutter. Once on the take-up spool, I always take up the slack on the rewind knob, so when I put the back on and advance the film, I watch for the knob to turn when the film pulls out of the canister s. I know the camera is loaded correctly. To put the back on, slide the back into the camera and turn the locking handles the opposite way, and the back is locked into position.

My results:

I need to practice what I teach. I only got a few good photos from this roll of film, as after the sixth frame, the film sprockets tore, and the film didn't advance through the camera. However, the frames I did get were well-exposed and very sharp.

Conclusion:

What another fun camera to shoot with! I enjoyed the camera's ability to focus and handle when out and about shooting. Since I had a mishap with the film tearing, I wanted to get the blog out. I will add more photos down the road when I take the camera for a trip some weekend, and I want a great-quality camera with a very sharp lens to be creative.

 I already have the camera picked for my post next week, which I hope you'll come back to look at at your leisure. 

 Until next week's post, please be well and safe.


Zeh Zeca-Flex Camera

This camera combines the compactness of a folding camera with the quality and handling of a twin-lens reflex camera. The Zeh Zeca-Flex is just the camera mentioned above, and I've had my eye on it for many years. However, the rareness and price have always eluded me until I went into a great used camera store in Salt Lake City, UT, Acme Camera.

 The first time I went into Acme Camera, they were in their older location, and the store was filled with photo knickknacks. I struck up a conversation with the people there who were selling used gear, servicing cameras, and renting for the local photo community. On my second visit, back in one of the cases was the Zeca-Flex I currently have. The camera was in excellent condition, with clean optics and a working shutter. I offered a trade for the camera, and they accepted. I was elated to have the camera so I could do a blog article on my Zeca-Flex.

History:

In the early 1900s, around 1901-1902, Paul Zeh produced camera parts like shutters in his workshop in Dresden for some of the other local camera companies in Germany. In 1913, he started producing cameras, and by 1922, the company Paul Zeh Kamerawerk was started. In the early years, the company mainly produced folding plate cameras or cameras that took images on glass plates, which was very common at that time period.

During the 1920s, the company did very well. At this time in photo history, roll film was starting to become more popular. The photographer or photo enthusiast didn't need to carry bulky film holders. All the photographer needed to do was put in a roll of film and get 8, 10, 12, or 16 different photos on the same roll of film without the hassle or inconvenience of loading and carrying the film holders. 

The Pilot Reflex camera, produced in 1931 by Kamera-Werkstätten Guthe & Thorsch in Dresden, has a very similar style and appearance to the Perfekta and the Super Perfekta; you can see a review by Mike Eckman of the Pilot.

 During the late 1920s and 1930s, the company expanded production into folding roll film cameras. These cameras were more compact and allowed the photographer to travel with less equipment, so their popularity grew.

 By 1937, Zeh produced the Zeca-Flex, a folding, twin-lens reflex camera. Its design is very similar to that of the Welta Perfekta, which was produced in the 1933-34 timeframe, and the more robust Super Perfekta introduced in 1935. The Perfekta and Super Perfekta were made by Welta Kamera Werk, which was in Freital, a very close town to Dresden. 

I'm confident Zeh wanted to compete with Welta on this camera style. Unfortunately, this camera style didn't catch on with consumers. Hence, with all three cameras, the Perfekta, Super Perfekta, and Zeca-Flex were the only cameras made and are rare and somewhat expensive.

 WWII took a toll on Dresden as the Allies leveled the city due to its large manufacturing capabilities. By 1948, the Zeh plant closed, and the company went out of business. My guess is that some of the Russian companies took some of the camera manufacturing machines to produce some of the after-war cameras. This is just my guess, though.


My Camera: 

The condition of my Zeca-Flex is unusually excellent for a camera that is almost 90 years old. The metal is still shiny, and all the functions move like when the camera was first purchased in the late 1930s.

 The camera measures 7.5" long without the light hood open. When the light hood is open, it measures 9.25" tall. The Zeca-Flex is 3.75" wide and closed; it's 2.5" from the front of the viewing lens to the rear of the camera. When the camera is open, it measures 4.75". The Zeca-Flex weighs 2lb—5.2 oz.

The lens on my Zeca-Flex is a Schneider Xenar 7.5cm (75mm) f 3.5 in an F. Deckel Compur Rapid shutter. The shutter speeds go from 1/400 to 1 sec with both "T" and "B" settings. Since I don't have a proper shutter tester, all the shutter speeds sound accurate to my trained ear. The viewing lens is a Sucher Anistigmat f2.9 lens.

To open the camera, there is a small button on the left side as you hold it to take a photo. Press that small button in, and the lens door unlocks. On my camera, you need to pull out the lens to put it into the taking position. There are knurled grips on the sides of the lens door to pull the lens out. Also on the lens door is a flip-out stand that allows you to stand the camera up, which is very common in folding cameras.

Note the small button on the side of the camera used to open the lens.

To close the lens, there are two buttons on either side of the backdoor. You press in towards the camera body, then slide the lens back into it and close it until you hear the locking "click" sound, which means the lens is back and locked in the camera body.

 On the back of the light hood, there is a sliding bar you slide over to open the light hood for viewing purposes, and on the side of the light hood is a switch you can flip up or down the magnifying glass for critical focusing.

There is a latch at the top of the back door, which you slide up to open the film door to load and unload film. In my camera, there is a roll film holder you put the roll of film into before putting it into the camera. The film holder is something I've never seen before, and on the first roll, I needed to figure out which way the film rolled across the shutter, but it was easy to figure out. Now that I've done it, it makes sense, and I won't have difficulty in the future.

 The frame counter resets to number 1 when I close the back of my camera, or at least it was there when I put film in it. There is a button on top of the frame counter. When I slide that button over, the frame counter goes to number 5, so my guess is that isn't correct. I can't find an instruction manual for this camera online, so I'm not 100% sure of the correct way to get maximum frames from the camera. 

There is a red window on the back, which I'll use in the future, as I did miss a few frames at the beginning of the roll when I shot with it. The film advance is on the bottom of the camera and is directly tied into the frame counter, whether you have film in it or not. The frame spacing on my camera was good once I got to the first frame and used the frame counter to find the next frame.

 To focus the lens, as you hold the camera to take photos, there is a wheel next to the viewing lens. I rolled my finger across it one way or the other to achieve proper focus, which was the easiest and made the most sense to me.

This is the focusing wheel. I used my finger to slide back and forth to focus.

Results:

Now that I had a roll of film in the camera, I took it out and walked around the neighborhood to get some photos.  Here are some pictures I took on my walk with the stunning Zeca-Flex camera.


Conclusion:

The viewfinder wasn't the brightest, and achieving good focus was difficult even with the magnifying glass up. Another negative about using the camera is where the shutter release is placed. There is no shutter release button, so you need to cock the shutter and then release it with the shutter release button, which is in an awkward place and thought my finger would be in the photo, but it wasn't.

Besides these two items, the camera was a joy to shoot with, and I feel lucky that my camera is in such good condition. I will use it again, but I'm putting it back on the shelf and trying something different for next week's blog post.

 Thank you for taking a few minutes to review some of the cameras in my collection.

 Please be safe, and I hope to hear from you soon.

Robot Royal 36 Camera

Being a big fan of The Robot cameras and having done an earlier blog post on the Robot Luftwaffen Eigentum camera, I wanted to get a camera I could use when we went on vacation or just out for the weekend. Years ago, I came across an excellent and working condition Robot Royal 36 camera. It was from an online auction, so I made a relatively low offer and won it.

 When I received it, I was surprised by the weight and heft of this particular camera. I put it through routine tests to see if the shutter was indeed opening and closing, which it was. The lens was clean, another positive, and the transport was active and in good working condition.

 When COVID hit, I was laid off from one of my favorite jobs. I started writing my camera blog. After being off work for ten months, I got hired for a better position and loved the job, company, and boss, but I put the camera on my shelf for the next four years until I recently retired and started writing my camera blog again.

History:

Otto Berning & Co. started in Dusseldorf, Germany, in 1933. Otto Berning and Co. began to manufacture amateur cameras in 1934 when a young watchmaker in his 30s, Heinz Kilfitt, designed the first compact camera for what Robot would be so well known for. The design had a spring-loaded motor winder, a unique item brought to the camera industry due to his watchmaking skills. Heinz Kilfitt also designed the camera to have a 24x24mm film format. He offered the format size to both Kodak and Agfa, who rejected it, so he sold the design to a young Hans Berning, who was only 23 and worked for his father's company. 

 Robot cameras provide a film format of 24x24mm on most of their cameras. An advantage of the 24x24mm frame size was that the photographer could get 50 images on a roll of film instead of the standard 36 in the traditional 24x36mm format. Another advantage was that there was no need to turn the camera for vertical shots.

Some unique features of the Robot cameras are that they use a rotary shutter and sprocket film drive system, which are more common in the cine cameras of the time. Robot cameras also have a 90-degree switchable viewfinder, allowing the photographer to point the camera in a different direction while looking through the viewfinder and taking photos. All the cameras have a winding motor of film advance system that allows the photographer to wind the motor and shoot rapidly up to 5-6 frames on a single wind, depending on the camera.

 Robot also provided either Carl Zeiss or Schneider-designed lenses on their cameras, which gave the photographer unparalleled sharpness in their images. The cameras were die-cast zinc and stamped stainless steel bodies chalked full of clockwork inside, and they are very sturdy and extremely well made, a testament to the high-quality materials used in their construction. 

During WWII, Robot produced cameras for the German Luftwaffe to put on their Stuka dive bombers. After the war, Robot continued producing high-end cameras like the Robot Star and Junior cameras. Robot produced the Robot Royal in three formats, with a few feature and film format variations. 

My Camera:

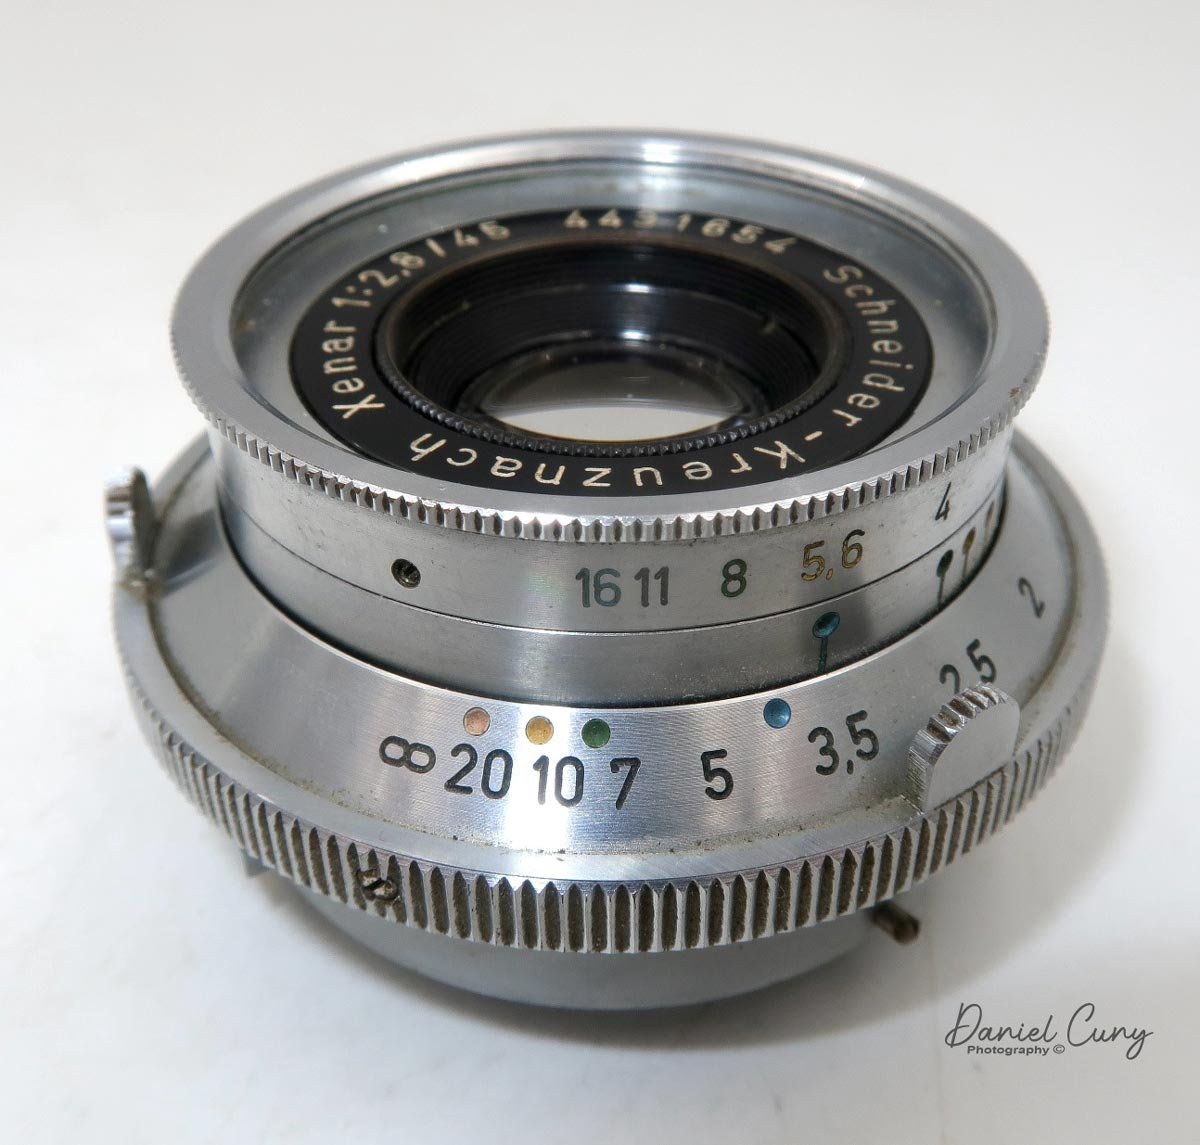
My model is the Robot Royal 36, model III, and it has the film format of 24x36, the most common film format for 35mm cameras. My camera has a Schneider Xenar 45 mm f2.8 lens. My camera has a Schneider Xenar 45mm f2.8 lens. It measures 5.5" wide x 3" tall x 2.75" deep from the front of the lens to the back of the camera and weighs a whopping 2 lbs. 0.4 oz. That's the first thing I noticed when I unwrapped the camera. This is a very solid and well-built camera with unique features that set it apart from other cameras. 

To open the camera, as you hold the camera there is a chrome tab with etching on it on the left side. With your thumb, you lift that and the latch and open the back of the camera. Unlike most 35mm cameras, this camera has a take-up spool you need to load the leader into as opposed to just putting the film leader into the take-up slot, and the camera takes up the film. You need to take the take-up spool apart and thread the film leader into the spool, then put the cassette back together and load the film and take-up cassette into the camera. Then fire two frames, and you're ready to go.

My camera has shutter speeds from 1/2 sec to 1/500 sec, along with B for timed exposures. The bottom of the camera has a winding mechanism that allows me to fire 12 photos at full wind, which takes me about ten and a half cranks to wind fully.

Yellow, Green and Blue dots on lens and Aperture number for Zone Focus.

 The rangefinder on my camera is very bright and easy to focus. The other significant item about the Robot camera and lens system is they allow the photographer to shoot with zone focusing, which is fantastic for street photography. The lenses have yellow, green, and blue dots, which correspond to the colored apertures on the lens. The lens's apertures 2.8 and 5.6 are in yellow, F8 is in green, and f16 is blue. All you need to do is match up the color dot on the focus dial and the aperture used, and the lens shows you your depth of field. This procedure is similar to all other lenses, but the color coding makes the system more "user-friendly."

Removing and reattaching the lens of the Robot Royal 36 is simple. A tabbed collar at the bottom of the lens, when moved to the left, allows the lens to be detached. To reattach the lens, align the two red dots and slide the collar counterclockwise. This careful procedure ensures the lens is securely in place.

Switch for “Green Dot” normal film advance, “Red Dot” Close viewfinder and “R” Rewind film back into canister.

Once I shot the film, One the back of the camera and to the right of the viewfinder is a switch with a green dot for regular forward film transport, there is a red dot which closed the viewfinder half way and "R" for film rewind. I put the camera in the "R" position and reminded the film as a regular 35mm camera procedure. On the bottom front of the camera are the flash sync ports for "X" (electric flash) or "M" (bulb flash) settings.

Results:

 I took a roll of film, put it through my camera, and walked around my backyard to see how the camera performed. This is the first time I got to shoot with the camera since I bought it 4-5 years ago, and there were a few anomalies in the camera. There seems to be a slight light leak, but to be 100% transparent, the film I used was old, and one I had shot just a few frames with and rewound the film with the leader exposed more than ten years ago, so I can't 100% blame it on this camera.

Conclusion:

While Leica has the prestige, Robot and Alpa are probably the best-built cameras in terms of craftsmanship and overall quality. The camera is excellent, the lenses are fantastic, and it offers things built into the system, like motor advancement and an excellent feel. I had a great time shooting with it, and I need to run a fresh roll of film through this beauty more often.

Thank you for taking time from your busy day to review this blog.

Until next time, please be safe.

Primarflex II by Bentzin

I have been excited to do a blog post on this camera since I acquired it a couple of years ago as part of a group of cameras from an auction. The camera came as a kit with the case, extension tubes, lens hood, and film holders. When it arrived in excellent condition with a working shutter and clean lens, I was anxious to put some film in it and take a walk around my yard snapping photos.

History:

Bentzin has always been known as an innovator and a company that excelled in quality cameras like Primar, Primarette, and Primarflex. Carl Bentzin was born in Görlitz on February 8, 1862, died on May 23, 1932, and is buried in grave number 260, Old Görlitz Cemetery. He opened his first factory in 1989, located at Rauschwalder Strasse 28 in Görlitz, Saxony. He changed it in 1893.


In 1899, Bentzin entered into negotiations with Carl Zeiss regarding a collaboration with Dr. Paul Rudolph, who had developed their anastigmats: Planar, Protar, and Ulnar lenses. Zeiss was looking to build cameras so they could put these lenses on them, and Bentzin had the expertise of the time to do so.

 The "Aktiengesellschaft Camerawerk Palmos" was founded in 1900. They produced cameras at the Zeiss factory in Jena and the Bentzin factory in Görlitz. In late 1900, the "Film-Palmos 6x9" camera was produced at the factory. In 1901, the bank ran into financial difficulties, and Zeiss took over production in Jena. Bentzin ran their own company, run by Carl Bentzin, in Görlitz.

 In the following years, the Carl Bentzin Company produced many high-caliber SLR cameras and even cameras for companies like Voigtlander, Emil Busch, and other German camera companies.

Soon after WWI, Carl started having his son Ludwig take over more of the day-to-day operations of the company, where he honed his manufacturing and business skills. In 1928, Carl turned the company over to his son Ludwig, his daughter Helene, and Helene's husband.

 Carl Bentzin died in 1932 at the age of 70. From 1928, Helene and Ludwig ran the company together until Ludwig's death in 1945. After Ludwig's death, the company went through several different reorganizations as part of the state-owned system, ending as VEB Feinoptisches Werk Görlitz.

The Camera:

Upon my first encounter with the camera, I was immediately drawn to its unique layout. All the controls and settings are conveniently located on the right side, including the film advance, shutter speed control, shutter release, frame counter, self-timer, and flash sync terminals. This thoughtful design, detailed in the manual, makes it easy to navigate the camera's functions.

The camera exudes a sense of robustness and reliability. It's more compact than a Hasselblad and larger than a Twin Lens reflex, striking a perfect balance. As an SLR camera, it offers the unique experience of focusing and observing the depth of field through the lens, a feature I particularly appreciate.

To open the back, just behind the viewfinder is a knob that has duo functions. To open the finder, you slide the knob back towards the rear of the camera. Then, open the back to load the film. While the knob is back, you press it down, and the back door opens, revealing the film cassette, which is removable to load the film. To remove the film cassette, you'll need to pull out the winding lever just a bit like you would any film advancing knob to release the gear from the body and the film cassette is easily removable by holding the center handle and pulling it away from the body of the camera.

Loading the film onto the cassette is straightforward for any medium-format camera. Put the empty spool onto the top area where the gear for the film advance is located. Load the new film onto the other area and bring the leader over the pressure plate so the black paper backing is facing out or towards the shutter when you put the film cassette back into the camera body. Put the end tab into the spool slot and wind it a bit until you know the film won't pop off the spool and is starting to take up on the take-up spool. I like to advance the film until I see the arrows of the paper backing, and then I put the film cassette back into the camera. The manual says to reset the frame counter, turn the counterclockwise until it stops, and lift it. DO NOT FORCE IT. A red "zero" appears in the window, then advance the film until the number one appears, then you're ready to go. Unfortunately, my camera reset on the frame counter didn't work, so I advanced until I thought I was at number 1 and started shooting.

Now that I have the film loaded, the viewfinder or light hood, as they call it in the manuals, has a couple of different variations. You can remove it for cleaning. It does have a magnifying glass folded down on the rear of the hood if needed for fine focus. Just lift the magnifying lens into position and focus. It also has a "sports" type finder, which many medium format cameras have, where you can lift a portion on the hood and look through the rear opening through the front opening to get a general sense of composition for quick action photos. If you're going to use this, be sure to pre-focus the camera and use a smaller aperture to allow the depth of focus to compensate for any missed focus.

Focusing the lens and setting the aperture is straightforward. The lens doesn't have an automatic aperture, so you need to open the lens to focus and then manually stop the lens down to the desired and needed setting for proper exposure. A "locking" mechanism for the aperture is used to help with this. You pull back the collar with the red dot and turn it to the desired aperture setting. Releasing the collar "locks" the lens into that setting, which means you cannot go past that setting when you turn the collar back and forth. This lock allows the photographer to open the aperture for brighter focusing, then quickly turn the dial back to the "locked" aperture setting to take your photo. It's easy, and the benefit is that when the lens stops down, you'll see the actual depth of field you'll get in your photograph. When I turned the advance lever, the mirror returned as it should, and to cock the shutter; there was a little extra turn needed to get the shutter cocked again. Having the additional amount to turn is standard, as It did the same function every time I advanced to the next frame.

When I received the "camera lot," it included a set of 4 extension tubes for the camera and three separate cut film holders. I'm very familiar with extension tubes and love shooting with them, but what would you ever use 6x6 film holders for when using this camera? I've never heard of a 6x6 cut film ever produced, so I'm curious how you'd even use them. Doing a bit of fussing around with the camera, the only mention I found was the availability of the cut film holders, but nowhere in the manual does it say how to load them. 

You'll need to open the back of the camera to use the film holders and take out the cassette. A silver clip is at the back of the light hood (Viewfinder). When you slide that clip back towards the back of the camera, you can slide up an insert with a couple of tabs on the top and a couple of small rollers within the insert. At that point, you can slide the film holders into that slot and take out the dark slide, exposing the film to the shutter and, eventually, the light when the shutter opens/closes. After using the film holders, you can put the roller insert back and slide the silver tab towards the lens, locking the insert into place so the film cassette works as it should within the camera.

The lens is a Carl Zeiss Jena 105mm T f3.5 lens, and it has threads on the back, which you use when using the extension tubes, but to put the lens onto the body, there is a red dot on the front of the camera at the 10 o'clock position. All you need to do is line up the red dot on the lens and turn it to the right or clockwise, and the lens locks into place by pressure. To remove, grab the lens and turn counterclockwise; the lens comes off after about a quarter of a turn.

The fitted case is exceptionally well-built. When you open it, the right side of the case folds down so you can access the different operation dials, which is very handy. While my strap is broken, I do see where it's attachable in several places to hold and distribute the weight evenly. The case can be held tightly in the case by a hook on the front and looping into the rear of the case.

Results:

I walked around my front and back yards using my light meter to get the proper exposure for each shot. The shutter works great, and as mentioned above, the aperture and focus move smoothly, so taking the photos was relatively easy.

 Here are the results from the camera.

Overview:

WOW, what a fun camera to shoot with. When I looked through the finder, the images were bright and clear. The focus was sharp, and using the "locking" mechanism on the lens was intuitive and straightforward. I didn't use the extension tubes on this shoot, but I plan on trying them out on an upcoming post for my blog, so keep tuned for that experience.

 Thank you for taking a few minutes to review this posting on a wonderful, well-built camera that should rival any medium-format SLR camera. 

 Until next time, please be safe and well.

Pouva Start

Whenever my wife and I travel, I'm always looking to see if the country we're going to has a flea market or someplace where there might be a possibility to find cameras. It might be in a run-down antique store in Vietnam where I found a few cameras. One of my all-time favorite places was a flea market outside of Prague, Czechoslovakia.

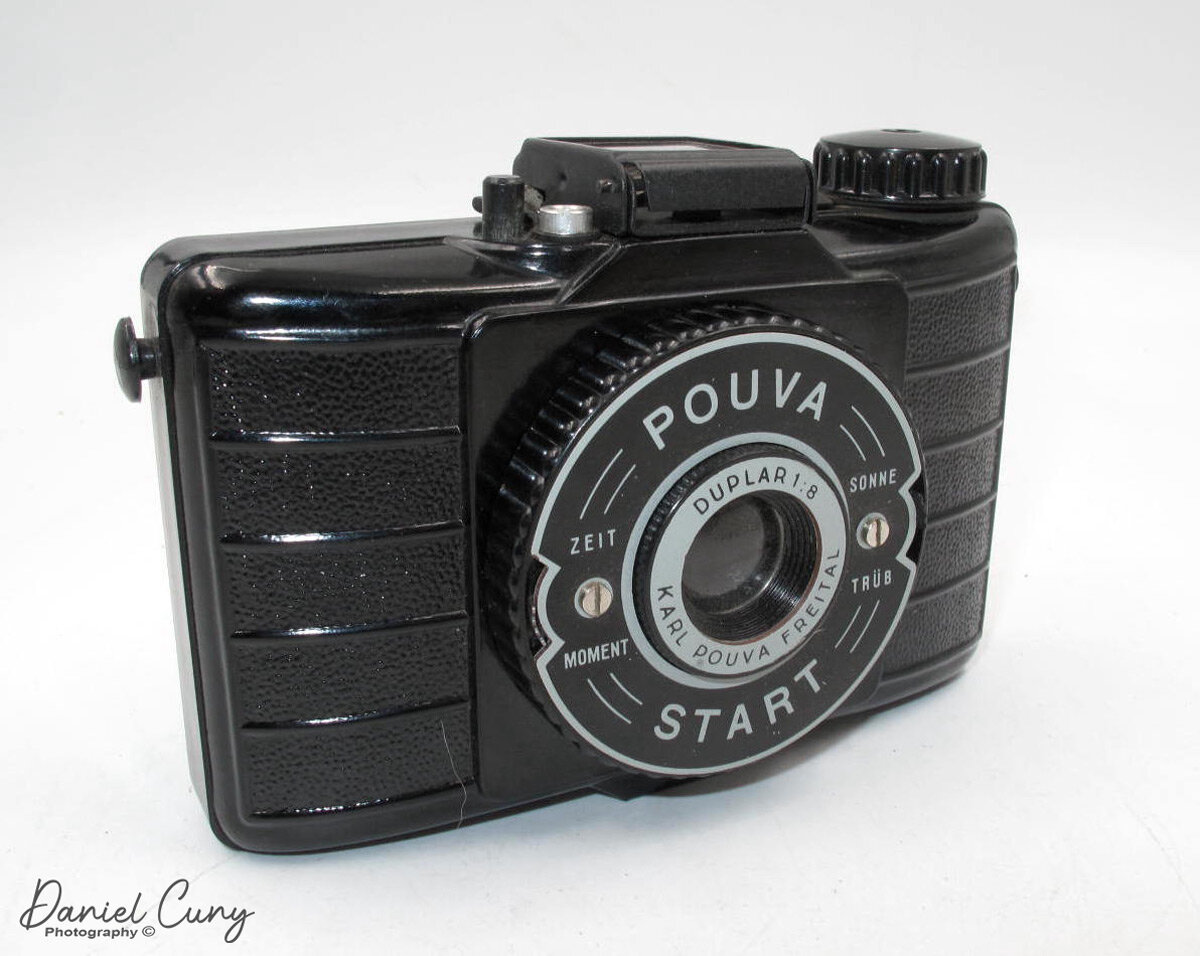
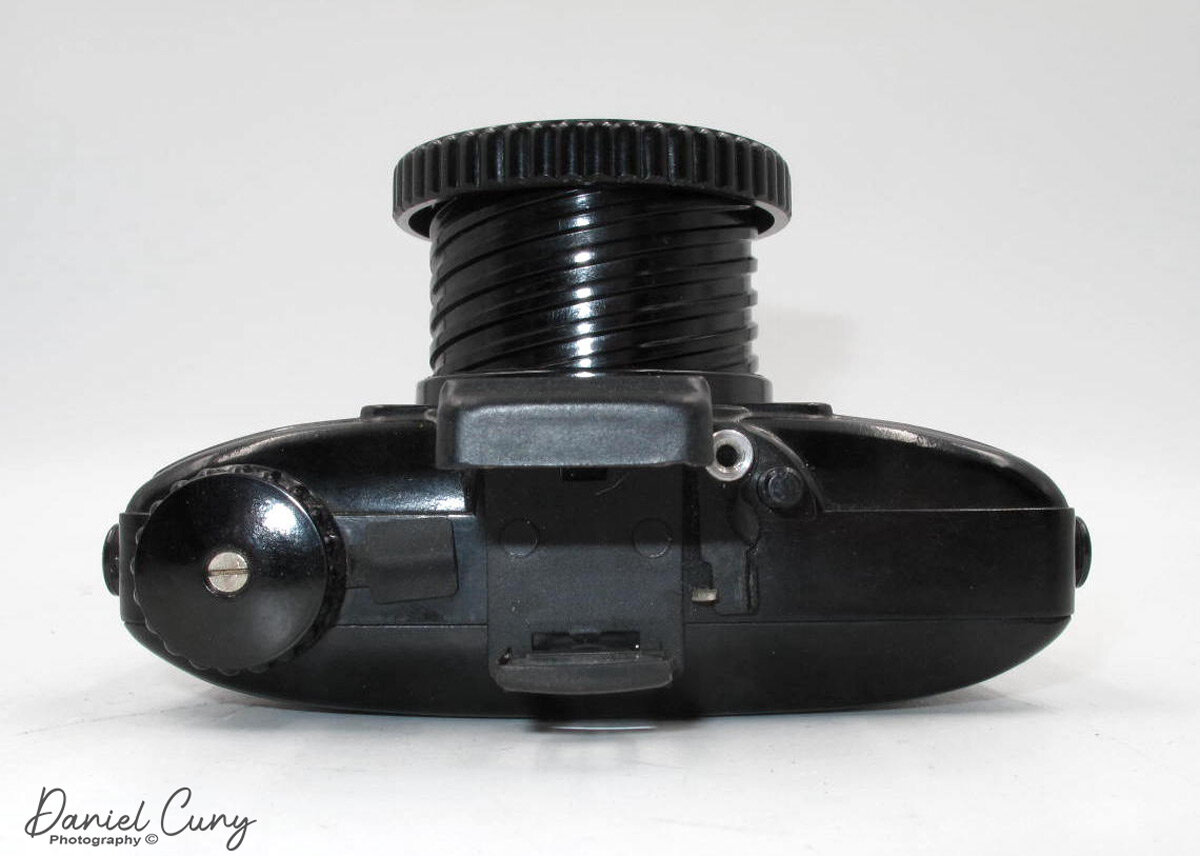
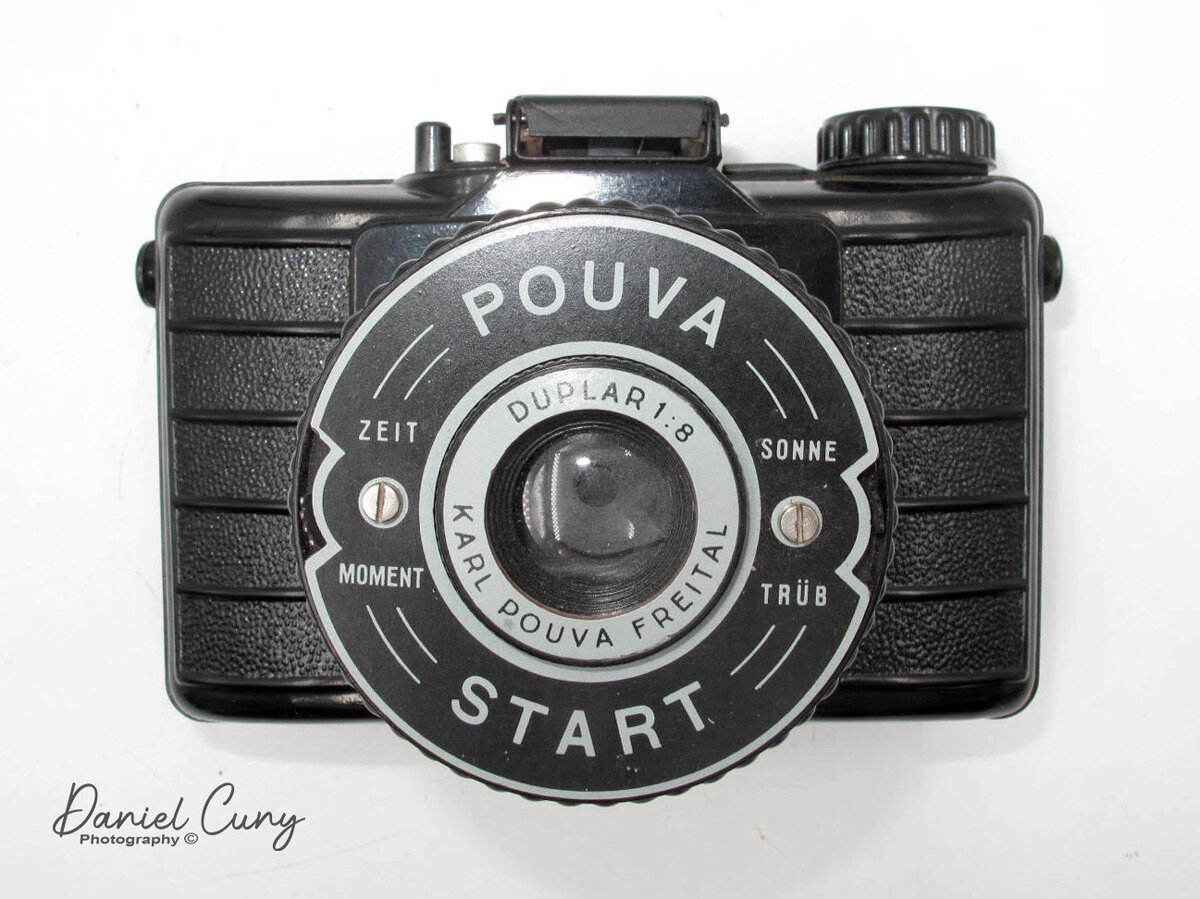
My Pouva Start original model with sport finder opened and lens out.

My Pouva Start original model with sport finder opened and lens out.

The flea market itself was a wild experience. The people-watching and the different items at the vendor's tables was pretty fantastic in itself. I didn't know how many cameras I would find but figured there'd be a good mix of Russian and European cameras. I was correct on both counts, and one of my favorite cameras found there was the Pouva Start. In my opinion, this is a classic 6x6 format Lomography camera. Something compact, well built, and extremely simple to use. Let me tell you a bit about the camera and the company that made it.

Karl Pouva

The Pouva Start camera was built by Karl Pouva AG, who first started his company making simple Bakelite slide projectors in Freitel, a city near Dresden, Germany, in 1939. After the war, that area of Germany was a part of East Germany. In 1951, with his experience with Bakelite, he decided to build a simple camera. Something easy to use, low cost, and a camera to get the youth started to take photos. At the time, the camera cost 16.50 Deutsche Mark (east), which was very affordable for young people.

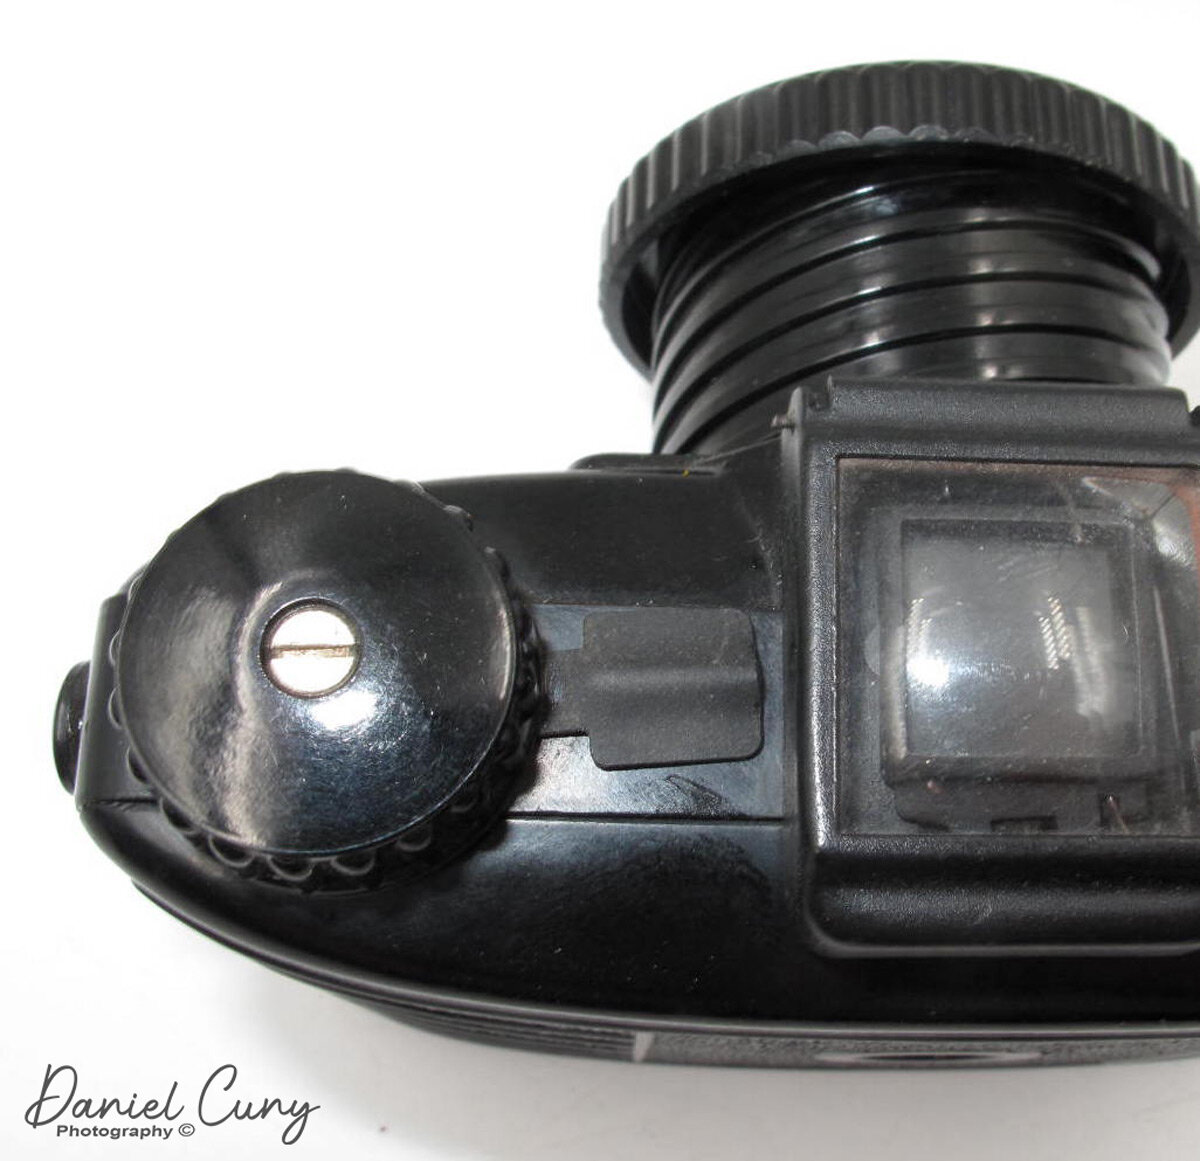
There have been several different changes in the Pouva Start camera over the years. I am starting with the camera I have, with the pop-up sports finder. Later, in 1956, they updated the design to incorporate an optical viewfinder into the camera and symbols for aperture settings. A sun symbol for smaller aperture settings, and clouds for larger aperture settings. The one thing that stayed constant on the cameras was the screw out lens, which acts as a locking mechanism for the camera.

The Camera

This camera has a very classic design, with a spiral threaded lens system, which is very similar to the Kodak Bullet cameras built in the early 1930s. When the lens is threaded back into the camera body, the shutter mechanism is locked so you cannot take unwanted photos. Once you wind the lens into the taking position, the shutter firing system engages with the shutter button, and the shutter now fires.

On the lens are just four settings, two for the shutter and two for the aperture settings. There is a toggle switch on the shutter side that goes from "Zeit" for timed exposures and "Moment" for a regular shutter speed of 1/30 second. On the aperture side, there is another toggle between "Sonne" Sunny or F16 and "Trub" Cloudy F8. In the later versions, as stated, they used symbols for sunny/cloudy. The camera incorporates a Duplar F8 lens, which has two elements in two groups for simplicity.

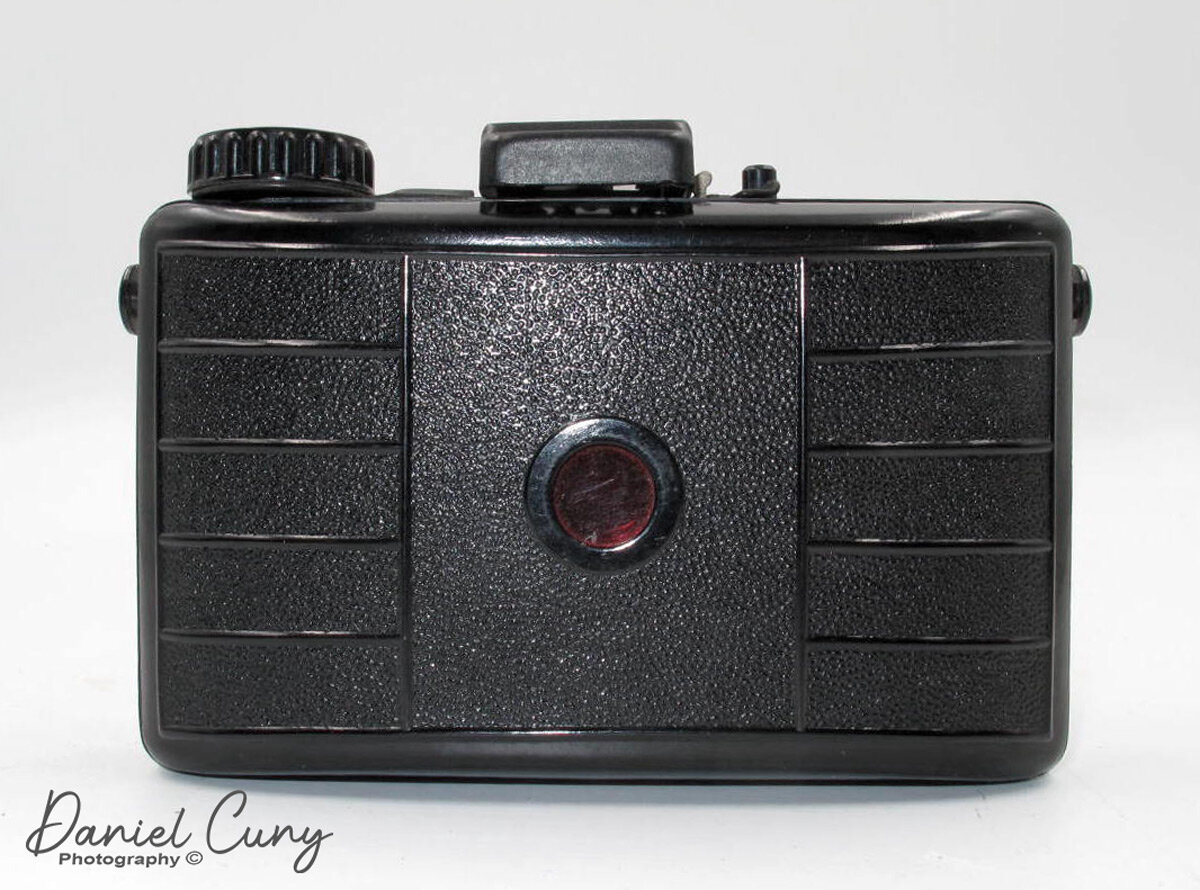
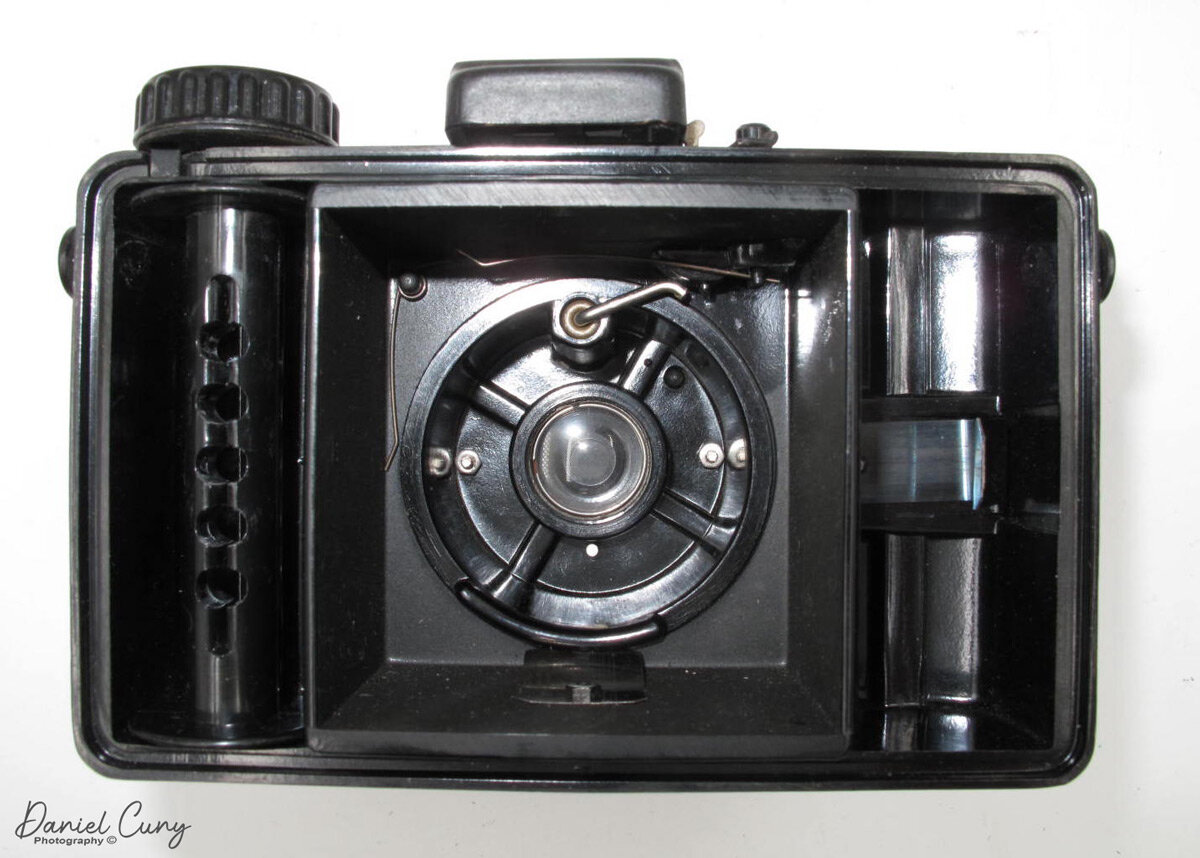
On top of the camera is the pop-up sports finder, the shutter release button, a cable release button to thread a cable release into and trigger the shutter: the film transport winding knob, and two metal levers. One of the levers is next to the shutter release button, which you can slide over to lock the shutter for time exposures. The second is by the film winding knob. This lever opens the back of the camera for film loading.

That lever is the one that stumped me for the longest time. I kept wondering how to open the back to load the film. I pulled and twisted several different areas without success. Then I pressed the lever forward, and the back started to come off. The back is held into place by friction and seats tightly onto the camera very well. The lever is attached to a small piece of Bakelite that, when pressed forward, separates the back from the camera, allowing you to take the back off. Ingenious!!!! I love this. So simple.

Photos from the camera:

Lake-Quinault-9-2020_047.jpg
Lake-Quinault-9-2020_001-copy.jpg
Lake-Quinault-9-2020_045.jpg

Conclusion:

The camera is enjoyable to use and doesn't take a horrible photo. I was surprised at how the pictures turned out. They're not the sharpest photos I've taken, but for a simple lens, they're not bad. If you like the Lomography style of cameras, I search out this camera and try it out, as I think you'll enjoy using it and the photos that come from it too.

 Thank you for taking a few minutes out of your day to read this post. I always enjoy it when I hear from you, so please feel free to email me any questions or comments about this or any other camera I've written about. Until next week, please be safe.

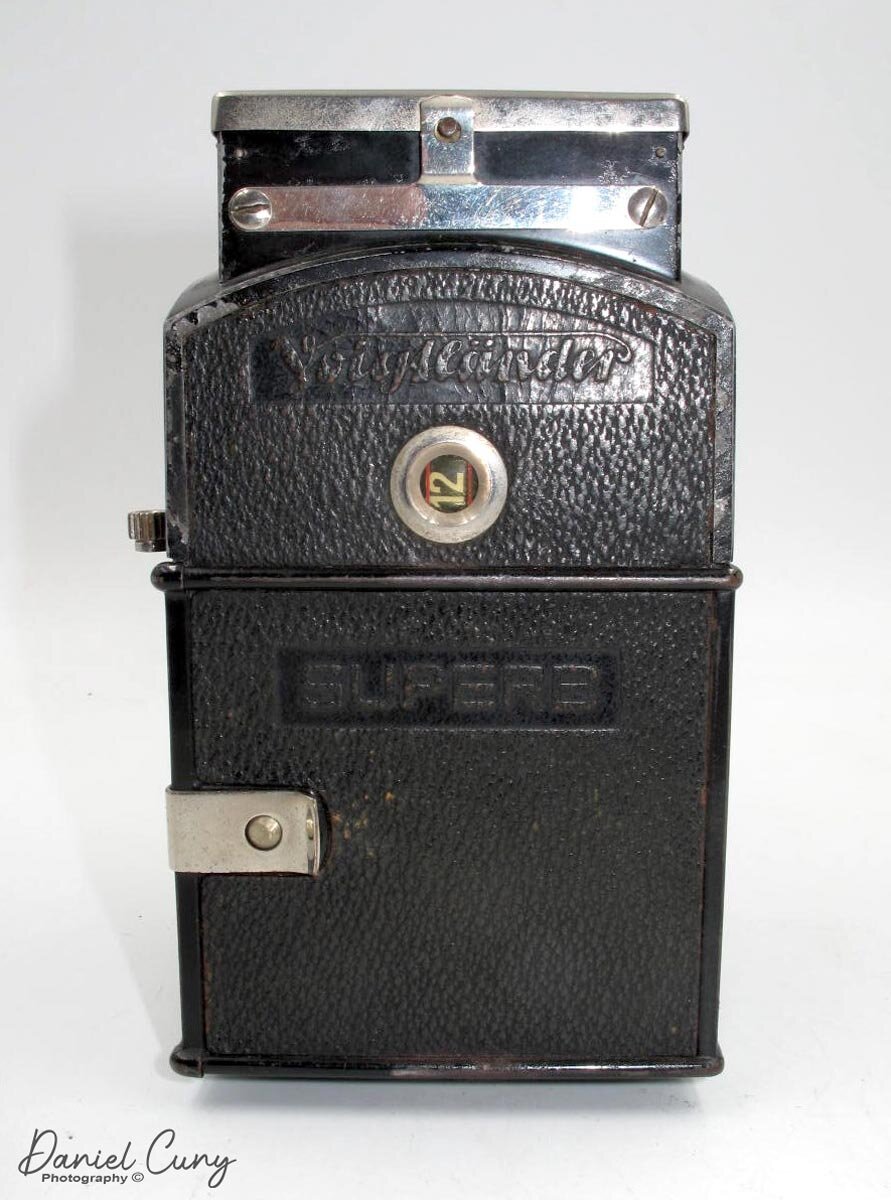
Voigtlander Superb

The Voigtlander Superb is a camera I owned for a short time, almost thirty years ago. At that time, I was buying and selling cameras rapidly and not using them. To me, at the time, it was more of a commodity. The Superb I owned also had a more rare lens, and someone was willing to pay me handsomely for it. At the time, with growing children, It's something I needed to do. Things have changed, and I've evolved in my appreciation for cameras.

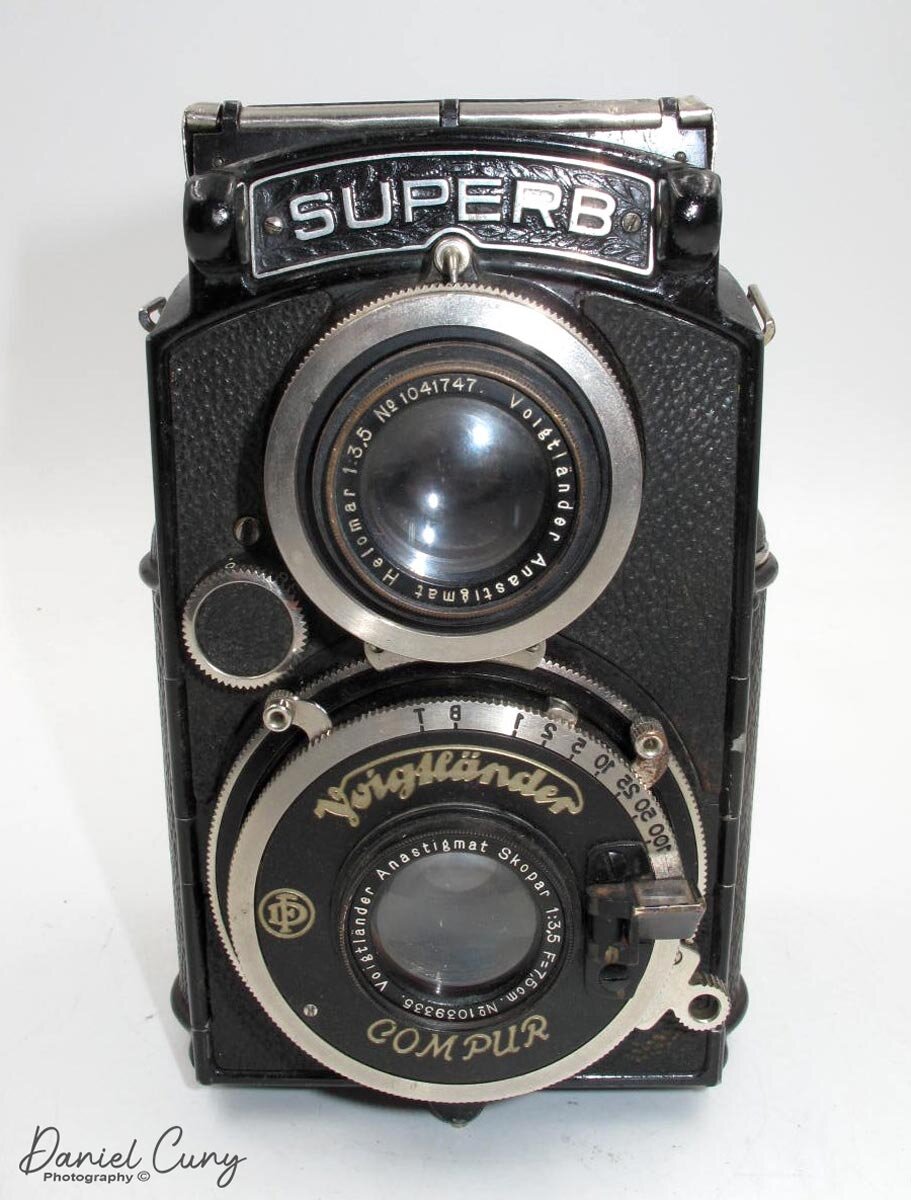
My Voigtlander Superb.

My Voigtlander Superb.

Company Background

In my post about the Voigtlander Vitessa, I made a brief history of the camera company that you can see here. The thing that amazes me about Voigtlander is how early they got into the photography industry and the names and products associated with them.

 In 1839, publications introduced photography to the public; Voigtlander's optics were the first mathematically calculated optics made by mathematics professor Josef Petzval. Peter Voigtlander gave technical advice regarding these lenses, which cut down exposure times to about one minute. That was revolutionary. By 1840, they were not only producing cameras, the all-metal Voigtlander Daguerreotype camera, they also introduced the first Petzval photographic portrait lens, with a maximum F stop of F3.6, know as the fastest lens of the time.

 
Camera and case

Camera and case

In 1923, Schering AG's photo division purchased Voigtlander, and by 1925, they started mass production of cameras and photo equipment. Voigtlander introduced such everyday items as the zoom lens, the 36–82/2.8 Zoomar in 1959, and the first 35mm compact camera with a built-in flash, the Vitrona in 1965. Voigtlander introduced the Superb model from 1933 until 1939. There weren't many modifications during that time. The early cameras had "bunny ears" as camera strap holders and the later years had a winged slot for the strap. You can see a version here, and there is an instruction manual here.

My Camera

Recently, a Voigtlander Superb became available to me, and the price was fantastic, so I immediately jumped on the offer. The seller stated it was in excellent working condition and also had the original case. Voigtlander made the Superb with two different lenses. The rarer and challenging to find 7.5cm (75mm) f3.5 Heliar, the one I owned previously. The more common lens is the 7.5cm (75mm) f3.5 Skopar, which this camera had. When I received the camera, there was no mold, mildew, or fungus on the lens, and indeed the camera was in fine working condition. Now it was time to take the camera out for a spin.

Using the Camera

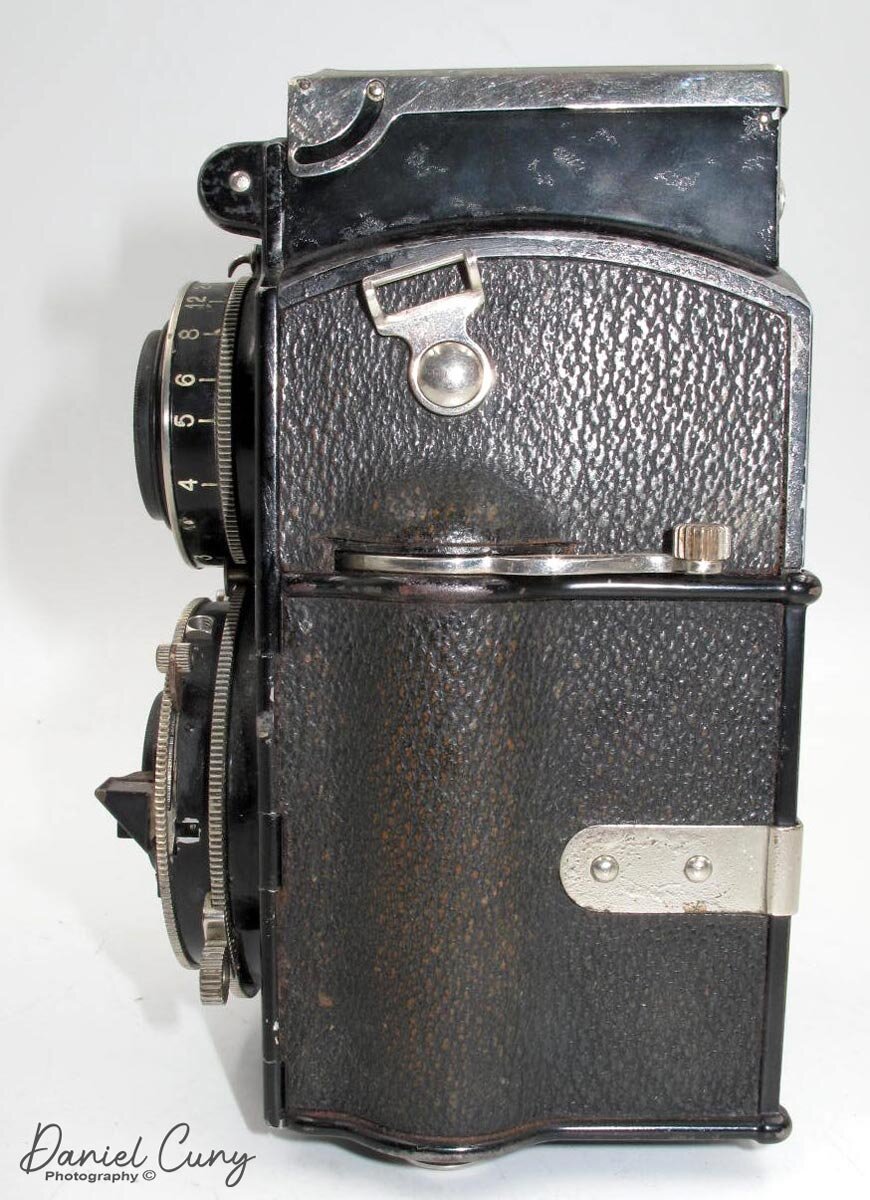
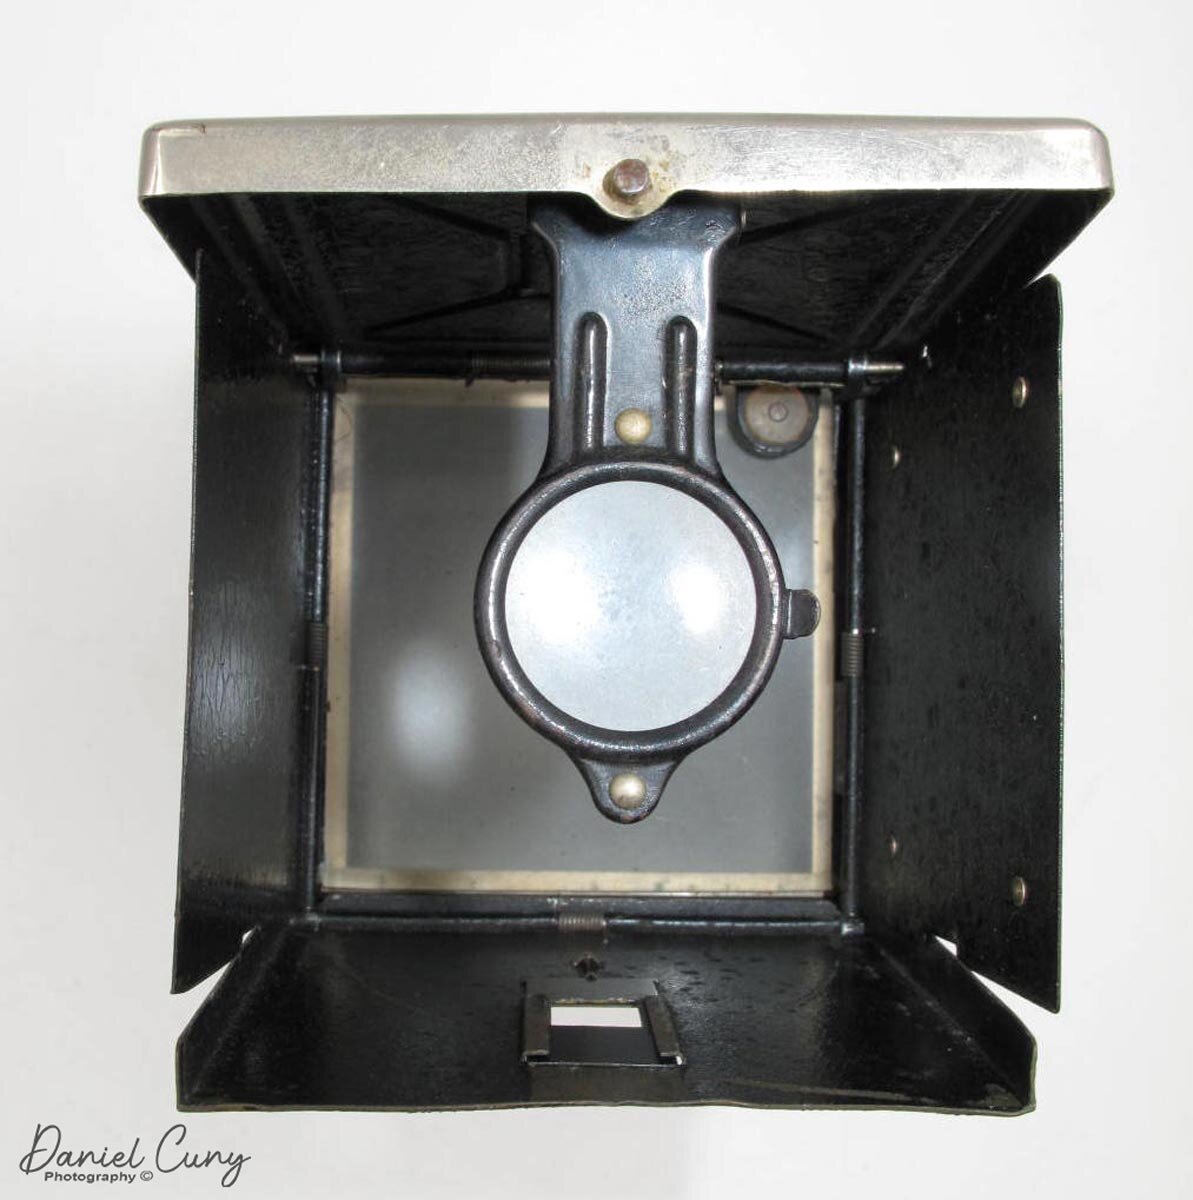
It was time to get myself familiar with the camera again. Holding the camera is very comfortable. Popping up the viewfinder, I immediately noticed there's a bubble level in the upper right-hand corner. I liked that. The magnifier is held in place by a small clip, so it doesn't pop up when you press on the front of the hood like the Rolleiflex's do. At least mine didn't. You focus the camera by sliding a bar on the bottom of the taking lens. The focusing is very similar to the Minolta Autocord. I prefer this method as opposed to the focus knob on the side of the camera. It allows me to keep my hands under the camera when focusing. The viewing lens points down when you focus closer, which corrects for parallax. That's fantastic.

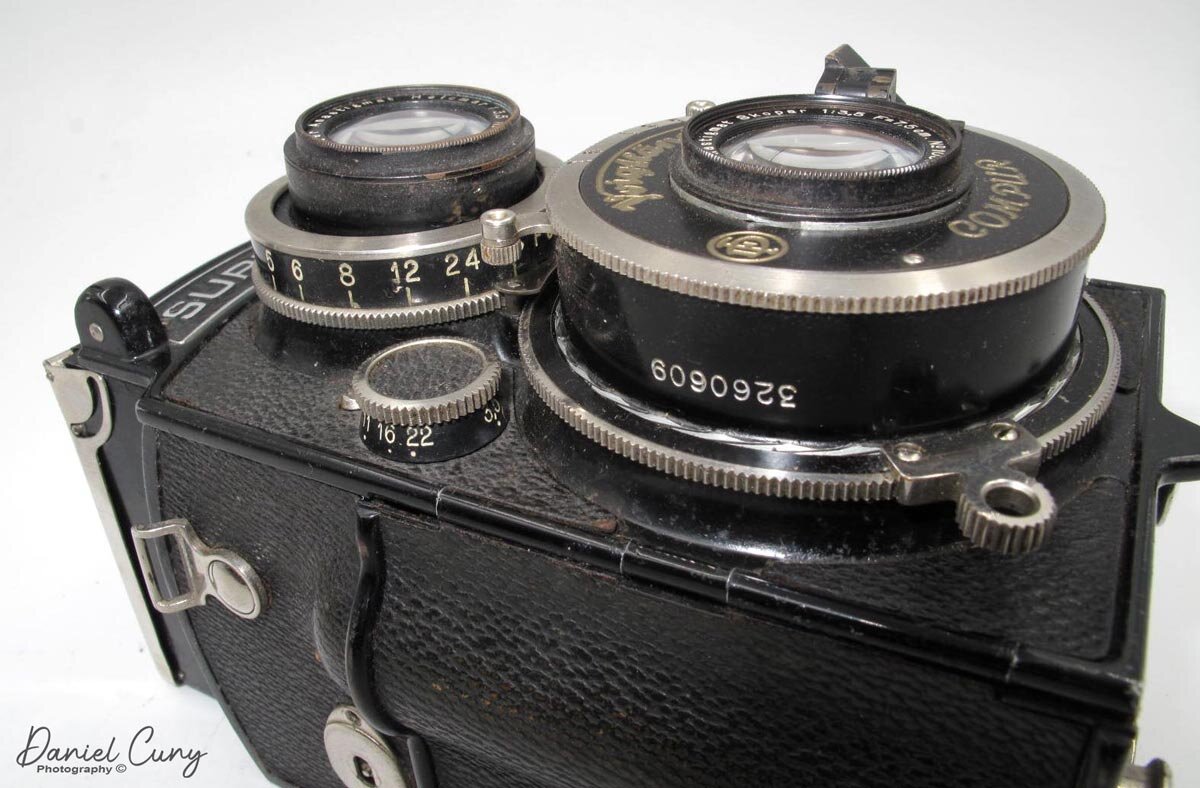
Looking at the shutter speeds around the Compur shutter, I noticed they are reverse. Then I noticed a small prism/mirror right next to the lens. Holding the camera and looking down allows you to see the shutter speed set in the window of the prism/window. That's genius. The shutter speeds go from 1/250 to 1 sec, along with 'T' and 'B.' The aperture settings are f3.5-22 and on a small dial to the right of the viewing and taking lens. When you're looking down from the top of the camera, you can see the shutter speeds and aperture settings without tilting the camera up to view them. You can easily see the focus distance, which you can see on the top of the viewing lens.

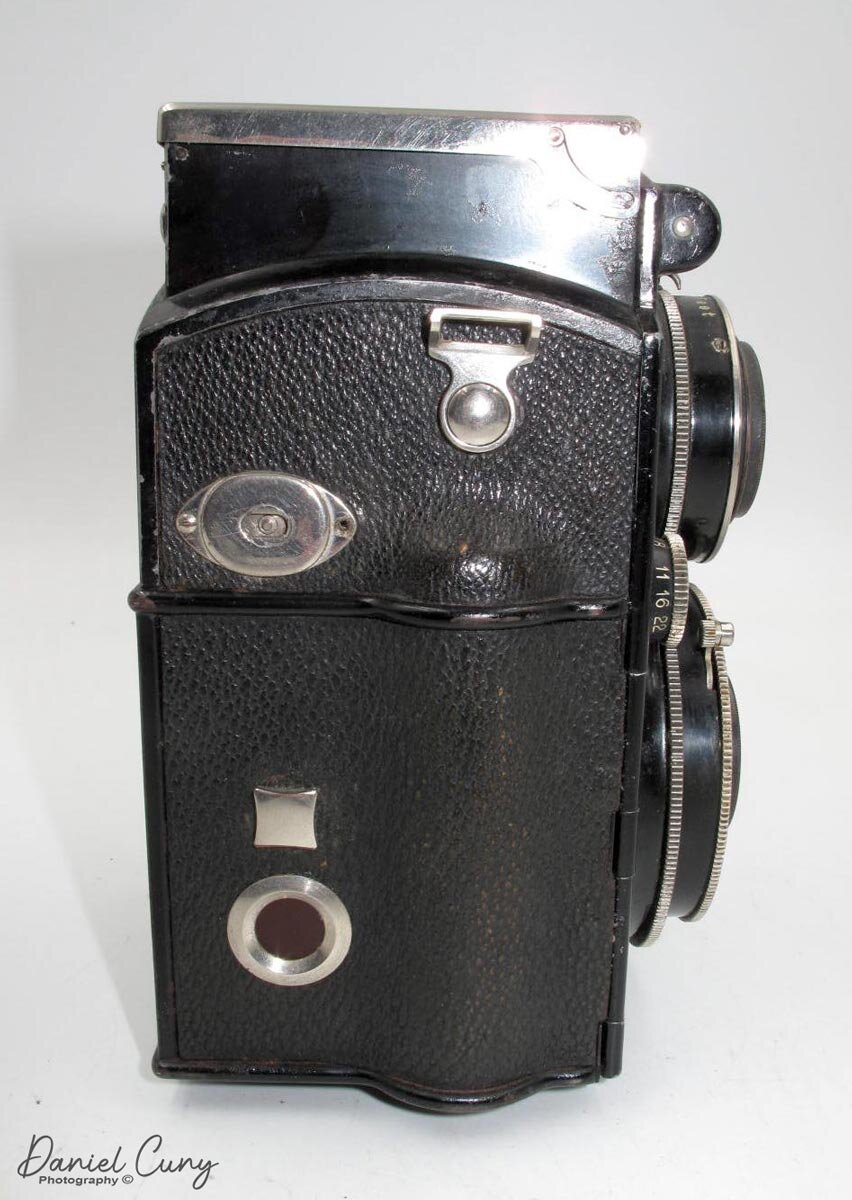
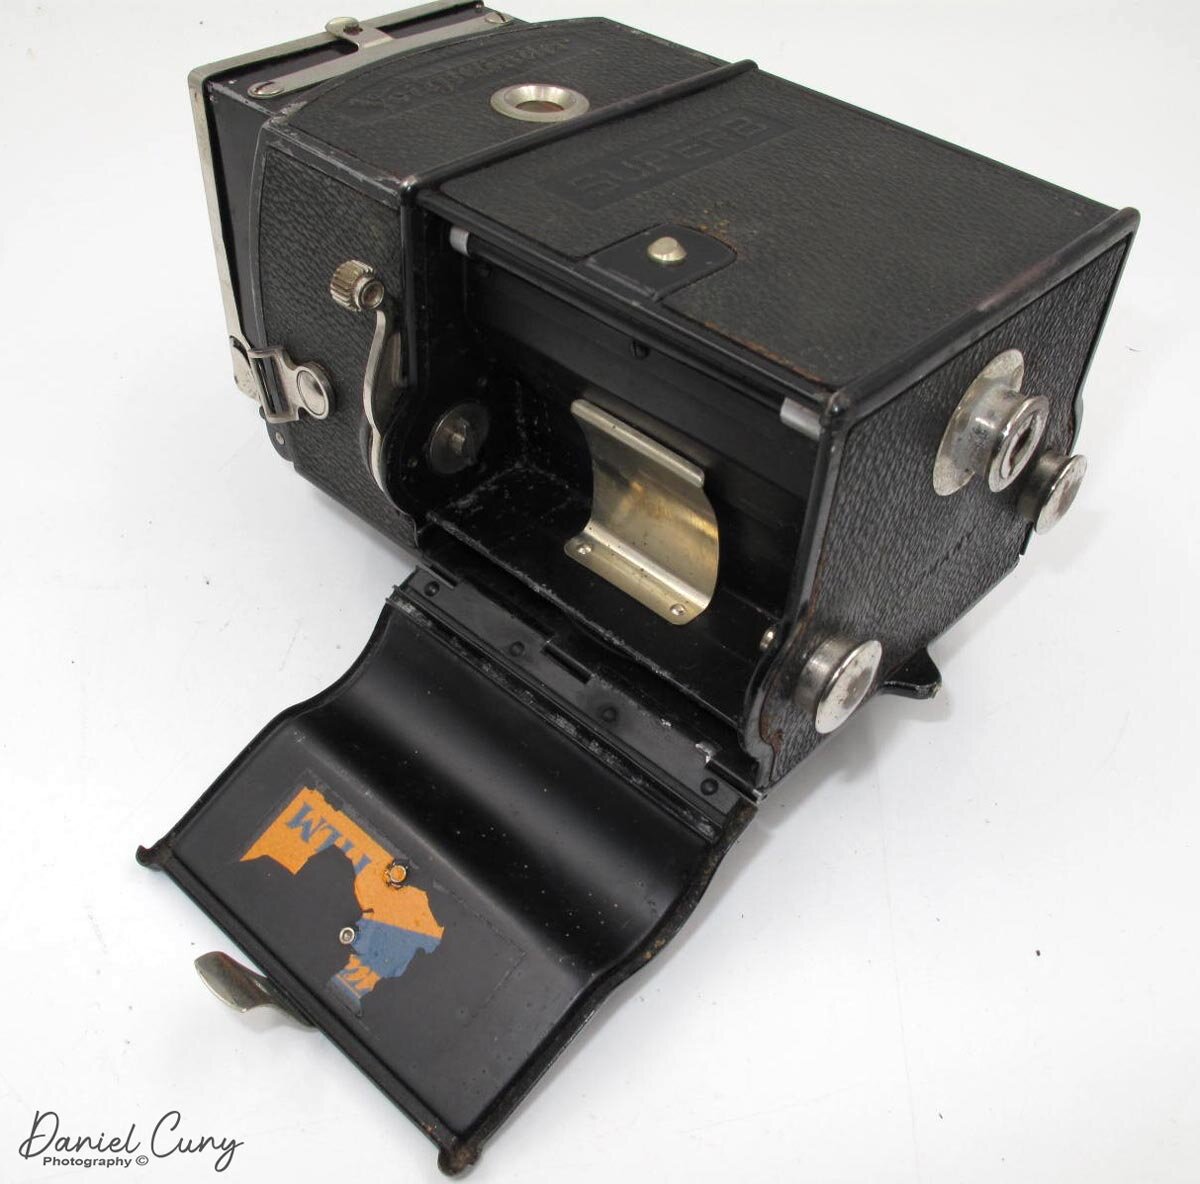
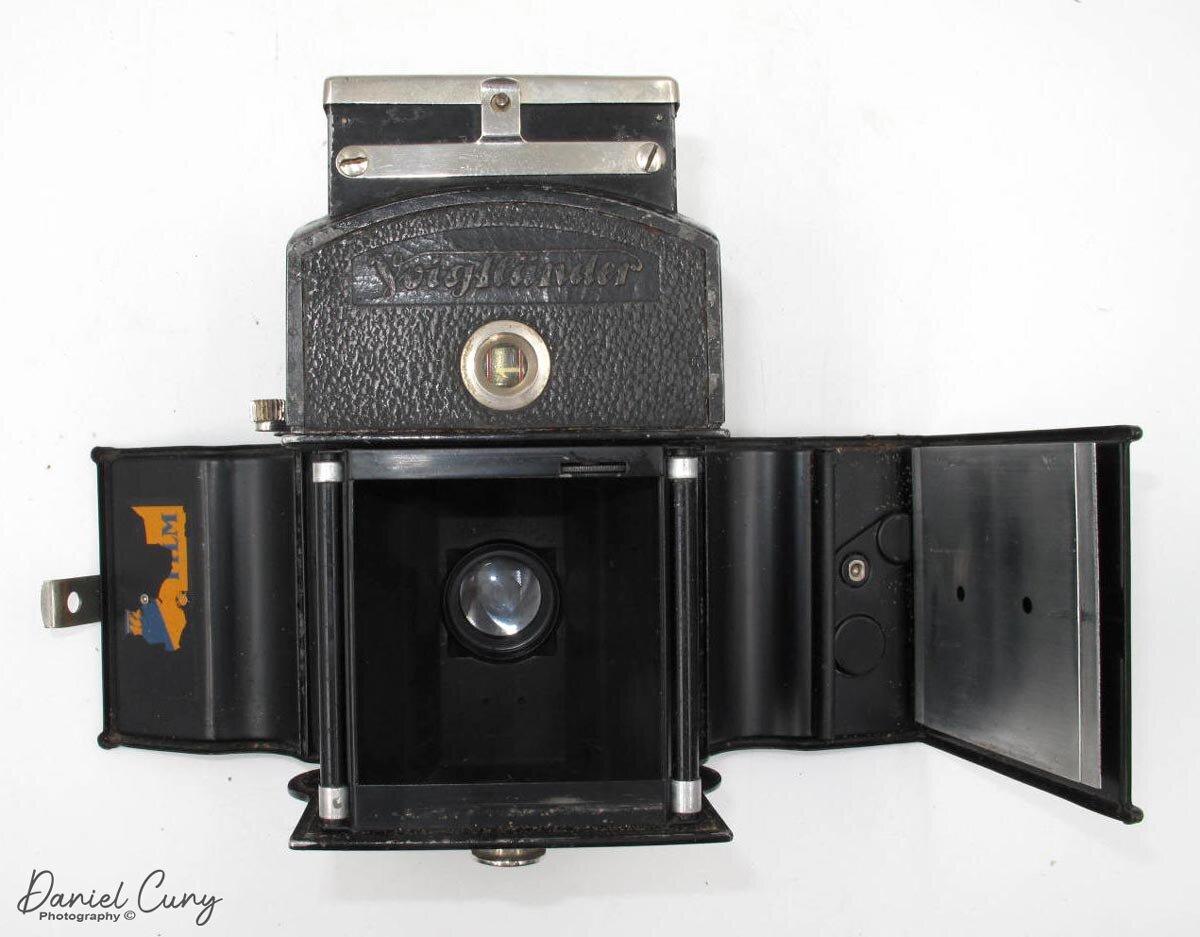
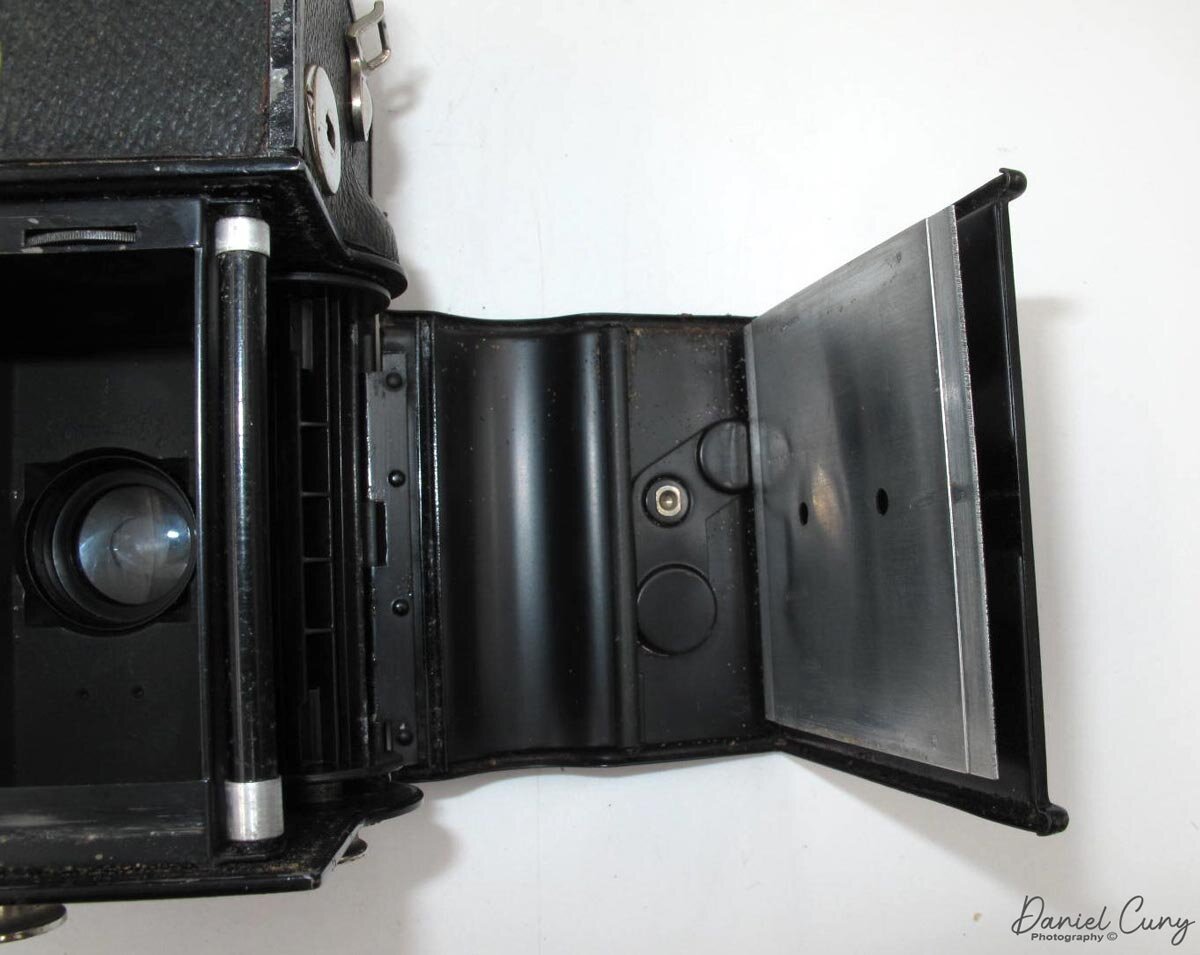
Here's where the camera gets fun, loading the film. The Voigtlander Superb has a horizontal loading and transport system. If not all other Twin Lens Reflex cameras, the majority use a vertical loading and transport system. On the left side of the camera is an angled bar that attaches to a metal nub on the back. Lifting the bar from the nub and opening it to the left exposes the take-up spool on the camera. Opening the back to the right reveals where you load the film in the camera. Put the fresh roll of film on the right, and pull the leader across the shutter area to the take-up spool on the left.

Viewing the shutter speeds.

Viewing the shutter speeds.

Just above the film chamber is an advance lever. Wind the lever to advance the film. Close the back. On the right side of the camera is the red window. There is an inside cover for the window. It's opened/closed by the square knob above the red window. I watch until the frame number reaches #1. Then I close the window. Above the square knob is a switch. This switch resets the frame counter, which you can see on the back of the camera. The film advance lever doesn't automatically stop at the next frame, so you need to advance it until you see the frame number which is five cranks.

Images

I took the camera out a couple of times this week. Here are some of the images from the camera.

Conclusion.

The Voigtlander Superb is an 80-year-old gem of a camera. It's easy to load and unload. The ability to see the shutter speed and aperture settings when looking down on the camera is excellent. I enjoy the bubble level in the viewfinder, so I know my camera is level. It fits nicely in my hand and isn't too heavy. The viewfinder is just a bit dark, but nothing to deter me from using it in the future. Another oddity is when I processed the film, and the images are across the film sideways instead of running top to bottom. It just kind of surprised me, but putting the negatives in my sleeves, they work better that way. If you run across one for a reasonable price, buy it, and I don't think you'll be disappointed. A great camera.

 I truly appreciate you taking the time to read my post. It does mean a lot to me. If you have comments or concerns about the article or the camera, please drop me a line. I'd love to hear from you. Until next week, please be safe.

You can subscribe to my Camera Collecting Blog below.