Zeh Zeca-Flex Camera

This camera combines the compactness of a folding camera with the quality and handling of a twin-lens reflex camera. The Zeh Zeca-Flex is just the camera mentioned above, and I've had my eye on it for many years. However, the rareness and price have always eluded me until I went into a great used camera store in Salt Lake City, UT, Acme Camera.

 The first time I went into Acme Camera, they were in their older location, and the store was filled with photo knickknacks. I struck up a conversation with the people there who were selling used gear, servicing cameras, and renting for the local photo community. On my second visit, back in one of the cases was the Zeca-Flex I currently have. The camera was in excellent condition, with clean optics and a working shutter. I offered a trade for the camera, and they accepted. I was elated to have the camera so I could do a blog article on my Zeca-Flex.

History:

In the early 1900s, around 1901-1902, Paul Zeh produced camera parts like shutters in his workshop in Dresden for some of the other local camera companies in Germany. In 1913, he started producing cameras, and by 1922, the company Paul Zeh Kamerawerk was started. In the early years, the company mainly produced folding plate cameras or cameras that took images on glass plates, which was very common at that time period.

During the 1920s, the company did very well. At this time in photo history, roll film was starting to become more popular. The photographer or photo enthusiast didn't need to carry bulky film holders. All the photographer needed to do was put in a roll of film and get 8, 10, 12, or 16 different photos on the same roll of film without the hassle or inconvenience of loading and carrying the film holders. 

The Pilot Reflex camera, produced in 1931 by Kamera-Werkstätten Guthe & Thorsch in Dresden, has a very similar style and appearance to the Perfekta and the Super Perfekta; you can see a review by Mike Eckman of the Pilot.

 During the late 1920s and 1930s, the company expanded production into folding roll film cameras. These cameras were more compact and allowed the photographer to travel with less equipment, so their popularity grew.

 By 1937, Zeh produced the Zeca-Flex, a folding, twin-lens reflex camera. Its design is very similar to that of the Welta Perfekta, which was produced in the 1933-34 timeframe, and the more robust Super Perfekta introduced in 1935. The Perfekta and Super Perfekta were made by Welta Kamera Werk, which was in Freital, a very close town to Dresden. 

I'm confident Zeh wanted to compete with Welta on this camera style. Unfortunately, this camera style didn't catch on with consumers. Hence, with all three cameras, the Perfekta, Super Perfekta, and Zeca-Flex were the only cameras made and are rare and somewhat expensive.

 WWII took a toll on Dresden as the Allies leveled the city due to its large manufacturing capabilities. By 1948, the Zeh plant closed, and the company went out of business. My guess is that some of the Russian companies took some of the camera manufacturing machines to produce some of the after-war cameras. This is just my guess, though.


My Camera: 

The condition of my Zeca-Flex is unusually excellent for a camera that is almost 90 years old. The metal is still shiny, and all the functions move like when the camera was first purchased in the late 1930s.

 The camera measures 7.5" long without the light hood open. When the light hood is open, it measures 9.25" tall. The Zeca-Flex is 3.75" wide and closed; it's 2.5" from the front of the viewing lens to the rear of the camera. When the camera is open, it measures 4.75". The Zeca-Flex weighs 2lb—5.2 oz.

The lens on my Zeca-Flex is a Schneider Xenar 7.5cm (75mm) f 3.5 in an F. Deckel Compur Rapid shutter. The shutter speeds go from 1/400 to 1 sec with both "T" and "B" settings. Since I don't have a proper shutter tester, all the shutter speeds sound accurate to my trained ear. The viewing lens is a Sucher Anistigmat f2.9 lens.

To open the camera, there is a small button on the left side as you hold it to take a photo. Press that small button in, and the lens door unlocks. On my camera, you need to pull out the lens to put it into the taking position. There are knurled grips on the sides of the lens door to pull the lens out. Also on the lens door is a flip-out stand that allows you to stand the camera up, which is very common in folding cameras.

Note the small button on the side of the camera used to open the lens.

To close the lens, there are two buttons on either side of the backdoor. You press in towards the camera body, then slide the lens back into it and close it until you hear the locking "click" sound, which means the lens is back and locked in the camera body.

 On the back of the light hood, there is a sliding bar you slide over to open the light hood for viewing purposes, and on the side of the light hood is a switch you can flip up or down the magnifying glass for critical focusing.

There is a latch at the top of the back door, which you slide up to open the film door to load and unload film. In my camera, there is a roll film holder you put the roll of film into before putting it into the camera. The film holder is something I've never seen before, and on the first roll, I needed to figure out which way the film rolled across the shutter, but it was easy to figure out. Now that I've done it, it makes sense, and I won't have difficulty in the future.

 The frame counter resets to number 1 when I close the back of my camera, or at least it was there when I put film in it. There is a button on top of the frame counter. When I slide that button over, the frame counter goes to number 5, so my guess is that isn't correct. I can't find an instruction manual for this camera online, so I'm not 100% sure of the correct way to get maximum frames from the camera. 

There is a red window on the back, which I'll use in the future, as I did miss a few frames at the beginning of the roll when I shot with it. The film advance is on the bottom of the camera and is directly tied into the frame counter, whether you have film in it or not. The frame spacing on my camera was good once I got to the first frame and used the frame counter to find the next frame.

 To focus the lens, as you hold the camera to take photos, there is a wheel next to the viewing lens. I rolled my finger across it one way or the other to achieve proper focus, which was the easiest and made the most sense to me.

This is the focusing wheel. I used my finger to slide back and forth to focus.

Results:

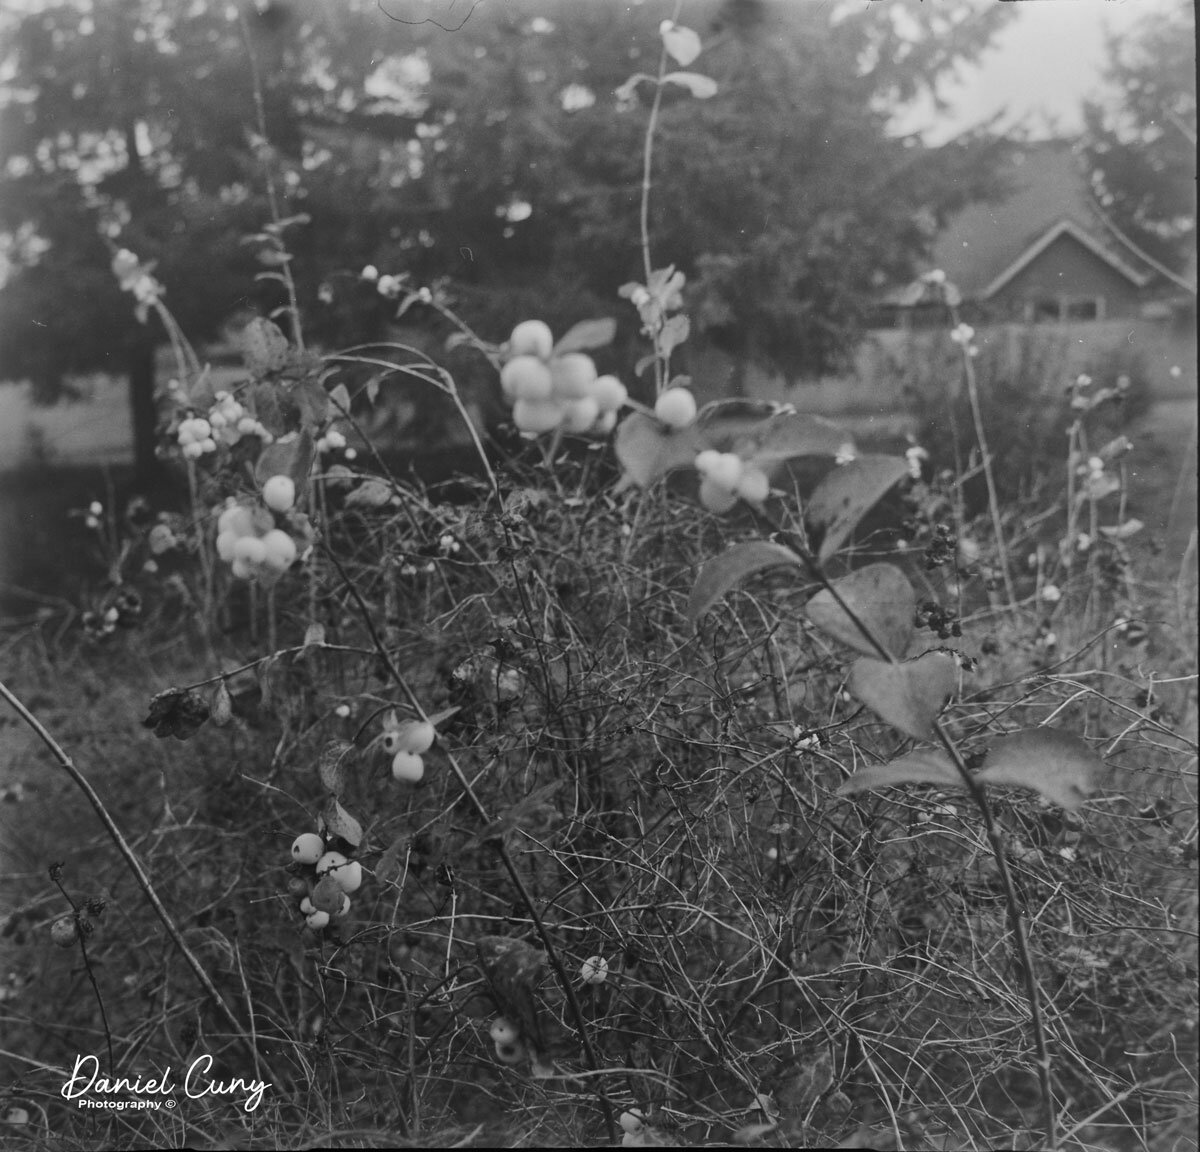
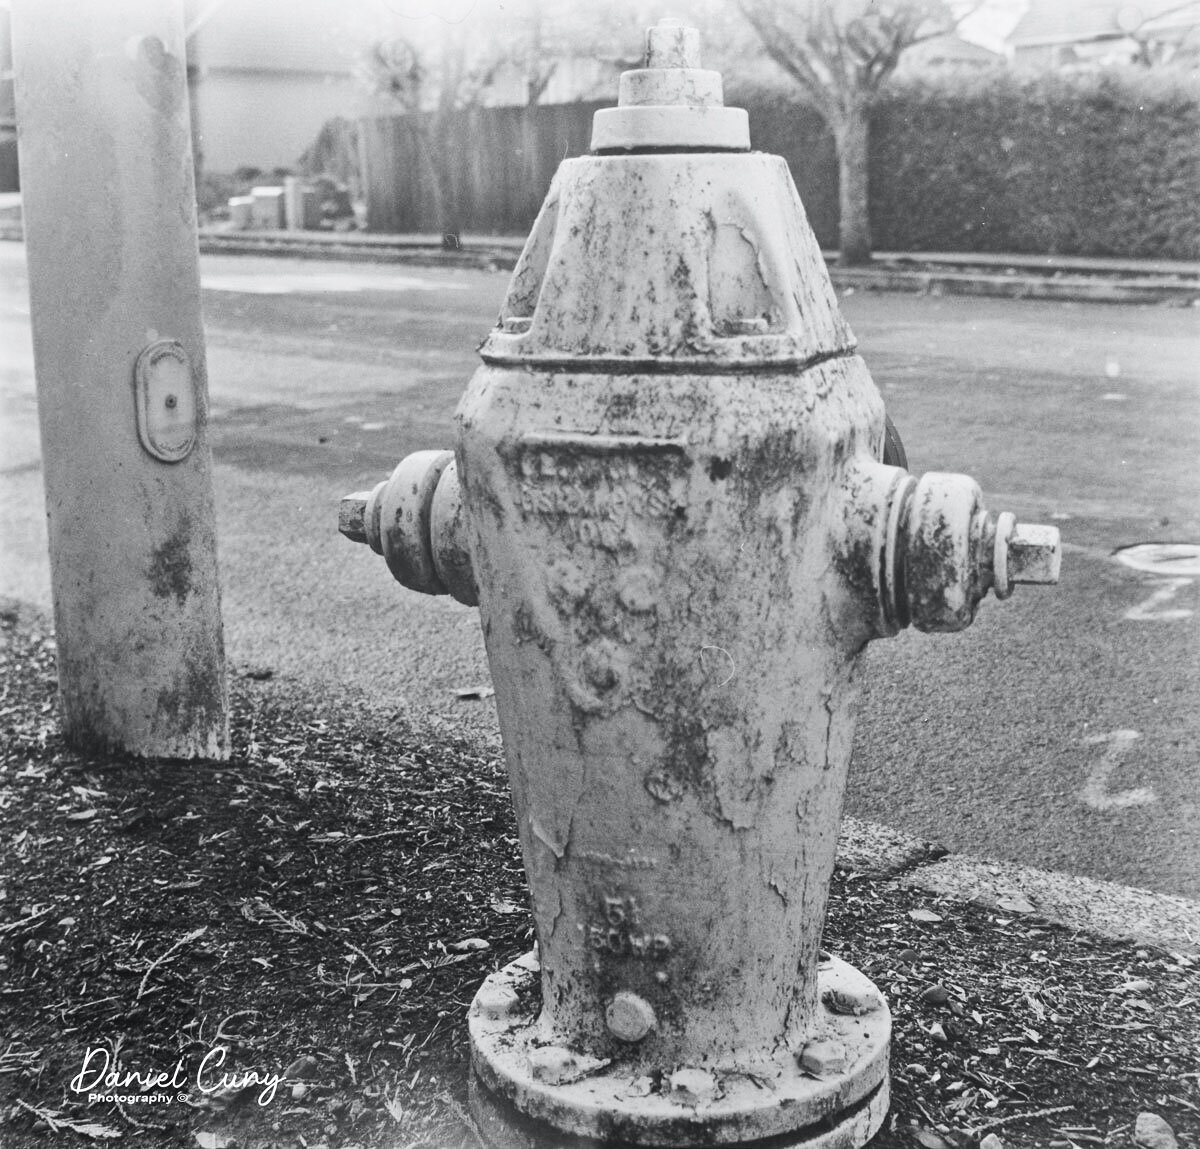
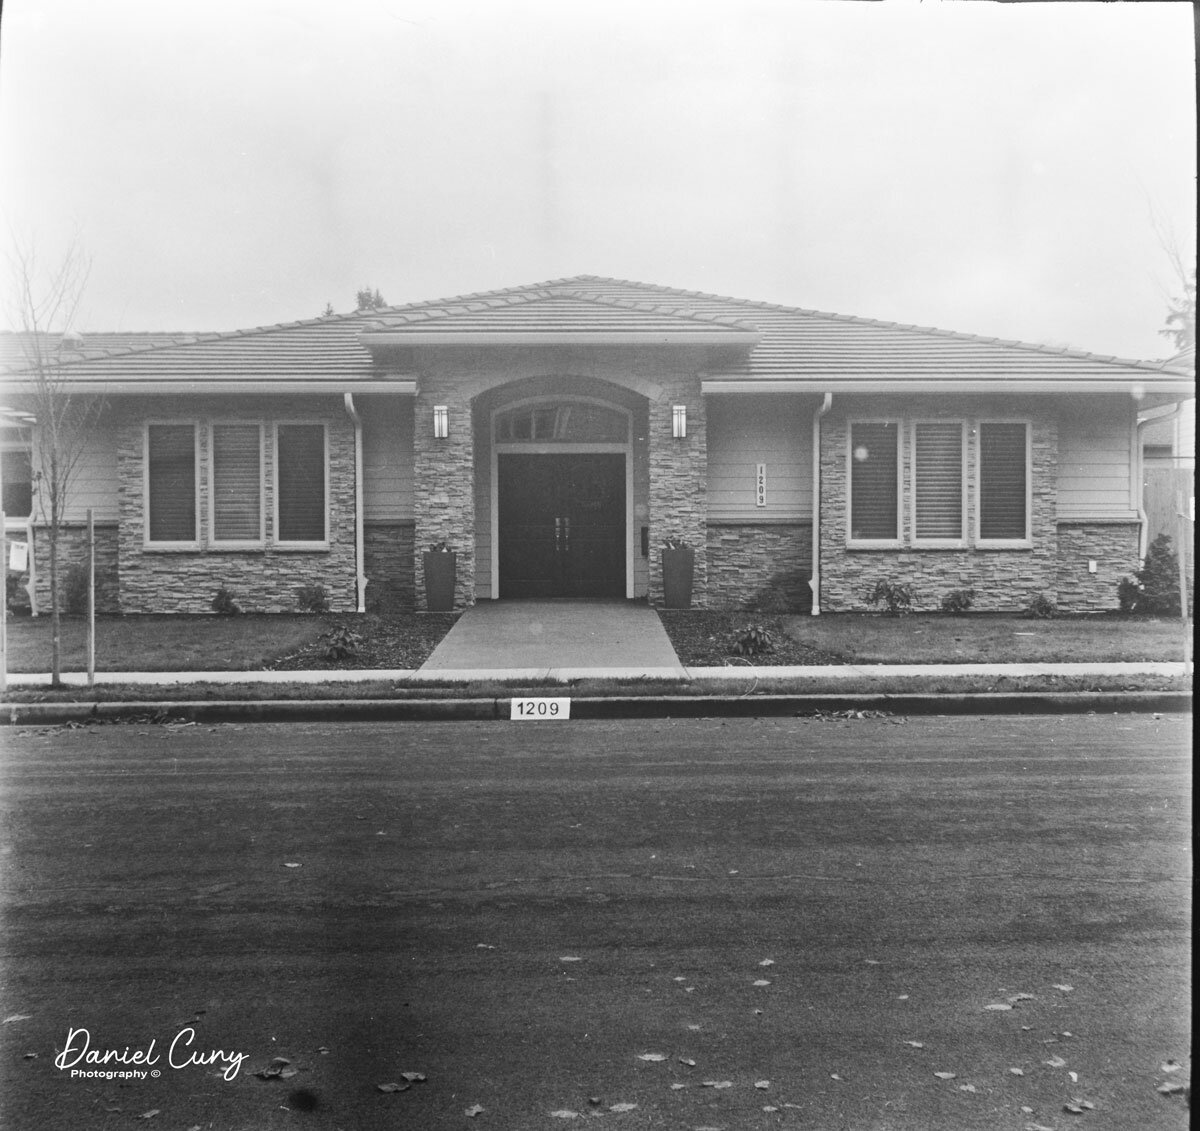
Now that I had a roll of film in the camera, I took it out and walked around the neighborhood to get some photos.  Here are some pictures I took on my walk with the stunning Zeca-Flex camera.


Conclusion:

The viewfinder wasn't the brightest, and achieving good focus was difficult even with the magnifying glass up. Another negative about using the camera is where the shutter release is placed. There is no shutter release button, so you need to cock the shutter and then release it with the shutter release button, which is in an awkward place and thought my finger would be in the photo, but it wasn't.

Besides these two items, the camera was a joy to shoot with, and I feel lucky that my camera is in such good condition. I will use it again, but I'm putting it back on the shelf and trying something different for next week's blog post.

 Thank you for taking a few minutes to review some of the cameras in my collection.

 Please be safe, and I hope to hear from you soon.

Primarflex II by Bentzin

I have been excited to do a blog post on this camera since I acquired it a couple of years ago as part of a group of cameras from an auction. The camera came as a kit with the case, extension tubes, lens hood, and film holders. When it arrived in excellent condition with a working shutter and clean lens, I was anxious to put some film in it and take a walk around my yard snapping photos.

History:

Bentzin has always been known as an innovator and a company that excelled in quality cameras like Primar, Primarette, and Primarflex. Carl Bentzin was born in Görlitz on February 8, 1862, died on May 23, 1932, and is buried in grave number 260, Old Görlitz Cemetery. He opened his first factory in 1989, located at Rauschwalder Strasse 28 in Görlitz, Saxony. He changed it in 1893.


In 1899, Bentzin entered into negotiations with Carl Zeiss regarding a collaboration with Dr. Paul Rudolph, who had developed their anastigmats: Planar, Protar, and Ulnar lenses. Zeiss was looking to build cameras so they could put these lenses on them, and Bentzin had the expertise of the time to do so.

 The "Aktiengesellschaft Camerawerk Palmos" was founded in 1900. They produced cameras at the Zeiss factory in Jena and the Bentzin factory in Görlitz. In late 1900, the "Film-Palmos 6x9" camera was produced at the factory. In 1901, the bank ran into financial difficulties, and Zeiss took over production in Jena. Bentzin ran their own company, run by Carl Bentzin, in Görlitz.

 In the following years, the Carl Bentzin Company produced many high-caliber SLR cameras and even cameras for companies like Voigtlander, Emil Busch, and other German camera companies.

Soon after WWI, Carl started having his son Ludwig take over more of the day-to-day operations of the company, where he honed his manufacturing and business skills. In 1928, Carl turned the company over to his son Ludwig, his daughter Helene, and Helene's husband.

 Carl Bentzin died in 1932 at the age of 70. From 1928, Helene and Ludwig ran the company together until Ludwig's death in 1945. After Ludwig's death, the company went through several different reorganizations as part of the state-owned system, ending as VEB Feinoptisches Werk Görlitz.

The Camera:

Upon my first encounter with the camera, I was immediately drawn to its unique layout. All the controls and settings are conveniently located on the right side, including the film advance, shutter speed control, shutter release, frame counter, self-timer, and flash sync terminals. This thoughtful design, detailed in the manual, makes it easy to navigate the camera's functions.

The camera exudes a sense of robustness and reliability. It's more compact than a Hasselblad and larger than a Twin Lens reflex, striking a perfect balance. As an SLR camera, it offers the unique experience of focusing and observing the depth of field through the lens, a feature I particularly appreciate.

To open the back, just behind the viewfinder is a knob that has duo functions. To open the finder, you slide the knob back towards the rear of the camera. Then, open the back to load the film. While the knob is back, you press it down, and the back door opens, revealing the film cassette, which is removable to load the film. To remove the film cassette, you'll need to pull out the winding lever just a bit like you would any film advancing knob to release the gear from the body and the film cassette is easily removable by holding the center handle and pulling it away from the body of the camera.

Loading the film onto the cassette is straightforward for any medium-format camera. Put the empty spool onto the top area where the gear for the film advance is located. Load the new film onto the other area and bring the leader over the pressure plate so the black paper backing is facing out or towards the shutter when you put the film cassette back into the camera body. Put the end tab into the spool slot and wind it a bit until you know the film won't pop off the spool and is starting to take up on the take-up spool. I like to advance the film until I see the arrows of the paper backing, and then I put the film cassette back into the camera. The manual says to reset the frame counter, turn the counterclockwise until it stops, and lift it. DO NOT FORCE IT. A red "zero" appears in the window, then advance the film until the number one appears, then you're ready to go. Unfortunately, my camera reset on the frame counter didn't work, so I advanced until I thought I was at number 1 and started shooting.

Now that I have the film loaded, the viewfinder or light hood, as they call it in the manuals, has a couple of different variations. You can remove it for cleaning. It does have a magnifying glass folded down on the rear of the hood if needed for fine focus. Just lift the magnifying lens into position and focus. It also has a "sports" type finder, which many medium format cameras have, where you can lift a portion on the hood and look through the rear opening through the front opening to get a general sense of composition for quick action photos. If you're going to use this, be sure to pre-focus the camera and use a smaller aperture to allow the depth of focus to compensate for any missed focus.

Focusing the lens and setting the aperture is straightforward. The lens doesn't have an automatic aperture, so you need to open the lens to focus and then manually stop the lens down to the desired and needed setting for proper exposure. A "locking" mechanism for the aperture is used to help with this. You pull back the collar with the red dot and turn it to the desired aperture setting. Releasing the collar "locks" the lens into that setting, which means you cannot go past that setting when you turn the collar back and forth. This lock allows the photographer to open the aperture for brighter focusing, then quickly turn the dial back to the "locked" aperture setting to take your photo. It's easy, and the benefit is that when the lens stops down, you'll see the actual depth of field you'll get in your photograph. When I turned the advance lever, the mirror returned as it should, and to cock the shutter; there was a little extra turn needed to get the shutter cocked again. Having the additional amount to turn is standard, as It did the same function every time I advanced to the next frame.

When I received the "camera lot," it included a set of 4 extension tubes for the camera and three separate cut film holders. I'm very familiar with extension tubes and love shooting with them, but what would you ever use 6x6 film holders for when using this camera? I've never heard of a 6x6 cut film ever produced, so I'm curious how you'd even use them. Doing a bit of fussing around with the camera, the only mention I found was the availability of the cut film holders, but nowhere in the manual does it say how to load them. 

You'll need to open the back of the camera to use the film holders and take out the cassette. A silver clip is at the back of the light hood (Viewfinder). When you slide that clip back towards the back of the camera, you can slide up an insert with a couple of tabs on the top and a couple of small rollers within the insert. At that point, you can slide the film holders into that slot and take out the dark slide, exposing the film to the shutter and, eventually, the light when the shutter opens/closes. After using the film holders, you can put the roller insert back and slide the silver tab towards the lens, locking the insert into place so the film cassette works as it should within the camera.

The lens is a Carl Zeiss Jena 105mm T f3.5 lens, and it has threads on the back, which you use when using the extension tubes, but to put the lens onto the body, there is a red dot on the front of the camera at the 10 o'clock position. All you need to do is line up the red dot on the lens and turn it to the right or clockwise, and the lens locks into place by pressure. To remove, grab the lens and turn counterclockwise; the lens comes off after about a quarter of a turn.

The fitted case is exceptionally well-built. When you open it, the right side of the case folds down so you can access the different operation dials, which is very handy. While my strap is broken, I do see where it's attachable in several places to hold and distribute the weight evenly. The case can be held tightly in the case by a hook on the front and looping into the rear of the case.

Results:

I walked around my front and back yards using my light meter to get the proper exposure for each shot. The shutter works great, and as mentioned above, the aperture and focus move smoothly, so taking the photos was relatively easy.

 Here are the results from the camera.

Overview:

WOW, what a fun camera to shoot with. When I looked through the finder, the images were bright and clear. The focus was sharp, and using the "locking" mechanism on the lens was intuitive and straightforward. I didn't use the extension tubes on this shoot, but I plan on trying them out on an upcoming post for my blog, so keep tuned for that experience.

 Thank you for taking a few minutes to review this posting on a wonderful, well-built camera that should rival any medium-format SLR camera. 

 Until next time, please be safe and well.

Exakta 66 Vertical Camera

I've been holding onto this camera for a few years now and wanted to do a blog post on it a few years ago when I was asked to come back to work and run a couple of photo companies for a former boss. At the time, the opportunity was too good to pass up, so I put my camera blog on the back burner and dove into my work promoting and selling some top-of-the-line photo equipment.

My Exakta 66 Vertical camera and lens.

Now that I'm formally retiring after spending 52 years in the photo industry, I pulled the Exakta 66 vertical off the shelf, which I had serviced a couple of years ago, shortly after returning to work. I put 120 black-and-white films into it and gave it a whirl to see what a medium-format camera from the early 1950s would feel like.

History:

I previously wrote about the company's history when I posted on the Exakta Vest Pocket Model B camera in December 2020. If you're interested in what I wrote about Ihagee History, click the link.

Early horizontal Exakta 66 model.

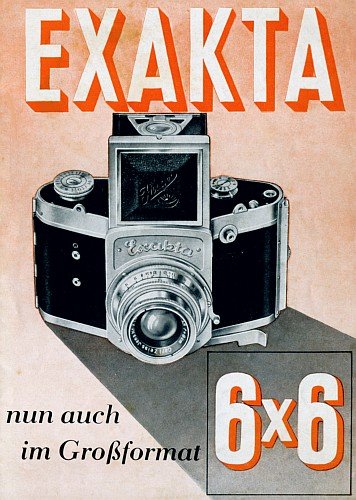
 In this area, I'd like to talk about the history of the Exakta 66. Exakta made an earlier version of the 66, a horizontal version developed just before WWII. Since this model is known as the "Vertical" version, it concerns the film transport on the camera. In this version, the film transports vertically, unlike the previous model, which went horizontally.

The original Exakta 66 was designed in 1938. Ihagee, the manufacturer of Exakta, had even set aside a series of serial numbers for the Exakta 66, which was a first for Ihagee. Until now, the camera model would have consecutive serial numbers when the cameras left the factory, but  552,000 to 556,999 had been reserved for the 6x6.

Due to technical issues with the film transport, Ihagee only produced about 2,000 cameras in the first year. The issues were somewhat common for other Exakta cameras from this time period. Production for the Exakta 66 was stopped after one year. It could have been due to technical issues or the outbreak of WWII. 

In 1951, Ihagee decided to start production on the camera again. They reserved the serial numbers 600,000 to 607,999 for the new Exakta 66. Unfortunately, production was halted due to lackluster interest and low sales numbers. Many of the cameras produced were from old stock produced before WWII, and the cameras again had very poor film transport issues. 

 Introduced in the fall of 1952 with production was the new Vertical Exakta 66 with vertical film transport, which was to compete with Hasselblad for medium format camera. With the Vertical Exakta 66, Ihagee introduced interchangeable light shafts, focusing screens, film cassettes, and a prism finder, which were planned but never introduced. It also had flash synchronization and shutter speeds similar to their 35mm cameras from 12 sec. to 1/1000

Again, the vertical Exakta 66 ran into the same film transport and other issues during production. The problem was so bad that Ihagee recalled cameras delivered to stores to destroy the camera. It's estimated that there are only a few hundred cameras due to poor production and lack of sales.


In 1985, Ihagee's West German company reintroduced the Exakta 66. The camera was very similar to the Pentacon and even had Pentacon mount lenses. It had a current design with a black body and other accessories like finders, focus screens, lenses, etc. This version lasted into the early 1990s.

My Camera:

 The Exakta 66 is a clunky and somewhat awkward camera, especially without a shoulder strap. While I got the camera serviced a few years ago, I'll discuss some issues with the body and film back. 

 My camera has a Carl Zeiss Jena Tessar T 80mm f2.8 lens. It measures 5.5" tall by 4.5" wide by 6" deep, measuring from the back of the film plane to the front of the lens focused at infinity or back into the body. If the light chamber is opened, the camera is just under 8" tall and weighs 3 lbs 7.4 oz without film or a strap.  

The vertical shape made the camera very similar to shooting with a twin-lens reflex camera, just bigger and heavier. As I have fairly large hands, using it wasn't that bad. 

To take the back off, on the camera's left side, as you hold it to take a photo, is a long lever next to the horizontal tripod socket. Slide that lever up to release the lock of the film back, and slide the cack off to the left to load the film. Loading the film is pretty straightforward. Take the empty film spool from behind the hinged door and put it into the top chamber inside where the gears are. Put the new film in the chamber with the hinged door and slide the leader around the wheel and over the pressure plate to the empty spool. Slide the end into the spool and wind it up just a bit so it's not coming loose from the take-up spool.

That's the easy part. I went online to look at the instruction manual on the proper procedure to load the camera, and now I understand the complexity of the camera. Well, the instructions that I read didn't make sense. One of the reasons is that the film back I have isn't 100% functional. The frame counter isn't working on my film back and doesn't go to the "Red F" as stated in the manual (show manual). Here's what I did. I put the back on the camera, advanced the film 5-6 frames, and started to shoot photos. The film advance lever is on the right side of the camera and has a large "wing nut" appearance right in the center of the camera.

The shutter speed dial is in two sections, similar to other cameras. From 1/1000 to 1/25 sec, it is on the top dial along with "T" and "B," closest to the light chamber. A second shutter speed wheel on the bottom of the camera has a dual function. It's the low end of the shutter speeds, from 1/10 sec to 12-second exposure; yep, 12-second exposure is built into the camera. It also serves as the camera's self-timer. The cameras' self-timer numbers are red, and the long exposure numbers are black.

The right side of the Exakta 66 vertical camera shows the shutter speed control dials on top and bottom.

To make a more prolonged exposure with the built-in shutter speeds, you set the SS dial to either T or B, then turn the bottom dial to the desired length of exposure in black. Press the shutter, and the shutter stays open until the end of the exposure, and the focal shutter closes. To use it as a self timer, set the shutter speed at anywhere on the top dial from 1/1000-1/25, then on the bottom dial set the length of self timer to the desired RED number and press the shutter button. This will delay the shutter from open/close function for the desired seconds picked from the red number picked.

You open the light hood, press down on the rear tab on the back of the hood. Mine pops up and is ready for action. Like many other medium format cameras, there is also a magnifying glass that allows for fine focusing. When you press the front of the chamber, the glass pops up. You can also remove the hood to get to the focus screen by pressing the lever between the two 6s on the front of the camera and just below the Exakta nameplate. When the light hood is removed, you can remove the focusing screen by sliding the bar on the right side but not back where the film advance and shutter speed dial is. It's the rod right next to "Ihagee". Slide that lever up, and the focus screen can be removed. To close the light hood, the four pieces that make up the light hood are numbered, 1,2, and 3, so you know which order to close them. If not in that order, the cover doesn't close.

There is a second rod on the right side of the camera between the two shutter buttons and the lock for the shutter button just above the shutter release. In the down position, it'll let you trip the shutter. When the bar is up, the shutter release is locked, and you cannot release the shutter.

 On the left side of the camera is the back release rod. Slide it up to release the lock to take the film back off and down to lock the film back onto the camera. There is a horizontal tripod socket. Also, there is a flash delay wheel that delays the flash sync depending on the flash and bulb used and the lens release button. Sliding the button back will release the bayonet mount lens.

The camera body, film back, light hood, Focus screen, and lens are separated.

The lens has a manual aperture, which doesn't stop the aperture down automatically when you press the shutter button. Focus wide open for the brightest viewing, then stop down the desired aperture. By doing this it also allows the photographer to see the depth of field in the finder before releasing the shutter. There is a red dot that you can move to the desired aperture. This allows the photographer to open and close the aperture quicker, and you cannot go further than the ring with the red dot will allow.

My results:

 Once I loaded the film, put the back onto the camera, and shot photos, here's the result. As you can see from some of the first images, I, too, had issues with the film transport. The technician told me he did his best to fine-tune the back, but the first few images had spacing issues, as seen in these images. After that, the images had spacing between them that grew to more and more spacing between the images.

Thing get better for the rest of the roll.

From the front yard.

Looking down our street.

Conclusion:

 After I played with the camera and finally got past the mumbo jumbo of the loading procedure, the camera was fun to shoot. I really didn't mind the manual aperture, and while I didn't use the self-timer or longer exposures as I was shooting ISO 400 on a somewhat sunny day, setting the shutter speeds and aperture was straightforward.

 Having the large indent on the film back provided extra area to hold the camera, especially when I was carrying the camera without a strap. I think the images turned out pretty good, and I'm looking forward to shooting it again—maybe at dusk with longer exposures this time.

 Thank you for taking the time to read through this post and until my next post, please be well and stay safe.

Mamiya Six II, Early Version

For the past few years, I've enjoyed shooting with older folding medium format cameras. These cameras are generally smaller and something I can fit into my pocket for easy transportation. They also use larger than 35mm film, so the ability to enlarge or crop the image gives more flexibility. Their lenses are somewhat flat in contrast, but I can change that after processing and digitizing the images. The Mamiya Six camera I have is one of the cameras I like to use often. There are some exciting features built into this camera that make the camera fun to use. The Mamiya Six was the first camera manufactured by Mamiya, and the camera I have, I believe, is the second version.

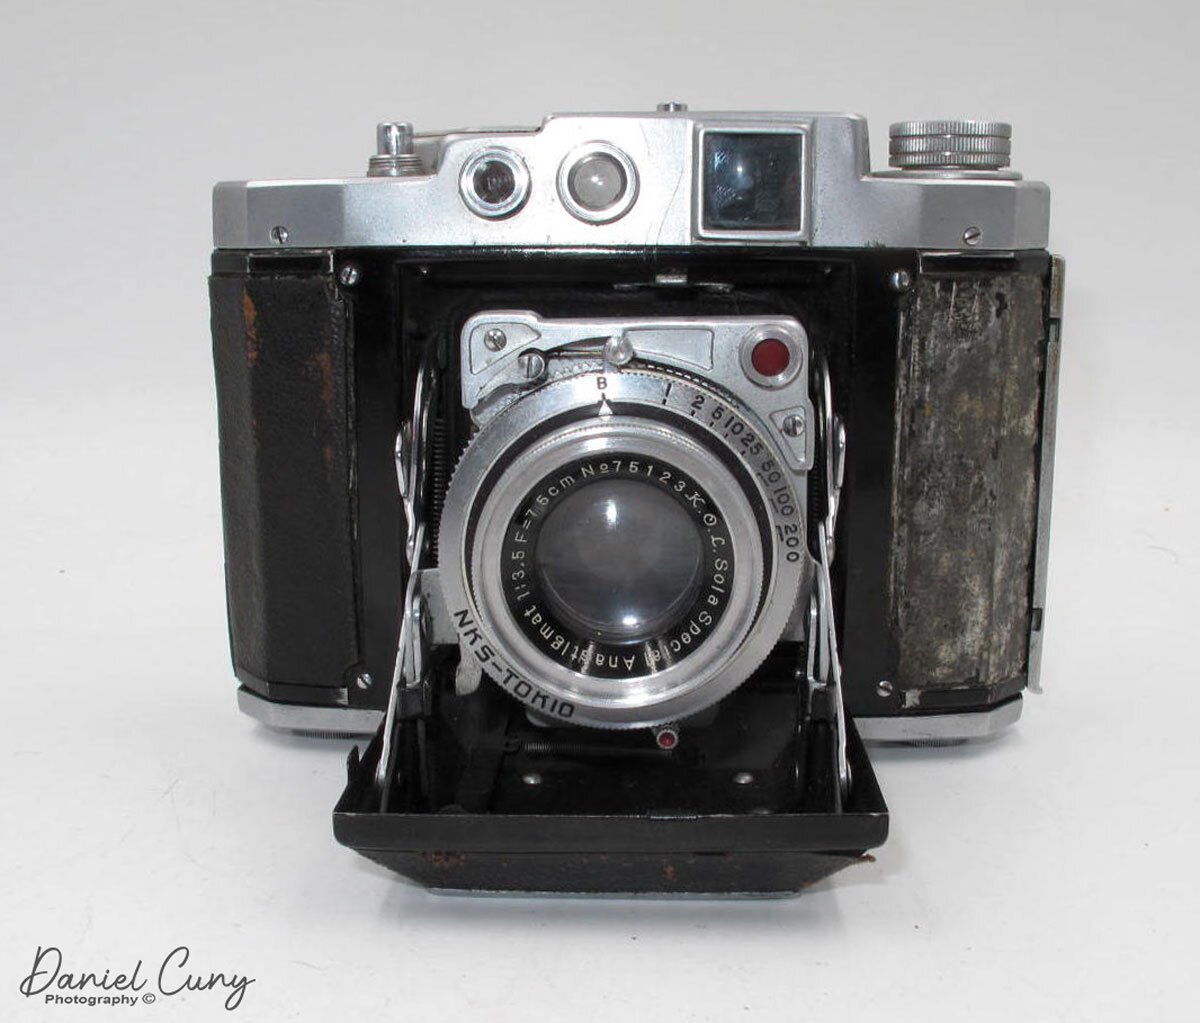
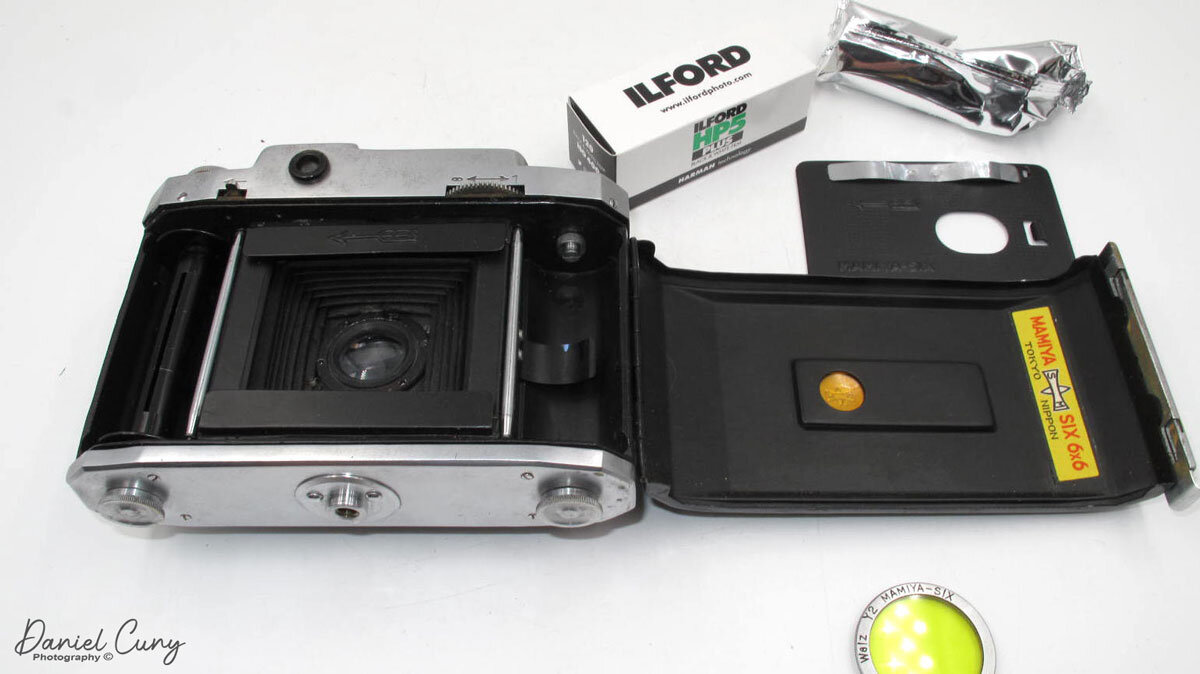
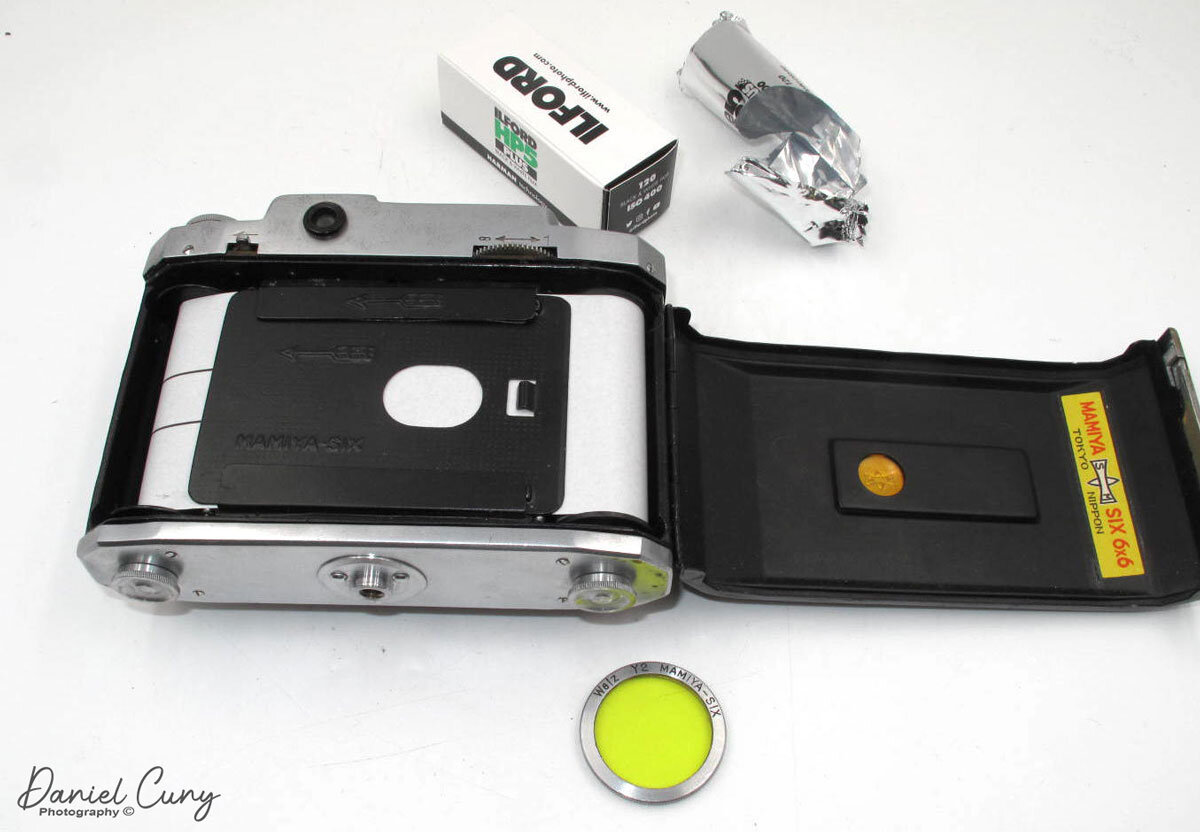
My opened Mamiya Six camera.

The Company

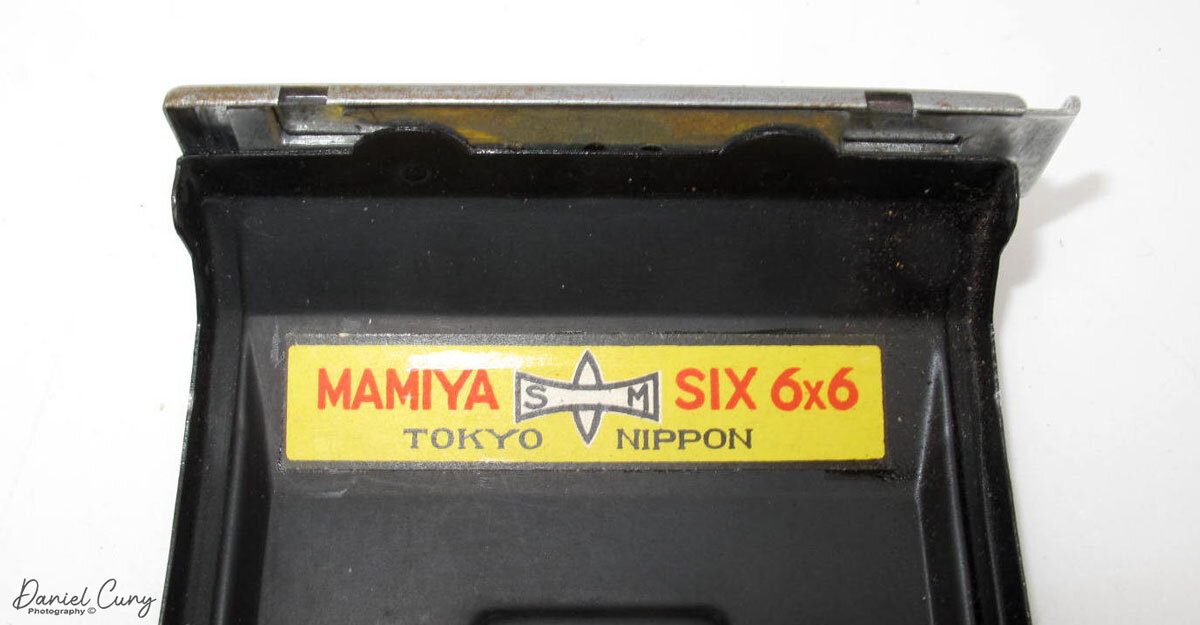
Mamiya was started in May of 1940 by Mamiya Seiichi and Sugawara Tsunejirō in Toyko, Japan. The first and only camera they produced for eight years was the Mamiya Six, which incorporates a coupled rangefinder on a 6x6 camera that moves the film plane for focusing instead of the lens. Even though they only made one camera, Mamiya managed to grow and gain success throughout the wartime. By February 1944, Mamiya had up to 150 employees and had moved their manufacturing to a new facility. In March 1944, they also opened a second manufacturing facility that made and assembled their lenses. In October 1945, just a month after Japan's surrender, Mamiya was the first company to receive a substantial order, bringing them back to full production.

In 1947, Mamiya started to produce Stamina shutters and Neocon lenses. In 1950, the Setagaya plant became the company Setagaya Kōki K.K. making their shutters and lenses. The name Sekor that appears on most Mamiya lenses comes from Setagaya ki, with the r most likely for Renzu meaning lens. 

I should mention one item I have a real fondness for Mamiya cameras as I was an employee for Mamiya America for about six years during the early 2000s. Some of my fondest memories are working with the wonderful people at MAC Group (Mamiya America Corp.). Phase One purchased a 45% stake of Mamiya in 2009 that changed its dynamic, but they still make cameras and lenses under the Phase One name.

The Camera

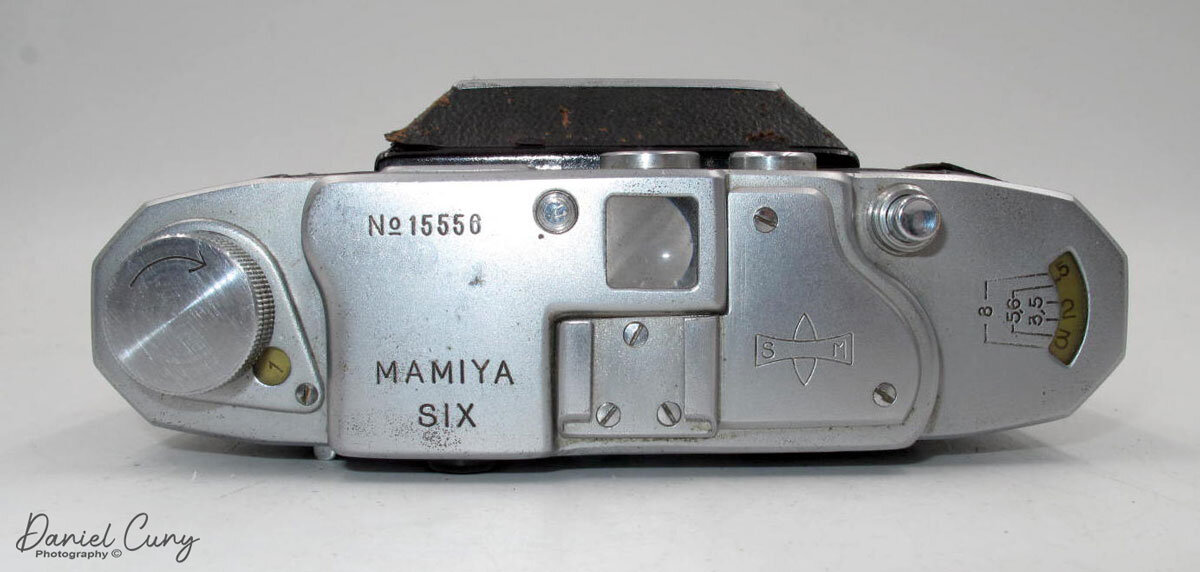
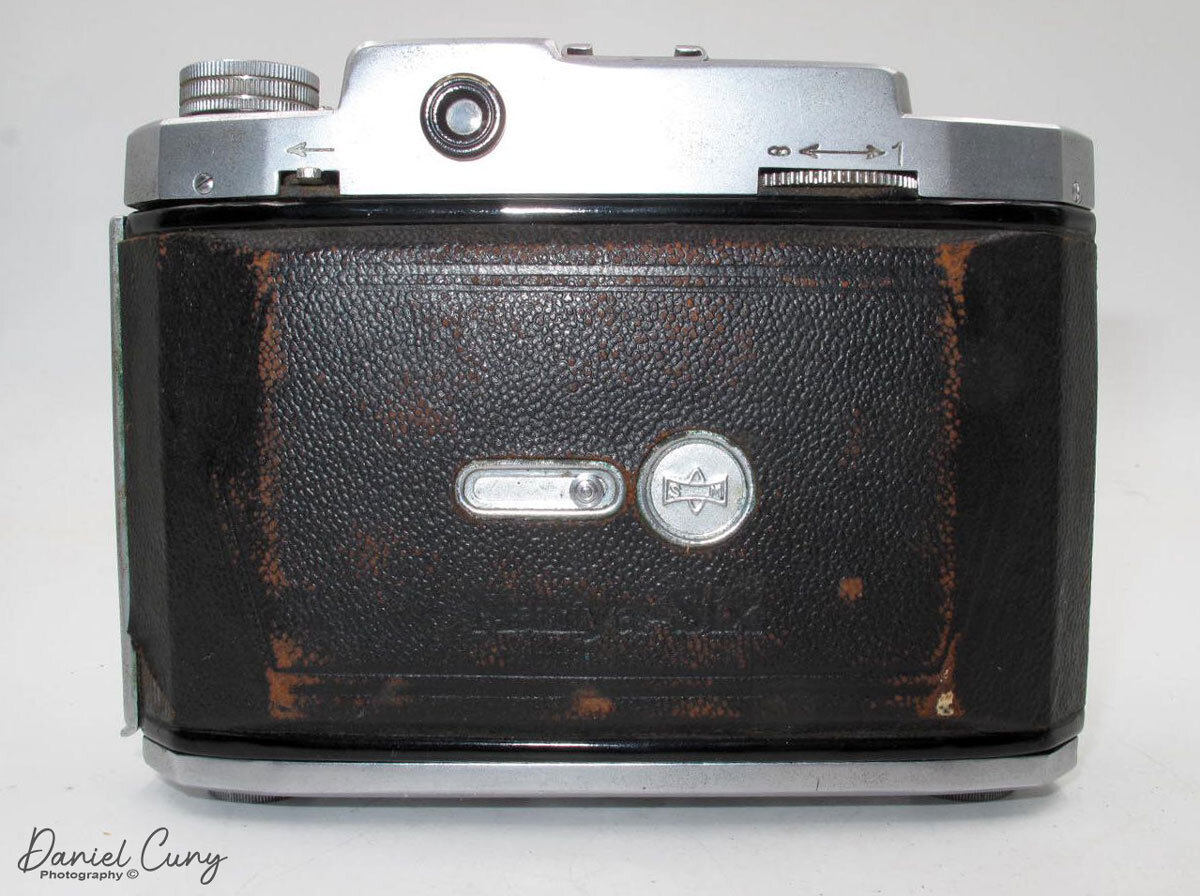
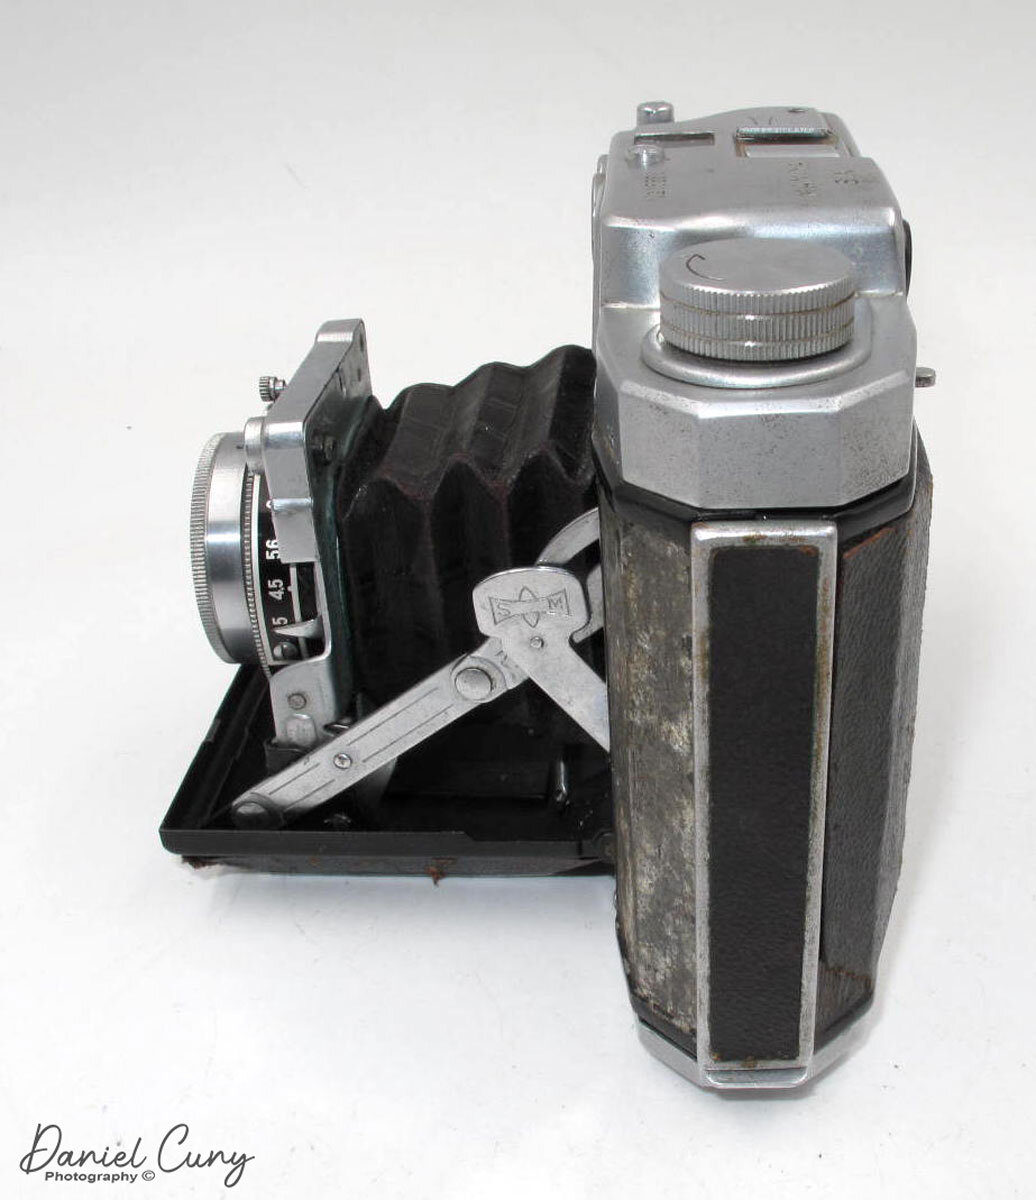
Over the years the Mamiya Six was manufactured there have been many changes and modifications. To see some of the changes, you can look here. This is also not to be confused with the Mamiya 6 which was introduced in 1989. I believe the version I have is the Mamiya Six II because the strap eyelets are no longer on the camera as they were on the original models.  Looking at the camera, the first thing I noticed when I bought it was the camera has both a waist-level finder and an incorporated rangefinder, which you can see from the window on top of the camera. Just to the left of the waist level finder window is a small button to open the camera. Depress the button, and the lens extends downward. To me, it resembles the Zeiss Ikon Super Ikonta 530/16 in size and weight. The Mamiya Six I have is 4" tall by 5.5" wide and 2" deep unopened or 4.5" deep opened, and weighs 1lb 12.5 oz without the case or film.

The Mamiya Six I have has a 7.5cm (75mm) f3.5 K.O.L. Sola Special Anastigmat lens in an NKS-TOKIO shutter with speed from 1-200 & "B." The aperture setting range from f3.5-32. To change shutter speeds, you move the knurled ring on the outside of the lens to the desired shutter speed. There is also a knurled ring on the back of the lens are on the right side that allows you to change aperture settings. It's somewhat hidden and took me a minute to find it, but it's easy to change once found. The pin on the top of the shutter cocks the shutter. There is a self-timer on the bottom of the shutter, which has a red dot. On the top of the camera at the far right are the focus distance and a depth of field scale. My scale only goes to F8, which is standard on the early cameras. The Mamiya Six I have also arrived with a Mamiya Six Y-2 filter.

On the back of the Mamiya Six is the viewfinder window. To the right of that is a thumbwheel that focuses the camera. Looking through the viewfinder is the typical rangefinder for focusing the camera. Once the shutter is cocked and you depress the shutter button on top of the camera, a red window appears in the viewfinder letting the photographer they have taken a photo. Under the viewfinder and to the left is a switch with an arrow pointing to the left. Moving that switch to the left allows you to wind the film to the next frame and also takes the red warning out of the viewfinder. The frame counter is at the top of the camera. It's a small round window next to the film advance knob. On the back of the Mamiya Six is also a red window and cover, which you can see the film advance and stop at the next frame, which is automatic. 


Close-up of lens & shutter on Mamiya Six camera.

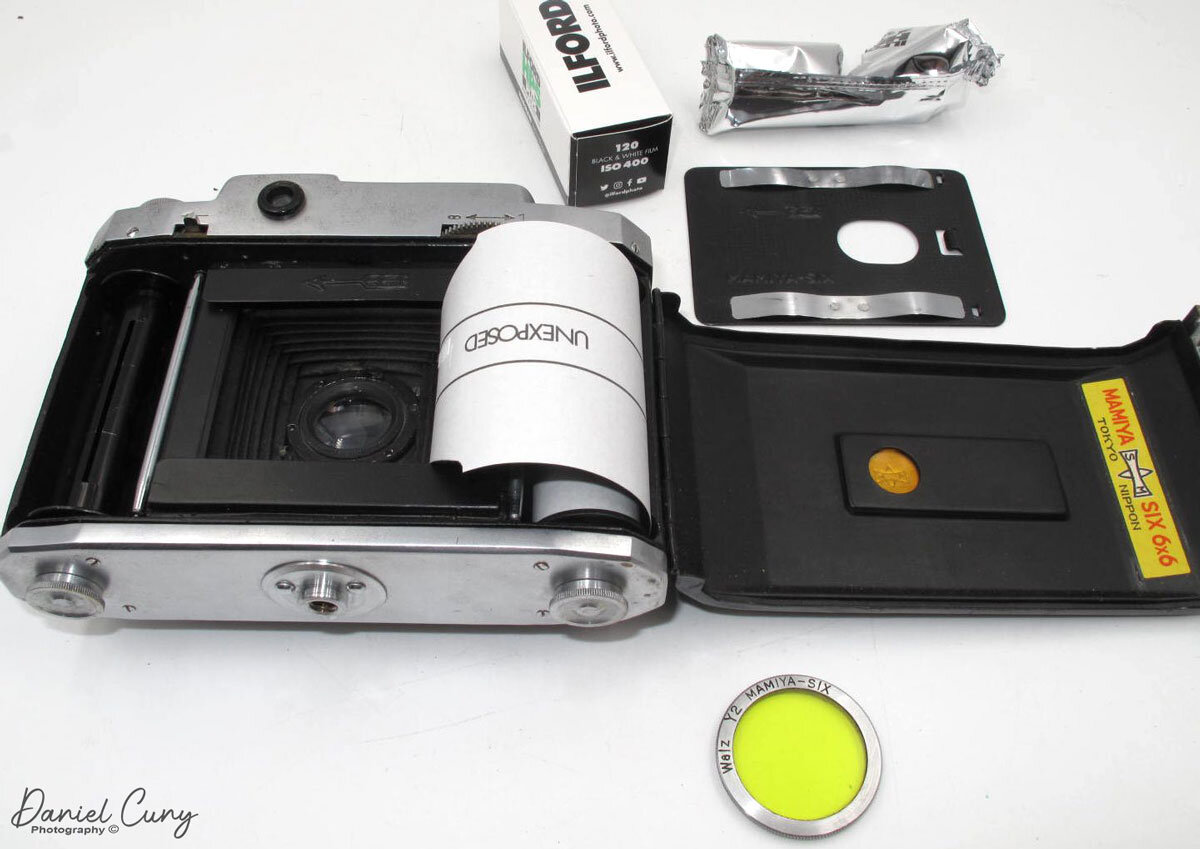
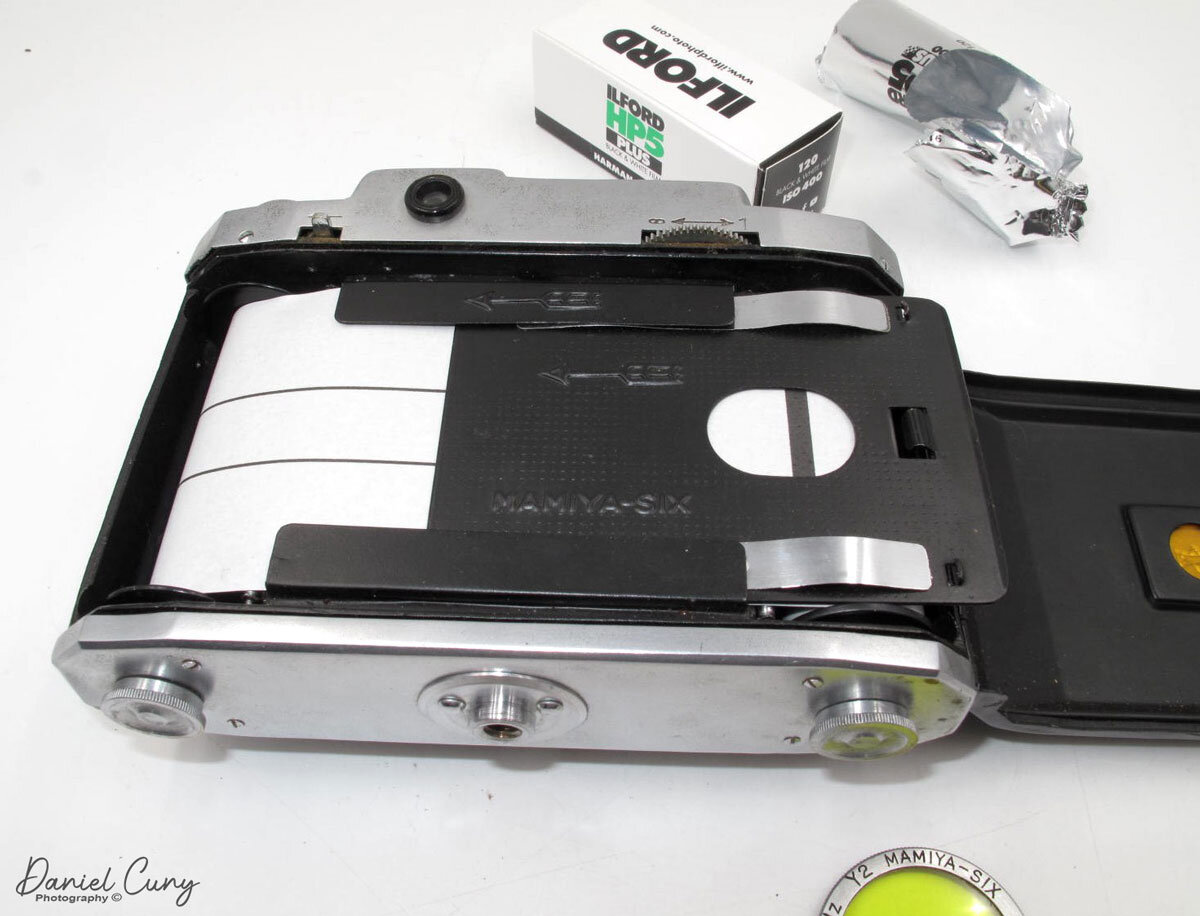
Loading the film is a bit tricky. I always make sure my film counter is at number 1 before loading. Since the film plane moves for focusing, the pressure plate is a removable plate that slides into the film plane. You slide out the pressure plate. Load the film on the right side of the camera. Drag the leader through the slots where the pressure plate goes and wind onto the take-up spool. Slide back the pressure plate into place, and turn the advance knob until you see the starting arrow on the film leader. Close the back and with the rear window open, advance the film to number 1. Now the frame counter and the film frame number coincided with each other. Once you take a photo, slide the switch to remove the red warning label, unlocks the film advance, and wind to the next frame.

Photos

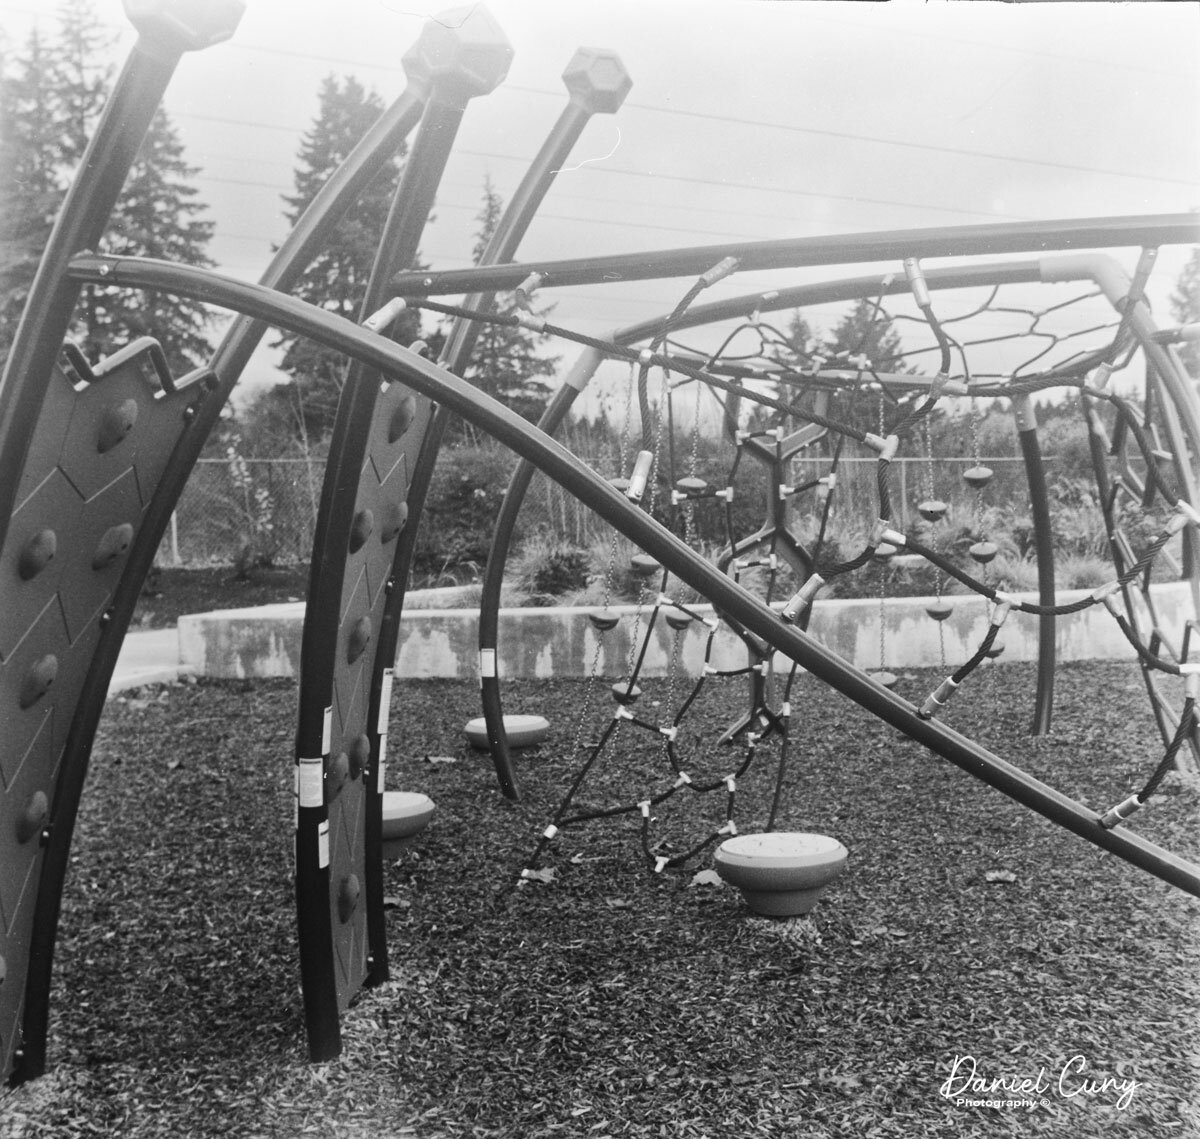
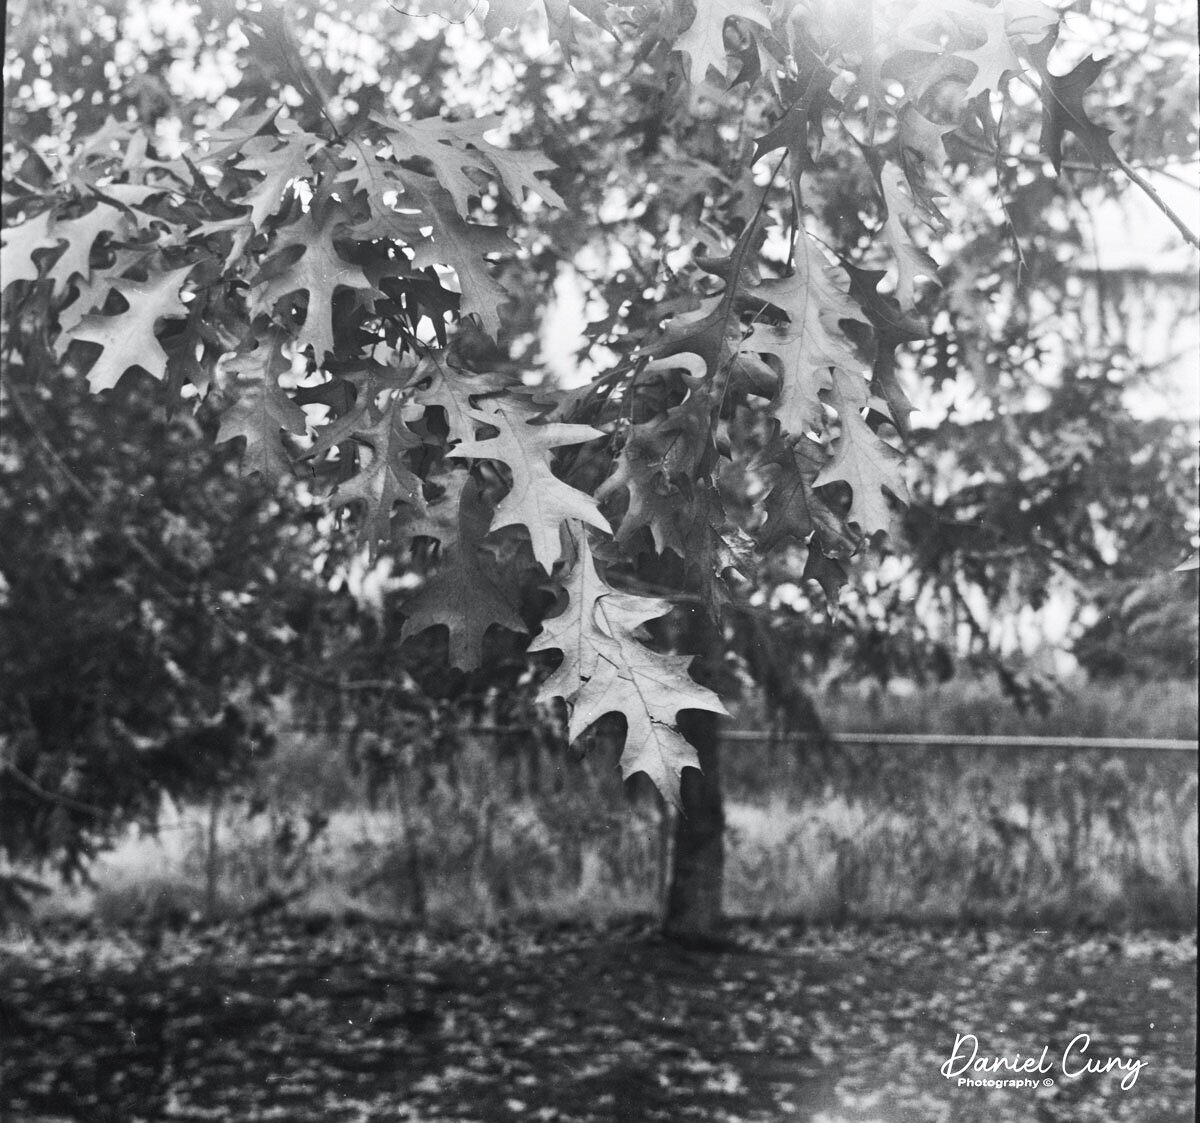
Here are a few quick shots I took walking around my neighborhood.

Conclusion

I enjoy using the Mamiya Six I have. I like the waist level finder, especially when I want to get the camera low to the ground. It's small for a medium format camera, the optics are good, and the aperture goes to F32, which I utilize when in the day time. The Mamiya Six is, in my opinion, a real keeper, especially when I want to put something in my pocket and shoot medium format.

 I appreciate you taking a few minutes to read this week's blog post. I enjoy hearing from you about your experiences with this or any other camera you have in your collection. Feel free to comment if you have a question or concerns regarding this or any other posts I've done.

 Until next week, be safe.