I've been holding onto this camera for a few years now and wanted to do a blog post on it a few years ago when I was asked to come back to work and run a couple of photo companies for a former boss. At the time, the opportunity was too good to pass up, so I put my camera blog on the back burner and dove into my work promoting and selling some top-of-the-line photo equipment.

My Exakta 66 Vertical camera and lens.
Now that I'm formally retiring after spending 52 years in the photo industry, I pulled the Exakta 66 vertical off the shelf, which I had serviced a couple of years ago, shortly after returning to work. I put 120 black-and-white films into it and gave it a whirl to see what a medium-format camera from the early 1950s would feel like.
History:
I previously wrote about the company's history when I posted on the Exakta Vest Pocket Model B camera in December 2020. If you're interested in what I wrote about Ihagee History, click the link.

Early horizontal Exakta 66 model.
In this area, I'd like to talk about the history of the Exakta 66. Exakta made an earlier version of the 66, a horizontal version developed just before WWII. Since this model is known as the "Vertical" version, it concerns the film transport on the camera. In this version, the film transports vertically, unlike the previous model, which went horizontally.
The original Exakta 66 was designed in 1938. Ihagee, the manufacturer of Exakta, had even set aside a series of serial numbers for the Exakta 66, which was a first for Ihagee. Until now, the camera model would have consecutive serial numbers when the cameras left the factory, but 552,000 to 556,999 had been reserved for the 6x6.
Due to technical issues with the film transport, Ihagee only produced about 2,000 cameras in the first year. The issues were somewhat common for other Exakta cameras from this time period. Production for the Exakta 66 was stopped after one year. It could have been due to technical issues or the outbreak of WWII.
In 1951, Ihagee decided to start production on the camera again. They reserved the serial numbers 600,000 to 607,999 for the new Exakta 66. Unfortunately, production was halted due to lackluster interest and low sales numbers. Many of the cameras produced were from old stock produced before WWII, and the cameras again had very poor film transport issues.
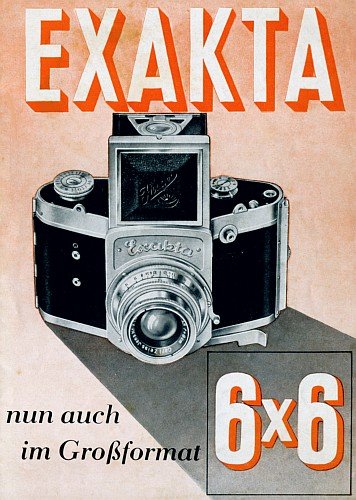
Introduced in the fall of 1952 with production was the new Vertical Exakta 66 with vertical film transport, which was to compete with Hasselblad for medium format camera. With the Vertical Exakta 66, Ihagee introduced interchangeable light shafts, focusing screens, film cassettes, and a prism finder, which were planned but never introduced. It also had flash synchronization and shutter speeds similar to their 35mm cameras from 12 sec. to 1/1000
Again, the vertical Exakta 66 ran into the same film transport and other issues during production. The problem was so bad that Ihagee recalled cameras delivered to stores to destroy the camera. It's estimated that there are only a few hundred cameras due to poor production and lack of sales.
In 1985, Ihagee's West German company reintroduced the Exakta 66. The camera was very similar to the Pentacon and even had Pentacon mount lenses. It had a current design with a black body and other accessories like finders, focus screens, lenses, etc. This version lasted into the early 1990s.
My Camera:
The Exakta 66 is a clunky and somewhat awkward camera, especially without a shoulder strap. While I got the camera serviced a few years ago, I'll discuss some issues with the body and film back.
My camera has a Carl Zeiss Jena Tessar T 80mm f2.8 lens. It measures 5.5" tall by 4.5" wide by 6" deep, measuring from the back of the film plane to the front of the lens focused at infinity or back into the body. If the light chamber is opened, the camera is just under 8" tall and weighs 3 lbs 7.4 oz without film or a strap.
The vertical shape made the camera very similar to shooting with a twin-lens reflex camera, just bigger and heavier. As I have fairly large hands, using it wasn't that bad.


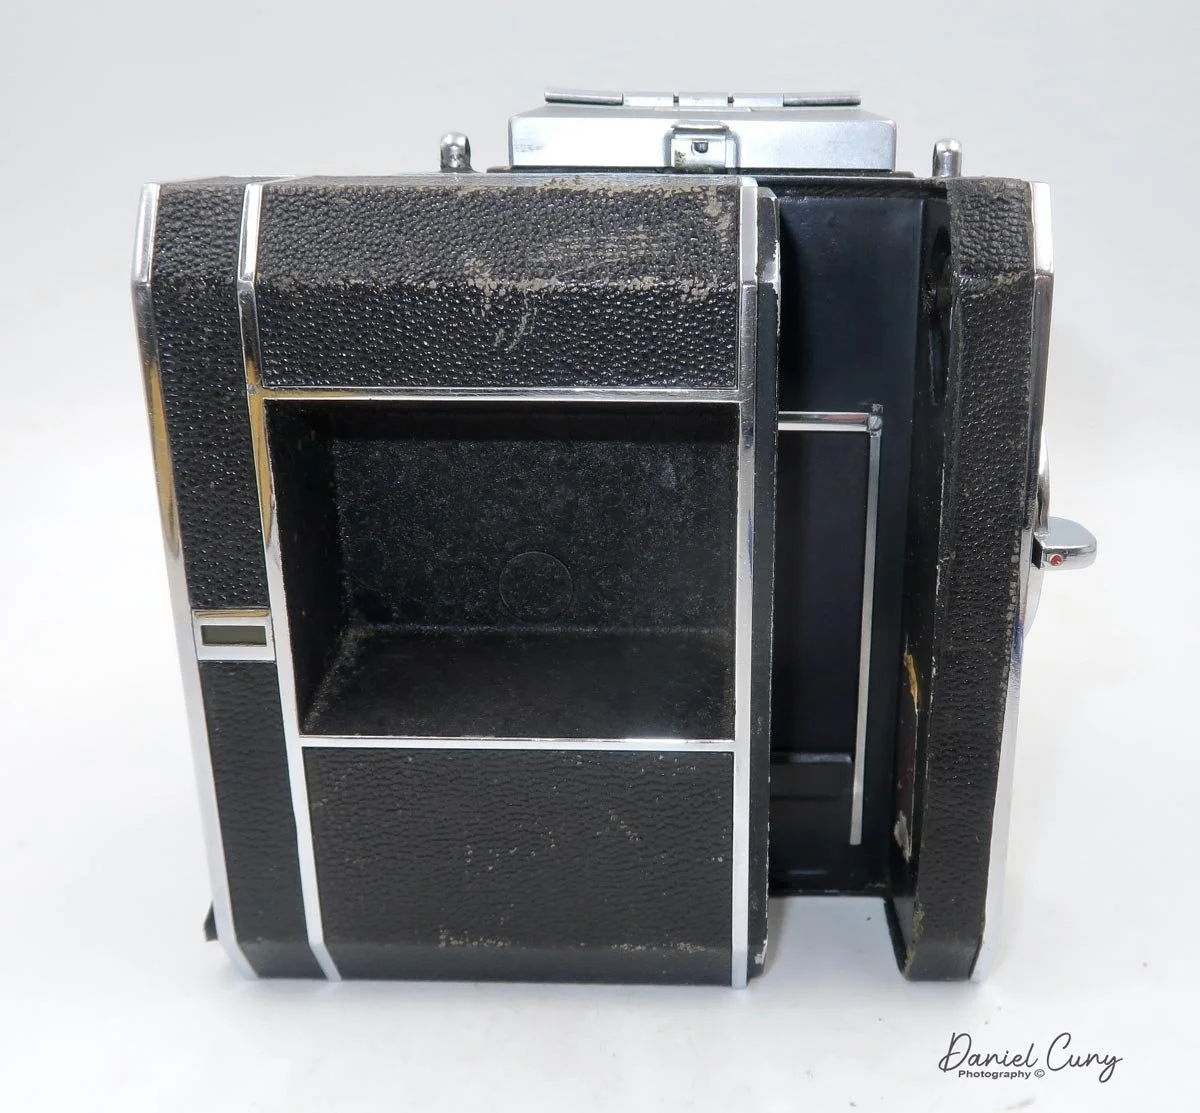
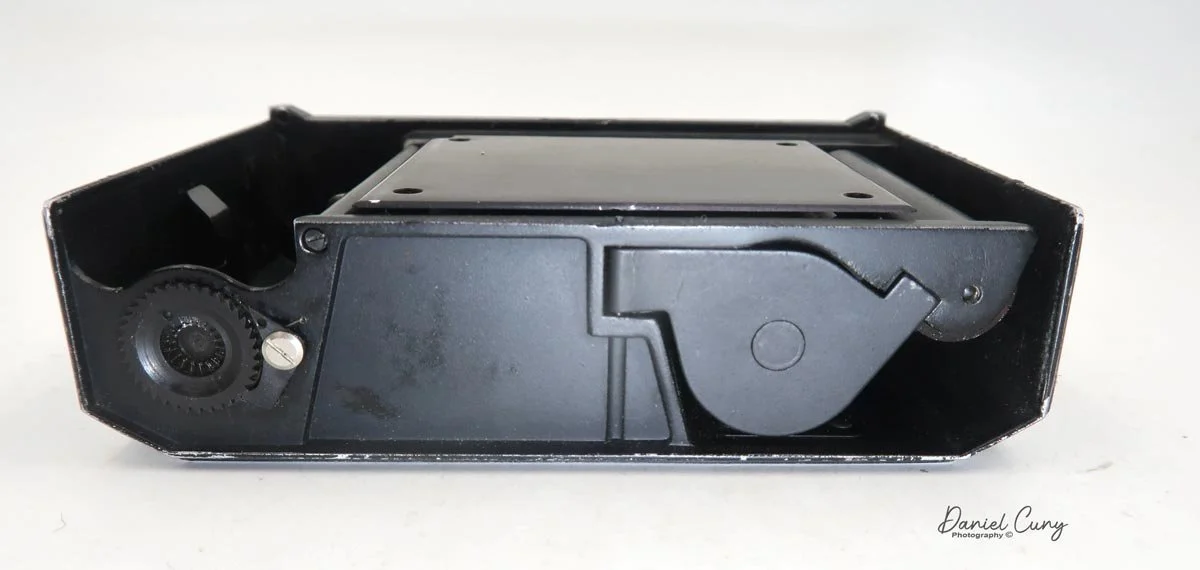
To take the back off, on the camera's left side, as you hold it to take a photo, is a long lever next to the horizontal tripod socket. Slide that lever up to release the lock of the film back, and slide the cack off to the left to load the film. Loading the film is pretty straightforward. Take the empty film spool from behind the hinged door and put it into the top chamber inside where the gears are. Put the new film in the chamber with the hinged door and slide the leader around the wheel and over the pressure plate to the empty spool. Slide the end into the spool and wind it up just a bit so it's not coming loose from the take-up spool.


That's the easy part. I went online to look at the instruction manual on the proper procedure to load the camera, and now I understand the complexity of the camera. Well, the instructions that I read didn't make sense. One of the reasons is that the film back I have isn't 100% functional. The frame counter isn't working on my film back and doesn't go to the "Red F" as stated in the manual (show manual). Here's what I did. I put the back on the camera, advanced the film 5-6 frames, and started to shoot photos. The film advance lever is on the right side of the camera and has a large "wing nut" appearance right in the center of the camera.


The shutter speed dial is in two sections, similar to other cameras. From 1/1000 to 1/25 sec, it is on the top dial along with "T" and "B," closest to the light chamber. A second shutter speed wheel on the bottom of the camera has a dual function. It's the low end of the shutter speeds, from 1/10 sec to 12-second exposure; yep, 12-second exposure is built into the camera. It also serves as the camera's self-timer. The cameras' self-timer numbers are red, and the long exposure numbers are black.

The right side of the Exakta 66 vertical camera shows the shutter speed control dials on top and bottom.
To make a more prolonged exposure with the built-in shutter speeds, you set the SS dial to either T or B, then turn the bottom dial to the desired length of exposure in black. Press the shutter, and the shutter stays open until the end of the exposure, and the focal shutter closes. To use it as a self timer, set the shutter speed at anywhere on the top dial from 1/1000-1/25, then on the bottom dial set the length of self timer to the desired RED number and press the shutter button. This will delay the shutter from open/close function for the desired seconds picked from the red number picked.
You open the light hood, press down on the rear tab on the back of the hood. Mine pops up and is ready for action. Like many other medium format cameras, there is also a magnifying glass that allows for fine focusing. When you press the front of the chamber, the glass pops up. You can also remove the hood to get to the focus screen by pressing the lever between the two 6s on the front of the camera and just below the Exakta nameplate. When the light hood is removed, you can remove the focusing screen by sliding the bar on the right side but not back where the film advance and shutter speed dial is. It's the rod right next to "Ihagee". Slide that lever up, and the focus screen can be removed. To close the light hood, the four pieces that make up the light hood are numbered, 1,2, and 3, so you know which order to close them. If not in that order, the cover doesn't close.


There is a second rod on the right side of the camera between the two shutter buttons and the lock for the shutter button just above the shutter release. In the down position, it'll let you trip the shutter. When the bar is up, the shutter release is locked, and you cannot release the shutter.
On the left side of the camera is the back release rod. Slide it up to release the lock to take the film back off and down to lock the film back onto the camera. There is a horizontal tripod socket. Also, there is a flash delay wheel that delays the flash sync depending on the flash and bulb used and the lens release button. Sliding the button back will release the bayonet mount lens.

The camera body, film back, light hood, Focus screen, and lens are separated.
The lens has a manual aperture, which doesn't stop the aperture down automatically when you press the shutter button. Focus wide open for the brightest viewing, then stop down the desired aperture. By doing this it also allows the photographer to see the depth of field in the finder before releasing the shutter. There is a red dot that you can move to the desired aperture. This allows the photographer to open and close the aperture quicker, and you cannot go further than the ring with the red dot will allow.


My results:
Once I loaded the film, put the back onto the camera, and shot photos, here's the result. As you can see from some of the first images, I, too, had issues with the film transport. The technician told me he did his best to fine-tune the back, but the first few images had spacing issues, as seen in these images. After that, the images had spacing between them that grew to more and more spacing between the images.


Thing get better for the rest of the roll.


From the front yard.

Looking down our street.
Conclusion:
After I played with the camera and finally got past the mumbo jumbo of the loading procedure, the camera was fun to shoot. I really didn't mind the manual aperture, and while I didn't use the self-timer or longer exposures as I was shooting ISO 400 on a somewhat sunny day, setting the shutter speeds and aperture was straightforward.
Having the large indent on the film back provided extra area to hold the camera, especially when I was carrying the camera without a strap. I think the images turned out pretty good, and I'm looking forward to shooting it again—maybe at dusk with longer exposures this time.
Thank you for taking the time to read through this post and until my next post, please be well and stay safe.