Since I got into photography, I have been a fan of panoramic cameras and images. The ability to see wide views of subjects similar to what you see in person seems very natural, so it's not unrealistic for me to have a variety of cameras to use during trips and other photographic jaunts I take to make images.

My KMZ FT-2 Camera
I came across a Russian-made KMZ FT-2 camera many years ago when I was a sales representative for one of the companies I worked for. I remember visiting EP Levine in Waltham, MA, and seeing the FT-2 and a Spinshot they had. I asked about the Spinshot because, at the time, I knew the Spinshot was something out of my price range. One of the owners gave me a reasonable price on the camera and case because, like many of these cameras, they take a unique film cassette, which this camera didn't have. I knew at that time I was buying it more for my collection rather than using it, but always in the back of my mind, it was something I wanted to put a roll of film into and shoot with.
The Company:
KMZ (Krasnogorsky Zavod), also known as the Krasnogorsk Mechanical Works, is a prominent camera and optical equipment manufacturer based in Russia. Founded in 1942 in the city of Krasnogorsk, near Moscow, KMZ played a significant role in the Soviet Union's photographic and optical industries. Initially established to support wartime needs, the company shifted its focus to producing civilian products, becoming a key player in developing photographic technology in the Soviet era.

FT-2 camera, leather case and 2 different 3D printed cassettes
KMZ became widely known for producing cameras and optical devices for civilian and military use. One of its most famous products is the Zenit series of single-lens reflex cameras, which gained a strong reputation for their durability and affordability. First introduced in the late 1940s, the Zenit cameras became popular among amateur photographers and professionals worldwide, especially during the mid-20th century. These cameras were equipped with reliable optics, often branded under the Helios or Jupiter trademarks, known for their exceptional image quality.
Another well-known KMZ product is the Zorki rangefinder cameras, which were modeled after early Leica designs. The Zorki cameras, like the Zenit series, were affordable and accessible, making photography more attainable for the average user. These cameras are now considered collector's items, valued for their vintage appeal and craftsmanship.
KMZ also contributed to advancements in optical engineering. The company developed lenses for photography, cinema, and scientific applications, as well as optical sights and instruments for military use. The Helios-44 lens, often paired with Zenit cameras, became legendary for its unique bokeh effect and remains highly sought after by enthusiasts.

Following the dissolution of the Soviet Union in 1991, KMZ faced challenges adapting to a market economy. While the demand for traditional film cameras declined with the rise of digital photography, KMZ continued producing optical devices and exploring new markets. The Zenit brand was revived by introducing modern digital cameras like the Zenit M, which combines vintage aesthetics with contemporary technology.
KMZ's contributions to the photographic and optical fields testify to its innovation and resilience. Despite economic and technological shifts, the company remains a symbol of Soviet ingenuity, with its cameras and lenses appreciated by photographers and collectors worldwide.
The Camera:
The KMZ FT-2, one of the first 35mm panoramic cameras, is a model of simplicity in design. Its bare-bones appearance, resembling a small black brick, belies its robust mechanical construction. The camera measures 4.75" wide by 3.25" deep by 2.25" tall, including the winding knob, and weighs 1 lb. 7oz. The FT-5 boasts a 50mm fixed F5 lens that swings across the curved film plane to produce 110mm long images on your 35mm film. This unique design eliminates barrel distortion, ensuring your horizontal lines remain straight when holding the camera level. However, due to the extended negative size, 24mm x 110mm rather than the typical 24mm x 36mm, you only get 12 images on a roll of 36 exposures, a testament to the camera's straightforward and uncomplicated nature.
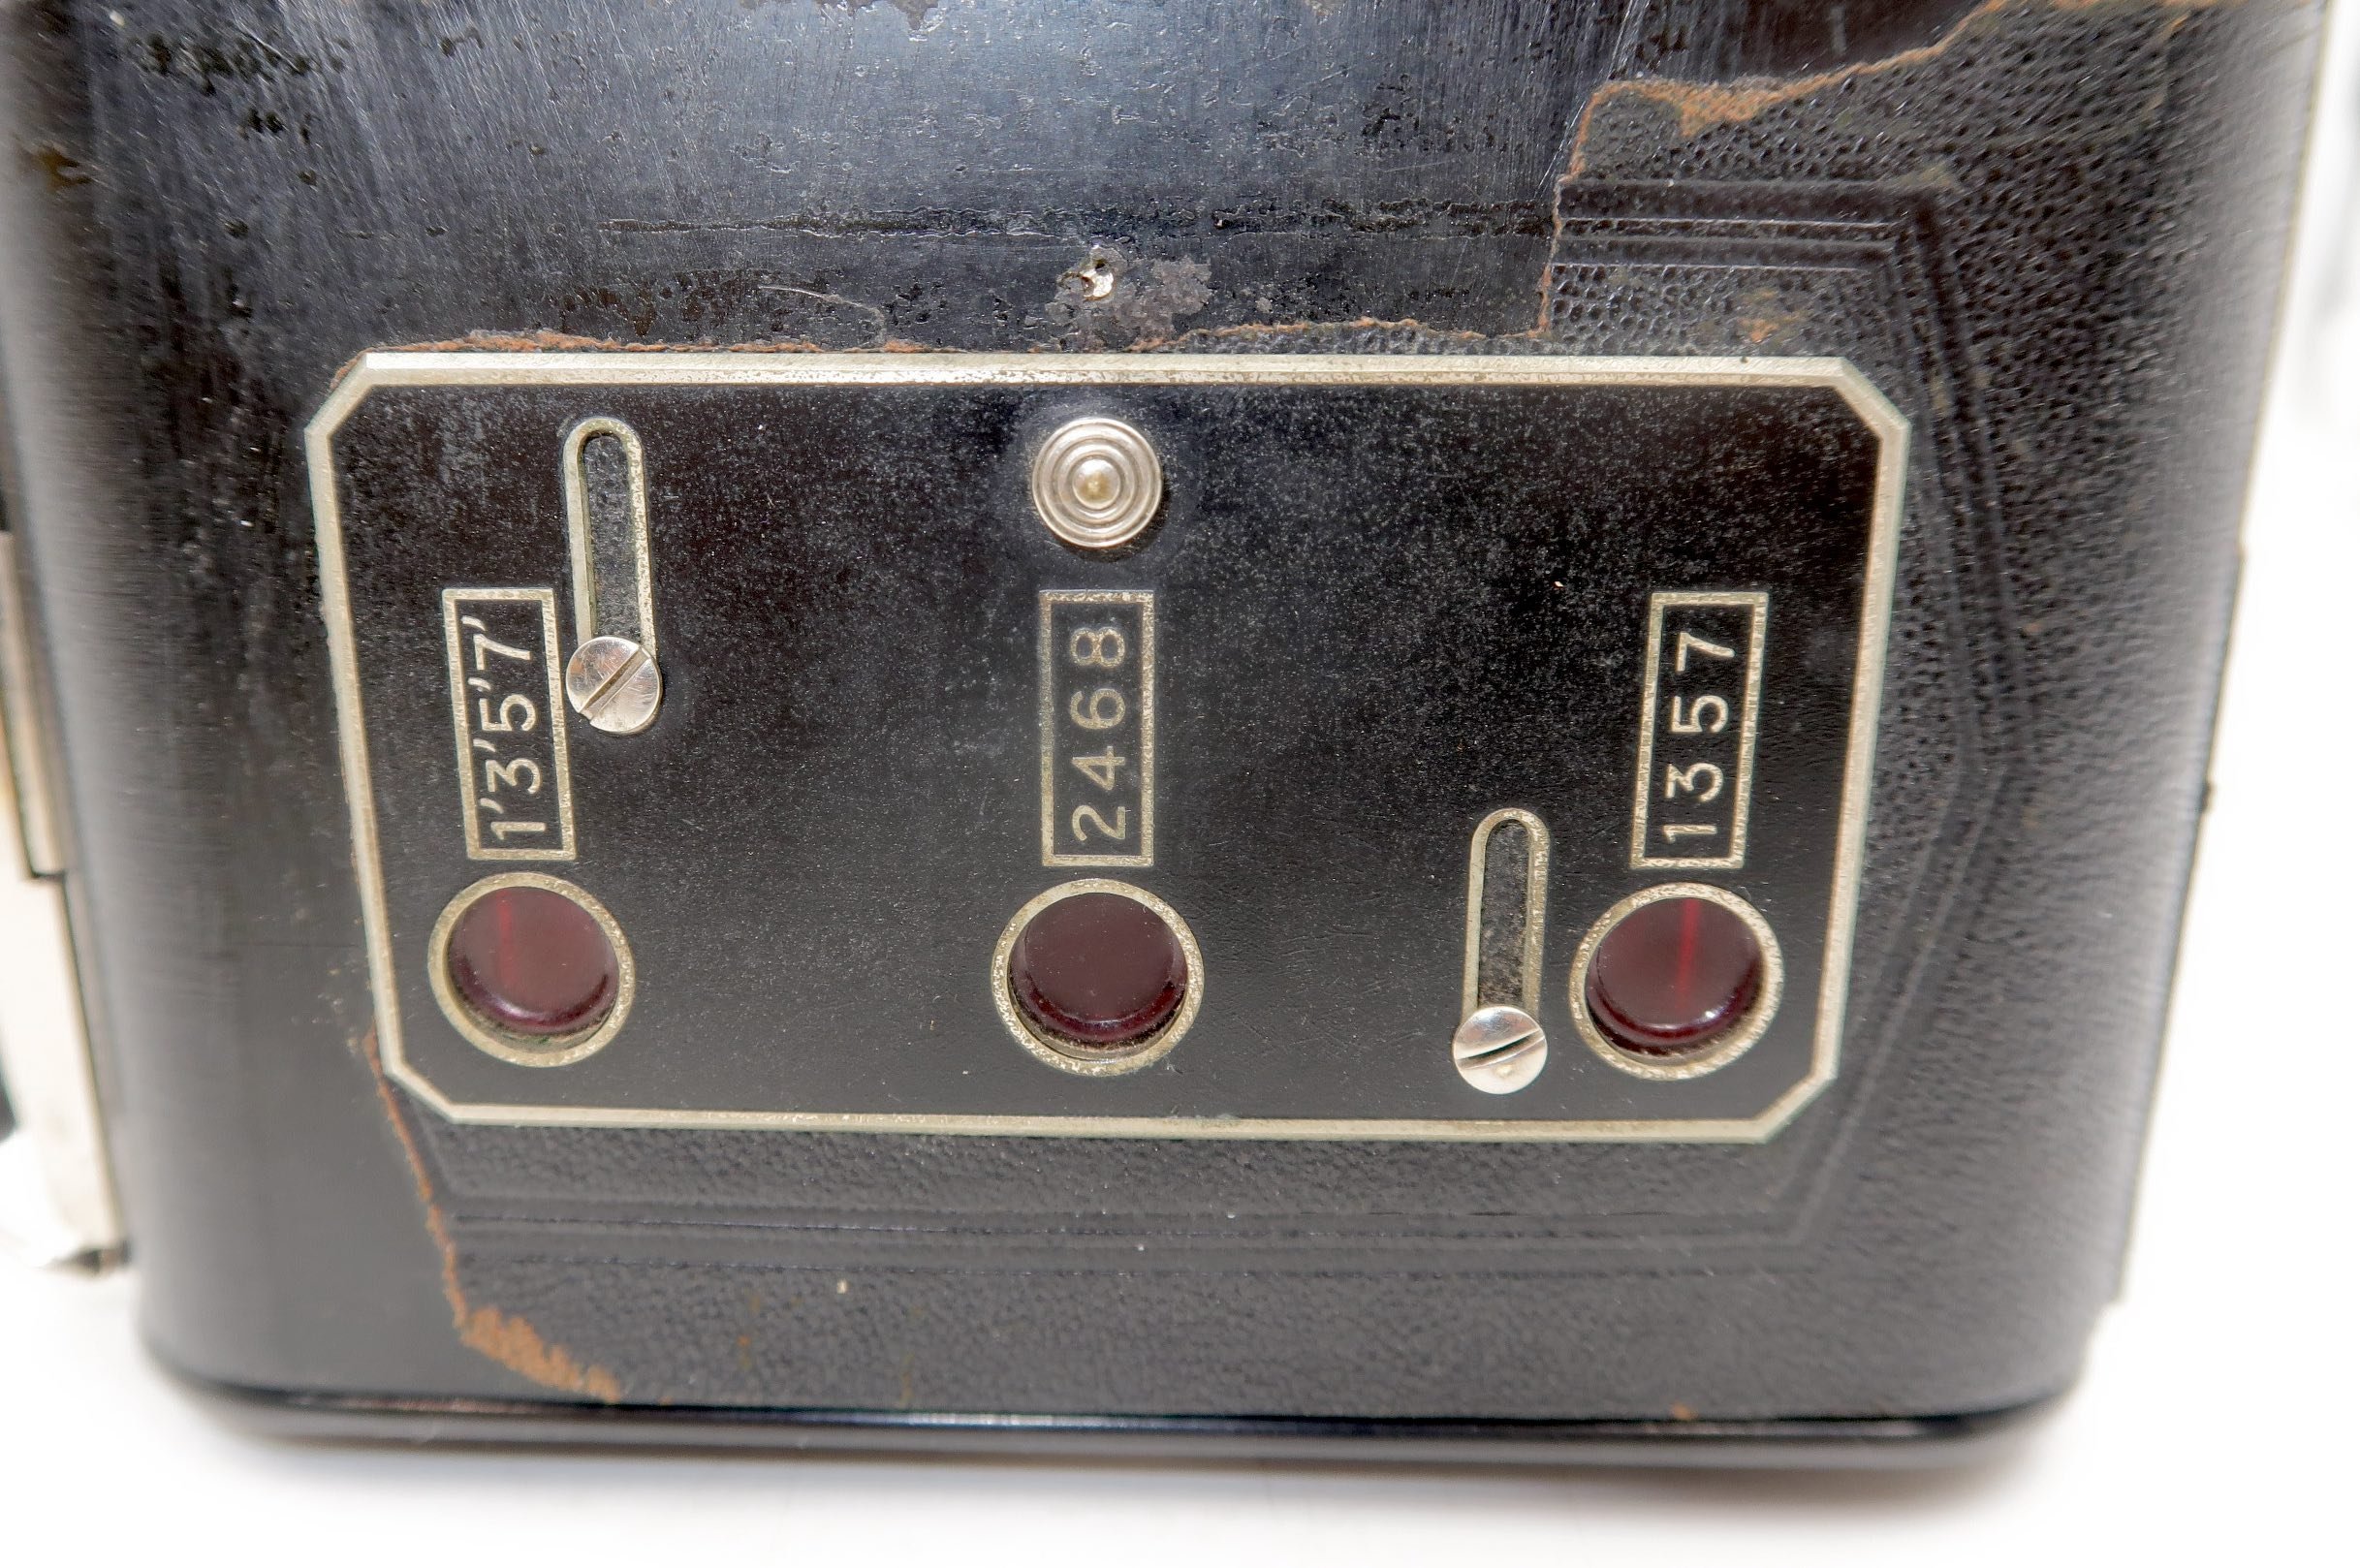
The FT-2 only has 3 shutter speeds: 1/400, 1/200, and 1/100 second. The shutter speeds are set by changing two levers on top of the camera and located just below the shutter cocking lever. The shutter cocking lever is a larger finger and thumb knob, which you turn clockwise to cock the shutter, and it swings back to the starting position at approximately 11:00 when the exposure is finished. A mechanical braking system slows the shutter to these speeds when shooting at the two slower speeds. When shooting at the maximum speed, the camera jolts when the exposure ends and has a reasonably noisy snap when the shutter spins on its axis and comes to a vibrating finish of the exposure. The shutter release is to the right of the shutter cocking knob and just above the frame counter.


Since the camera produces such a long negative, the manual states that you need to turn the winding lever so that the frame counter does three full revolutions around, then add one number to get to the next frame. So, if you were on frame number 5, after taking the photo, you'd turn the winding lever, watch the frame counter go three revolutions around, and then stop at number 6 to be ready for that photo.

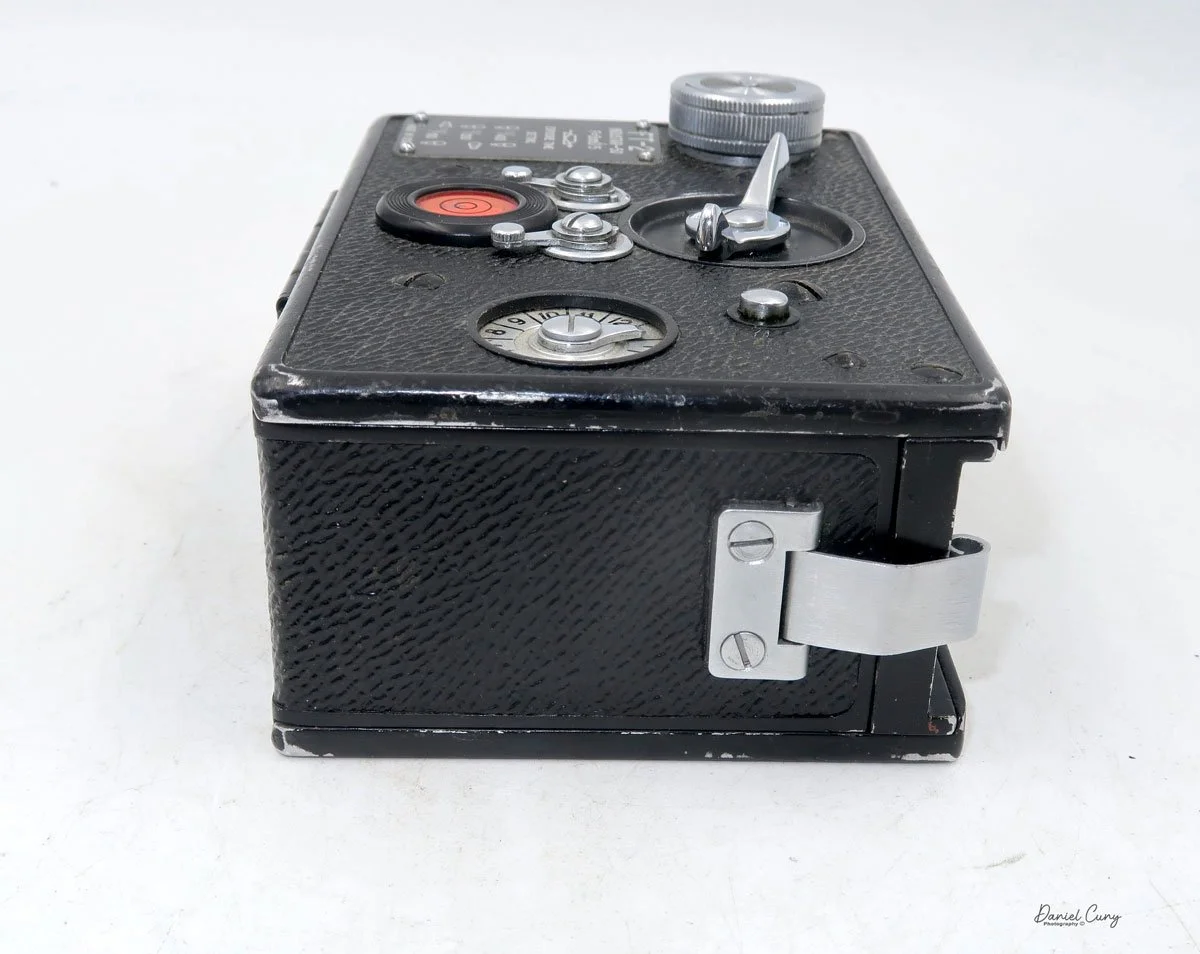
Top view of KMZ FT-2 camera where all the controls are located.
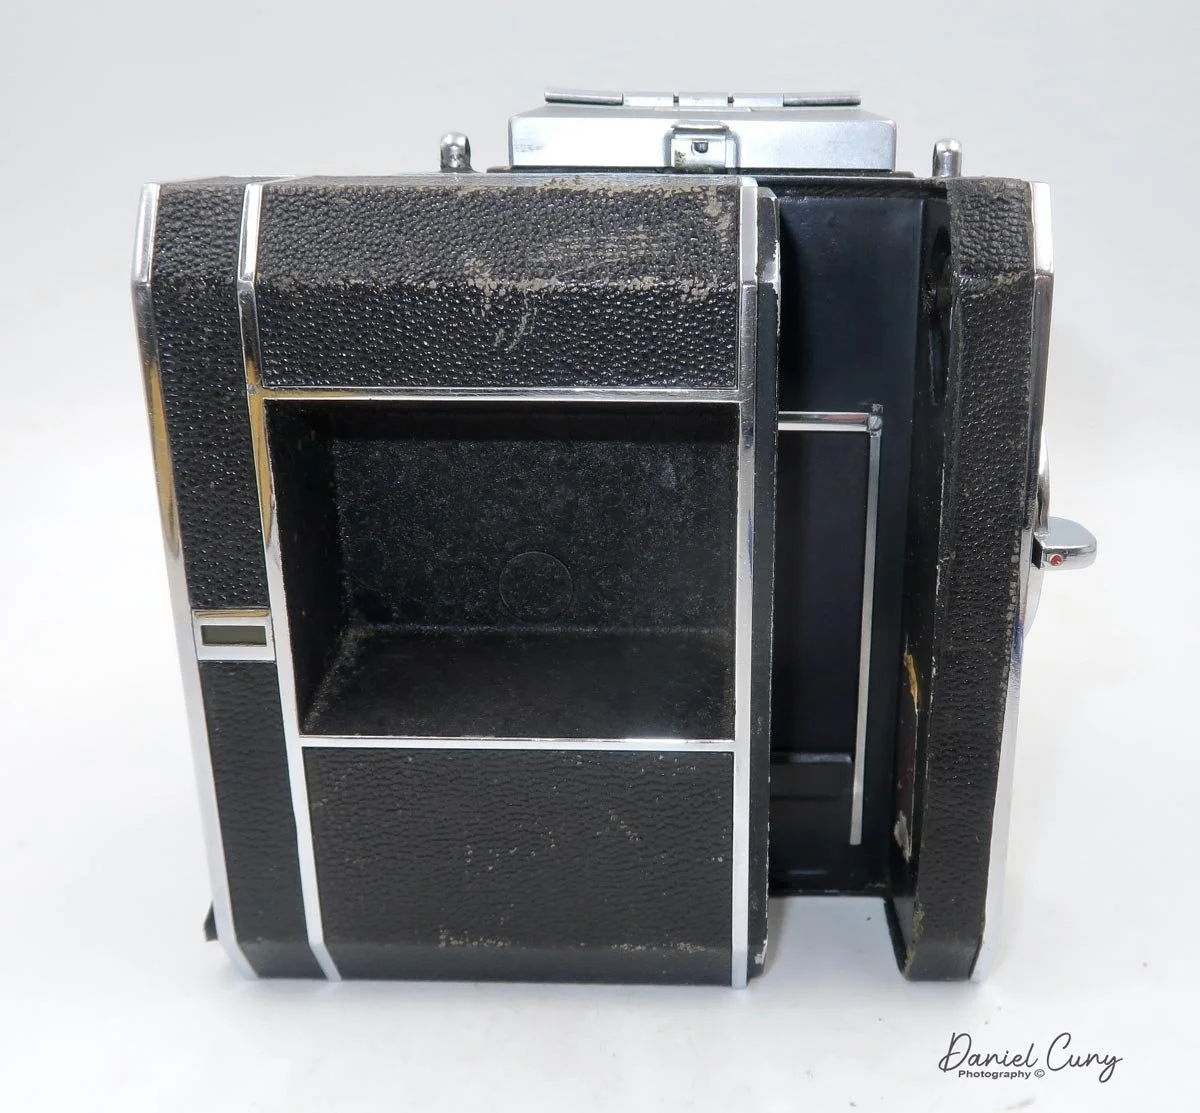
There is no optical viewfinder, but rather a flip-up mask that you put your eye up to and guess that that's the approximate area that will be in your photo. There is a bubble level on top of the camera, so it's easy to level out the photos. This is not so helpful when looking through the viewfinder, but if you use the camera on a tripod or hold it more at waist level, then it makes sense.
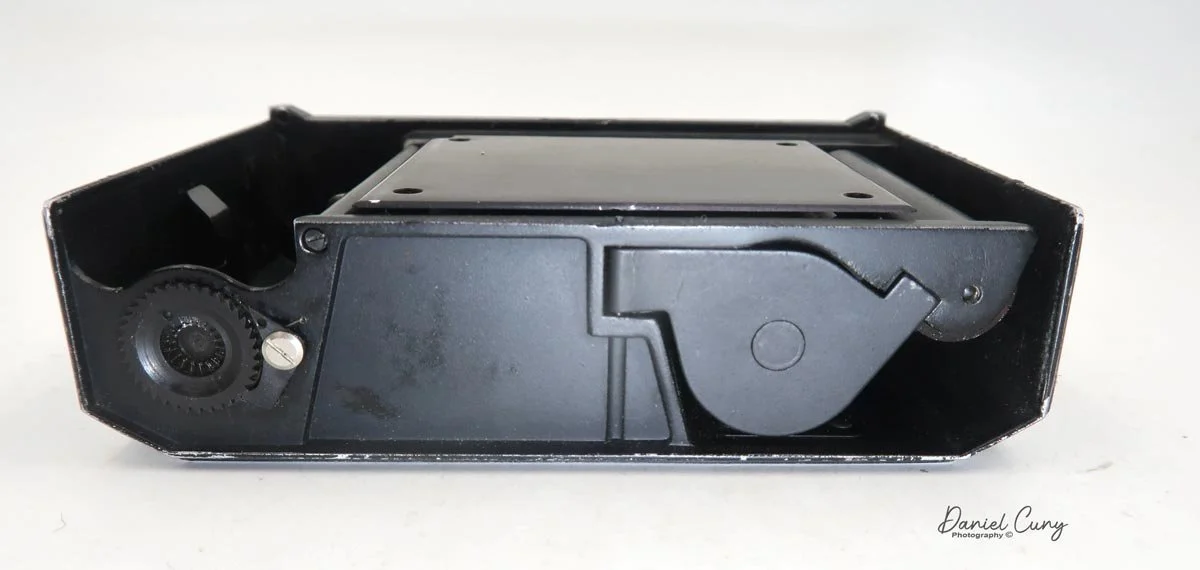
To open the back of the camera to load film, the front of the camera, in both corners, are silver clips holding the back close to the front. Snap these clips out, and holding the back with one hand and the body with the other, you slide the back off the camera. To put the back onto the camera, there are small channels on the body that the back fits into to slide back onto the camera. Make sure the back fits into the channel slide, then back onto the camera, and snap the clips into position.


Using the Camera:
Fast forward about 25 years, and I pulled the FT-2 out of my shelf and started to play with it. The camera is in excellent mechanical shape, so I wondered if there's a way to adapt a regular 35mm film cassette into the camera for shooting with it. Doing my usual looking on the internet to see what advancements have been made, I came across Roger Hyam's website discussing how he had the same camera and 1 set of cassettes. To make the camera more enjoyable, having multiple cassettes would make shooting with the camera more manageable. Since loading the cassettes is time-consuming, he made film cassettes for his FT-2 with a 3D printer. In that article, he has a CAD design and explains the process.
At this point, seeing that there is a somewhat easy way to get cassettes made for the camera, I looked into buying a 3D printer for this and possibly other projects down the road. While I still may do that, I found a local company close to my house that does 3d printing, Rex Plastics in Vancouver, WA., and Harvey, one of the engineers who does the 3D printing for the company. I called on a Friday to see if they could do this and sent them the CAD file. While Harvey was off that day, I received a call from him early Monday to say that this could be done fairly easily, and they had produced a Minolta 16 cassette and a 126 film cassette someone else needed, so he was familiar with working with film.


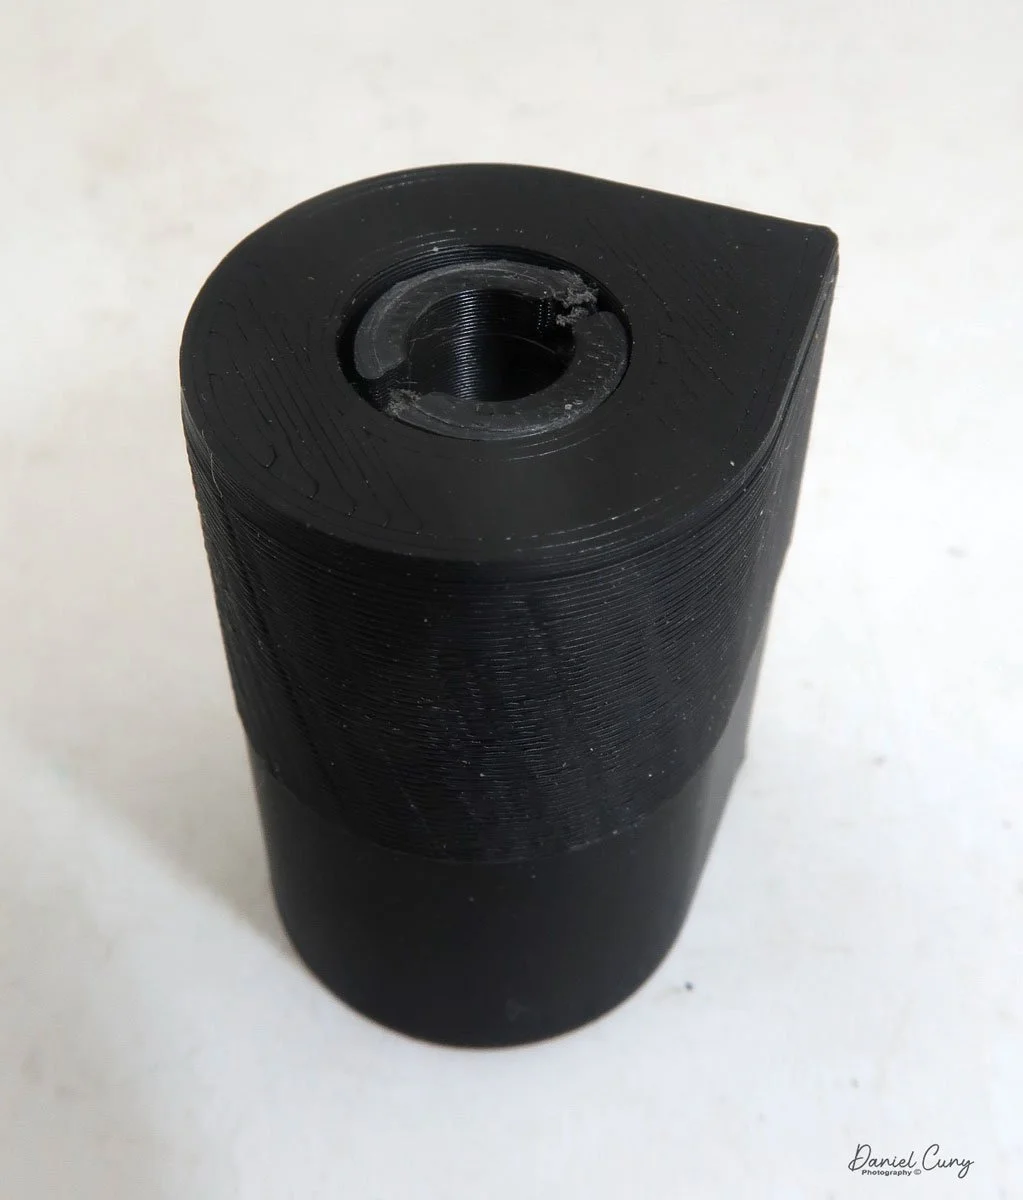
On Thursday or Friday, I stopped by Rex Plastics to pick up the cassettes I had ordered, which looked tremendous. They fit into the camera and looked like the items I saw online. I took them home and started to load film into the cassettes, only to find that the design I sent had a minor flaw. Once there was film in the cassettes, the amount of film pushed the knob of the spool through the top of the cassette, making it impossible to fit back into the camera.
I told Harvey what the issue was and brought it back to him with film inside to show him the issue. Rex Plastics is such a good company that Harvey said it wasn't a big issue and went back and made the spool smaller to accommodate the film capacity and changed the cassette top to accommodate a different spool that fits into the cassette. This took just a few days, and now I had cassettes I could take home and shoot with the FT-2 camera. One thing I did to the 3D-printed cassettes was to add some felt to the inside cassette to avoid any scratches that may happen when transporting the film from one cassette to the other. I took some old 35mm canisters, pulled the felt off them, and taped them into the 3D-printed cassettes with double-sided tape.


Loading the Cassettes:
Here's the process I used to load the new 3D-printed cassettes with film to put into the FT-2 camera. Most of this process has to be done in complete darkness. I used my light-tight changing bag, which I use to load film onto reels for processing, but this time, here are the items I needed to keep in the changing bag.
2-3D printed cassettes
1 roll of 35mm film (unexposed)
1 piece of tape taped to one of the spools
1-pencil used to wind film
1-FT-2 camera with the back partially off
I'll break this down into the steps I used. You may find an easier way, but this process went much quicker than I thought and seemed manageable.
Out in the daylight, I took the leader from the unexposed 35mm film and taped it onto the take-up spool. I then took up some of the slack and put it into one of the 3D-printed cassettes. This is what you can do in the light; all the other steps are done in the changing bag.
Put all the items from the above list into the changing bag.
At this point, I wound all the film from the unexposed film into the take-up spool until I reached the end of the roll. To make the winding easier, I put a pencil into the end of the spool and turned the pencil. Do this for step 7, too.
Tear the end of the film of the unexposed film from its cartridge.
Open the second cassette and tape the end of the unexposed film to the spool of the second 3D-printed cassette.
Slide the spool into the second 3D-printed cassette and put it on the cover.
Rewind the exposed film from the first cassette into the second cassette.
Once you feel the leader, stop winding. Now, you have all your unexposed film into the second cassette.
Put both cassettes into the back of the camera.
Make sure the winding knob is engaged into the first 3D printed cassette and starts to wind, making sure the film is moving across the film path.
You don't need to wind much, just enough to ensure the film is transporting.
Put the back of the camera on the loaded camera and snap closed.


Now, you can open the changing bag, remove the film-loaded camera, and wind it to the first frame, which should only take a few turns.
PLEASE REMEMBER: When you're at the end of the roll, you don't rewind it back into the cassette like a standard 35mm camera. You take the camera and load it back into the changing bag so you can load it onto your developing tank for processing. If you wanted to wind hard enough to pull the tape off one spool onto the other, you could do that, but that risks exposing the film if you don't tape the cassettes closed.
My Results:
With the camera loaded into my newly made 3D printed film cassettes and the sun shining on a typically overcast November afternoon, there was a chill in the air and a panoramic camera in my hands. I walked through my neighborhood to see what the camera would produce. After taking the photos, I was excited to see the results, so I loaded the camera, developing tank, and reels into the changing bag. I took the film out of the camera, loaded it onto the developing reel, put it in my developing tank, and processed the negatives.
The overexposed area on the left of the images must have caused a slight light leak. Here's what I produced.


Conclusion:
What a fun camera! I really enjoyed using it. Loading the cassettes wasn't as big of an issue as others I've read about make it out to be if you think about the process. If you have one and need technical or repair information, I found this very informative website, The FT-2 Panoramic Camera Guide.
If you have one and need cassettes, don't hesitate to get in touch with Harvey at Rex Plastics. I'm confident he can print some for you, and they can ship them to you.
Thank you for taking some time from your day to read about this fun panoramic camera that produces excellent images.
Until next week, please be safe.
References:
The FT-2 Panoramic Camera Guide: https://lens-club.ru/public/files/pdfs/4e9b2081c1c77ede9e70d985d6bacc5d.pdf
FT-2 Camera Manual: https://cameramanuals.org/russian_pdf/russian_ft-2_panaromic.pdf
Roger Hyam’s Website: https://www.hyam.net/blog/archives/10727
Rex Plastics: https://rexplastics.com/3d-printing-and-plastic-product-design