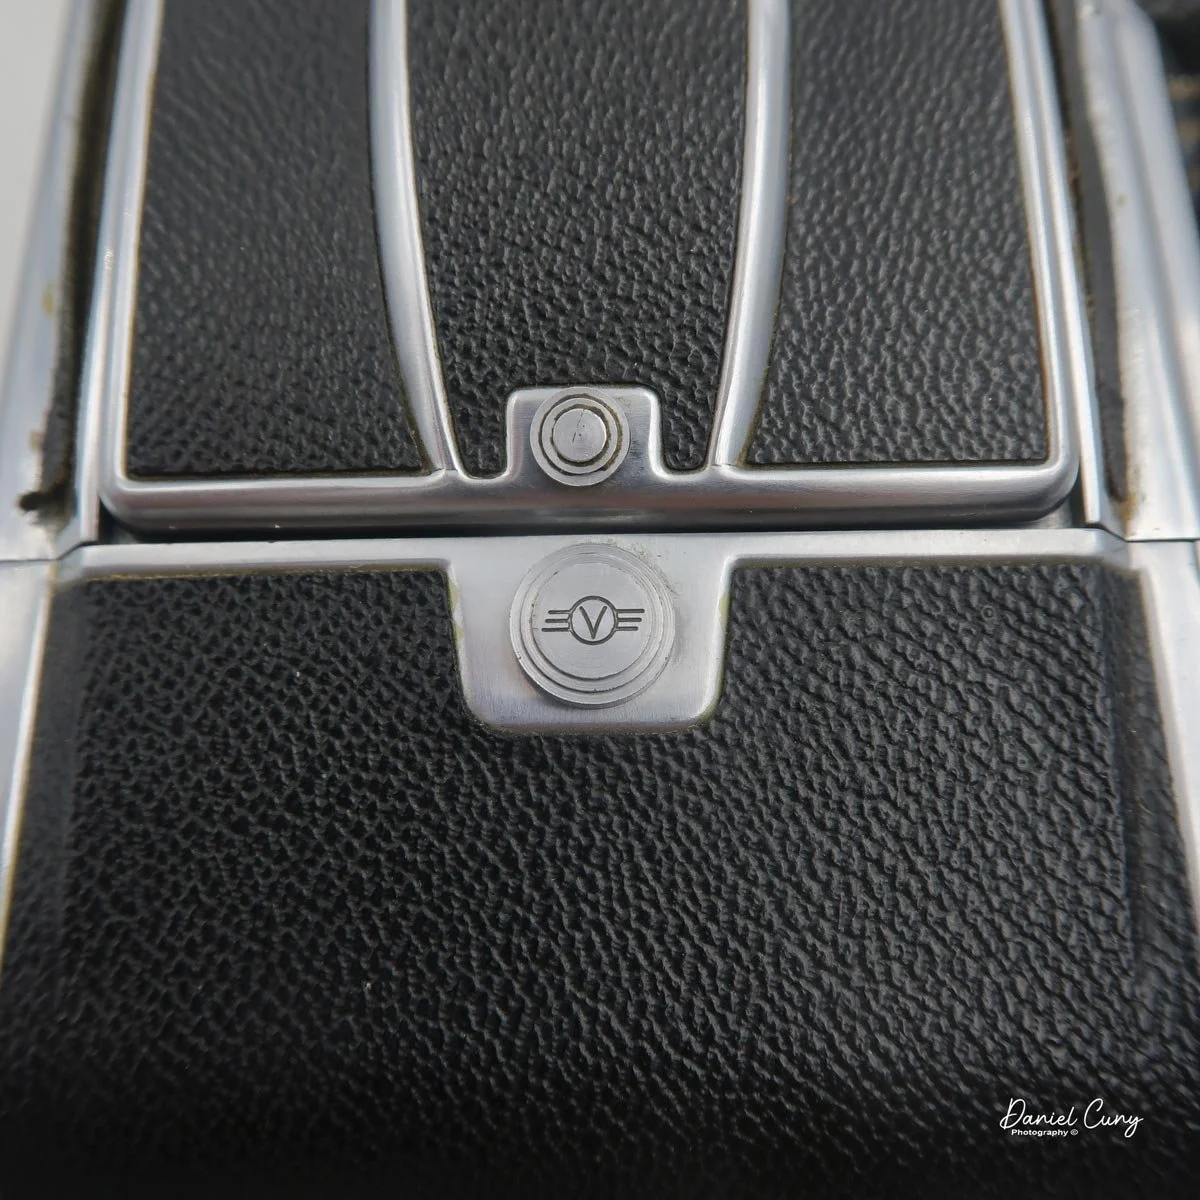
My Rolleicord 1
Some cameras look so amazing that you consider them more of a work of art than a mechanical piece of metal and glass that takes photos. That was my thought the first time I saw the Rolleicord 1. While the Rolleicord 1 is a fairly plain camera, it's the "skin" that gives it a "wow" factor.
It's the same feeling I had when I saw cameras like the cameras designed by Walter Teague, like the Kodak Beau Brownies, The Petite Coquette, and the Gift Kodak. They are more of something you'd see in a museum rather than take out and take photos with.
It has more to do with the Art Deco era; these items were manufactured in, and along with the pride in artistry, the companies had to present something to their audience than we currently have. The fact that a camera company in the 1930s would introduce a new line of cameras with such a striking appearance is a bold statement and a testament to the Rollei name.
The History:
Rollei holds a significant place in photographic history. Founded in 1920 in Braunschweig, Germany, by Paul Franke and Reinhold Heidecke, the company originally bore the name "Franke & Heidecke." Initially, it focused on precision mechanical devices, but by the mid-1920s, Rollei began producing cameras that would revolutionize photography.
Rollei gained international recognition in 1929 with the launch of the Rolleiflex, the first twin-lens reflex (TLR) camera. The Rolleiflex was compact, robust, and designed for medium-format photography. Its unique twin-lens system featured one lens for viewing and focusing and another for capturing the image on film. This innovative design allowed photographers to frame shots at waist level, making candid photography more discreet and practical. The Rolleiflex quickly became a favorite among professionals and enthusiasts, particularly for portrait and documentary work.

The success of the Rolleiflex led to the introduction of the Rolleicord, a more affordable version aimed at amateur photographers. Both models showcased Rollei's commitment to precision engineering and optical excellence, which became hallmarks of the brand.
During the 1930s and 1940s, Rollei continued to innovate, refining the Rolleiflex and Rolleicord lines with features such as automatic film winding and improved optics. Despite the challenges of World War II, the company maintained its reputation for high-quality cameras. In the post-war era, Rollei played a significant role in the resurgence of the German camera industry.

French ad for Rolleicord 1
The 1950s and 1960s marked a golden age for Rollei. The Rolleiflex TLR became synonymous with professional photography and was used by renowned photographers such as Richard Avedon, Diane Arbus, and Vivian Maier. Rollei also ventured into other formats and technologies. The Rolleiflex 35mm SLR, introduced in the late 1950s, showcased the company's adaptability to the changing market demands.
By the 1970s, the rise of Japanese camera manufacturers like Nikon, Canon, and Minolta introduced intense competition. These companies offered high-quality single-lens reflex (SLR) cameras at more affordable prices, challenging Rollei's dominance in medium-format and professional photography.
In response, Rollei diversified its product line, introducing the Rolleiflex SL66, a medium-format SLR, and the compact Rollei 35, which became one of its most miniature 35mm cameras. Despite these innovations, Rollei struggled to maintain its market share due to its higher production costs and its competitors' rapidly advancing technology.
In the 1980s and 1990s, Rollei faced financial difficulties, leading to changes in ownership and restructuring. The company shifted focus to digital imaging and niche markets, including high-end studio cameras and digital backs for medium-format systems.
The Rollei legacy endures as a symbol of German engineering and innovation, reflecting a century of dedication to the art and science of photography.
My Camera:
The Rolleicord 1 was made between 1933 and early 1936, with 32,508 units sold. The camera is nickel-plated and decorated with a trompe-l'oeil grid on all sides except the bottom, giving it its unique look. In 1934, Franke & Heideke produced a version of the camera without the beautiful pattern finish and covered the body in drab black leather, which was the Rolleicord 1, model 2.
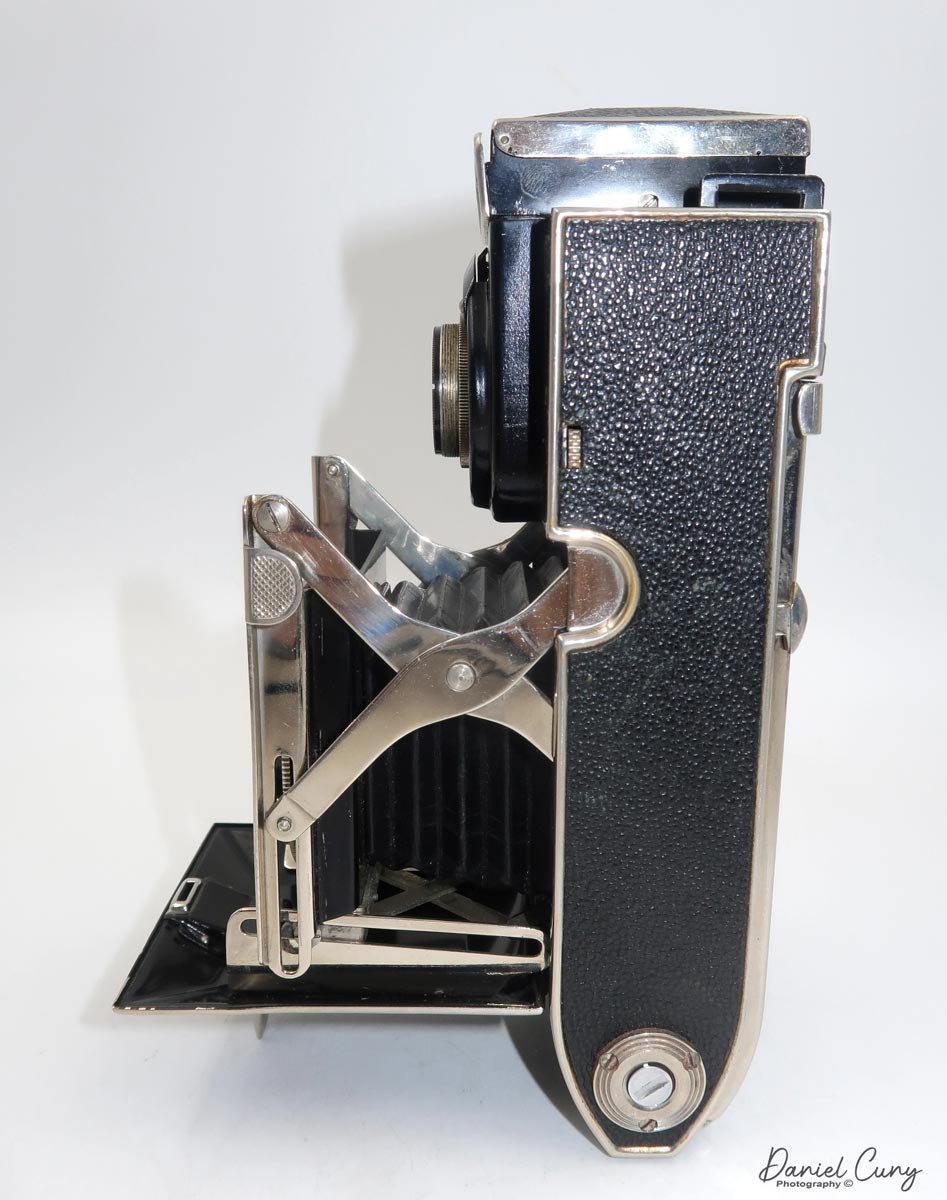
My Rolleicord 1 is 5.25" tall with the chimney closed and 8" tall with the chimney up, by 4" deep, by 3.5" wide, including the focus knob. It weighs 1 lb, 15.4 oz, so just under 2 lbs. The serial number on the camera is 029789, which is stamped into the body with the back door opened. The camera has a Carl Zeiss Jena Triotar 7.5cm f4.5 lens in a Compur shutter.


The shutter speeds range from 1/300 to 1 sec., along with "B" and "T" settings. For transparency purposes, my shutter isn't in the best condition and only works on the top three speeds (1/300, 1/100, 1/50 sec.). It doesn't close if I use any of the slower speeds. The shutter speeds are set by turning the collar around the lens to the desired shutter speed, which is indicated by a triangle.
The camera's aperture setting ranges from f4.5 to F32. A pointing triangle and a separate collar on the other side of where you set the shutter speed determine the aperture setting.
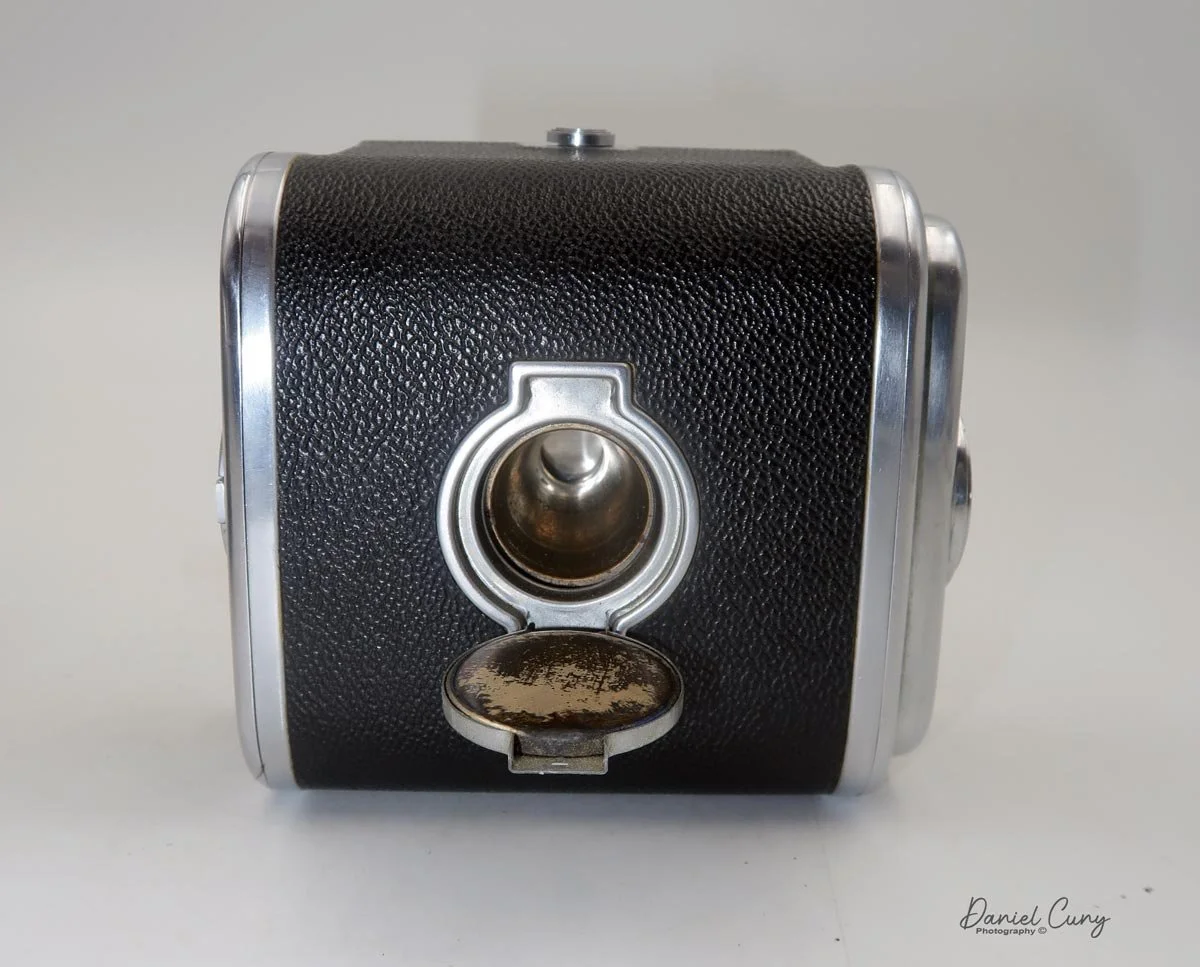
To cock the shutter, you slide the bar under the lens to the right as you're holding the camera to take a photo. With the same lever, you slide the lever to the left to take the photo. There aren't separate levers for cocking the shutter and tripping the shutter. It's all done with the same bar. Me, I like that, so you're not looking to cock the shutter in one area and take the photo in a different area. Very smooth and easy. There is also a socket for a cable release on the bottom of the shutter at approximately the 7 o'clock position.


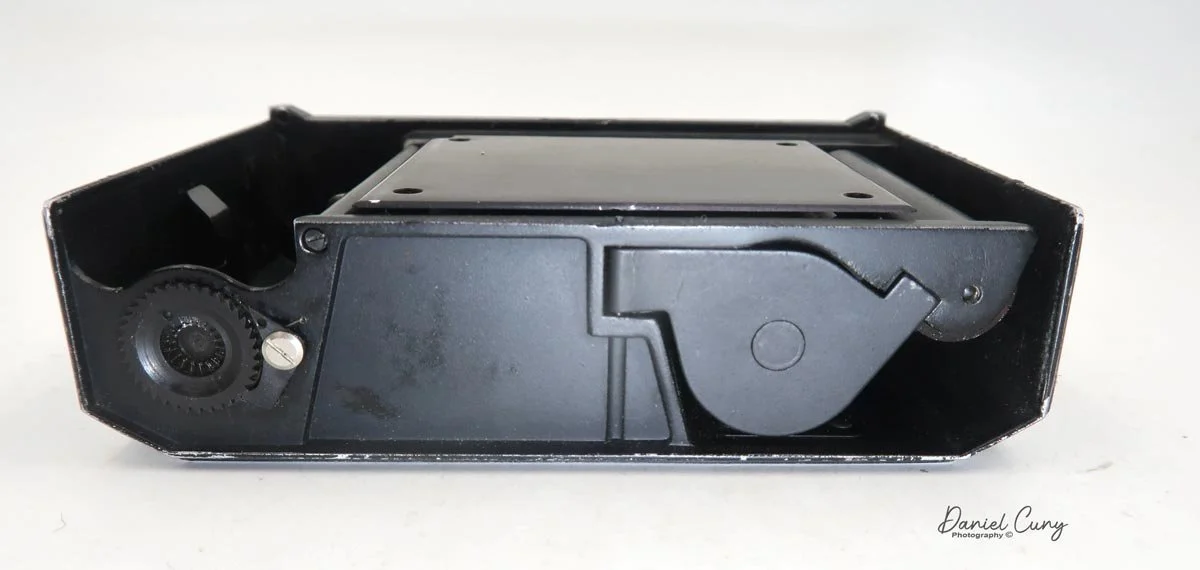
To load the camera with film, simply pull the back release on the bottom of the camera, and the back will swing open. To take the empty spool of 120 film from the bottom chamber, you'll need to pull out the film knob on the right, which will allow you to take the empty spool out of the camera.
Pulling out the winding knob will allow you to put the empty spool in the top portion of the camera to advance the film to the next frame. Press the winding knob to keep the empty film spool in place. Put the new roll of film into the bottom chamber and press back in the film knob to keep the roll in place.


Once you have the empty spool on the top and the new roll of film on the bottom, remove the tape that keeps the roll closed, pull the leader over the bottom and top roller, and slide the film's end into the take-up spool slot. Wind the film onto the take-up spool with the advance knob until you see an arrow pointing to the ends of the film. At this point, you can close the back door and wind the film to your first frame.
The frame counter on the left side of my camera body isn't working. Luckily, on the bottom of the camera, there is a red window you can use to see when you're in the first frame. Unfortunately, this numbering system on the film rolls is used for 6x9 format, so using this method, I only got eight images on a roll of 120 film instead of the standard twelve for 6x6 format cameras.

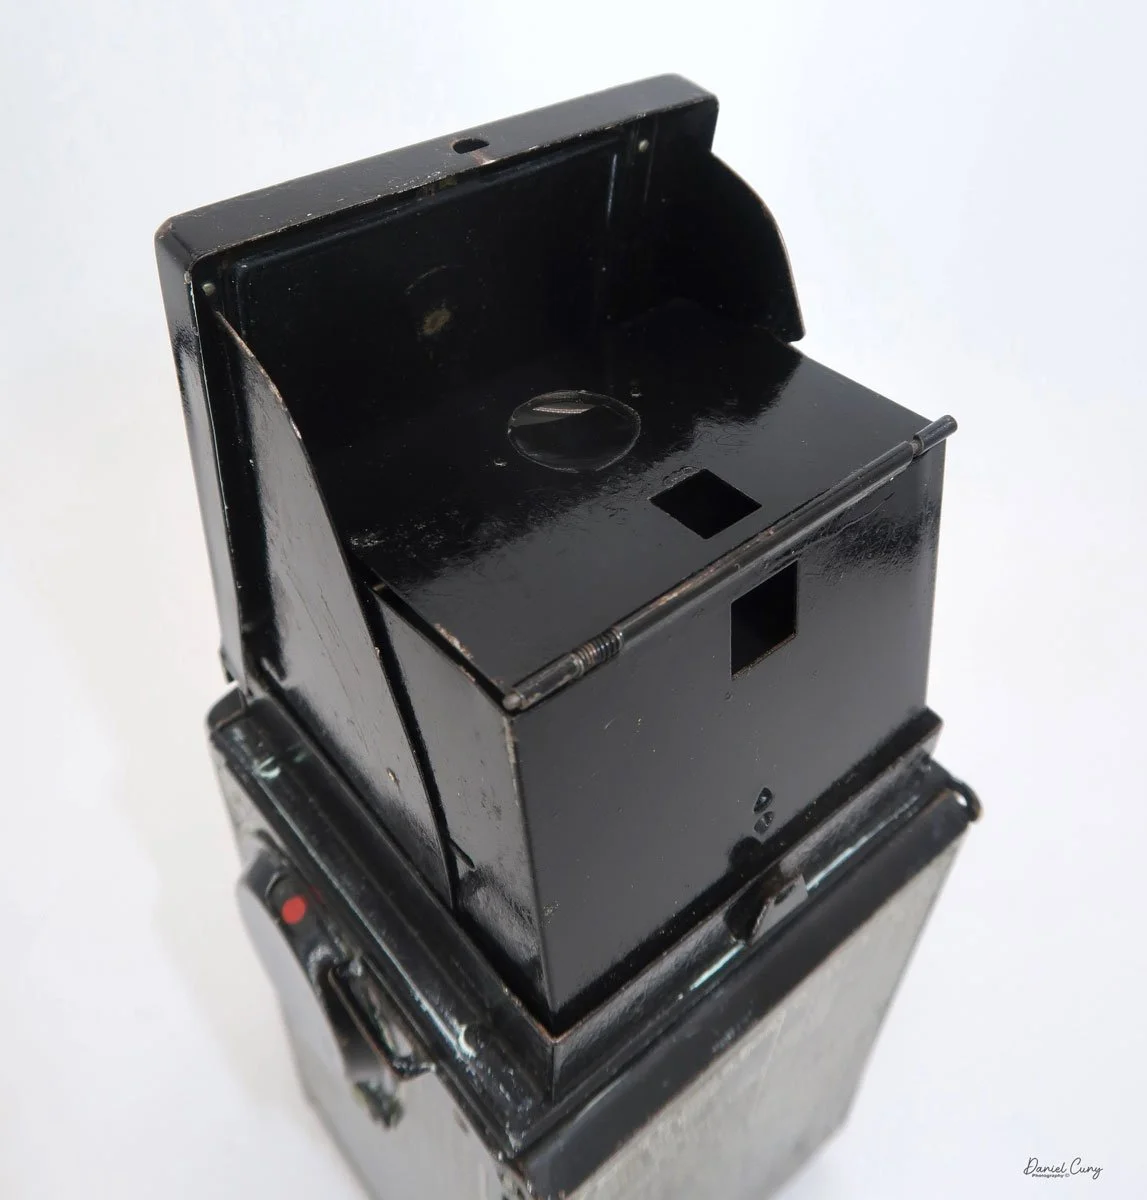
To focus on your subject, pull up the chimney by slightly pulling back the release on the back of the chimney, and pull up, which will expose the large focusing screen. On the right side of the camera is the focusing knob. The focusing distance is from 0.8 meters to infinity. Turn the focusing knob to bring your subject into focus on the screen.
A fine focus magnifier on a spring rests on the back of the chimney. Bring the magnifier around to the top of the viewfinder. Mine stays in place, allowing the photographer to bring their eye closer to the magnifying glass for fine focus. When not using the fine focus magnifier, it can be swung back to the back of the finder so you can see the full image on the focusing screen. You can also slide the front portion of the chimney back and use the chimney as a sport finder if needed.

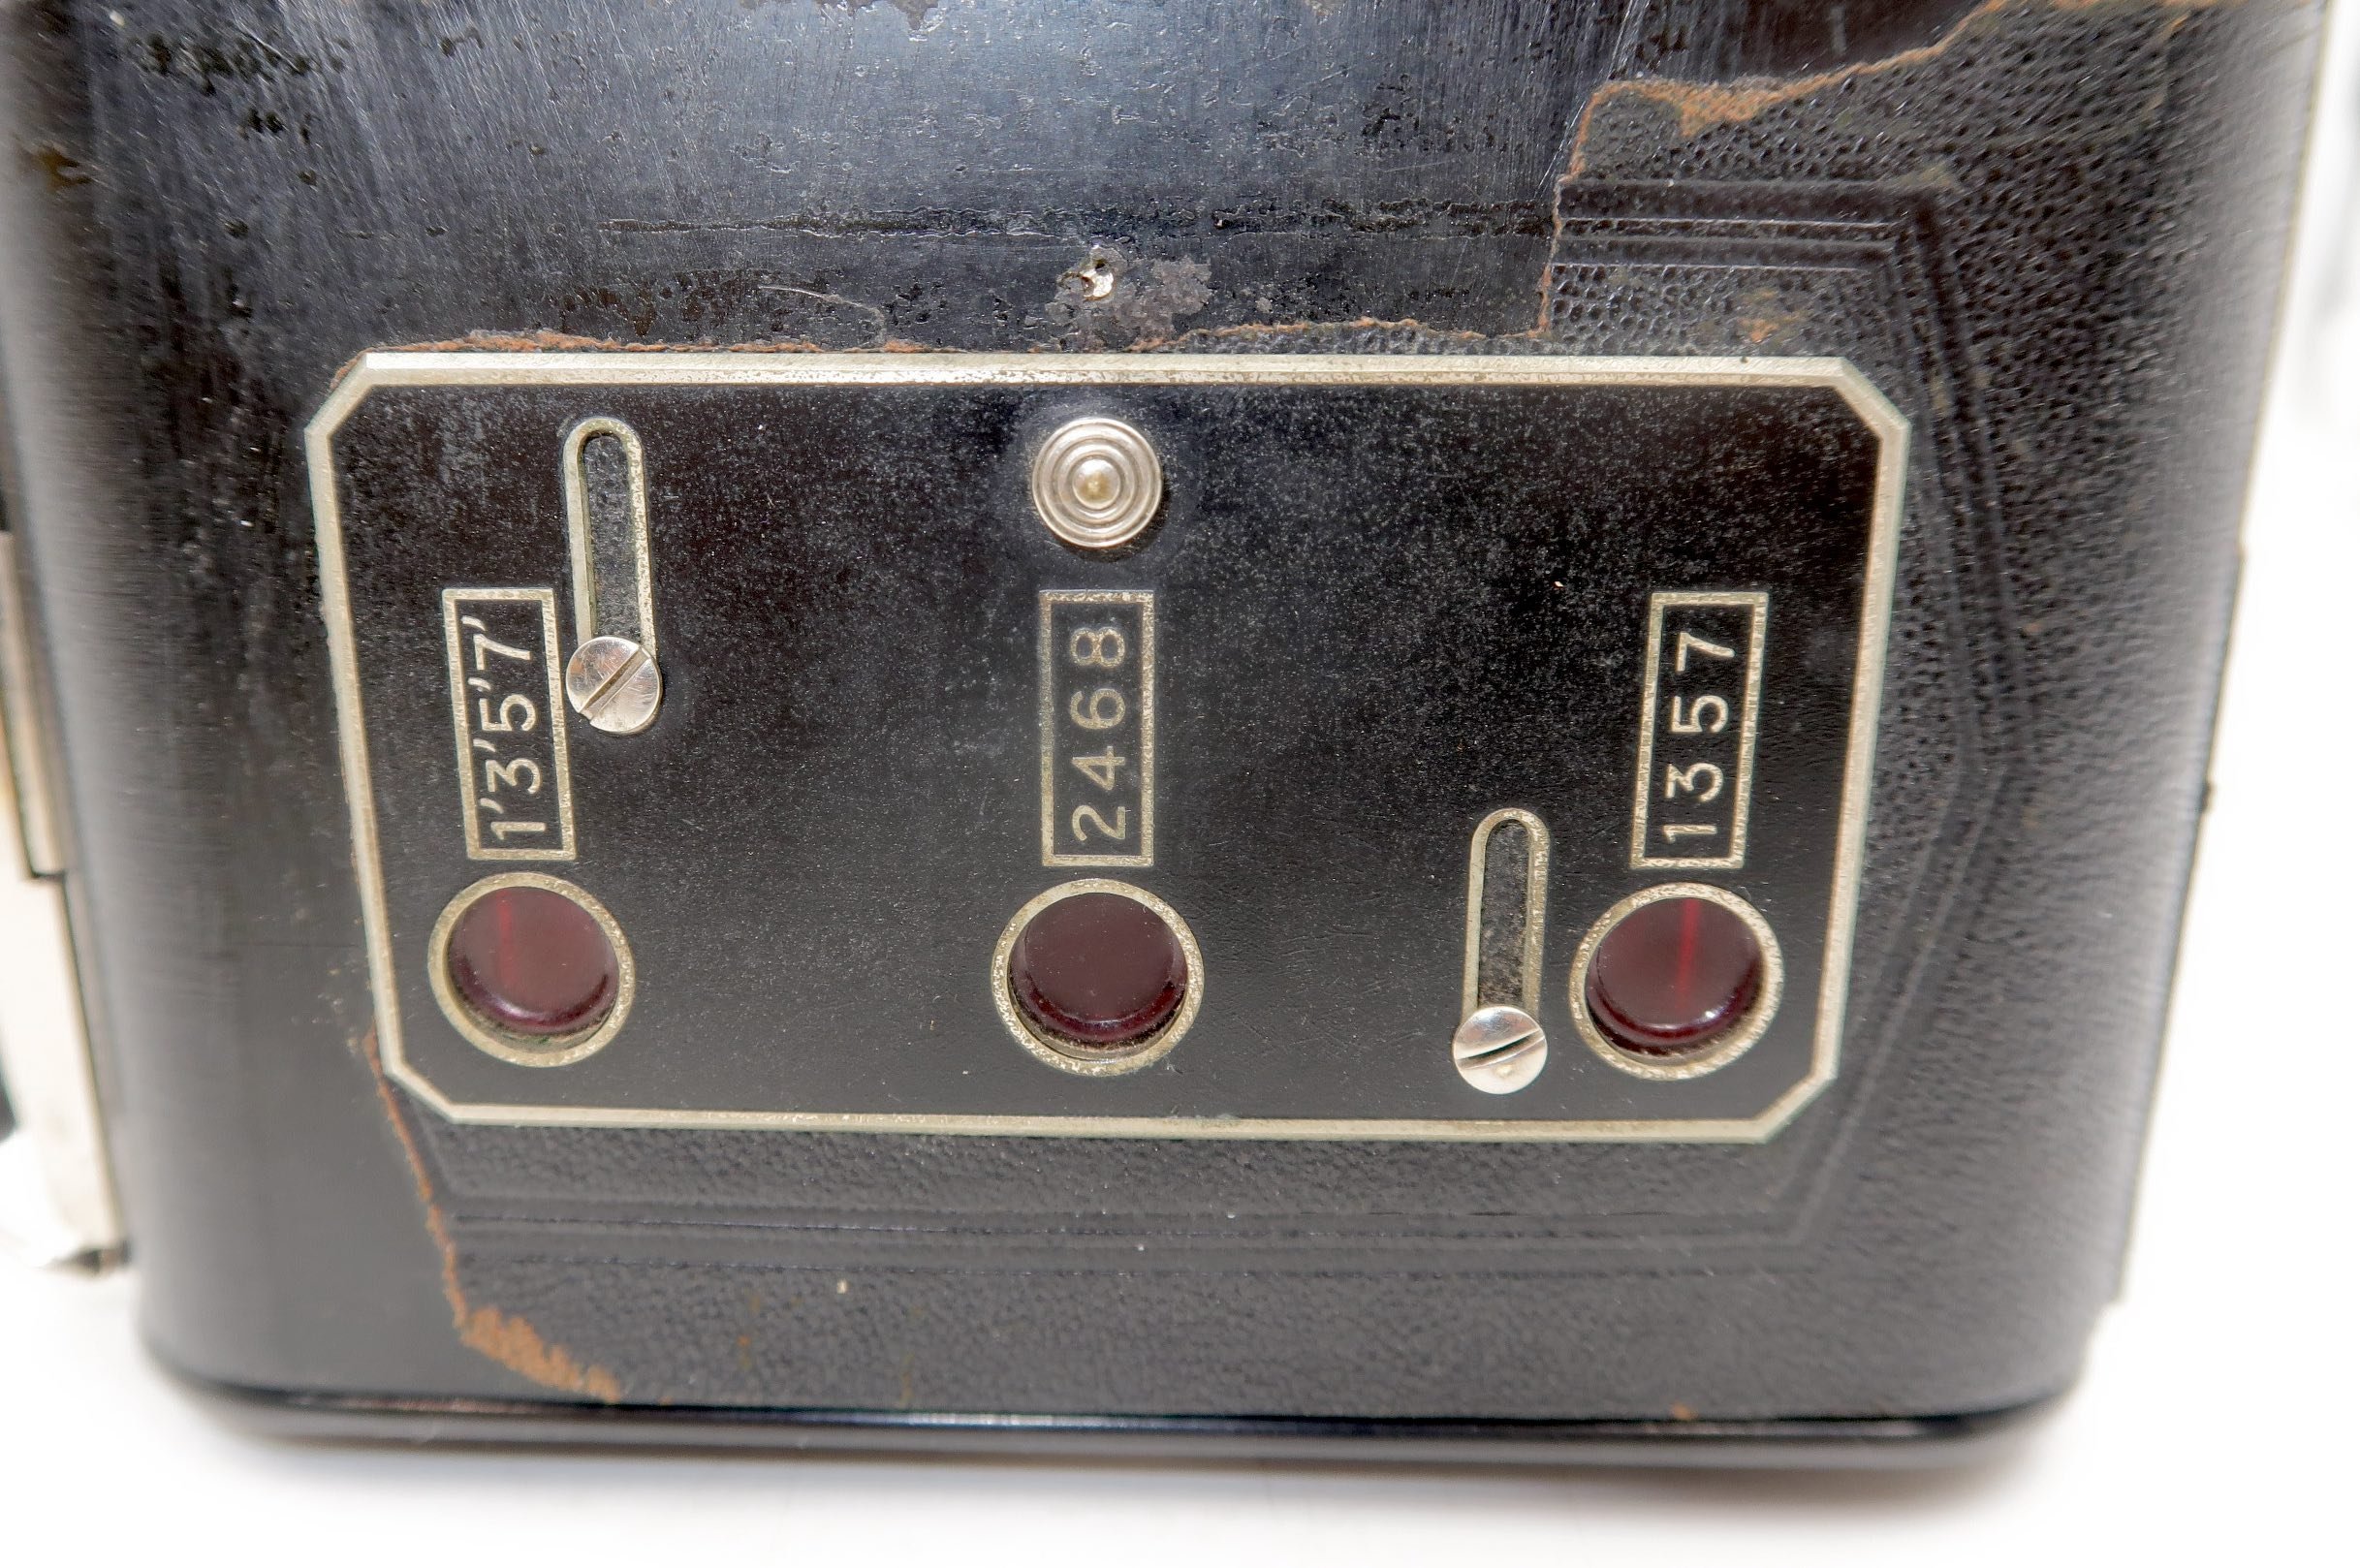
Exposure index and depth of field scale on back of the Rolleicord 1 camera.
On the back of the camera is an exposure guide and depth of field scale. This scale was produced in German, French, and English for the different markets. My guide on the back is in German. According to the Rolleicord 1 manual, the exposure guide is rated for DIN 26, which would be ASA/ISO 320
My Results:
It's in the northwest United States in early January, which means very little sunshine. So I loaded up the camera with some 400 ISO film and walked around the neighborhood to see what I could get from this Rolleicord 1 camera. Knowing I only had the top three speeds to work with, this wasn't too much of an issue as the sun was generally behind clouds most of the day; it wasn't that dark out, and it typically shows between 1/300 and 1/100 shutter speed.
Here are some of the results from my Rolleicord 1 camera.


Conclusion:
WOW!!! What a fun camera to shoot with. I forget how much I enjoy shooting with a TLR camera. It reminds me of my wedding shooting days many years ago. Looking down at your subjects and seeing such a nice big image brings back many good memories.
Even though the Rolleicord was made for amateur photographers, the lens is fantastic, easy to use, and excellent Rollei camera quality. I only had to keep reminding myself that when you see something going right in the finder, you need to turn left. If something comes into the frame on the right, it is really on the left in real life. I like the ability to keep things square, and while I prefer a panoramic format, having a square image is interesting and gives a new perspective.
Thank you for taking some time from your day to read about this fantastic camera.
Until next week, please be safe.