Expo Watch Camera

This week's camera blog is about another unusual camera given to me many years ago by one of my sisters' in-laws who passed away. The family members knew I enjoyed cameras, so they gifted the camera to me and asked me to take care of it for the man who passed. 

My Expo Watch Camera

 When I first received the Expo Watch camera, I was utterly surprised and deeply touched by the generosity. Opening the small box to reveal the fantastic camera in good working condition was a moment I'll never forget. It was a revelation that the person who passed knew about my love for cameras. It could have been my wonderful sister who had shared my passion with the family.

 Needless to say, it's in a prominent place in my collection and something I look at almost daily and think about the generosity of the person who gifted it to me.

 To add to the story of this blog and the Expo Watch camera, about three to four years ago, I purchased a "lot" of camera items. Among the other items I bought were accessories from what I thought were for the Expo Watch camera. However, after researching the cameras, I found that they are actually for the slightly later British version made by Houghton, the Ticka camera. They fit and work on both the Expo and Ticka cameras.

The Company:

Patent for Expo Camera

The camera was designed and invented by a Swedish designer, Magnus Niéll, who lived in Sweden and New York. The patent for the Expo Watch camera was approved on September 6, 1904. This camera was a significant innovation in the history of photography, as it was one of the first to feature a daylight-loadable film cassette with 25, 16mm x 22mm, or 5/8" x 7/8" exposures in each cassette.

 The Expo Camera Company, located at 256 West 23rd Street, New York, manufactured the Expo Watch camera. It also produced the Expo Police Camera and developed and enlarged accessories for both cameras. The company offered film processing and printing to its customers. If interested, here's a copy of the full Expo Camera Pricelist and Manual.

In an ad I found published in 1917, the purchase price for the Expo Watch Camera was $2.50. According to the price list above, the processing fee was 10 cents to develop per roll of film. Contact prints (5/8"x7/8") were .10 cents per dozen, .07 cents per 2x3 enlargement, and .10 cents per 3x4 enlargement. I also enjoyed their statement that "Cash should accompany all orders for development, printing, and enlarging."

Ad for Expo Watch Camera

 The Expo Watch camera started in 1905, was taken over in the late 1920s by the dealer G Gennart, who produced several different names on the camera. In 1935, there were red, blue, and black enamel cameras, which were extremely rare. 

 In 1905, or shortly after, Magnus Niéll offered the camera's design to the British camera manufacturer Houghton, who produced the same camera under the Ticka name. The Ticka camera was available in the United Kingdom from 1905 to 1914. Some of the later Ticka models had a replica watch face on the front, with the hand indicating the angle of view the photographer would have when taking a photo.

Magnus Niéll designed other cameras for Houghton, such as the Ensign Midget, Ensignette, and the unusual design folding plate Lopa camera made by Kindermann. 

My Camera:

My Expo Watch camera measures 2 3/8" in diameter across the body of the camera, and if you measure from the front of the lens, including the fob ring, to the rear of the camera is 3" long and 1" deep, including the winding knob and the camera weighs 2.7oz. The camera is made from Nickel and has a highly polished chrome top and bottom.

The camera was designed like a pocket watch so it would be inconspicuous for the people the photographer wanted to photograph. This design feature allowed the user of the Expo Watch camera to easily keep it in one of his vest pockets, making it ideal for candid photography. The photographer could remove the camera from his pocket, take the cap off the lens, point it at his subject, and take a photo.

Beneath the fob ring is a lens cap resembling a pocket camera's winding stem. Under the lens cap is a fixed focus, 25mm lens. The camera has two settings for shutter speeds. There is "I" for an instant, approximately 1/125 speed, and the other setting is "T" for a time exposure. The shutter settings are done on the side of the camera with a lever you pull down. The shutter release butting is a small pin on the underside of the camera set at the one o'clock position. Once the camera's shutter is cocked, you press that pin in, and the shutter releases, making the photo.

The shutter release button on Expo Watch Camera

The shutter is not self-capping, meaning that when you cock the shutter, you're exposing the film to light, so it was recommended to keep the lens cap on until you're ready to make the exposure. 

Shutter cocking Mechanist and settings for Shutter speed.

 The lens cap served as the shutter time if you were doing time exposures. You set it to "T," click the shutter, take the lens cap off for exposure, put the lens cap on to end exposure, and the cock the shutter again for the following exposure. I can almost 100% guarantee that 99.9% of these images are blurry due to the person's hand holding the camera for any period of time, along with the movement of taking off and putting on the lens cap, and the negative being so small.

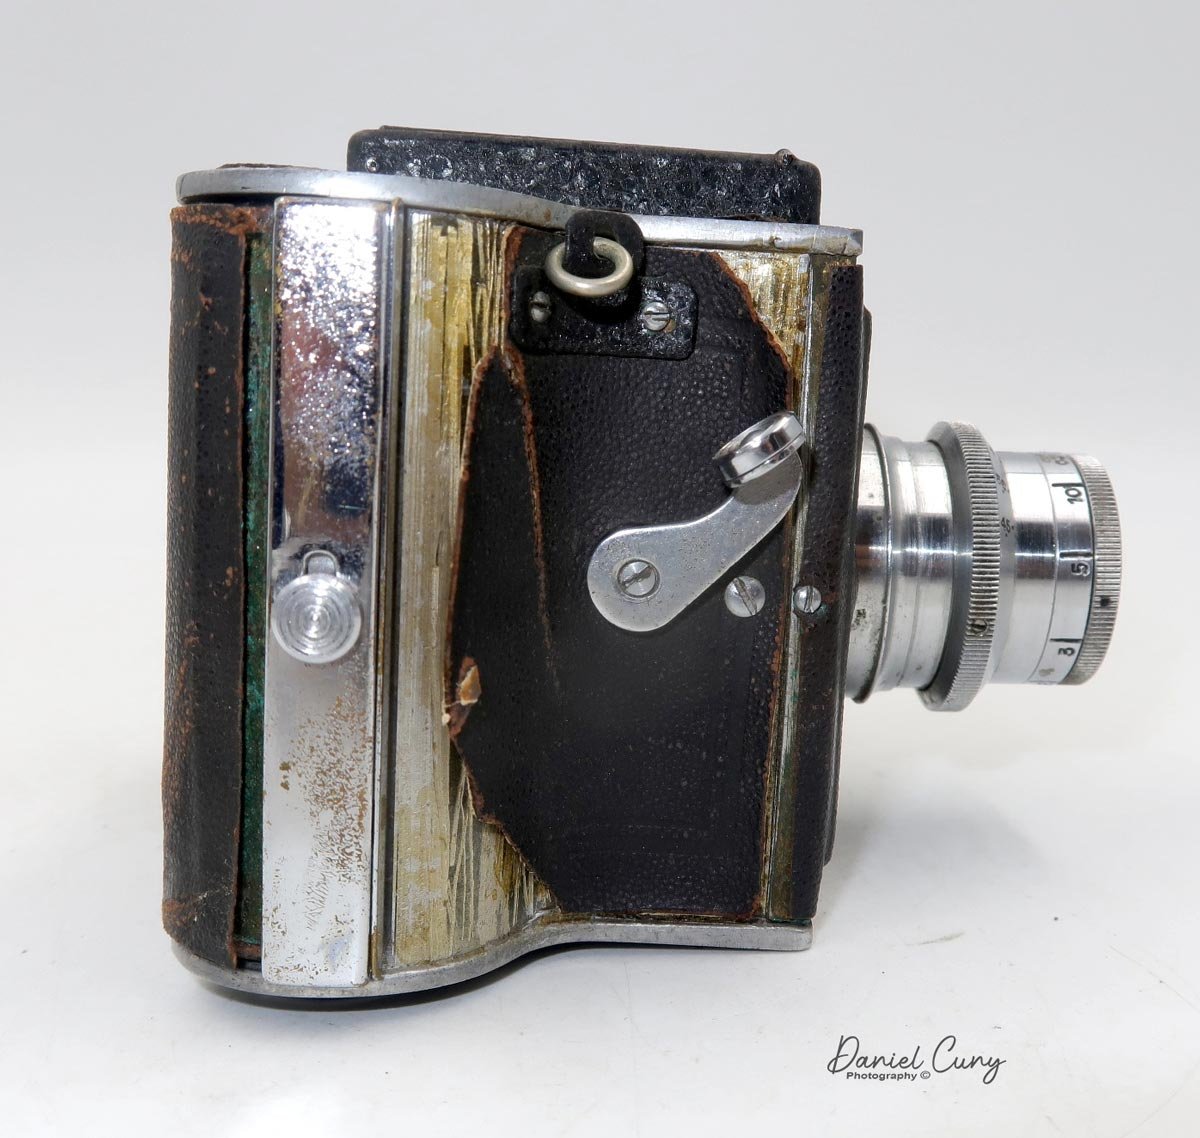
On the underside of the camera, or the opposite side of the removable plate with the beautifully etched "EXPO," is the winding lever you turn to advance the film. Just to the left of the winding knob is a small window that tells the photographer what frame number they're on. Above the winding knob is another logo for the camera company, which includes EXPO in the center of an oval. Around the oval is Pat throughout the world. On top and under is The Expo Camera New York USA

On the bottom of the camera is a lever you can turn to help pop off the etched plate, which comes off to load the film. I'm too afraid to turn this lever too hard, as I don't want the lever to snap off, so to remove the etched plate, I use my fingernails and pull the plate off to expose where the film goes. Once the plate is removed, the film cassette fits into the bottom portion of the camera.

The Expo Camera did have two different viewfinders available that would fit around the collar of the lens, under the winding stem. A simple model A ground glass viewfinder sold for .50 cents, and a model B brilliant finder sold for .75 cents.

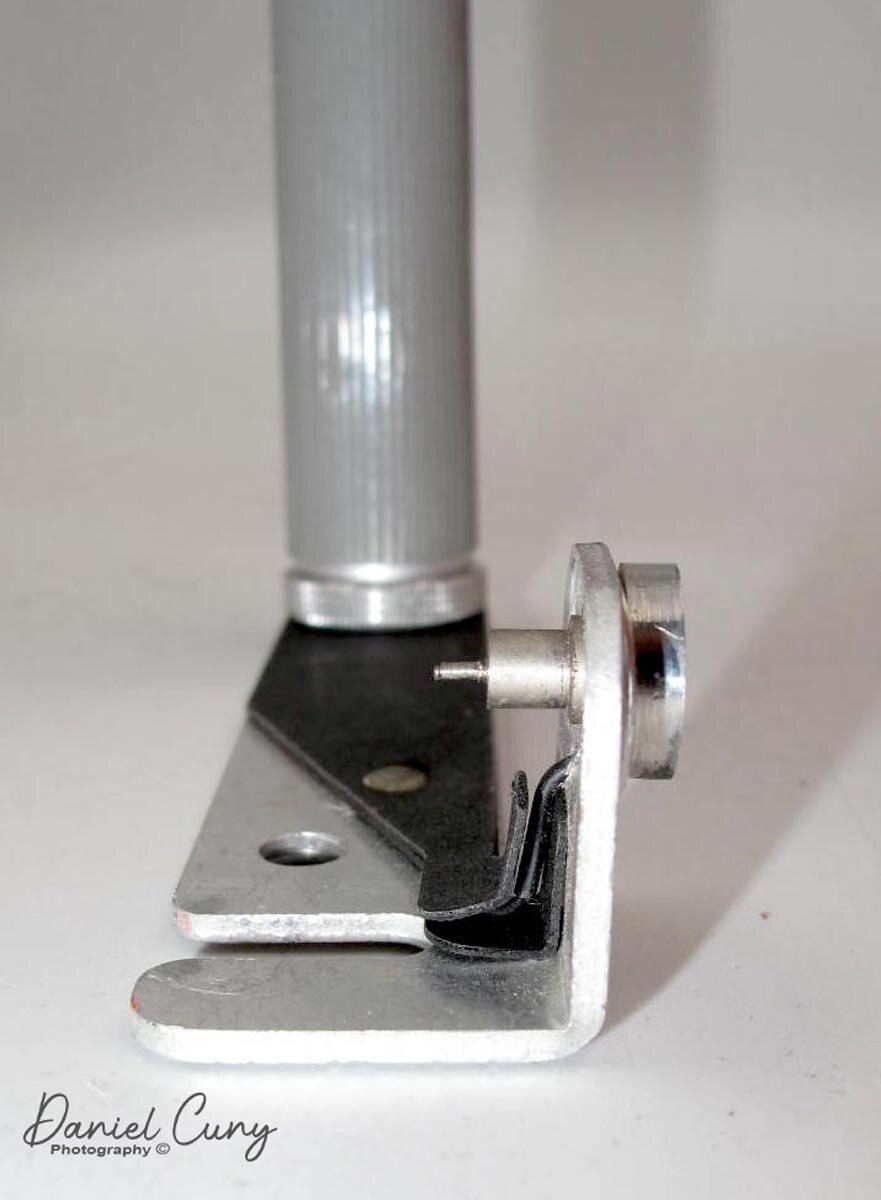
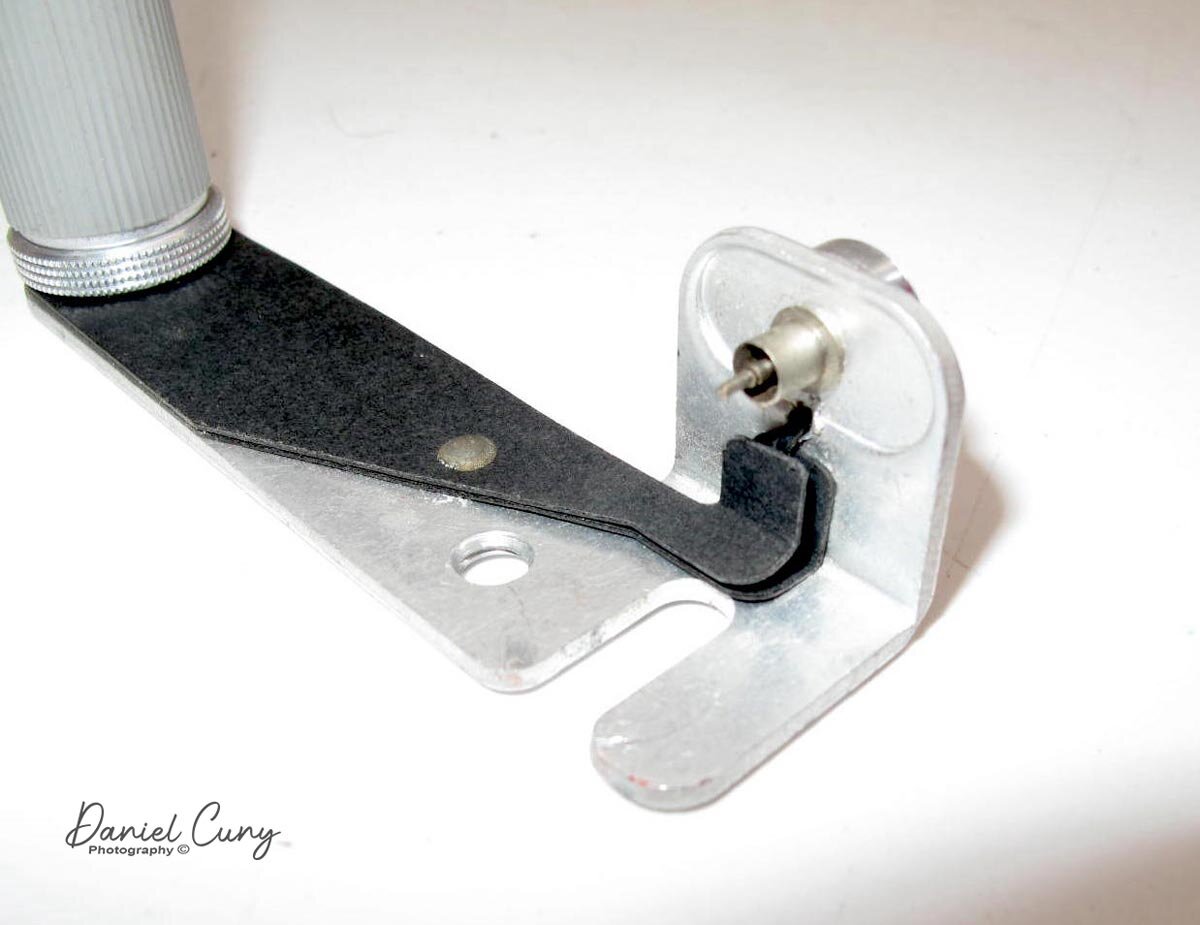
 I also have an item made for the Ticka Camera in the group. There were a few accessories, such as the time exposure lens cap. This item fits over the lens and is held into place by a tension screw. Once in place, you can pull the lever up/down depending on how it is mounted to open the lens, exposing the film to light. Using the time exposure cap is considerably easier than taking the lens cap on and off for time exposures. Another item I have is a separate finder lens which is a larger glass item with a convex lens and attaches onto the camera like the other viewfinders. It has the exact attaching mechanism that fits around the lens collar. From what I'm seeing online, both the time exposure lens cap and the larger window finder were made for the TICKA camera.

Conclusion:

The Expo Watch Camera is a fun and exciting camera to have in my collection. I cherish the way I received it. The more I researched the camera and its different variations, the more I'd like to expand my collection to include the Ticka model with the watch face on it or even some of the colored models I'm always drawn to.


Reference:

Pacific Rim:  https://www.pacificrimcamera.com/rl/01266/01266.pdf

Historic Cameras:  http://www.historiccamera.com/cgi-bin/librarium2/pm.cgi?action=app_display&app=datasheet&app_id=919&

Submini.com:  http://www.submin.com/large/collection/expo/introduction.htm

Vintage photo:  http://www.vintagephoto.tv/expowatch.shtml

Super Flex Baby II Camera

When I first got this camera, I initially thought it was from somewhere in Europe, possibly Germany or Eastern Europe, due to its design and feel placement and shutter release, which resembles the Karma-Flex camera from Germany. 

 After doing some research on the camera, I found out that it was made in Japan. It was the first medium-format single-lens reflex (SLR) camera with a leaf shutter.

 The Super Flex II camera is odd and relatively small, too. When I took the camera out of the case, my hands are average size, but the camera seemed lost, and it was only a minute before I held it. It's not a miniature camera, but everything seems much smaller than I'm used to. The light tube or waist level finder, the lens and focus control, and even the winding knob appear to be smaller than what I'm used to. In the back of my mind, this will be a fun camera to test and write a blog post on.

History:

Umemoto Seisakusho manufactured the Super Flex camera between 1938 and 1942. It was started by Umemoto Kinzaburō, who started a small manufacturing plant in Yokokawa in 1931. In 1932, he was asked to open a new camera manufacturing plant in Toyko, which was completed in 1935. Their first cameras were the Super Makinet Six in 1936 and Neure Six in 1937, both 6x6 strut-folding cameras.

 As mentioned above, they took inspiration from the Karma-Flex camera in 1938. They developed the first Japanese medium-format, single-reflex camera, the Super Flex camera, built around the popular 127 film 4x4cm format camera.

In 1939, they modified the camera's design to what's known as the Super Flex Baby II. The modifications included a fully chrome shutter speed dial as opposed to the chrome and black of the original design. They also came out with a new lens with a full chrome barrel and a focal length of 70mm instead of 7cm on the original lens. They also lost the black and chrome on the viewfinder logo and went all chrome, like the shutter speed dial and lens.

Advertisement of the Super Flex Baby camera from 1942.

 During the tumultuous years of WWII, the company shifted its focus from camera manufacturing to supporting the war effort. Despite the challenges, they produced the Semi-Makinet camera, a 6x4.5 folding camera, between 1941 and 1943. The factory was tragically destroyed during the Allied bombing of Tokyo in 1945. However, the company's spirit remained unbroken. They relocated the plant to Yamagata in 1945 and rebuilt the plant in Tokyo in 1948, which was a remarkable display of resilience.

 After the war, the company briefly took the name Umemoto Kōki Seisakusho and produced the Rocky Semi in 1953. This camera didn't do well, and in 1962, it became Y.K. Umemoto Seisakusho, which still produces photo-related parts for Kenko today.

 Here is a wonderful Japanese website with a lot of insight on the company Umemoto . I used Google Translate so I hope it comes through properly.

My Camera:

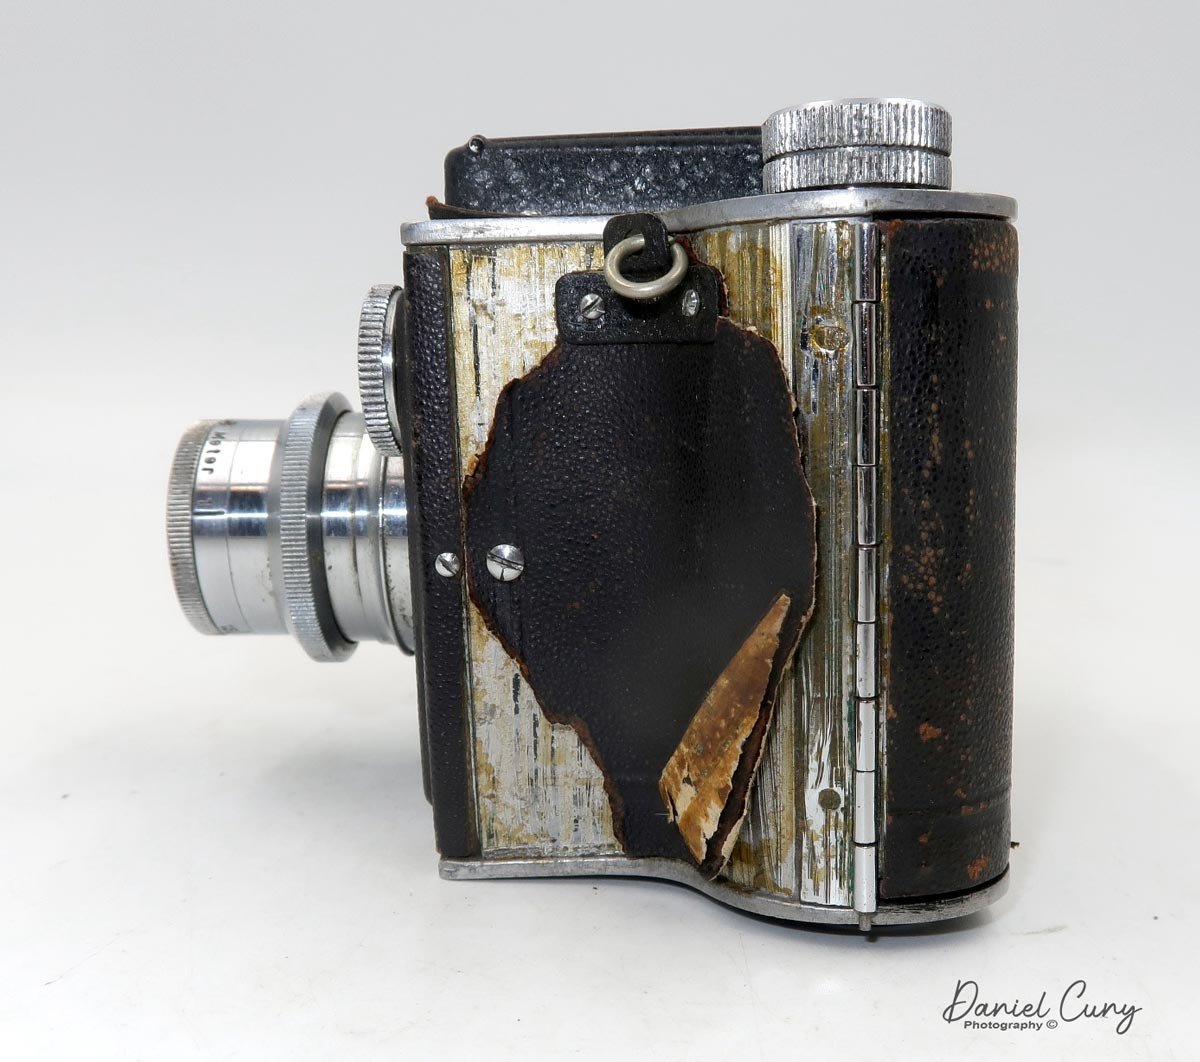
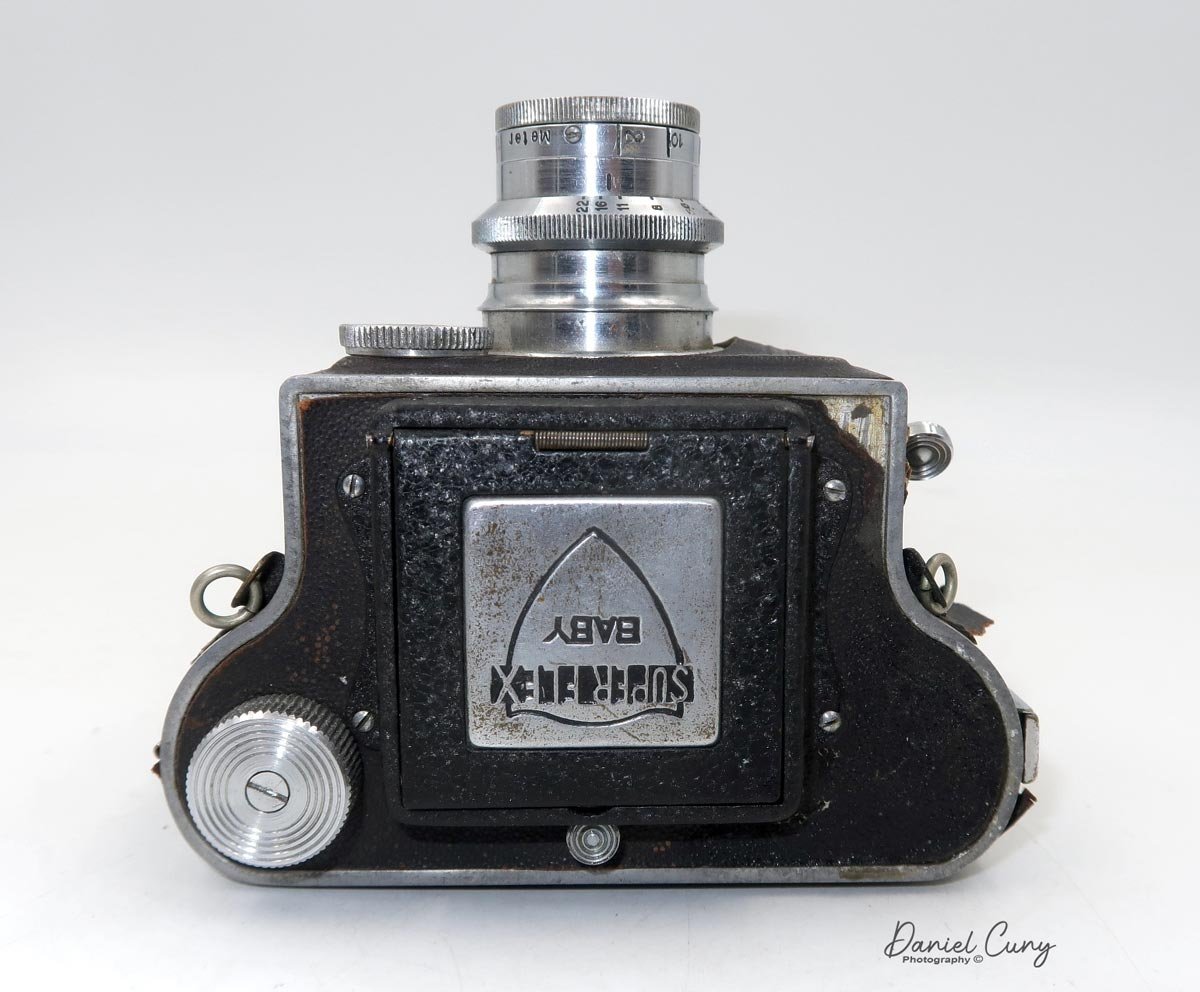
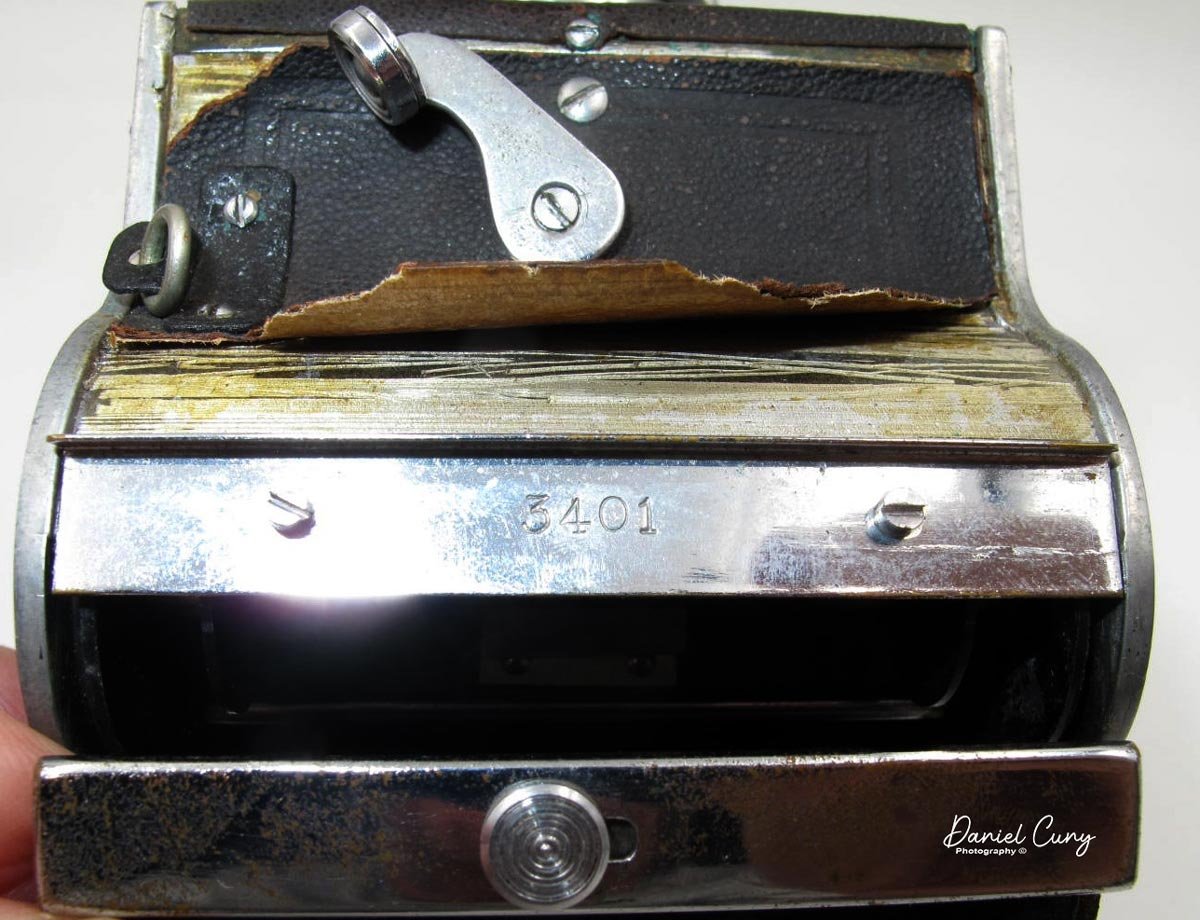
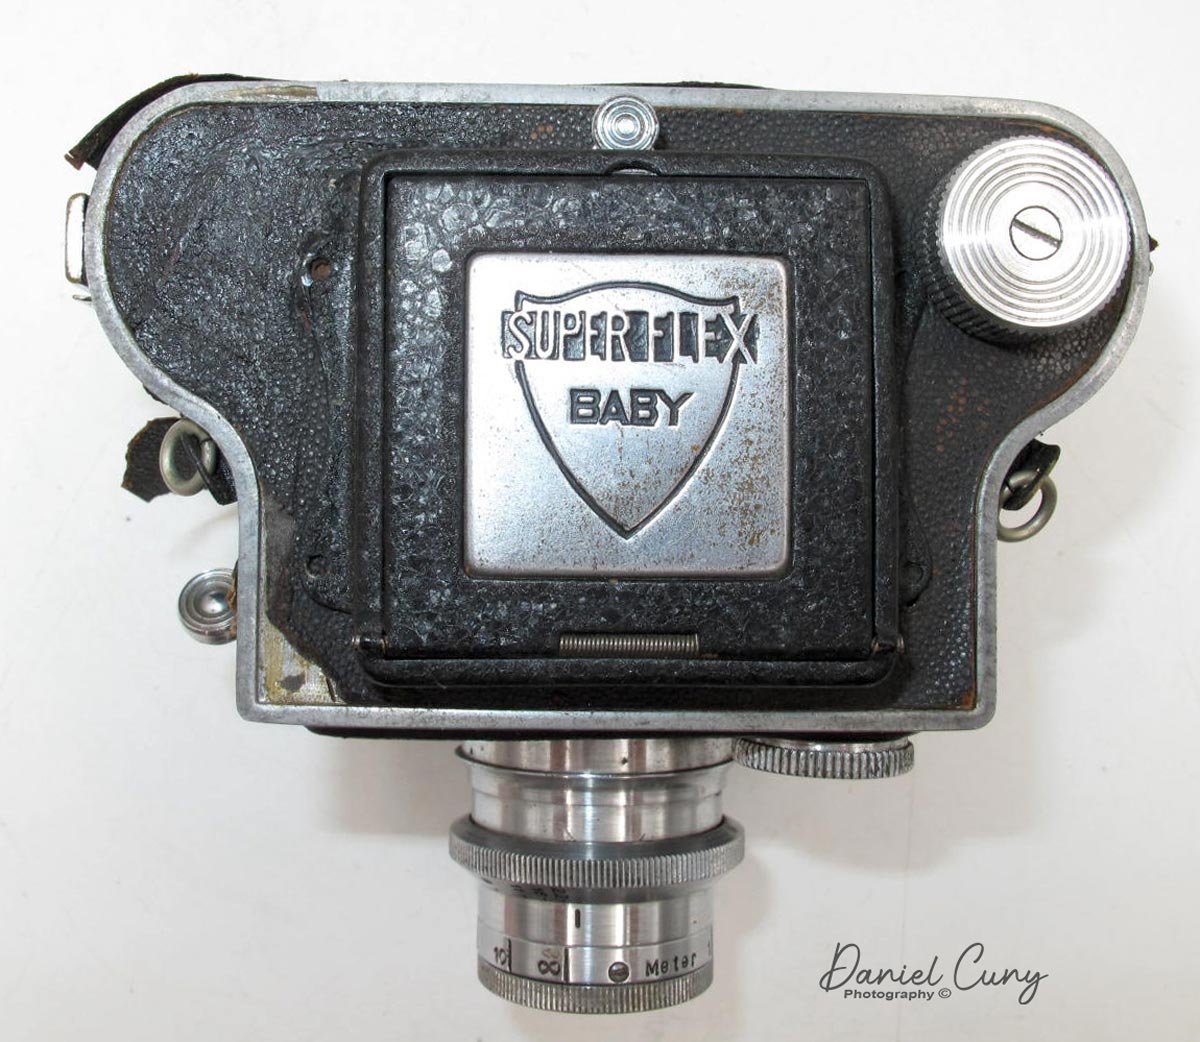
My camera, with its serial number 3401, is a fascinating blend of the original Super Flex Baby and the model II version. It features the original chrome and black viewfinder, a Model II shutter speed dial and lens, both in chrome, and a lens measured in 'mm' rather than 'cm.' This unique combination, a result of the transition period, added an element of surprise and excitement to my discovery of the camera.

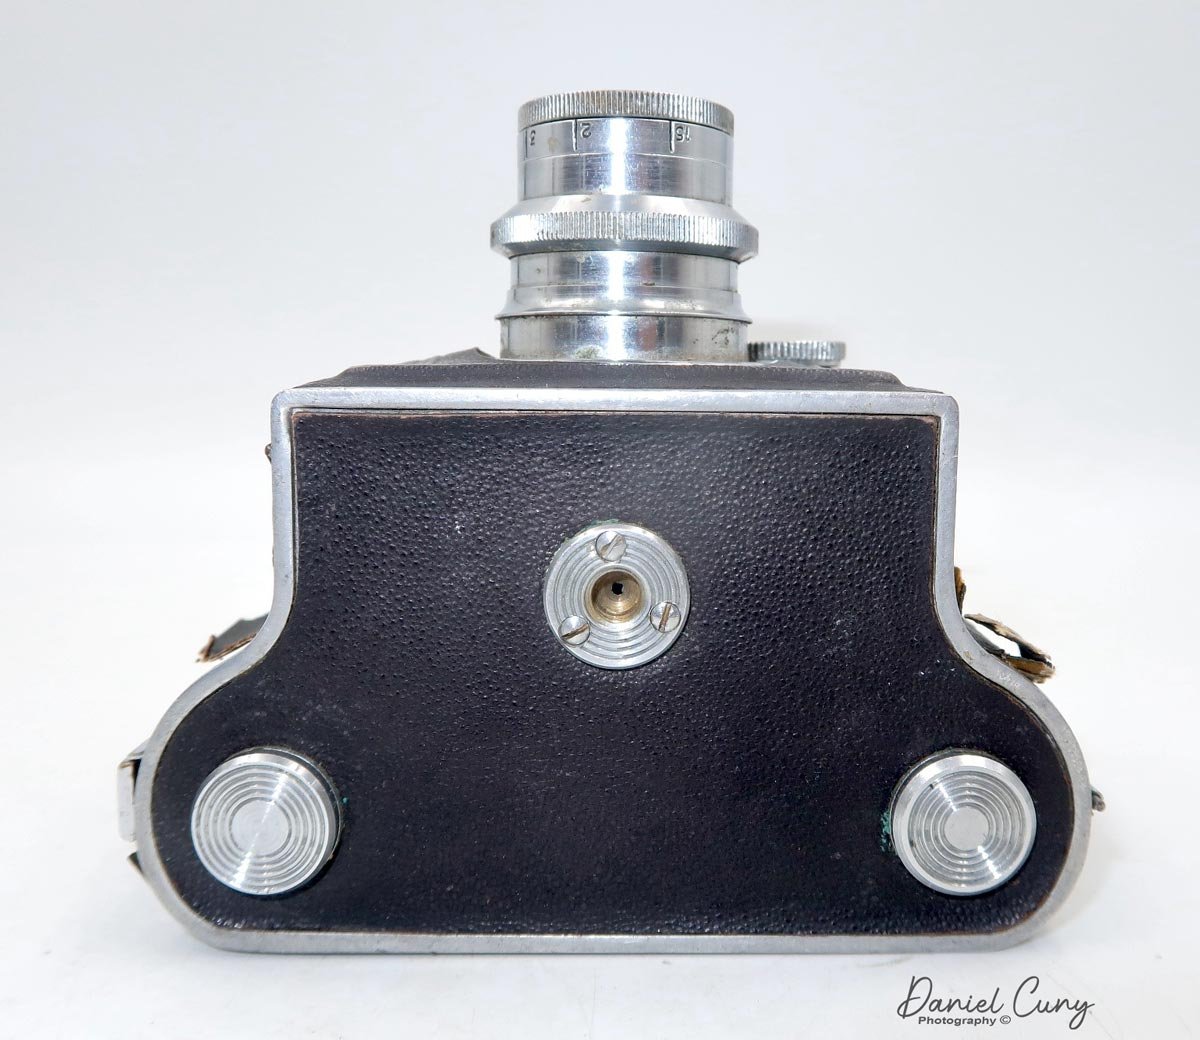
 The serial number on my camera is 3401, which you can find on the inside of the latch that holds the back of the camera. My camera measures 4" from the back to the front of the lens and 2.75" from the back to the lens mount on the camera. It measures 4.25" wide and 3.25" tall if the viewfinder is closed and 4.75" tall with the light hood opened. My camera weighs 1 lb. 3.2oz without the case.

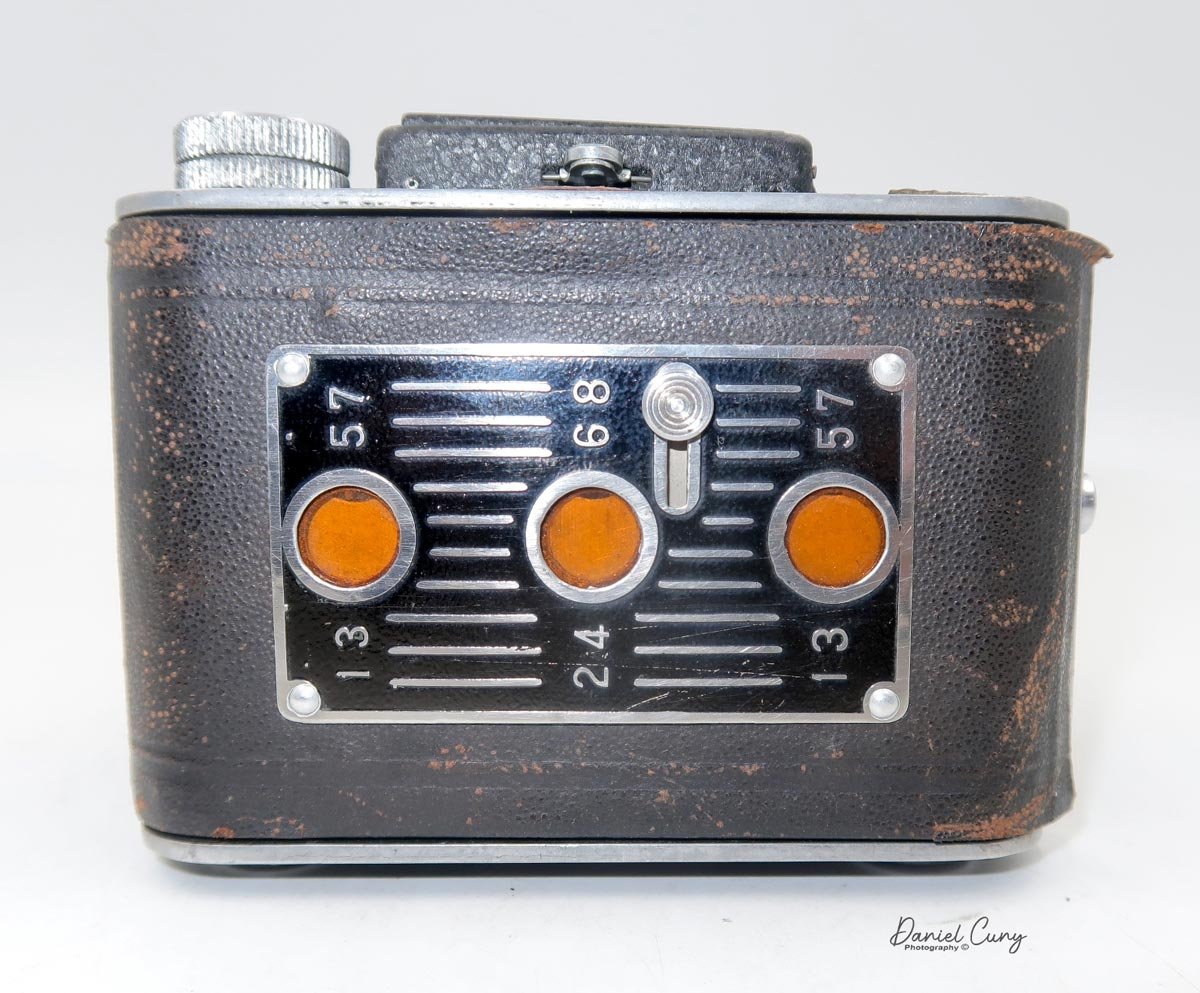
Using the camera is pretty straightforward. There is a latch on the camera's right side, and you slide up to open the back door. You take the empty spool from the right of the camera and put it on the left side where the winding knob is. To take out the spool and put in the roll of film, you'll need to pull out the knob that holds the film into place. Once you have loaded the empty spool and film, pull the leader to the empty reel and thread the leader into the spool and wind. Once it's securely on the take-up reel, close the back.

 Here's where it gets exciting, something I learned and did when I looked at the company's website. I have the link to the above in the "history" section. Here's an excerpt from the company history explaining the film numbering sequence and the camera's winding instructions.

 "There are three red windows on the back cover for taking 12 4x4 cm shots. ( It seems that 4x6 cm numbers were used because 127 film did not have numbers for 4x4 cm. ) The left and right windows only accept odd numbers, and the center window only accepts even numbers and is read as follows (ignore the ○ parts). 1st photo) 1○○ 2nd photo) ○○1 3rd photo) ○ 2○ 4th photo) 3○○ 5th photo) ○○3 6th photo) ○4○ ... 11th photo) ○○7 12th photo) ○8○ I think this operation was quite difficult."


Looking at the numbers by the window openings, the text above now makes sense.

I didn't use this method and only got eight photos on my roll.

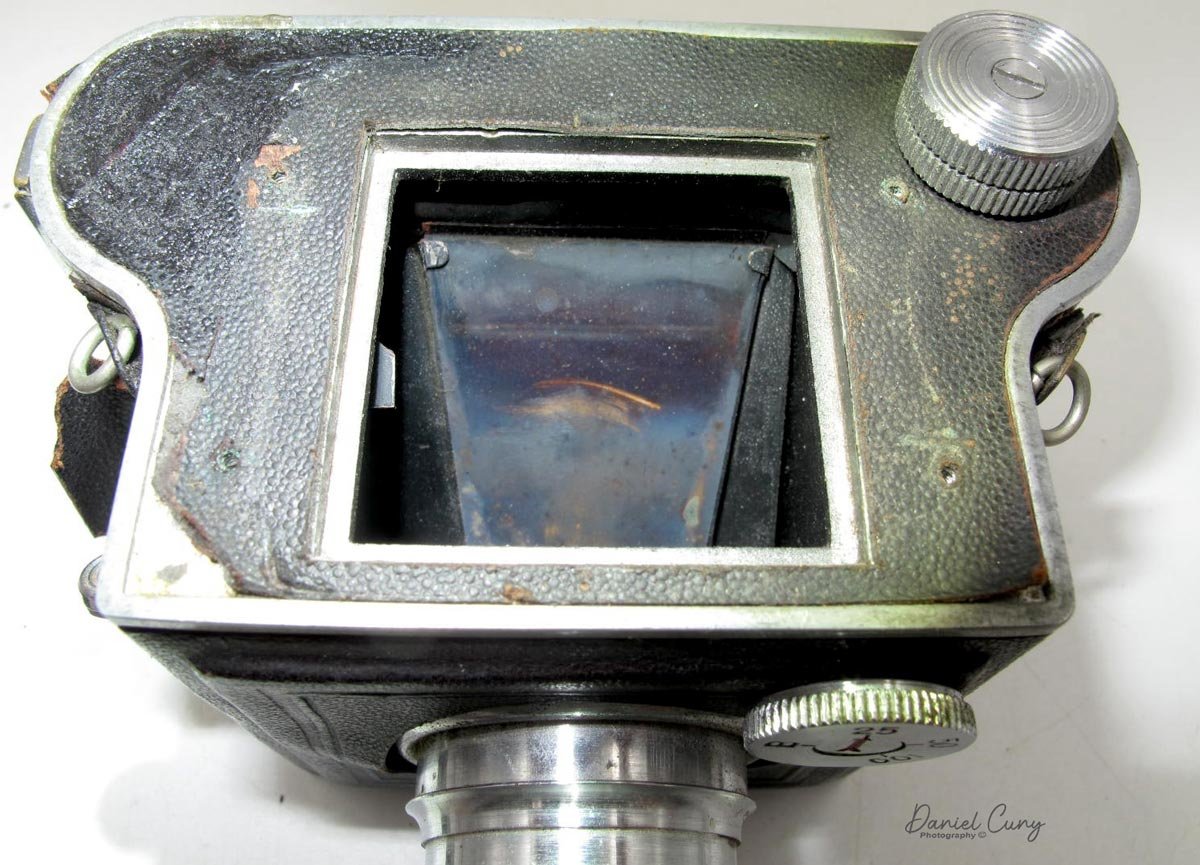
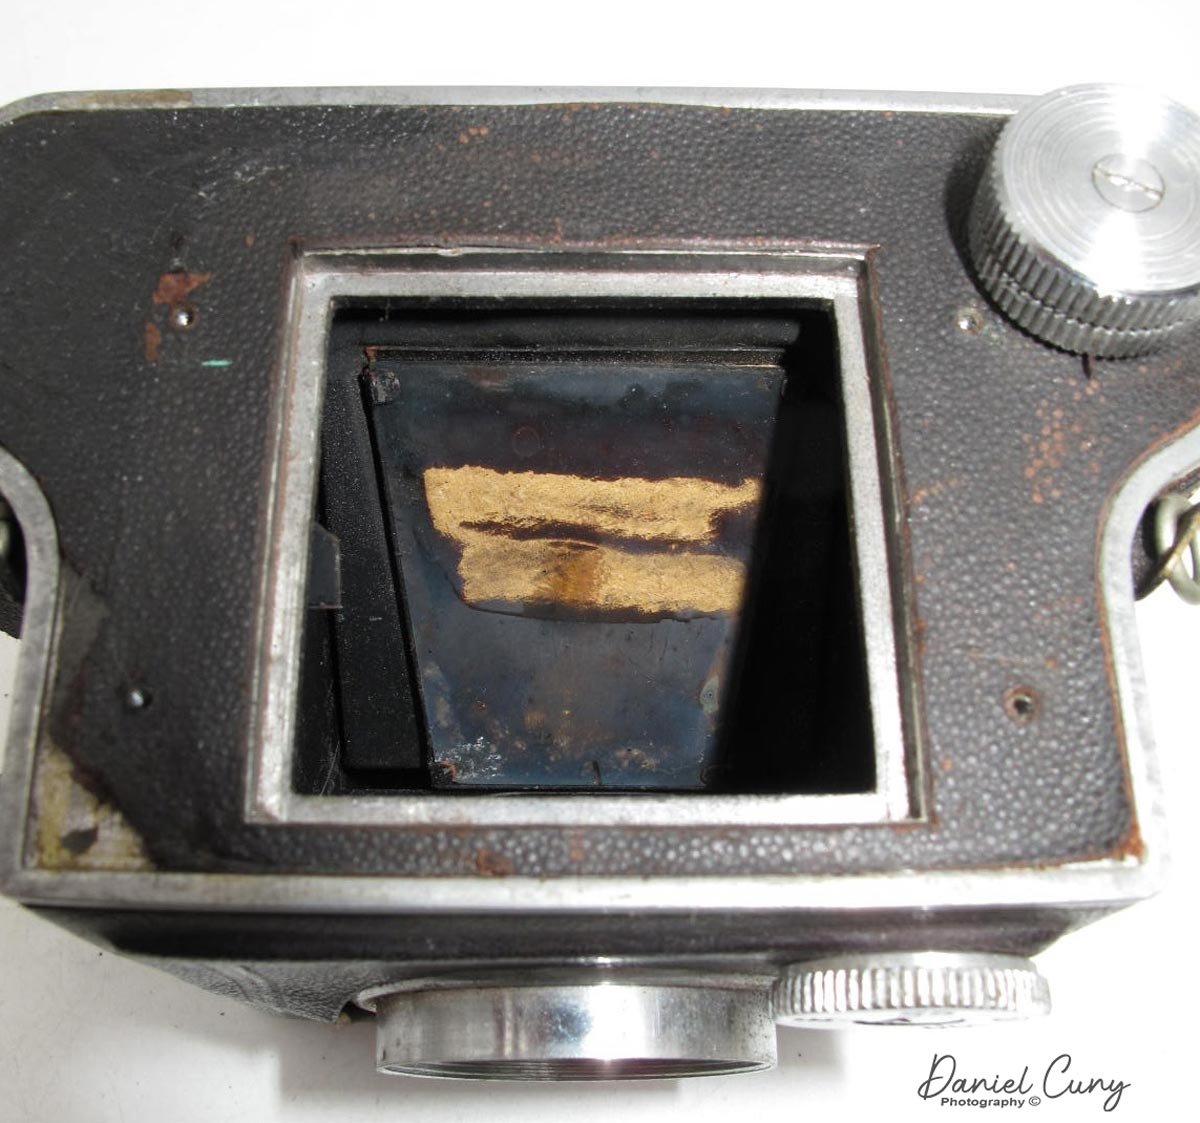
 The mirror in my camera was so bad that I couldn't use it and didn't notice before putting in the roll of film, so I was forced to use the sports finder to frame the photos I took. It worked out OK, so I wasn't too upset.

 I used my trusty light meter to get the needed exposures. I also needed to find a roll of 100 ISO film, as anything faster would have run into issues since the fastest shutter speed on the camera is 1/100, and the lens stopped down to f22. Luckily, I noticed that the lens focusing was in meters instead of feet, which I'm used to with most cameras I use. I needed to keep that in mind when composing my photos.


The camera case I have is in moderately good condition. The strap is intact, and it covers the camera well. The only thing missing is the snap that holds the front and back together but stays closed and protects the camera well.

 The film was used up quickly; now it was time to process it. 


Results:

The film I had was some pretty old and out-of-date 127 film, so I had yet to learn what I would get. It was not as good as I anticipated after I pulled the film from the processing tank. While I'll call the "art" prints, the negatives were very mottled, and I'm unsure what caused it, but the images are somewhat sharp.

 Here are some of the results from the camera.

Conclusion:

The camera was interesting, but the mirror and the focusing, or lack thereof, could have sat better with me. I decided to remove the finder and clean up the mirror to bring the camera back to life and make it more usable.

 Thank you for taking a few minutes to look over this camera blog. I'll have another exciting camera for next week's post, so please be safe until then.

Camera Update:

There were only four screws to hold the light hood on, so I proceeded to take them out. The hood came off quickly enough. Under the hood was a mask on top of the focus screen. I turned the camera upside down slowly, and the focus screen came right out, exposing the dingy mirror.

 They always say to test a small part when cleaning first to see if it's OK to proceed. I didn't hear that little voice say that this time, so I cleaned the mirror, thinking the silver paint was on the backside of the glass, which is normal. I took two swipes with my Q-Tip, and the finish came right off. YIKES!!!!


So, I ordered some silver markers to see if that would suffice to bring back the mirror effect to my new piece of glass. The mirror, or glass, now was easy enough to get out as it was held in the bracket with corner clips, which I slowly bent back to take out the mirror.

I received the silver or what’s called Chrome markers late last night. Early the next morning, I applied a generous amount to the glass I removed and let it dry. The markers produced more of a ripple effect as opposed to a clean glass mirror. It was certainly shiny enough, so I reassembled the focus screen and light hood back onto the camera, and the camera actually did a good job of focusing on a subject when viewing through the camera. It’s considerably better than before I disassembled it and when I took photos so I’m happy with how it turned out.

Here are the results.

Thank you again for reading about this interesting camera. Until next time, please be well and safe.

Marchand Fischer Baby Camera

Whenever my wife and I visit a foreign city, I check to see if the town or a surrounding city has a Flea Market to check out the local market of used and collectible cameras. This spring, my wife and I returned to Paris, which has a robust and large Flea Market area that thrives on the weekends. 


The Flea Market, which comprises smallish stalls selling goods from carpets to antiques and almost anything imaginable, was a used camera store. It was not in the flea market but on one of the main roads surrounding the markets. Looking around the camera store, I noticed that the shop owner had many great cameras, but one that caught my eye was the Fischer Baby camera made by Marchand.


The Company:

I don't have much to say here, as I've searched the Internet and cannot find out much about this company. It's most likely because they were a small French company in Charbonnieres, France, after WWII. They produced a minimal amount of toyish cameras in the 1950s sold in toy stores. Due to their build quality, which I'll get into more when I explain the camera below, they were poorly received and, therefore, went out of business.

 If you or anyone who reads this post knows anything about Marchand Co., which produced these cameras, I'd love to know, and I will update the blog post with that information.

The Camera:

There are a few items that drew me to this camera. The faceplate is typical, but it does have a 6 on one side of the lens and 9 on the other. My first thought was that it was a fascinating film format. I'm a real enthusiast of anything panoramic, so this was the first light bulb in my head. Then, when I got closer to the camera and picked it up, the bulbous size and extremely light weight of the camera were pretty fascinating. It has almost a circular look and feel to the camera. Being someone who enjoys panoramic cameras and images, the 6x9 format made this very intriguing.


The camera is straightforward and similar to a Box-style camera but even simpler as there is no aperture setting and only two shutter speeds. The Fischer Baby has a very simple shutter with a bulb setting  "P" for time exposures and an "I" setting for instant. The camera's shutter, at least on my camera, "clicks" when you press the shutter button down, which exposes the film, but it does the same thing when you pull the shutter button up to what most people would think it to be the starting position. The shutter speed is about 1/80th sec, and possibly even slower.

Another fascinating point about the camera is how thin the plastic is. It doesn't have a lot of "heft" to it, and it's pretty light—the camera loads like any other simple point-and-shoot style camera from the late 1940s to mid-1950s. There's a red window on the back of the camera so you know when you're at the next frame to take a photo. The transport continues, but you can wind past the next frame if you're not careful.

 The Baby Fischer has no frills in its design. Two clips on the side of the camera keep the front of the camera attached to the back of the camera. There is no locking mechanism, and the clips could open easily, exposing the photos already taken. My camera is missing its strap because one of the eyelets has broken off, which I'd guess is pretty standard due to its build quality.

The Results:

My first impression was that this camera takes 120 film. When I went to load the film, the 120 roll was too big, so I thought this must be a 620 film camera. Its re-spooling capability allows you to re-spool 120 films onto a 620 reel. I found an empty 620 film spool and a 120 roll of T-Max film, put them into my dark bag, and re-spooled the film.

 I had never done this before, and when I took the film out of the dark bag, it looked OK. It was not professionally done, but it was my first time doing so. After loading the film into the camera, I took photos with my second spare 620 spool.

 The results showed that my re-spooling wasn't perfect. In fact, it was poor, as there was some light leakage coming from the end of the spool where the film wasn't tight enough. Other than the light leaks, the results were pretty good.

The Conclusion:

After walking around my backyard and in front, too, the camera could have been better to work with. The viewfinder was challenging to look through and not precisely in its proportions. The winding was OK; you can see the film advance and frame numbers in the red window on the back. Since there wasn't a strap on my camera, I had to carry it, which wasn't uncomfortable, but I was always thinking about not dropping it. I'm glad I did a post on this camera and have already picked the camera for my next post, which will be on the Exakta 66 camera.

 Thank you for reading this post. I appreciate your time. Until the next post, please be safe and well.


Bolsey-Flex Trio Camera

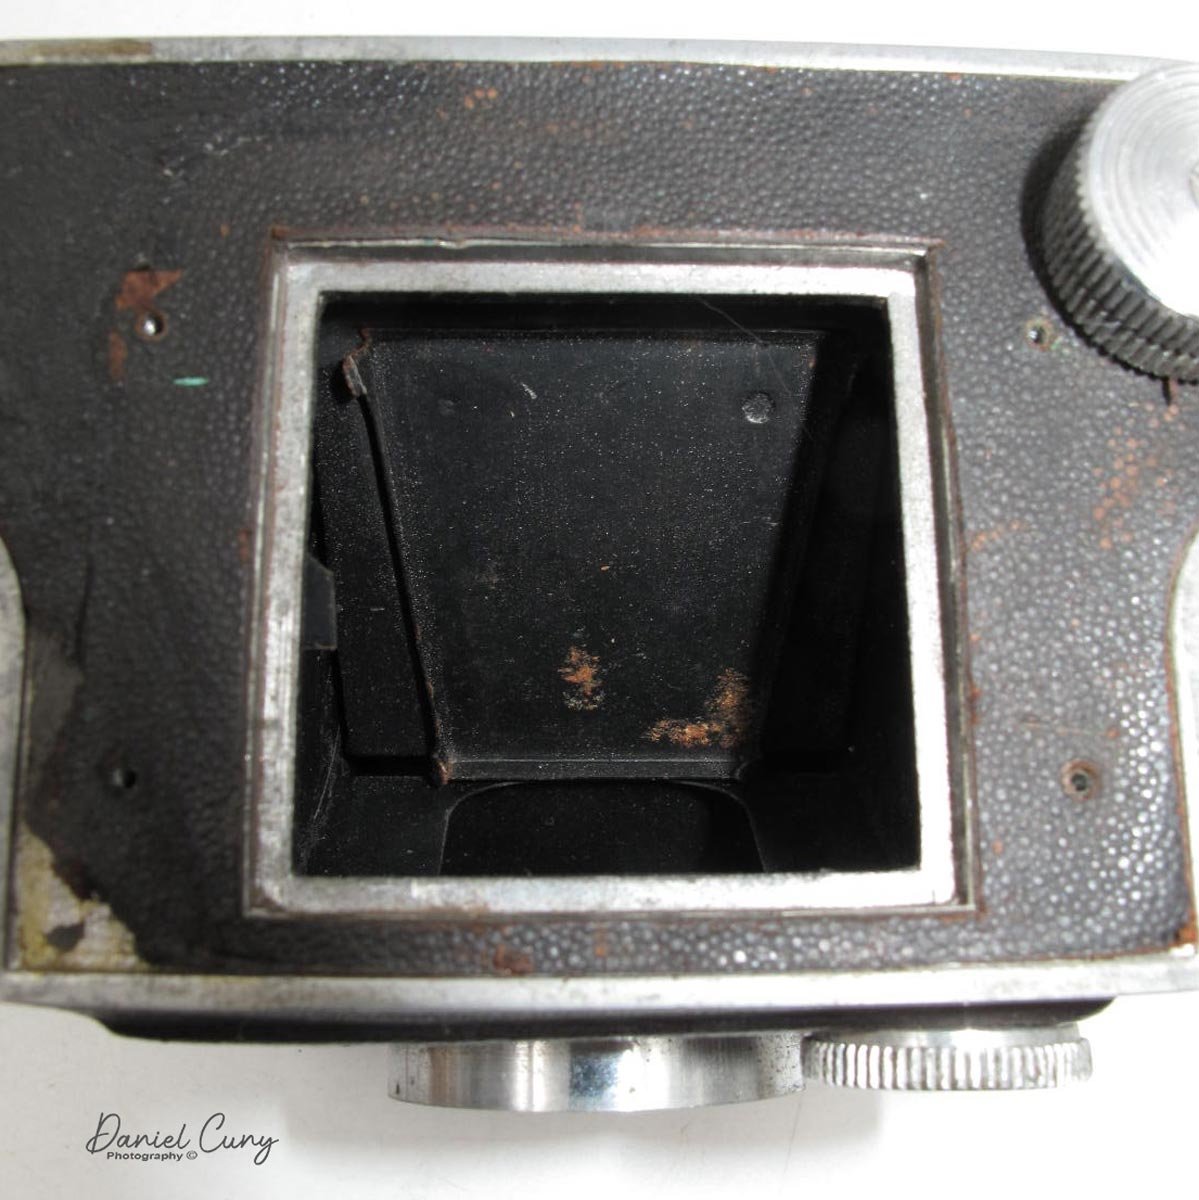
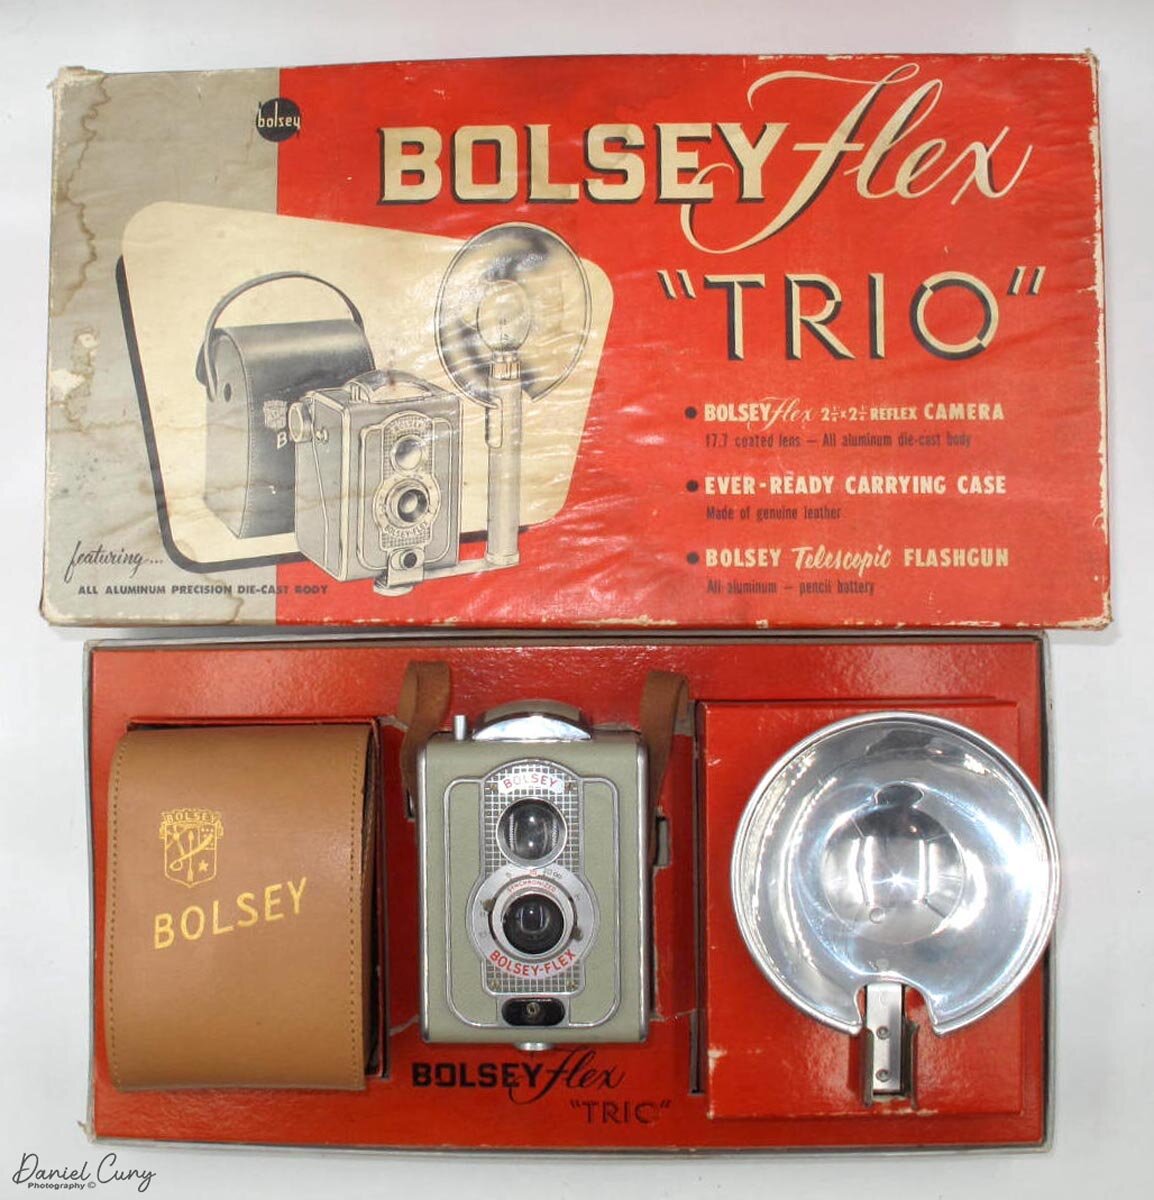
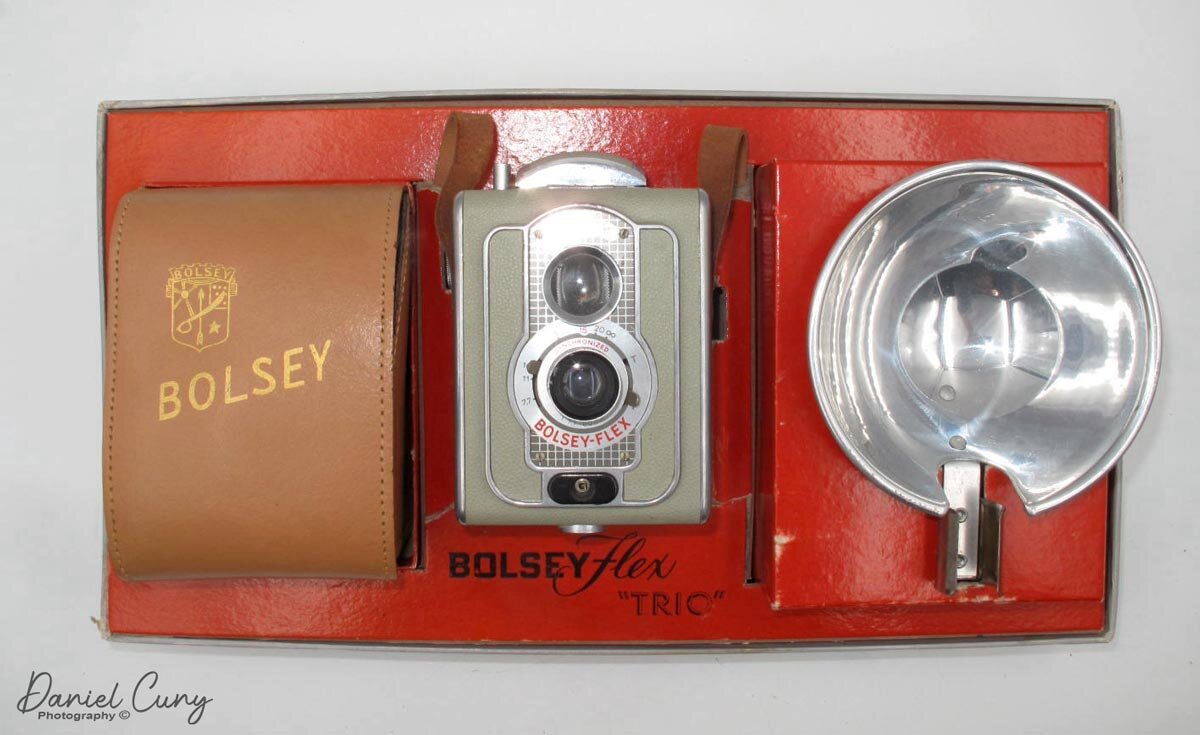
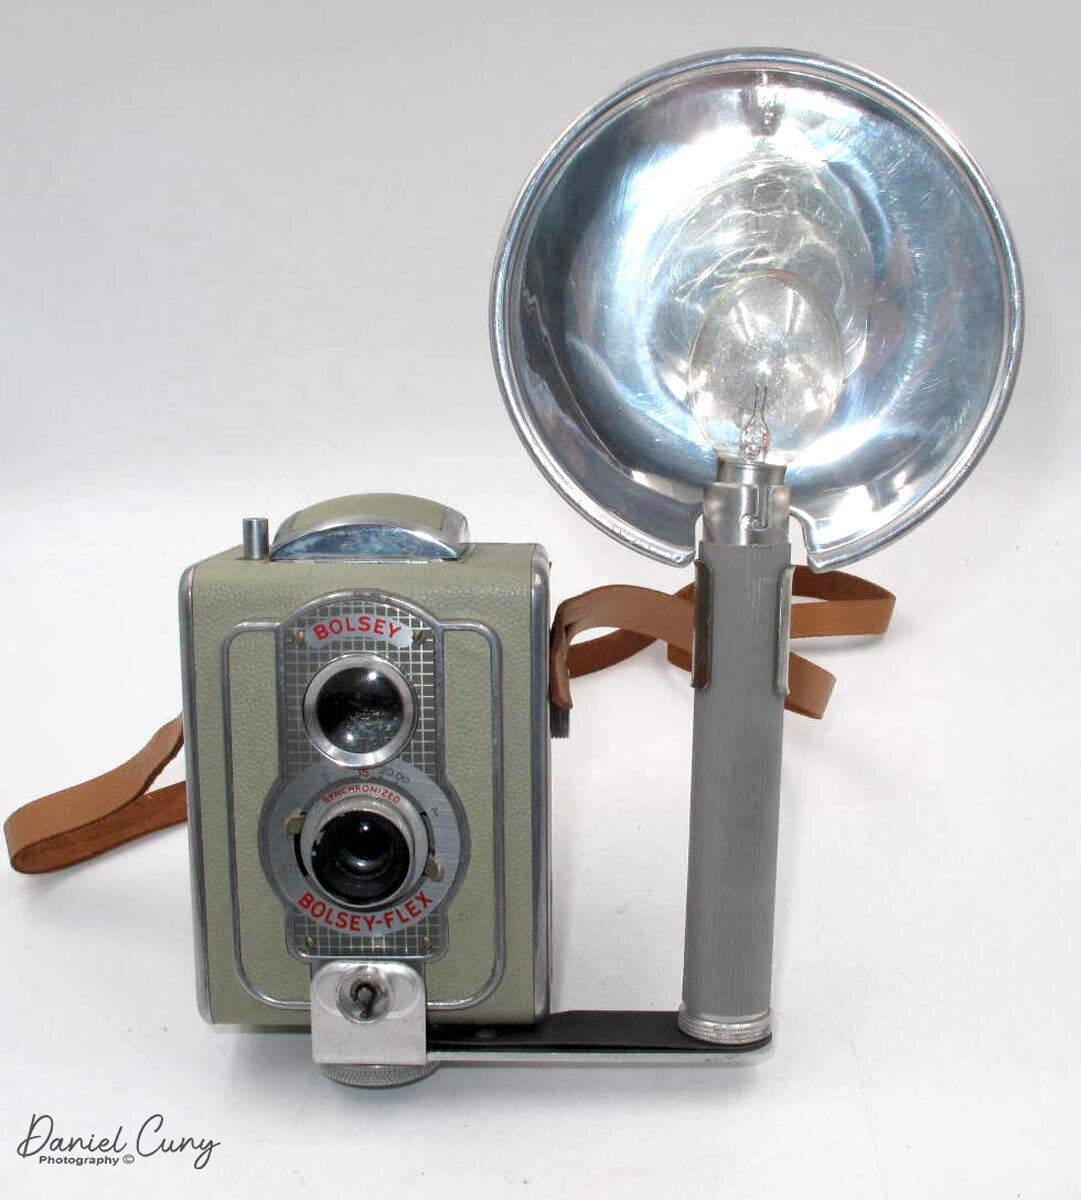
As I was sitting at my desk a few weeks back as I was figuring out what camera to write about next, I looked down at a box of cameras I have in my office, and on top was the Bolsey Flex Trio, which is in the box and complete with the instructions. As I started putting together my thoughts about the camera, I had to pull out the camera, and many different ideas came into my mind.

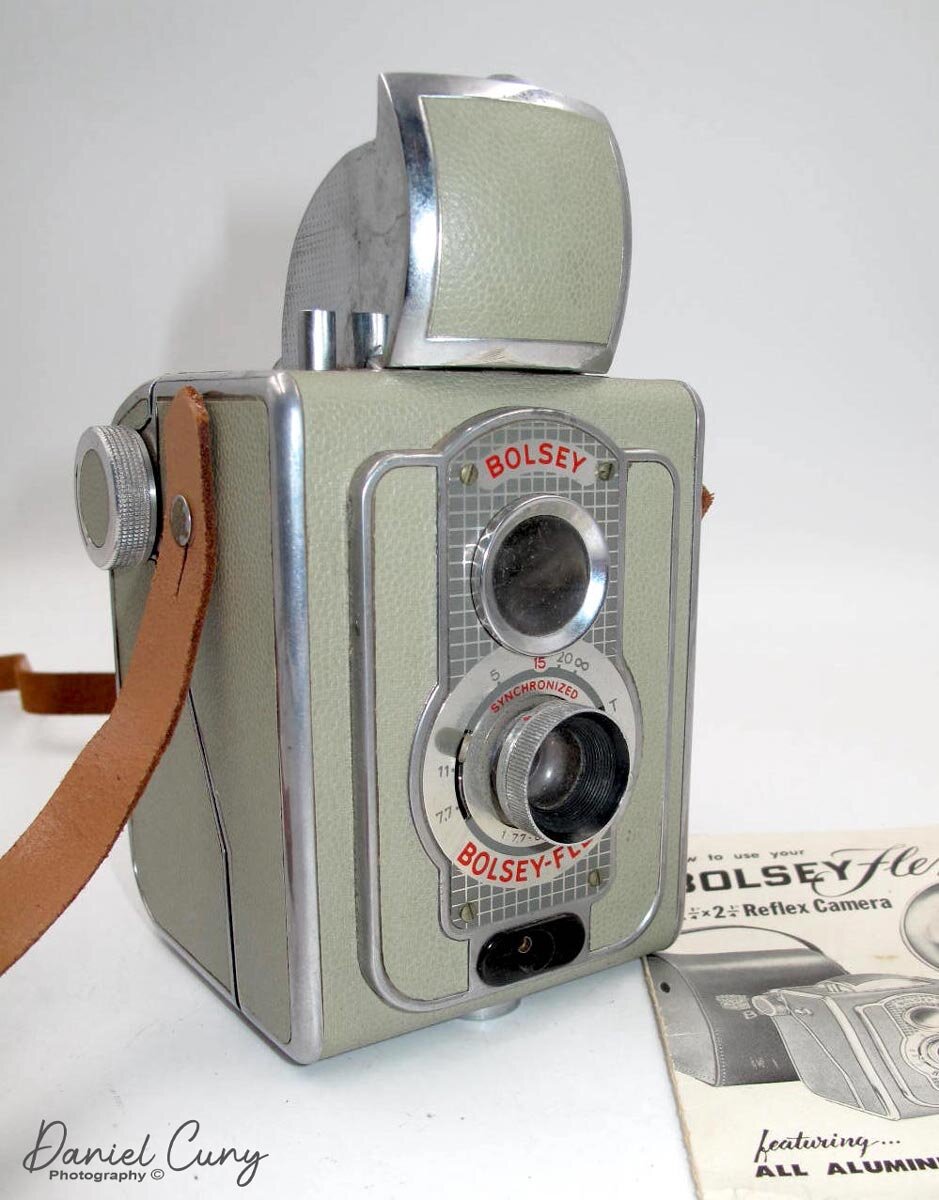
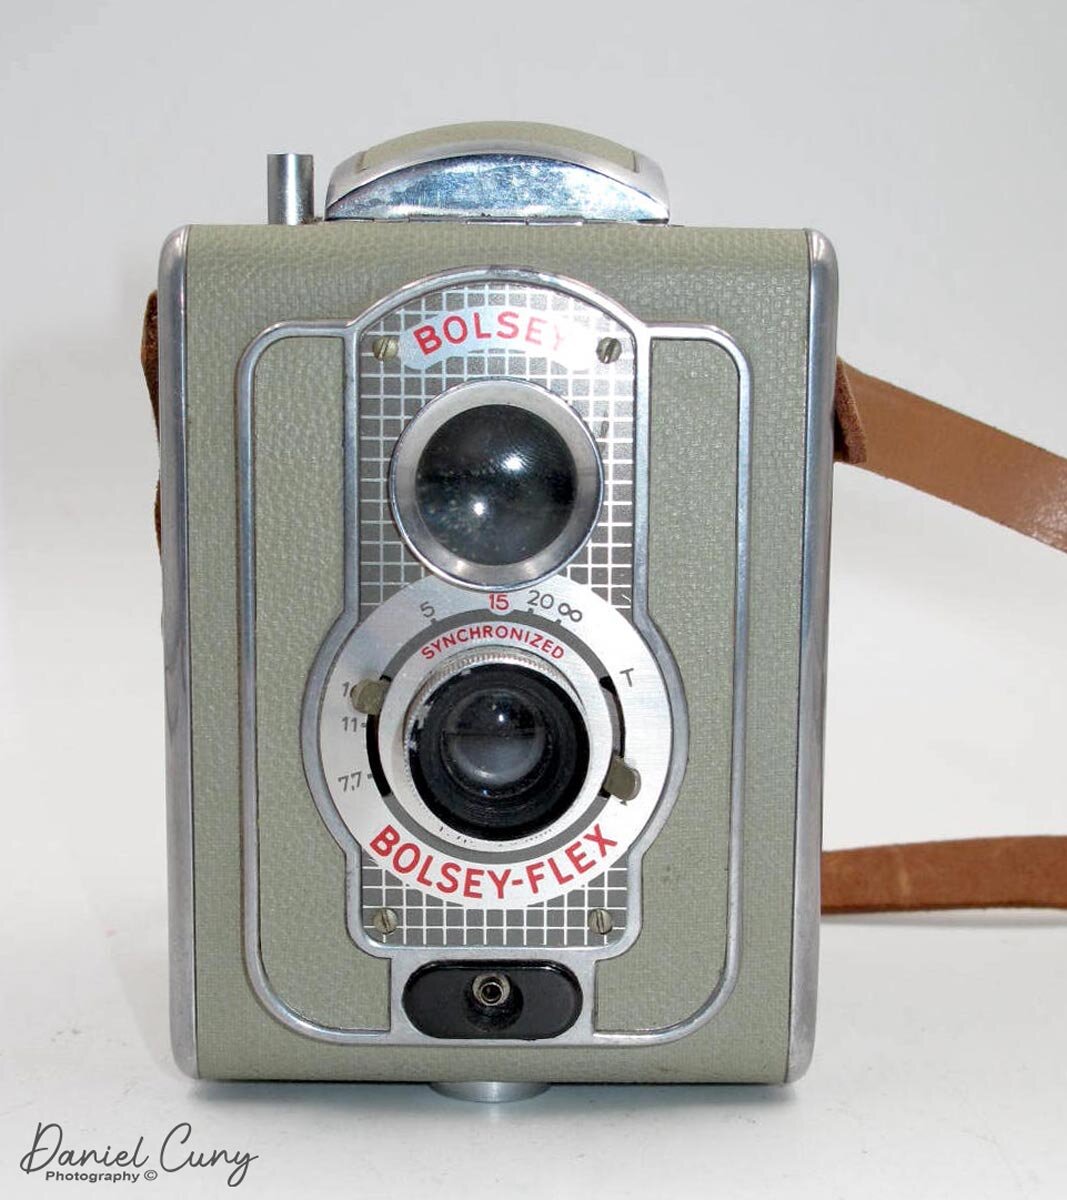
My Bolsey-Flex Camera & Instructions

My Bolsey-Flex Camera & Instructions

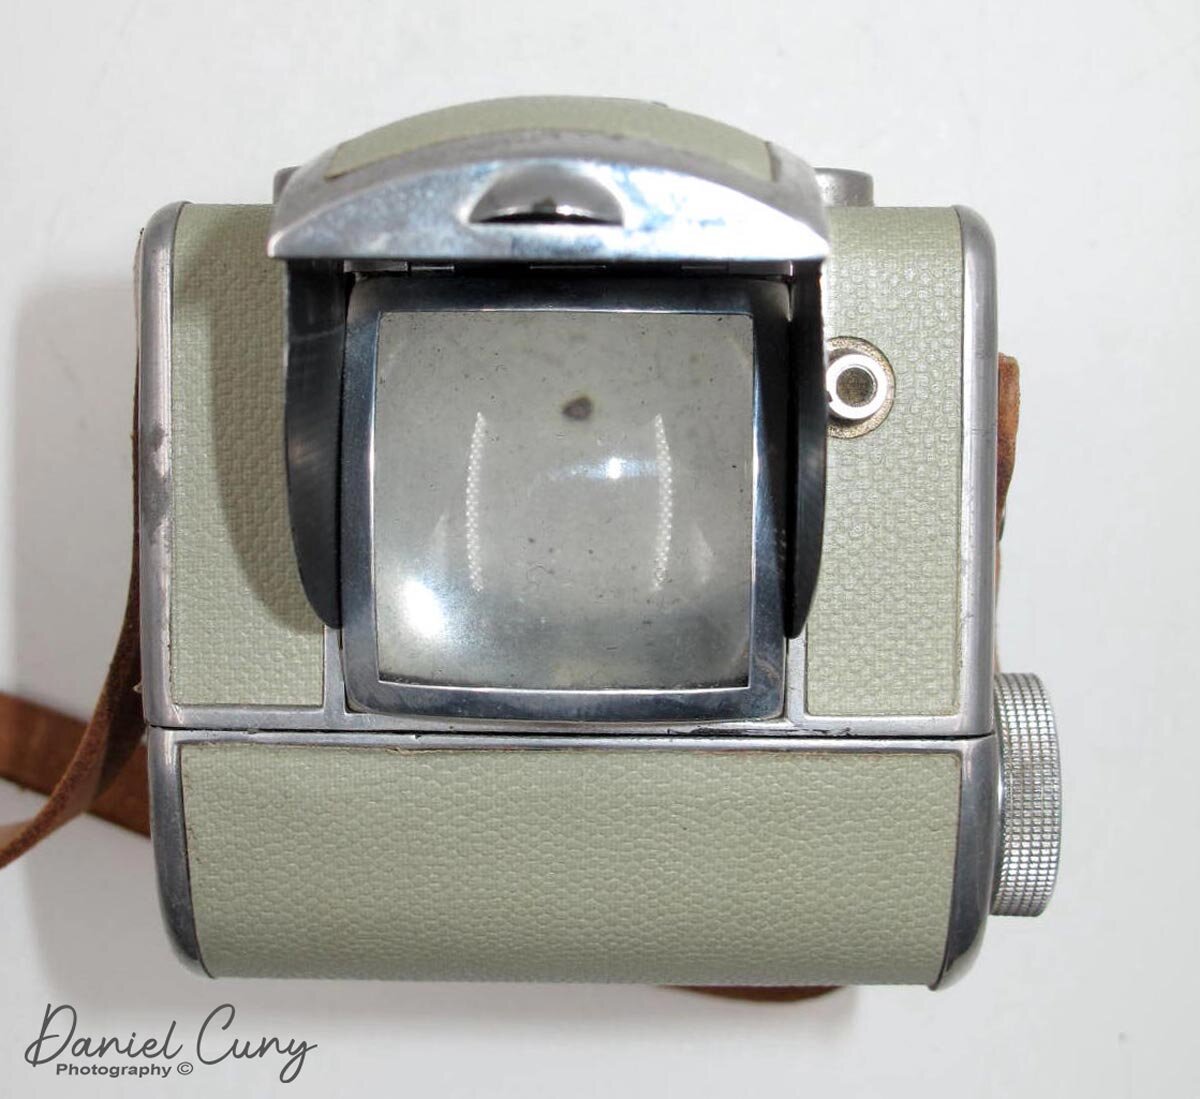
The camera for its age isn't in great shape but does work. The camera uses 120 size film, which is a HUGE benefit to me since the film is so readily available. I decided to load a roll of Black and White film in it to shoot as I walked through my neighborhood. I processed the film and was somewhat impressed by the Bolsey-Flex. It's a Pseudo Twin Lens Reflex camera, which means it looks and feels like a TLR camera but works more like a Box Camera due to its simplicity.

Camera Research

I was researching the camera, only to find that a friend of mine, a brilliant writer and camera collecting blogger, Mike Eckman did a blog post on the same camera just a few months ago, which you can read here. With that said, Mike has quite a bit of information on the designer, Jacques Bogopolsky, and camera companies he worked for. The famous movie camera, Bolex, was named after Jacques Bogopolsky, and he also designed cameras for Pignons S.A., the original company that made Alpa Cameras.

For my blog post, I want to concentrate on the experience of using the camera, the image quality, and my overall thoughts on how such a beautifully designed camera handles out in a natural shooting environment. I want to offer a few facts on the camera in general. The camera is an all-aluminum cast body with beautiful light green coverings. In the box comes all you need to take the camera out into the world to take photos.

The Camera

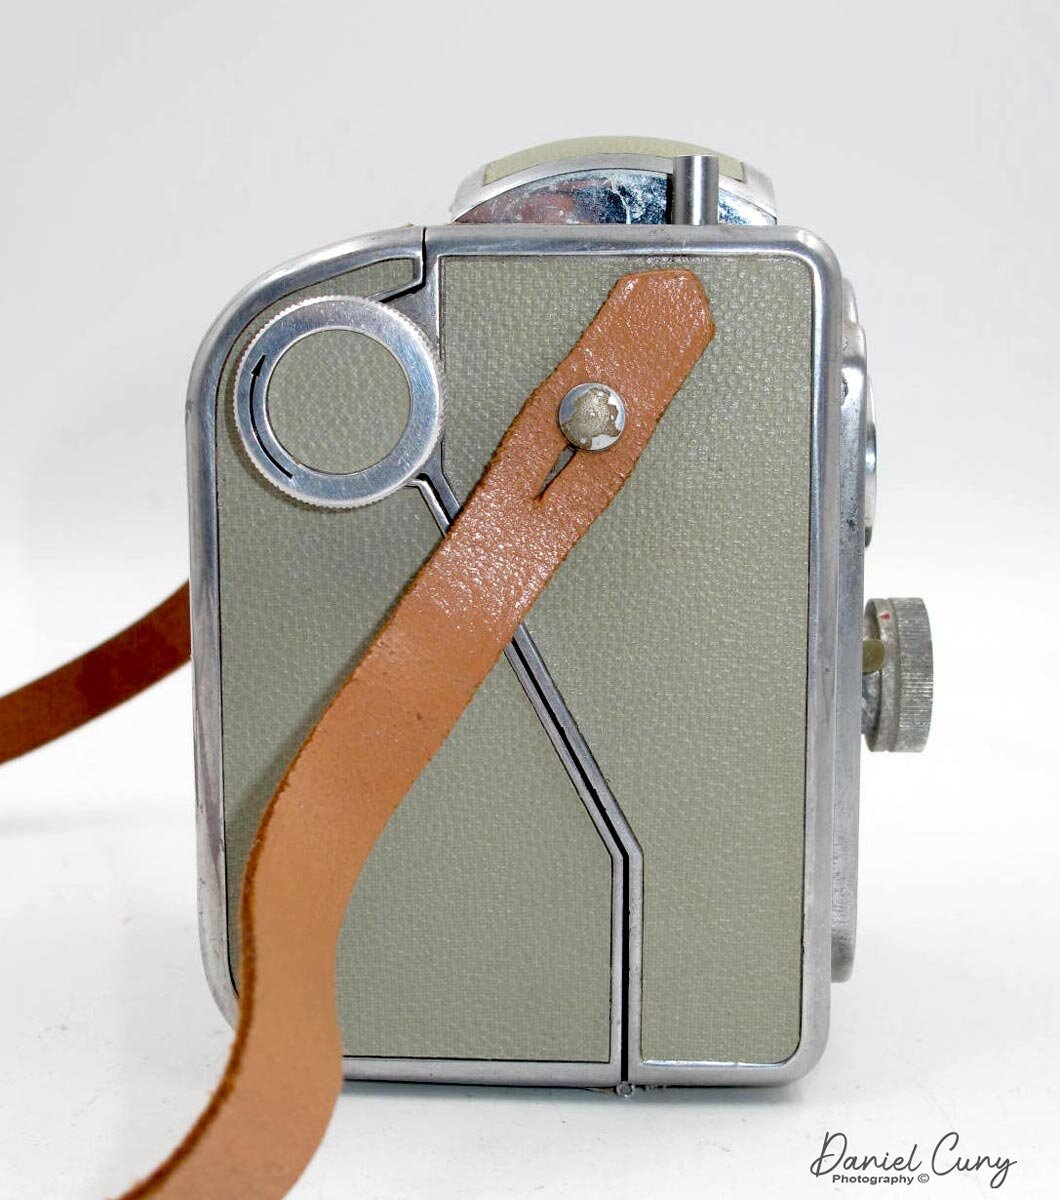
The camera measures 4.75" tall without the viewfinder in the closed position and 6" with the finder in the "up" position. The camera is 3.75" wide, which includes the width of the knobs. It is 3.75" deep, including the lens in the focused to the closest focused position, and 3.5 with the lens focused to infinity. The Bolsey-Flex incorporates an elementary zone focusing lens which can focus from 5 feet to infinity. The focus on the camera is strictly a "guess focus" style. While this is a Psuedo TLR camera, the top lens does nothing more than frame the photo in the camera. There is no focusing capability when looking through the viewfinder.

On the Bolsey-Flex shutter, you have the capability of "I" for an instant, which shoots the shutter at 1/50th of a second shutter speed, and "T" for a time exposure. The camera does have a synchronized shutter which couples with the flash attachment. The camera also has an 80mm lens with three aperture settings, F7.7, f11, and f16. 

The flashgun takes 2-"AA" batteries to power the Type No.5 flashbulbs that fit the top. You unscrew the bottom of the flashgun to put the batteries into it. It would be best if you took the camera case off the camera to use the flash. The flashgun fits into the camera synchro port, which is below the lens and held by the screw that holds the case into place. When you trip the shutter, the camera sends a signal to the flashgun, which fires the flashbulb. 

My unit seems to be in good working condition. Unfortunately, I didn't have bulbs when I loaded the camera with film and did all my shots outdoors. It would have been fun to shoot with bulbs. I'll need to test another camera that uses a flashbulb in a future post, not that I have some bulbs to try.

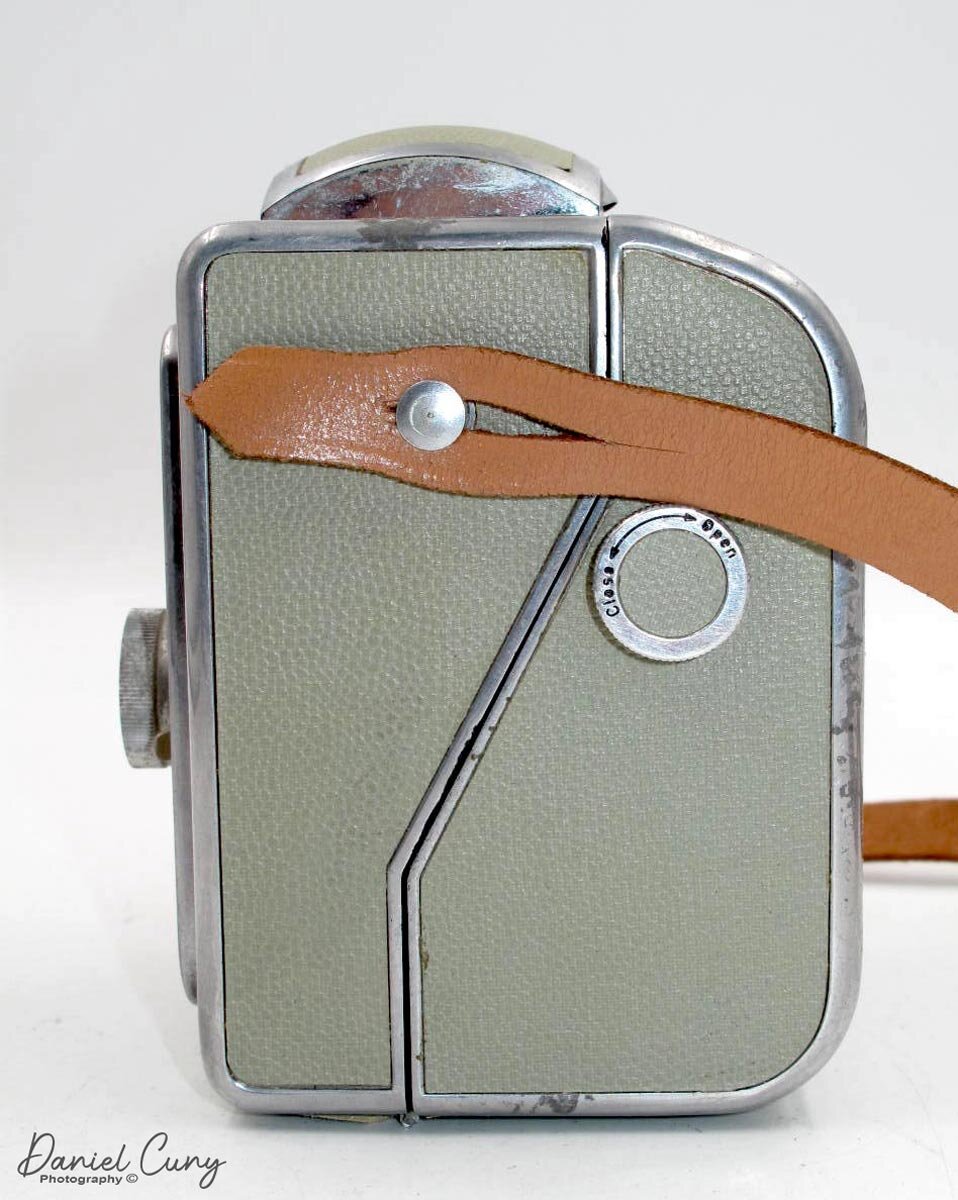
To load film into the camera, there is a knob on the left side of the camera with "Open," Close" on it. Turn the knob to "open," and the top of the back swings down open to load the film into the camera. Nothing special here as the. Put the empty spool on the top and film onto the bottom area. The shutter won't fire until the winding lever is turned to advance the film. On the back of the camera is the red window with a sliding cover to see when the film is advanced to the following frame number.

 Images

Here are some of the images I took with the Bolsey-Flex camera.

Rocks

Rocks

Backyard Aspen

Backyard Aspen

Evergreen Tree

Evergreen Tree

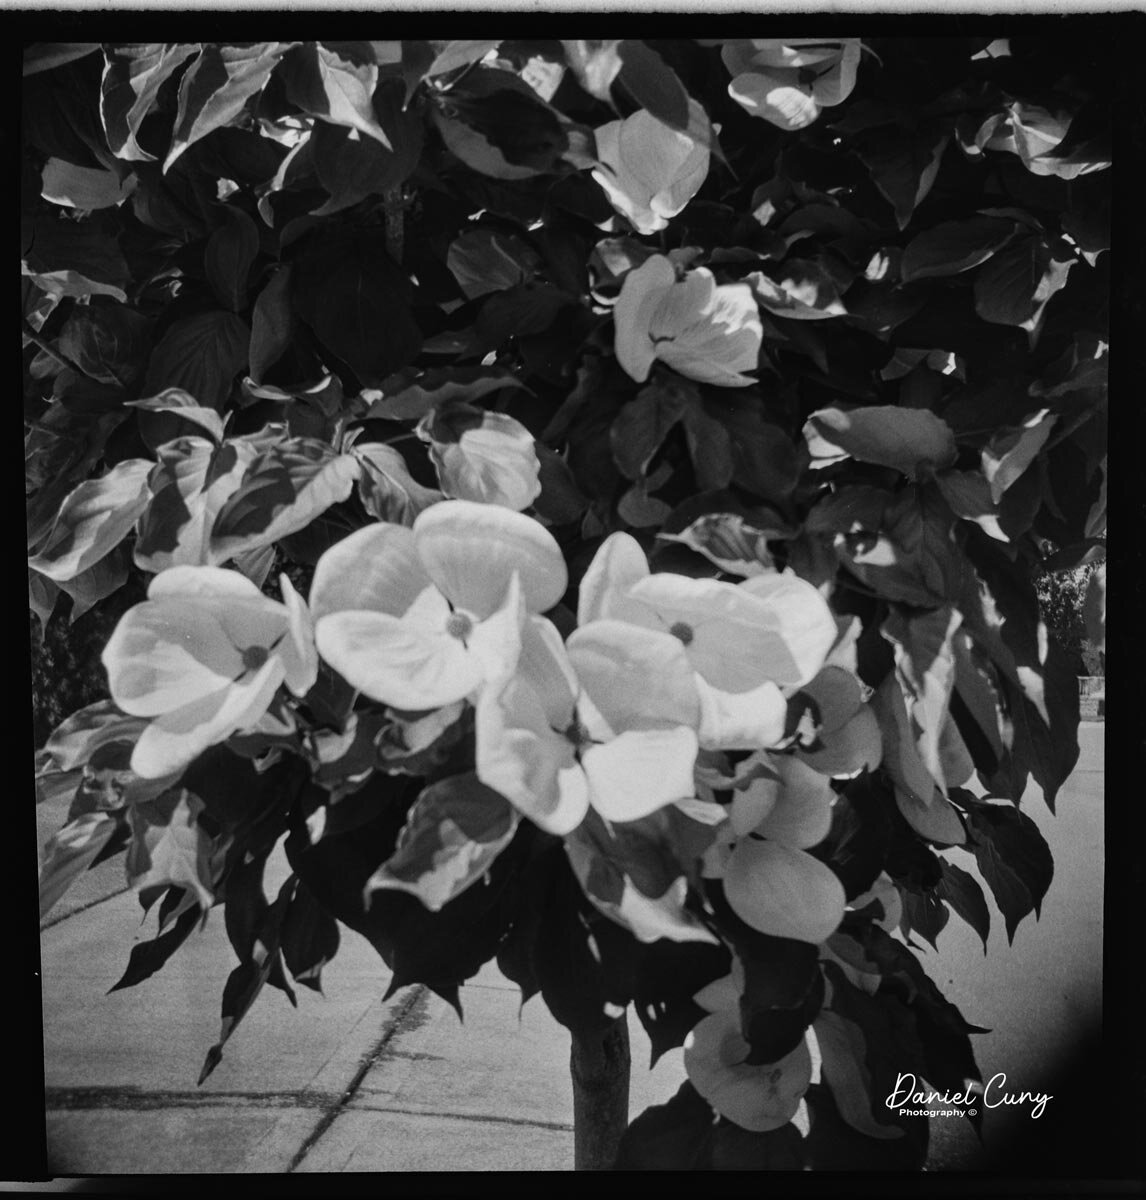
Dogwood

Dogwood

Conclusion

I thought the camera did a very excellent job for a pseudo-TLR camera. It's not much more than a glorified box camera. The camera was easy to hold, the exposures were good, thanks to my sunny 16 rule when exposing to sunlight. The lens vignettes a bit, but I enjoy that. The ease of operation and see the frames in the red window when advancing were spot on. I'd recommend this very well-built camera to anyone.

 Thank you for taking some time to look over this post. Until next time, please be safe.

Konishiroku Snappy Camera

It's been a few weeks since I wrote my last camera collecting blog post because I've started a new position. Now that I feel comfortable in the new job, I think it's time to write about some of my cameras. I love the new responsibilities, the company I'm working for again. I also think I have my nose above water and can take on other enjoyable tasks such as writing about one of my passions: cameras within my collection

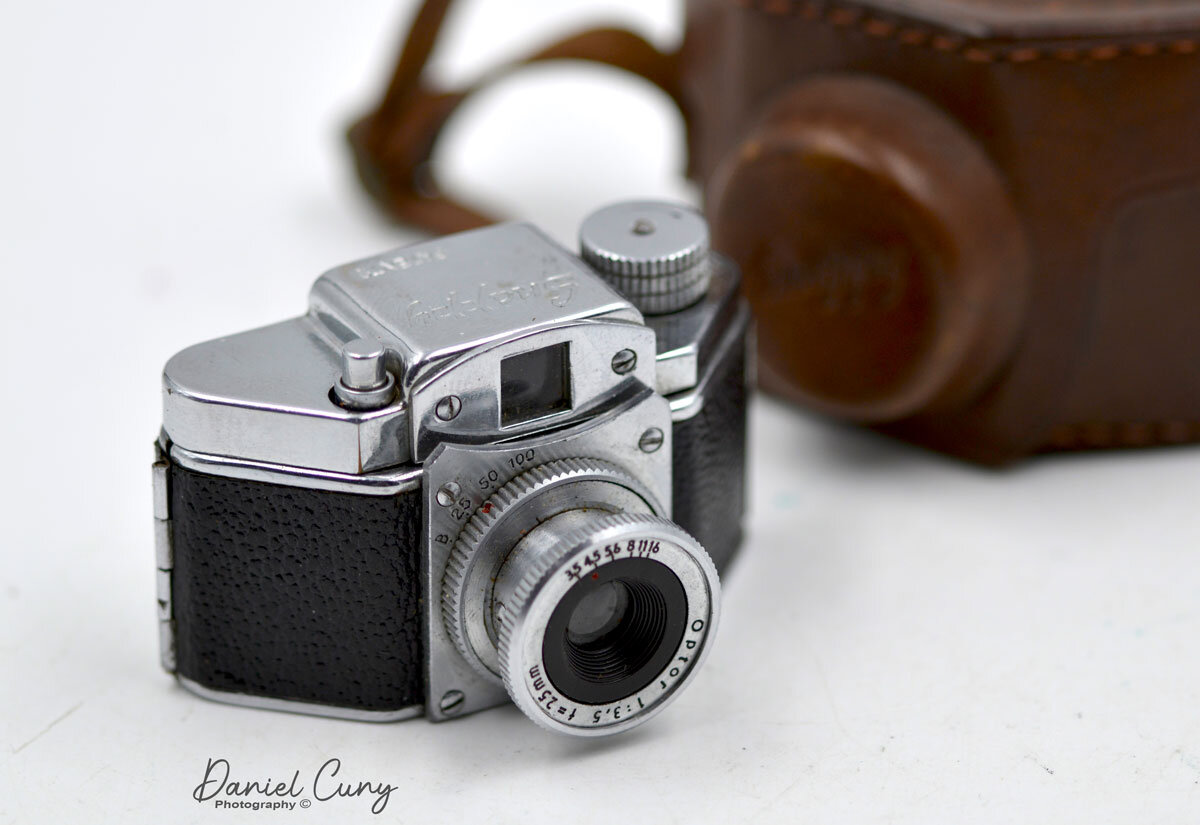
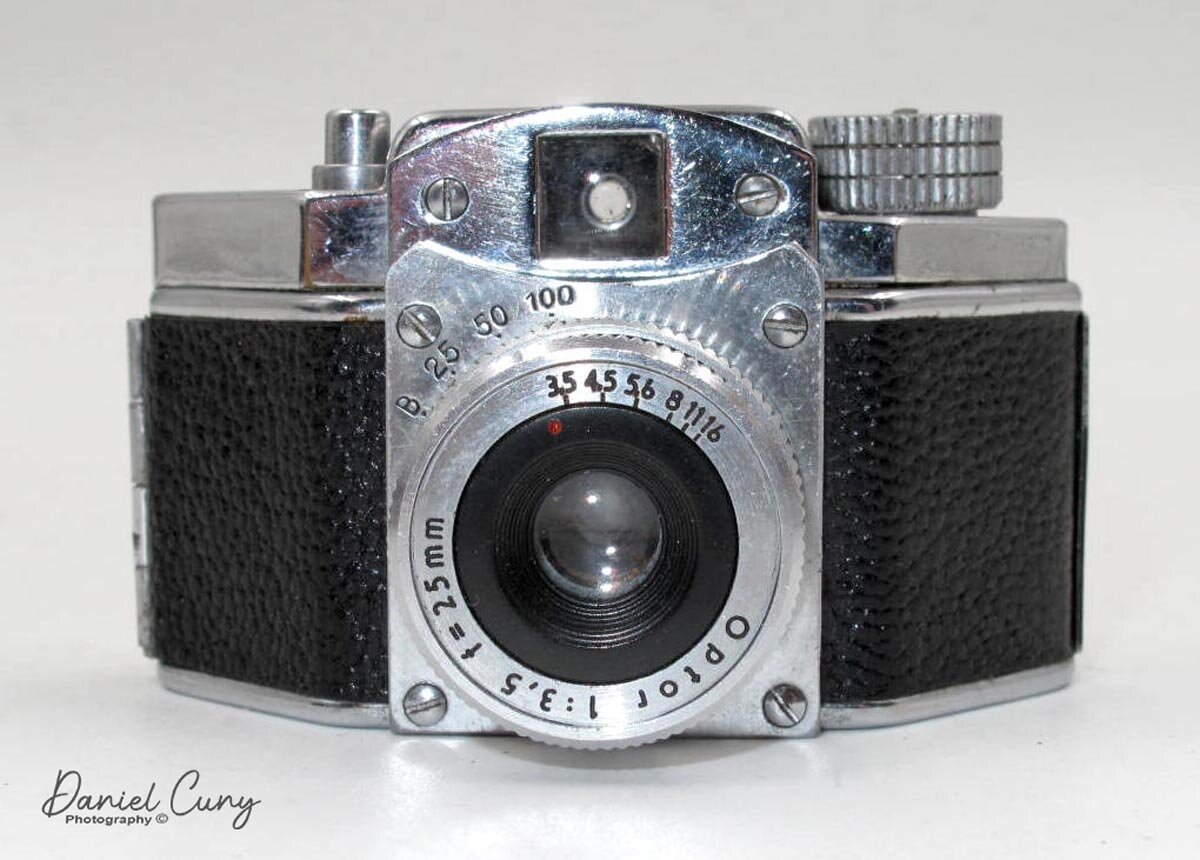
My Konishiroku Snappy Camera

My Konishiroku Snappy Camera

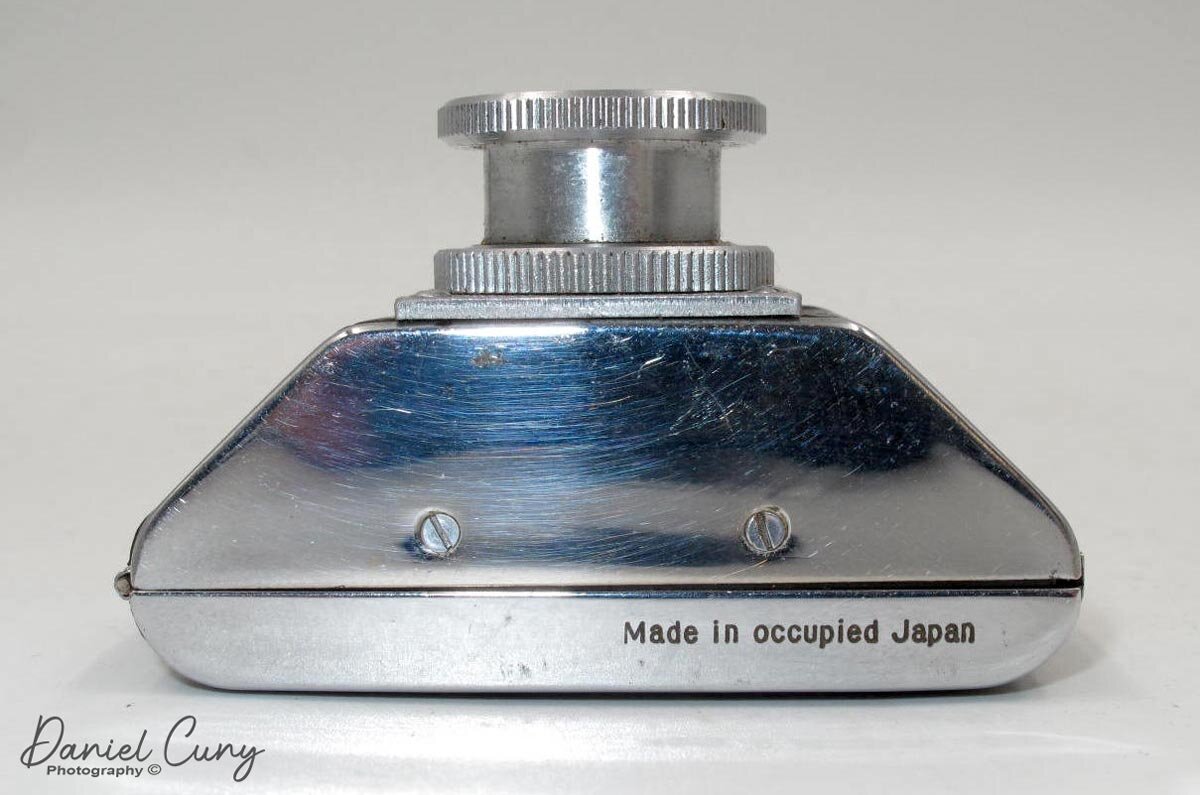
Looking over the cameras above my desk, I came across this small and what I believe is an underappreciated gem of a camera. So, in this week's blog post, I wanted to write about the Konishiroku Kogaku Snappy camera. A camera is exceptionally well built, especially for a subminiature-style camera coming out of Japan just after WWII.

Company History

Konishiroku is one of the oldest photographic companies coming out of Japan, even older than Kodak. The company traces back to 1873 when a pharmacist, Rokusaburo Sugiura, started selling photographic items out of the largest pharmacy in Toyoko that he owned. In 1878, Rokusaburo gave the original shop to his younger brother and launched a new shop, Konishi Honten, in Tokyo's Nihonbashi district.

In 1882, Konishi began to produce photography-related materials in Japan. In 1902, Konishi started to sell the Cherrimportedy Portable Camera, the first Japanese-built camera made for the public. In 1921, Konishi named his son Konishi Honten to succeed in the family business. The company turned into Konishiroku Honten, later Konishiroku, an abbreviation of their names Konishi Rokuemon.

 After WWII, Konishiroku was well known for its Konica brand of cameras, which they released the Konica I camera in 1948. Later in 1965, Konica produced the first auto-exposure SLR camera, the Konica Autoreflex. In 2003, they merged with Minolta and exited the photo market in 2006. they are now more recognized in the copier business.

The Camera

The Konishiroku Snappy was designed, developed, and sold in 1949. According to sources, the Snappy original design was in spring, with the first model released in August 1949. They were somewhat popular and sold approximately 40,000 units.

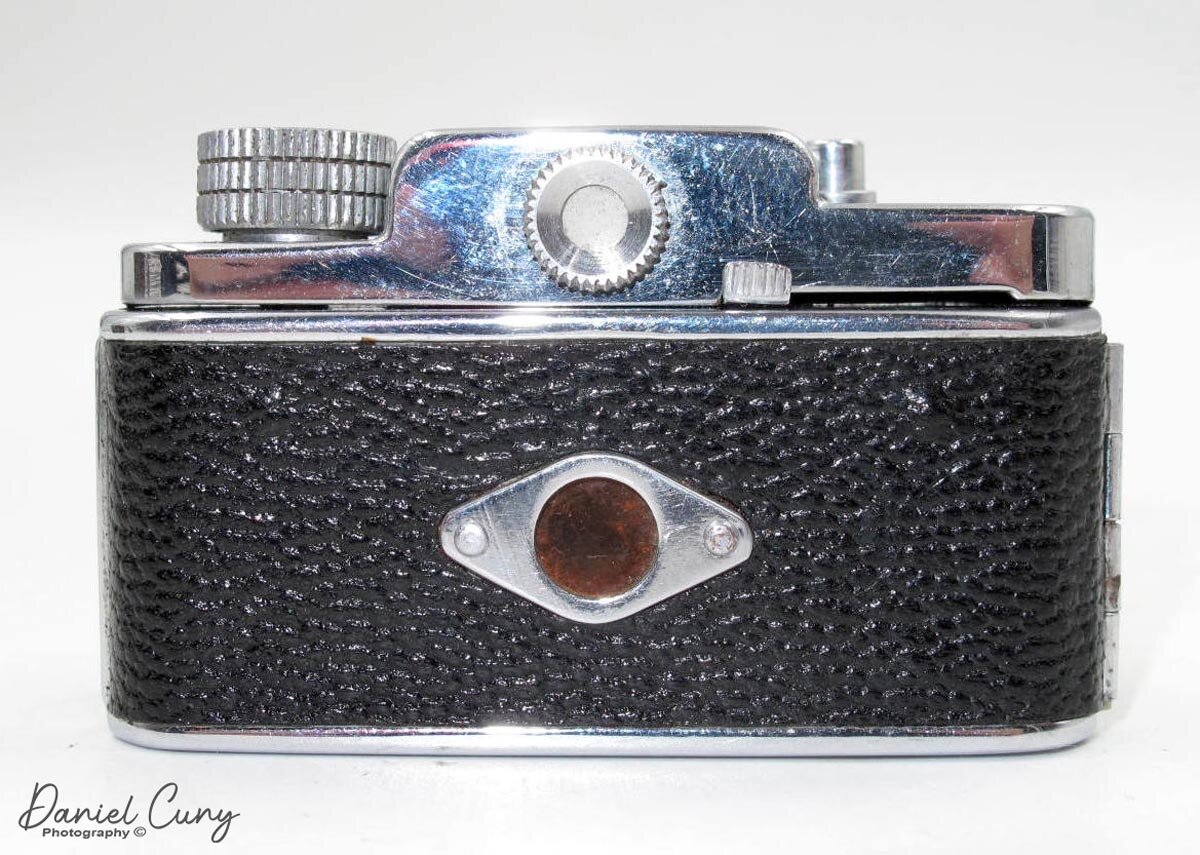
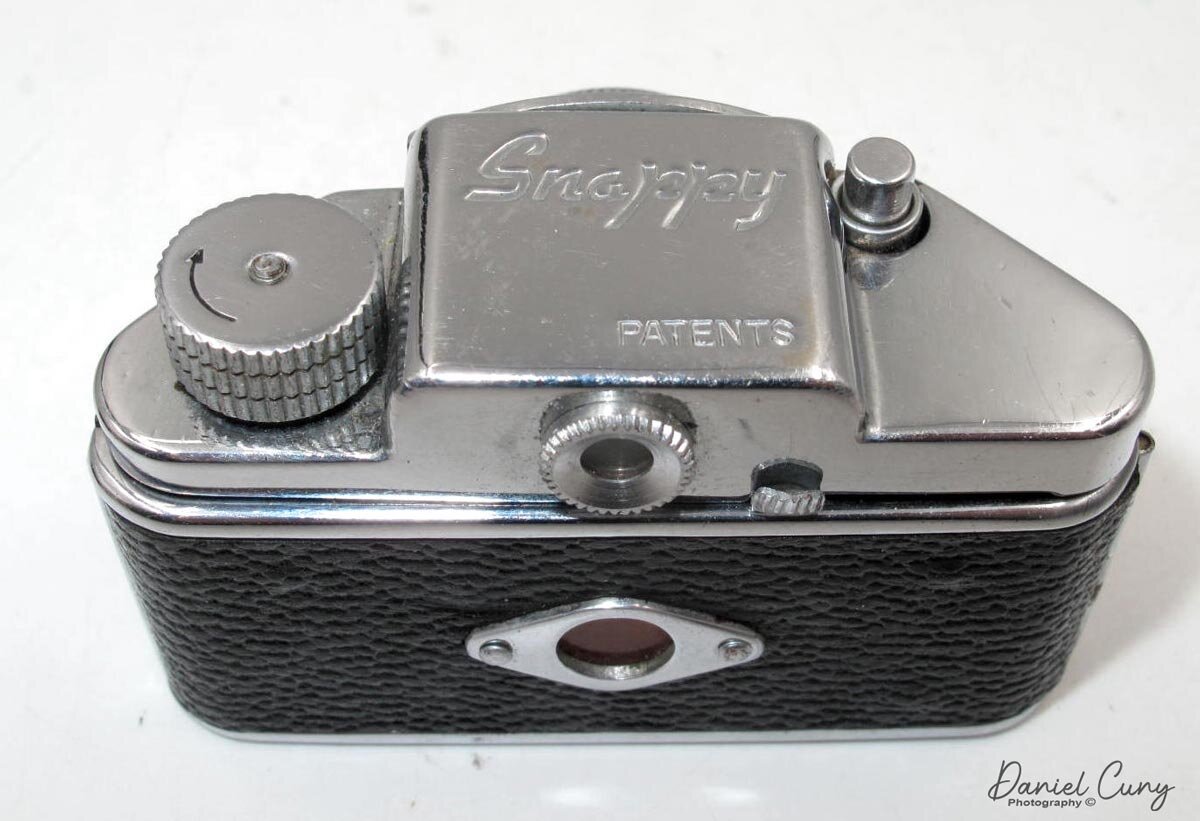
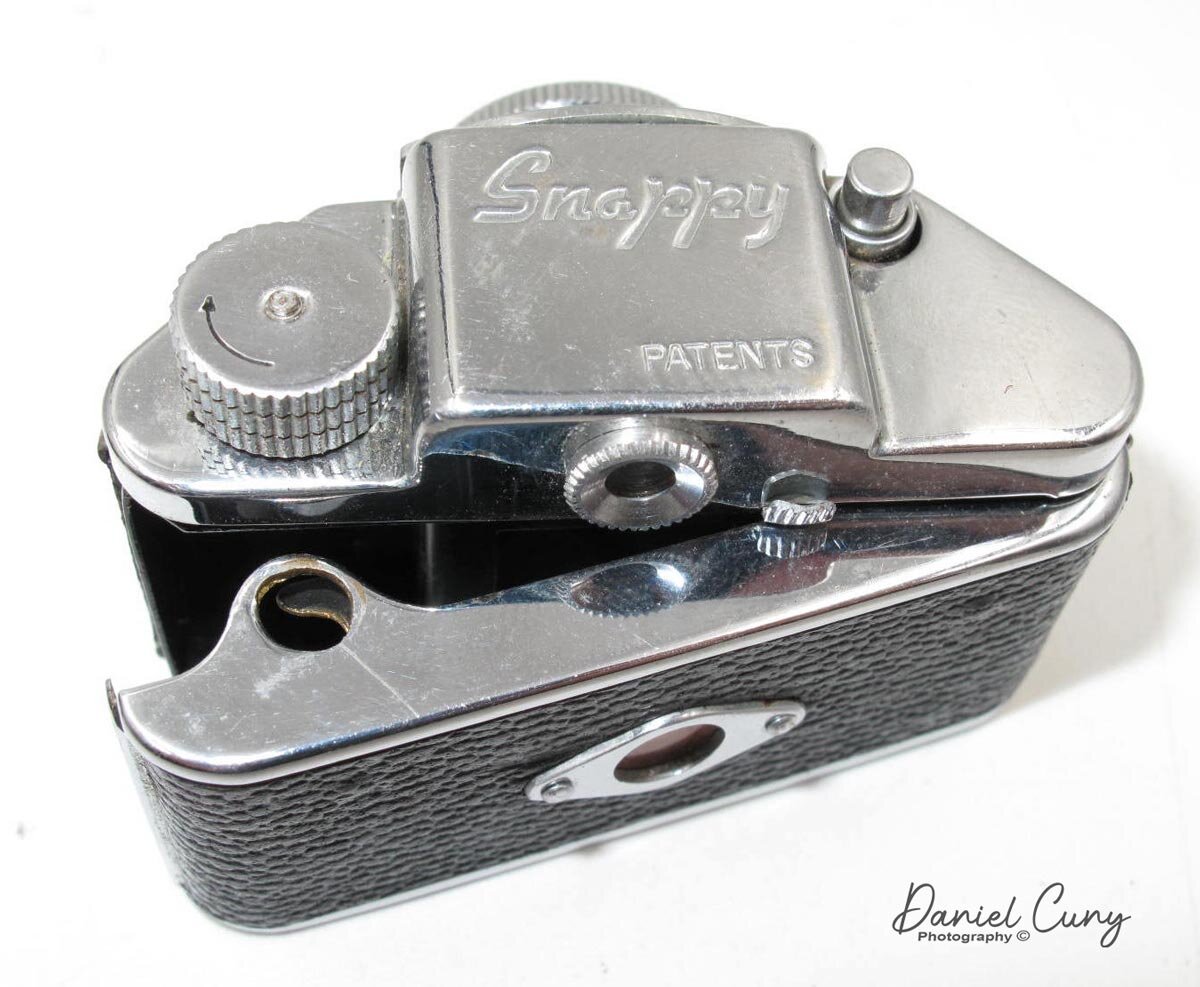
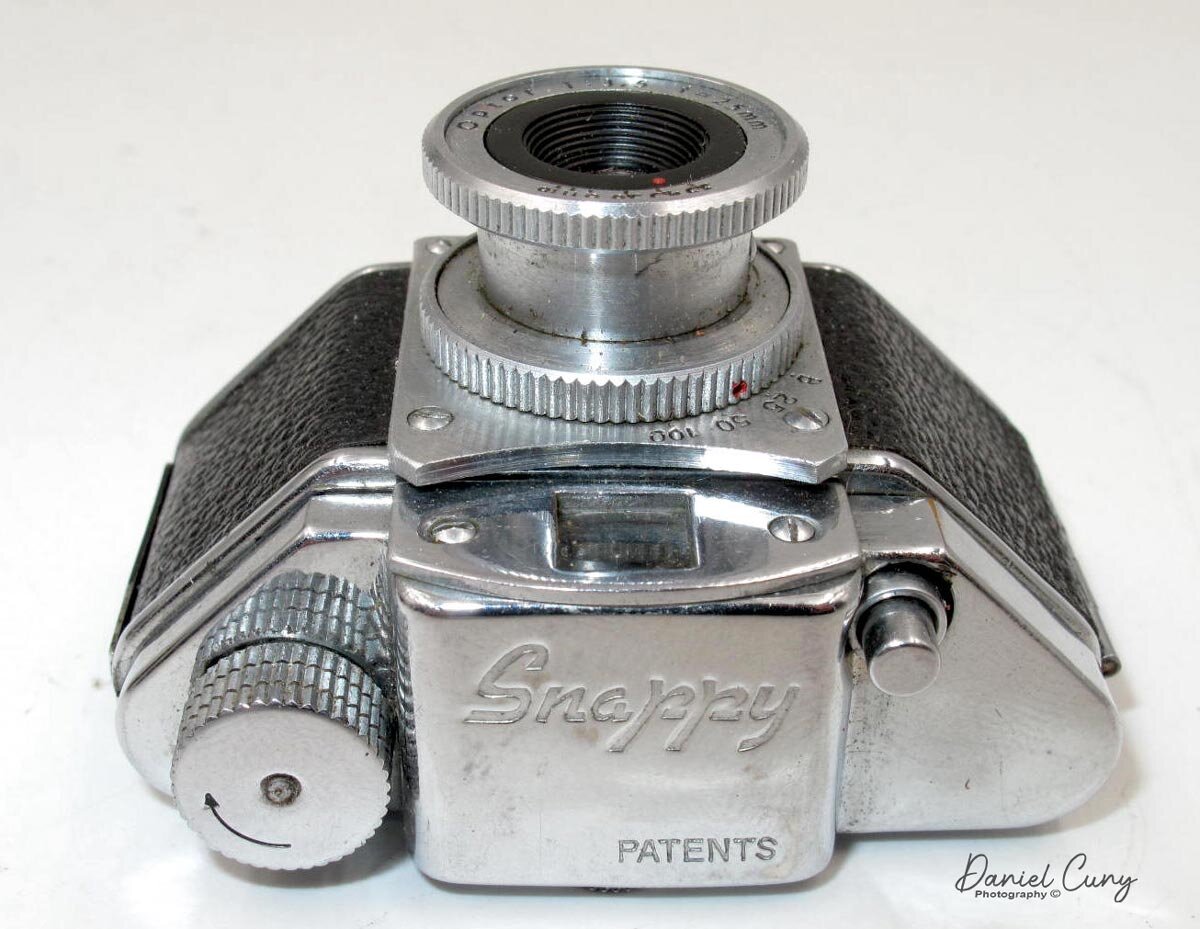
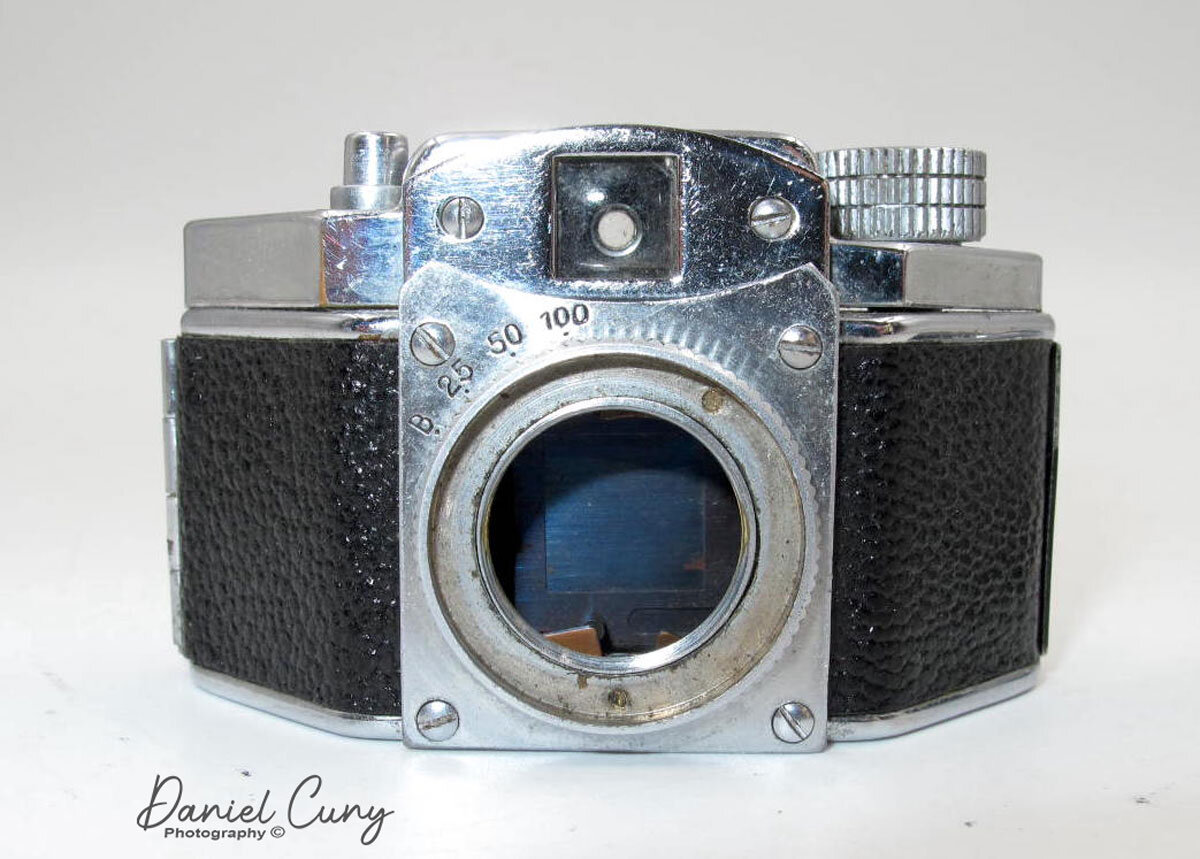
The camera has a trapezoidal-shaped camera that incorporates items seen in 35mm cameras of its time. The camera is a "system" with other lenses and accessories. In form, it reminds me of the VP Exakta, model B, which I wrote about in an earlier post, only considerably smaller. The camera measures 2.5" wide by 1 5/8" deep and 1.5" tall and weighs 5 oz. with a very sturdy and well-built leather case.

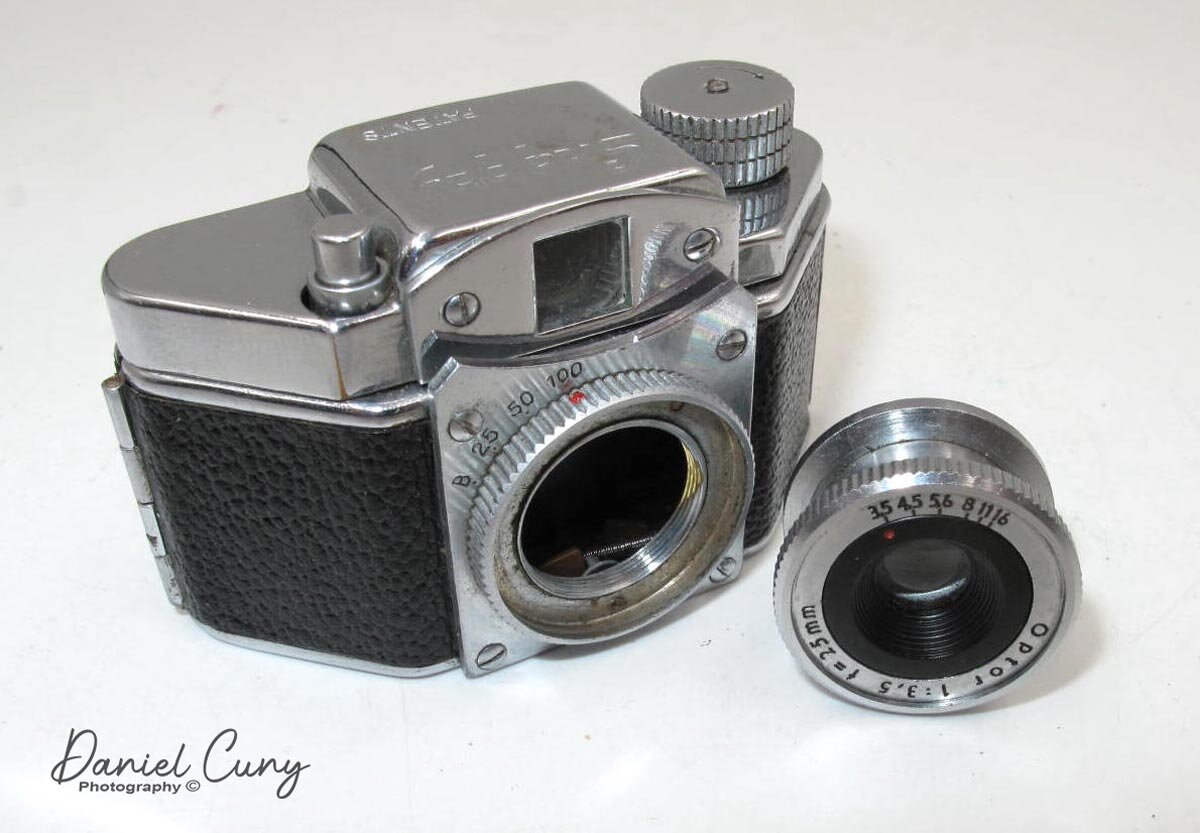
 Another item the camera has is a pull-up rewind knob that allows you to open the back. There are integrated shutter speeds of "B," 25, 50, 100. The lens is an Option 25mm f3.5 lens that allows the photographer to set aperture settings between f3.5-16 by turning the lens's outer ring. You would think this operation would focus the lens, but the lens is a fixed focus, and you're changing the aperture settings.

The camera has a horizontal running guillotine shutter tripped by the shutter release on the top of the camera. The winding leaver on the back of the camera advances the film and cocks the shutter.

 When you lift the rewind knob and swing the door open as you would a 35mm camera, you see there are rill film reels in the camera. The camera shoots 14x14mm square images on the 17.5 paper-backed roll film, which was popular in the "Hit" style cameras, but the Snappy film was much better quality.

The System

The lenses on the Snappy are also interchangeable, and they unscrew from the camera body. There is a Cherry 40mm f5.6 telephoto lens which also comes with an auxiliary frame that fits the front viewfinder window. Other accessories for the Snappy camera are Close up lens, which fits over the standard 25mm Optor lens, hoods and filters, tripod adapter, and the sturdy brown leather case with strap. The Snappy came in a kit with all the accessories in one red and black presentation box.

Conclusion

The Snappy is an excellent camera and a camera that I enjoy having in my collections. Having researched the camera, I'll need to hunt down the other accessories for the camera, especially the telephoto lens and filters. Maybe it's time to see if I can find the whole kit. Now that would be the crowning gem.

 Thank you for taking time from your busy schedule to read my blog post. I'll do my best to do this every other week, time permitting. Until next time, please be safe.