Arsen Camera

My Arsen Camera

When I first started collecting cameras, I was drawn to colored cameras, like the Kodak Beau brownies, the Rainbow Hawkeyes, Kodak Petites, and other brand colors or odd and unusual-looking cameras. I also like cameras with bold designs or odd or unusual faceplates on box cameras. I've always liked cameras with a bit of color or pazazz, as opposed to the more common black box or folding camera, which has black bellows. Heck, I still have many Kodaks and other brands with red bellows, which I prefer.

 I got a bug about purchasing another Gelto gold-finished camera a while back. I've owned a few in my camera-collecting life but sold them, and soon after doing so, I regretted that I did. I can remember looking on eBay and coming across a seller who was selling a couple of Gelto cameras, hoping that one of them was the gold version. However, the price for both was really low, so I pulled the trigger and purchased both what I thought were Gelto cameras.

 Upon the arrival of the package, I eagerly anticipated two distinct Gelto cameras. However, as I unveiled the contents and examined them closely, I was taken aback. One of the cameras was indeed a Gelto, but the other I had yet to anticipate, an Arsen camera. This unexpected discovery piqued my curiosity, prompting me to delve into the origins and features of the Arsen camera. To my surprise, I learned that the Arsen is a cousin of Gelto, which is produced by the same company.

The Company:

The Gelto, Arsen, and a few other cameras were made by camera maker Tōa Kōki, who might have been called Takahashi Kōgaku in the company's early years. The company was based in Tokyo. The earliest document with the Tōa Kōki name is from 1939, so it's unclear what the former name was. There were advertisements in 1937 and 1938 that have Gelto Camera Werke, but there's no record that was the actual name.

Ad for a Gelto Camera

 Before WWII, Tōa Kōki introduced the Gelto cameras in late 1936 or early 1937. They were a 3x4 format camera with 127 size film and a telescoping lens focused on a helicoid. Tōa Kōki survived WWII and was one of the 17 early members of the Optical and Precision Instruments Manufacturers' Association in Japan. Production of the Gelto cameras resumed in 1946.

From all my research, the Arsen camera was introduced in 1938 and was sold through Ars, which was Ars Seiki Kōgyō and the owner of the publication Ars Camera. It is the belief that's where the name of the Arsen camera originated from. Production of the camera ran through 1944. The Arsen camera had a different film format, 4x4, but still utilized 127 film. Another unique feature of the Arsen camera was that it used an "auto-stop" mechanism in the film's advance.

 By 1952, Gelto was now advertised by  Shinwa Seiki and was still based in Tokyo. It's not documented when the company ceased production, but it's assumed they closed soon after 1952.

My Camera:

My Arsen camera is 3.75" wide by 3.25" tall by 2.25" deep with the lens retracted and 2.75" deep with the lens extended. My camera weighs 15.5 oz. so the camera is relatively small, compact, lightweight, and easy to carry around. ARSEN is embossed into the leather on the left side of the camera. My camera has a metal lens cap, which a previous owner painted black, and it is difficult to read "Arsen" through all the scratches screwed to the camera body with a small chain is how the camera was originally sold.

The camera has an Anastigmat Grimmel 50mm f4.5 lens mounted in a retractable tube that you extend to take photos and then push back for transport. The lens aperture ranges from f4.5 to f22. To set the aperture, you rotate a ring on the back side of the lens tube to the desired aperture. 

 The shutter speeds on the Arsen camera go from 1/250 down to 1/5 sec. along with "B" for bulb exposure and "T" for timed exposure. The shutter speed settings are located on a ring on the outside of the lens tube, which you rotate to set the desired speed. ARSEN is written along the bottom of the camera, under the lens, and on the same faceplate as the shutter speeds. Also on the film tube is the helicoid focus. An arm rotates to focus the lens from 0.5 meters to infinity. The focus marker is on the ring the lens pulls away from. There is also a "stop" on the focus ring, so you cannot move the focus ring past the minimum focus distance and infinity.

Like most cameras, you'd think the baseplate comes off to load film into it, but on the Arsen camera, the baseplate only contains the serial number (my serial number is 26725) and tripod socket. The camera is loaded by removing the top of the camera.

 A locking lever with a turning key is on the top of the Arsen camera. Lift up the turning lever and turn from "L" to "O" to unlock the top from the camera body. Lift the top off the camera to expose where you load the film. The film advance knob is on the right side of the camera, so you need to take the empty spool from the left out of the camera. The camera loads similarly to a Leica, where you need to start to load the film onto the take-up spool before you put both the take-up spool and roll of film into the camera. 

Sliding both the unexposed film on the left and the take-up spool with some of the film's rolled paper backing onto the take-up spool, sliding the paper backing into the small slot behind the lens. It's easy, but it is something that could be more intuitive. Holding both the roll of unexposed film, the take-up spool with some of the paper backings rolled onto it, and trying to slide both into their slots and the paper backing into a small slot behind the lens took me a few tries, but it happened.

 Once the film is in the camera, you open the door covering the back window and wind the film until you see the number 1 in the window. The camera does have a film auto stop built into the winding mechanism. Just to the right of the viewfinder on top of the camera is a small lever you must pull out to let the camera advance to the next frame. I needed to pull this lever several times until I got to frame number 1. This will need to be done to rotate the winding knob to advance the film to the next frame. There is also a frame counter on the top of the camera just to the left of the winding knob.

Top plate showing Winding knob, Frame counter, Locking mechanism, Lock release for auto-stop on film advance, Viewfinder and accessory shoe.

 Also on the top of the camera is the small viewfinder, which is easy to view through, and an accessory shoe. The shoe is for a flash attachment or accessory rangefinder if you want a more critical focus on the camera instead of using your best judgment on guessing distance.

My results:

I loaded the last roll of 127 film into my Arsen camera and took it with me when I took my dog for a walk around the block. As I pulled the lens away from the body, I started to turn the lens, and it came out of the lens mount. I was getting ready to take my first photo and I have the lens loose still on the camera. I got the lens back onto the camera but lost a few shots of the film. I was also still determining where the proper settings would be regarding the focus of the lens, but I guessed. After processing the film, there were images, but still determining if the focus or lack of focus could be attributed to the mounting of the lens in the field. Most likely, it's not where it should be, and the camera actually performs better than what these photos show.

Conclusion:

The Arsen camera isn't rare or unusual, but like many cameras in my collection, it's fun to use. That's something I enjoy about trying, and using so many different cameras is how they all work just a bit differently, so it's all about how you feel and how easy it is to use. This camera was very average. Other than the auto-stop with the film advance, there's nothing earth-shattering about the camera, but still fun to shoot.

 This is the last camera review before the holidays. For all my Christian friends, Merry Christmas; my Jewish friends, Happy Hanukkah; and my African American friends, Happy Kwanza; and for all others, Happy Holidays. May you be healthy and enjoy it with friends and family

 Until next week, please be safe.


Super Flex Baby II Camera

When I first got this camera, I initially thought it was from somewhere in Europe, possibly Germany or Eastern Europe, due to its design and feel placement and shutter release, which resembles the Karma-Flex camera from Germany. 

 After doing some research on the camera, I found out that it was made in Japan. It was the first medium-format single-lens reflex (SLR) camera with a leaf shutter.

 The Super Flex II camera is odd and relatively small, too. When I took the camera out of the case, my hands are average size, but the camera seemed lost, and it was only a minute before I held it. It's not a miniature camera, but everything seems much smaller than I'm used to. The light tube or waist level finder, the lens and focus control, and even the winding knob appear to be smaller than what I'm used to. In the back of my mind, this will be a fun camera to test and write a blog post on.

History:

Umemoto Seisakusho manufactured the Super Flex camera between 1938 and 1942. It was started by Umemoto Kinzaburō, who started a small manufacturing plant in Yokokawa in 1931. In 1932, he was asked to open a new camera manufacturing plant in Toyko, which was completed in 1935. Their first cameras were the Super Makinet Six in 1936 and Neure Six in 1937, both 6x6 strut-folding cameras.

 As mentioned above, they took inspiration from the Karma-Flex camera in 1938. They developed the first Japanese medium-format, single-reflex camera, the Super Flex camera, built around the popular 127 film 4x4cm format camera.

In 1939, they modified the camera's design to what's known as the Super Flex Baby II. The modifications included a fully chrome shutter speed dial as opposed to the chrome and black of the original design. They also came out with a new lens with a full chrome barrel and a focal length of 70mm instead of 7cm on the original lens. They also lost the black and chrome on the viewfinder logo and went all chrome, like the shutter speed dial and lens.

Advertisement of the Super Flex Baby camera from 1942.

 During the tumultuous years of WWII, the company shifted its focus from camera manufacturing to supporting the war effort. Despite the challenges, they produced the Semi-Makinet camera, a 6x4.5 folding camera, between 1941 and 1943. The factory was tragically destroyed during the Allied bombing of Tokyo in 1945. However, the company's spirit remained unbroken. They relocated the plant to Yamagata in 1945 and rebuilt the plant in Tokyo in 1948, which was a remarkable display of resilience.
 After the war, the company briefly took the name Umemoto Kōki Seisakusho and produced the Rocky Semi in 1953. This camera didn't do well, and in 1962, it became Y.K. Umemoto Seisakusho, which still produces photo-related parts for Kenko today.
 Here is a wonderful Japanese website with a lot of insight on the company Umemoto . I used Google Translate so I hope it comes through properly.

My Camera:

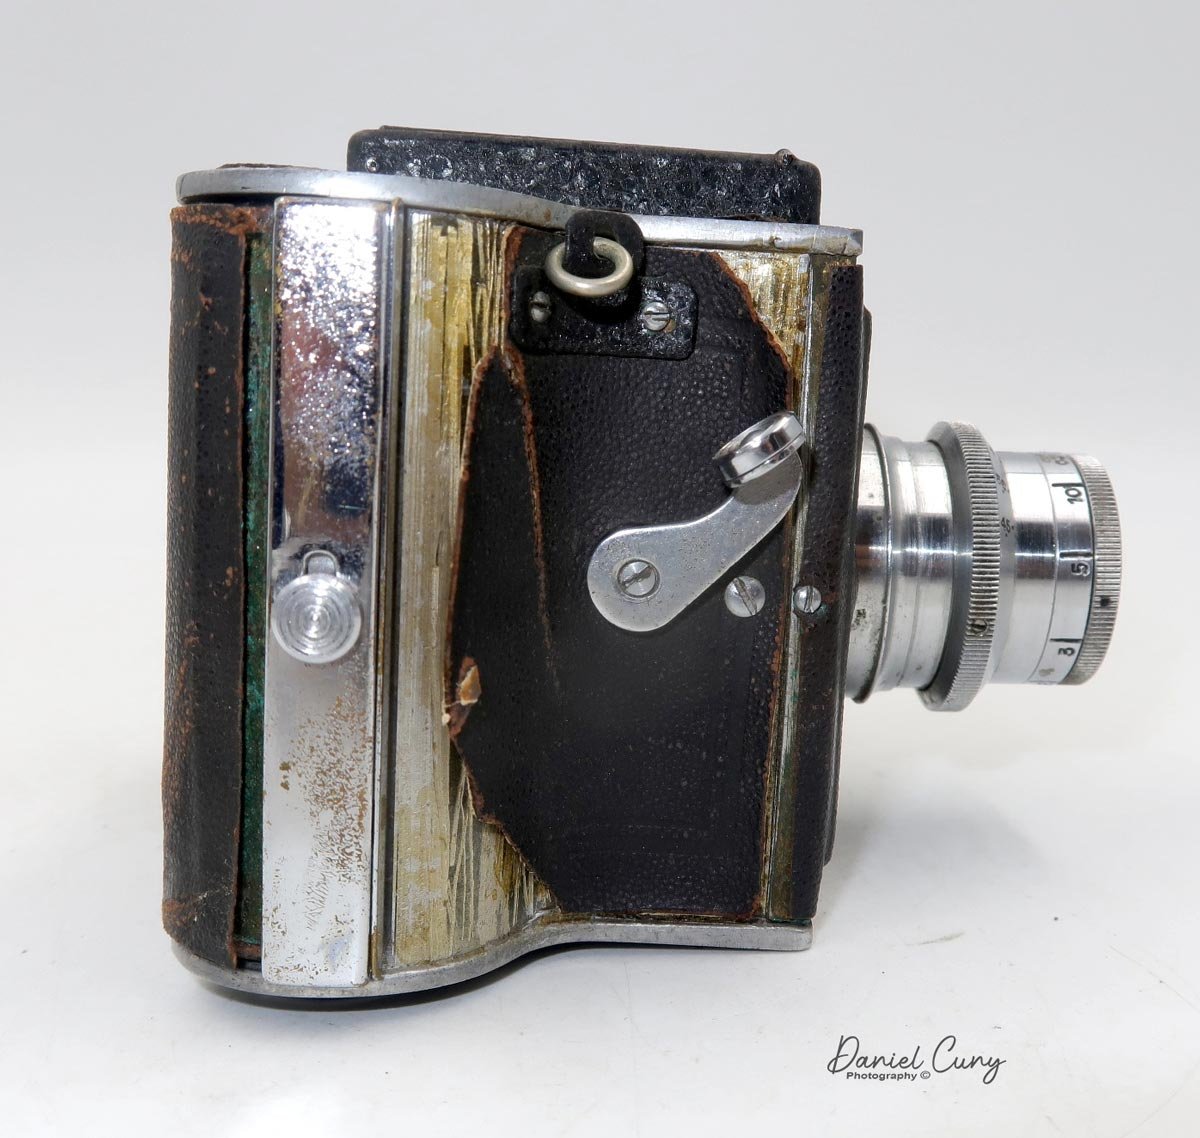
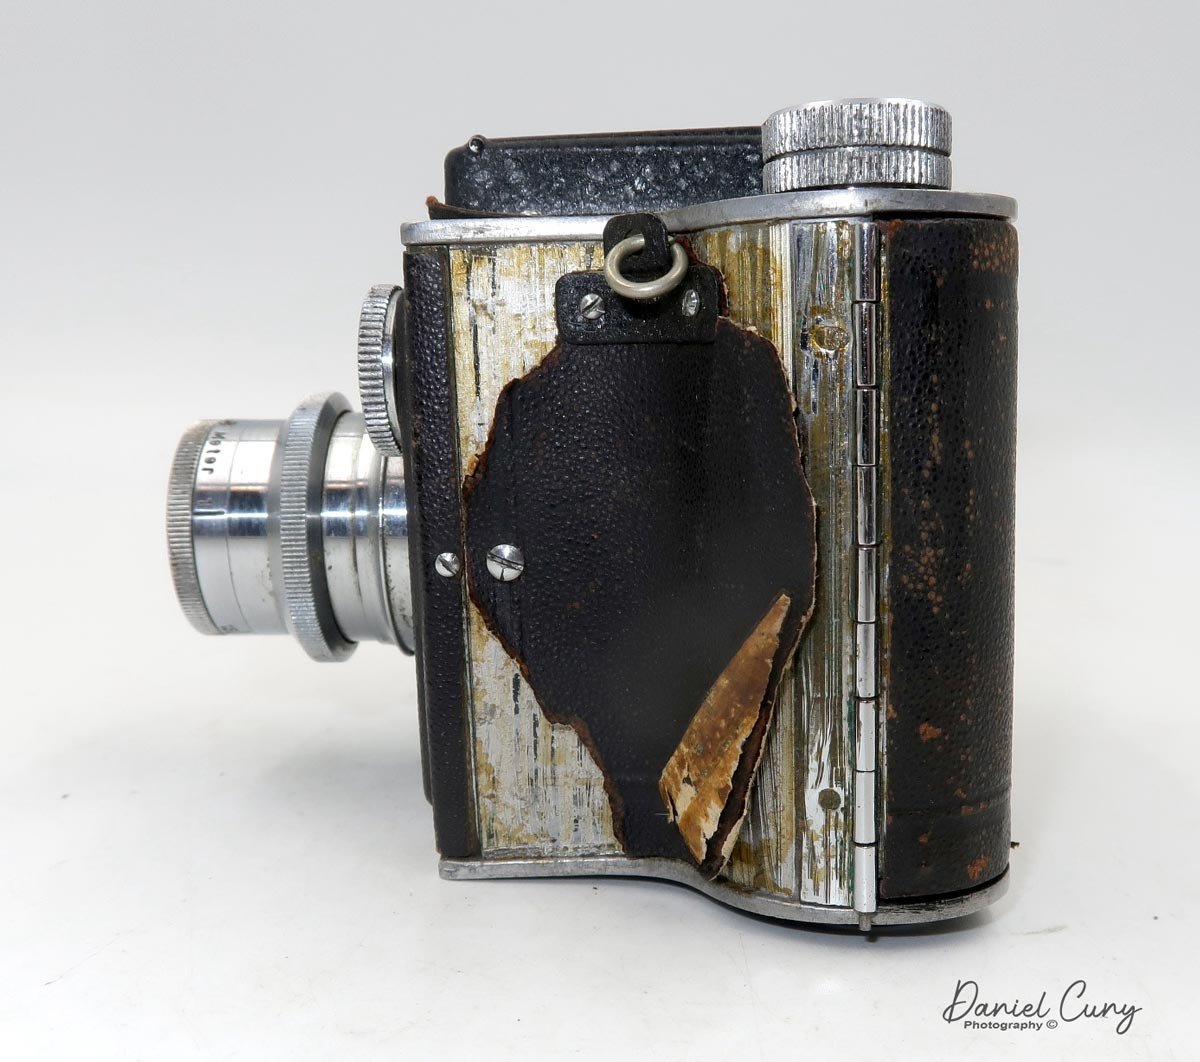
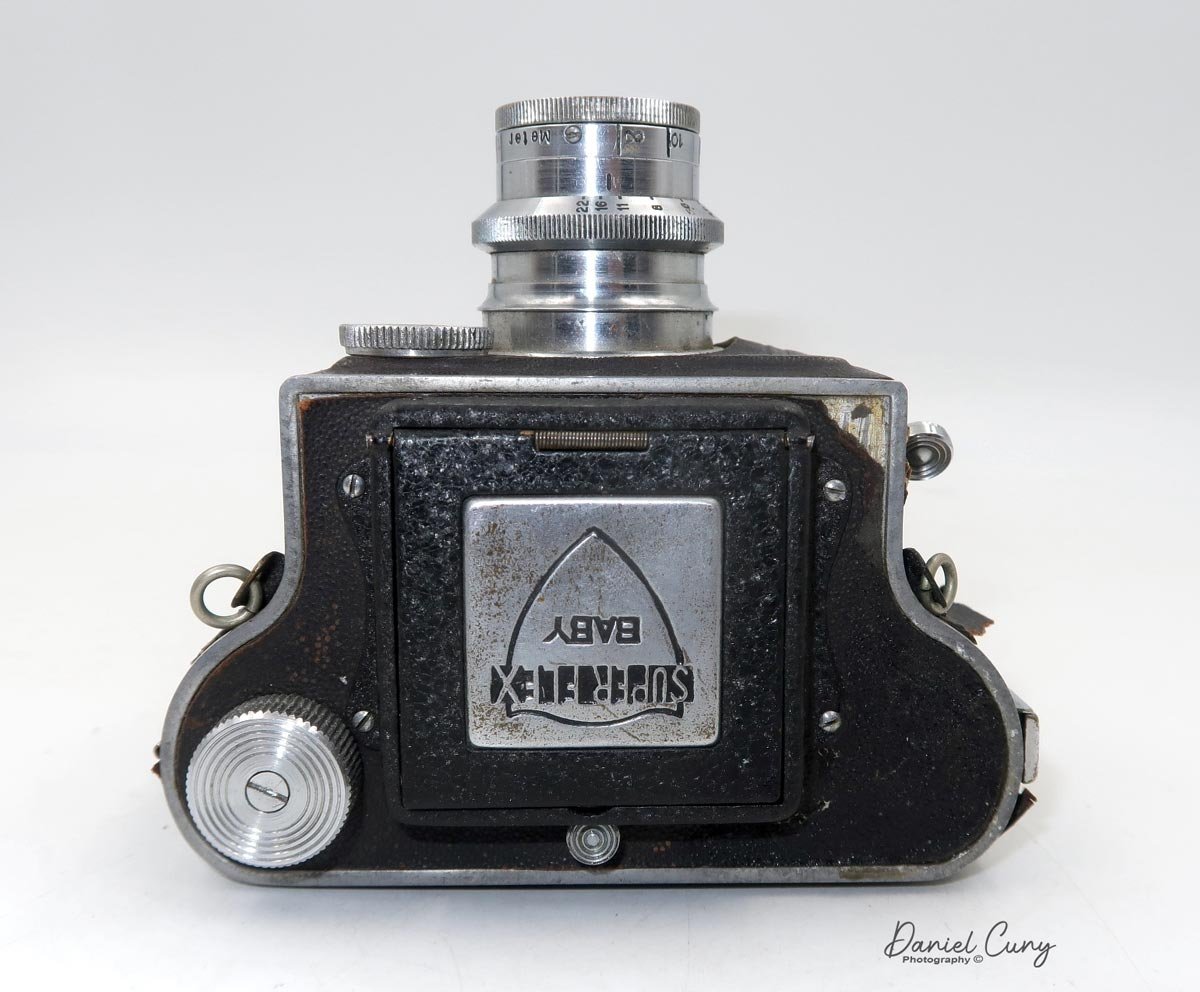
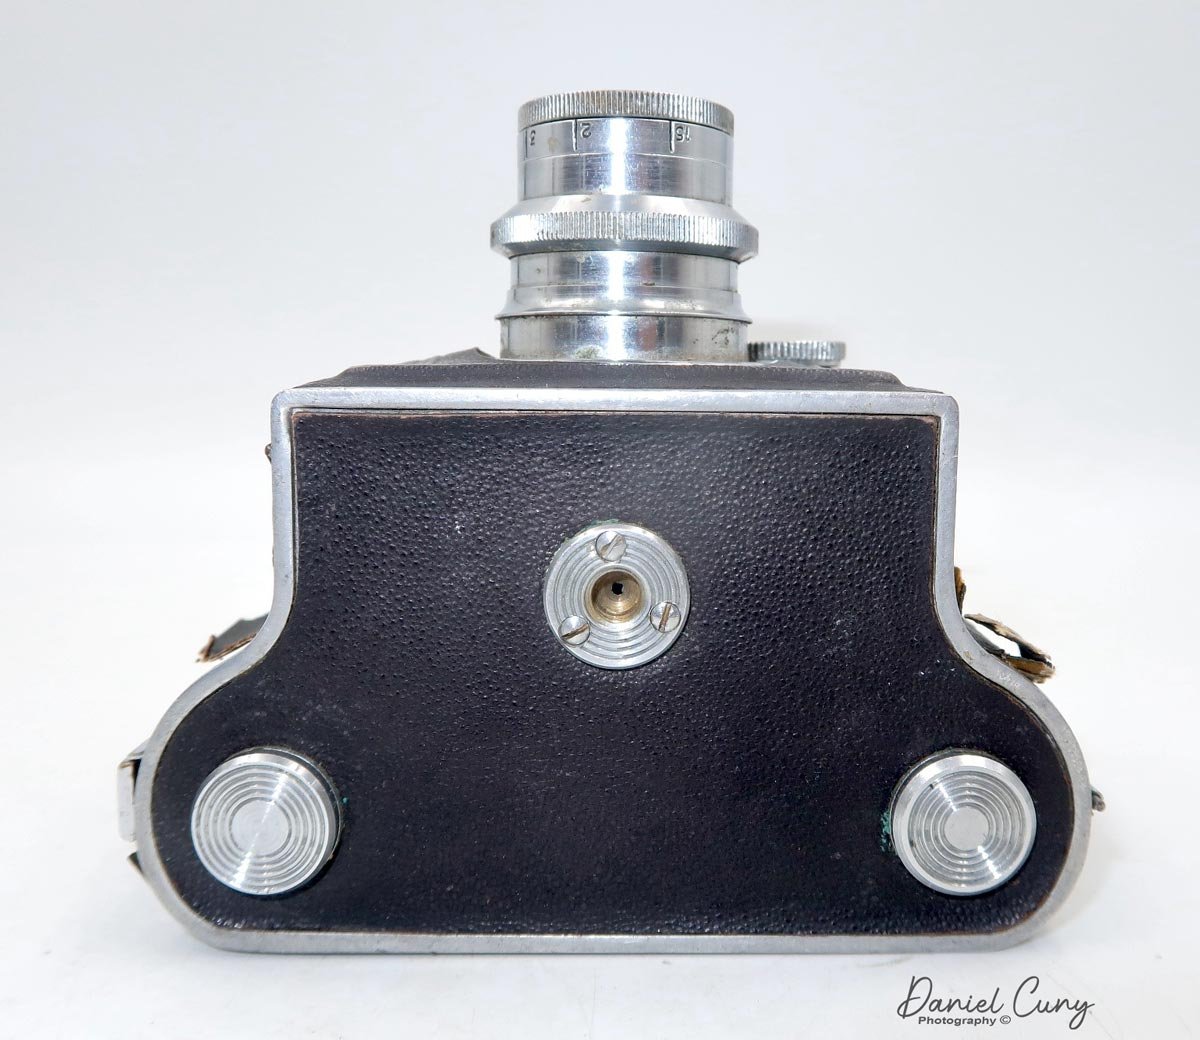
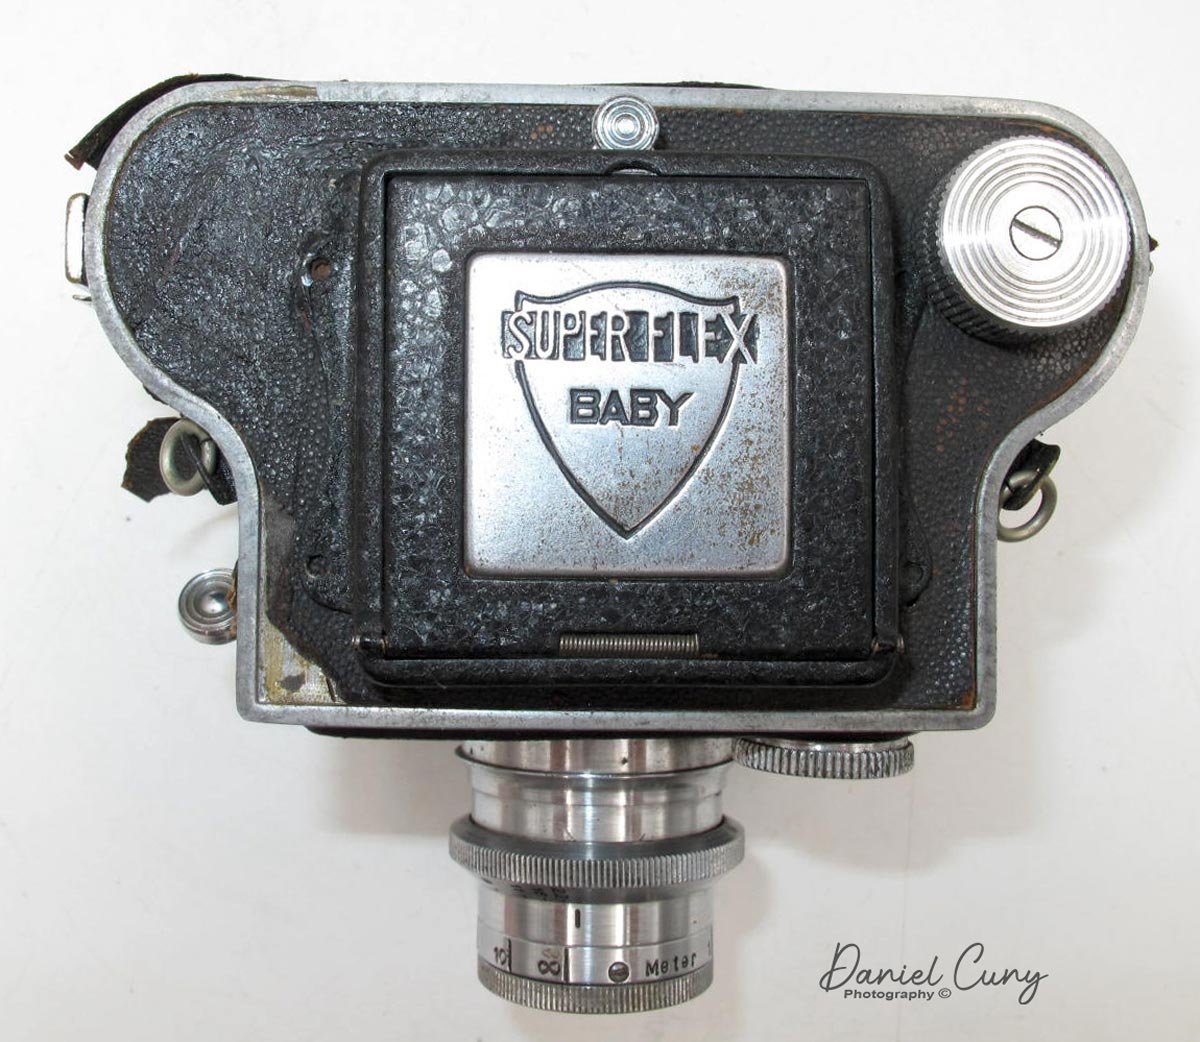
My camera, with its serial number 3401, is a fascinating blend of the original Super Flex Baby and the model II version. It features the original chrome and black viewfinder, a Model II shutter speed dial and lens, both in chrome, and a lens measured in 'mm' rather than 'cm.' This unique combination, a result of the transition period, added an element of surprise and excitement to my discovery of the camera.

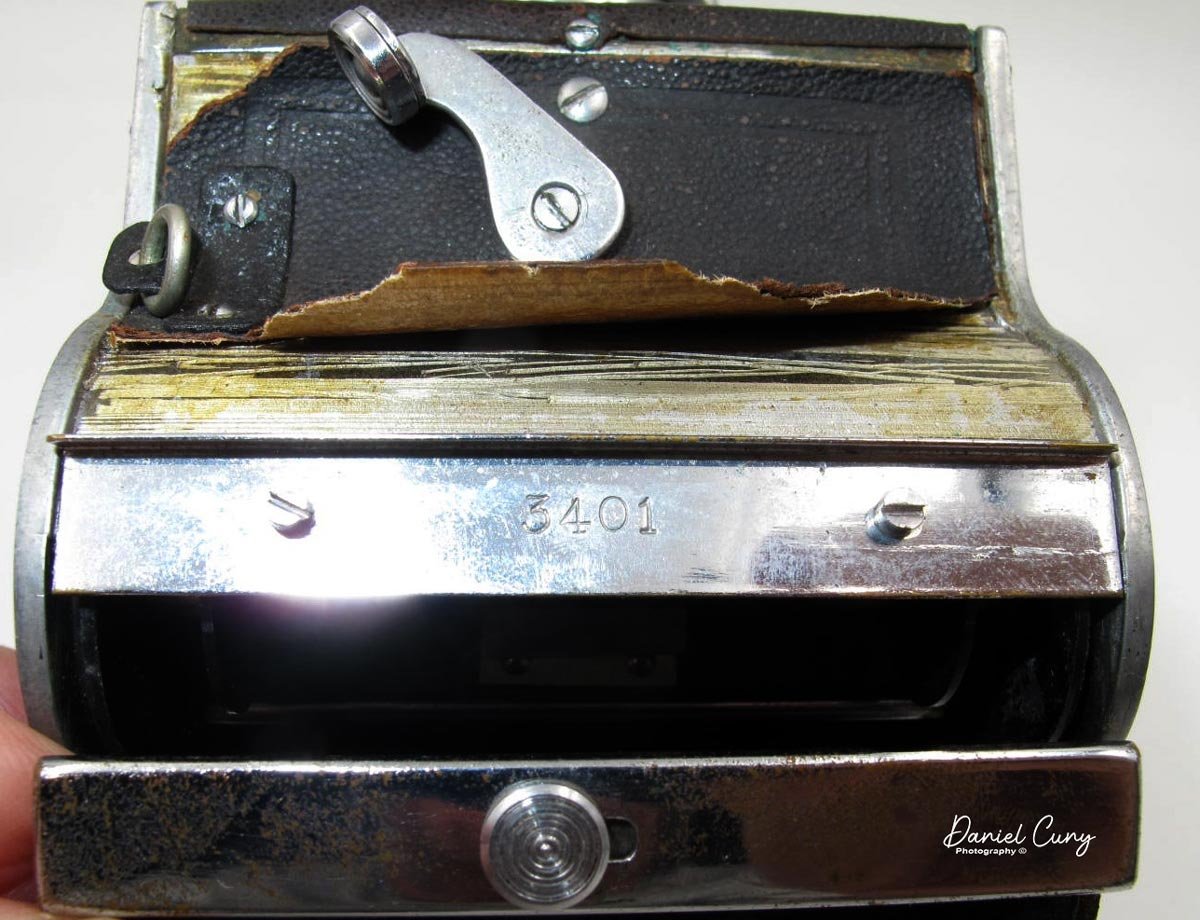
 The serial number on my camera is 3401, which you can find on the inside of the latch that holds the back of the camera. My camera measures 4" from the back to the front of the lens and 2.75" from the back to the lens mount on the camera. It measures 4.25" wide and 3.25" tall if the viewfinder is closed and 4.75" tall with the light hood opened. My camera weighs 1 lb. 3.2oz without the case.

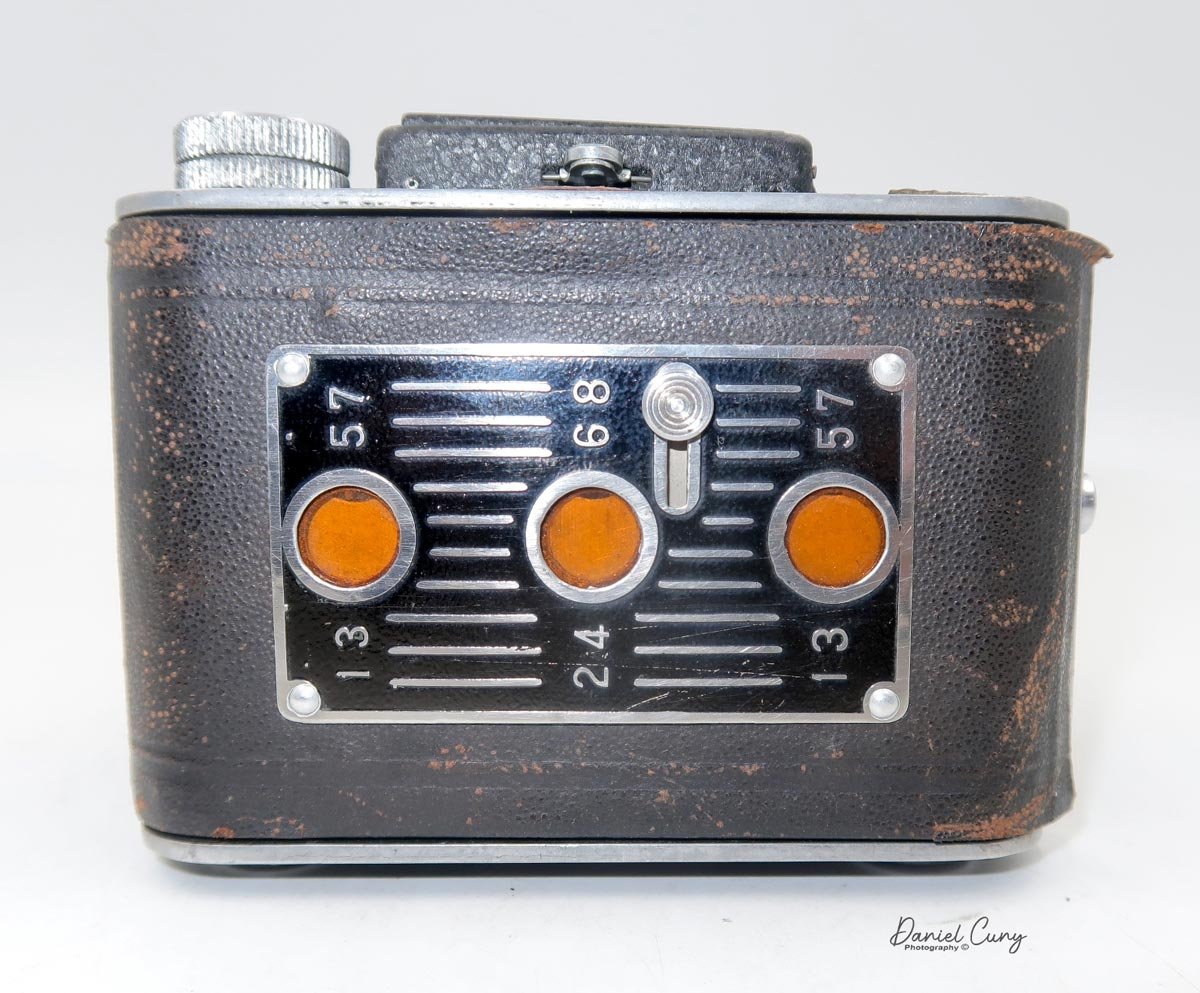
Using the camera is pretty straightforward. There is a latch on the camera's right side, and you slide up to open the back door. You take the empty spool from the right of the camera and put it on the left side where the winding knob is. To take out the spool and put in the roll of film, you'll need to pull out the knob that holds the film into place. Once you have loaded the empty spool and film, pull the leader to the empty reel and thread the leader into the spool and wind. Once it's securely on the take-up reel, close the back.

 Here's where it gets exciting, something I learned and did when I looked at the company's website. I have the link to the above in the "history" section. Here's an excerpt from the company history explaining the film numbering sequence and the camera's winding instructions.

 "There are three red windows on the back cover for taking 12 4x4 cm shots. ( It seems that 4x6 cm numbers were used because 127 film did not have numbers for 4x4 cm. ) The left and right windows only accept odd numbers, and the center window only accepts even numbers and is read as follows (ignore the ○ parts). 1st photo) 1○○ 2nd photo) ○○1 3rd photo) ○ 2○ 4th photo) 3○○ 5th photo) ○○3 6th photo) ○4○ ... 11th photo) ○○7 12th photo) ○8○ I think this operation was quite difficult."


Looking at the numbers by the window openings, the text above now makes sense.

I didn't use this method and only got eight photos on my roll.

 The mirror in my camera was so bad that I couldn't use it and didn't notice before putting in the roll of film, so I was forced to use the sports finder to frame the photos I took. It worked out OK, so I wasn't too upset.

 I used my trusty light meter to get the needed exposures. I also needed to find a roll of 100 ISO film, as anything faster would have run into issues since the fastest shutter speed on the camera is 1/100, and the lens stopped down to f22. Luckily, I noticed that the lens focusing was in meters instead of feet, which I'm used to with most cameras I use. I needed to keep that in mind when composing my photos.


The camera case I have is in moderately good condition. The strap is intact, and it covers the camera well. The only thing missing is the snap that holds the front and back together but stays closed and protects the camera well.

 The film was used up quickly; now it was time to process it. 


Results:

The film I had was some pretty old and out-of-date 127 film, so I had yet to learn what I would get. It was not as good as I anticipated after I pulled the film from the processing tank. While I'll call the "art" prints, the negatives were very mottled, and I'm unsure what caused it, but the images are somewhat sharp.

 Here are some of the results from the camera.

Conclusion:

The camera was interesting, but the mirror and the focusing, or lack thereof, could have sat better with me. I decided to remove the finder and clean up the mirror to bring the camera back to life and make it more usable.

 Thank you for taking a few minutes to look over this camera blog. I'll have another exciting camera for next week's post, so please be safe until then.

Camera Update:

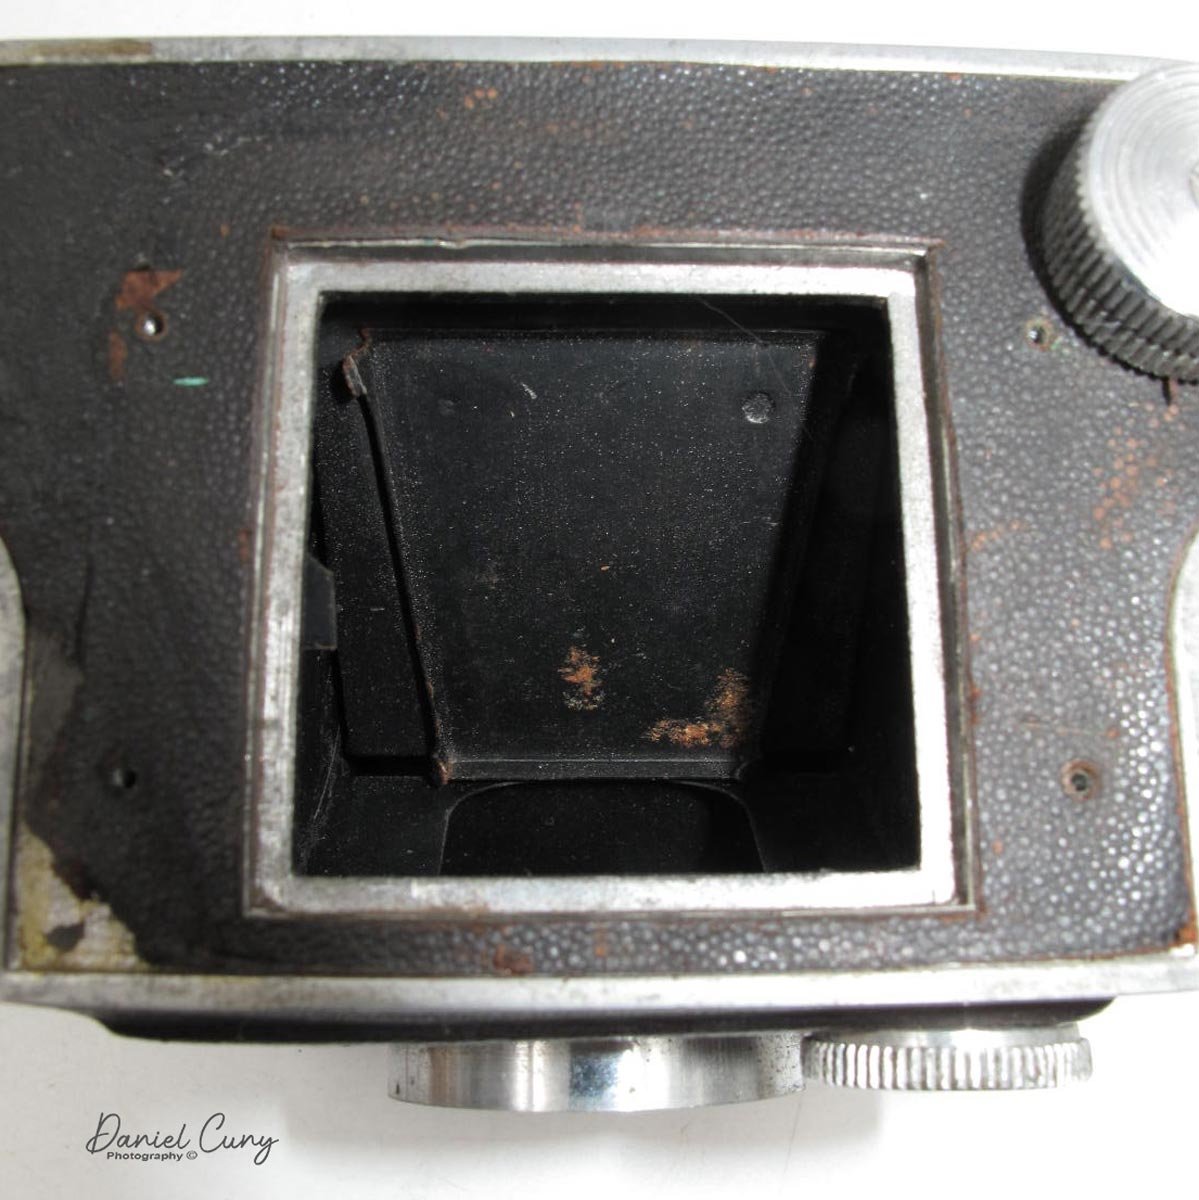
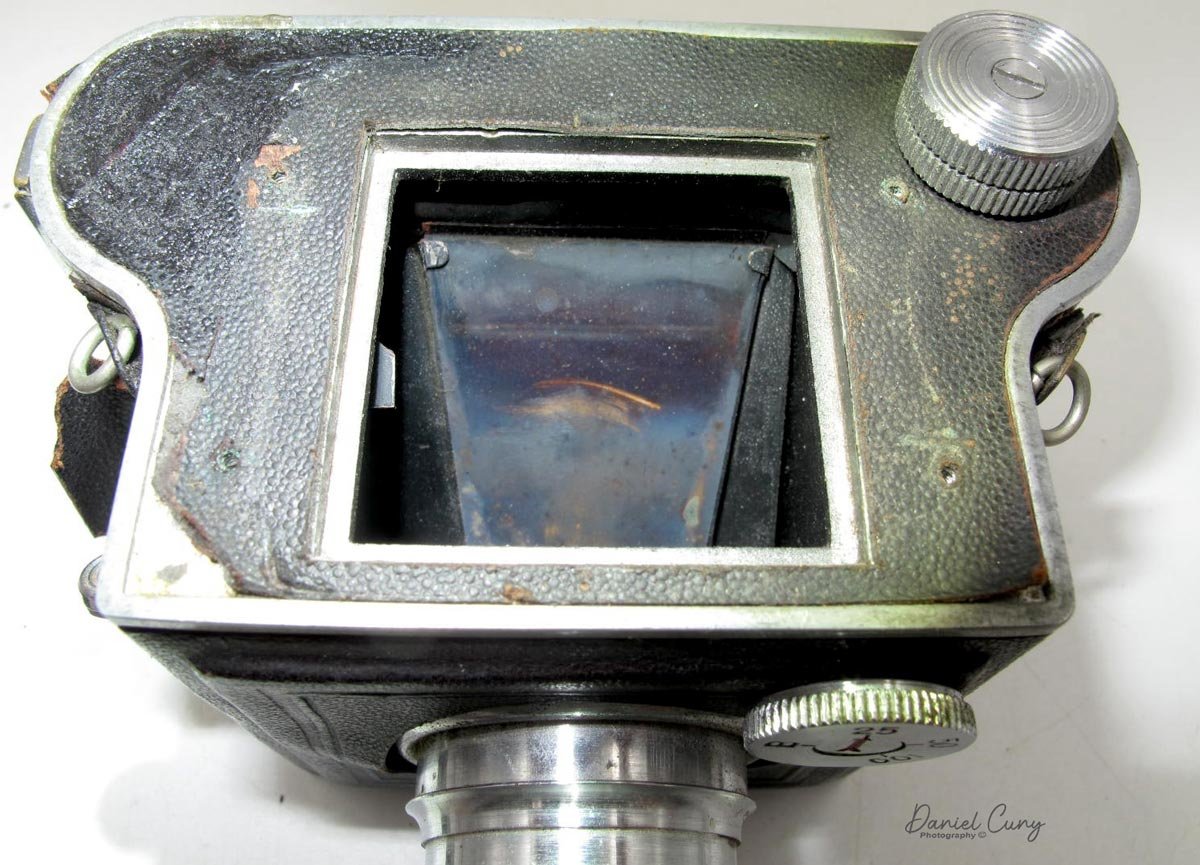
There were only four screws to hold the light hood on, so I proceeded to take them out. The hood came off quickly enough. Under the hood was a mask on top of the focus screen. I turned the camera upside down slowly, and the focus screen came right out, exposing the dingy mirror.

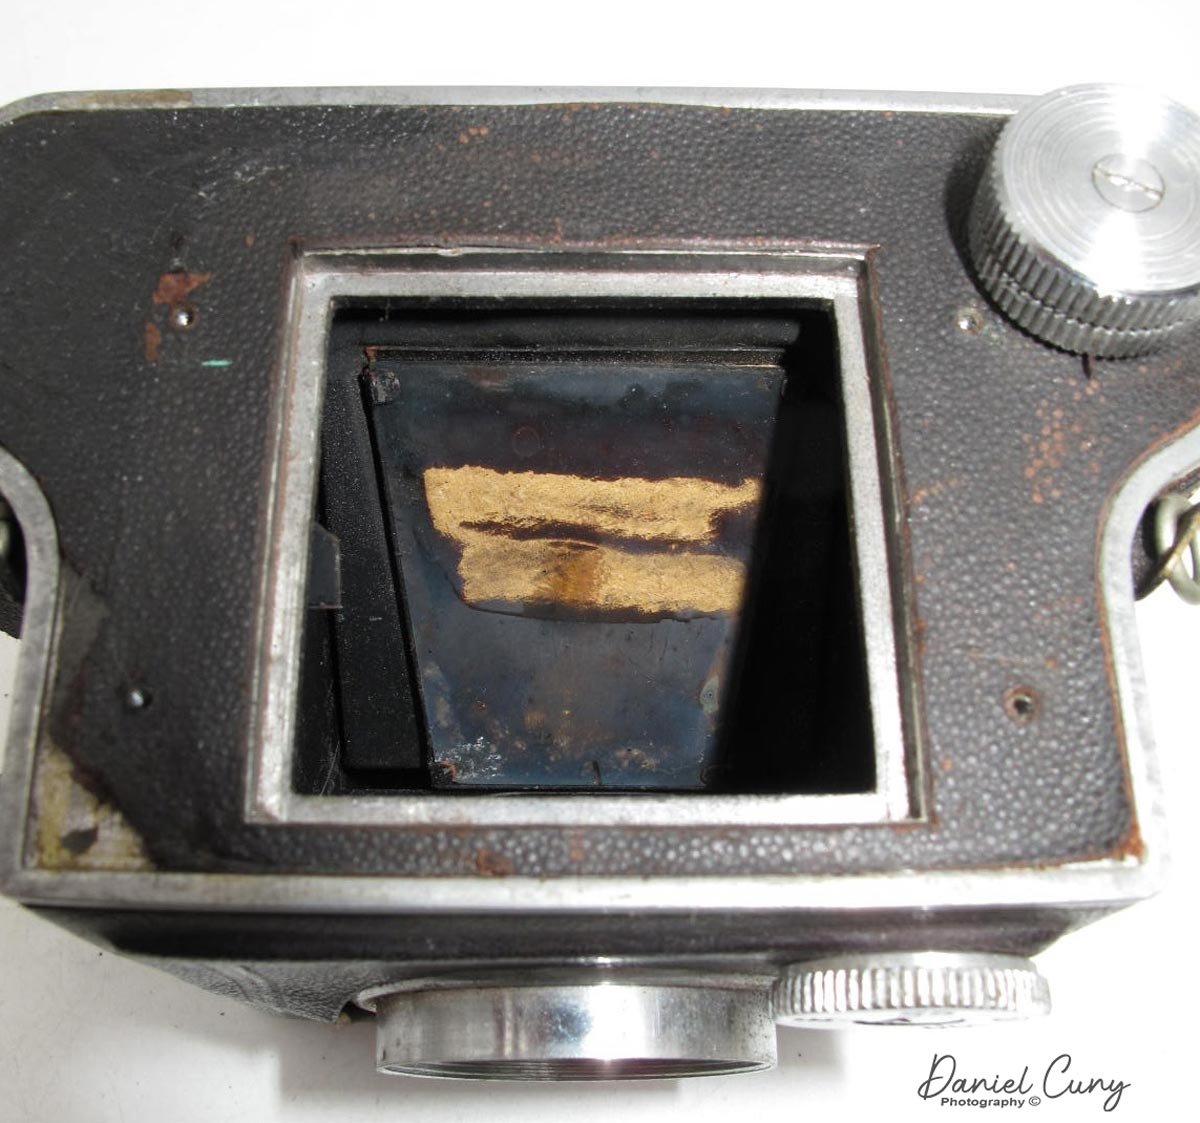
 They always say to test a small part when cleaning first to see if it's OK to proceed. I didn't hear that little voice say that this time, so I cleaned the mirror, thinking the silver paint was on the backside of the glass, which is normal. I took two swipes with my Q-Tip, and the finish came right off. YIKES!!!!


So, I ordered some silver markers to see if that would suffice to bring back the mirror effect to my new piece of glass. The mirror, or glass, now was easy enough to get out as it was held in the bracket with corner clips, which I slowly bent back to take out the mirror.

I received the silver or what’s called Chrome markers late last night. Early the next morning, I applied a generous amount to the glass I removed and let it dry. The markers produced more of a ripple effect as opposed to a clean glass mirror. It was certainly shiny enough, so I reassembled the focus screen and light hood back onto the camera, and the camera actually did a good job of focusing on a subject when viewing through the camera. It’s considerably better than before I disassembled it and when I took photos so I’m happy with how it turned out.

Here are the results.

Thank you again for reading about this interesting camera. Until next time, please be well and safe.