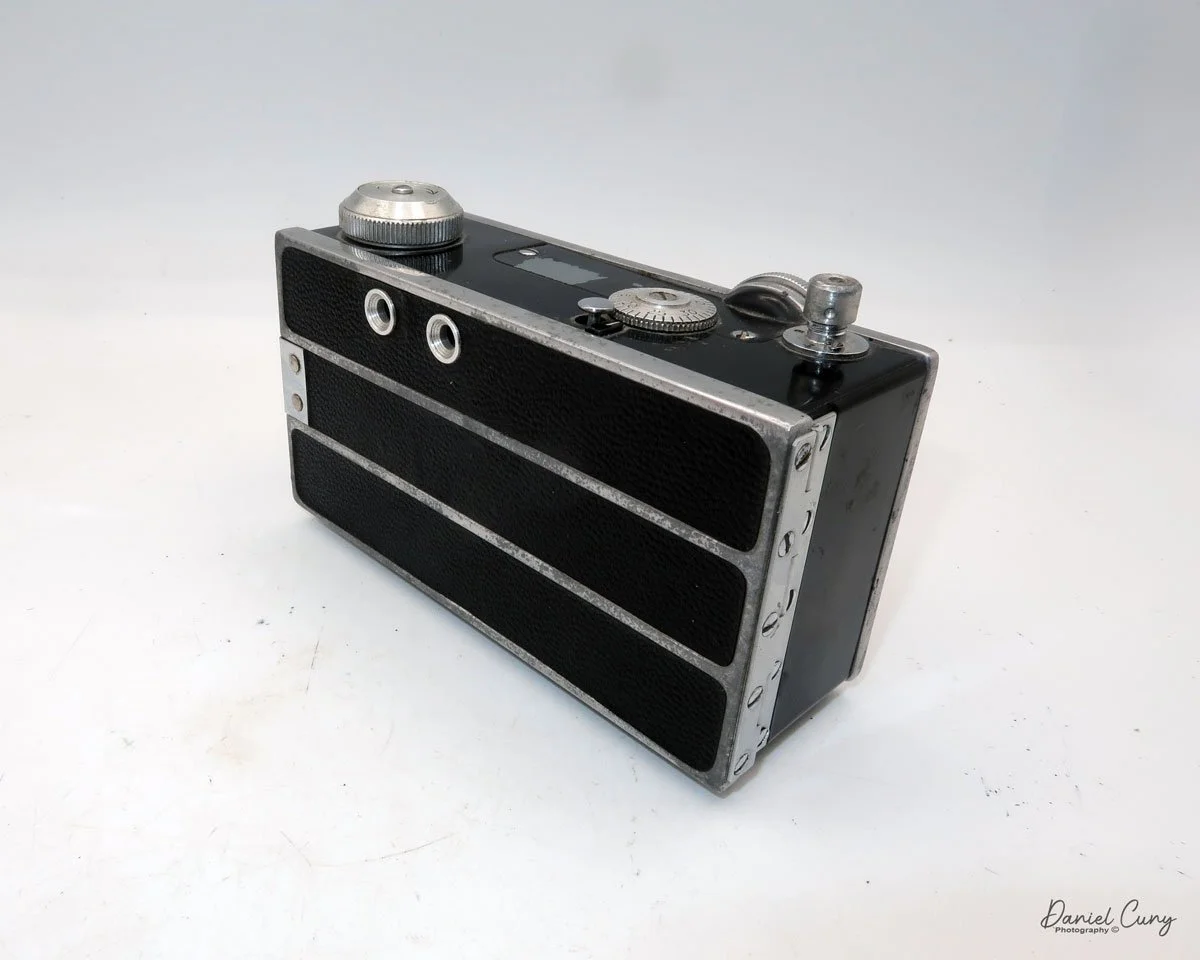
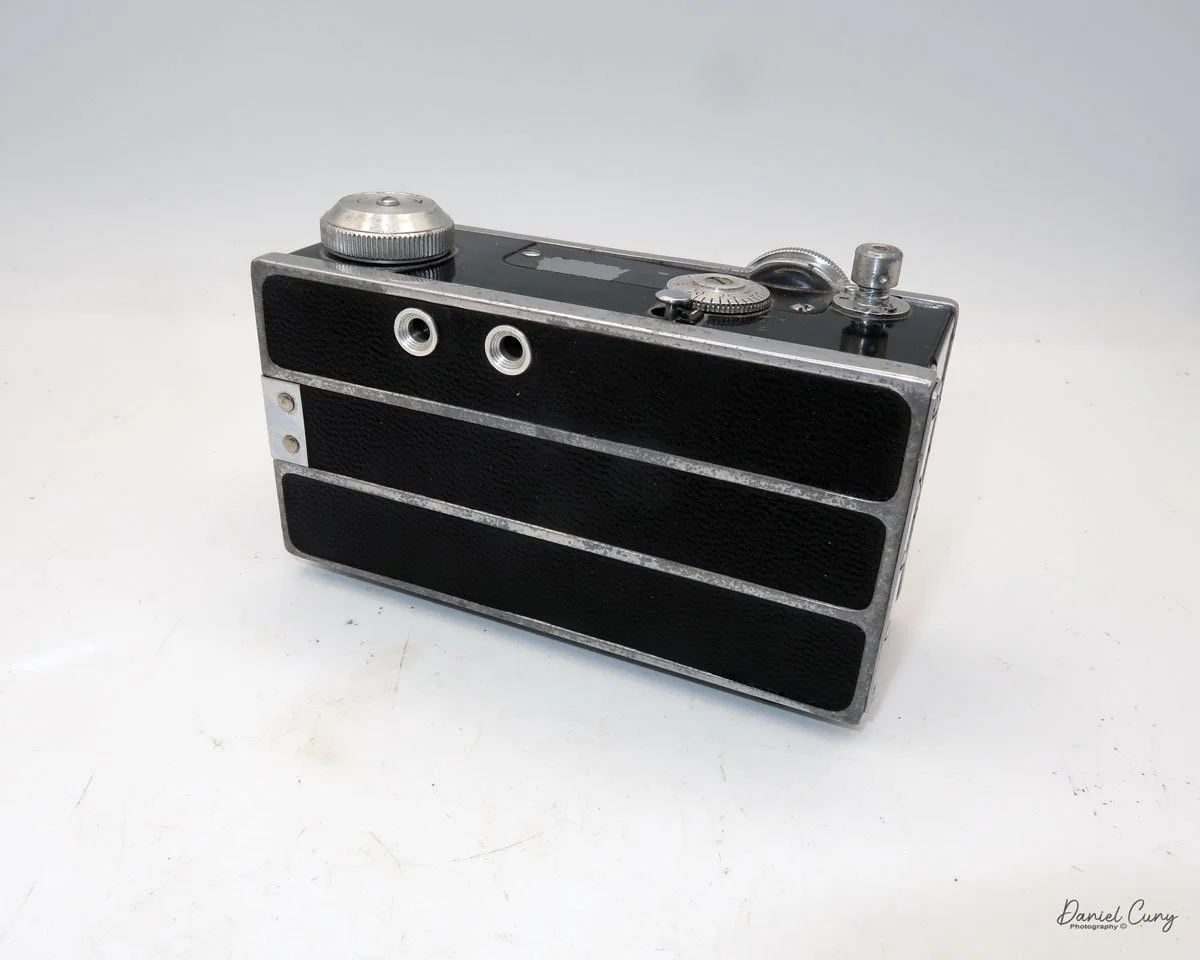
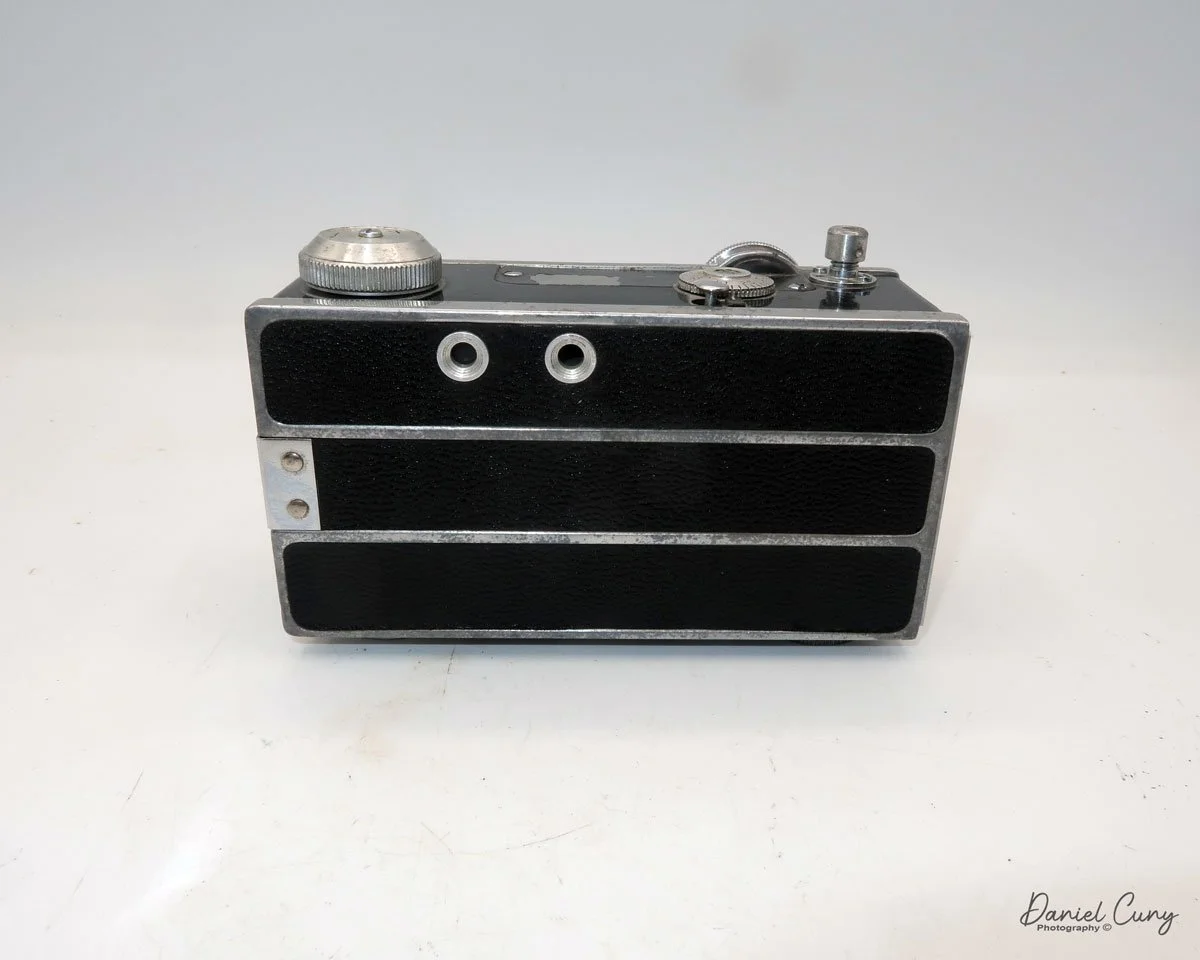
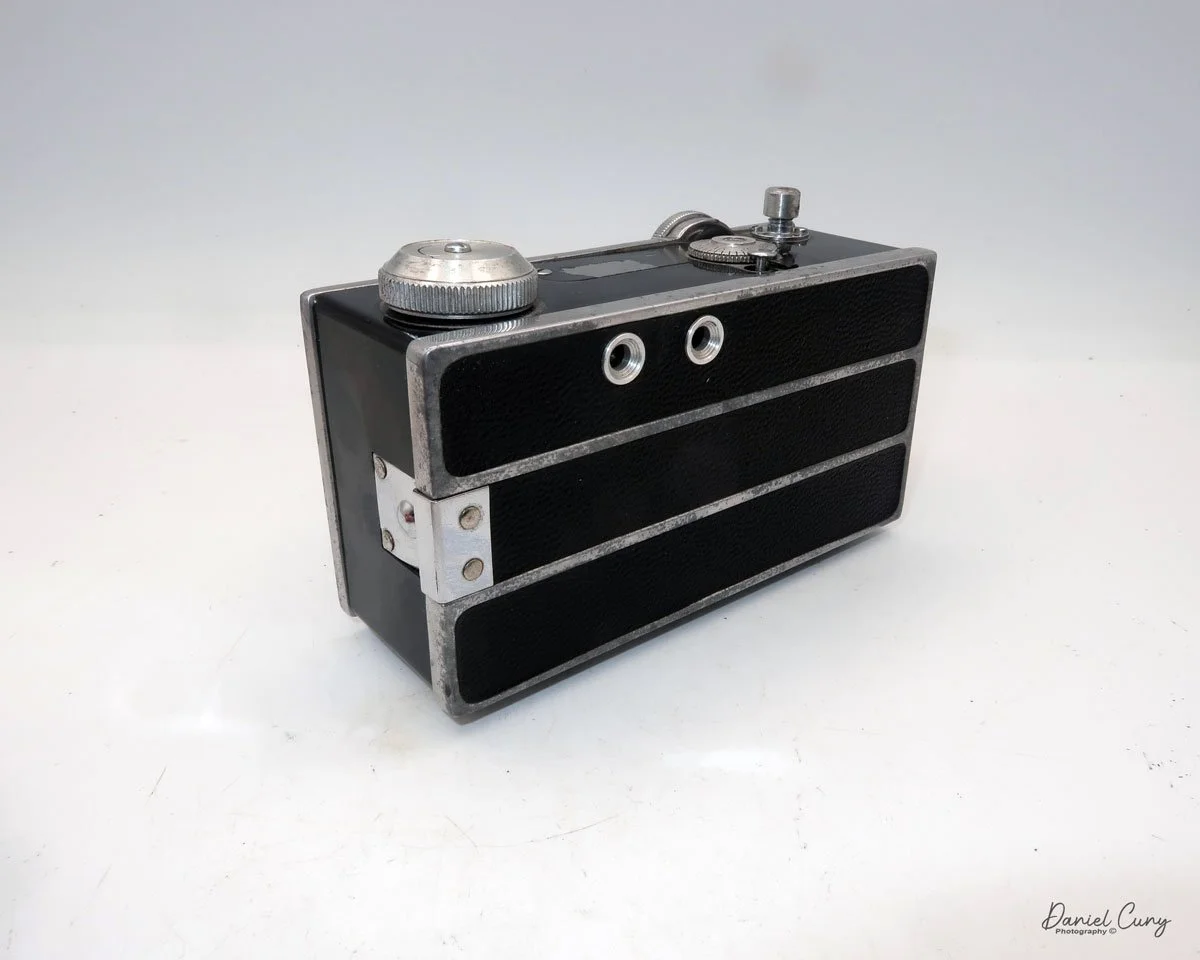
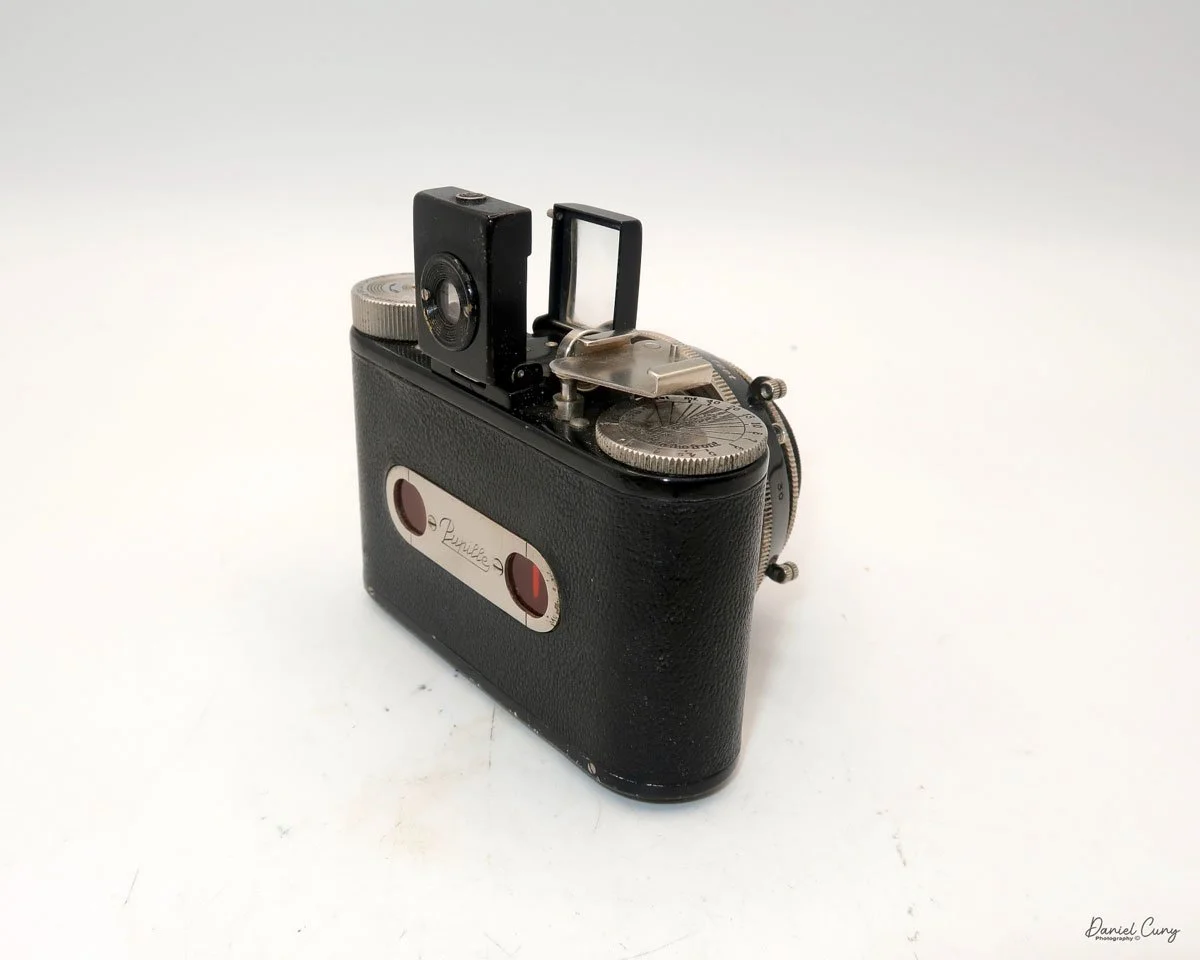
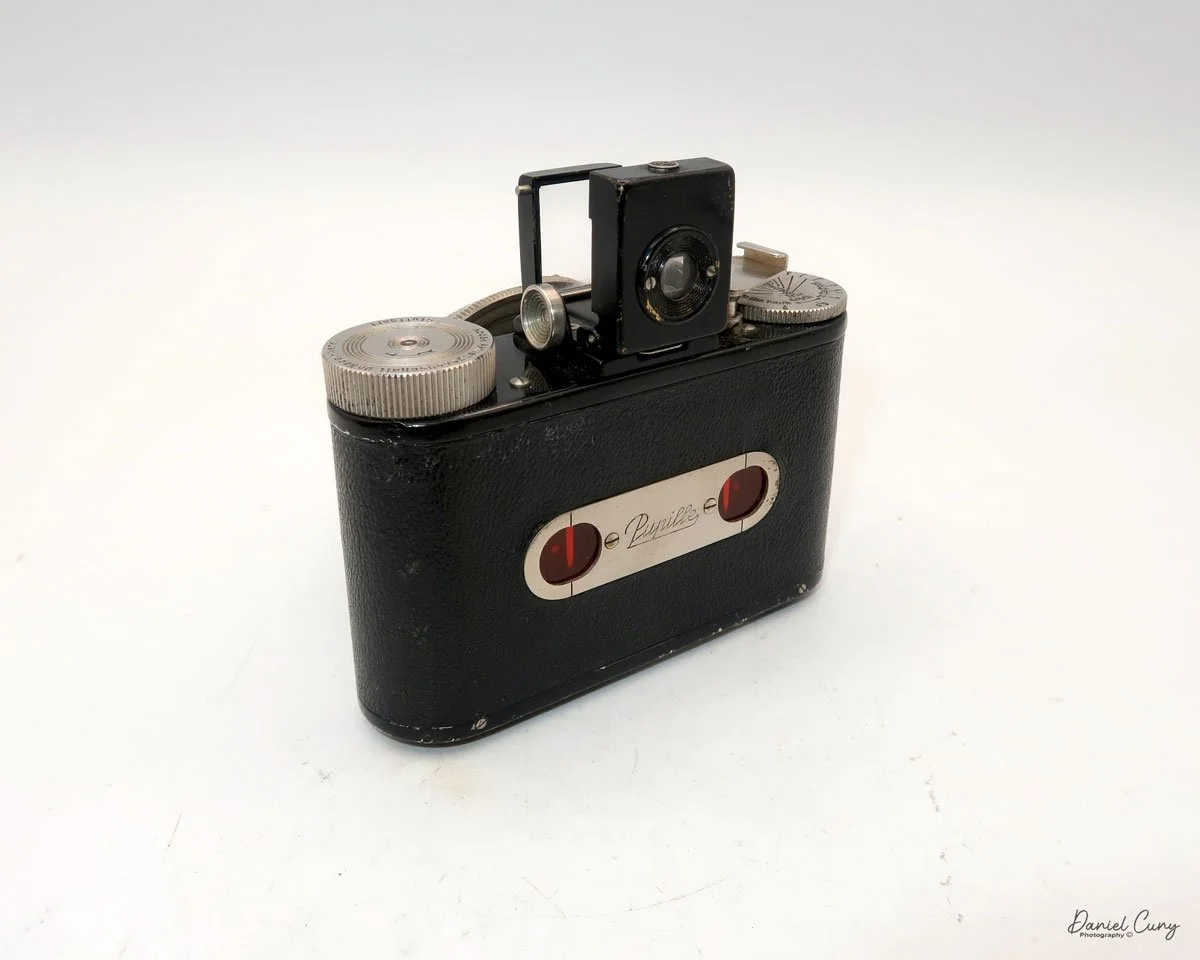
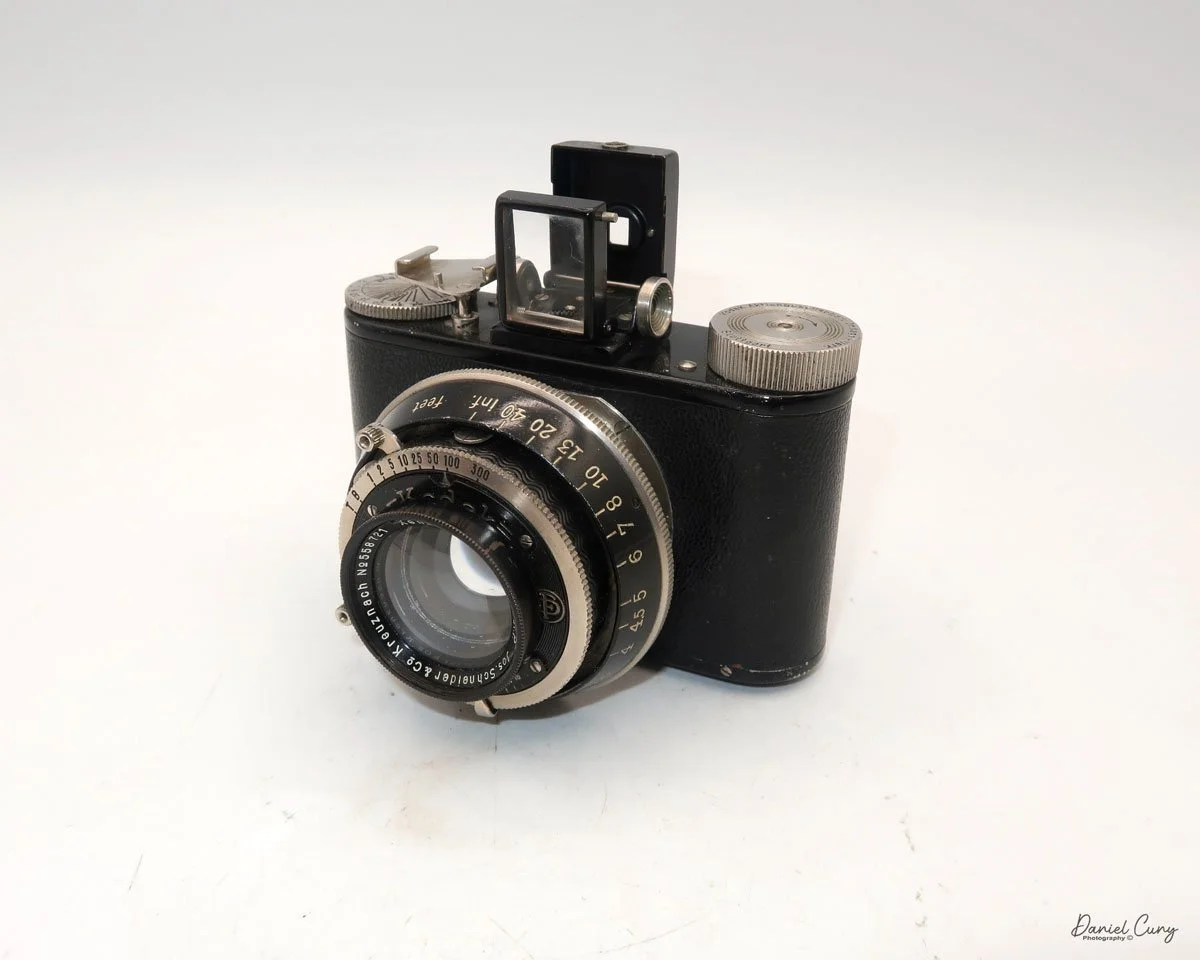
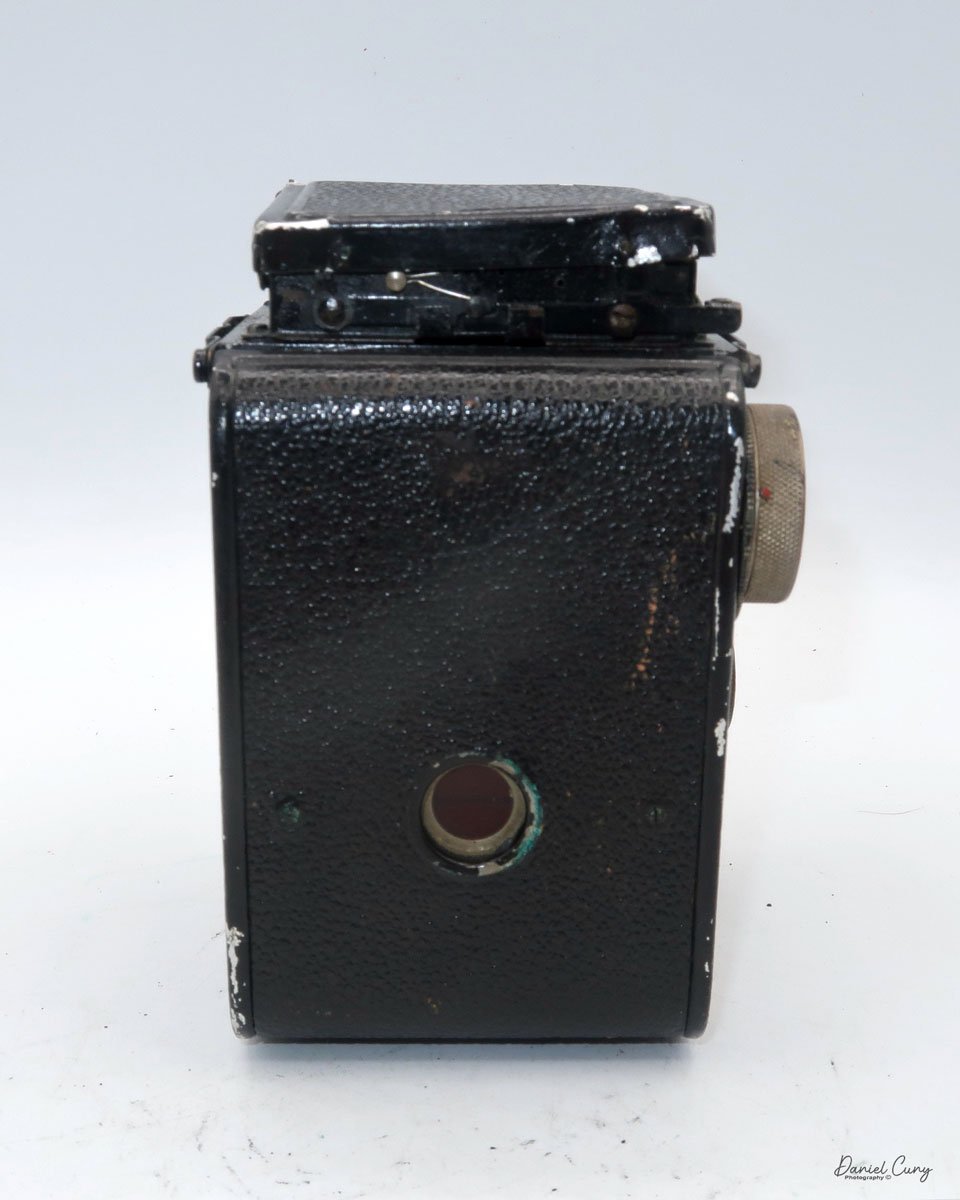
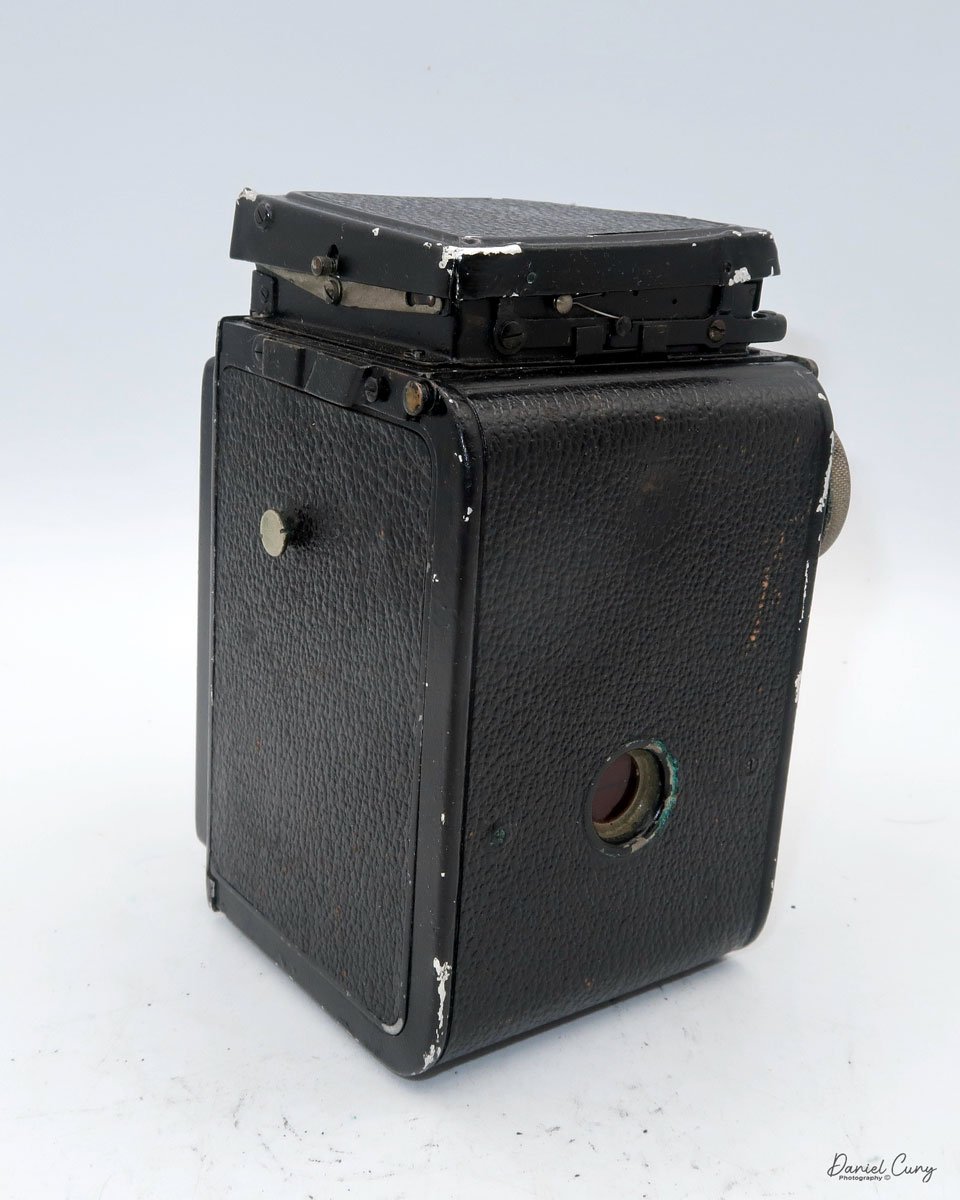
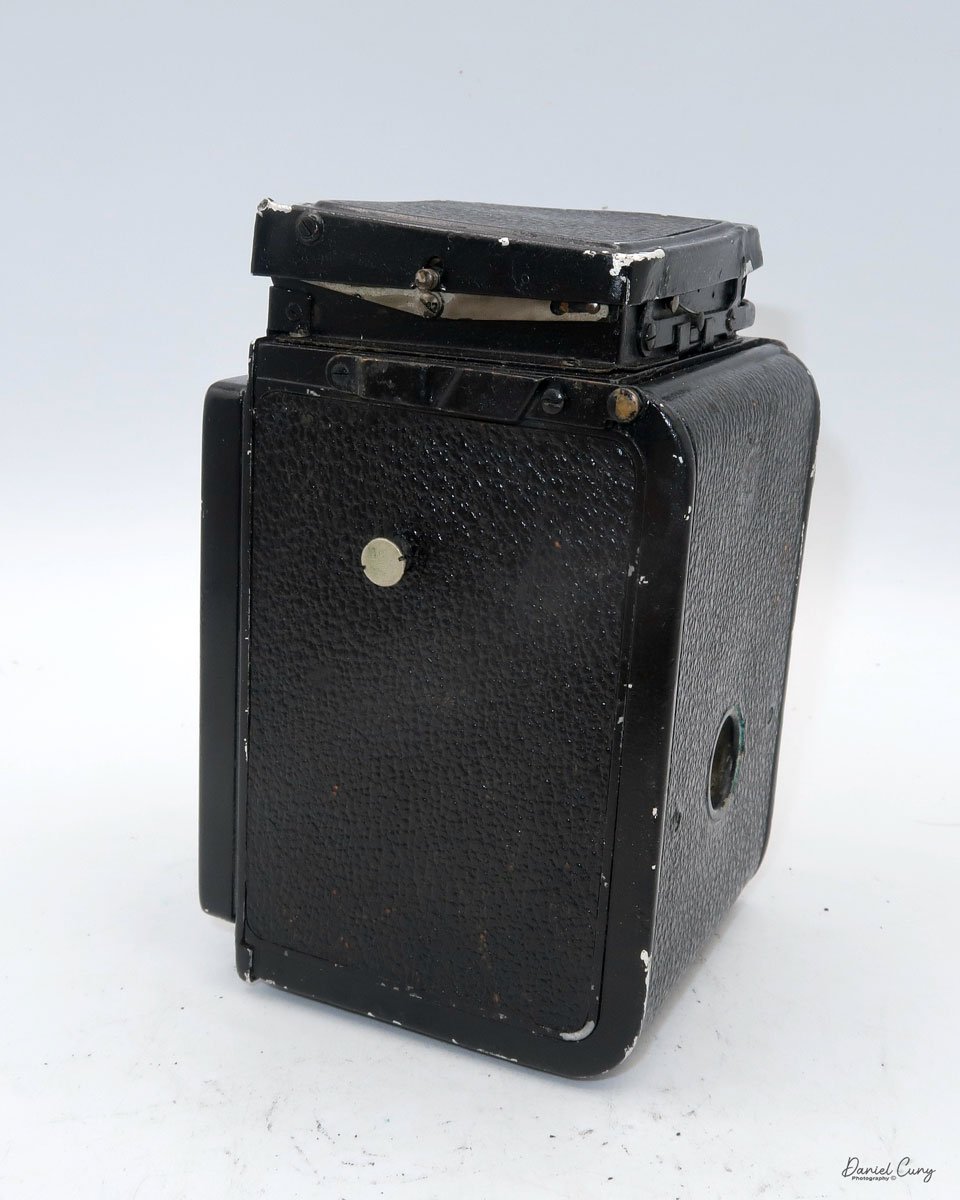
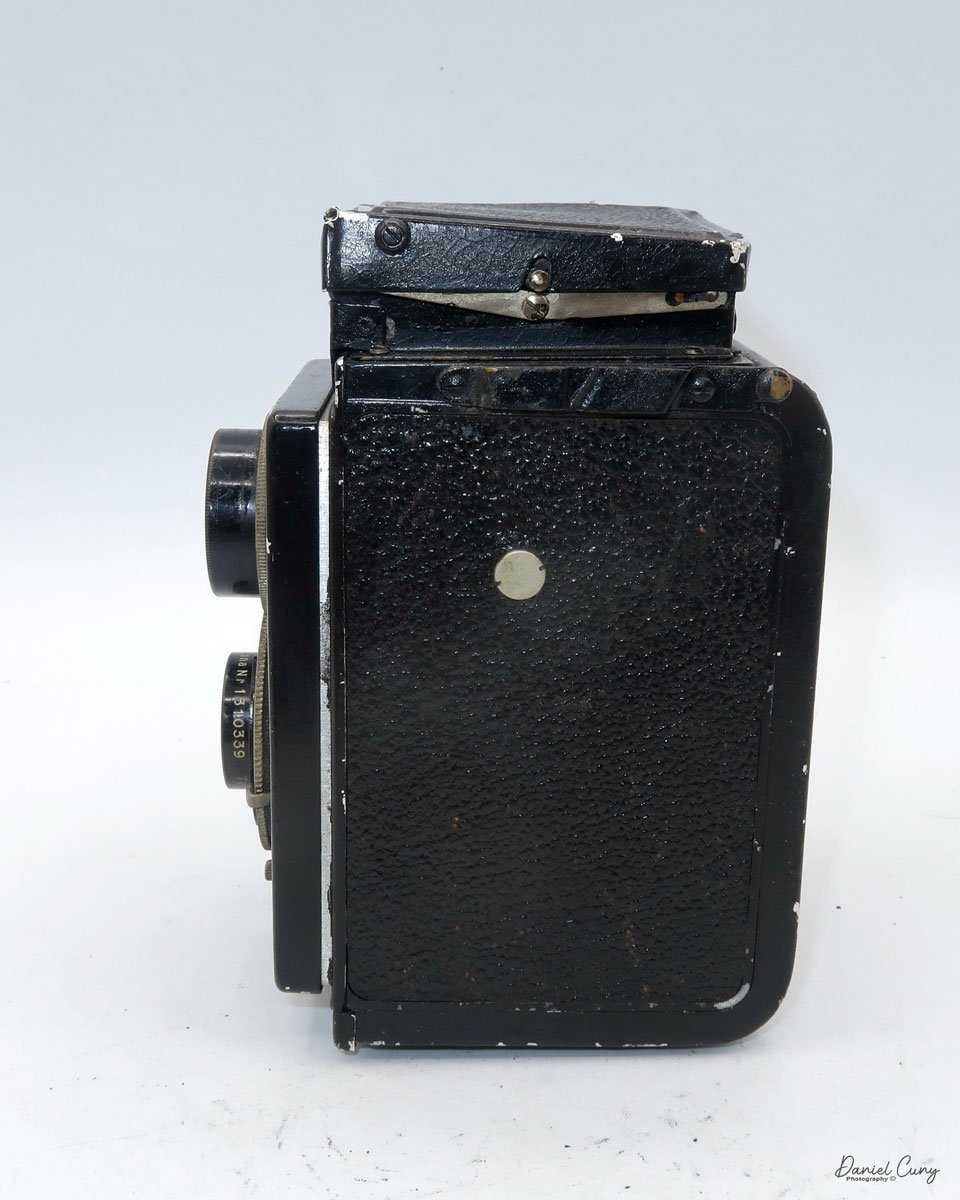
The Vena Venaret Camera

While the Netherlands is renowned for its windmills, tulips, canals, and bike riding, it's not often associated with camera manufacturing. However, it's home to some unique camera companies, including the popular Cambo. In fact, there were around 20 camera manufacturers in the country, such as Philips, which I've previously featured in a blog post, and other lesser-known companies like Tahbes, Foka, and a few smaller ones.

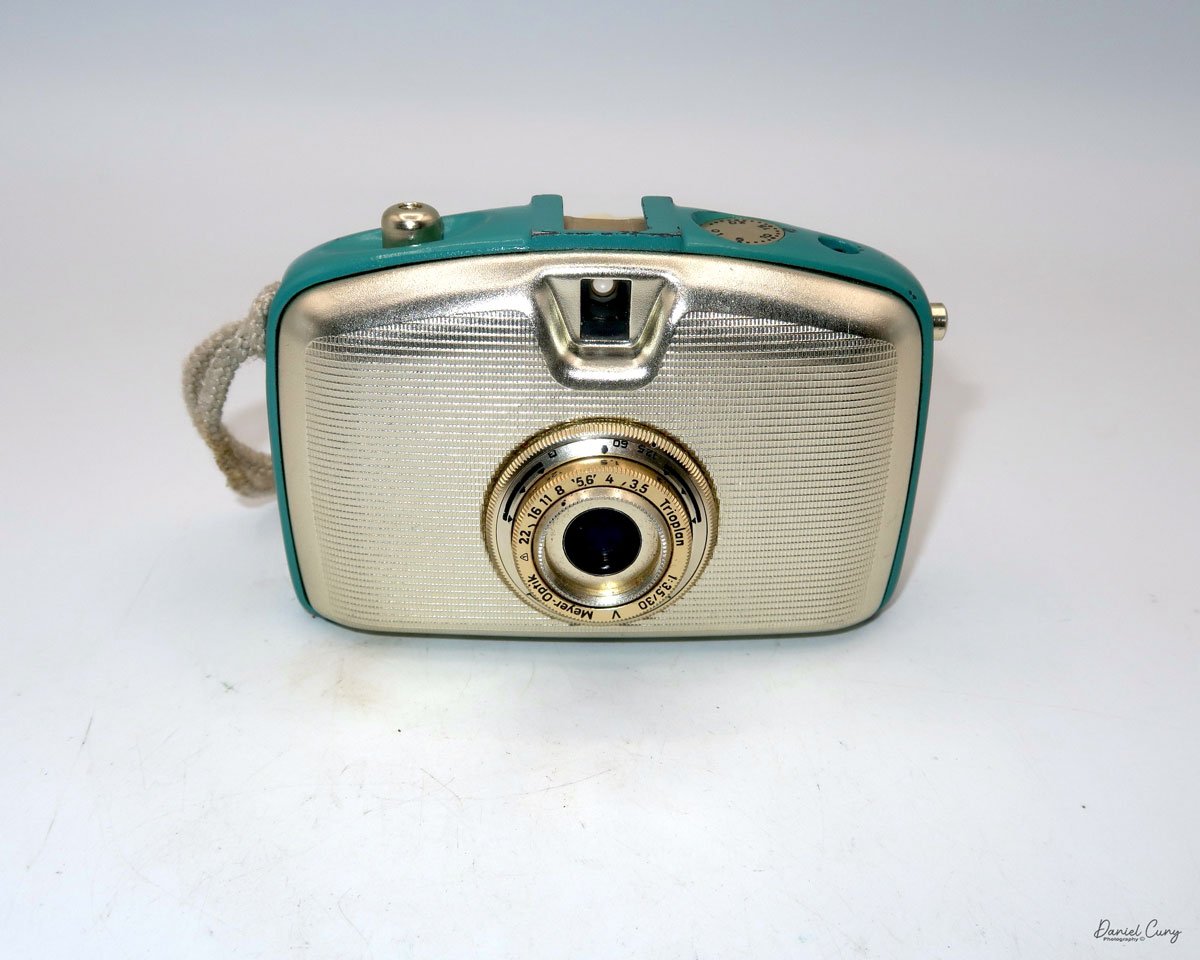
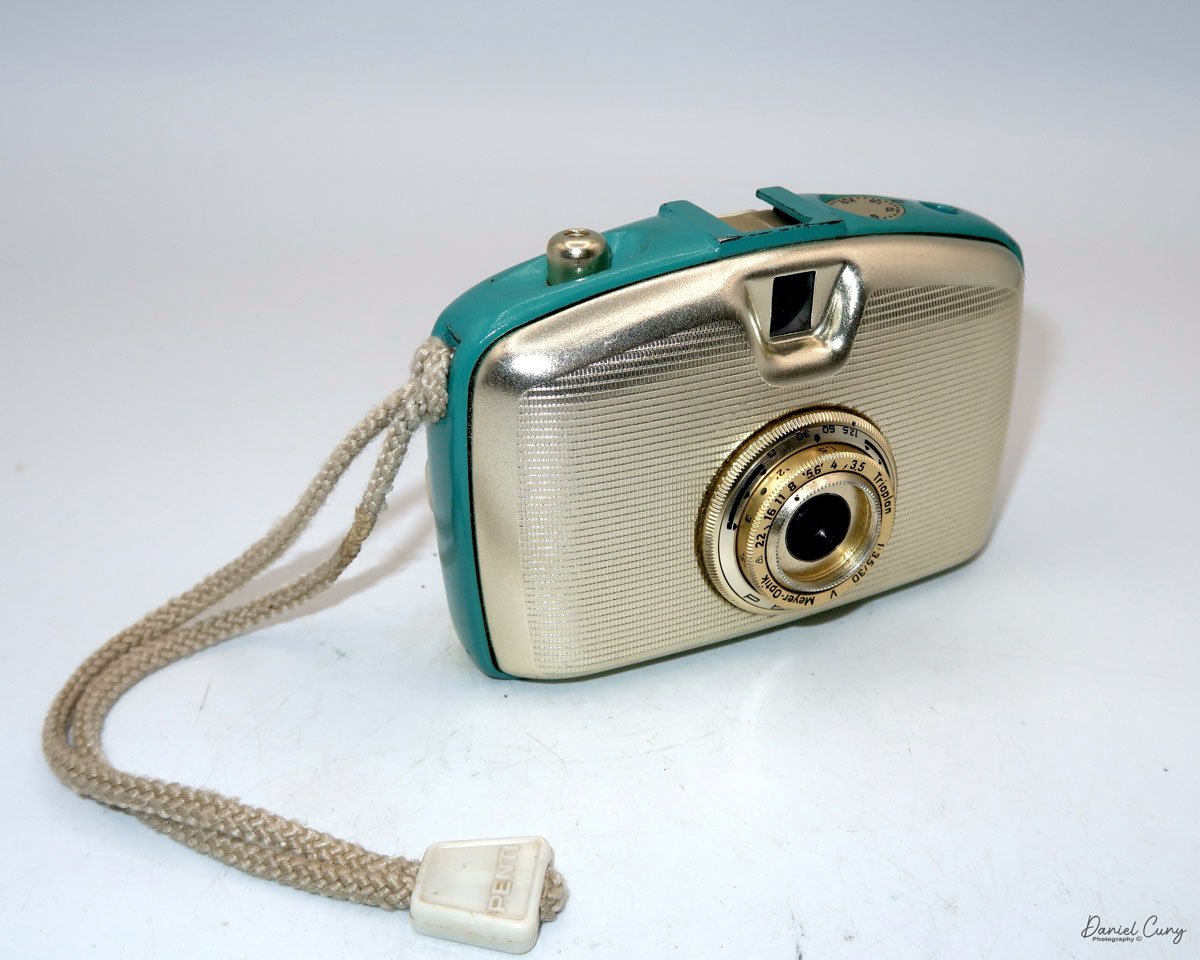
 My connection to these cameras is quite recent, as I was drawn to them by their vibrant colors. As I've shared in previous posts, I have a fondness for colored cameras, a fascination that still holds true today. Whether it's a blue, green, rose, or any other uniquely colored camera, I'm immediately captivated and feel a strong desire to own it. In this case, I was fortunate to acquire two cameras-a striking green one with a black faceplate, and a brown version with a matching faceplate. 

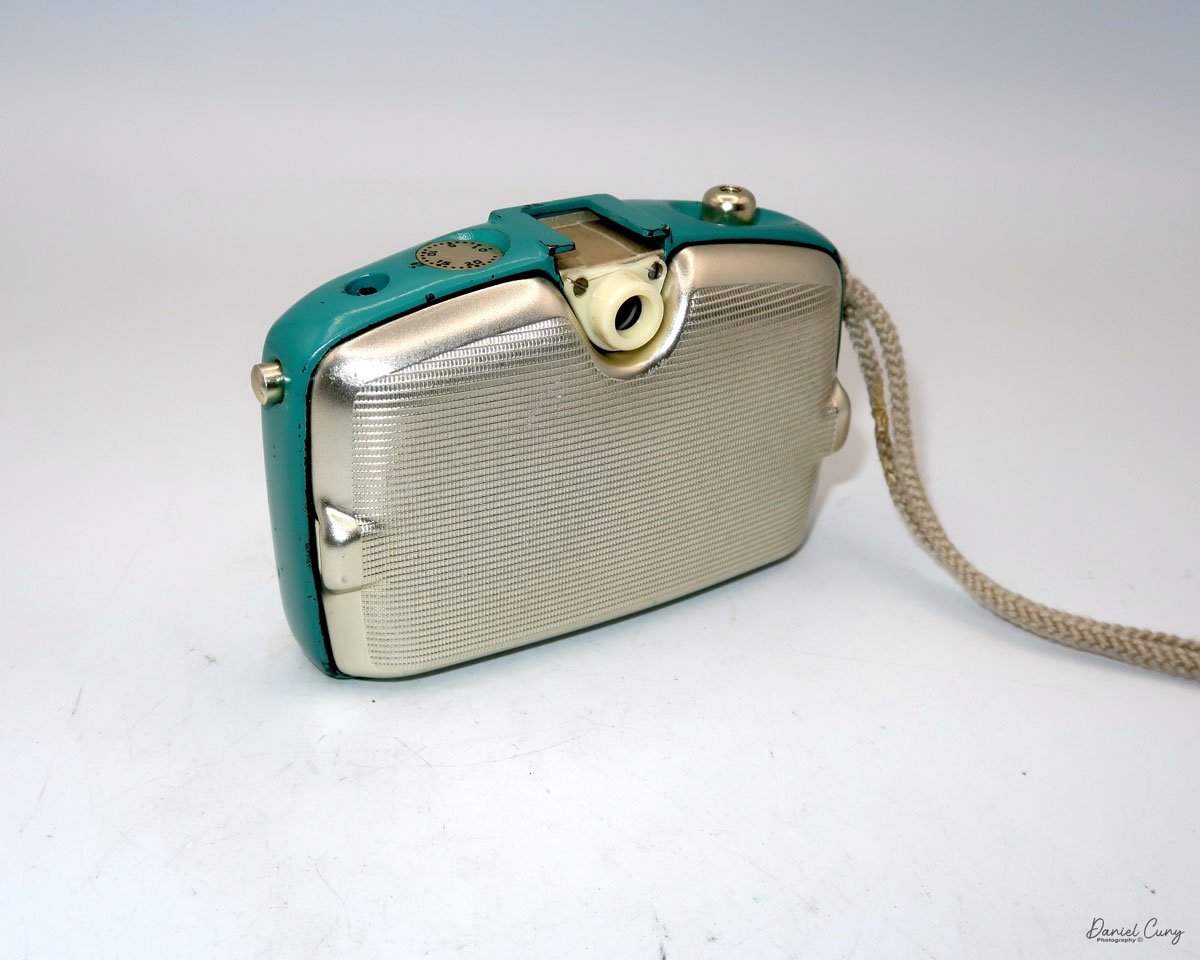
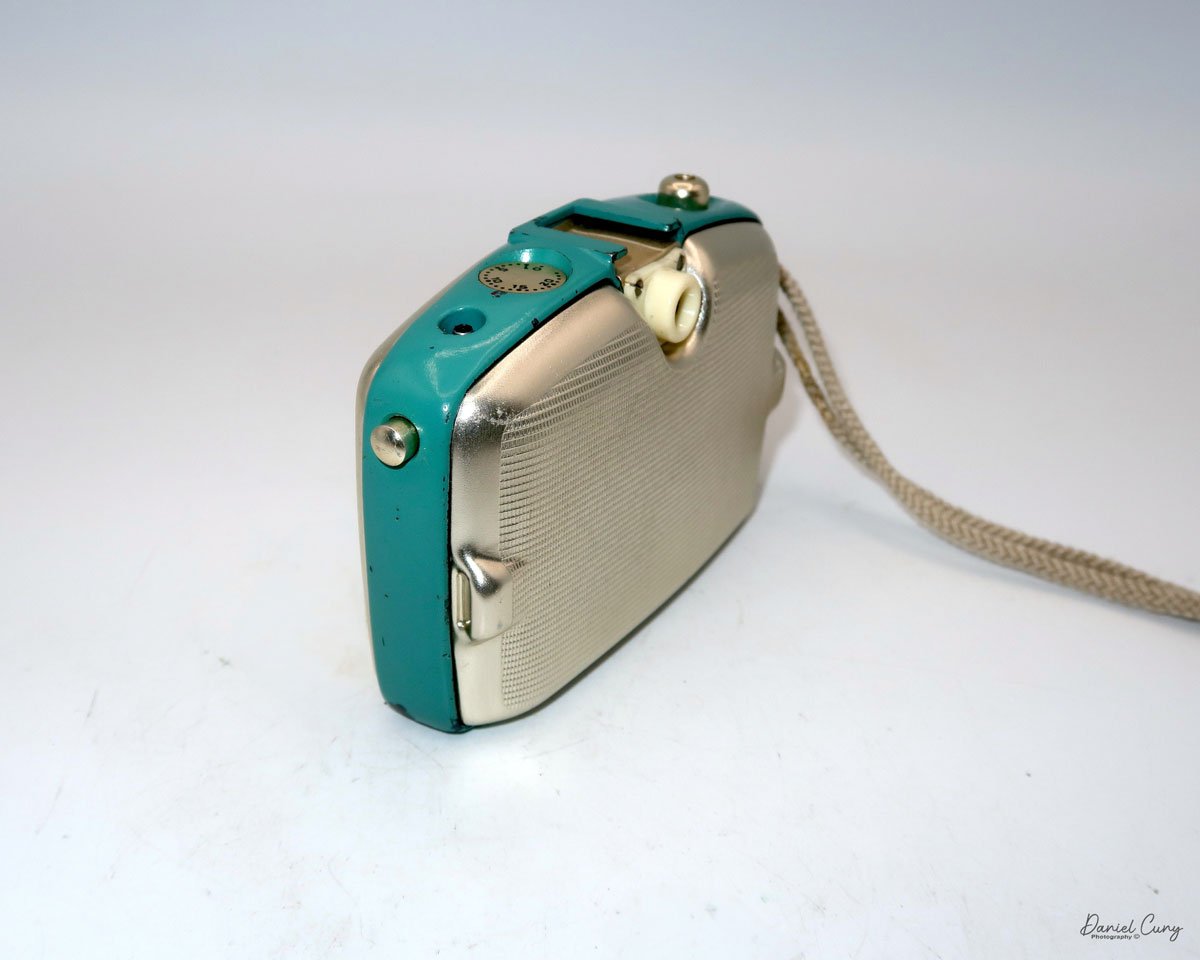
 After doing a little digging on the camera and company, I found that the two I purchased were also different models. The brown camera is the Vena Venaret due to the accessory shoe on the top of the camera, while the green is the Vena Venaret Jr., the same model but without the accessory shoe. The good news is that the Venaret Jr. I purchased has a leather fitted case that was in excellent condition, and it is the model I shot in the blog post.

The Company:

Vena Optical Devices was founded in Amsterdam in  1940 by Evert Verlegh and Samuel Naarden. The company's name is a mixture of the starting letter from each founder's last name: VE from Verlegh and NA from Naarden. It was a difficult time to start a company due to the war, as Samuel was making optical lenses for Old Delft Company. While many of the company's Jewish employees were deported, it was difficult for them to do anything regarding the cameras made until after WWII ended.

 In 1948, Vena came out with the Venaret camera. According to the instruction manual, the camera was designed by F. Kochman, the former manufacturer of the Reflex-Korelle camera. Mr. Kochman was living in The Netherlands for a few years, was an employee of Vena, and designed the Venaret camera; according to the manual, "His long experience in the field of camera construction is already a guarantee for the good health of the newborn." With this knowledge, the Venaret looks similar to the Reflex-Korelle camera, although a much simpler version.

 The Venaret had a few different versions. The camera was produced with a black faceplate and black covering, a white faceplate with black covering, or a brown faceplate and brown covering, which is the model I recently received.

 The Venaret Jr. camera has a white faceplate with a black covering, a black faceplate with a black covering, and a white faceplate with a green covering, and the model I recently received has a black faceplate with a green covering. 

 In 1949, Vena produced a couple of straightforward box cameras, the Vena Box and Sport Box. It's estimated that Vena produced between 20,000 and 30,000 cameras before it went bankrupt and closed its doors in 1951. This was a very short-lived camera company, but it produced some brightly colored and very simply designed cameras.

My Camera:

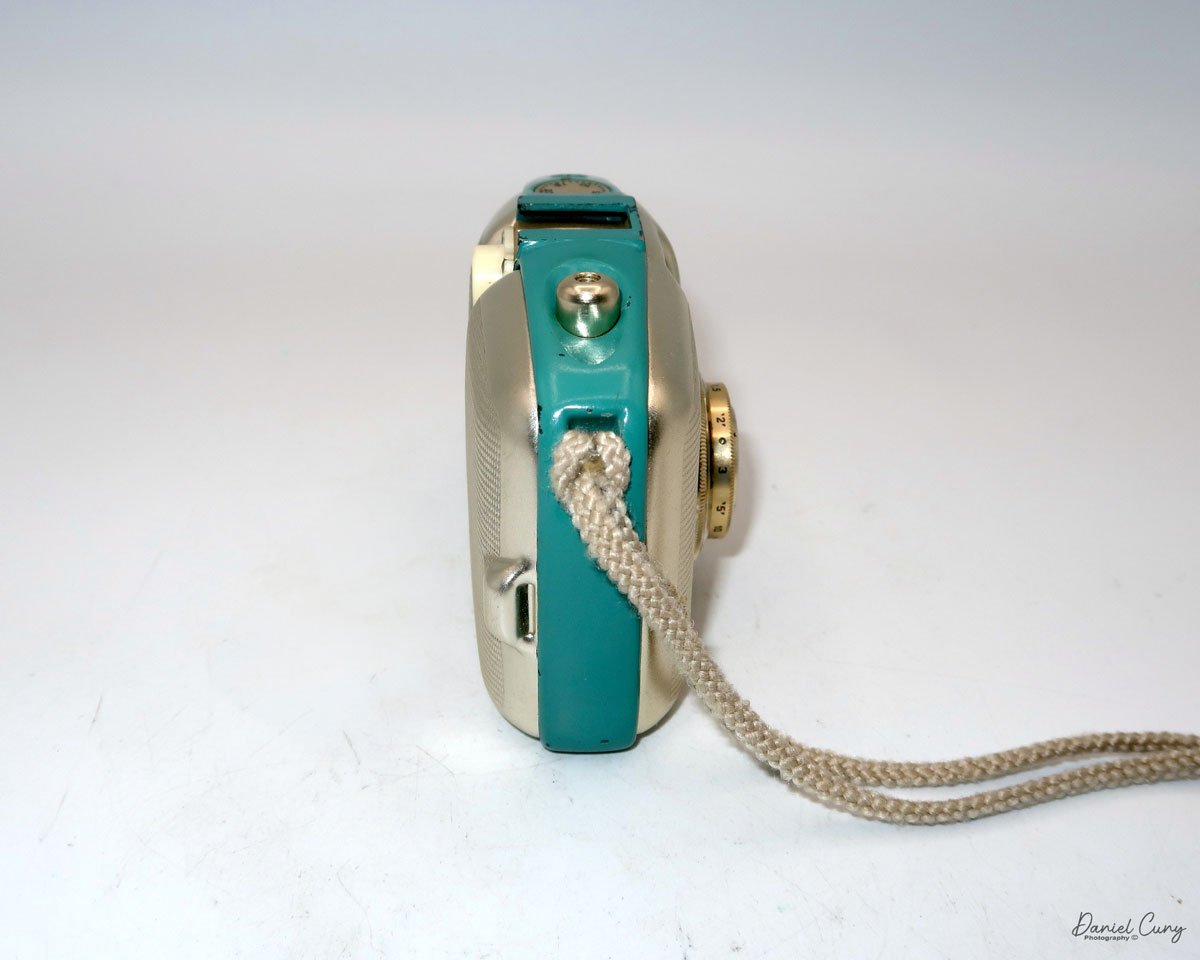
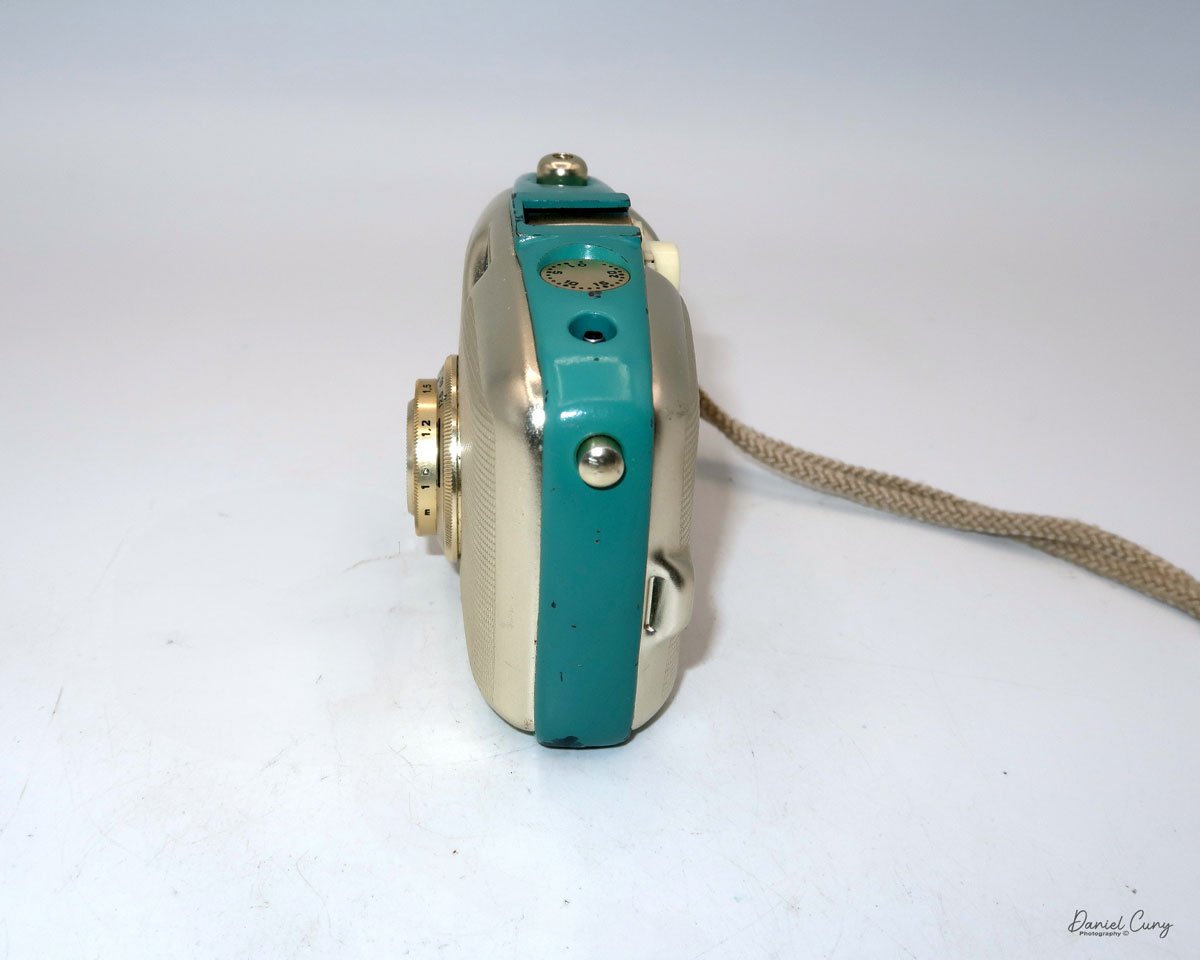
My camera is 5.25" wide by 3.5" tall, including the viewfinder, 3 3/8" deep, and weighs 14.9 oz. and has a very cube shape. There are two shutter speeds on the camera, 1/25 and 1/50, along with "T" for timed exposures. The camera has a 75mm f7.7 Meniscus lens with four aperture settings, F7.7, F9, F11, and F16. The shutter speeds are set with a toggle switch above the lens with the "T" setting in the middle. The aperture settings are on the side of the lens. The shutter release is on the right side of the camera. There is no cocking of the shutter. Pressing down the shutter lever to take the photo is very simple.

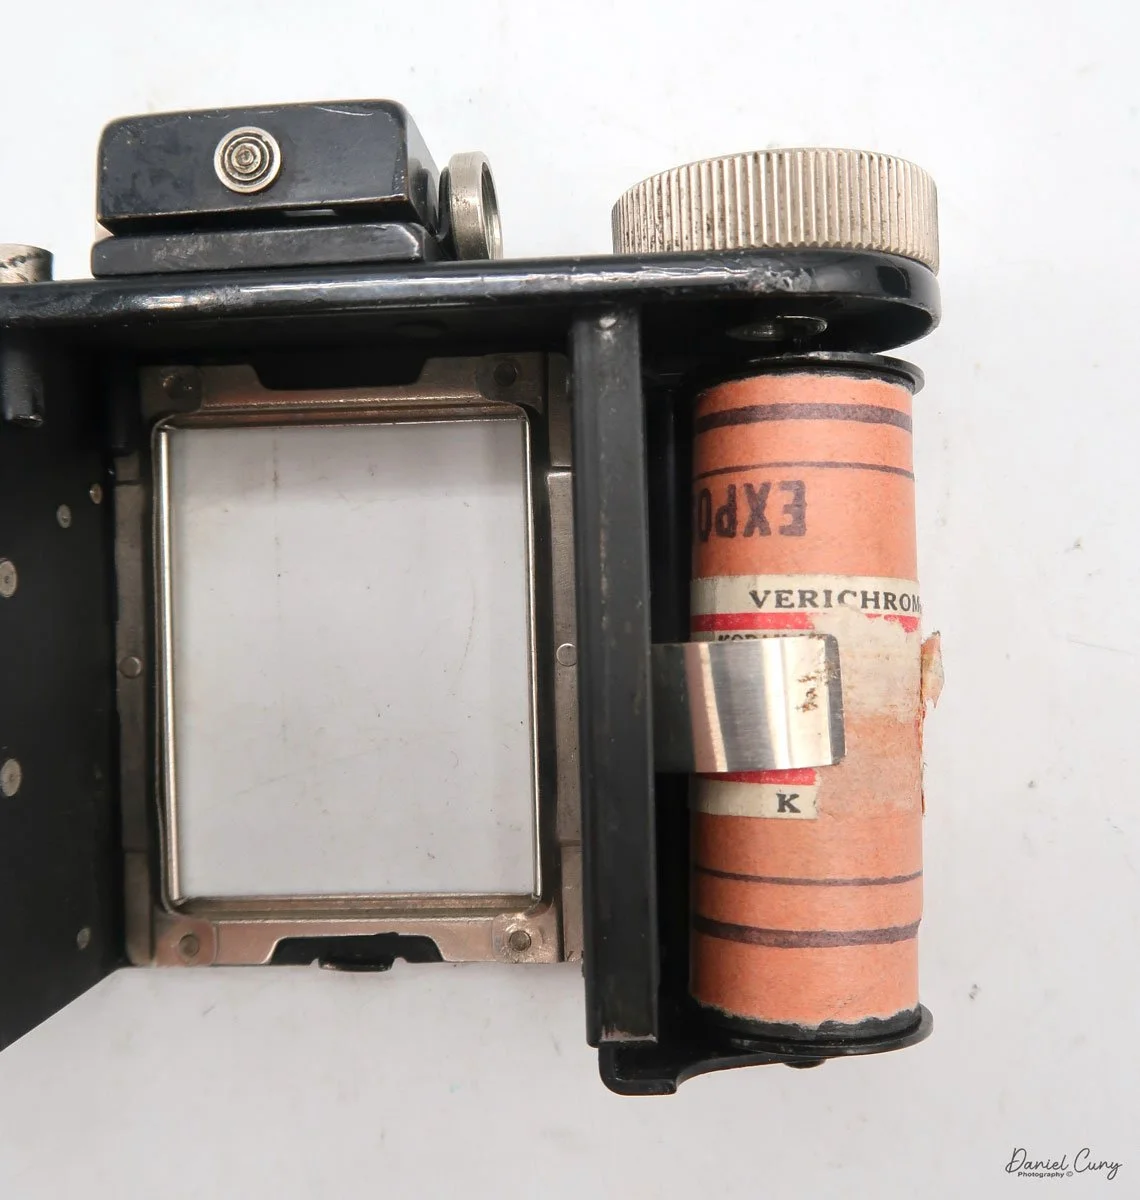
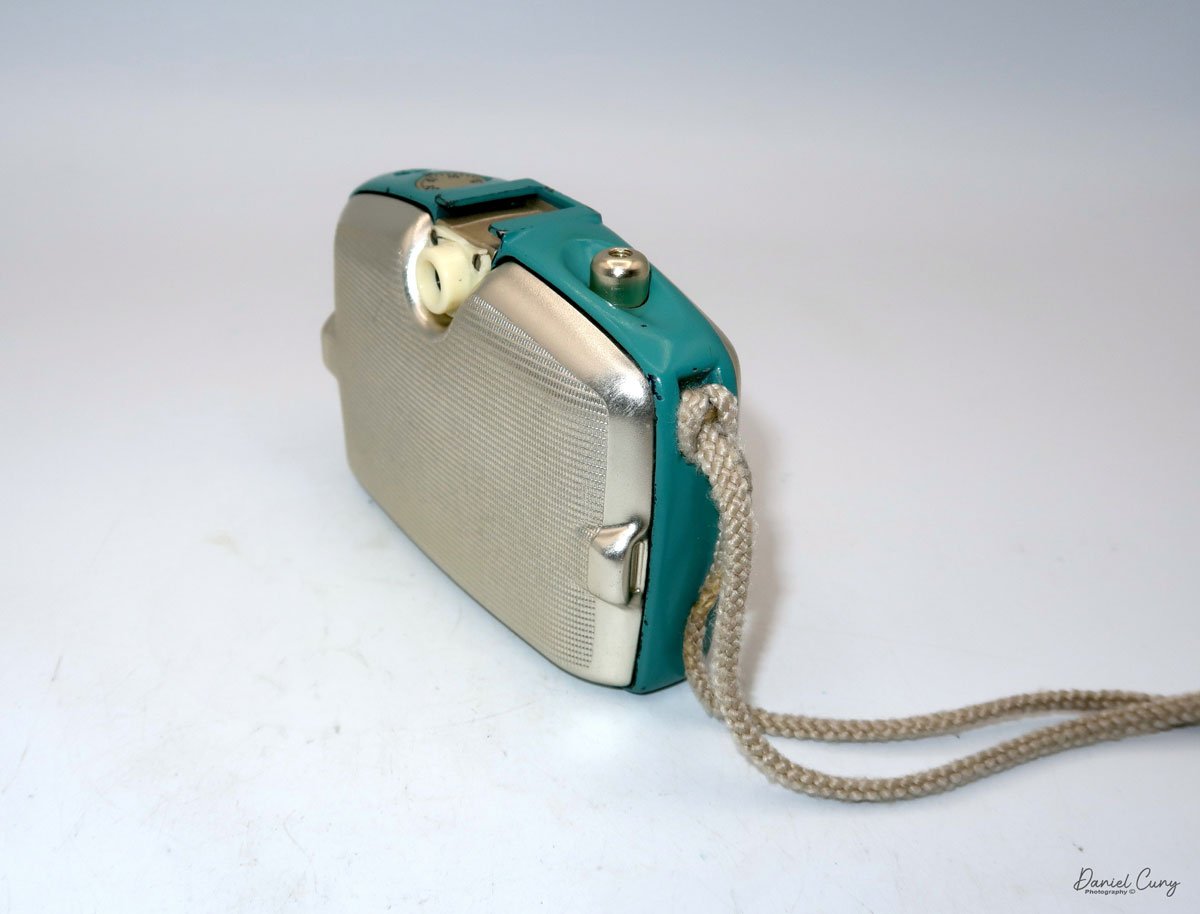
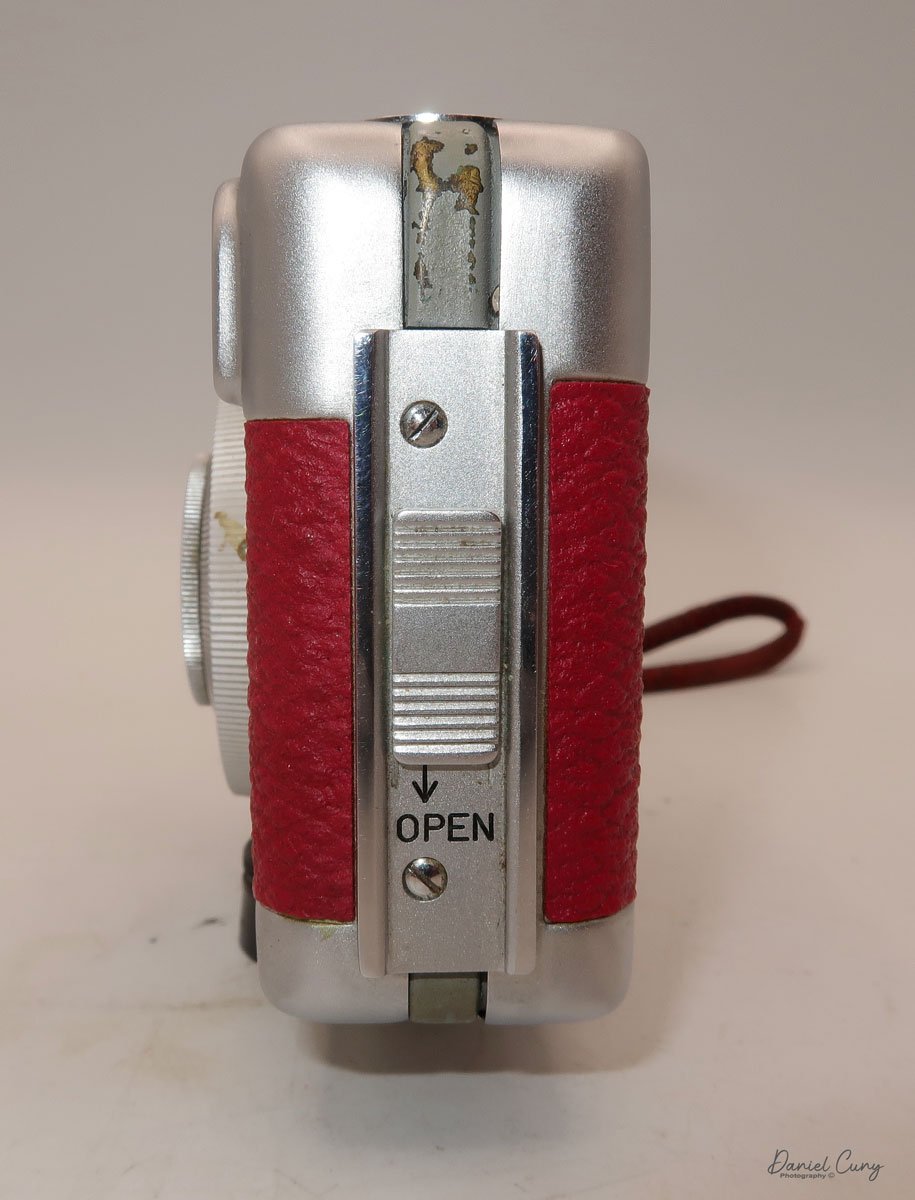
To open the camera to load the film is easy once you figure it out. On top of the camera is a sliding lever. Slide it to the "O" or open position. Grab the lens protruding area and pull up from the back of the camera. There is a small channel that the front of the camera slides into that allows the front of the camera to slide out of, which exposes the film camera where you can load or unload the film, depending on if all photos are taken. Once the film is loaded or unloaded, put the ridge of the back of the camera into the channel on the front and slide down until the top fits snuggly into the back, then slide the lever on the top to the right to lock the camera while taking photos.

There is no lens focusing, and the minimum focus is approx. 3 meters, about 10'. I found this out when I processed the negatives after taking the camera out and shot with it on a sometimes sunny afternoon, which was rare in the Portland area in November. Looking at the photos, I initially thought 3' was the minimum focus, but those images are blurry while the background is sharp. After I thought about it, I realized that many cameras that don't have focus ability have a "close up" filter or lens when you want to take photos from 1-3 meters, so that mistake was on me.


Note the shutter speed and aperture settings.

This is a very simple camera without many bells or whistles, but I wanted to shoot with it to see how it performed. In today's cameras, this would be considered a "point and shoot" style, with minimal settings and no focus ability.

My Results:

After putting in a roll of film, walking through the neighborhood, and taking simple, composed images, I went to my darkroom to process the negatives and see the results. 

 Here are a few of the images I took with this colorful gem of a camera:

Conclusion:

Except for my thinking the camera would focus closer than 10', the images are relatively sharp and clean. I didn't purchase these cameras, but I wanted to see how sharp they could produce, and they were pretty decent.

 Thank you for taking the time to delve into the history of this short-lived camera company from a country not typically associated with camera manufacturing. Despite its brief existence, Vena Optical Devices managed to create a truly beautiful and functional camera.

 Until next week, please be safe.

Expo Watch Camera

This week's camera blog is about another unusual camera given to me many years ago by one of my sisters' in-laws who passed away. The family members knew I enjoyed cameras, so they gifted the camera to me and asked me to take care of it for the man who passed. 

My Expo Watch Camera

 When I first received the Expo Watch camera, I was utterly surprised and deeply touched by the generosity. Opening the small box to reveal the fantastic camera in good working condition was a moment I'll never forget. It was a revelation that the person who passed knew about my love for cameras. It could have been my wonderful sister who had shared my passion with the family.

 Needless to say, it's in a prominent place in my collection and something I look at almost daily and think about the generosity of the person who gifted it to me.

 To add to the story of this blog and the Expo Watch camera, about three to four years ago, I purchased a "lot" of camera items. Among the other items I bought were accessories from what I thought were for the Expo Watch camera. However, after researching the cameras, I found that they are actually for the slightly later British version made by Houghton, the Ticka camera. They fit and work on both the Expo and Ticka cameras.

The Company:

Patent for Expo Camera

The camera was designed and invented by a Swedish designer, Magnus Niéll, who lived in Sweden and New York. The patent for the Expo Watch camera was approved on September 6, 1904. This camera was a significant innovation in the history of photography, as it was one of the first to feature a daylight-loadable film cassette with 25, 16mm x 22mm, or 5/8" x 7/8" exposures in each cassette.

 The Expo Camera Company, located at 256 West 23rd Street, New York, manufactured the Expo Watch camera. It also produced the Expo Police Camera and developed and enlarged accessories for both cameras. The company offered film processing and printing to its customers. If interested, here's a copy of the full Expo Camera Pricelist and Manual.

In an ad I found published in 1917, the purchase price for the Expo Watch Camera was $2.50. According to the price list above, the processing fee was 10 cents to develop per roll of film. Contact prints (5/8"x7/8") were .10 cents per dozen, .07 cents per 2x3 enlargement, and .10 cents per 3x4 enlargement. I also enjoyed their statement that "Cash should accompany all orders for development, printing, and enlarging."

Ad for Expo Watch Camera

 The Expo Watch camera started in 1905, was taken over in the late 1920s by the dealer G Gennart, who produced several different names on the camera. In 1935, there were red, blue, and black enamel cameras, which were extremely rare. 

 In 1905, or shortly after, Magnus Niéll offered the camera's design to the British camera manufacturer Houghton, who produced the same camera under the Ticka name. The Ticka camera was available in the United Kingdom from 1905 to 1914. Some of the later Ticka models had a replica watch face on the front, with the hand indicating the angle of view the photographer would have when taking a photo.

Magnus Niéll designed other cameras for Houghton, such as the Ensign Midget, Ensignette, and the unusual design folding plate Lopa camera made by Kindermann. 

My Camera:

My Expo Watch camera measures 2 3/8" in diameter across the body of the camera, and if you measure from the front of the lens, including the fob ring, to the rear of the camera is 3" long and 1" deep, including the winding knob and the camera weighs 2.7oz. The camera is made from Nickel and has a highly polished chrome top and bottom.

The camera was designed like a pocket watch so it would be inconspicuous for the people the photographer wanted to photograph. This design feature allowed the user of the Expo Watch camera to easily keep it in one of his vest pockets, making it ideal for candid photography. The photographer could remove the camera from his pocket, take the cap off the lens, point it at his subject, and take a photo.

Beneath the fob ring is a lens cap resembling a pocket camera's winding stem. Under the lens cap is a fixed focus, 25mm lens. The camera has two settings for shutter speeds. There is "I" for an instant, approximately 1/125 speed, and the other setting is "T" for a time exposure. The shutter settings are done on the side of the camera with a lever you pull down. The shutter release butting is a small pin on the underside of the camera set at the one o'clock position. Once the camera's shutter is cocked, you press that pin in, and the shutter releases, making the photo.

The shutter release button on Expo Watch Camera

The shutter is not self-capping, meaning that when you cock the shutter, you're exposing the film to light, so it was recommended to keep the lens cap on until you're ready to make the exposure. 

Shutter cocking Mechanist and settings for Shutter speed.

 The lens cap served as the shutter time if you were doing time exposures. You set it to "T," click the shutter, take the lens cap off for exposure, put the lens cap on to end exposure, and the cock the shutter again for the following exposure. I can almost 100% guarantee that 99.9% of these images are blurry due to the person's hand holding the camera for any period of time, along with the movement of taking off and putting on the lens cap, and the negative being so small.

On the underside of the camera, or the opposite side of the removable plate with the beautifully etched "EXPO," is the winding lever you turn to advance the film. Just to the left of the winding knob is a small window that tells the photographer what frame number they're on. Above the winding knob is another logo for the camera company, which includes EXPO in the center of an oval. Around the oval is Pat throughout the world. On top and under is The Expo Camera New York USA

On the bottom of the camera is a lever you can turn to help pop off the etched plate, which comes off to load the film. I'm too afraid to turn this lever too hard, as I don't want the lever to snap off, so to remove the etched plate, I use my fingernails and pull the plate off to expose where the film goes. Once the plate is removed, the film cassette fits into the bottom portion of the camera.

The Expo Camera did have two different viewfinders available that would fit around the collar of the lens, under the winding stem. A simple model A ground glass viewfinder sold for .50 cents, and a model B brilliant finder sold for .75 cents.

 I also have an item made for the Ticka Camera in the group. There were a few accessories, such as the time exposure lens cap. This item fits over the lens and is held into place by a tension screw. Once in place, you can pull the lever up/down depending on how it is mounted to open the lens, exposing the film to light. Using the time exposure cap is considerably easier than taking the lens cap on and off for time exposures. Another item I have is a separate finder lens which is a larger glass item with a convex lens and attaches onto the camera like the other viewfinders. It has the exact attaching mechanism that fits around the lens collar. From what I'm seeing online, both the time exposure lens cap and the larger window finder were made for the TICKA camera.

Conclusion:

The Expo Watch Camera is a fun and exciting camera to have in my collection. I cherish the way I received it. The more I researched the camera and its different variations, the more I'd like to expand my collection to include the Ticka model with the watch face on it or even some of the colored models I'm always drawn to.


Reference:

Pacific Rim:  https://www.pacificrimcamera.com/rl/01266/01266.pdf

Historic Cameras:  http://www.historiccamera.com/cgi-bin/librarium2/pm.cgi?action=app_display&app=datasheet&app_id=919&

Submini.com:  http://www.submin.com/large/collection/expo/introduction.htm

Vintage photo:  http://www.vintagephoto.tv/expowatch.shtml

Purma Special Camera

As I was cleaning out a box of cameras, looking for the next camera to shoot with and use for my next camera blog, I grabbed a brown case that I had put in the box a long time ago. As I turned the case around, I saw the name Purma on the front of the case and thought to myself, This will be my next camera to discuss or talk about in my blog.

My Purma Special Camera

 The Purma Special is a camera I purchased well over 20 years ago. I remember it was early in my collecting and when I was buying and selling on eBay. I started on eBay as a seller and buyer back in early 1997. When you engaged with eBay then, you didn't have your name as an ID, but they assigned you a number you'd use to log in and for sales purposes. I remember my number was 1032 before changing it to my current name, "Clix."

 At that time on eBay, there were no photos on the site, and it was similar to a message board where people would describe what they had for sale, what you were asking for, etc., Very similar to what Craigslist was before photos. Having McKeown's guide for cameras and thumbing through it daily, I was intrigued by cameras from other countries, and the Purma Special was one that I desired at the time due to its odd diamond shape and the fact that it was made in England.

Because the Purma Special camera is, in my opinion, a camera oddity due to the design of the camera, the shutter used, and the somewhat popularity of the camera, it's been reviewed and discussed by several of my camera blog friends like Peggy of Go Camera Go and Mike Eckman. Still, I wanted to make sure people were aware of my odd and unusual take on cameras from yesteryear, so this is more like Peggy's post about my thoughts on using the camera and the overall take on what a camera gem this is.

My Purma Special with Case

The Company:

Purma Cameras Ltd. was founded in 1935 in London. The name Purma is a combination of the two owners of the company: Tom Purvis, a well-known artist and lithographer who worked for LNER (London and North East Railway) from 1923 to 43, producing beautiful and popular advertising posters. 

Diagram on how the shutter system works on Purma Camera

 The other partner in the company was inventor Alfred Croger Mayo, who, along with Joseph Terrett, invented the unusual and very simple gravity-controlled focal plane shutter used in the Purma cameras. I believe this is Purma's real claim to fame and set them apart from other camera companies of the time. They also had financial backing from David Brock of Brock Fireworks, a company that started in 1698 and is the oldest British fireworks manufacturer.

Purma introduced its first camera in 1936, the Purma Speed. It was an enameled metal and chrome camera with a pop-up viewfinder. The Purma Speed camera had six shutter speeds and looked like a more traditional rounded-corner, rectangular camera.

Ad for the Purma Special

 With the introduction of the Purma Special camera in 1937, the company turned to an all Bakelite camera, along with a flatted diamond shape design with an art deco appeal to the camera due to the thin ridges built into the camera, which extend all around the camera. The Purma Special only had three shutter speeds but has a classic sleek design, and one that was the camera that set them apart design-wise from other cameras. The unique diamond shape and the use of Bakelite, a revolutionary material at the time, gave the Purma Special a distinct look and feel, setting it apart from its contemporaries. 

 The Purma Special was imported to many different countries, including the United States. According to an ad I found from 1939, the camera sold in the US for $14.95. It's my understanding that this was their most popular camera, although I cannot find sales records to prove these claims, as it's just from what I see for sale and the quantity of Purma Special cameras available today. The Purma Special was a popular choice among amateur photographers and was widely available in the market, contributing to its popularity and the large number of units still in circulation today.

There are a couple of unique features of the Purma camera. One is the 'pop out' lens, which is concealed by a thread in the lens cap, a clever design that protects the lens when not in use. When you screw the lens cap back onto the camera, it also locks the shutter. Unfortunately, these lens caps get lost, and many of the used Purma cameras are sold without the lens cap. The second is the use of plastics in the viewfinder. Purma was the first to do this, a pioneering move that made the camera lighter and more durable. These innovative features were ahead of their time and contributed to the Purma Special's appeal among photographers.

Purma also introduced the Purma Plus in 1951, which had an aluminum body and sold for £12.00 at the time. Production for the Purma Plus lasted until 1959. I cannot find why the company stopped producing its camera, so I assume it closed around 1960.


The Camera:

My Purma Special camera measures 6 3/4" wide by 2 3/4" tall by 2 1/4" deep with the lens cap on the camera, and the camera weighs 12 oz without the fitted leather case.  The camera has a Beck 2 1/4"  F6.3  lens with a fixed focus from 12' to infinity. Purma did sell a series of close-up and portrait attachment lenses that allowed for focus from 3.5 to 5' but were sold separately. These are items I do not have.

The Purma cameras use 127-size roll film and produce 16-1 1/4" square images on the negative. The Purma special doesn't have a locking mechanism to keep the back attached to the front of the camera. They are held together just by friction, but the back of the camera fits tightly to the front. The friction held back doesn't prevent it from accidentally opening if something were to happen. To open the back of the camera, there is a tiny thumb notch where you put your fingernail in and pull the back from the front.

The camera utilizes two red windows on the back of the camera, so you get 16 frames on the film; the photographer winds the film to the #1 exposure on the left window, then after taking the photo, winds the film so the #1 exposure shows up on the right side window utilizing the same frame number for both the left and right red window on the back of the camera. Once you shoot frame #1 on the right red window, the photographer winds to frame #2 on the left side window, and so on.

The Purma Special has a curved film track that holds the film flat against the shutter with a two-sided pressure plate attached to the camera's back door. The shutter system only has three shutter speeds. The shutter uses a series of different size slits in the metal curtain along with a brass weight within the camera to determine what shutter speed is used. The camera also depends on how you hold it, which would set the shutter speeds used. Remember, the negative is square, so having the camera in either vertical position doesn't change the image in the frame. It will only change the orientation of how the image is captured on the negative.

When you hold the camera in the usual horizontal position, the shutter would shoot, and the medium shutter speed would be 1/150th second. Turning the camera so the advance lever was at the bottom, or the "slow" speed, the shutter, the camera shutter is set to 1/25th sec. When you turn the camera in the other direction, with the film advance lever at the top, which puts the shutter in the "fast" position, the shutter speed is set to 1/450 sec.

Top view of Purma Special camera with circular wheel to cock the shutter, and shutter release

To take a photo, the photographer needs to cock the shutter. To do this, you turn the circular wheel on the top of the camera in the direction of the arrow. There is a small piece of bakelite sticking out to turn the wheel fairly easily. Once you turn the wheel in the counterclockwise position, the wheel will stop, and you'll hear a click which means the shutter is cocked and ready to make the exposure. You can do this with the lens cap on, but the shutter won't release until the lens cap is off. 

 The shutter release is on the top and left side of the camera. Simply press the shutter release to trip the shutter. BUT REMEMBER. Turn the camera as needed to change the shutter speed, especially since the camera has a fixed aperture lens. Wind the film to the next frame, then repeat until. It was odd for me to use this camera as I'm not used to having the shutter release on the camera's left side.

For those interested, here’s the original instruction manual for the Purma Special Camera

My Results:

I did have some outdated Film for Classics 127 film in my drawer, so I loaded up the camera and went to a local waterfall to take photos on an overcast Sunday afternoon. Go figure a cloudy day when living near Portland, Oregon. That will be my life for the next four months or so. The results were OK, but I was mildly disappointed when I looked at what Peggy and Mike did with the camera.

 It may also have been the fact that the film I processed was processed in a different tank than I'm used to using for 127 film, and I messed up putting it on the developing reel, so that was my fault. I have noticed whenever I use the Film From Classics film, the imprint from the paper backing seems to bleed onto the negatives, and I'm unsure if that's due to the film's age and being out of date by a year or two or something else.

 Here's what I salvaged from the messed-up developing roll I put through the Purma Special camera. It's nowhere near as lovely as Peggy or Mike's photos, but overall, it yielded decent results.

My Conclusion:

It was a fun camera to shoot with. Turn the camera to set the speed, point at your subject, and shoot the camera (with your left hand). Wash, rinse, and repeat. I hoped for better results but tried a different reel to process the film.

 Thank you for reading the blog post on the Purma Special camera. I'll definitely use it in the future due to its simplicity and unique shutter system.

 Until next week, please be safe.