My Leica I camera
I purchased the Leica I camera and accessories around 6 years ago when I saw a local ad of someone wanting to sell off a recently departed family member's old cameras. I responded to the ad, and for some reason, the person liked my passion for cameras and photography, so when I heard that the camera they had from a grandparent was a Leica, it piqued my interest. They had mentioned that the camera was in good shape and had some accessories in a case; I told them I was interested in seeing what they had.
I try not to get into situations where you meet someone with some valuable equipment at a random location, so for safety reasons for both parties, we met at a local police station, which was agreeable to both. When they pulled out the case and I saw it was an early Leica, my heart fluttered a bit.

My Leica I outfit
Pulling the camera from the case, I found it in excellent condition and working. All the shutter speeds sounded accurate to the ear, and the rangefinder and extra film cassette were in the metal container and within the case, too. The owner wanted to be sure the camera was going to a good home and not just being sold. I reassured the person that I planned on keeping the camera and shooting with it, which they loved.
Since adding the Leica I to my collection, I've made a point to keep it in top condition. Every now and then, I take it out and give the shutter a few test clicks to ensure it's in good working order. However, due to my busy schedule, I hadn't had the chance to load a roll of film and actually use the camera until recently.
I wanted to write about the Leica 1 for my blog about a month ago. I took the camera out and started to put a roll of film into the camera to shoot with it, and the shutter jammed. What bad luck! I called my friend Allen Wade at CameraWerks in NY, who always does a terrific job servicing my cameras and lenses. I sent the Leica 1 along with a few other items to him to get serviced. About a month later, I received the cameras back from him, and they were in fabulous condition. At this point, I put a fresh roll of film into the camera to see how the camera worked so I could write about it.
The Company:
Oskar Barnack was a German optical engineer who revolutionized photography by inventing the first practical 35mm camera, the Leica I. Born in 1879, Barnack initially worked in the optical industry, eventually joining Ernst Leitz Optische Werke, a German company specializing in microscopes and optical instruments. His pioneering work in miniaturizing cameras led to the creation of the Leica, which forever changed the way photographs were taken.

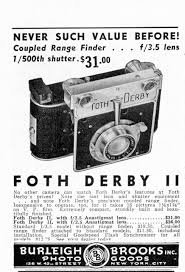
Ad for Leica 1
Before Barnack's innovation, photography relied on bulky, cumbersome cameras that used large-format glass plates or film sheets. These devices were difficult to transport and required long exposure times, limiting their usability. An enthusiastic amateur photographer, Barnack sought to develop a more compact and convenient camera system that would still produce high-quality images. He turned to 35mm cinema film, which was already used in the motion picture industry, and repurposed it for still photography. He aimed to create a small, lightweight camera that could capture multiple images on a single roll of film.
Around 1913-1914, Barnack developed a prototype of what would later become the Leica (short for "Leitz Camera"). This early model, known as the "Ur-Leica," used perforated 35mm film and a horizontal transport mechanism. The key innovation was that the film was advanced in small increments, allowing multiple exposures on a roll rather than requiring a single frame per exposure. Barnack also incorporated a focal-plane shutter, providing precise control over exposure times.
The outbreak of World War I delayed the commercialization of the Leica. Still, in 1924, Ernst Leitz II, head of the Leitz company, decided to move forward with production. The Leica I was officially introduced at the Leipzig Spring Fair in 1925, marking the beginning of the 35mm camera revolution. The camera instantly succeeded due to its portability, superior image quality, and innovative design.
Leica cameras quickly became popular among professional and amateur photographers, particularly in journalism and street photography. Their ability to take quick, candid shots without cumbersome equipment made Leica the camera of choice for legendary photographers like Henri Cartier-Bresson and Robert Capa.

Over the decades, Leica continued to innovate, introducing models such as the Leica II (1932) with interchangeable lenses and the Leica M series (1954), which refined the rangefinder design. The company also played a crucial role in developing optical advancements, such as high-quality lenses like the Summicron and Noctilux.
Today, Leica remains an iconic brand known for its precision engineering and commitment to craftsmanship. Oskar Barnack's vision laid the foundation for modern photography, and his pioneering work continues to influence camera design and photographic culture worldwide.
My Camera:
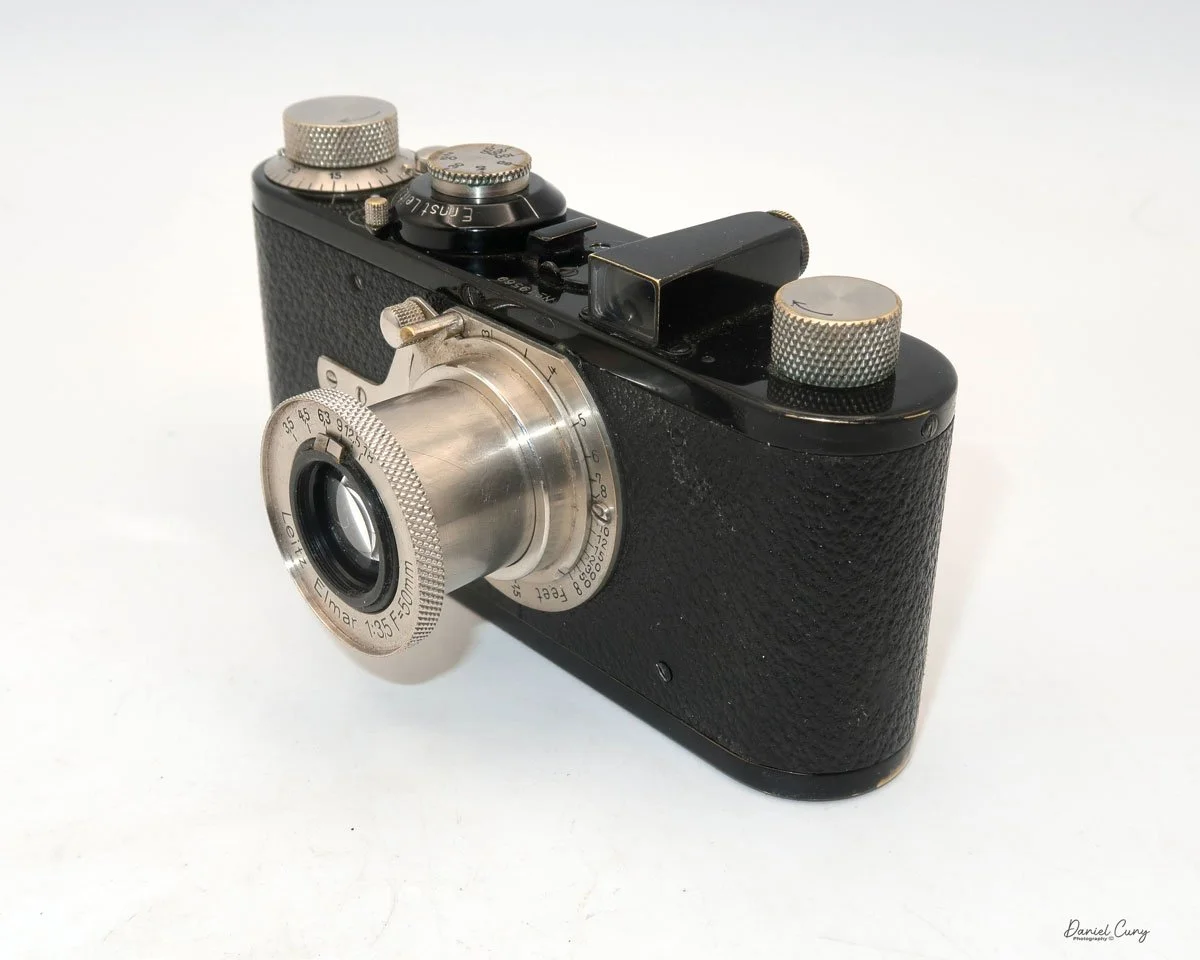
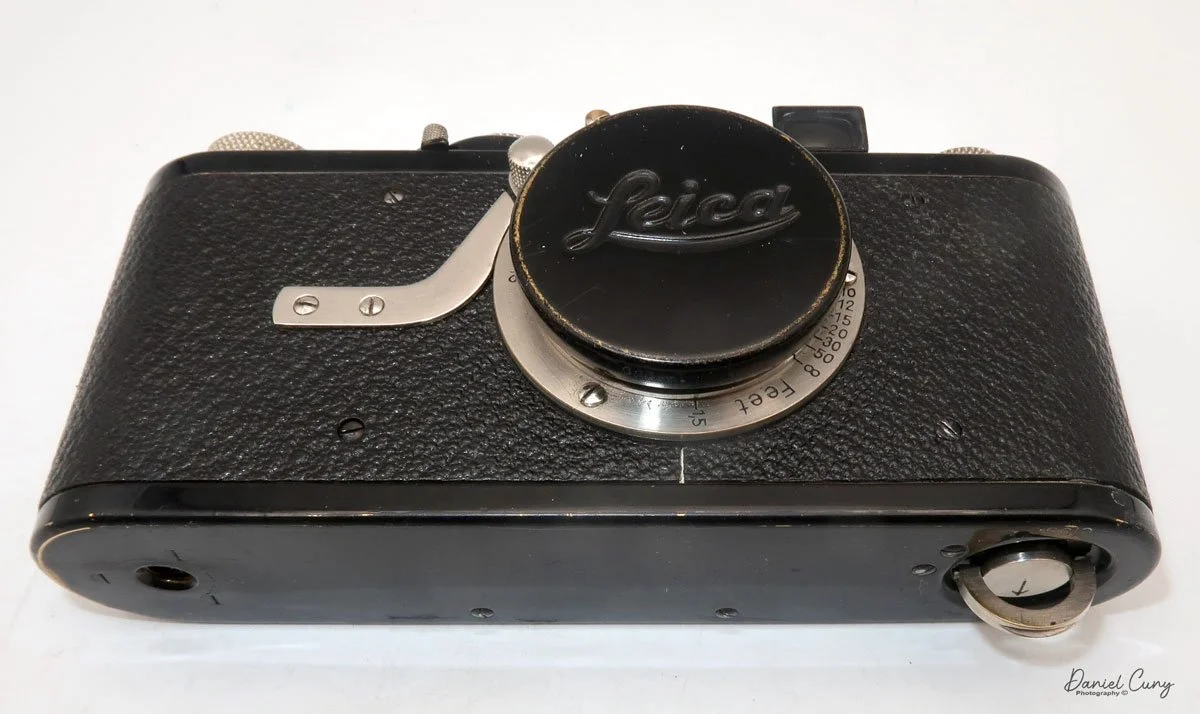
The first thing I noticed when I started to use the Leica I was how compact the camera is. When the lens is retracted, the camera is one you can put into your coat pocket to have handy when traveling or just for everyday use. The camera is 5.25" wide by 2.5" tall, including the winding knobs and viewfinder, by 1 5/8" deep when the lens is retracted and 2.5" deep when the lens is extended. My Leica 1 weighs just under 1 lb. and comes in at 15.6 oz without film loaded into the camera. The serial number on my camera is 19569, which, according to the lists online, the camera was made in 1929, along with a bit over 8,000 made that year. The Leica 1 cameras were made between 1926 and 1931 and were popular, producing approximately 70,000 cameras during that time. My camera comes with a Leitz Elmar 50mm f3.5 lens, and I've looked everywhere but do not see a serial number on the lens. This could be because the camera didn't have interchangeable lenses, and the serial number for the camera was enough.

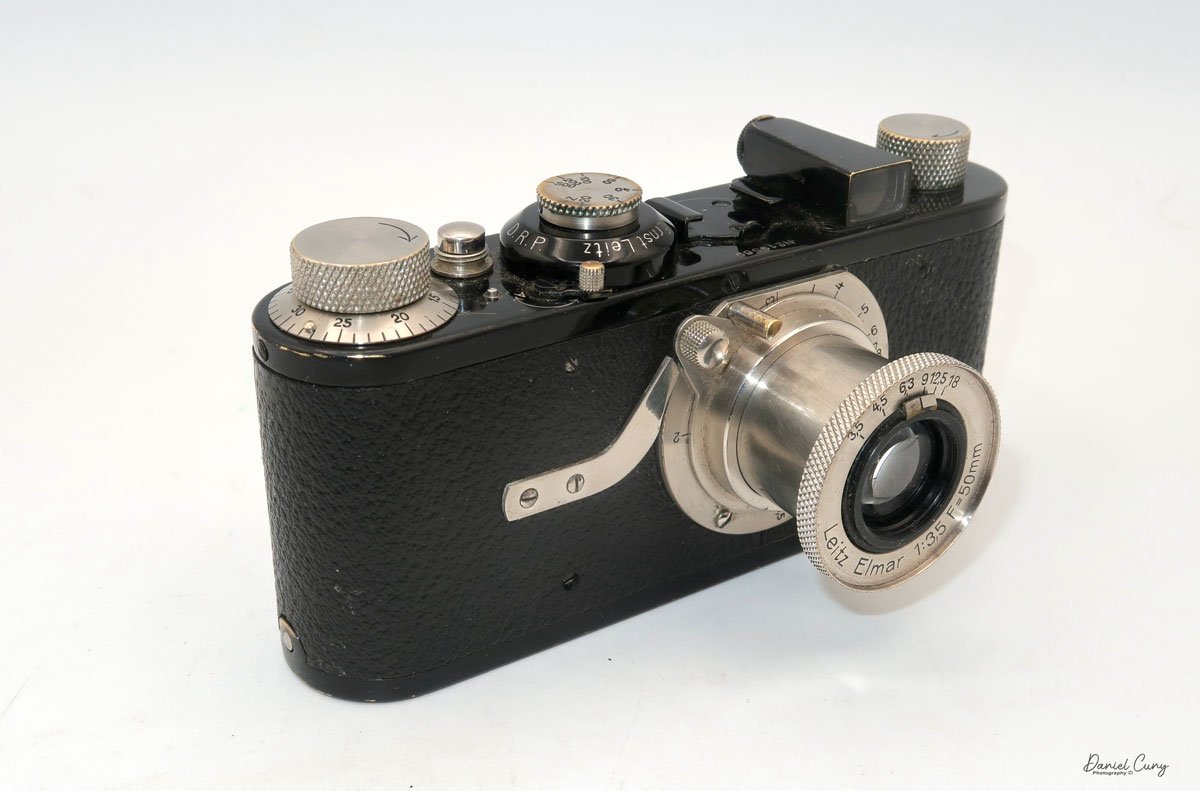


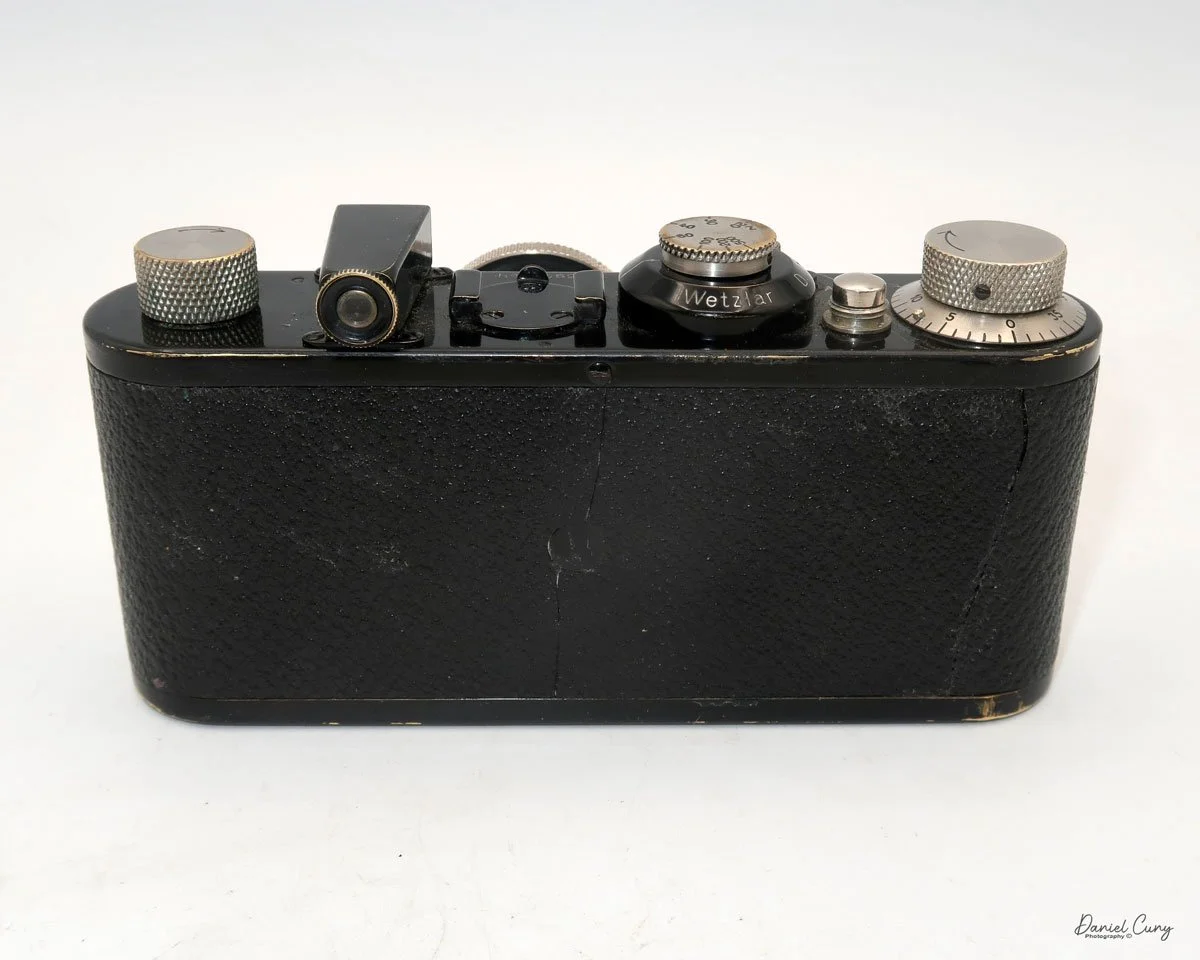


The early Leica is different from the later models as the rangefinder is separate and needs to be attached to the accessory shoe for the photographer to achieve fine focus on the subject. Once the photographer uses the rangefinder, they need to transfer the focus distance shown on the rangefinder to the lens focus before taking the photo, so the process is longer and more tedious. The viewfinder on the top is for composition purposes only.
Also, the lens needs to be extended from the camera body and "locked" into position by turning the lens clockwise until you feel the lens cannot be turned anymore. Now you're in the "taking" position of the lens. To retract the lens for transportation or to put it away, turn it counterclockwise, press it back into the body, and put the lens cap on so you don't damage the optics. The lens on the Leica 1 isn't interchangeable due to a pin at the 11:00 position on the camera body, which prevents the lens from being unscrewed from the camera body. The pin also limits the lens's ability to focus only from the minimum focus distance of 1.5 feet to infinity. Unscrewing the pin will remove the lens from the body for servicing or cleaning if needed.


Also on top of the camera is the shutter speed dial with speeds of 1/500, 1/200, 1/100, 1/60, 1/40, 1/30, 1/20, and "Z" for timed exposures. You must lift and turn the dial to change the shutter speed. Still, it's always recommended to do so after you cock the shutter, which is done by winding the film advance lever until it stops. The shutter release is next to the film advance lever and just behind the switch for film advance, which is in the "A" position, flipping it to "R" for film rewind.


Loading the film on a Leica is different than what people are now used to when they load a 35mm camera. The back on early Leica's and rangefinder cameras do not swing open. You must remove the base plate by turning a switch on the bottom to the "open" position, then pull the baseplate off the camera. You can take out the film's take-up spool, which you can grab and pull out. The easiest way to load the camera is to put the film leader into the take-up spool, then pull a bit of the film leader out so you can slide the film cassette and take-up spool into the camera body at once. Push the cassette and take the spool into position, ensuring the film is behind the shutter. Put back on the baseplate and turn the switch to "locked."


Before I wind to the first frame, I always take up the slack by turning the rewind knob a bit, so when I do wind to the first frame, I watch the rewind knob turn so I know the film is transporting across the shutter. Set the frame counter to 1, which is around the film advance knob and can be moved by two pegs on either side of the knob. Double-check to ensure the film advance switch is in the "A" position and wind to your first frame.
Now that I have the camera loaded with film, I'm going to take a stroll through the neighborhood and see how it performs.
My Results.
After attaching the rangefinder to the camera, I wanted to get the whole experience of what it was like to photograph with the Leica I, as people did almost 100 years ago. I also have my trusty Sekonic L-308X-U around my neck for accurate metering; I went walking through the neighborhood, focusing on the subject, then transferring from what the rangefinder said the focus. Using the meter to get proper meter readings and setting both the shutter and aperture to the meter settings. I really took my time taking photos with this camera.
Here are a few of the different images I took with the early Leica I camera.


Conclusion:
I can see why people would have liked and wanted to use this camera almost 100 years ago. It's small, compact, and lightweight. The process of taking photos was slower. Still, it was fun compared to what they needed to do 100 years ago. As a photographer, taking your time, metering your subject, focusing on your subject, and composing the photo was fun. It's much different than what we have now with autofocus, automatic metering, and film advance.
I made a short video on the Leica 1 Camera, which shows the controls and loading the camera with film.
I want to start using the Leica I regularly. It's quiet to shoot with, the lens is sharp, and it's small and compact. Overall, it's a great and fun camera.
Thank you for taking a few minutes from your day to read about this old gem of a camera.
I'll be taking next week off, as I'll be helping at a photo conference all week. I'll see you in a couple of weeks. Until then, please be safe.