Purma Special Camera

As I was cleaning out a box of cameras, looking for the next camera to shoot with and use for my next camera blog, I grabbed a brown case that I had put in the box a long time ago. As I turned the case around, I saw the name Purma on the front of the case and thought to myself, This will be my next camera to discuss or talk about in my blog.

My Purma Special Camera

 The Purma Special is a camera I purchased well over 20 years ago. I remember it was early in my collecting and when I was buying and selling on eBay. I started on eBay as a seller and buyer back in early 1997. When you engaged with eBay then, you didn't have your name as an ID, but they assigned you a number you'd use to log in and for sales purposes. I remember my number was 1032 before changing it to my current name, "Clix."

 At that time on eBay, there were no photos on the site, and it was similar to a message board where people would describe what they had for sale, what you were asking for, etc., Very similar to what Craigslist was before photos. Having McKeown's guide for cameras and thumbing through it daily, I was intrigued by cameras from other countries, and the Purma Special was one that I desired at the time due to its odd diamond shape and the fact that it was made in England.

Because the Purma Special camera is, in my opinion, a camera oddity due to the design of the camera, the shutter used, and the somewhat popularity of the camera, it's been reviewed and discussed by several of my camera blog friends like Peggy of Go Camera Go and Mike Eckman. Still, I wanted to make sure people were aware of my odd and unusual take on cameras from yesteryear, so this is more like Peggy's post about my thoughts on using the camera and the overall take on what a camera gem this is.

My Purma Special with Case

The Company:

Purma Cameras Ltd. was founded in 1935 in London. The name Purma is a combination of the two owners of the company: Tom Purvis, a well-known artist and lithographer who worked for LNER (London and North East Railway) from 1923 to 43, producing beautiful and popular advertising posters. 

Diagram on how the shutter system works on Purma Camera

 The other partner in the company was inventor Alfred Croger Mayo, who, along with Joseph Terrett, invented the unusual and very simple gravity-controlled focal plane shutter used in the Purma cameras. I believe this is Purma's real claim to fame and set them apart from other camera companies of the time. They also had financial backing from David Brock of Brock Fireworks, a company that started in 1698 and is the oldest British fireworks manufacturer.

Purma introduced its first camera in 1936, the Purma Speed. It was an enameled metal and chrome camera with a pop-up viewfinder. The Purma Speed camera had six shutter speeds and looked like a more traditional rounded-corner, rectangular camera.

Ad for the Purma Special

 With the introduction of the Purma Special camera in 1937, the company turned to an all Bakelite camera, along with a flatted diamond shape design with an art deco appeal to the camera due to the thin ridges built into the camera, which extend all around the camera. The Purma Special only had three shutter speeds but has a classic sleek design, and one that was the camera that set them apart design-wise from other cameras. The unique diamond shape and the use of Bakelite, a revolutionary material at the time, gave the Purma Special a distinct look and feel, setting it apart from its contemporaries. 

 The Purma Special was imported to many different countries, including the United States. According to an ad I found from 1939, the camera sold in the US for $14.95. It's my understanding that this was their most popular camera, although I cannot find sales records to prove these claims, as it's just from what I see for sale and the quantity of Purma Special cameras available today. The Purma Special was a popular choice among amateur photographers and was widely available in the market, contributing to its popularity and the large number of units still in circulation today.

There are a couple of unique features of the Purma camera. One is the 'pop out' lens, which is concealed by a thread in the lens cap, a clever design that protects the lens when not in use. When you screw the lens cap back onto the camera, it also locks the shutter. Unfortunately, these lens caps get lost, and many of the used Purma cameras are sold without the lens cap. The second is the use of plastics in the viewfinder. Purma was the first to do this, a pioneering move that made the camera lighter and more durable. These innovative features were ahead of their time and contributed to the Purma Special's appeal among photographers.

Purma also introduced the Purma Plus in 1951, which had an aluminum body and sold for £12.00 at the time. Production for the Purma Plus lasted until 1959. I cannot find why the company stopped producing its camera, so I assume it closed around 1960.


The Camera:

My Purma Special camera measures 6 3/4" wide by 2 3/4" tall by 2 1/4" deep with the lens cap on the camera, and the camera weighs 12 oz without the fitted leather case.  The camera has a Beck 2 1/4"  F6.3  lens with a fixed focus from 12' to infinity. Purma did sell a series of close-up and portrait attachment lenses that allowed for focus from 3.5 to 5' but were sold separately. These are items I do not have.

The Purma cameras use 127-size roll film and produce 16-1 1/4" square images on the negative. The Purma special doesn't have a locking mechanism to keep the back attached to the front of the camera. They are held together just by friction, but the back of the camera fits tightly to the front. The friction held back doesn't prevent it from accidentally opening if something were to happen. To open the back of the camera, there is a tiny thumb notch where you put your fingernail in and pull the back from the front.

The camera utilizes two red windows on the back of the camera, so you get 16 frames on the film; the photographer winds the film to the #1 exposure on the left window, then after taking the photo, winds the film so the #1 exposure shows up on the right side window utilizing the same frame number for both the left and right red window on the back of the camera. Once you shoot frame #1 on the right red window, the photographer winds to frame #2 on the left side window, and so on.

The Purma Special has a curved film track that holds the film flat against the shutter with a two-sided pressure plate attached to the camera's back door. The shutter system only has three shutter speeds. The shutter uses a series of different size slits in the metal curtain along with a brass weight within the camera to determine what shutter speed is used. The camera also depends on how you hold it, which would set the shutter speeds used. Remember, the negative is square, so having the camera in either vertical position doesn't change the image in the frame. It will only change the orientation of how the image is captured on the negative.

When you hold the camera in the usual horizontal position, the shutter would shoot, and the medium shutter speed would be 1/150th second. Turning the camera so the advance lever was at the bottom, or the "slow" speed, the shutter, the camera shutter is set to 1/25th sec. When you turn the camera in the other direction, with the film advance lever at the top, which puts the shutter in the "fast" position, the shutter speed is set to 1/450 sec.

Top view of Purma Special camera with circular wheel to cock the shutter, and shutter release

To take a photo, the photographer needs to cock the shutter. To do this, you turn the circular wheel on the top of the camera in the direction of the arrow. There is a small piece of bakelite sticking out to turn the wheel fairly easily. Once you turn the wheel in the counterclockwise position, the wheel will stop, and you'll hear a click which means the shutter is cocked and ready to make the exposure. You can do this with the lens cap on, but the shutter won't release until the lens cap is off. 

 The shutter release is on the top and left side of the camera. Simply press the shutter release to trip the shutter. BUT REMEMBER. Turn the camera as needed to change the shutter speed, especially since the camera has a fixed aperture lens. Wind the film to the next frame, then repeat until. It was odd for me to use this camera as I'm not used to having the shutter release on the camera's left side.

For those interested, here’s the original instruction manual for the Purma Special Camera

My Results:

I did have some outdated Film for Classics 127 film in my drawer, so I loaded up the camera and went to a local waterfall to take photos on an overcast Sunday afternoon. Go figure a cloudy day when living near Portland, Oregon. That will be my life for the next four months or so. The results were OK, but I was mildly disappointed when I looked at what Peggy and Mike did with the camera.

 It may also have been the fact that the film I processed was processed in a different tank than I'm used to using for 127 film, and I messed up putting it on the developing reel, so that was my fault. I have noticed whenever I use the Film From Classics film, the imprint from the paper backing seems to bleed onto the negatives, and I'm unsure if that's due to the film's age and being out of date by a year or two or something else.

 Here's what I salvaged from the messed-up developing roll I put through the Purma Special camera. It's nowhere near as lovely as Peggy or Mike's photos, but overall, it yielded decent results.

My Conclusion:

It was a fun camera to shoot with. Turn the camera to set the speed, point at your subject, and shoot the camera (with your left hand). Wash, rinse, and repeat. I hoped for better results but tried a different reel to process the film.

 Thank you for reading the blog post on the Purma Special camera. I'll definitely use it in the future due to its simplicity and unique shutter system.

 Until next week, please be safe.


PIC Camera

The PIC camera was on my list of cameras to review just before I returned to work after the two years lost years of COVID-19. Recently, when I looked up from my desk and saw the odd and unusual camera, I wanted to put a film into the camera, run it through its paces, and do a blog post on it. The main thing that caught my eye was the shape and size of the camera. You don't come across many round cameras with a straightforward design.

 I am trying to remember where the PIC camera came from, as I've owned it for five to six years. Like many of the other cameras I write about, the PIC camera was included in a group or "lot" of cameras purchased. I do remember when I received it; my first thought was that it was a "toy" camera, which I own many of. 

The more I examined the camera, the more I realized it was not a serious camera. It does not have the ability to set shutter speeds, aperture settings, or even focus at a specific distance. It's just a simple point-and-shoot camera made for quick snapshots, a camera you can keep in your pocket for when you travel on holidays or visit friends and family. 

The Company:

From what I can see online, the PIC camera is another camera with very little information regarding the manufacturer. There's conflicting information about the camera and who and when it was made. Some of the information I found states the camera was made in England sometime in the early 1950s by a company named Pressure Sealed Plastics Ltd. and distributed by Pic Distributors Limited.

 When I looked up information about Pressure Sealed Plastics Ltd., it was initially a London-based company. It states that the company existed from 1955 to 1966 when it was purchased. It was transferred from Peckham to Chesterfield in May 1970. Some online information also states that the company was not in London but in Southend on Sea. I'll leave it someplace in England.

In 1986, the organization was divided into two trading operations: Consumer Products and Industrial Products. The former was responsible for waterbeds. The latter took over the remaining operations and manufactured Rompa products, waterbeds, etc.

 From the information I found and posted above, I have no idea where the idea or manufacturing of the PIC camera came from. If you have other information on the camera, who designed it, or the company that made it, please let me know, and I'll change the information in the post.

The Camera:

The PIC camera is a round camera that measures 3 3/4" in diameter, is 1 7/8" deep, and weighs 3.7 oz. with a fixed focus meniscus lens. The camera has a slight convex shape on the back along with the front, but halfway into the convex shape on the front, there are two tiers of flat surface where the shutter and lens are placed. The side view of the camera resembles a spaceship or UFO.

To open the camera to load the film, there is no latch or hinge to open the back of the camera, but you slide the front of the camera from the back of the camera and pull it off. My guess is this is where the "Pressure Sealed Plastic" comes from, as it's held together by a tightly fitting front that fits onto the rear of the camera.

 The rear of the camera has nothing other than two red windows that tell you the frame number you're on when advancing the film. On the outside of the back of the camera is written, Pats. Pend. Reg Dsgn No. 870468, Made in England. On the bottom right of the back of the camera is a slot where the film advance wheel fits.

In front of the camera, you load the film via an insert that fits into that area. The insert is a place to put the take-up spoon on the right and a new roll of film on the left. There's an opening for the negative, which measures 1 3/8" wide by 1 7/16", the exposed image size on the negative. A hinged wire acts as a pressure plate to keep the film flat when loaded into the camera. The insert is removable to make loading and unloading the film more accessible.

Underneath the film insert is a metal disc that covers the shutter assembly. When I received the camera, the shutter wasn't working, and I didn't notice that the metal disc covering the shutter assembly wasn't in its correct place. When I decided to write a post on this camera, I wanted to see if I could get the shutter working. This assembly is elementary and something even the non-mechanical person I am could get working again. I popped off the disc, and the shutter has two different levers corresponding to the levers on the front of the camera. My guess is that there is a shutter lever for "T" or timed exposures and another lever, "S," for snap. Generally the second shutter setting is "I" for instant, but this one is different.

 In the middle, there is a disc on the end of a piece of thin aluminum with a hinged rivet on the bottom that has the shape of an open safety pin, but the pin part is short, so it doesn't fit into the safety part. A spring holds the lens cover assembly in the closed position. Above the lens cover are your shutter levers, which also have hinged rivets, with a more extended metal arm that is bowed in the middle to fit over the lens covering disc, and on the bottom of the arm is a slight bend that allows the arm to interact with the shutter cover assembly. On the left of the shutter cover is a lever for the "T" shutter release for timed, and on the right is "S" for snap. A spring is between these two shutter assemblies to hold the arms away from the lens cover assembly.

Here's how the different shutter levers work. When you pull down the "T" lever, the shutter assembly arm slides over and pushes the lens cover away from the lens. Holding the shutter lever down keeps the lens open for the length of time you hold the lever down. When you pull the "S" lever down, it slides the shutter arm over the  "short pin" arm and grabs the shutter cover assembly. When you release the "S" arm, the shutter arm pulls the lens cover away from the lens, and due to the short pin arm, it slides off, and the lens cover closes, making a short exposure somewhere in the 1/50 sec timeframe.

The viewfinder on the PIC camera

There is a round viewfinder on the top of the camera, which doesn't correspond to the shape or the distance you get within your photos. 


The Results:

I had some expired 127 film from Film for Classics, which I purchased just for these cameras to test out. I fixed the very basic shutter, replaced the metal disc covering the shutter assembly, loaded a roll of film into the camera, walked around my house, and took photos, and here are the results.

My Conclusion:

You can tell from the photos that the lens isn't very sharp. It has a very "Lomo" look to it. I didn't get to photograph something close because I felt the plastic fixed focus lens wouldn't produce tack-sharp images, but it did take pictures. It was easy to use, but I'd take nothing on holiday unless the photos I wanted to create were similar to a Diana or Holga-style camera. Overall, the camera worked, and I discovered it's relatively rare due to the plastic construction and short camera run. People ask for around $500.00 on eBay when you can find them. I'll put it back in my collection and move on to a different camera next week.

 Please comment on your thoughts on this or other cameras I've discussed. I'd love to hear your thoughts on this camera.

 Please be safe until next week's camera post.

SportShot Senior Twenty Camera

One of the first memories I have of the SportShot Senior Twenty camera was looking through McKeown's camera (bible), collecting cameras, and noticing the odd shape of the camera as I thumbed through the pages. Then, upon doing a little more digging into what made this camera special to me, a company in Australia made it, and it only existed for a couple of years. These are the cameras I desire, and these it's these items separate cameras in my collection. 

My ACMA Sport Shot Senior Twenty camera.

 Whenever I travel alone for business or when my wife and I travel internationally, I always try to find the local flea market to see if I can find items that are rare in my part of the world. There are thousands of extremely popular Kodak box-style cameras, whether made from cardboard and leatherette covered or the bakelite cameras you see in every corner of the world. When I first started collecting, I would snatch up any camera because they were a "camera." But as time goes on and I see more of the odd and unusual items, I increasingly appreciate them.

I traded the SportShot Senior Twenty camera about a year ago for some items I had from a dealer who frequents the US occasionally from Australia. The trade happened at a camera show near to me. I got the SportShot Senior Twenty camera. I picked up a few other cameras from Australia, like the red Swiftshot and the Lexa box camera with an excellent metal faceplate. I believe he was happy getting tradeable items he could return to Australia, as it was hard to find items here in the United States.

The Company:

The SportShot Senior Twenty camera maker was the very short-lived ACMA, which stands for Australasian Camera Manufacturers Australia. They were based in Sydney, NSW, Australia, and existed from 1948 to 1950. I've looked at many different commerce sites in Australia and cannot find anything new about the ACMA company. They were one of Australia's only post-WWII camera manufacturers producing cameras. Inside the logo on the camera where the wording Australasian Camera Manufacturers Australia is located, the words British Make are there. There must have been British backing in the company to produce the cameras. 

My best guess is that while the camera is somewhat awkward to hold and use, it wasn't very popular, and sales never caught on, so the company folded, and what was made are the only examples available today.

 Since a large part of my collection is colored cameras or cameras other than black, I like the fact that this camera came in red and green as well and had a matching plastic strap to match the camera itself. These are now on my radar for future purchases. 

My Camera:

The SportShot Senior Twenty camera is triangular or trapezoidal in shape with what appear to be wings in the back to hold onto when taking a photo. The camera measures 5.5" wide in the back and 2.25" in the front. The camera is 4.5" deep, including the lens, and is 3.5" tall with the viewfinder closed but including the winding knob. The camera weighs 13.2 oz without the strap, which I don't have for this camera. The camera has a single red window on the back and shoots 6x9 format, producing eight exposures on either 120 or 620 film.

The camera is comprised of two separate parts. The top comes off with an effortless latch on the back that is somewhat spring tensioned with a hole that fits into a small knob holding the top to the bottom of the camera. On the top portion of the Sport Shot Twenty camera is also a pop-up viewfinder, along with a very odd winding knob. The winding portion of the film advance that fits into the film roll has a triangular shape; it will fit both 120 and 620 films. 

 Because the camera can shoot both 120 and 620 films, the useability is a bit more interesting as this opens the camera's film up to different types. The downside of having the winding portion shaped as it is is that the film advance is more difficult to use, which is what I experienced when I shot a roll of film through the camera. On the top of the camera adjacent to the film advance knob is stamped ACMA S20.

The camera loading is also not the easiest thing to do. Once you have the top off, you can take the empty roll from the right side and put t on the left side where the advance knob is. When loading the film, the tricky part was the channel it slid into to keep it flat for exposure. You can't just put in the roll, slide it over the shutter, and attach it to the empty spool like you do on the majority of cameras. The SportShot Senior Twenty has a thin slot the film needs to go into to keep the film flat, as you can see in the photos.

To load the film, I put the leader into the take-up spool and rolled out a bit of film to slide it into the thin channel. It took me a few times to get it in because the channel was so thin the film paper packing would crinkle and fold a bit, along with the curvature of the channel. It wasn't an easy load, but eventually, It slid in, and I got the camera loaded. How you load the camera was another factor against it when trying to sell to the masses. You don't want to make things more complicated than they need to be.

Note the thin slot film needs to be slid into to load film.

When I went to shoot the film, I loaded it into the camera, and I went to clean the lens. When cleaning it, one of the sides pressed in. I thought, "This wouldn't work with one side of the lens, not in the right position." I turned the lens, and it unscrewed from the camera body. I pressed the lens back into place, then re-screwed it back onto the camera.

 There are only two settings for the shutter. "T" for time, where the shutter stays open as long as you keep the shutter button depressed, and "I" for an instant for everyday shooting. The lens is a 13.5cm or 135mm lenticular lens f3.5 aperture. The lever above the lens is the shutter release, and you press it down towards the lens to take the photos. The viewfinder is a simple pop-up style and closes when not in use. There are no other settings to choose a different aperture, which makes this an extremely simple-to-operate camera.

My Results:

After struggling to load the camera, I had put a roll of Ilford FP-4 in the camera and walked out in front of my house to see how it did, and here's the results.

Conclusion:

Other than struggling to load the film into the camera, along with advancing the film. Due to the shape of the advanced knob that fits into the take-up spool, it didn't grab very well, and there were several times when the knob turned, and the film didn't move, but as long as I took my time, it did advance. Maybe it would do better with 620 film since the slot on the spool is thinner, and the advance knob would fit and hold into the spool better. I'm not going to say the camera was hard to use, but it wasn't the easiest, and I can understand why people would get frustrated using it. None of the images are sharp, but some are better than others. This may have been caused by removing the lens.

 Thank you for taking a few minutes from your day to look over this review. I realize it's not a sophisticated camera, but it definitely has an unusual shape.

 I have an odd camera set for next week's post and hope to hear your thoughts on it or other cameras I've written about.

 Until next week, please be safe.

Marchand Fischer Baby Camera

Whenever my wife and I visit a foreign city, I check to see if the town or a surrounding city has a Flea Market to check out the local market of used and collectible cameras. This spring, my wife and I returned to Paris, which has a robust and large Flea Market area that thrives on the weekends. 


The Flea Market, which comprises smallish stalls selling goods from carpets to antiques and almost anything imaginable, was a used camera store. It was not in the flea market but on one of the main roads surrounding the markets. Looking around the camera store, I noticed that the shop owner had many great cameras, but one that caught my eye was the Fischer Baby camera made by Marchand.


The Company:

I don't have much to say here, as I've searched the Internet and cannot find out much about this company. It's most likely because they were a small French company in Charbonnieres, France, after WWII. They produced a minimal amount of toyish cameras in the 1950s sold in toy stores. Due to their build quality, which I'll get into more when I explain the camera below, they were poorly received and, therefore, went out of business.

 If you or anyone who reads this post knows anything about Marchand Co., which produced these cameras, I'd love to know, and I will update the blog post with that information.

The Camera:

There are a few items that drew me to this camera. The faceplate is typical, but it does have a 6 on one side of the lens and 9 on the other. My first thought was that it was a fascinating film format. I'm a real enthusiast of anything panoramic, so this was the first light bulb in my head. Then, when I got closer to the camera and picked it up, the bulbous size and extremely light weight of the camera were pretty fascinating. It has almost a circular look and feel to the camera. Being someone who enjoys panoramic cameras and images, the 6x9 format made this very intriguing.


The camera is straightforward and similar to a Box-style camera but even simpler as there is no aperture setting and only two shutter speeds. The Fischer Baby has a very simple shutter with a bulb setting  "P" for time exposures and an "I" setting for instant. The camera's shutter, at least on my camera, "clicks" when you press the shutter button down, which exposes the film, but it does the same thing when you pull the shutter button up to what most people would think it to be the starting position. The shutter speed is about 1/80th sec, and possibly even slower.

Another fascinating point about the camera is how thin the plastic is. It doesn't have a lot of "heft" to it, and it's pretty light—the camera loads like any other simple point-and-shoot style camera from the late 1940s to mid-1950s. There's a red window on the back of the camera so you know when you're at the next frame to take a photo. The transport continues, but you can wind past the next frame if you're not careful.

 The Baby Fischer has no frills in its design. Two clips on the side of the camera keep the front of the camera attached to the back of the camera. There is no locking mechanism, and the clips could open easily, exposing the photos already taken. My camera is missing its strap because one of the eyelets has broken off, which I'd guess is pretty standard due to its build quality.

The Results:

My first impression was that this camera takes 120 film. When I went to load the film, the 120 roll was too big, so I thought this must be a 620 film camera. Its re-spooling capability allows you to re-spool 120 films onto a 620 reel. I found an empty 620 film spool and a 120 roll of T-Max film, put them into my dark bag, and re-spooled the film.

 I had never done this before, and when I took the film out of the dark bag, it looked OK. It was not professionally done, but it was my first time doing so. After loading the film into the camera, I took photos with my second spare 620 spool.

 The results showed that my re-spooling wasn't perfect. In fact, it was poor, as there was some light leakage coming from the end of the spool where the film wasn't tight enough. Other than the light leaks, the results were pretty good.

The Conclusion:

After walking around my backyard and in front, too, the camera could have been better to work with. The viewfinder was challenging to look through and not precisely in its proportions. The winding was OK; you can see the film advance and frame numbers in the red window on the back. Since there wasn't a strap on my camera, I had to carry it, which wasn't uncomfortable, but I was always thinking about not dropping it. I'm glad I did a post on this camera and have already picked the camera for my next post, which will be on the Exakta 66 camera.

 Thank you for reading this post. I appreciate your time. Until the next post, please be safe and well.


Petal Camera

In my early days of collecting, I was never a real huge fan of the smaller subminiature cameras, mainly since most of them were the lesser quality cameras, or as I called them, "carnival camera" like the Hit camera. Then there was the other end. The 007 spy style camera was coming from Minox. As I grew in my camera maturity, coming across cameras like the Minolta or Yashica 16mm camera gave me an appreciation of some of these cameras' quality and quality.

My Round Petal camera

My Round Petal camera

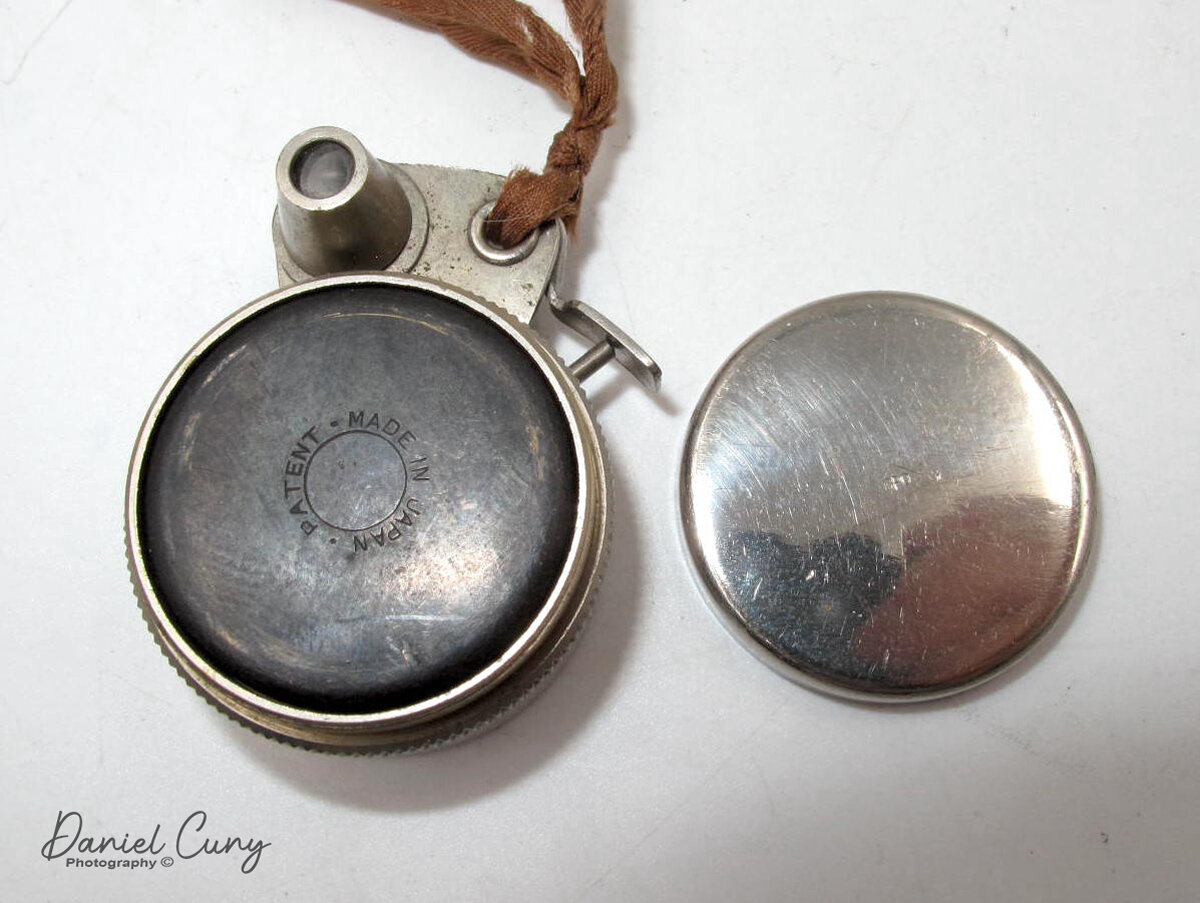
For this week's camera blog post, I wanted to go back to one of the subminiature cameras I have in my collection. The Petal camera has always intrigued me since it's the smallest of the small non-medical cameras made according to Guinness World Records. As far as cameras go, this one is tiny and just a little larger than a quarter in the US or a 2 Euro coin. The St. Peter Optical Company made the Petal camera, whose Japanese name was Sei-Petero Kōgaku, in 1948. According to some, I've seen some references where it stated its introduction in 1947. The first US advertising of the camera was in U. S. Camera in February 1949, which you can see here.

The Camera:

The Petal camera comes in two different styles, with an even rarer third version named the Evarax A. The two primary Petal camera are either a round-faced camera, which is what I own, or a second model with an octagonal shaped face. The Evarax A camera is an octagonal shaped face camera with a more elaborate etching on the faceplate. The Petal camera is only 1.25" across by 1.75" tall by 5/8" deep and weighs 2.2oz. The camera has a 12mm f5.6 lens, placed in the upper middle on the front of the camera. There are two shutter speeds, either "B" for time exposures or "I" for instant, which is 1/25th of a second, controlled by a wheel on the camera's front.

My Petal camera compared to a U.S. Quarter.

My Petal camera compared to a U.S. Quarter.

On the top of the camera is an optical viewfinder, and to the right of the viewfinder is the shutter trigger lever. Along the top of the optical viewfinder is a lever that can be mover over the trigger arm to lock it so you cannot take a photo when you don't want an accidental image taken. The shutter release lever pushes a plunger down into the camera, which trips the shutter. On the camera side is a knurled ring that you rotate to advance the film to the next exposures. To the side of the knurled ring, number 1 to 6 with indents stops the ring at the next photo.

Loading the Camera:

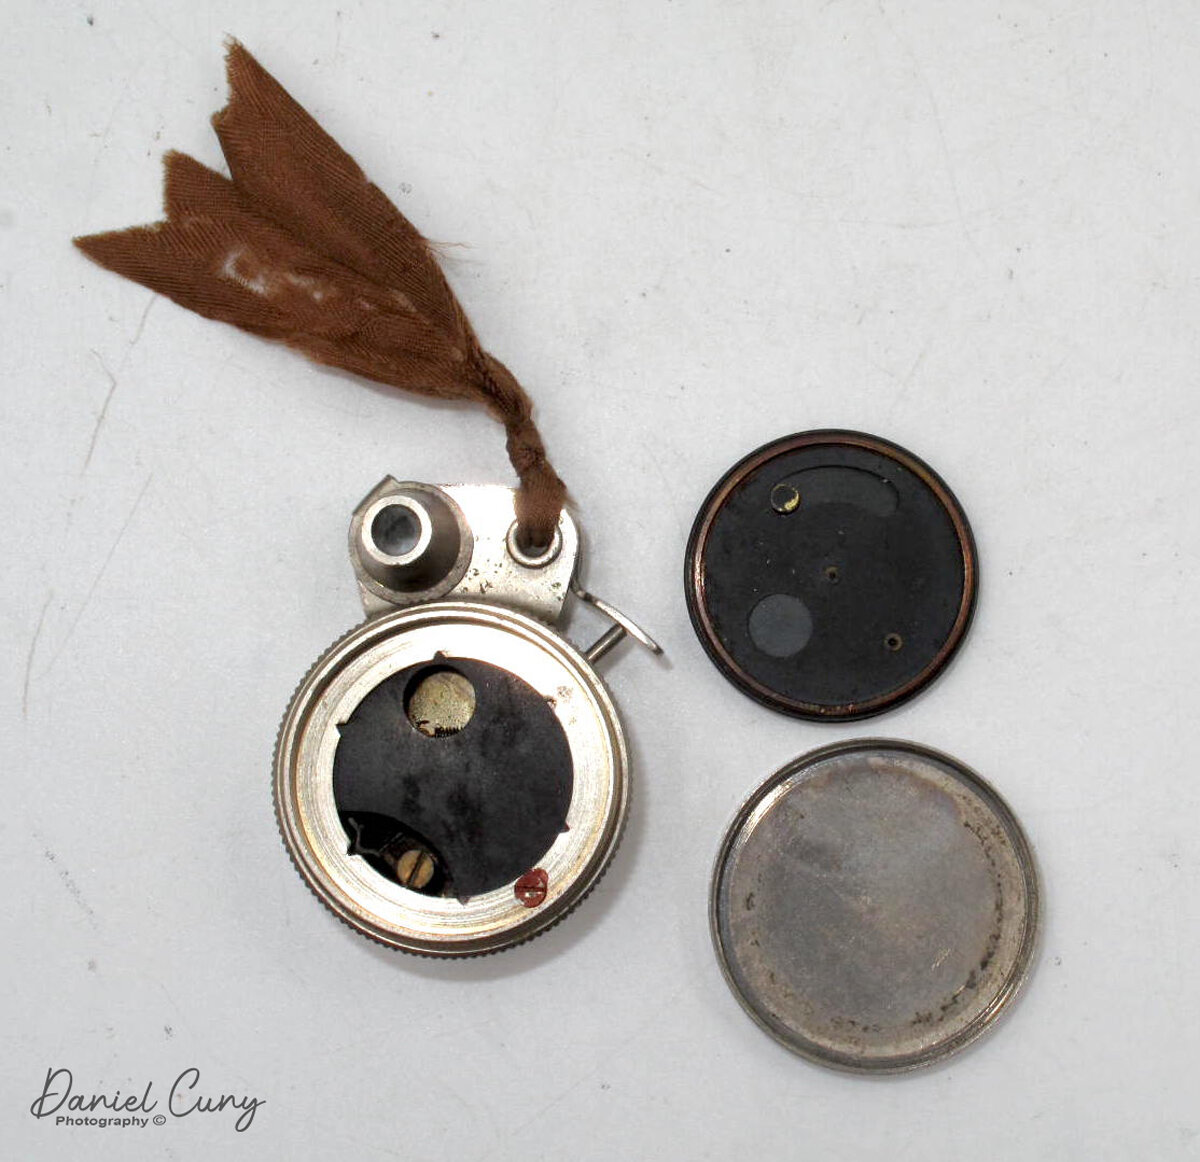
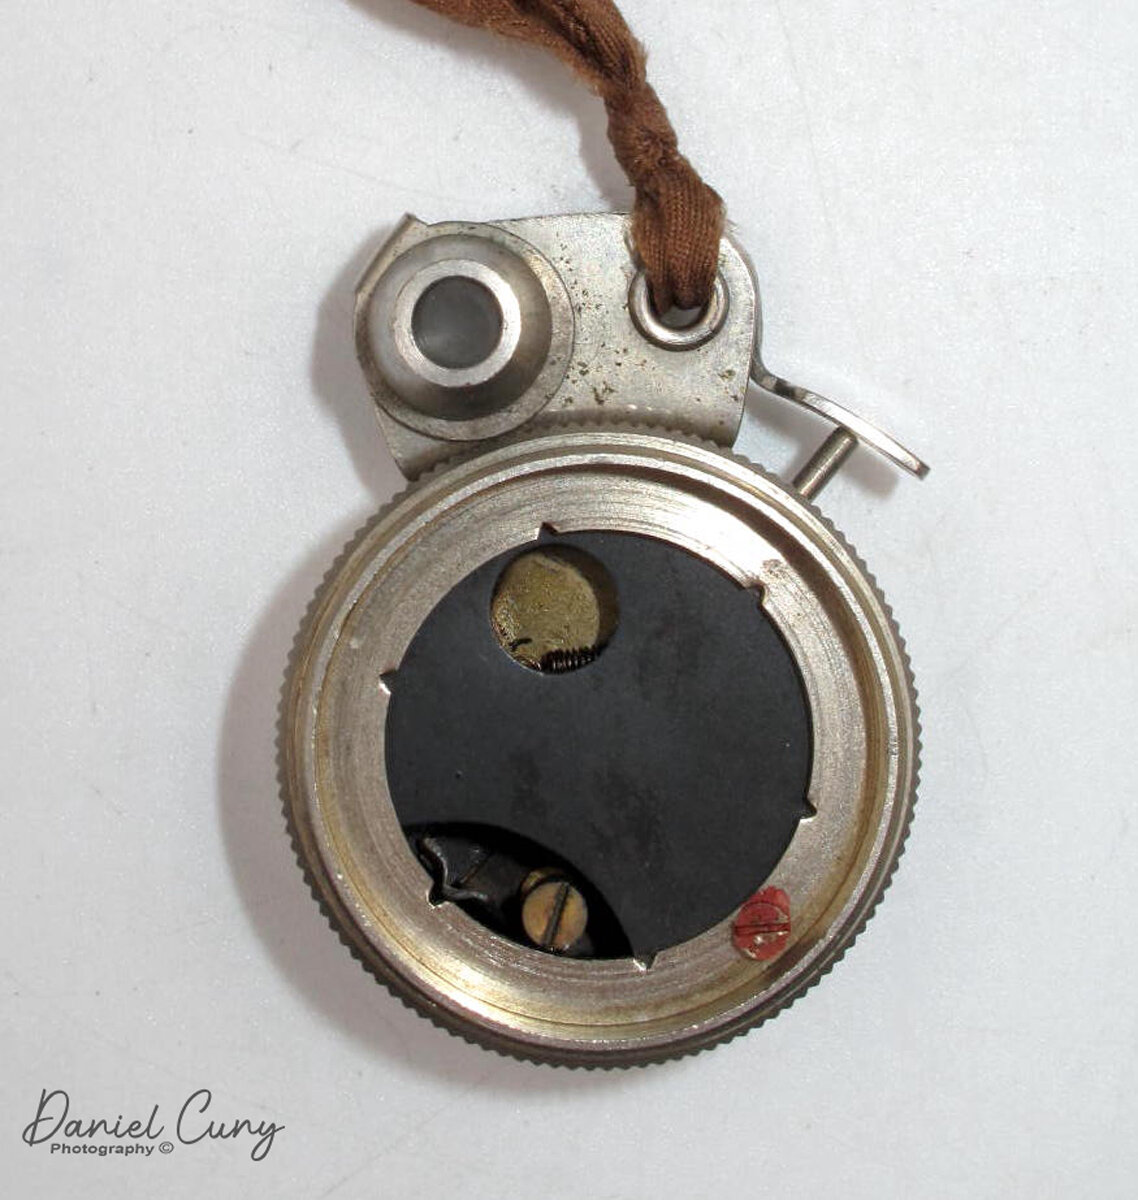
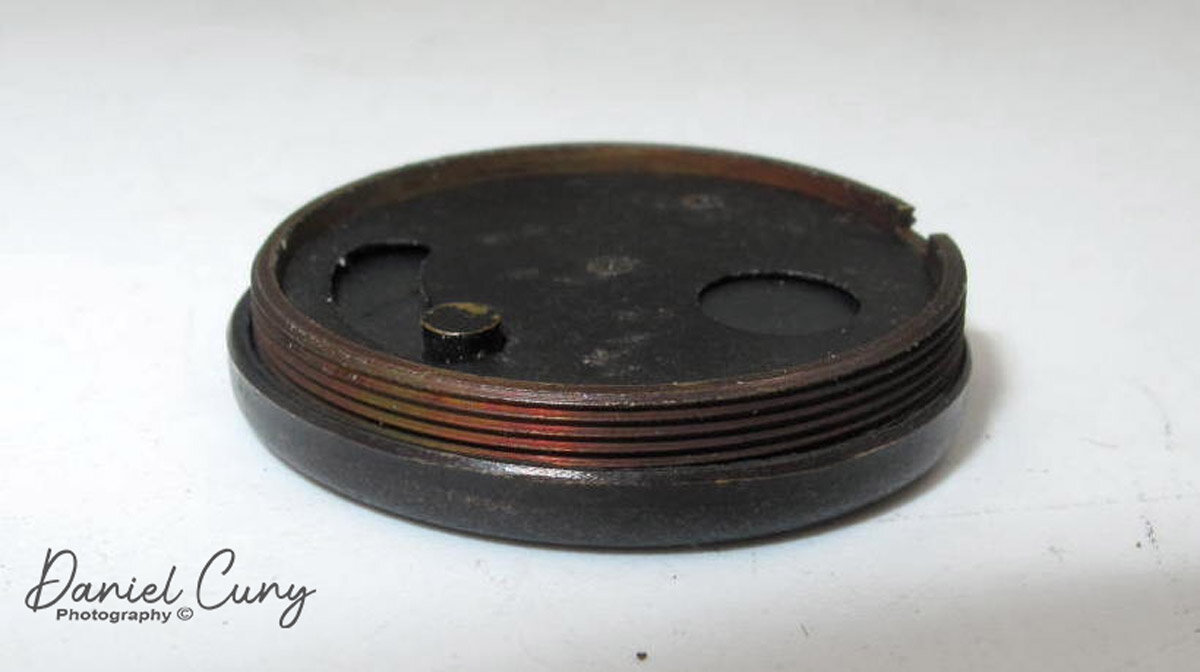
It took me some time to figure out how to get to the film chamber. After playing for about 15 minutes or so, I noticed that the back of the camera. The camera back can be unscrewed to get to the film cassette. Once the back is off, it exposes the film cassette. Once that's removed, you can see the shutter mechanism and the inside of the camera itself.

Unthreaded the back off the Petal camera. You can also see the exposure counter.

Unthreaded the back off the Petal camera. You can also see the exposure counter.

The film came in preloaded discs with 6-6mm images on each film cassette. The film cassette holds the film. To get to the film, the cassette needs to be unscrewed too. The original Petal film was a panchromatic film, which needed to be loaded in complete darkness. Many people used orthochromatic film like that can be loaded and unloaded under a red safelight, which doesn't affect the film. A film cutter allowed the Petal camera owners to cut 35mm film to use in the film cassettes.

Once the film is in the cassette and back into the camera, you thread the back onto the camera. You need to rotate the back portion of the camera one to two revolutions clockwise until the #1 is next to the exposure indicator. Doing this opens the film window on the film cassette and allows light to get to the film once the shutter is triggered.

Exposure counter on the Petal camera.

Exposure counter on the Petal camera.

After you took the six exposures, the exposure counter is at number six to unload the film. You need to turn the number counter clockwise two numbers to number 4, closing the film window and allowing the photographer to unscrew the back and take out the film cassette for processing.

Conclusion:

The Petal camera is a lot more sophisticated of a camera than I first thought when I purchased it many years ago. It's very well built and a prized camera to own for the "spy" photographers. Extremely small, very well made, and a beloved camera in my collection. The shutter on my camera is inoperable. It would be fun to cut some film and take it out for a spin.

 If you have questions or comments about this camera or any others in my collection, I'd love to hear from you. Thank you for taking a few minutes from your day to read about this fun camera. Until next week, please be safe.