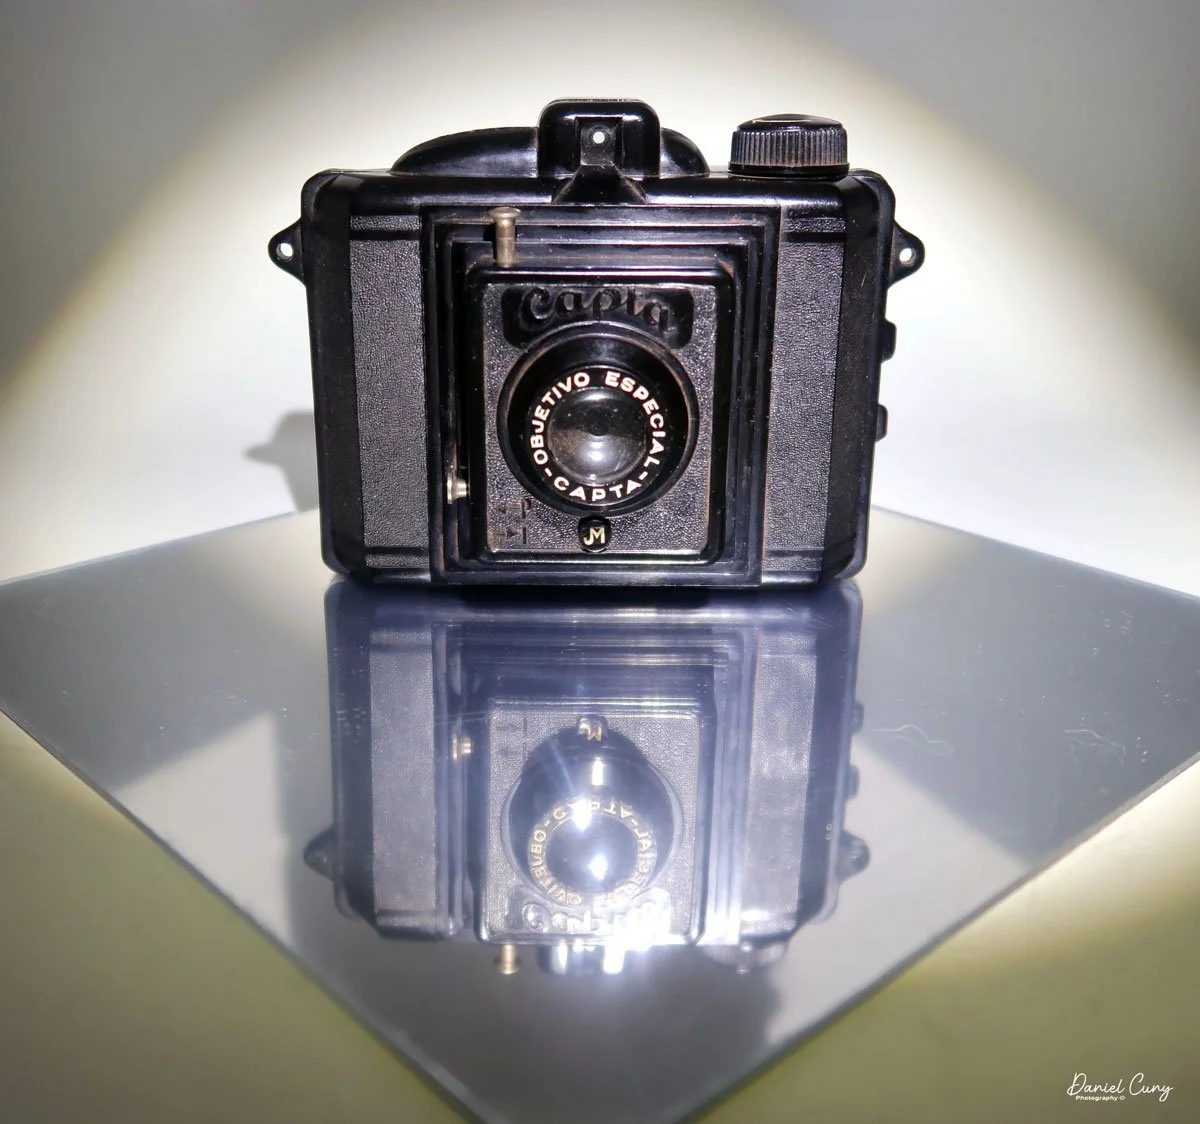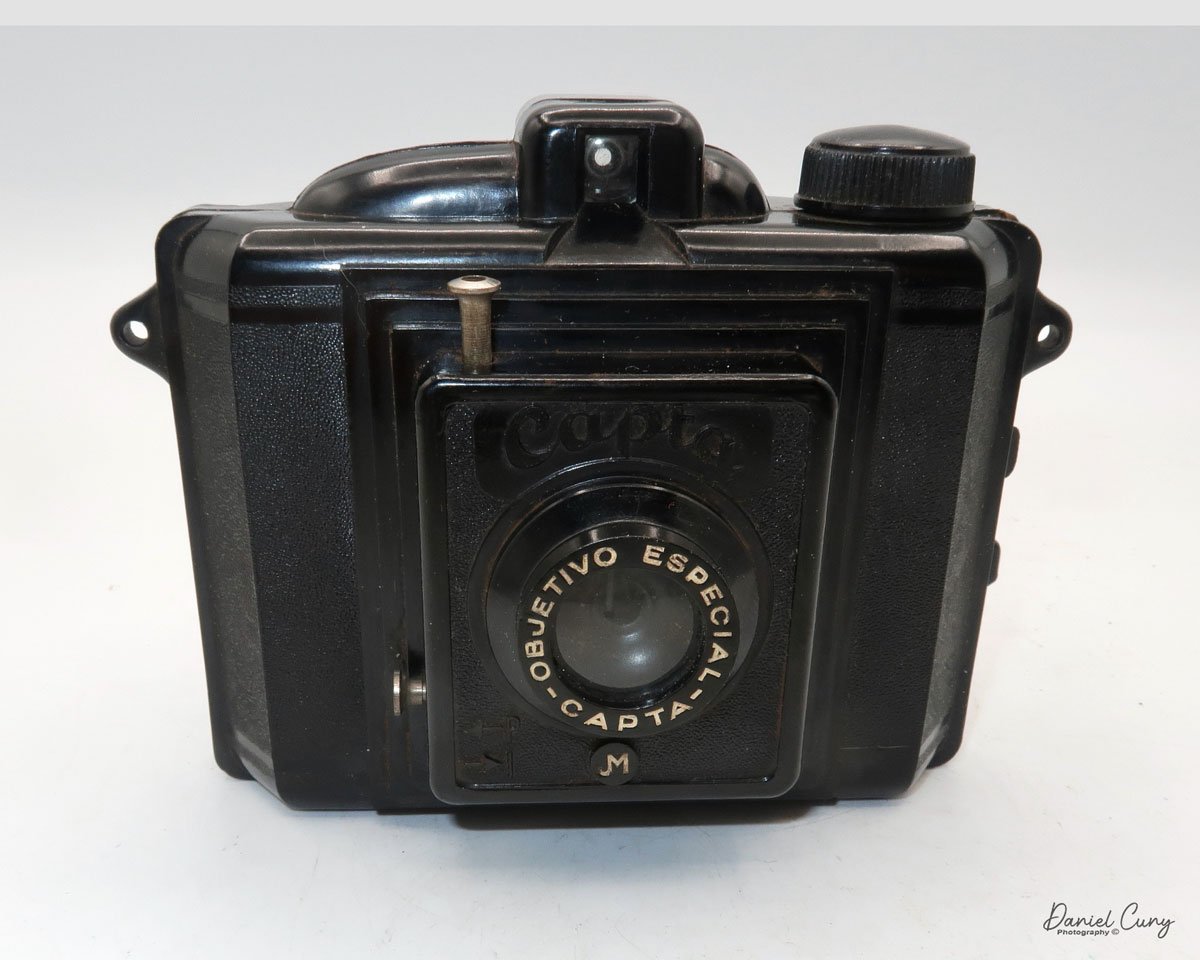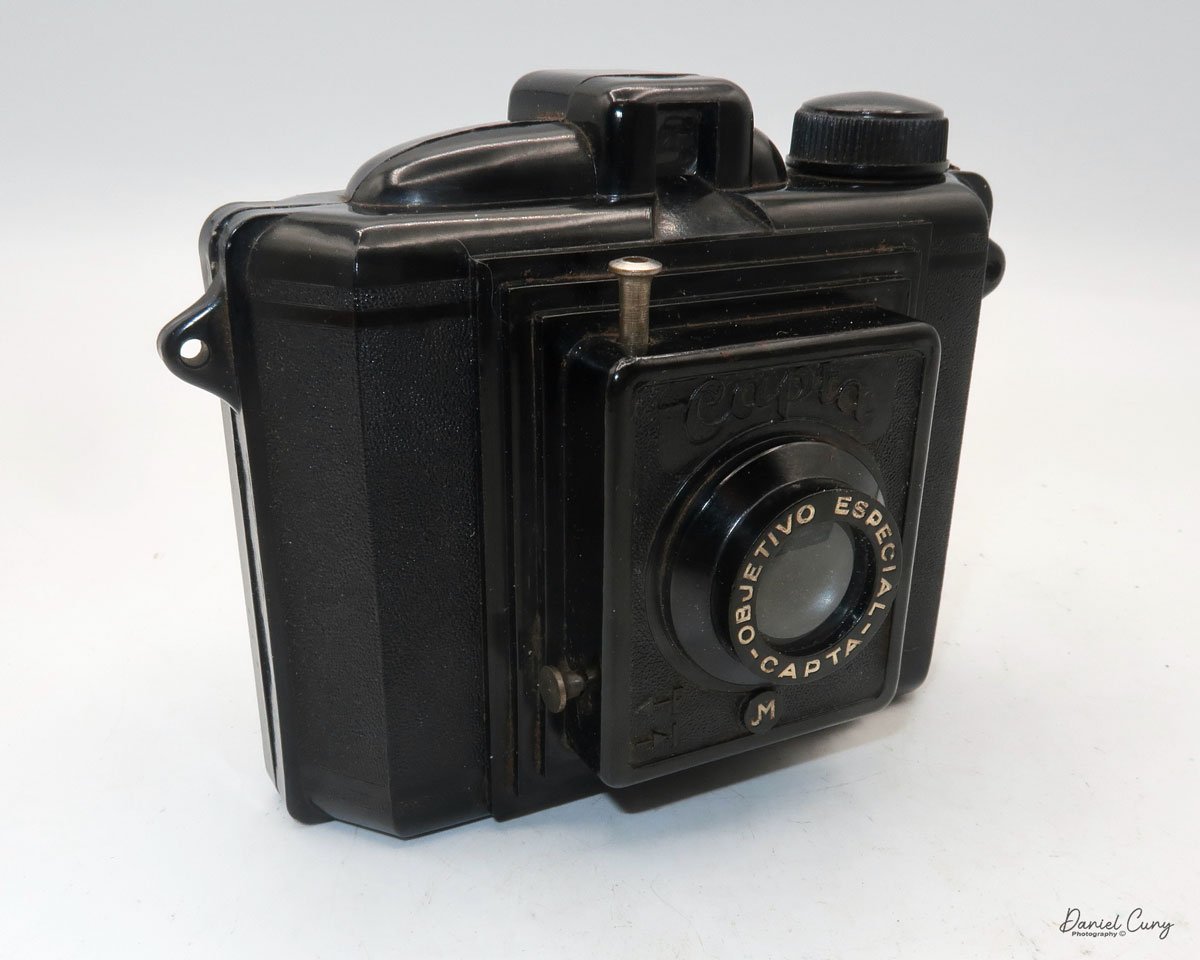
My Ensign Ful-Vue camera
My wife and I were planning a trip back to California, visiting one of my favorite places on earth, Yosemite, and then heading to San Francisco to visit a friend whom we had moved away from nine years ago. We had been going to Yosemite together since before we were married in the mid-1970s, and there are just so many beautiful and memorable events that have happened there. It doesn't matter what time of year you go; there are things to see and photograph that make it a magical place for us to visit.
As I was browsing through the many cameras on my shelves, I must have had a subconscious desire for the Ensign Ful-Vue camera. As I looked at the camera and thought about Yosemite, I noticed that the shape of the top of the camera's viewfinder resembles the shape of Half Dome in Yosemite Valley.
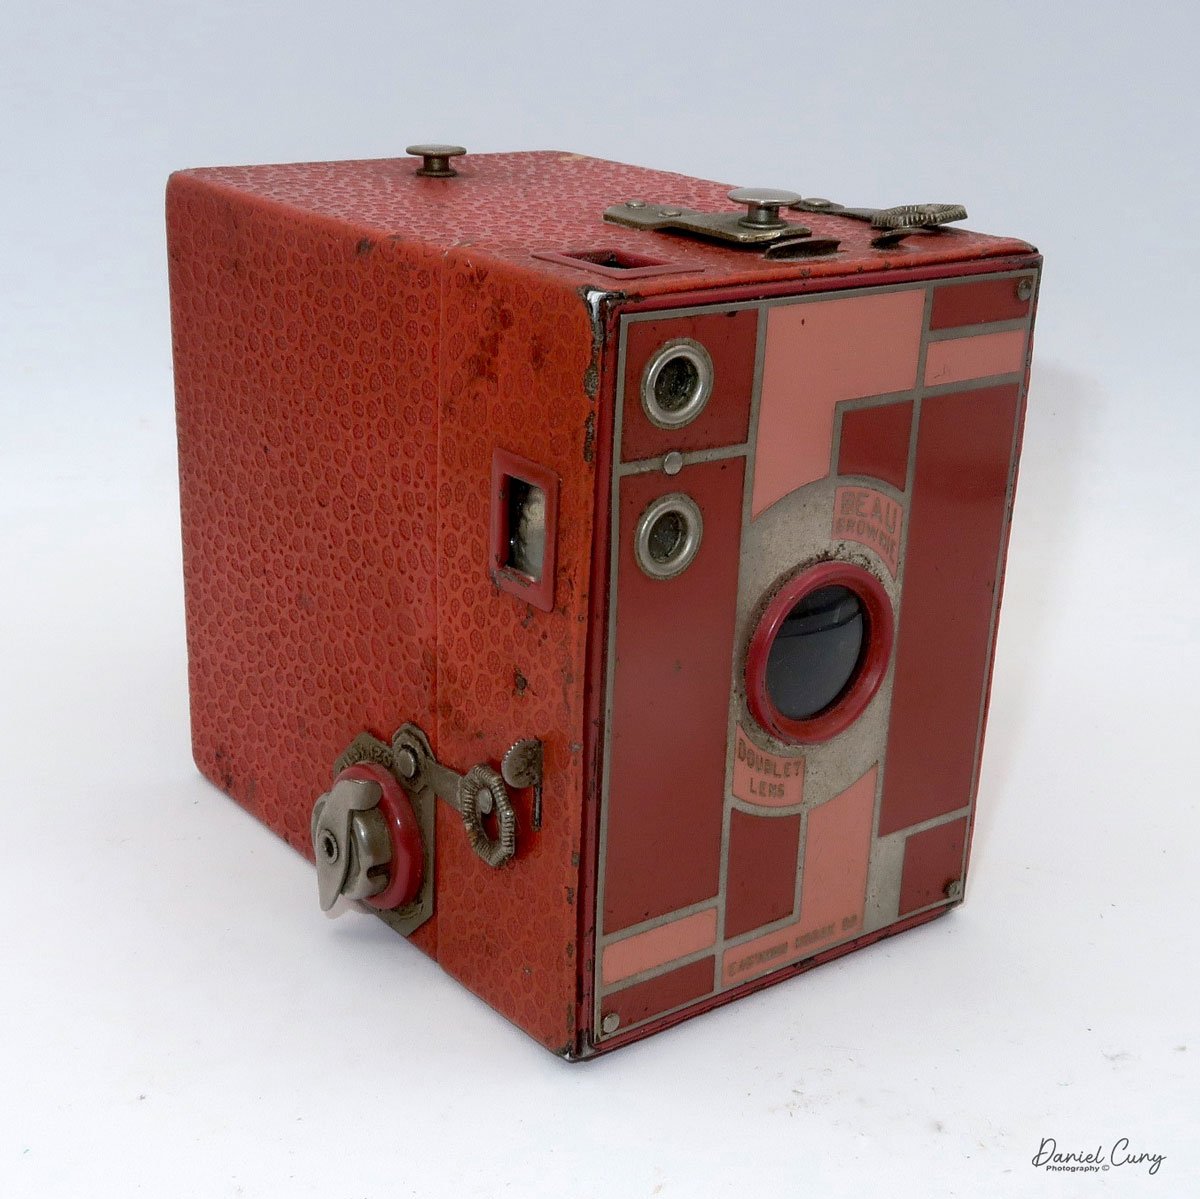
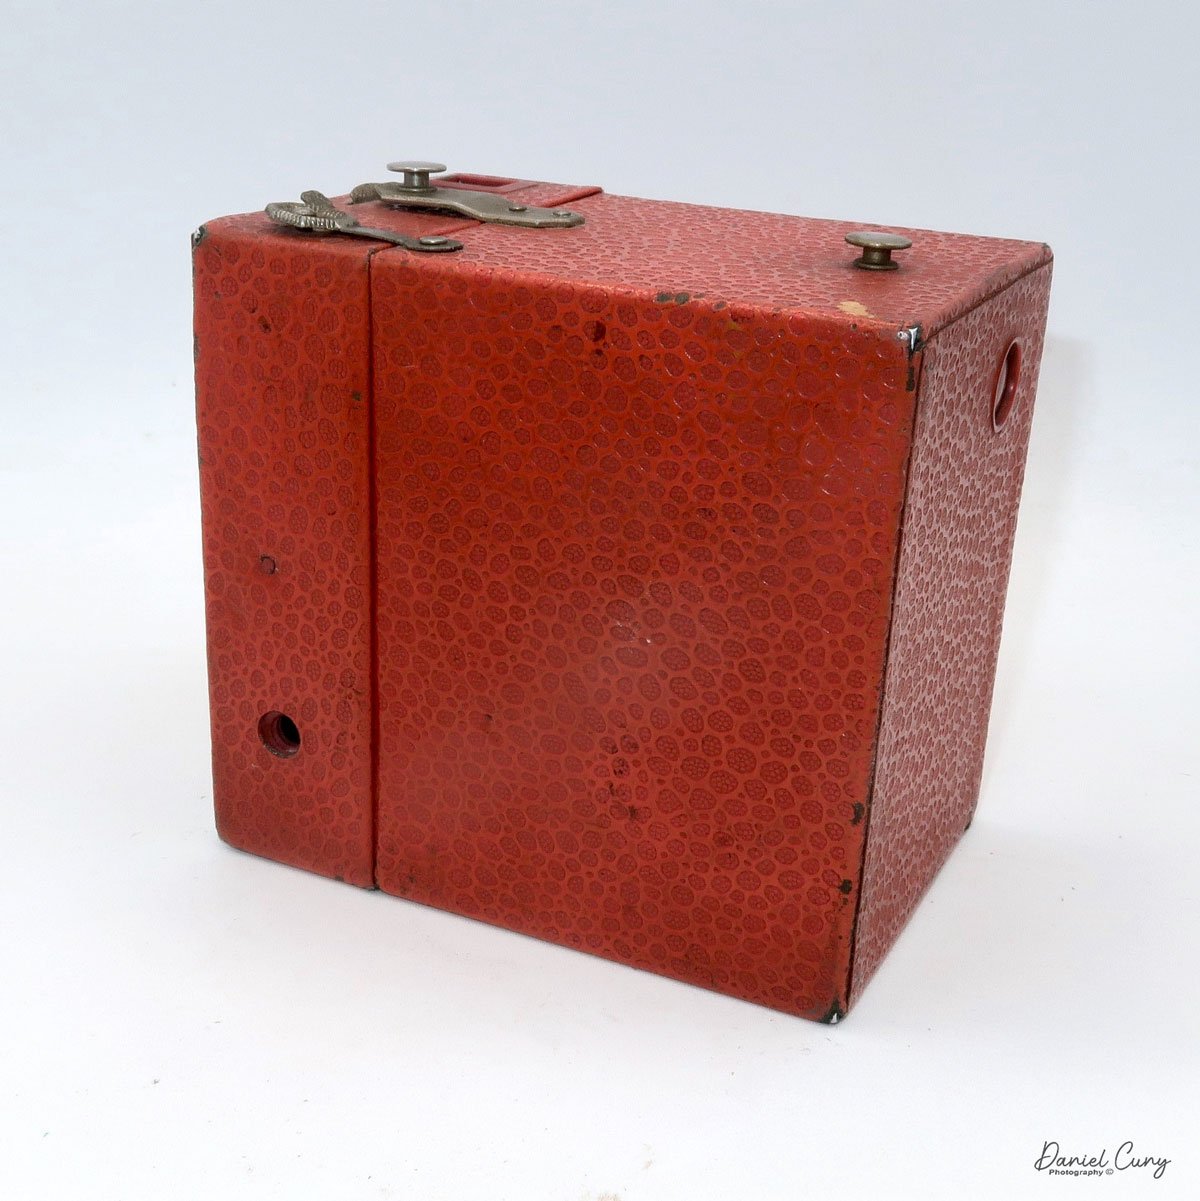
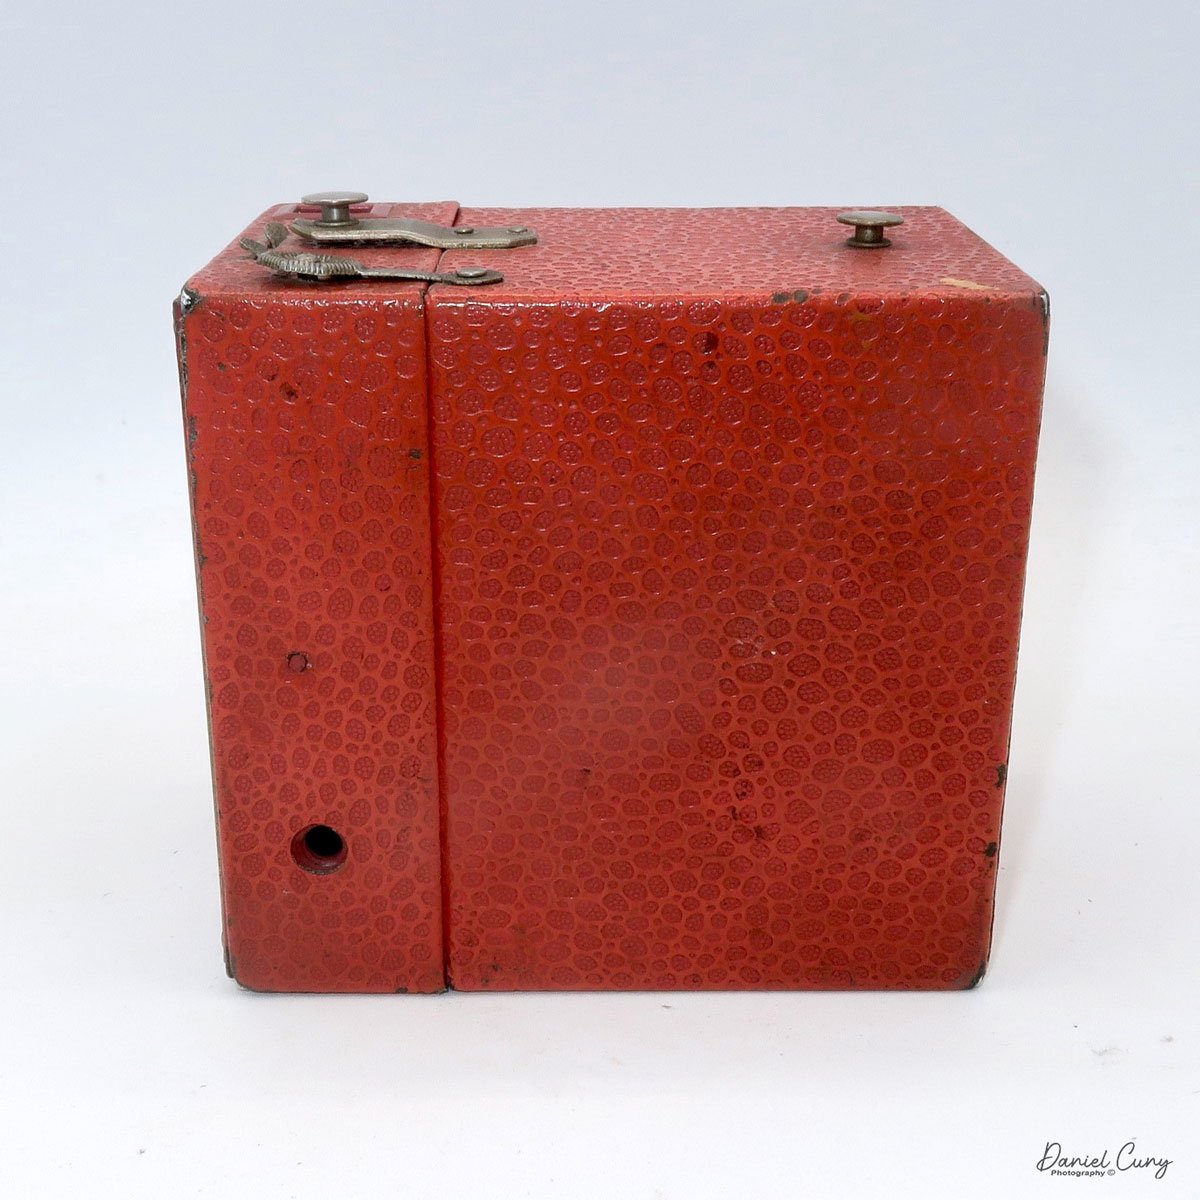
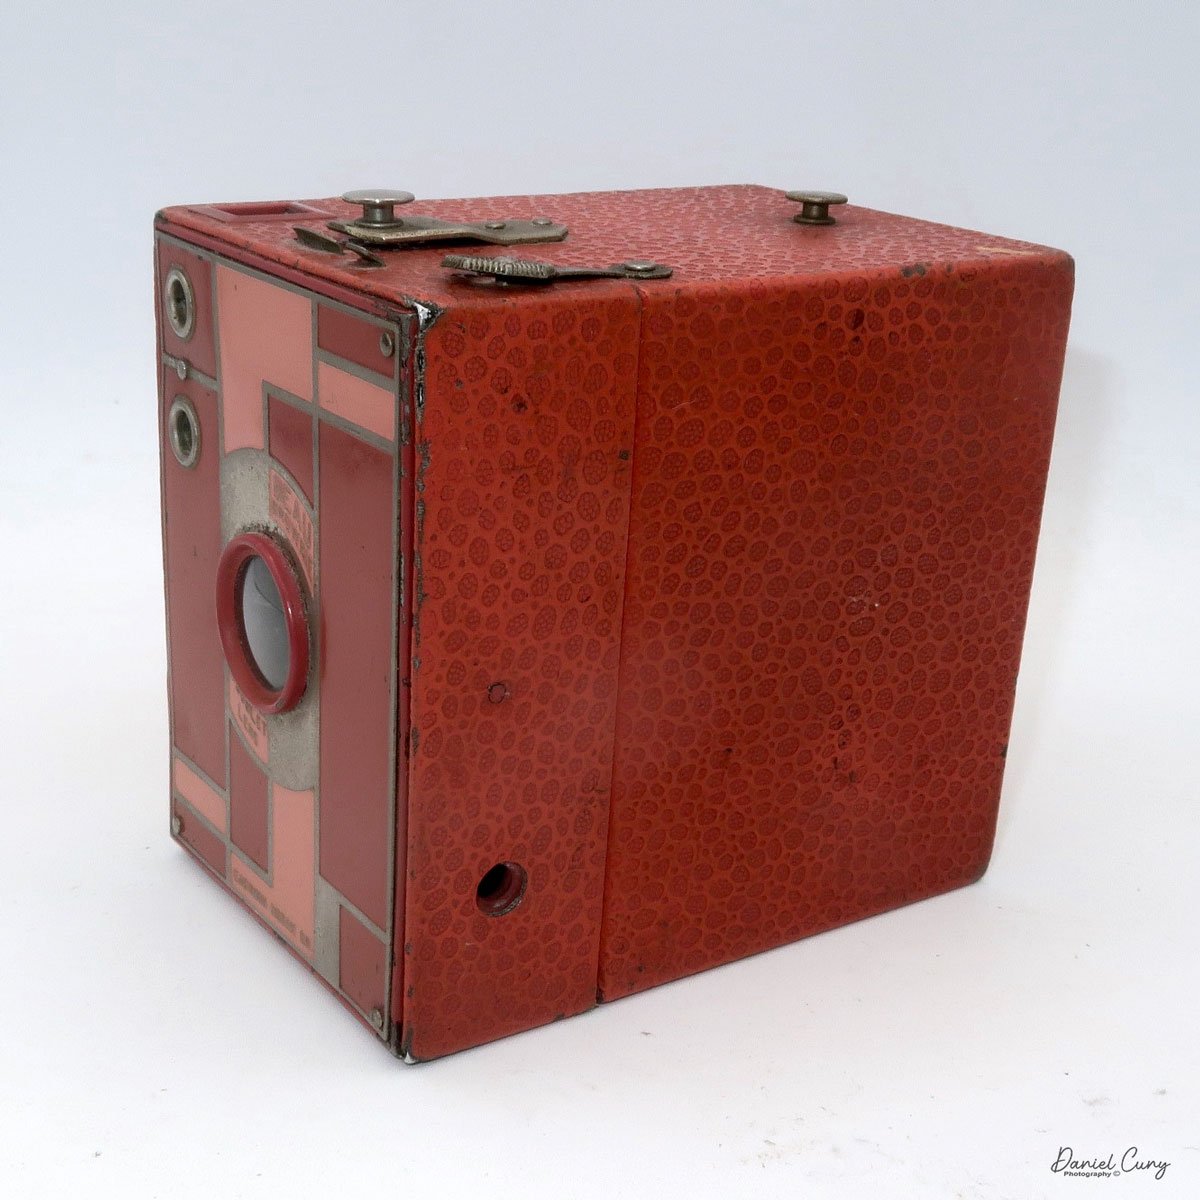
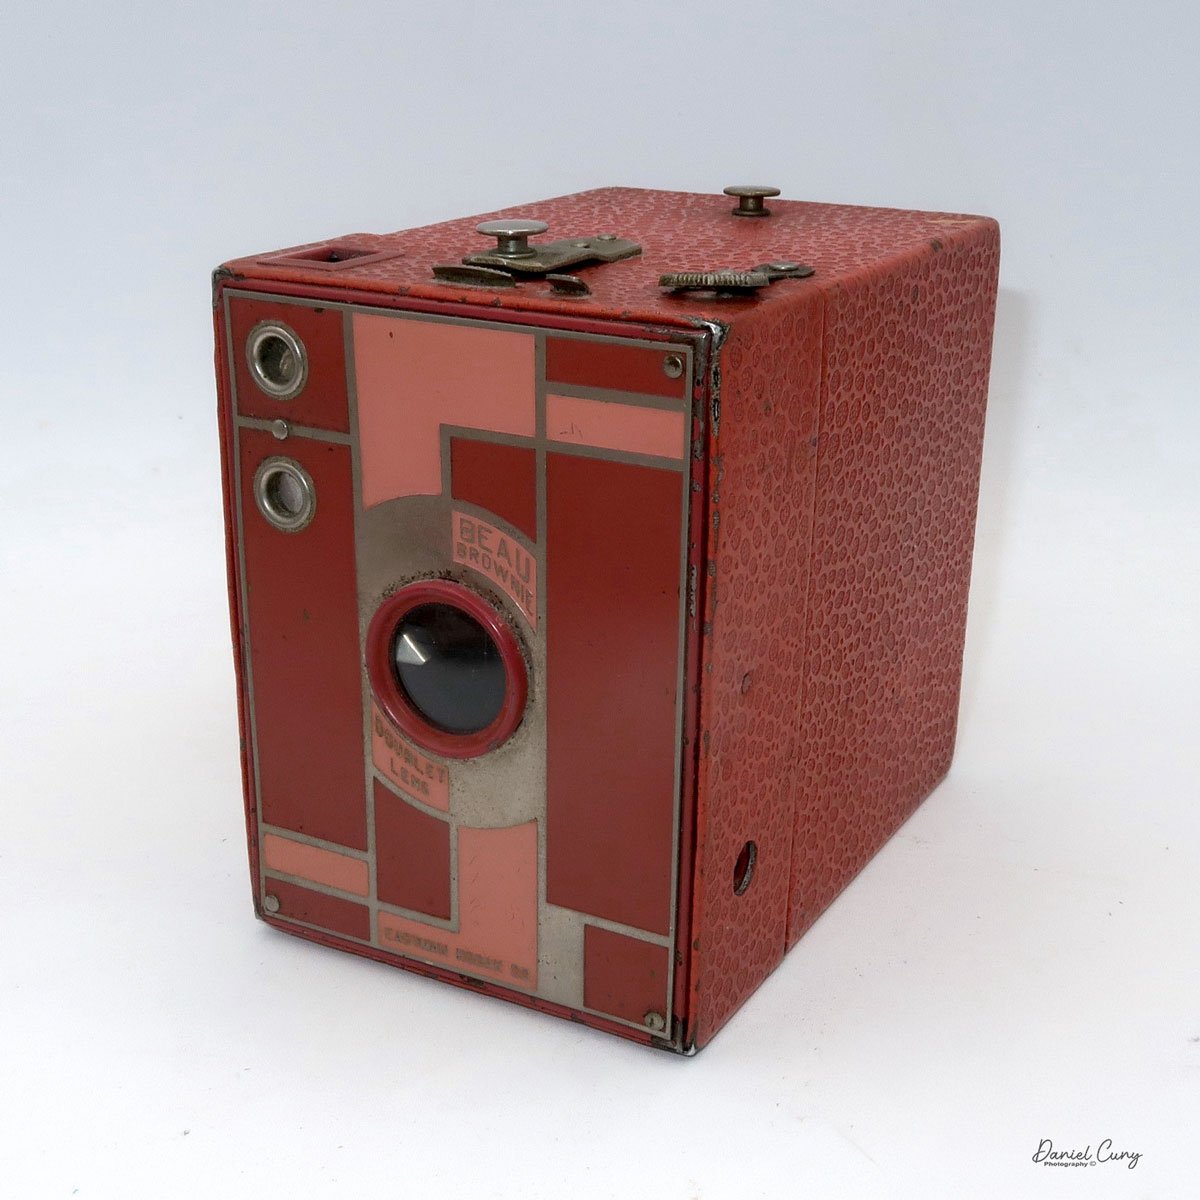
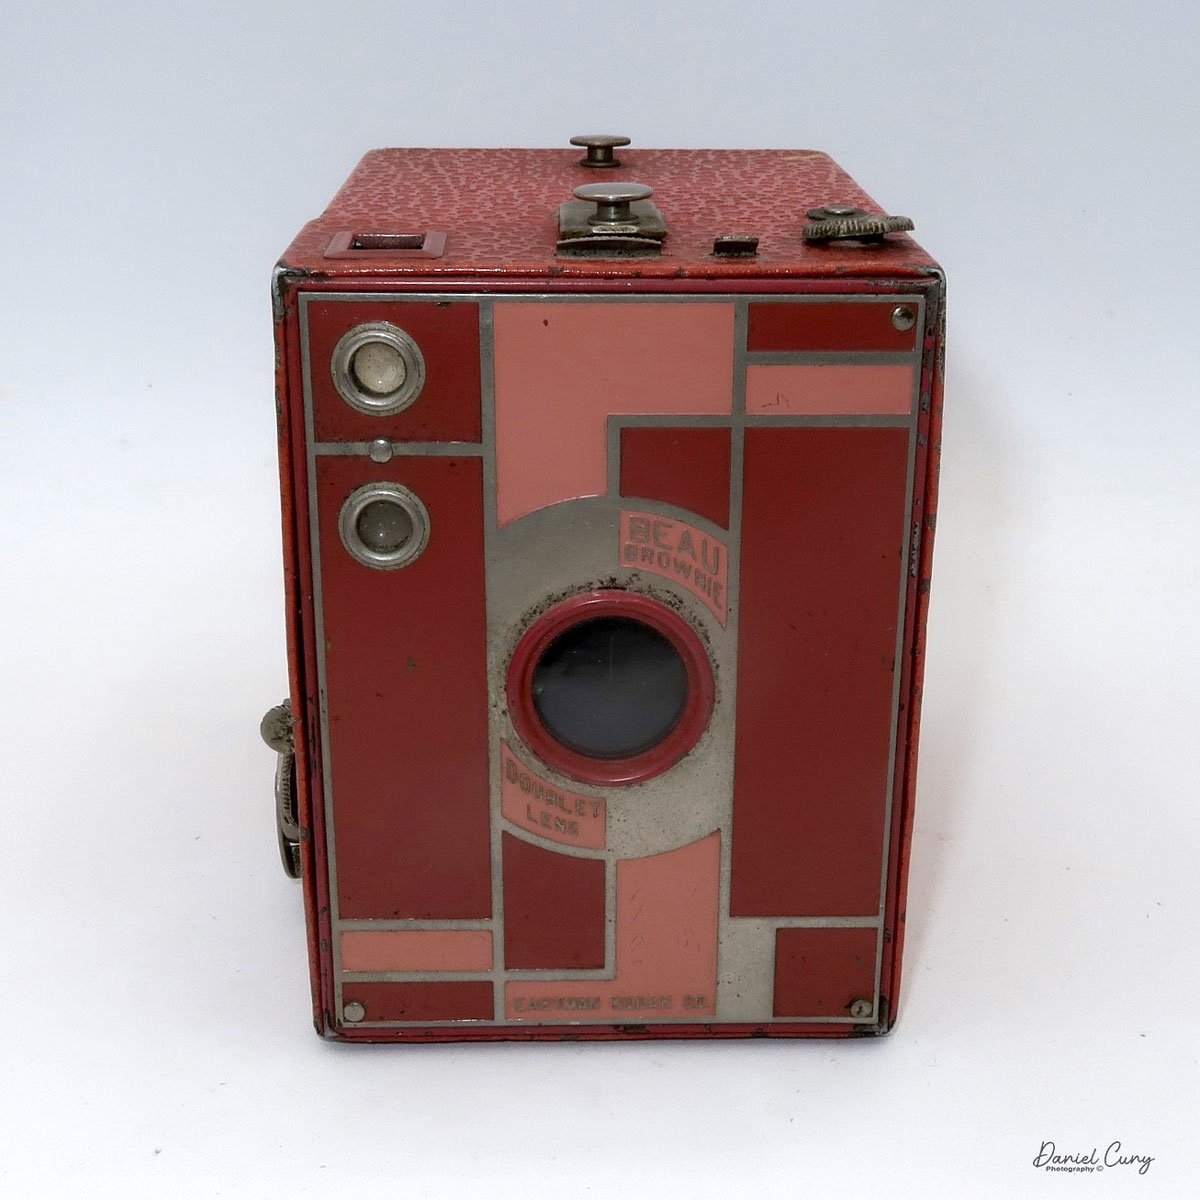
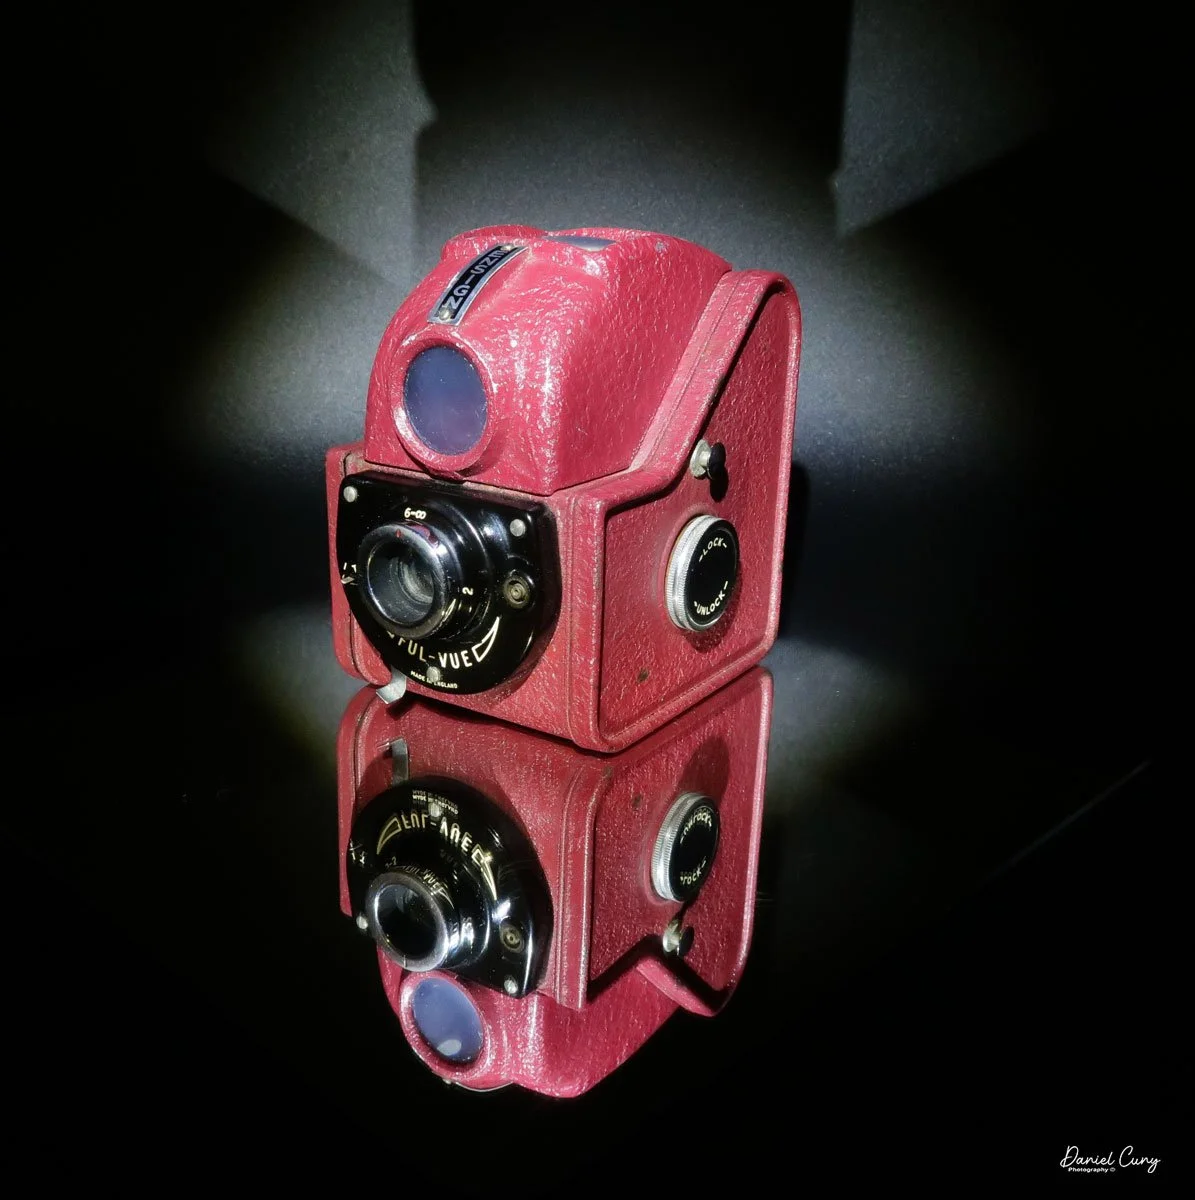
As I've mentioned in several blogs, I have a passion for colored cameras, so I have two different Ful-Vue cameras in my collection. I have an Ensign Ful-Vue camera that's red in color. Why have a black camera when there are cameras in various colors? This camera was also sold in Black, White, and Blue colors. The other Ful-Vue camera I have is a Ross Ensign Ful-Vue Super in burgundy. The Ross Ensign Ful-Vue Super is a later and more refined camera than the earlier Ful-Vue I took to Yosemite.

The two Ful-Vue cameras in my collection
It might be fun to put a roll of film into the camera and take it with me to Yosemite. It doesn't take much room in my bag, and I have plenty of 120-size film in my refrigerator, so that's the plan. As I was packing for the trip, I threw a roll of 120 T-Max 400 film, along with the Ensign Ful-Vue camera (a Half Dome lookalike), into my bag and took it with me on the trip.
Another thought about taking the Ensign Ful-Vue to Yosemite was that the camera is straightforward, and it would be fun to take snapshots of Yosemite as my wife and I walked around the park, taking in all the natural wonders. It would be like I was 8 years old, and I would take my Kodak Holiday camera on summer vacations, taking random photos of the family and other interesting views.
That's where my love for photography began, wandering through summer vacation spots with my family, taking photos of the interesting things I enjoyed, and looking back at them to remember the time spent with my family or friends. To this day, I look back at photos with friends that we took when we were younger, and many bring a smile to my face as I recall these memorable times.
History:
Houghton and Ensign were pivotal names in the history of British photography and camera manufacturing, known for innovation, extensive product lines, and significant contributions to photographic technology from the 19th to the mid-20th century.

French ad for the Ensign Fun-Vue camera
The roots of Houghton trace back to 1834, when George Houghton, together with Frenchman Antoine Claudet, managed a glass warehouse in London known as Claudet & Houghton. The company initially focused on optical and sheet glass products, but the rise of photography in the late 1830s opened new avenues, with Houghton quickly supplying materials for Daguerreotypes.
After Claudet died in 1867, the firm became George Houghton & Son, as George Houghton's son joined the business. The family firm steadily expanded, becoming George Houghton & Sons by 1892, and deepened its involvement in the photographic equipment industry.
By the late 19th century, Houghton was producing a wider range of photographic supplies and had become a full-fledged manufacturer of cameras. Among their early notable products was the Sanderson camera, produced from 1895 to about 1910, which became renowned for its quality. In 1901, they launched the Ensign brand of photographic film, marking the rise of a name that would soon become synonymous with the company's signature camera line.
In 1903, Houghton introduced Ensign Daylight Loading Film, a crucial development that broadened consumer access to photography. This innovation was followed by the absorption of several other camera firms in 1904, including Holmes Bros. (makers of the Sanderson), A.C. Jackson, Spratt Bros., and Joseph Levi & Co., which formed Houghtons Ltd. This move enabled large-scale production and a wider range of camera selections.
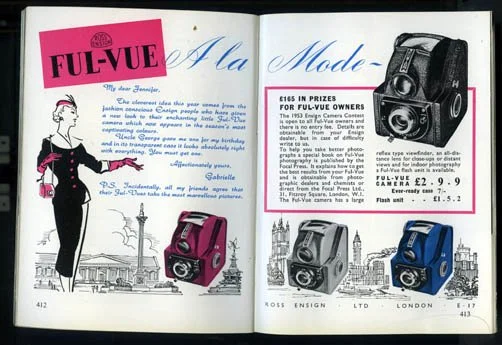
Ad with different colors available
With their expansion and absorption of other brands, Houghton established the Ensign Works in Walthamstow around 1905. By 1908, it was the largest British camera factory, employing over 700 people. Houghton's reputation was further cemented with magazine cameras such as the Klito and the innovative folding Ensignette.
In 1915, Houghton's Ltd. partnered with W. Butcher & Sons to form the Houghton-Butcher Manufacturing Company. The merger strengthened their manufacturing and distribution during turbulent times.
In 1930, Ensign Ltd. was formally established, representing the heritage of both Houghton's and Butcher's. The Ensign Ful-Vue, introduced in 1939, became iconic for its simplicity and bright viewfinder, attracting amateur photographers and children. Throughout the 1930s and 1940s, Ensign was renowned for its box cameras and advanced folding models, such as the Multex.
World War II brought massive challenges. The company's London headquarters suffered severe bomb damage in 1940. While Ensign continued to manufacture at Walthamstow, the brand's prominence waned in the post-war years.
From its origins in optical glass to producing some of Britain's finest and most popular cameras, Houghton and Ensign chart a history of adaptability, invention, and a lasting impact on the UK photographic market.
My Camera:
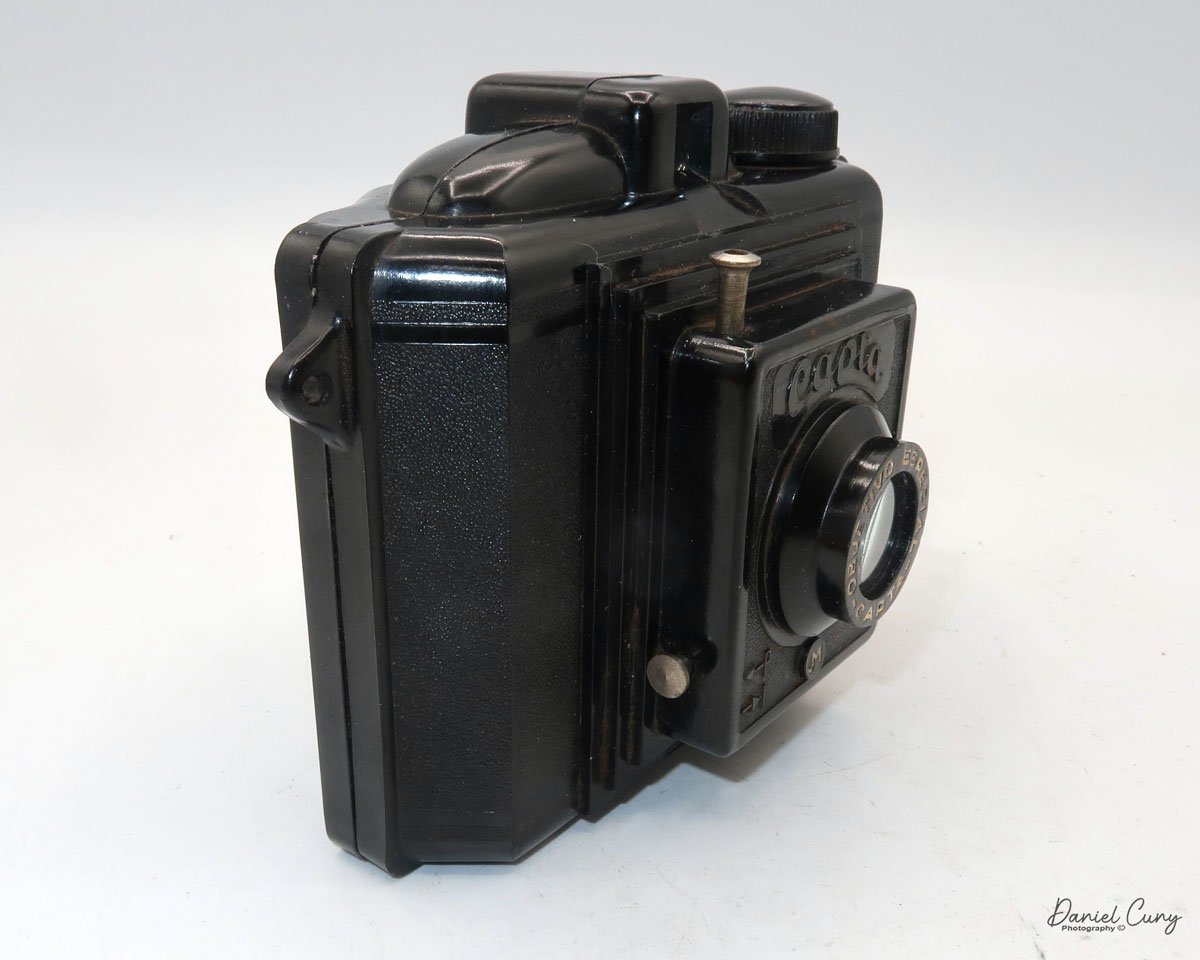
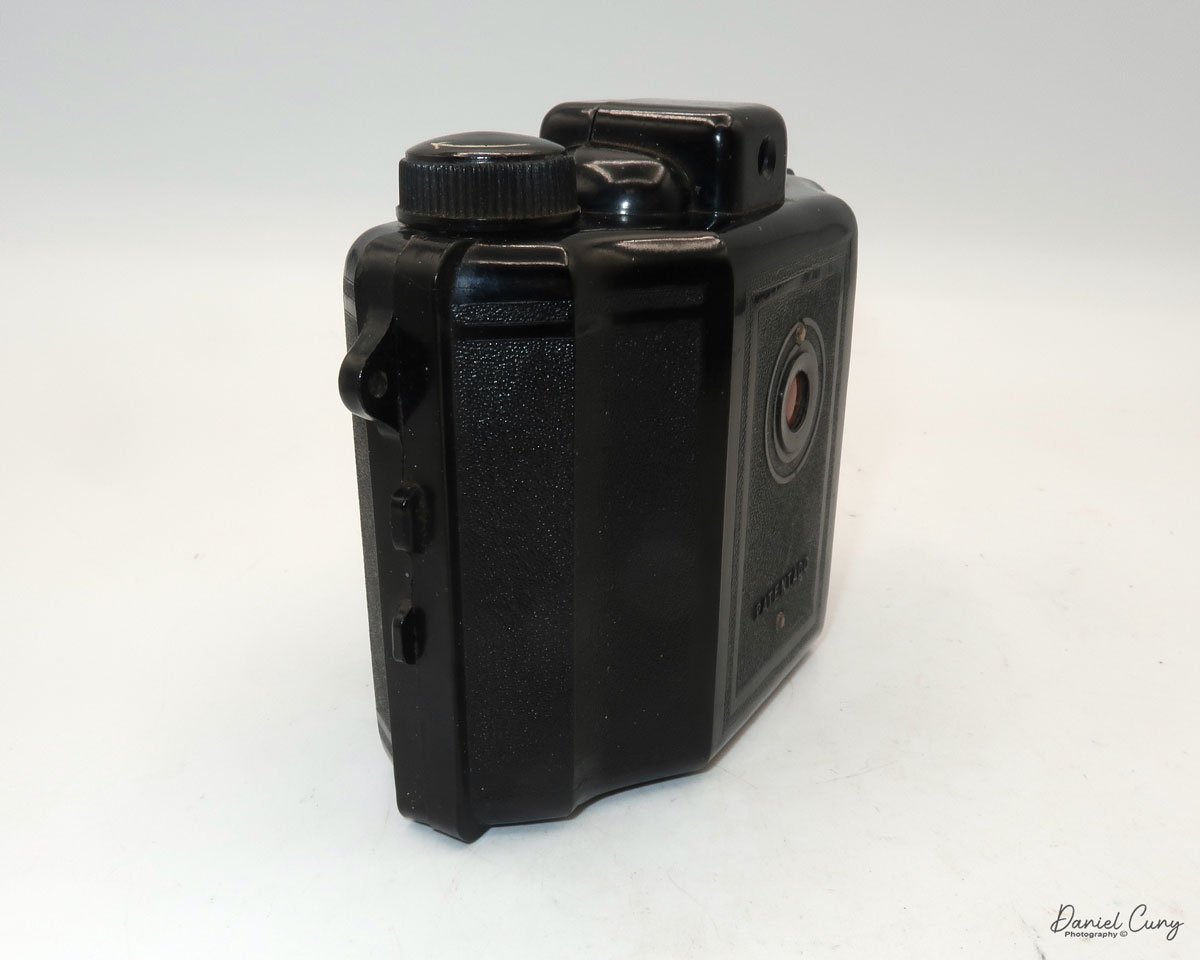
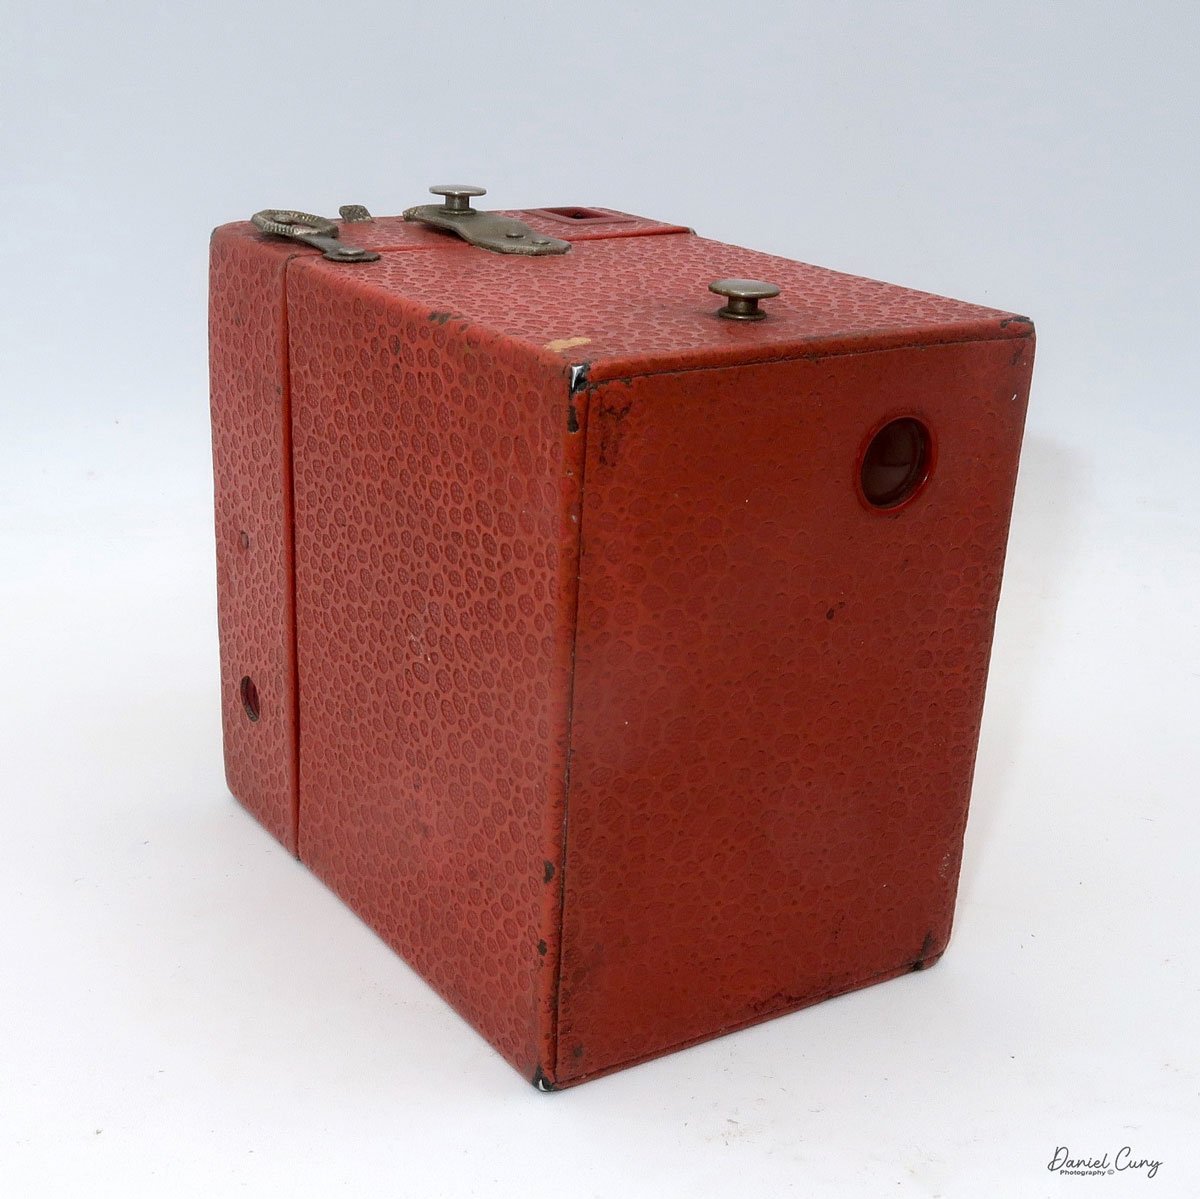
My Ensign Ful-Vue is 4" tall by 4.25" deep and 3.25" wide, and weighs 14.2 ounces, so not even a pound. It's viewfinder on top is one of the dominate features of the camera. The size of the viewfinder itself is 1.5" square on the top of the camera, and with the camera being the small stature it is, makes the viewfinder seem huge when looking at the camera.


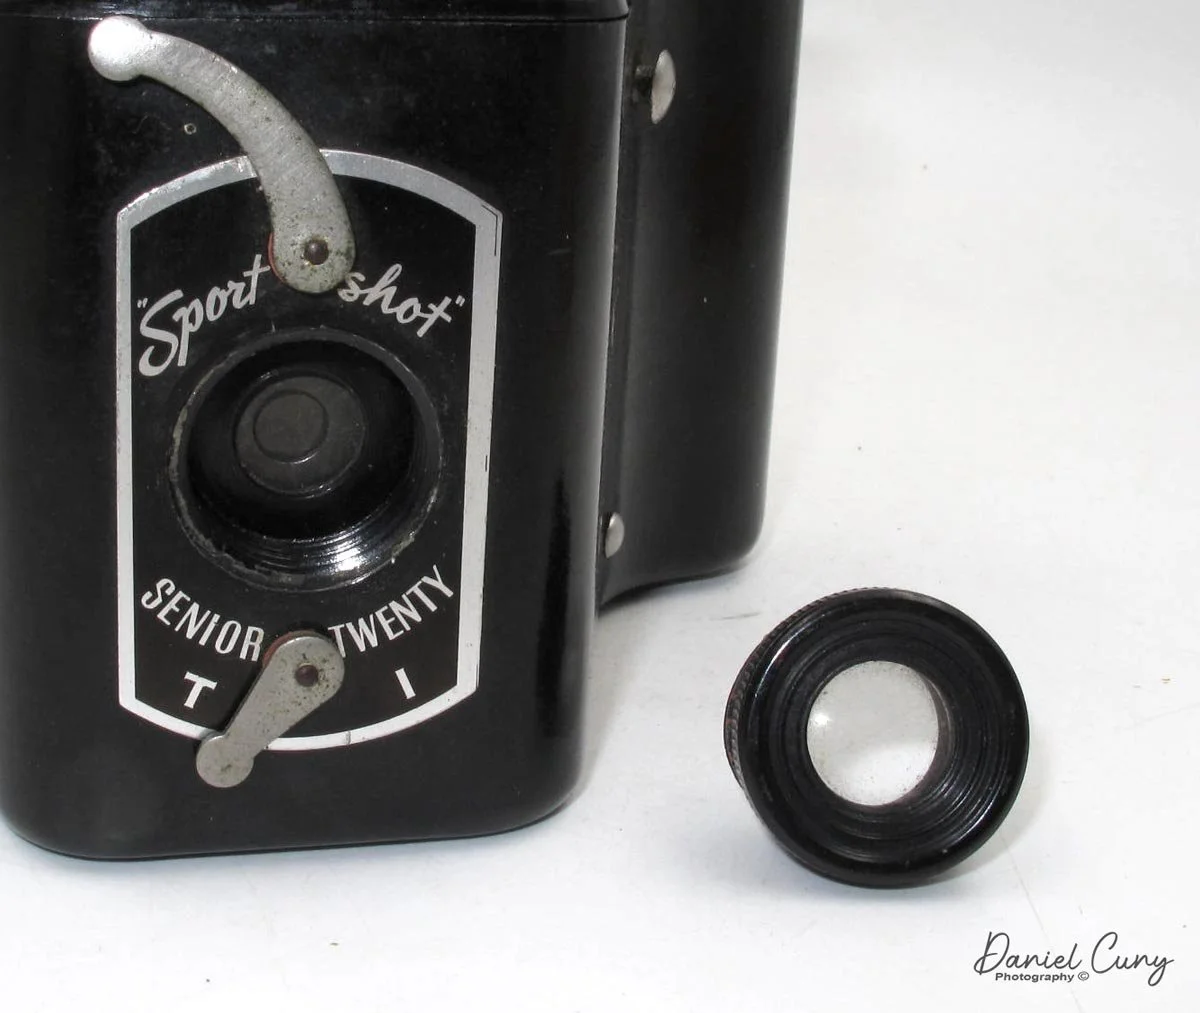
The Ensign Ful-Vue camera is the epitome of the classic snapshot camera, as there are really only a few settings on the camera that you need to make before snapping the photo. There is a shutter setting for either "I" for instant or "T" for time, allowing for a longer exposure. There is a tripod socket on the bottom of the camera, but there is no cable release socket available for use if you want to make a timed exposure with the camera.
The other setting in the Ensign Ful-Vue camera is focus. The lens is set to three different focus distances: 2 meters, 3-5 meters, and 6 meters to infinity. Turn the chrome rig and point the red dot on the front of the ring to the desired distance to set your focus distance. There is a separate flash PC outlet to connect an external flash, ideal for low-light photography. The flash would have to be screwed into the tripod socket, and it would be located on the left side of the camera, I guess.


To take a photo, the shutter release is located below the black nameplate, where the lens is positioned, and is pulled up to activate the shutter in the camera.
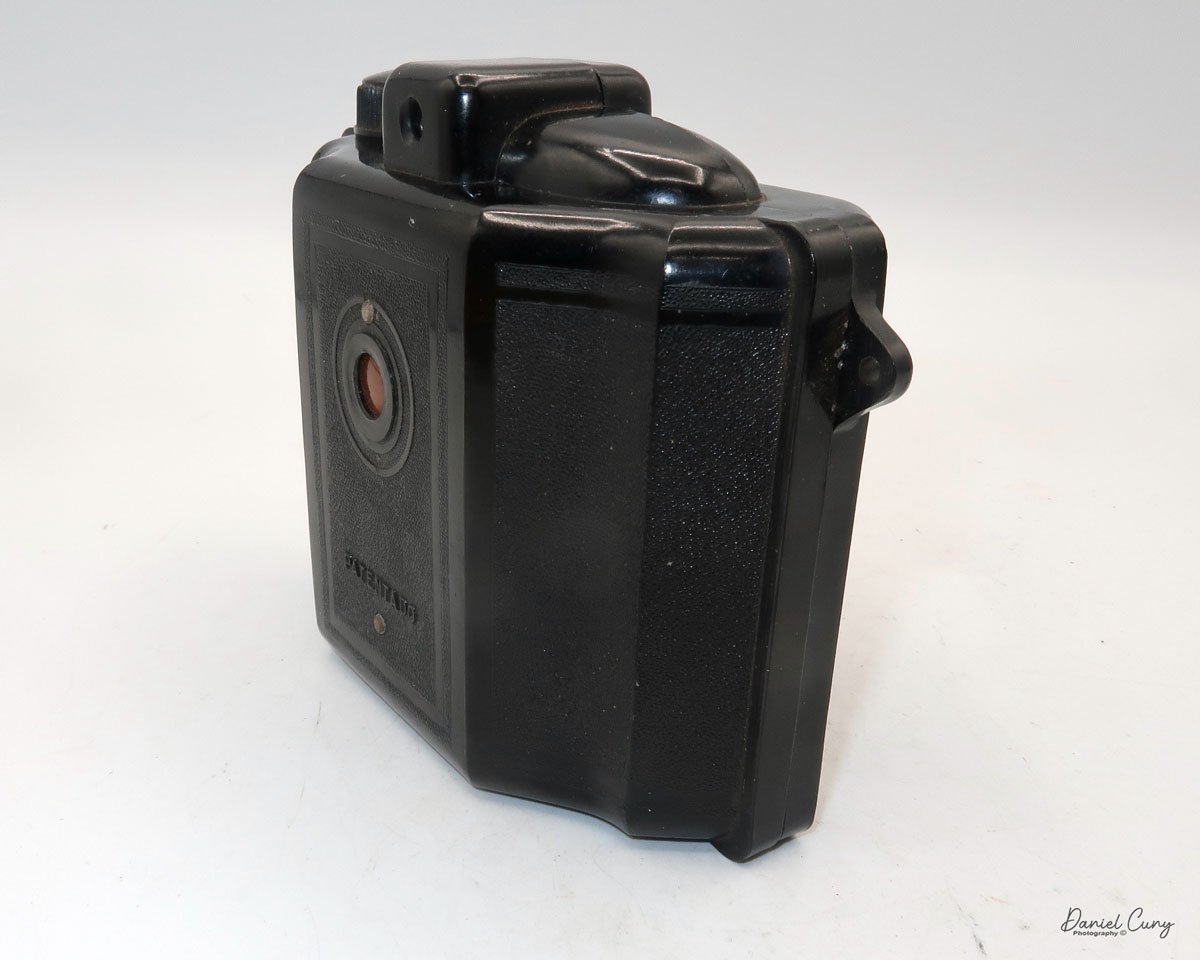
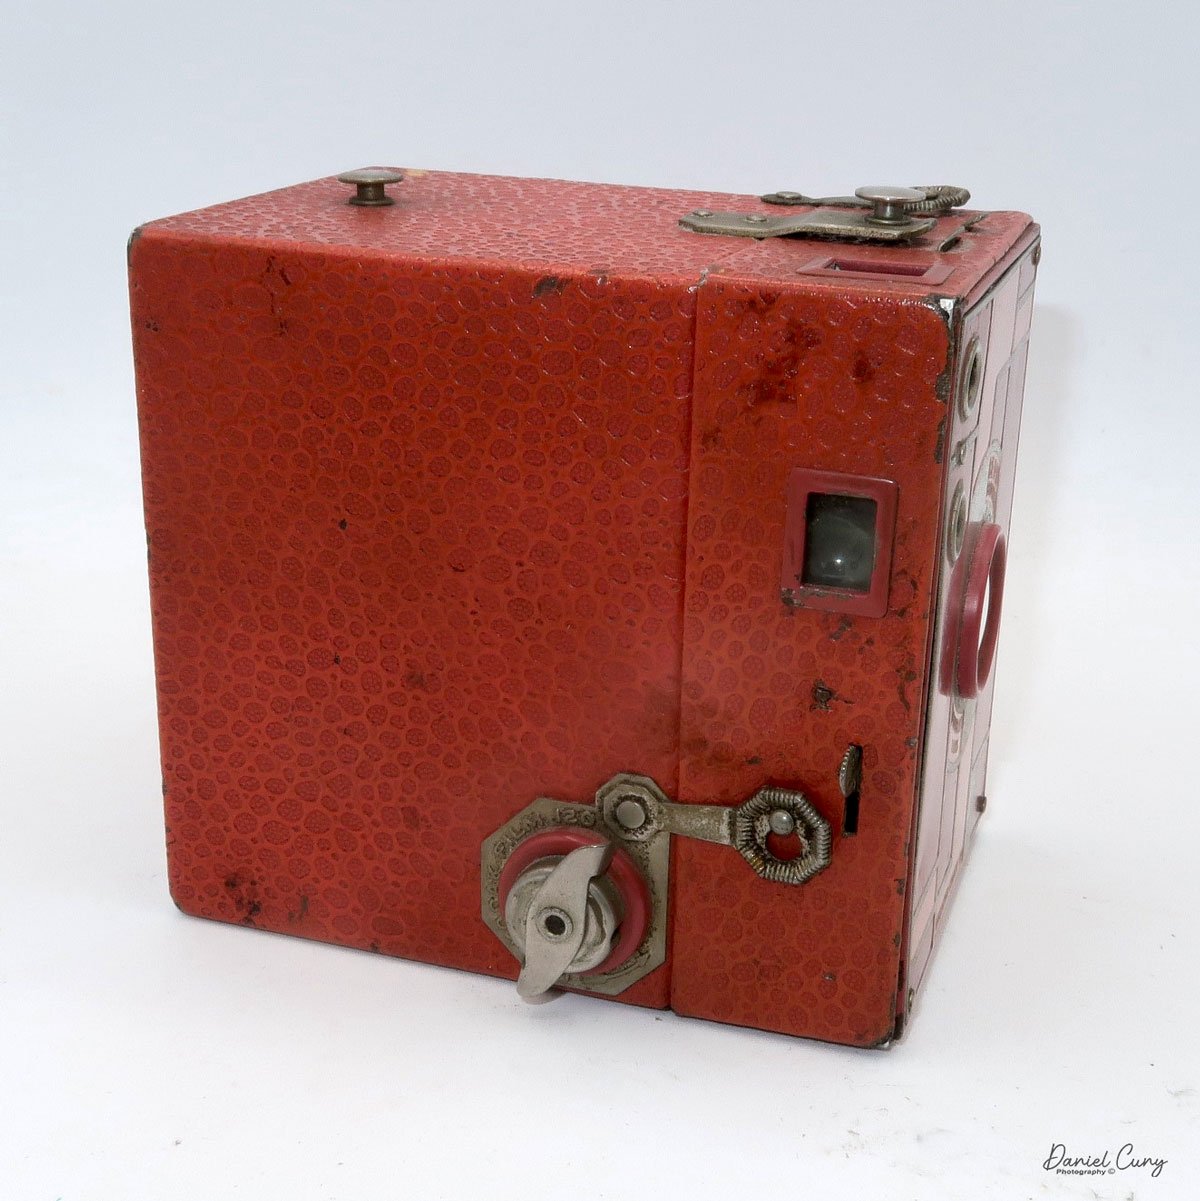
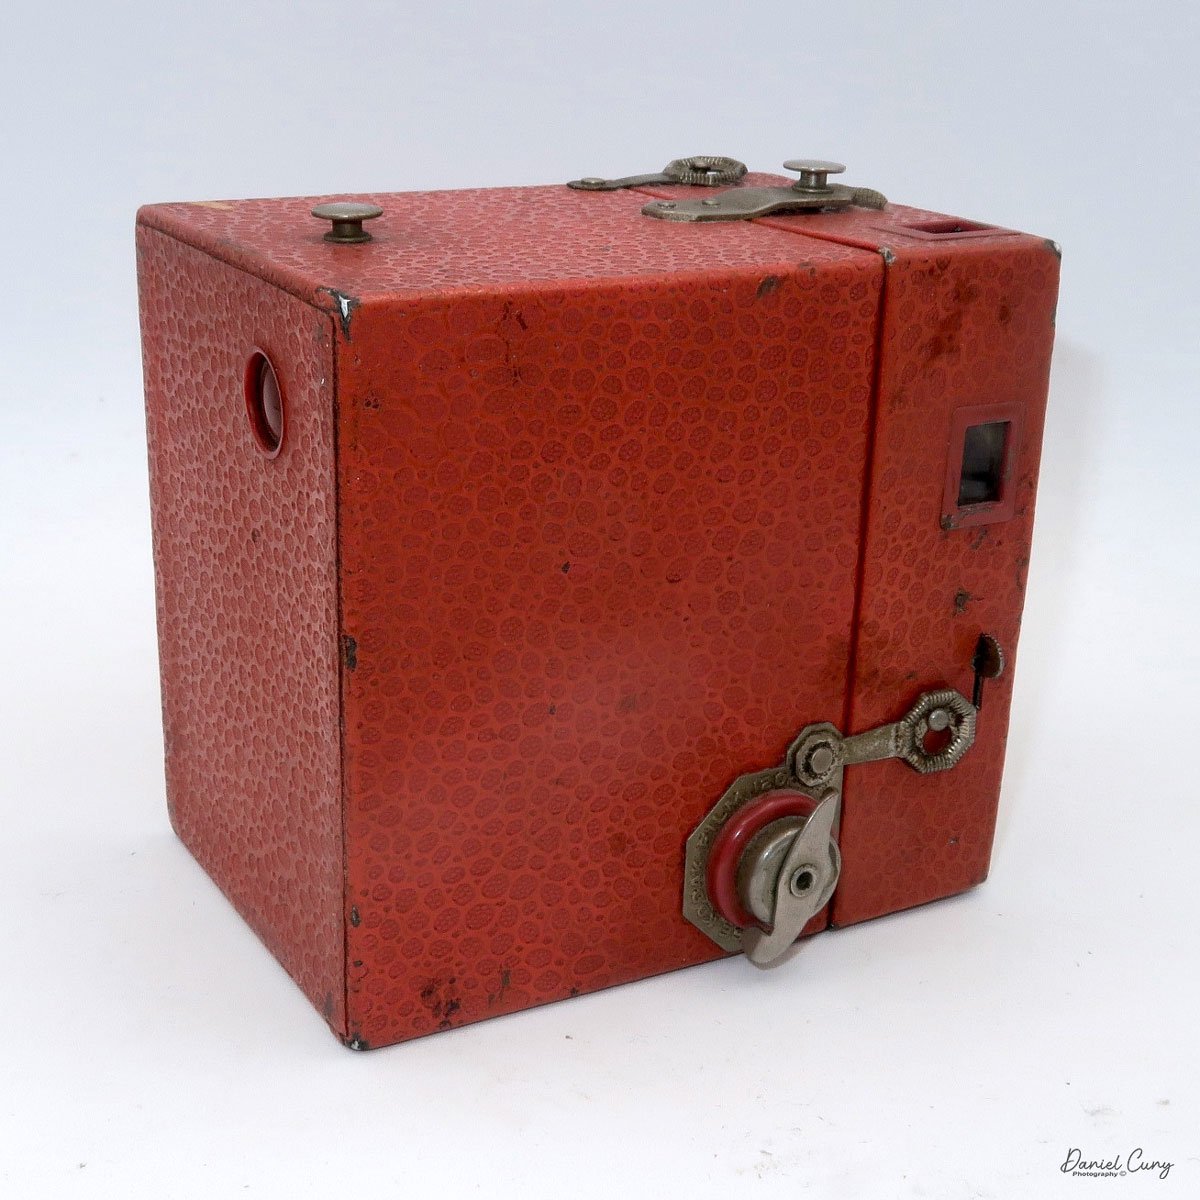
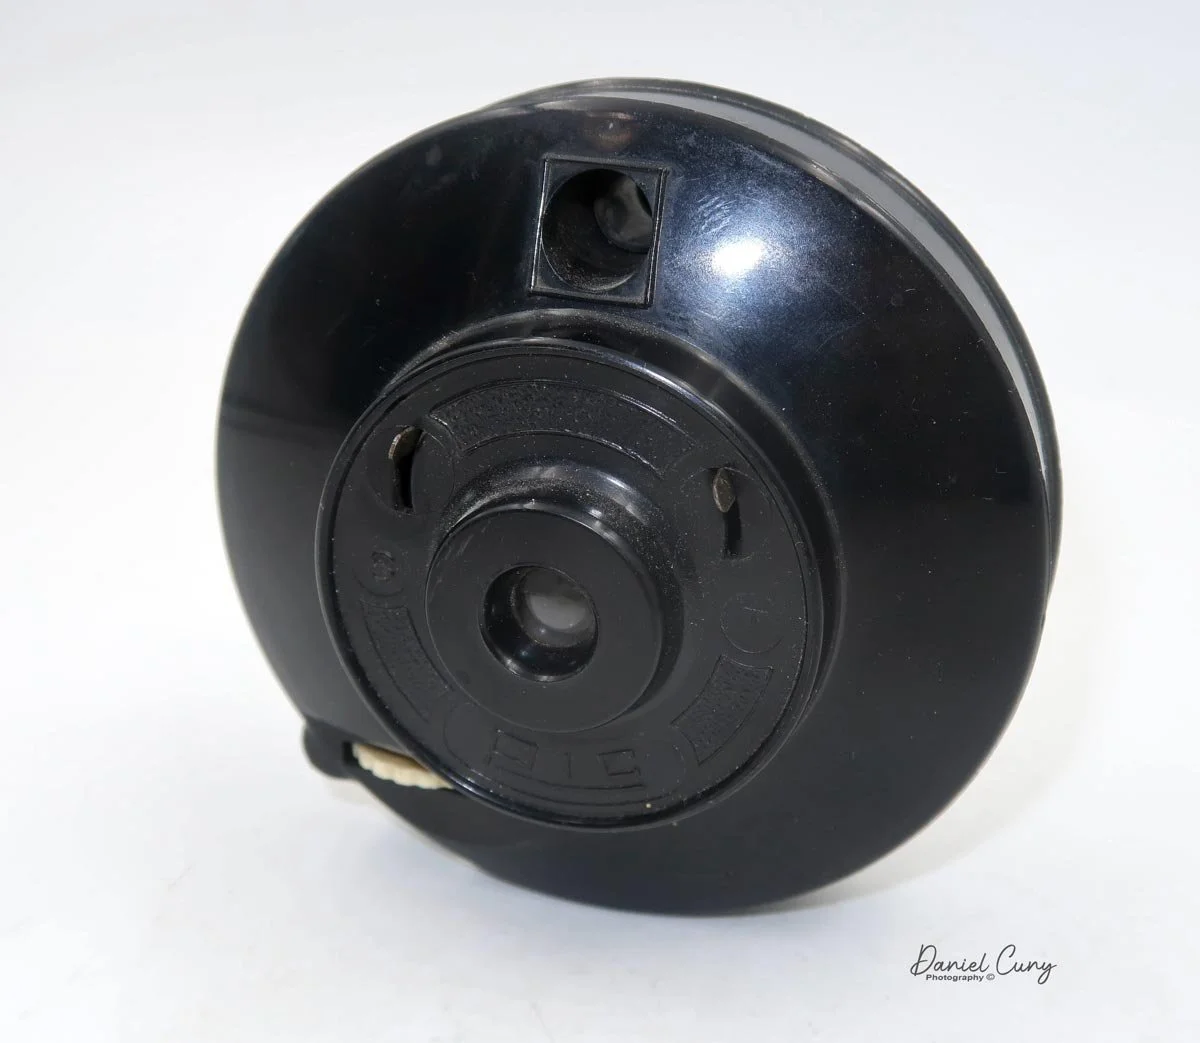
Loading the film is pretty straightforward on the Ensign Ful-Vue. On the left side of the camera is a locking lever that you turn clockwise to unlock the film chamber from the camera body. Once the film back is unlocked, the film chamber slides out of the camera body. Once the film chamber is removed from the camera body, you load the camera like any other roll film camera. Just ensure the film covers the larger area, rather than the thinner area closer to the lens.
Once the film is loaded into the film chamber, slide the chamber back into the camera body and secure it in place by turning the locking ring counterclockwise to lock it into position. On the right side of the camera is the camera's film advance knob. Turn the knob until you see the arrows inside the red window on the back of the camera.


Just above the red window on the back of the camera is a small knob that opens and closes the curtain, preventing light from coming through the red window. Make sure the curtain is open so you can see the film advancing. If you don't, you'll wonder when it will get to number one and go through the entire roll of film before noticing something is wrong. Once you see the arrows, slow down because you're coming to number one and your first exposure.
My Results:
The Ensign Ful-Vue was a great camera to take to Yosemite, although looking back, the one thing I wish I had taken was a comparison photo of the Ensign Ful-Vue and Half Dome. I should have taken a picture with my phone of me holding the camera up with Half Dome in the background to show the comparison between the two. Like they say, hindsight is 20/20.
The camera actually did pretty well. The photos are relatively sharp, the viewfinder was HUGH and bright to look through.
Here are a few examples of the photos in Yosemite and San Francisco.


Conclusion:
The camera was what I expected. The viewfinder was very easy to work with and made centering the image easy. The only thing I wish the camera had that I was surprised it didn't have was the ability to use different aperture settings. Generally, even the most basic of cameras offer the option of two different apertures. Not on the Ensign Ful-Vue, though.
Thank you for taking the time to read about this very basic, but oddly shaped camera. It was fun to throw it in my camera bag and have something fundamental to use at times.
Here's a link to some of my other Camera Reviews.
Stop by Cuny's Camera and Photo if you're interested in purchasing some of the cameras I've reviewed. I also have many other photo odds and ends that interest you.
Until next week, please be safe.