Capta Camera

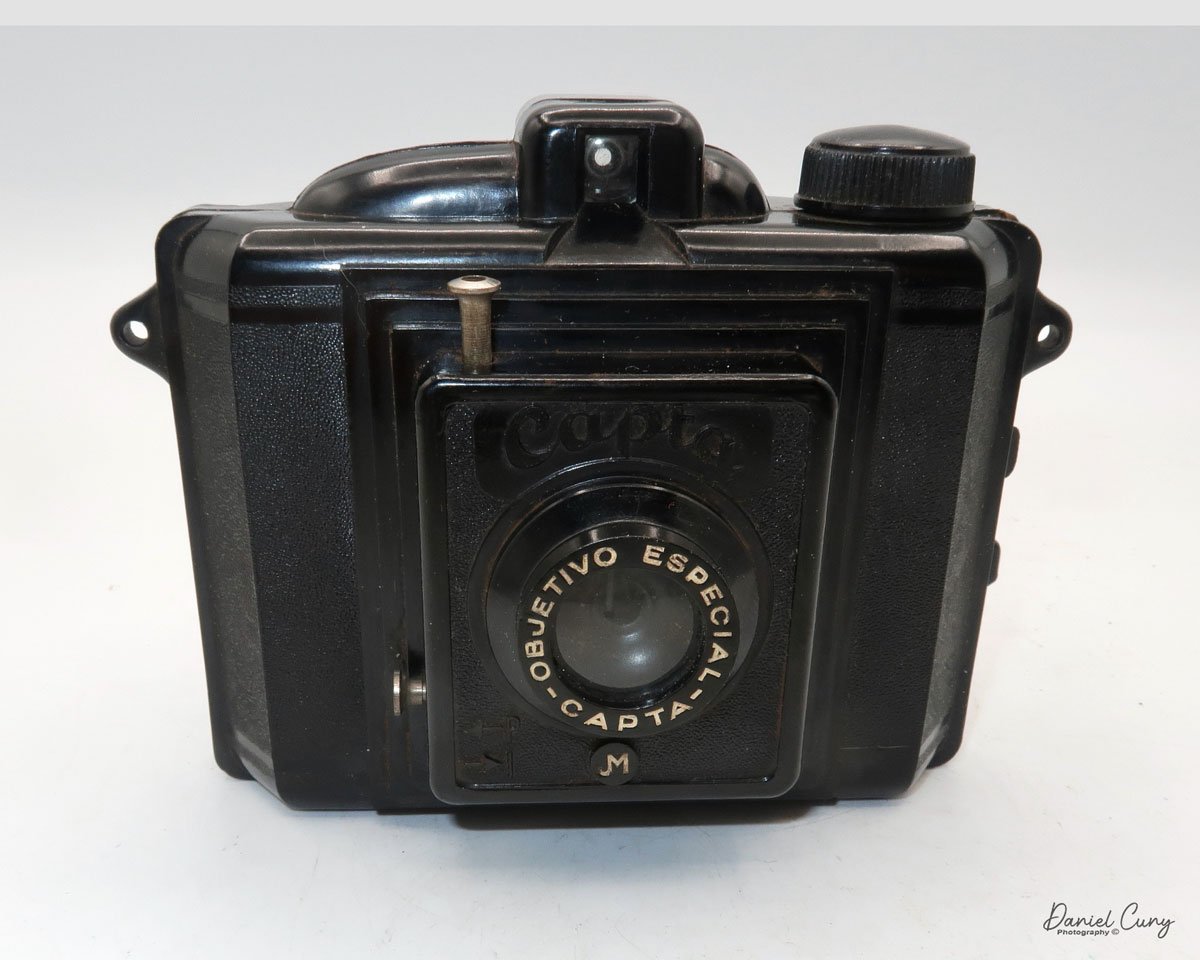
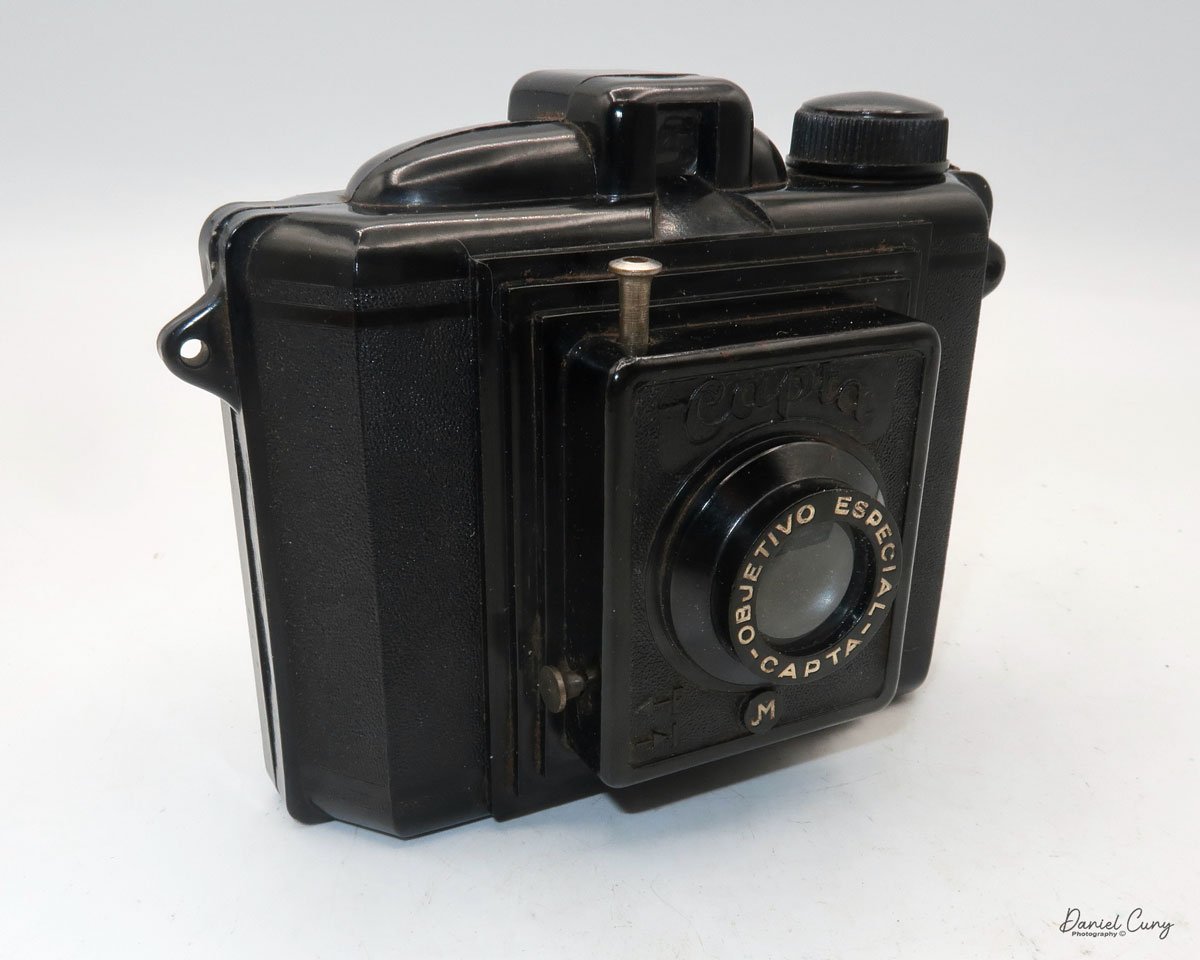
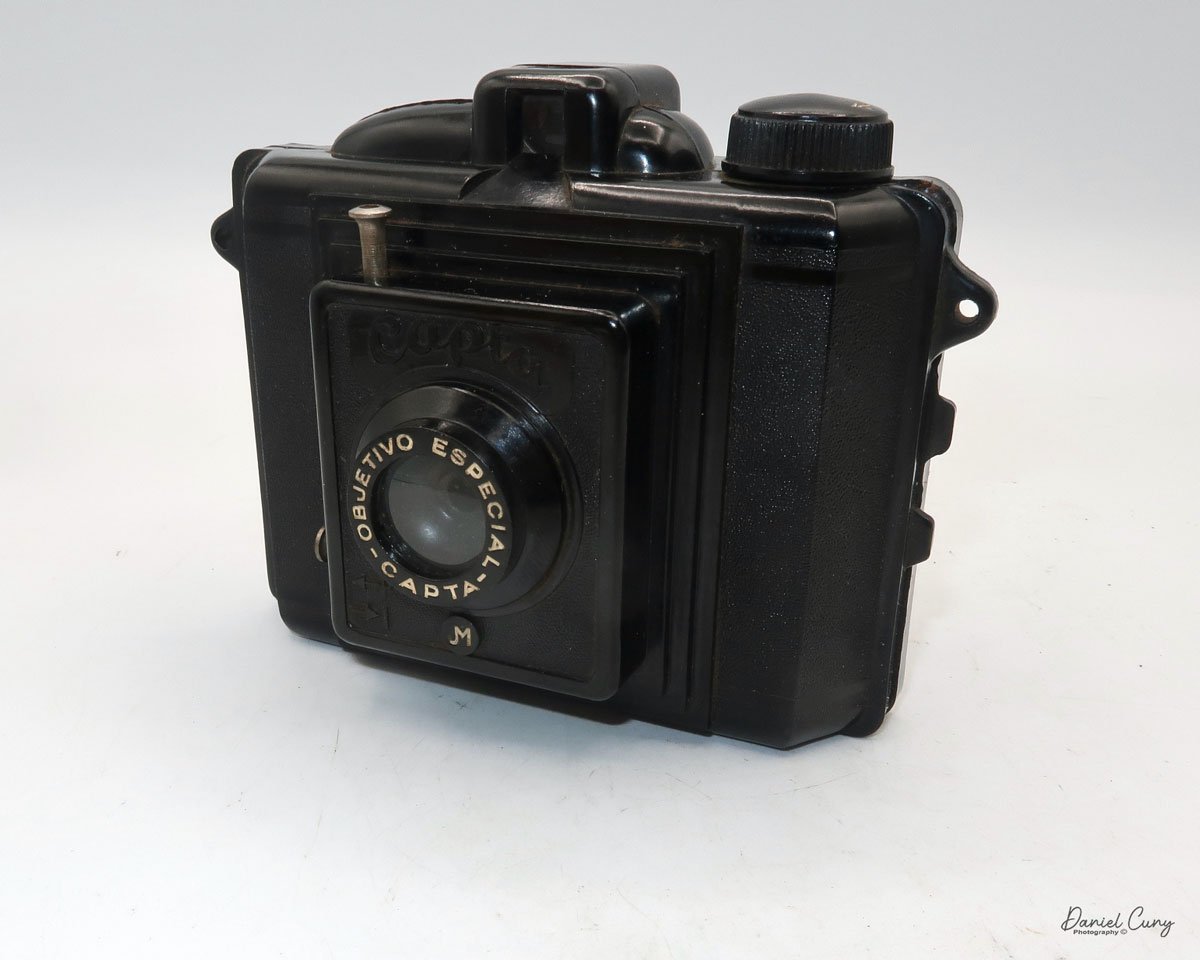
My Capta camera

When visiting another country, I research to find out if there are cameras made in that country that I'm unaware of. If I'm fortunate enough to find one, I can add it to my collection. We were fortunate enough to plan a trip to Barcelona last month, as my wife had a conference to attend and participate in, so I planned on tagging along on the journey to Spain.

 I had a few objectives for this trip, as I'd have time on my own. These objectives were to use my new Fujifilm camera, shoot black and white with my Widelux F7 camera, and attend local flea markets to find Spanish cameras that I wasn't aware of. All three objectives were accomplished. 

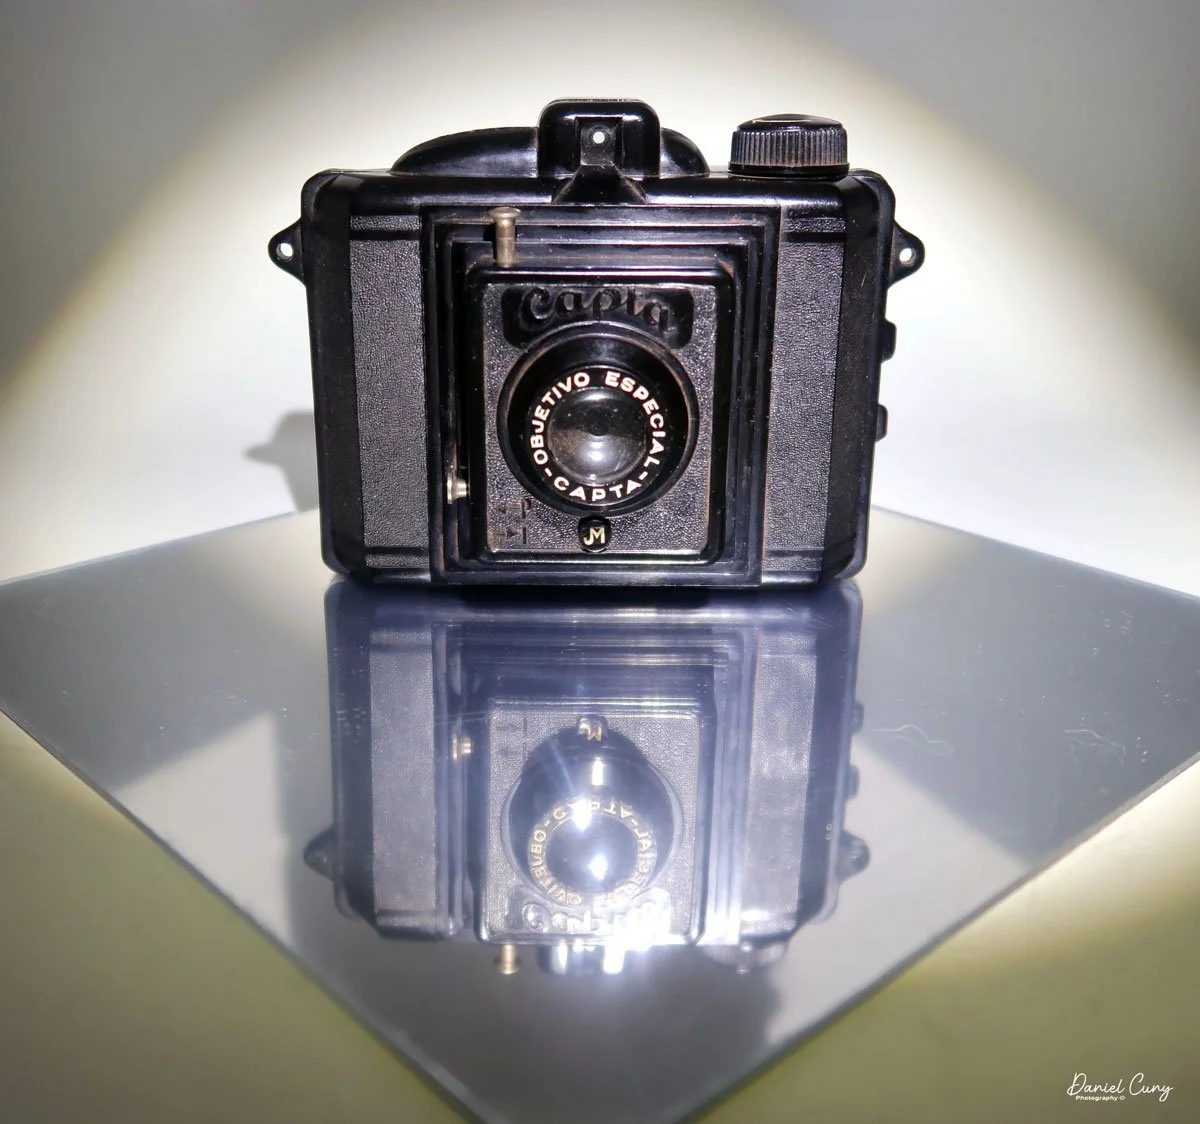
 At the local flea market in Barcelona, I stumbled upon a hidden gem-a relatively unknown Spanish Bakelite camera, a Capta camera in a tattered case. The thrill of this discovery was palpable. The camera was in good working condition, took 120 film, and had a 6x4.5 format. I didn't see any chips in the Bakelite. For a decent price, I eagerly made the purchase, already envisioning the stories I would share about this Spanish wonder.

 Upon returning home, I eagerly unpacked the Capta camera. Despite its better-than-expected condition, it was covered in a layer of grime, likely from the leather dust of the case. I  cleaned the camera with a soft cloth, Q-Tips, and lightly soapy water, restoring its original charm. With the camera now sparkling, I was ready to delve into its history and put it to use.

History:

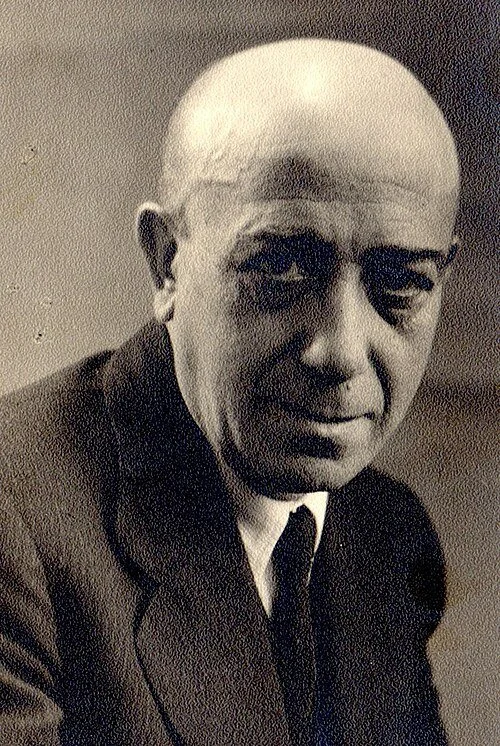
Julio Matutano Benedito

Capta was the brainchild of Valencian pictorialism photographer, Julio Matutano Benedito. Born into a modest family in 1892, he had a passion for art from an early age. At the age of 12, he began his apprenticeship with a local sculptor. Between the ages of 14 and 20, he attended evening classes for artistic drawing at the School of Craftsmen in Valencia. 

 He was an accomplished engraver with his shop in Valencia until he took up photography in 1923, where he honed his craft by taking photos of his family. In 1928, Julio Matutano and a group of his friends formed Foto Club Valencia. Between 1928 and 1936, Julio Matutano won several national and international awards for his photography.

 In 1935, Julio Matutano changed careers. He embarked on designing and manufacturing a new camera company in Spain. His first creation, the Nerva, was a testament to his innovative spirit. This camera, made from stamped aluminum, used 127 film with a 3x4cm format and featured a German Rodenstock lens. It was a true pioneer in its time, selling for 13 pesetas, equivalent to approximately $35.00 in today's dollars.

 In 1942, he designed a wooden camera with a SACO (Sociedad Anónima de Cristales Ópticos) lens, which took 127 film in a 6x4.5 format, named PERFECTA. I couldn't find this camera anywhere, except for the German Perfecta. If you have any information on it, please let me know.

 Julio Matutano registered the CAPTA trademark in 1944. That year, he also designed and introduced the Capta I, a Bakelite camera manufactured by Industrias Sintéticas Abril in Barcelona. The camera featured an optical viewfinder on top and used 120 film with a 6x4.5 format. At this time, the Capta sold for 101 pesetas. Later in 1944, Capta introduced the Baby Capta. I created a smaller version of the Capta, which I named the Baby Capta, featuring a metal face and capable of taking 127 film in a 6x4.4 format. This camera was marketed for a younger audience.

 The Captaflex was designed in 1947. The Captaflex was a Bakelite camera that took 120-size film with an unusual 52.5 x 52.5 cm image area (6x6) format. The camera had a 90mm f/8.5 lens and a helical screw, variable focus lens capable of focusing from 1.5 meters to infinity. The camera bears a strong resemblance to the British-made Ensign Ful-Vue camera. Unfortunately, Julio Matutano died in 1947 before the camera came to market, but his two sons, Julio and Vincente, who had been working in the company since they were 12 and 13. Both sons were artists when they took over the company and moved it to Valencia. From then on, the company's logo was JVM, and the Captaflex was released in 1948 for 375 pesetas.

 The brothers expanded the business during the 1950s, as the resurgence of photography following World War II gained momentum. In 1952, the Capta II was introduced, featuring a coated lens, a focusable lens, and an accessory close-up lens.

 Capta's first 35mm camera, the Capta 35, was introduced in 1953. A 24x24 format camera made of injected aluminum alloy with three shutter speeds and a rectilinear lens. In 1955, the company expanded into other areas and introduced the Capta-Movie. In 1956, Capta introduced the Universal Tank, a film developing tank compatible with 35mm, 127, and 120 films.

 After 1959, the collaboration with Gaspar Mampel ended, and Capta started selling all its products directly to the public. During this time, Capta introduces a microscope, an enlarger, and several other photo-related products. In 1966, the company ceased all production and closed due to extreme financial difficulties.

My Camera:

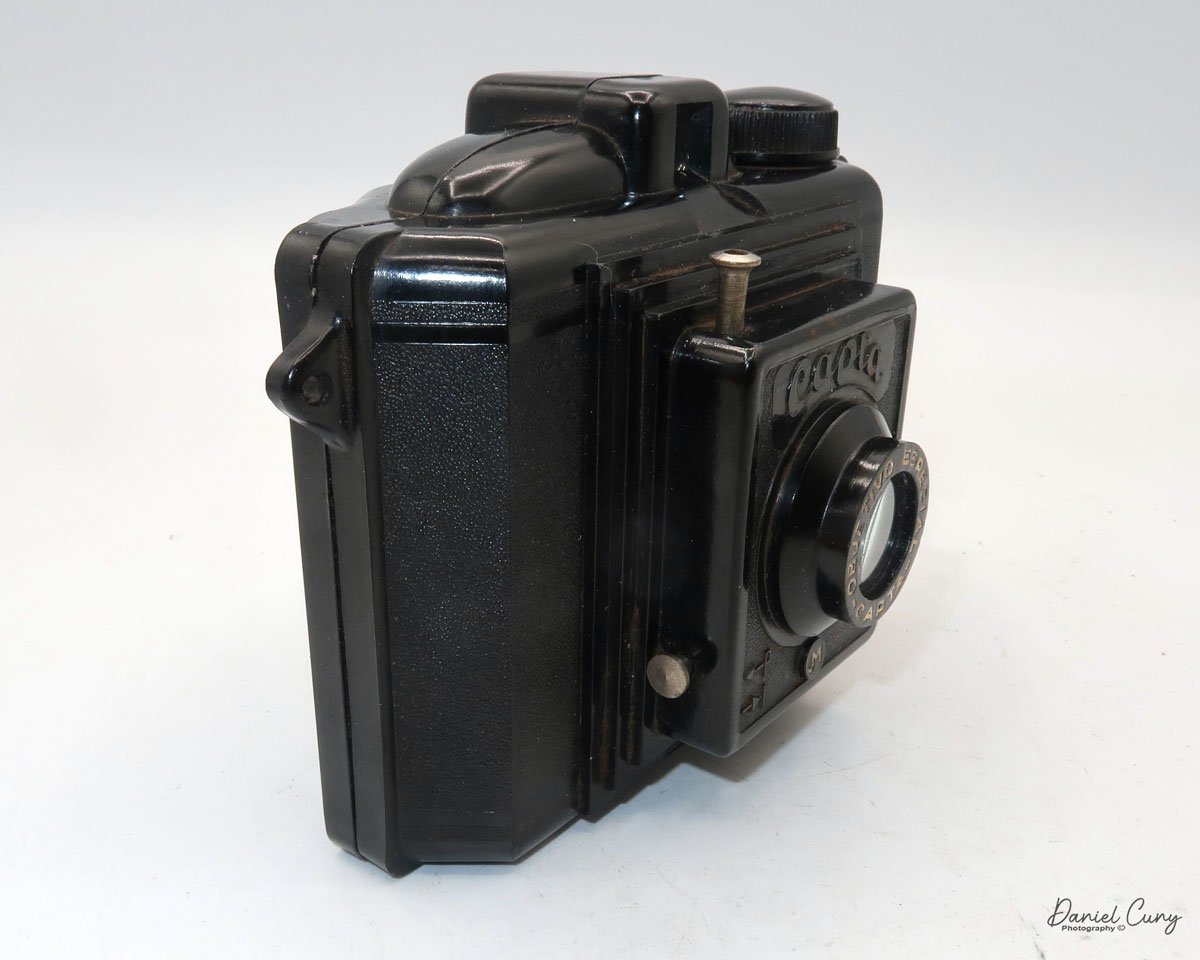
My Capta camera is 5" wide by 4" tall by 2.75" deep and weighs 10.2 oz without the fitted leather case. The Capta is a straightforward camera with a fixed focus, meniscus lens, and a basic optical viewfinder on top. The camera is a 6x4.5 vertical format camera, and it also has a tripod socket on the bottom.

For shutter speeds, the Capta camera has either "I" for instant, or "P" for timed exposures. These are set by pulling out or pressing in a metal bar that sets the shutter's capability, which is on the right side, below the lens. According to my shutter tester, the shutter speed is 1/40 for instant exposures. The shutter release is above the lens at an approximate 11:00 position, and above the "CAPTA" name on the front of the camera. A shutter release cable can be connected to the shutter release for timed exposures.

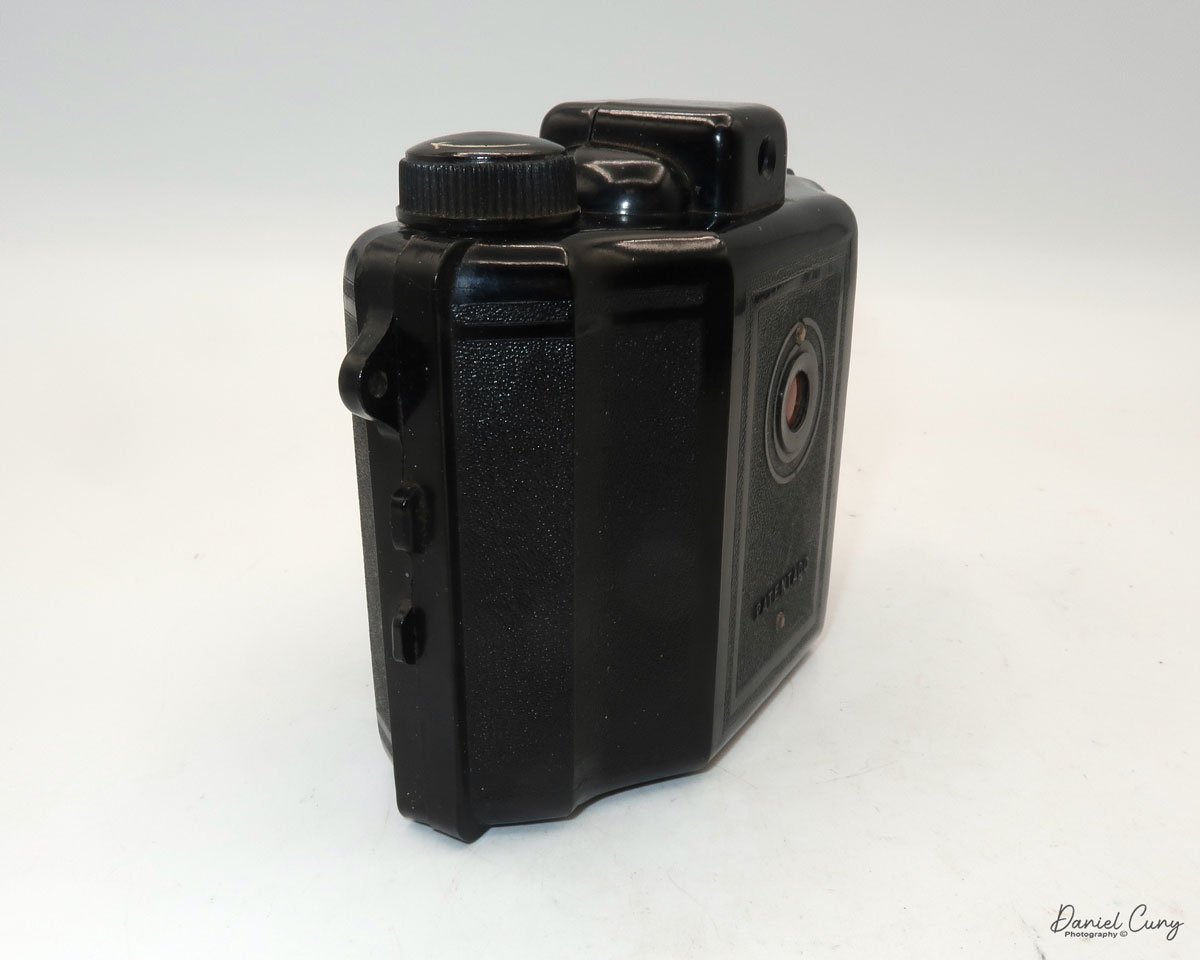
To load the camera with film, the back is held to the body with friction. There is no locking mechanism on the camera that secures the back onto the body. On the side of the camera are two small tabs. Push these two tabs apart, and the back separates from the camera body, exposing the area where you load the film. When the camera back is off the body, and you're ready to load film into it. There are three "wings" that can be pulled up to insert the film. These wings make it easier to load the film as opposed to trying to jam the film roll into one of the sides of the camera. There was an interesting empty spool in the camera from a film manufacturer I wasn't aware of. The spool is from Infonal, a Spanish film manufacturer in Barcelona.

The side with the take up spool and winding knob only has one wing that lifts to help load the film. Loading the empty spool is a bit more challenging, as the winding knob doesn't lift to assist with loading the empty spool. After a bit of wiggling, the take-up spool fit into the correct position. Once the film is in the camera, all you need to do is press the back onto the body, and friction hold the back in position.

 The red window on the back of the camera seemed low for the numbers on my roll of film. Still, I was able to see the numbers as they passed and stopped at the appropriate places to capture the whole roll of images on the film.


My Results:

I loaded a roll of T-Max 100 film into the camera and took it for a walk through the neighborhood. I should have given the camera one more Spanish experience by purchasing a roll of 120 film at Casanova Camera in Barcelona and trying it out there; unfortunately, I didn't think of it, so I was forced to use the camera in my neighborhood.

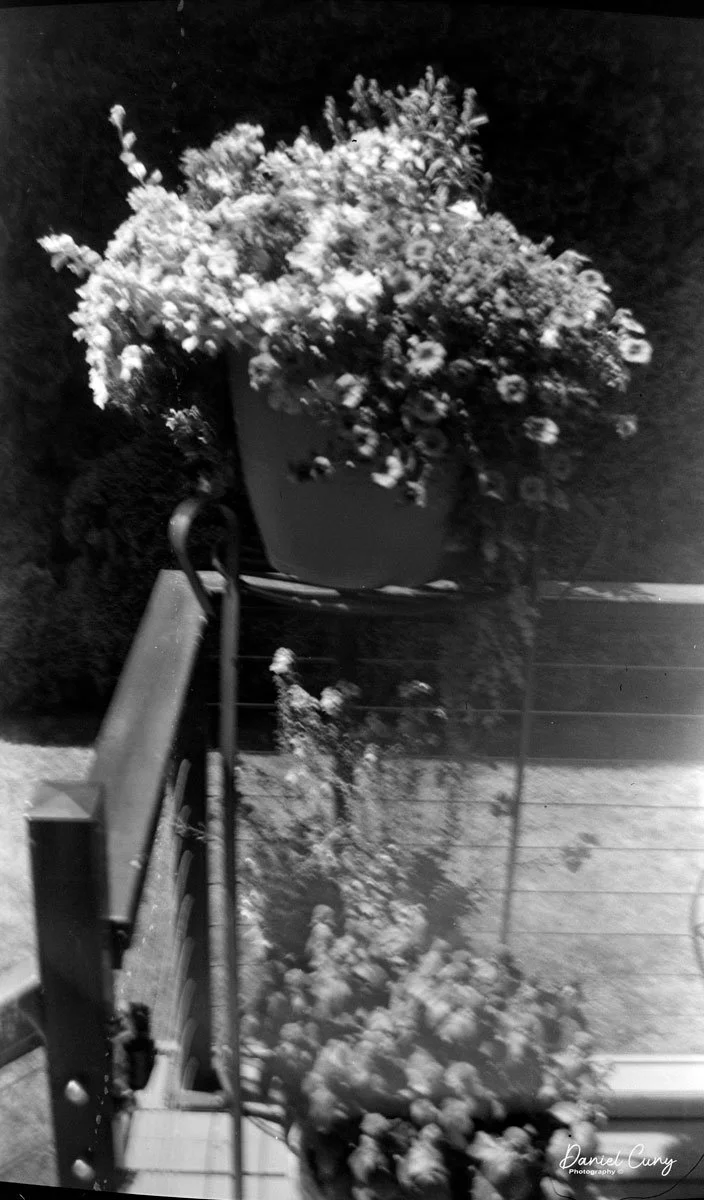
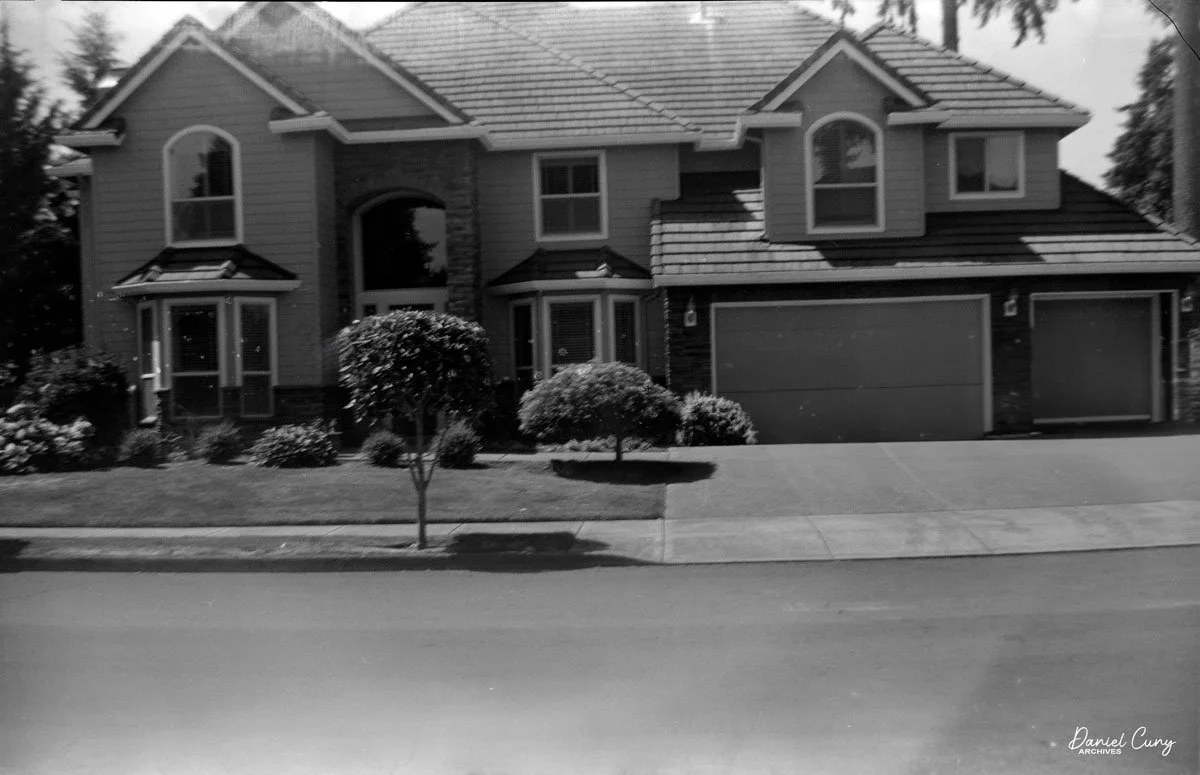
 After developing the negatives, I was pleasantly surprised by the results. While the images were relatively sharp in the center, the fall-off of sharpness is rapid as you move to the outer portions of the image, making this a wonderful Lomography camera. It almost has a very dreamy effect on the outer edges which I personally like.

Conclusion:

The camera was enjoyable to photograph with. Using the camera was really applying photography's basic rules, which include ensuring the sun is behind you, framing the image in the viewfinder, pressing the shutter release, and winding to the next frame. In today's world, we'd call this a "point and shoot" camera, as it has no settings. Am I taking photographs or snapshots? Does this make it better or worse? That could be a topic for discussion on another day.

 My trip to Barcelona was a successful one. I photographed many beautiful areas of the town, uploaded my favorite Widelux Images of Barcelona, and purchased a relatively unknown and simple Spanish camera to add to my collection.

 Click on the link to see other cameras I've reviewed from my collection.

 If you're interested in older and collectible cameras, I do have a store on eBay, Cuny's Camera and Photo, where I sell cameras, lenses, and other camera items.

 I'd love to hear from you. If you have a question, comment, or concern, please don't hesitate to contact me.

 Thank you for taking the time to read about this little known Spanish camera.

 Until next week, please be safe.

Rajar No. 6 Camera

My Rajar No. 6 camera

I don't know what it is about the Rajar No. 6 camera, but ever since I purchased my first McKeown's camera guide more than 40 years ago and spent hours leafing through the pages learning about all the different styles and shapes of cameras, I've always desired to have one in my collection.

 It wasn't until just a few months ago that I pulled the trigger and purchased one from a great reseller in the U.K. It was listed for parts that were not working. The seller was selling the camera for a friend and wasn't sure if it was in good working condition. They mentioned the shutter fired but couldn't guarantee the other working parts of the camera, so I took a chance and purchased it. I don't know why it took so long to get one.

 The shape of the face and the crosshatching on the camera's face drew me to it. It has a very classy and classic look, which is something I find on many cameras made during this timeframe.

 It took a while for the camera to arrive from the U.K., but it arrived last week, and I was anxious to see its physical condition. To my surprise, the camera was not only in excellent physical condition with no chips in the Bakelite, but the shutter was firing, and there was a roll of film still in the camera, which the seller failed to mention, so I was doubly happy.

 I took hold of the film advance knob to see if the film was advancing, and it was so at this point, I didn't see anything wrong with the camera. Not knowing how old the film was, I went outside to take the last few frames on the included old roll of film, and it wasn't until I got to the final frame I found out what was wrong with the camera. 

 I wasn't aware of what was so different in the film spool until I took the film out of the camera, which I needed to do in a dark bag since the camera stopped winding right after I took the final photo on the roll of film included with the camera.

 The Rajar No.6 camera has a special take-up spool written right there on the back of the camera, "only the Rajar No. 6 spool will fit this camera". I saw that when the camera arrived and at first I thought I couldn't shoot with it because it took a different or special size of film. Nope, it's the take-up spool. At least in my camera, the take-up spool is special and has a square tip that fits into the take-up spool instead of a slot that fits into most 120 spools. 

 It appears the Rajar No.6 has a brass item attached to the metal take-up spool that had become loose, making it impossible for the camera to wind the film to the next frame. The drive portion came loose, and the film wouldn't advance anymore. The disconnect of the brass piece and the take-up spool must have happened during the winding of the film, as it was working for a few frames. Another explanation is that the brass portion was stuck to the take-up spool and became loose after the film was with a few frames.

The Company:

Rajar No. 6 nameplate

Rajar Ltd. was established in 1901 as an offshoot of Brooks-Watson Daylight Camera Company Ltd., which had a facility in Liverpool. The company produced camera film, paper, and Rajar film backs for daylight loading film. In 1904, it moved to Moberly and was renamed Rajar Ltd.

 In 1921, Rajar Ltd. They merged with six other companies to form APM, Amalgamated Photographic Manufacturers Ltd. In London, in 1928, four companies involved in film manufacturing formed APeM, Amalgamated Photographic Equipment Manufacturers Ltd. APeM, which would eventually be rolled into Ilford, which is still one of the major film companies today.

 The Rajar No. 6 camera was introduced in 1929, just a year after APeM started. APeM also produced box camera as well.

The one thing that makes the Rajar No.6 camera unique is that the camera body, faceplate, and back are all made from Bakelite. The Rajar No. 6  was the first camera to have the majority of the camera built with the new material. As I mentioned earlier, it's incredible that after almost 100 years, the Bakelite is still in fabulous condition. There are no chips to be found, and the camera still has the gorgeous shine of the new camera.

My Camera:

My Rajar camera measures 6.5" tall by 4" wide, including the winding key, by 4.5" deep when the camera is extended. My camera weighs 1 lb. 0,6 oz., so the camera is very light. The camera is extremely simple as it has a meniscus lens, and an "Everest" shutter, meaning it doesn't cock. When you move the shutter release from one side to the other, the shutter fires, and then when you move it back, the shutter fires again, so you'll need to wind the film right after taking the photo to avoid double exposures.

There is no aperture setting, as the lens aperture is set to what I'm guessing at F8. The only shutter speed setting is for instant or timed exposures. The Rajar No.6 camera is a strut-style folding camera, which means the camera body pulls away from the body on four chrome rigid arms, as opposed to the traditional folding bed style.

 It took me a few minutes to figure out how to pull the faceplate away from the body, but when I held the camera upside down, the faceplate dropped, and it was easy to pull it away from the body and lock it into position. To close the camera, you only need to pull outward on the four strut corners, and the faceplate folds back into the camera body. There is a small viewfinder on the top of the camera, but this only works for vertical photos. There is no viewfinder for horizontal images unless you tilt your head, which is very uncomfortable.

To open the back of the camera to load film, two clips hold the back onto the camera's body. Just flip back the clips, and the back can be lifted off easily. The Rajar No. 6 camera is a 6x9 format camera and takes eight exposures on a roll of 120 film. Yes, the only difference between the No. 6 spool is the take-up spool. It's not a different film size, as 120 film fits the camera well. I've even seen that Rajar made an adapter to fit onto its square proprietary film take-up end to fit into 120 film spools. I don't have one of the adapters, so I'll need to keep my special take-up spool and reuse it with each roll of film.

My Photos:

Since the take-up spool appeared to be broken and I couldn't pull the film from it, I glued the special square drive area directly onto the metal spool that it was spinning freely on. After waiting an hour or so for the glue to dry, I loaded a roll of 120 film into the camera and onto the special take-up reel. The take-up spool worked wonderfully, and I got through the roll of film without a hitch. In fact, the film transport was extremely smooth.

 Here are some results from walking through my neighborhood with the Rajar No. 6 camera.

Conclusion.

The images have a softness that I find appealing. They are very similar to Lomography-style cameras like the Diana. They seem a bit sharper than a Diana, but the lens has a creamy effect on the images (in my opinion). I enjoy that the corners are rounded on the negatives. I also see that the images extend into the rebate portion of the film's border, as I can see the film name and other information in the image area.

 The camera worked great. The shutter was smooth, and the film transport was even smoother. Once I glued the two pieces together and dropped the film into the camera, the photo-taking experience went flawlessly.

 The camera is compact, rugged, and a real "point-and-shoot" style camera. I aimed the camera for horizontal images and figured the lens on the camera was most likely for wide images, which proved to be true.

 Thank you for taking a few minutes to read about this fun and easy camera to shoot with.

 I'd love to hear from you, so if you have any experience with this camera or any of the others I've written about, please email me.

 Until next week, please be safe.
KAPSA Box Camera

My Kapsa camera

On my blog, February is a special time for vintage camera enthusiasts like us-it's Box Camera Month, a time to celebrate and explore the unique charm of these classic cameras.

 Looking through my collection, I noticed I had several different box or box-style cameras that I wanted to use and write about. So, in the middle of January, I thought I should spend the month of February using and writing about the four box cameras I was thinking about.

 The first camera that I noticed was the Kapsa camera. It's been on my shelf for a couple of years, and I purchased it in a large group of cameras from an online auction. At first, I didn't think too much of the camera as the items within the group I was primarily interested in were a couple of Olympus Pen F half-frame cameras. As I was unboxing and unwrapping the items I had purchased, the Kapsa was a camera that drew my attention due to the heavy Bakelite material. The name was one that I wasn't aware of.

D. F. Vasconcellos (DFV) Logo

 After doing some research on the camera after the unwrapping, I found out that the camera is rare in North America because it was made and sold in Brazil. I thought that was unusual and dug a bit more into the camera; it also comes in an aqua-blue color, which makes me want to get that version even more because of my love for colored and unusual cameras. I found even more interesting information when I did more digging into the camera and the company that manufactured the camera.

The Company.

D. F. Vasconcellos (DFV) manufactured the Kapsa camera in the 1950s, but the company, which was founded in 1941 in Sao Paulo, Brazil, began manufacturing precision optical instruments, like surgical microscopes and other items for the Brazilian military.

 In the 1950s, D. F. Vasconcellos diversified into consumer items like binoculars, magnifying glasses, and loupes. This was also the time they ventured into camera manufacturing, a move that filled a growing market for photography in Brazil. 

Brazilian ad for Kapsa camera.

 My guess is that companies like Kodak and Agfa, which were making simple cameras and importing them into Brazil, were somewhat expensive for the average Brazilian consumer. Since D. F. Vasconcellos was getting into the consumer market, they decided to manufacture an inexpensive, well-made, but simple camera for the Brazilian market. 

Getting into the camera manufacturing business must have been successful because they made cameras other than the Kapsa for the Brazilian market. They had a total of six cameras in their lineup. Some of the different cameras D. F. Vasconcellos made are very similar to some of the cameras made by Ansco. One camera made by D. F. Vasconcellos was the Zina 25, which is a copy of the Ansco Cadet II. There are thoughts that some of the cameras made by D. F. Vasconcellos were from older Ansco molds. This makes sense, as other cameras within their lineup have similarities to the Ansco line.

 D. F. Vasconcellos continued to manufacture cameras into the mid-1960s. Still, soon after, they shut down their camera manufacturing to concentrate on the items they are known for today. According to their website, D. F. Vasconcellos manufactures surgical microscopes and other specialized equipment used in the Ophthalmology, Veterinary, Otorhinolaryngology, and Dental fields.

My Camera:

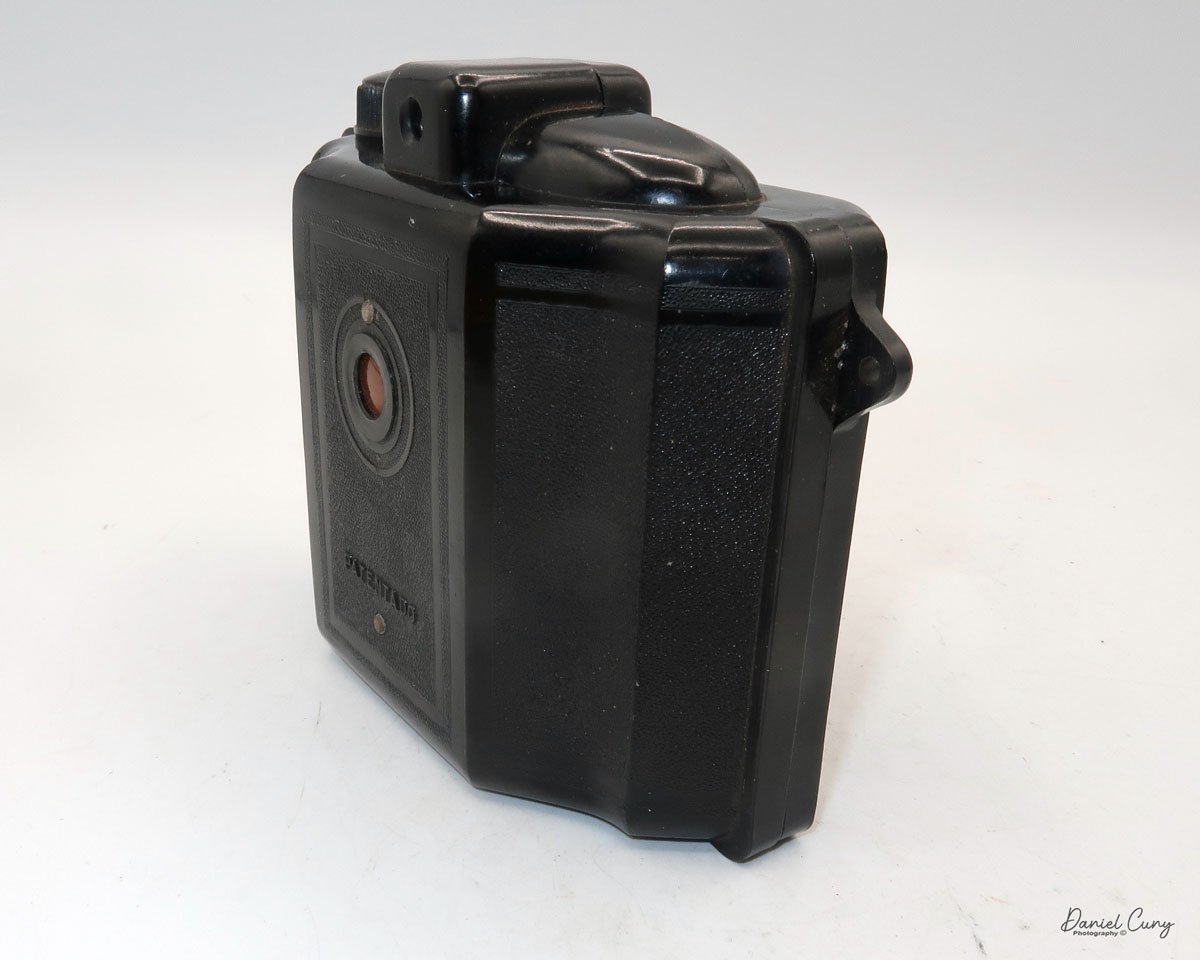
My Kapsa camera is the size of many standard box-style cameras from the 1950s. It's 4.5" tall, including the strap lug, 3.75" wide, including the winding knob, 4.75" deep, and weighs 1lb. 2.6 oz and is made of a thicker Bakelite material with a pebble finish over the camera body. The Kapsa camera has a 110mm F11 Vascromat lens. Similar to many other box-style cameras, there are two viewfinders on the camera. The viewfinder on the top of the camera is for vertical format photos, and the second one on the side of the camera is for horizontal format photos.

There are a couple of interesting items within this camera. The first is the controls on the right side of the camera as you hold it, which adds a bit of complexity to the camera. On top is the shutter settings for "I," which stands for instant and has a shutter speed of around 1/100 sec. The other setting is "T" for times exposure. Next to the shutter release is "Trava" or Lock, so the shutter doesn't accidentally trigger while transporting the camera. Under that is the ability to set three different apertures, F11, F16, or F22, and along the bottom is the focus control, which is in meters. There are also flash contacts on the camera for their bulb flash gun, which you can see in the posted ads, but something I don't have.

Camera controls on the Kapsa camera

To open the camera, the locking/unlocking lever is on the left side. This lever allows you to open the camera to load/unload the film. You turn the dial to "ABRE" to open the camera or "FECHA" to lock the camera. Once the camera is unlocked, the right side of the camera pulls away from the camera body so you can load or unload the film.

There are two "wings" on the camera that convert the camera from a 6x9 format camera to a 6x4.5 format camera. I liked this feature as it allows the photographer to get twice as many photos from their roll of film. If you're in the 6x9 format with the "wings" retracted, you'll get eight pictures on the roll, but by flipping the "wings" over the film opening, you'll get 16. The one thing that you'll need to remember, and this alludes to me at times when I do this, is it also changes the format of the image. If you're in the 6x9 format, the camera is in the vertical format when holding the camera vertically. Once you change to the 6x45 format, the format of the image is horizontal even though you're holding the camera vertically. It's just something you need to be conscious of when changing formats.

Many of the articles I read about the Kapsa camera state that it can use either 120 or 620 film. However, my camera is only set up for 120-size film, as the film reel holders have larger openings for 120-size film, not the smaller openings for 620-size film reels.

 My Kapsa camera has a couple of issues. On the back of the camera, there should be two red windows for the two formats the camera can use. The first issue is one of the red windows on the back of the camera, which reads the frame number when advancing the film, is missing.  It's the right window that's missing, and it is used for the 6x4.5 format photos. That's not a deal breaker when it comes to using the camera. I just taped a small piece of foil over the window since I didn't have red acrylic to glue into the camera. Also, there is a small ship in the Bakelite close to the seam where the film insert fits into the camera body, so I added a small piece of black tape when shooting. My camera is also missing the strap.


My Results:

Since my camera shoots 120 film, I loaded a roll of Ilford FP4 Plus, 125 ISO film into the camera with the "wings" back so I was shooting 6x9 format images. The plastic winding knob is on the right side of the camera, just behind the horizontal viewfinder. I wound the film in the first frame, walked through the neighborhood, and snapped a few images.

 Once I was done, I got out the dark bag and processing equipment, loaded the reel with the film, and processed it. Here are some of the results. 

Conclusion:

Shooting a box camera brought back some great memories from childhood. I still enjoy holding the camera in a lower position and looking through the waist-level finder to frame the image. Maybe that's why I enjoy medium-format cameras so much; it's the tactile feel of using this mechanical instrument to capture memories that I'm fascinated with.

 The camera was fun to use, and the images are good, especially considering what many people feel is a toy. But the world took millions of images with this style of camera.

 Thank you for taking a few minutes from your busy day to read about this fun and somewhat rare camera from Brazil. Now, I will be on the hunt for the blue model, preferably in better condition than the camera I have.

 Until next week, please be safe.

Early M.I.O.M. Camera

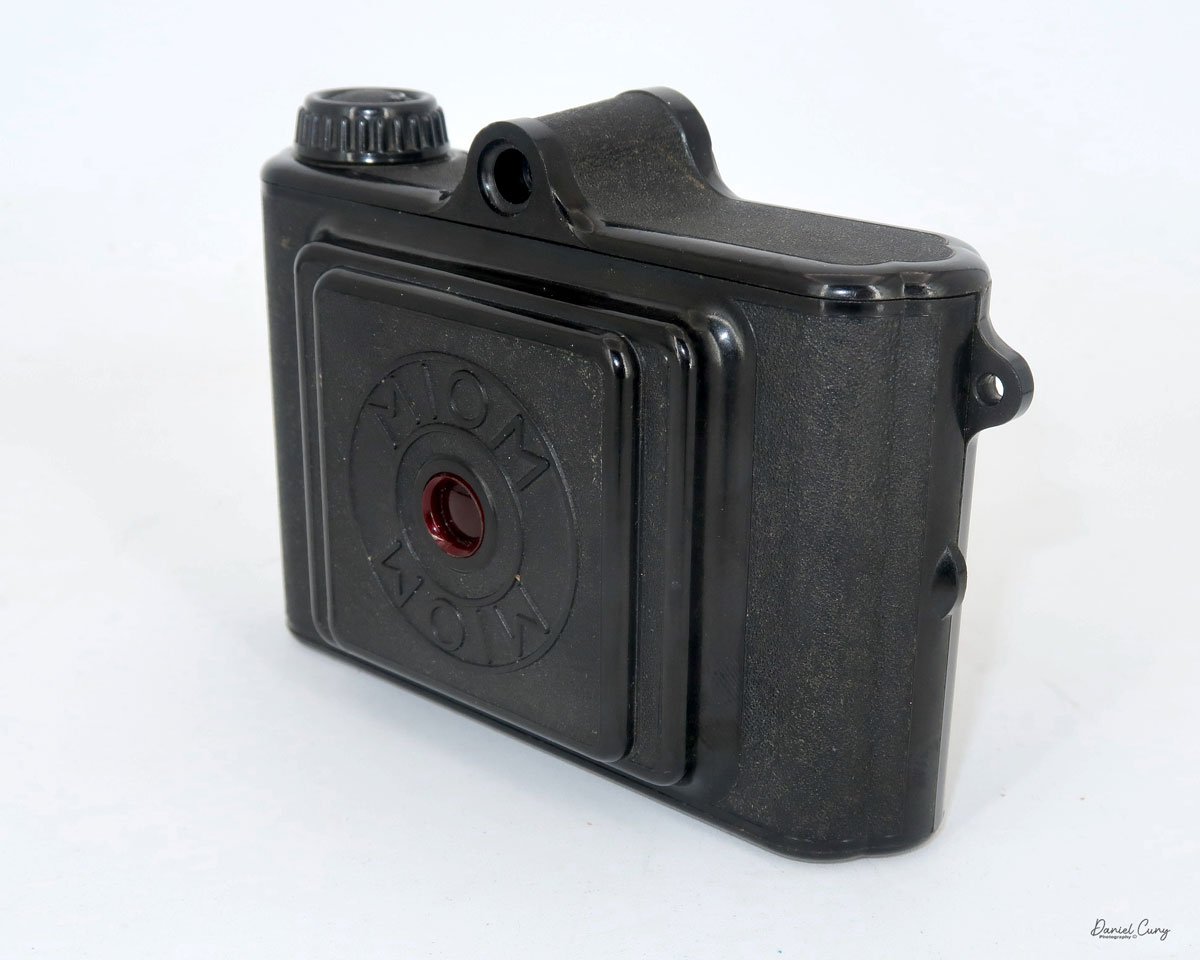
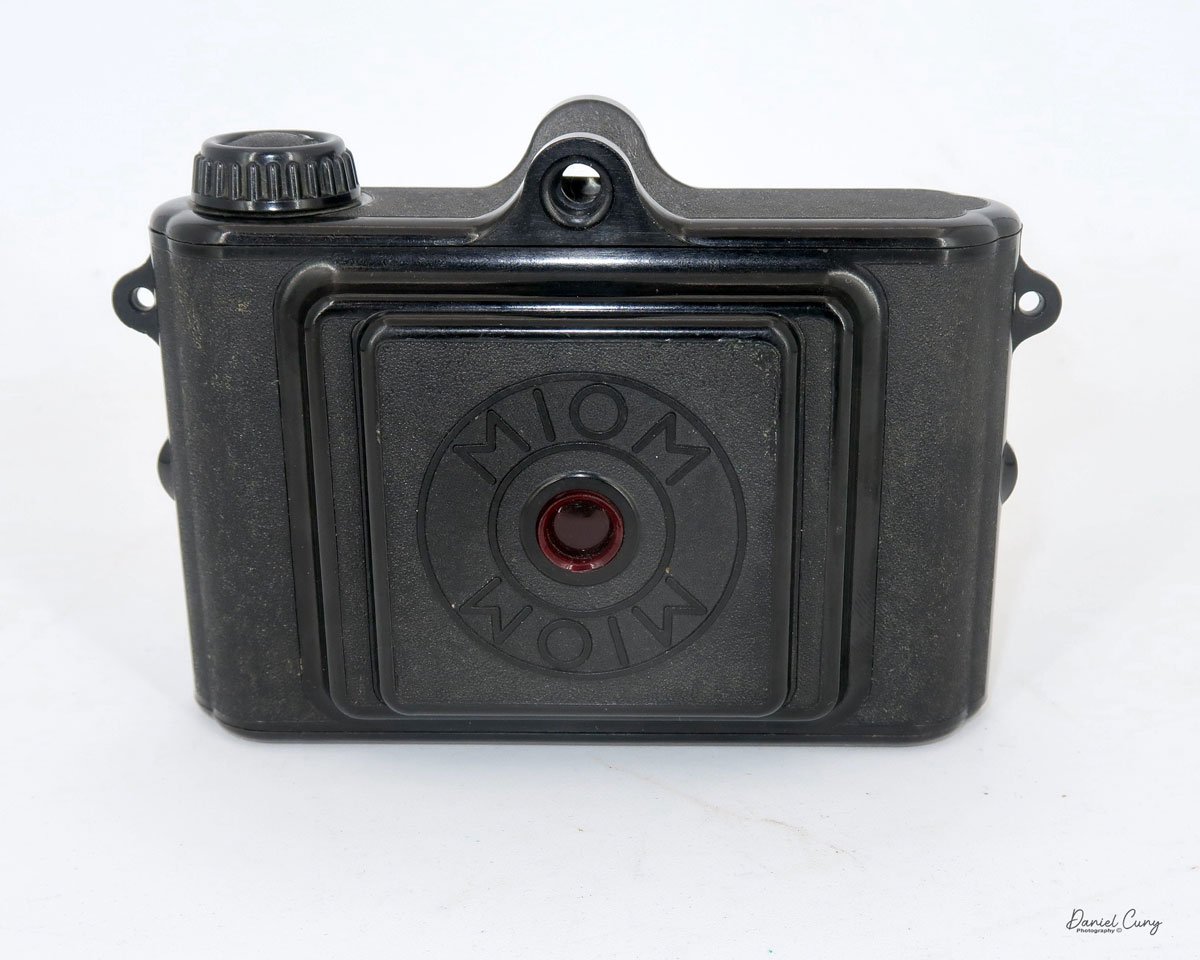
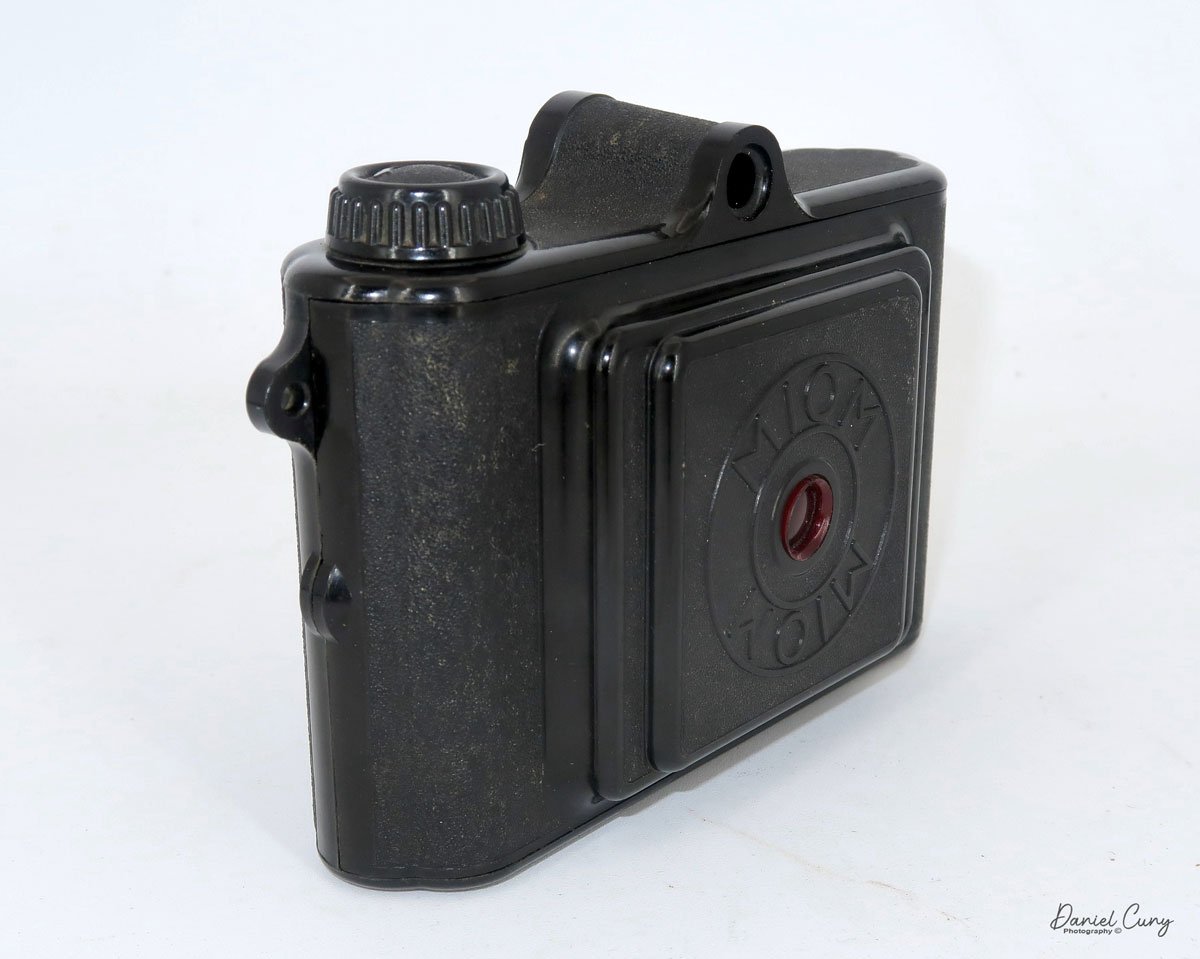
My early MIOM camera

This blog is a journey into the world of a camera I stumbled upon during our European escapade last year. Whenever we venture to a new destination, I make it a point to unearth the local flea markets, a treasure trove of unique cameras and photo items that are often elusive in the US. The thrill of discovering these items, especially being on the West Coast, where European finds are a rarity, is an experience in itself. 

 One of my favorite flea markets was just outside Prague, and my wife and I went to it. It was in an industrial area, and we took the train to get to it, but it wasn't so much the cameras and photo items found as the atmosphere of the place that made it memorable. I did find some great cameras there, too, that are harder to find on the West Coast of the US.

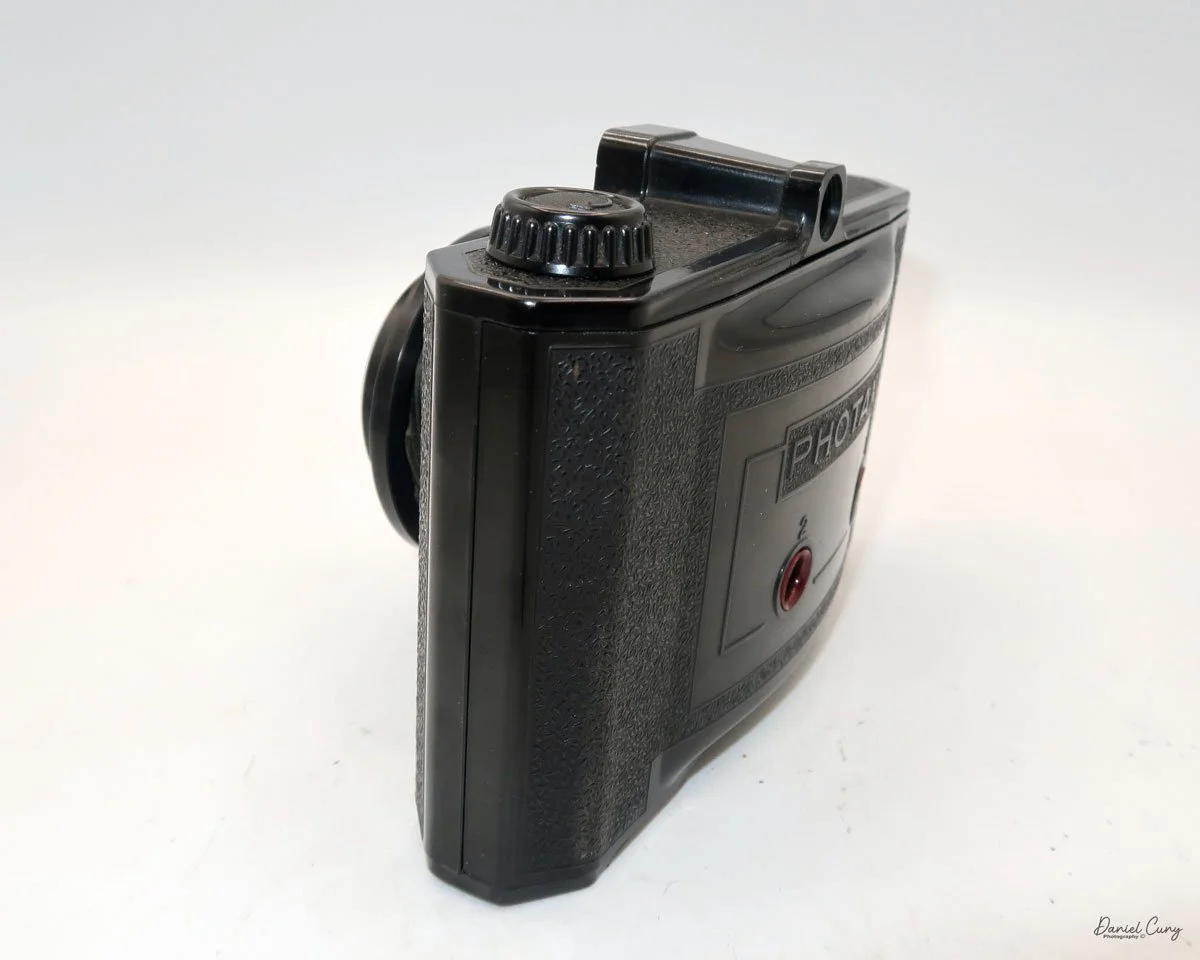
 While in Brussels, my wife and I went to a flea market in a square or small park in town. There were about 40-50 vendors there. Most of the items were in boxes with many other items, so you needed to rummage through a lot of items to find what you were looking for. I didn't have much time to look as my wife was under the weather, and it would start to rain later in the morning. I picked up a few Rollei parts for a reasonable and fair price along with this MIOM compact bakelite camera, for which I paid 1-2 euros.

The Company:

Let's delve into the intriguing history of MIOM, a brand that has left an indelible mark on the world of photography. The journey of MIOM begins in 1887 with architect Félicien César and engineer Fabius Henrion, who founded the local lighting distribution company: 'Fabius Henrion et Cie,' with a capital of 100,000 francs in the Nancy and Lorraine region. Despite facing numerous challenges, the company's legacy was preserved when it was acquired by the CGE, Compagnie Générale d'Électricité (General Electric Company), in 1898.

 MIOM, an acronym for Manufacture d'Isolants et Objets Moulés, (Manufacture of Insulators and Molded Objects) was a subsidiary of the Compagnie Générale d'Électricité (General Electric Company) which started in 1929. As the MIOM name suggests, It was created to produce electrical components for the company. 

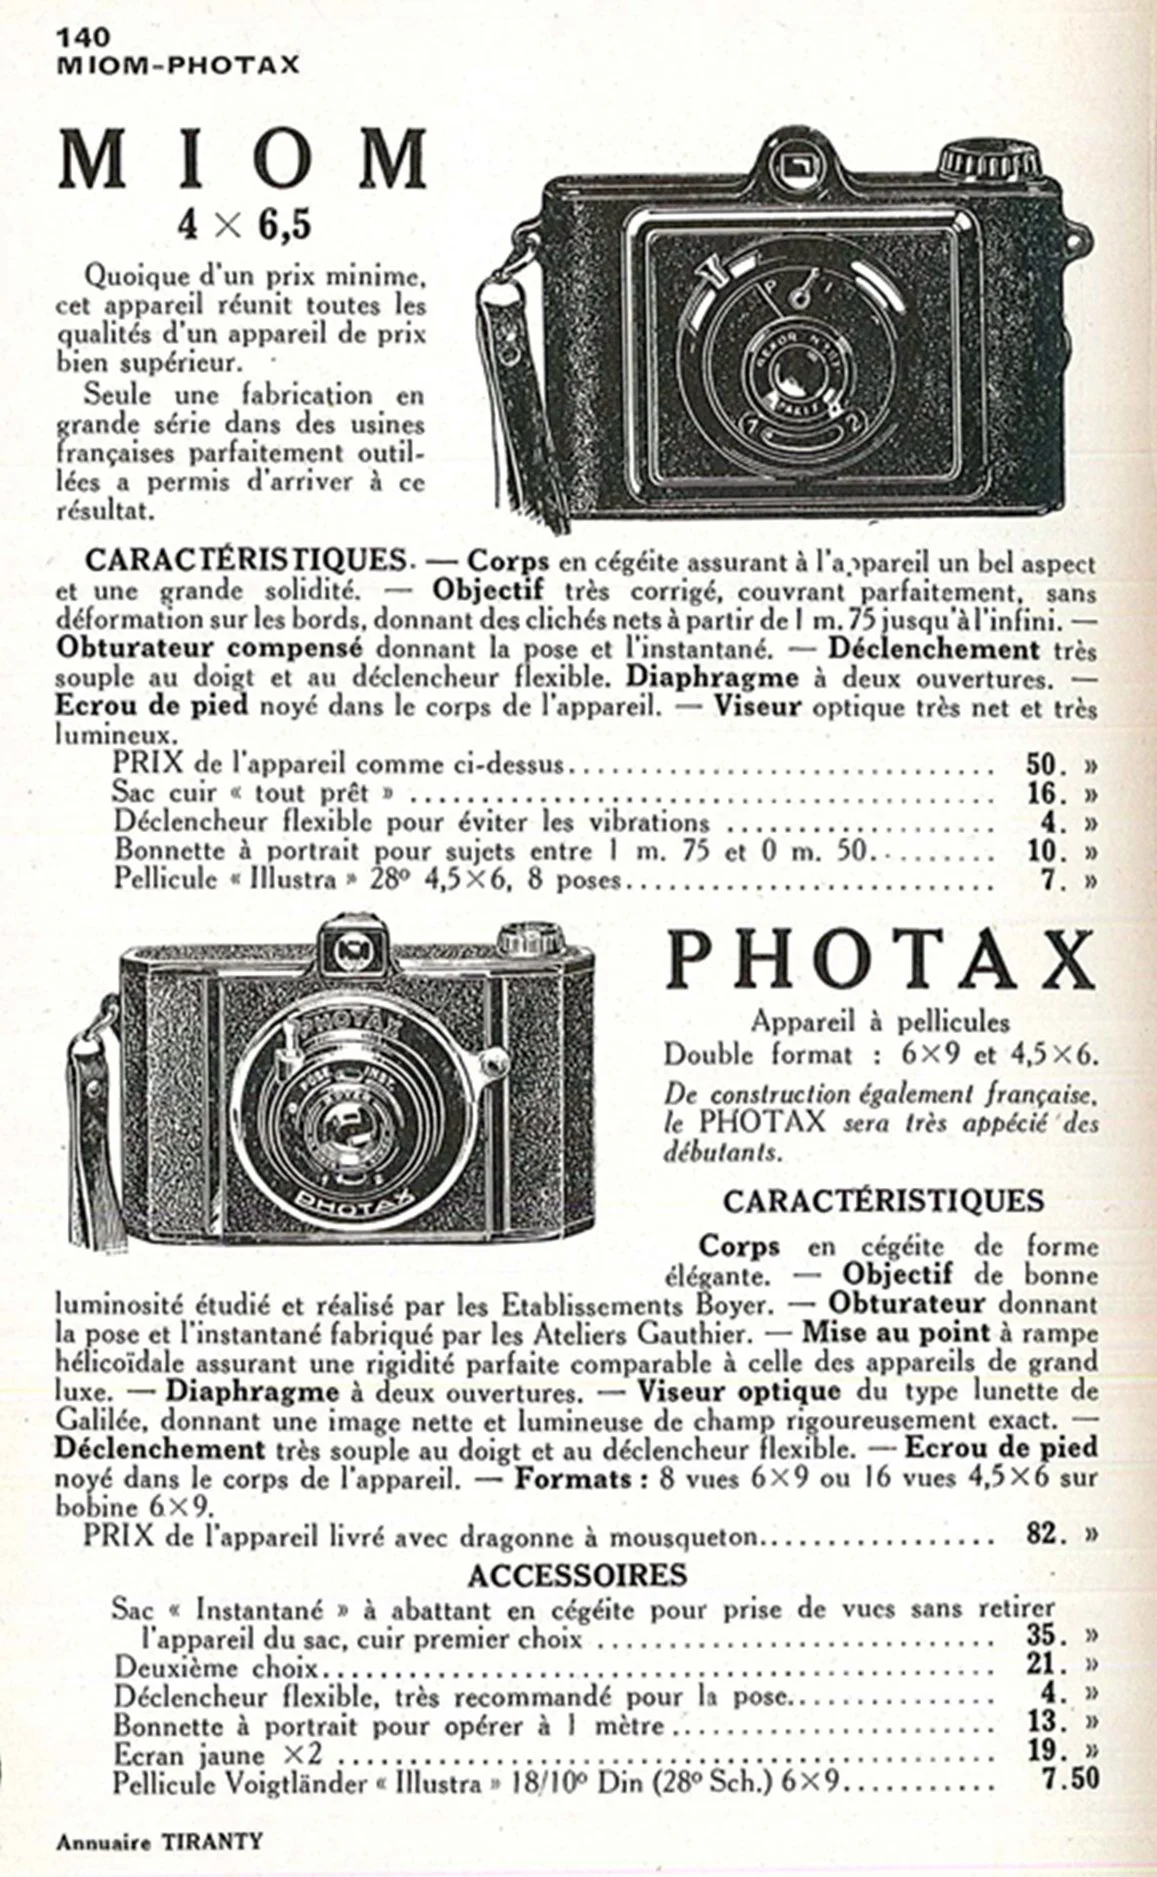
 As photography grew during this time, MIOM created a photographic department in 1937 that molded simple cameras in "Cégéite," which was similar to what we now call bakelite. The name derived from the name of the parent company: the Compagnie Générale d'Électricité.

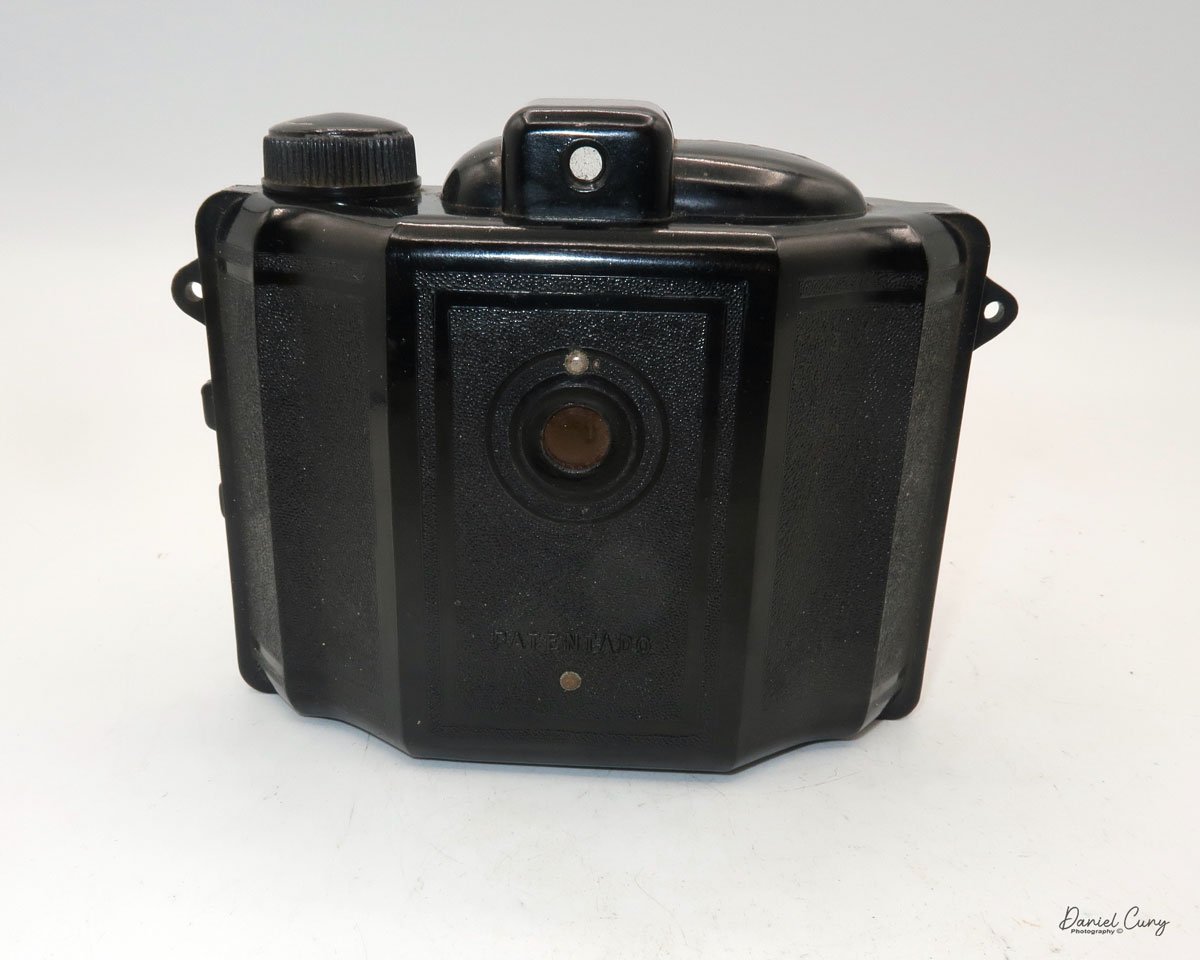
MIOM's early cameras were very similar to the model I have. They were very flat in appearance and used 127 film to produce 6x4.5cm negatives. Some of the other early models were the Rex and Lec Junior. I believe the model I have is only known as the MIOM, which is printed on the back. There is no camera name produced on the camera like the REX or other cameras of that time.

MIOM Ad in the 1930s

Then, in 1938, the cameras took on a different appearance, resembling the Czechoslovakian Pyonyr cameras, designed by Fritz Kaftanski, who had recently moved to France to get away from the war problems taken on within that region during the late 1930s. It's suspected that Fritz Kaftanski was involved in the design of the newer Photax camera.

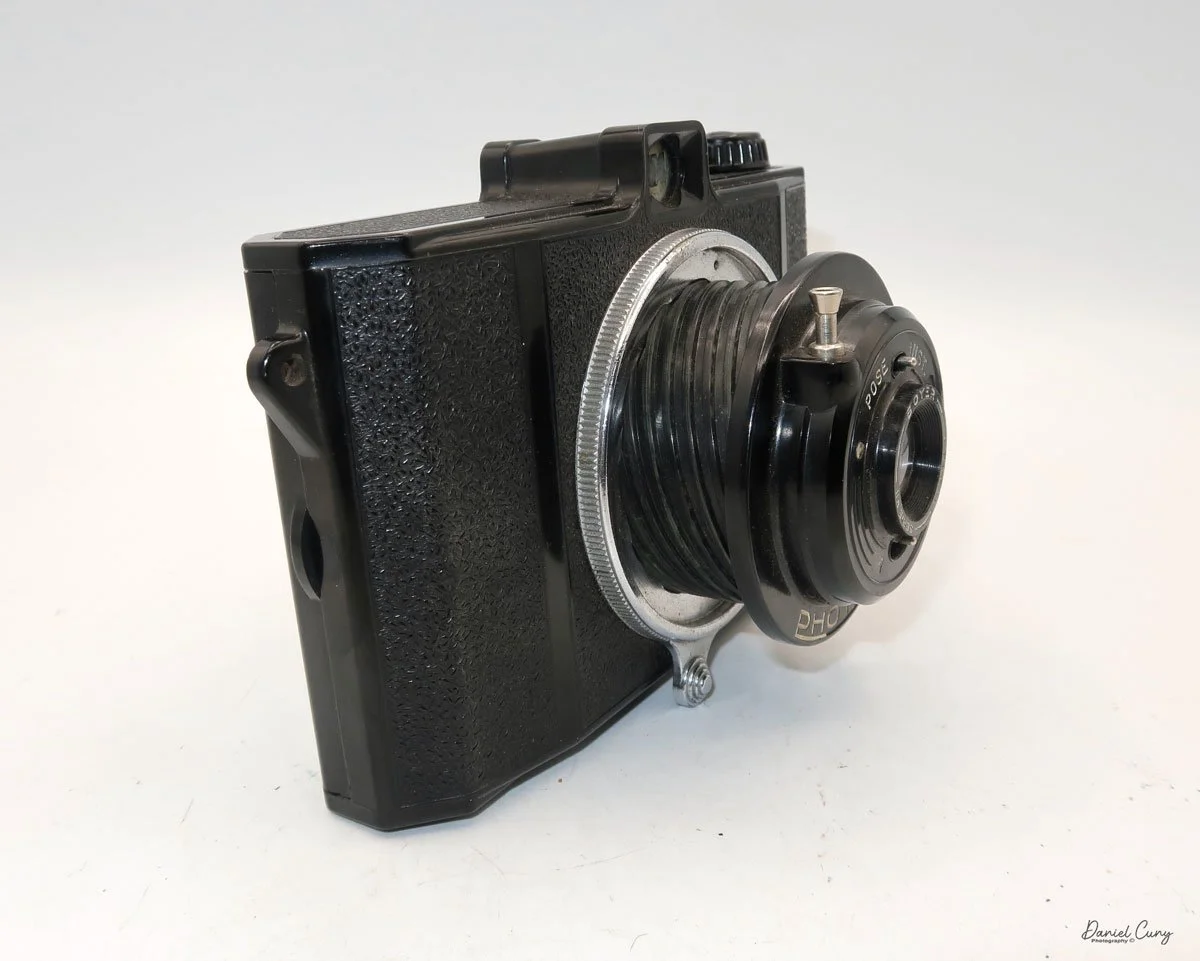
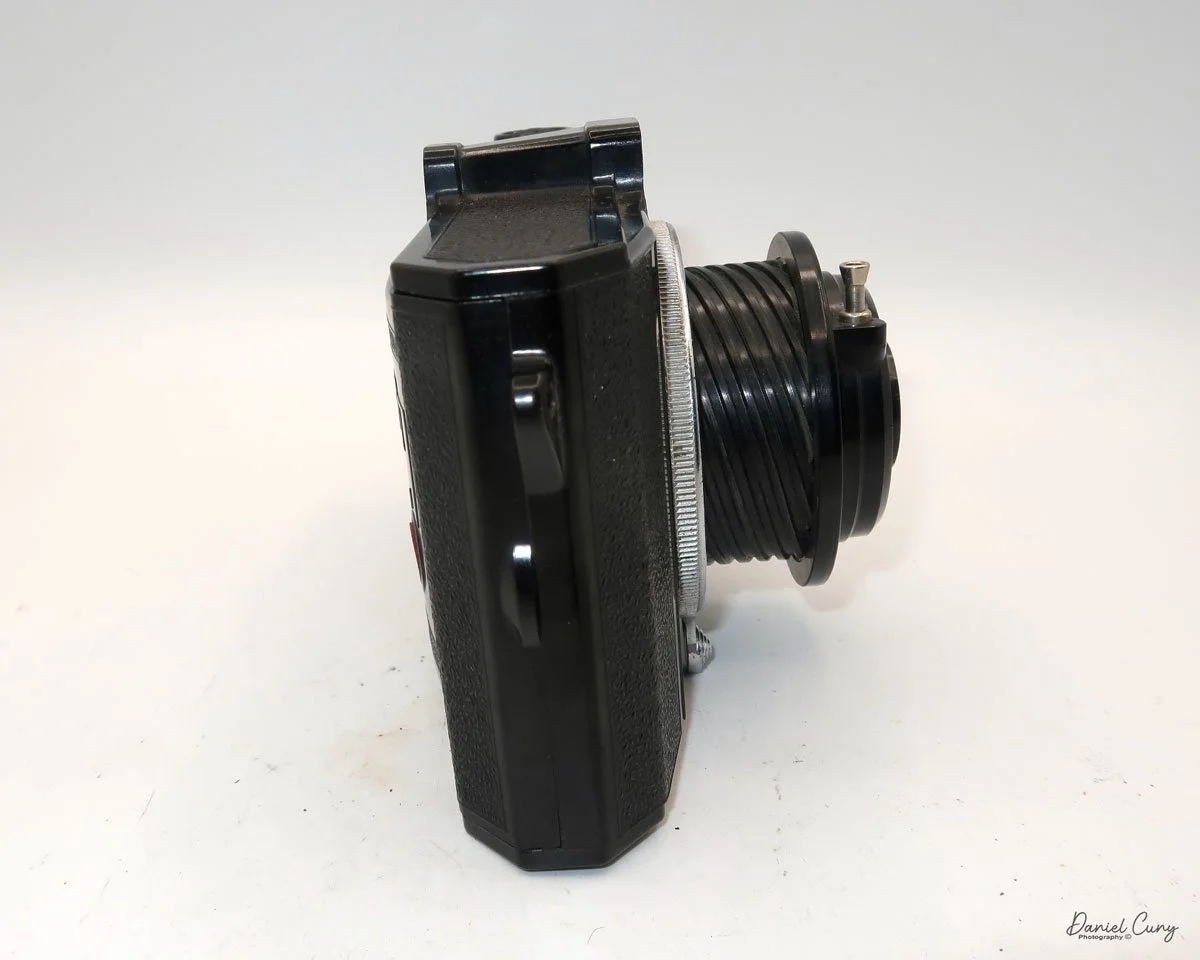
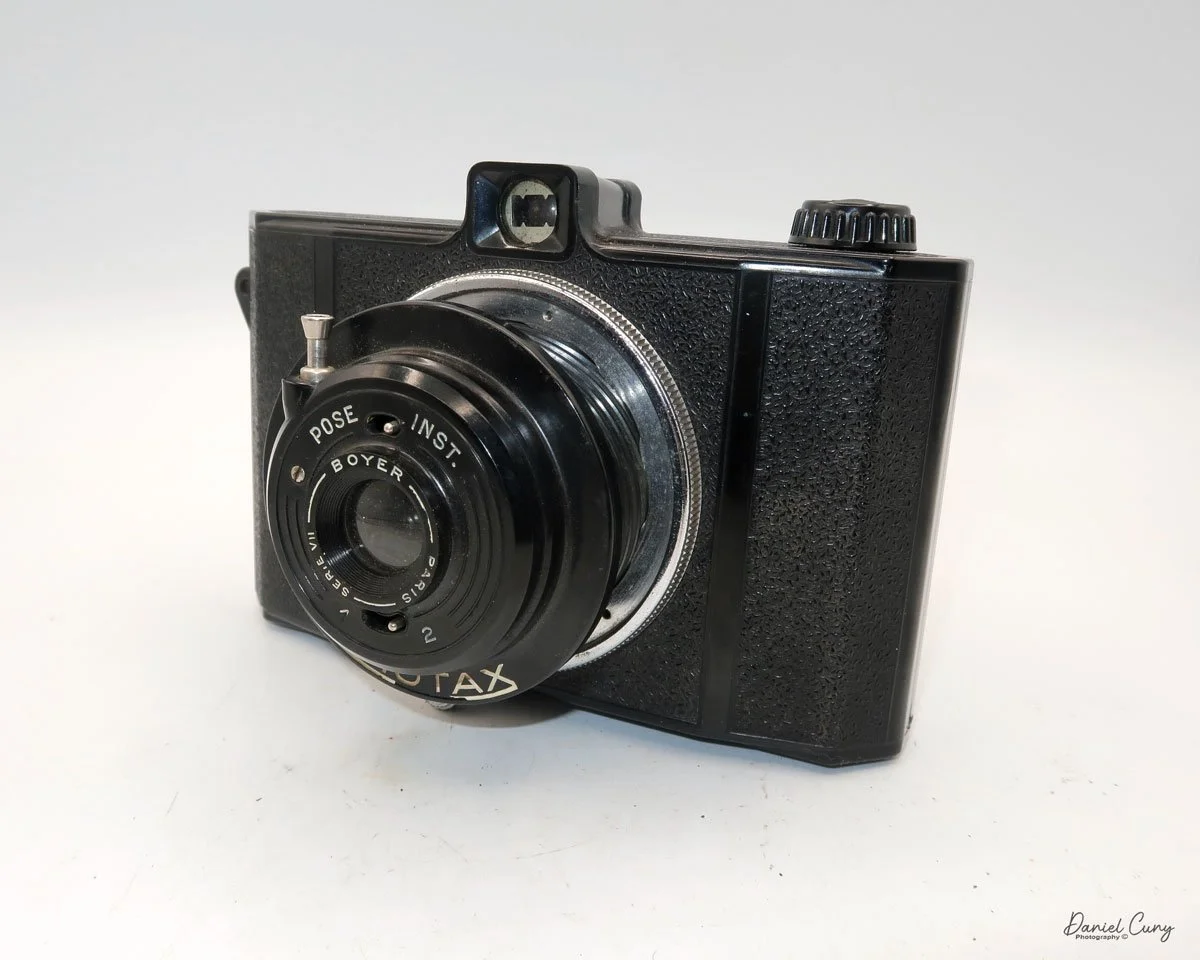
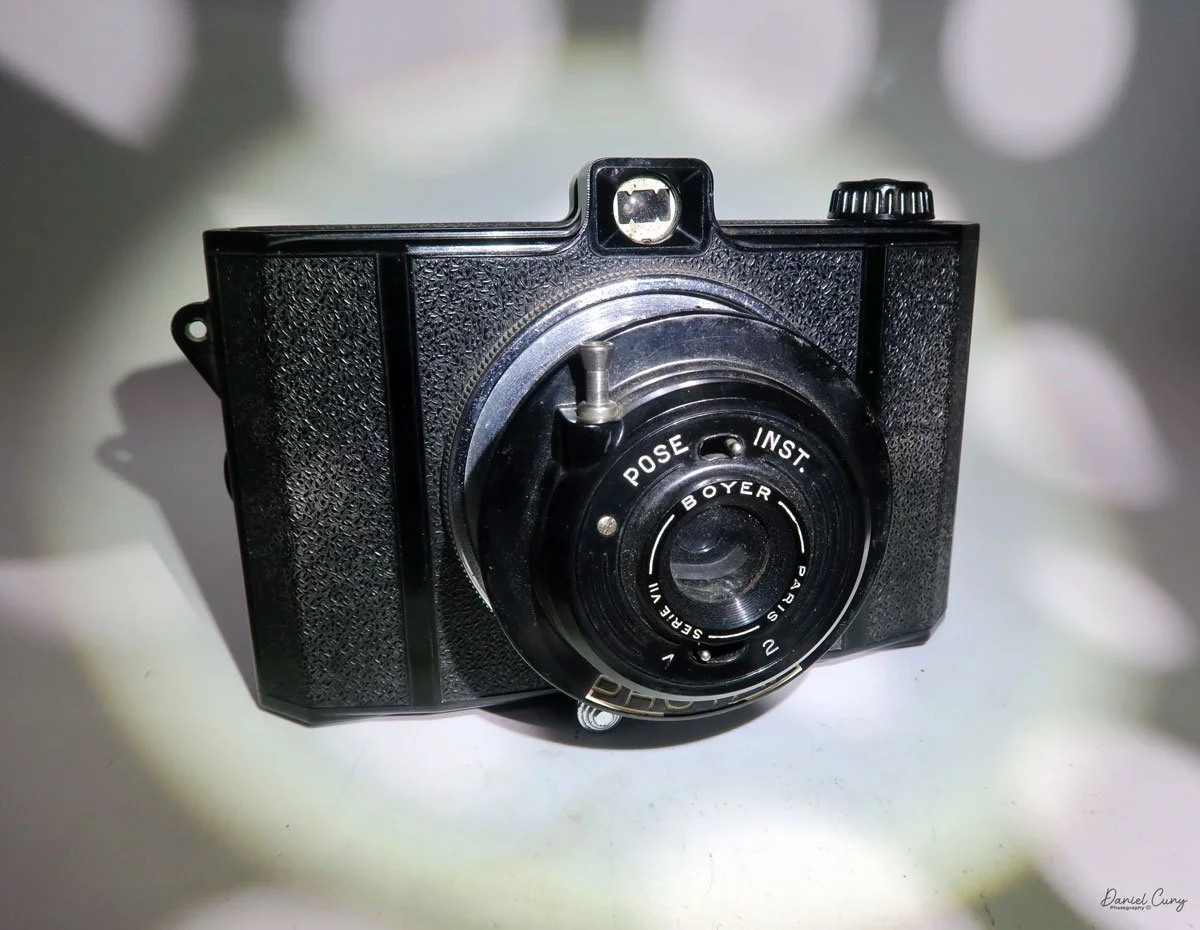
 The Photax cameras had a larger negative area, used 620-size film, and produced 6x9cm negatives. The Photax design had a lens that rotated out from the body on a helical and included a very simple shutter that only worked when the lens was in the extended position.

This new system was beneficial to amateur photographers at the time. It prevented the camera from accidentally taking a photo if the lens was retracted. The new Photax camera also included lenses from Boyer, a French optical company that produced wonderful optics.

 Photax cameras were the best-selling cameras in France for 20 years and produced cameras well into the 1960s, with the Photax VI released in 1966. However, like many European camera manufacturers of the era, MIOM faced significant challenges in the 1960s with the rise of Japanese brands such as Nikon, Canon, and Minolta.  

 Today, MIOM's legacy lives on in the vintage camera market, where its models are sought after for their distinctive design and the quality of their optical systems. The story of MIOM reminds us of a golden age in photography when craftsmanship and innovation defined the industry.

My Camera:

This description should be straightforward and short, as this camera is simple without many bells or whistles. However, its simplicity and unique design make it a valuable addition to any vintage camera collection.

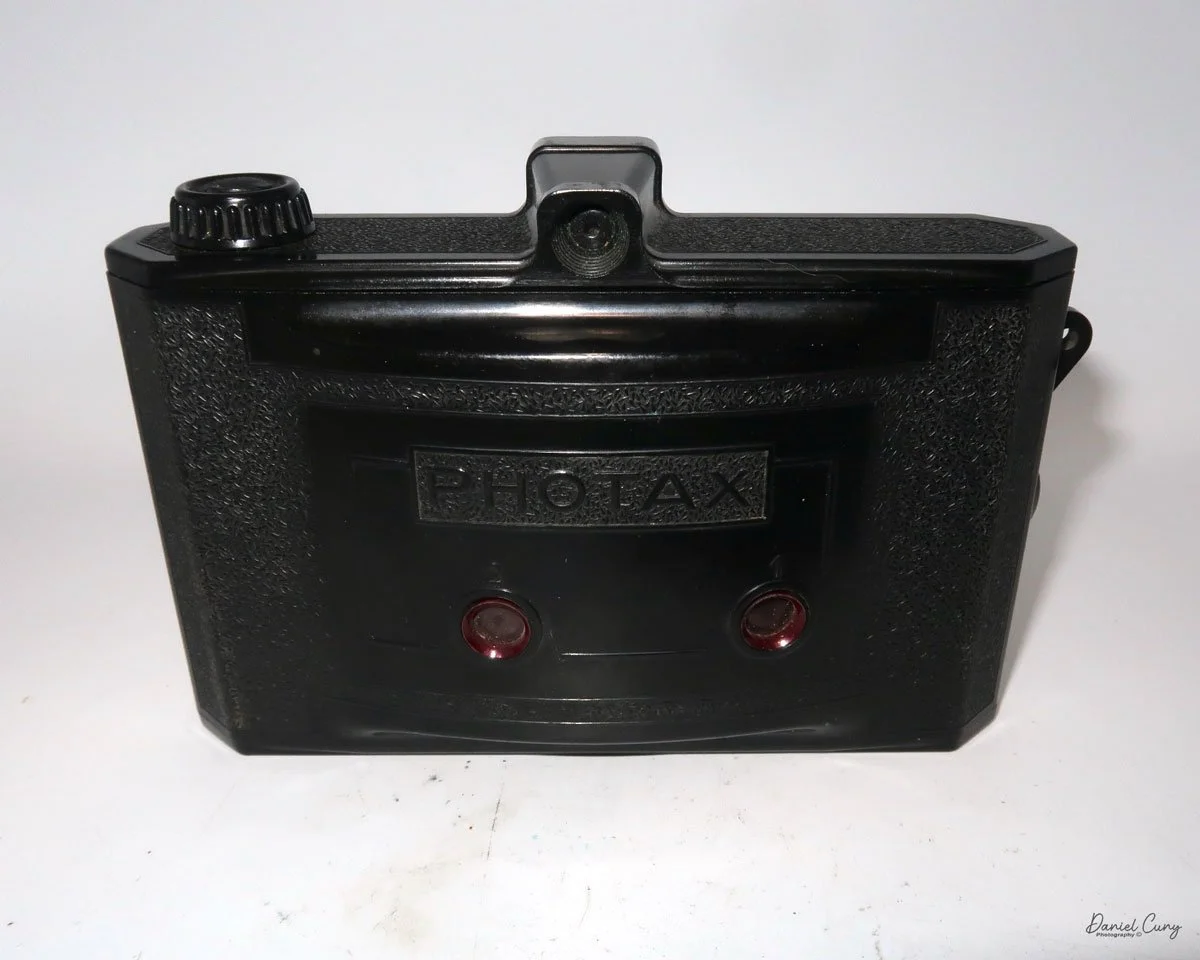
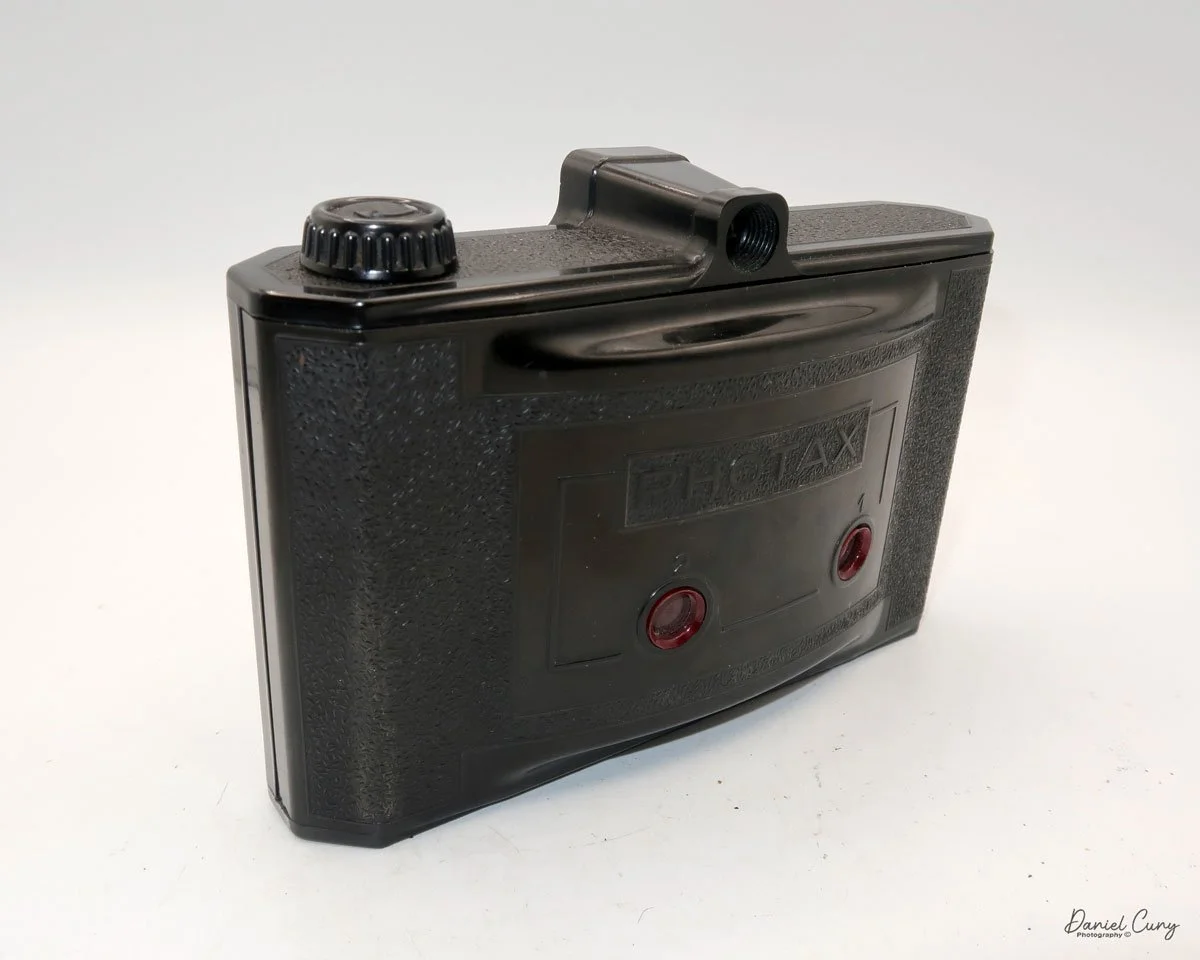
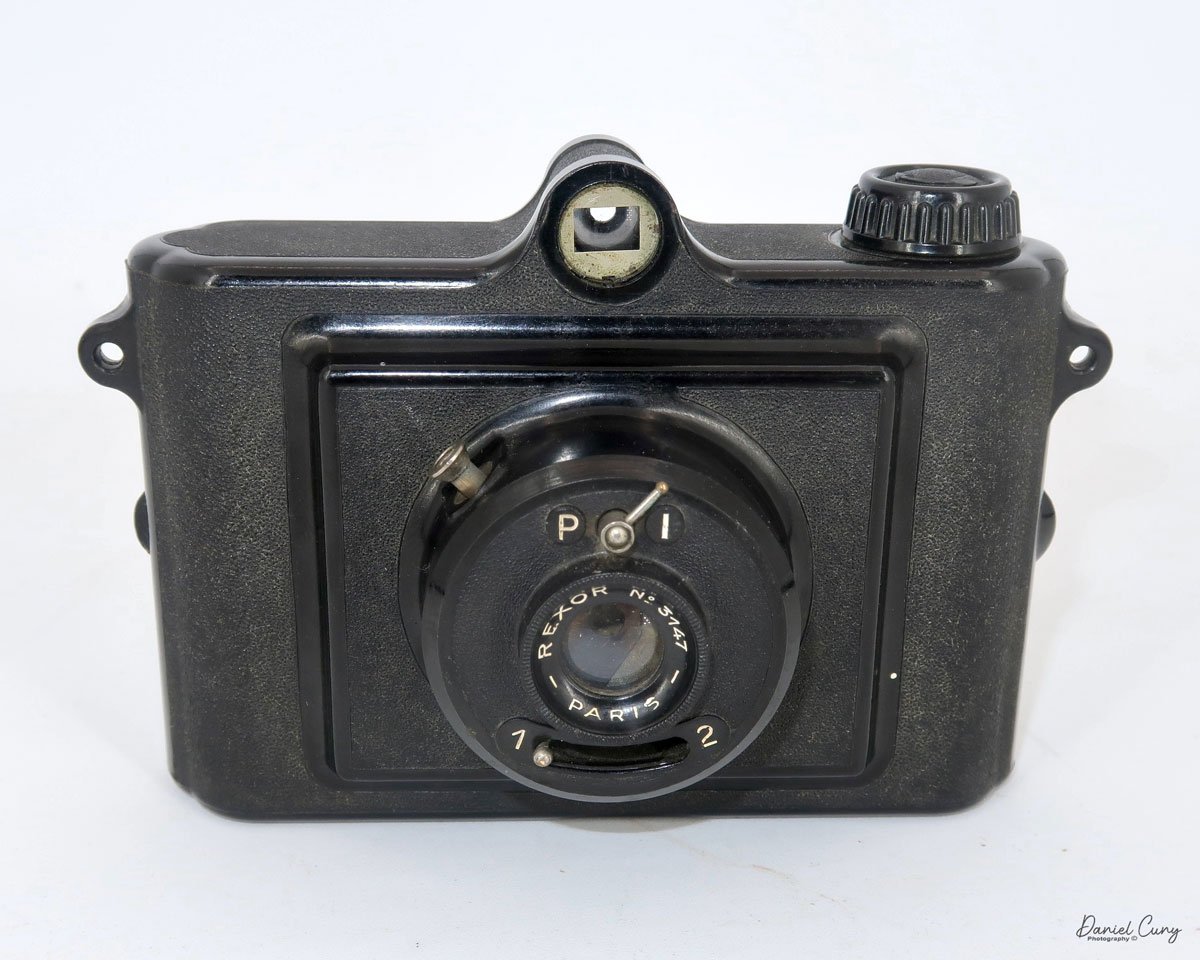
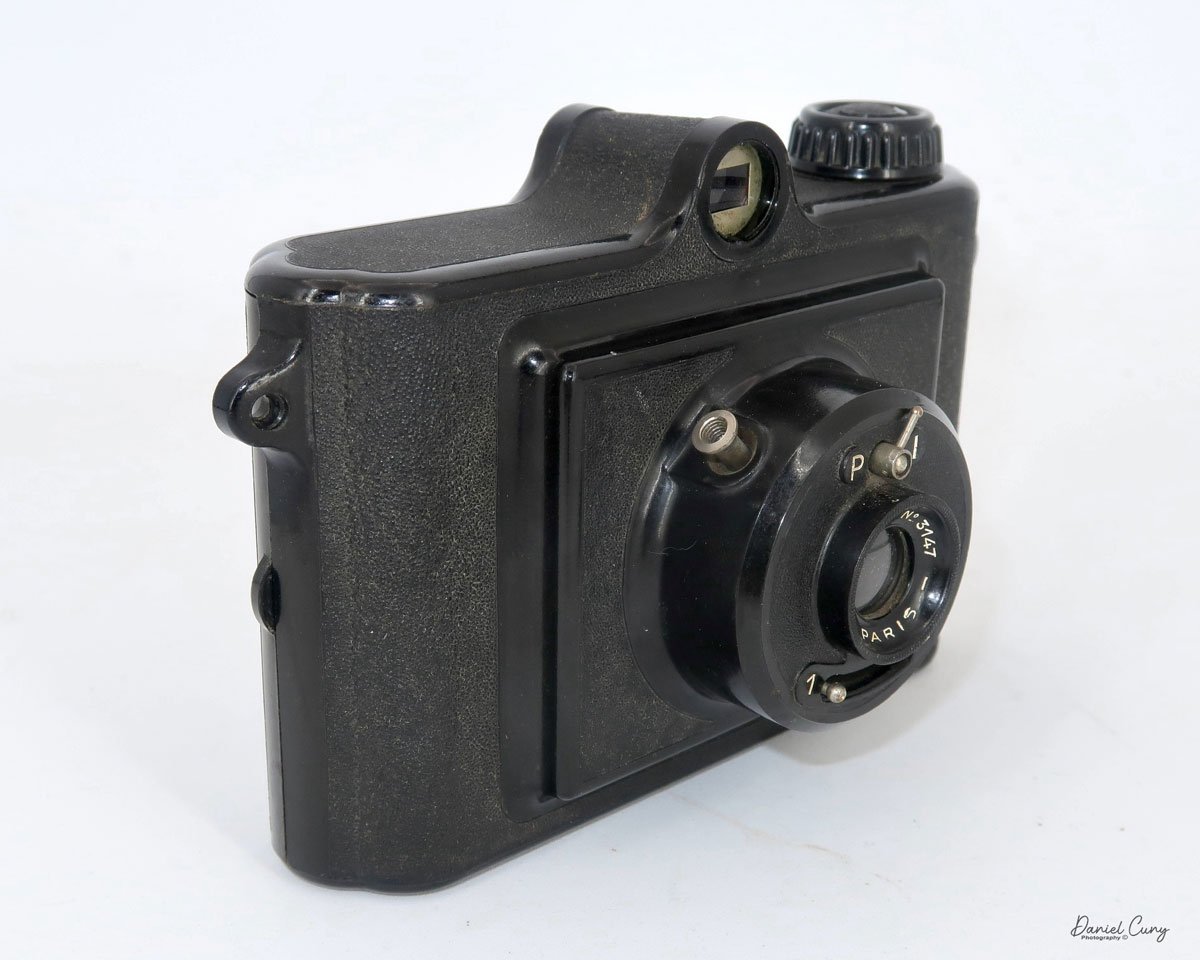
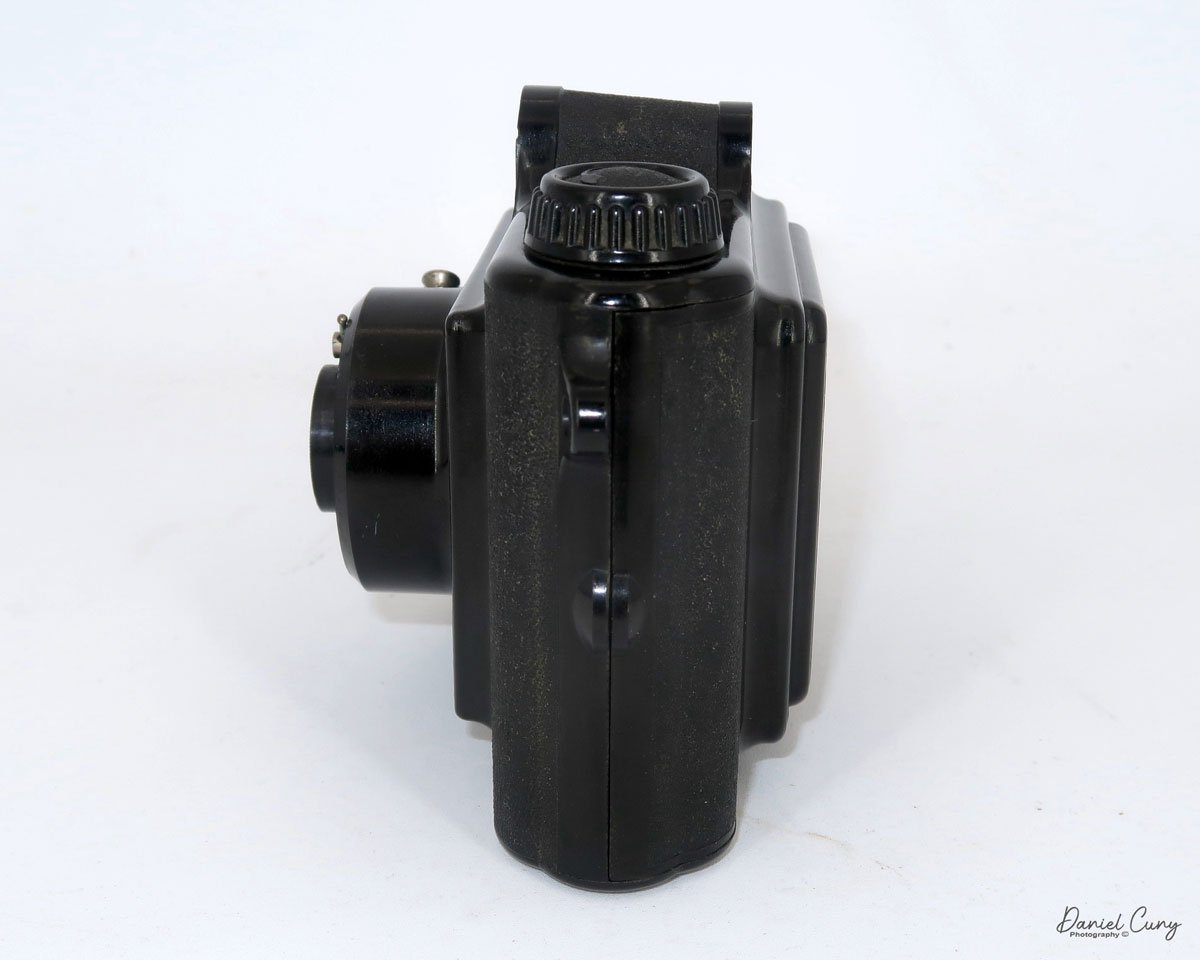
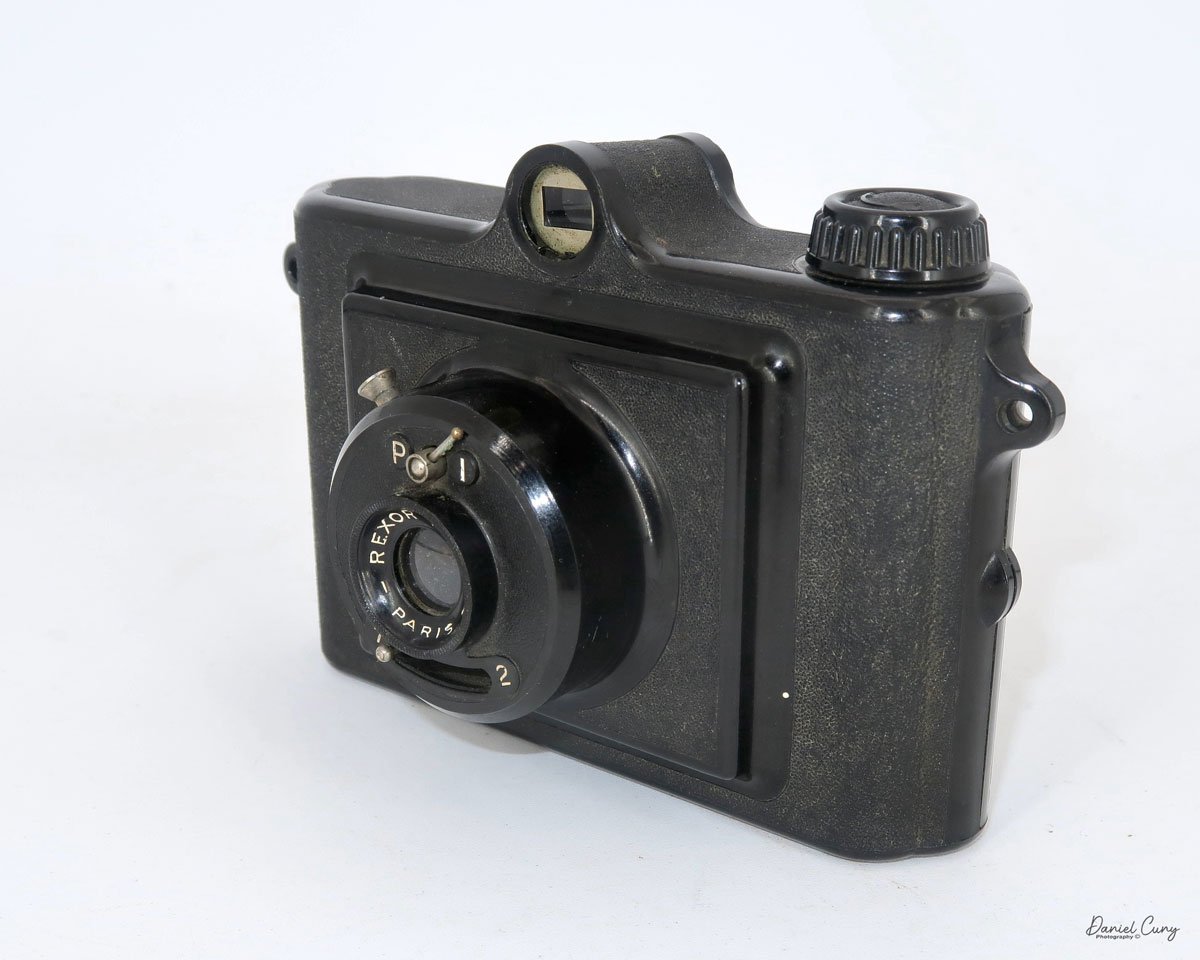
 My MIOM camera is 3.5" tall, including the viewfinder, by 5.5" wide, including the strap lugs, and 3" deep, weighing 9.4oz. It is very lightweight and compact. On the front of the camera, there are two shutter options. These settings are on the top and bottom of the 60mm Rexor lens, serial number 3147, on the camera. The camera has a crinkle finish within the acrylic, which makes the gripping easy and somewhat drop proof.

Above the lens are your shutter settings: "I" for instant, which has a shutter speed of approximately 1/50 sec., or "P" (B) for timed photos. Below the lens are two options for aperture settings. Looking online at other information on the Photax camera, the settings are 1 (Grand Diaphragme) for f16 or 2 (Petite Diaphragme) for f22. The words in the paratheses are written inside the camera's back door.

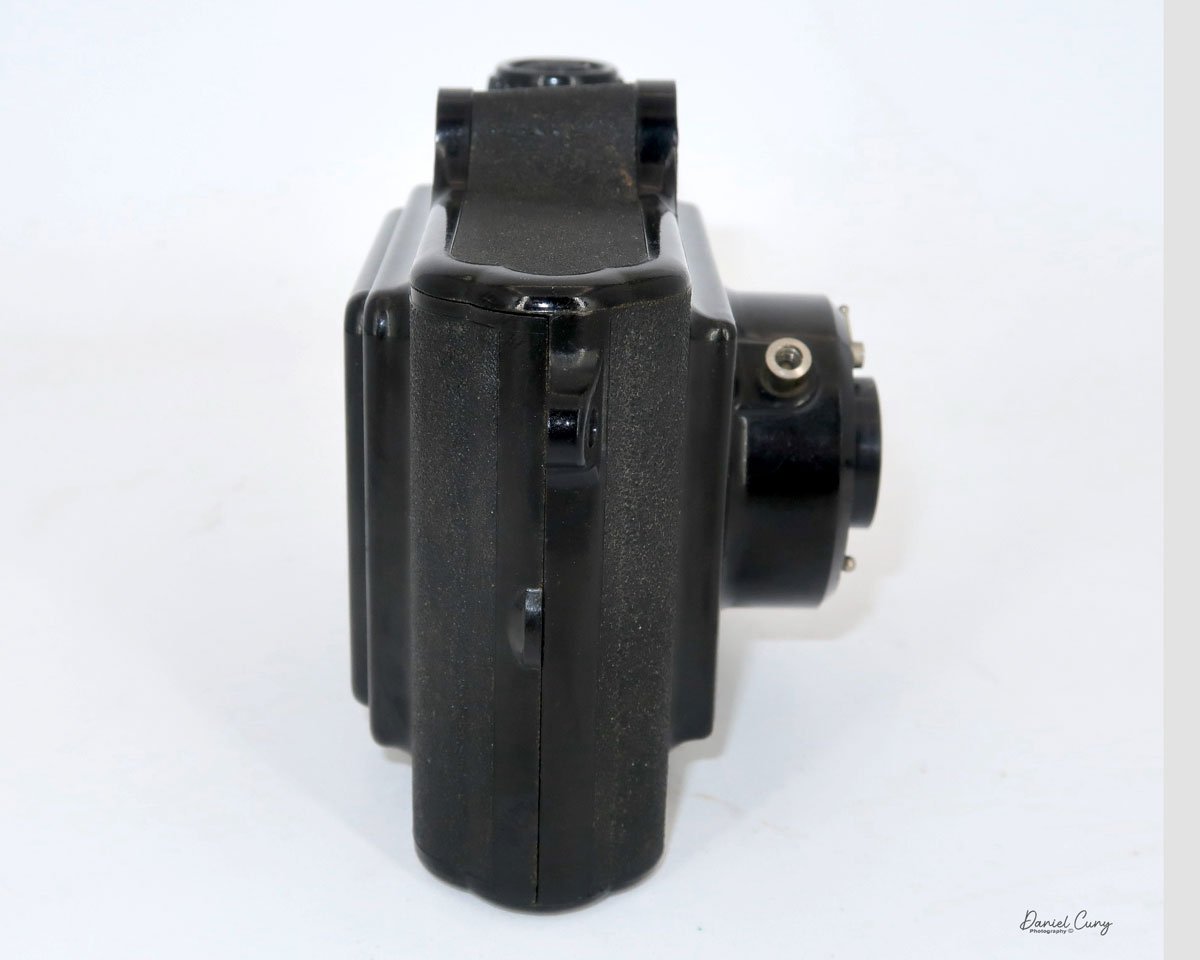
There is no latch or lock to hold the back onto the camera to load the MIOM camera with film. The back is held onto the camera's body with friction, and the back fits snuggly onto the camera's body. On either side of the camera are a couple of protrusions. I put my fingernail in between these nubs and pull, and the back will pull away from the body. You must do this on both sides so as not to crack the plastic and render the camera useless.

Once you get the back off the camera, I notice there are two red dots on the protruding nubs, which indicate which side fits together. The camera winds to the left, so you put the empty spool from the previous 127 rolls from the right side to the left and put the fresh roll of 127 films into the right side. Break the tape on the roll and bring the leader to the empty spool. Thread the leader into the spool slots and wind the film a few turns to ensure the film is lining up on the spool or until you see the arrows on the paper backing pointing outwards. Once you reach this point, it's time to put the back onto the camera. Once the back is on the camera, wind the film until you see the number 1 in the red window. Now you're ready to take the first photo.

 Once you take the photo and wind to the next frame, you'll get eight exposures on each roll of 127 film. Now that all the frames are taken, it's time to take the back off the camera and process your film.

My Results:

For total transparency, I had three rolls of older VP 127 film in my drawer. One roll's expiration date was June 1971. That roll went through the camera fine, but when I rolled the film onto the developing reel, something went array, and the film didn't process correctly. I loaded one of the other two rolls I had left, dated Sep.1968. This roll got jammed within the camera, so I'm unsure if I didn't load it properly or, due to the age of the film, it broke, but the film was very crinkled when I went to process it, and none of the images came out.

 It was an operator malfunction, and I didn't load it properly. Five rolls of film are arriving today from one of my favorite camera stores, Glazer’s Camera, in Seattle, WA, so I'd like to take the film, process it, and scan the images today.

I received the film, loaded the camera, walked through the neighborhood, and took images. Luckily, this roll turned out, and you can see the results below.

My Conclusion.

I'm writing this portion of my conclusion before I have images from the camera, so at this point. In contrast, the camera is compact, and an earlier version of the MIOM cameras made, the film issues have made the experience somewhat frustrating. Once I get the images, I'll complete my conclusion and give you an honest assessment of the camera.

The images confirmed my suspicions. The camera was made to put cameras in the masses hands and for them to go and take photos of friends, family, and memorable moments. This camera did a decent job for a camera almost 90 years old. The plastics are rugged and on my camera, I’m missing the rear viewfinder glass so it was a bit more difficult to fame the images, but overall a decent camera.

 Thank you for taking a few minutes from your day to read about this early version of the MIOM cameras.

 Until next week, please be safe.
Lark & Kandor "Sardine Can" Cameras

When I was younger and starting to collect cameras, I can remember looking at the Lark Camera in McKeown's camera book, the bible I use regularly, and seeing this odd and unusual-looking camera that appears to have been made out of a sardine can. The funny thing is, that's what they called this style of camera coming from the Irwin Company of New York.

 Another fascinating item about this camera is that few of them come up for sale on eBay, and when they do, they sell in the $100.00 range. My guess is because of their unusual design and looks, along with the popularity of Lomography that's taken place in the past twenty years and the rise of film photography again.

Recently, I had the opportunity to pick up not only the Lark camera in three different versions but also its twin brothers, the Kandor Camera, which came in different versions, too. The price was right for all five cameras and a few other camera gems. I snatched all five cameras and decided to write a blog post since you don't see much about them online.

HISTORY

Before I dive into the cameras I purchased and some of the refinements, Let me tell you what I know about the Irwin Corp. of NY, Irwin Corporate History which made these interesting cameras. The folklore of how the camera company started is that an American sailor was in France in the early 1930s and made a camera from a sardine can. After his release from the service, the sailor moved to Chicago and teamed up with some mobsters who helped him import sardine cans to manufacture these cameras.

This is a charming and far-fetched story, especially since the Irwin Corporation was located at 27 W. 20th Street in New York. After doing a bit of digging, I found where someone admits he made up that story. You can find it here: French Site

 In my opinion, there must have been some link between Irwin Corp. and some of the Chicago camera companies during this timeframe, as the faces of the cameras on the Lark and Kandor cameras are very similar to those of companies like Falcon Camera Co. and Herold Mfgr. My guess Utility Mfg Co, which had ties in NY and Chicago, was somewhat involved.

 Irwin Corp also made a few fundamental TLR cameras, as seen from the website above.

THE CAMERAS

When the cameras arrived, and I started taking them out of their bubble wrap, the first thing I noticed was how hefty they were. I was expecting a very tinny and flimsy camera, but these cameras have a bit of heft. Maybe sardine cans were heftier in the 1930s and 40s, but it surprised me.

Simple screws holding the lens barrel in place.

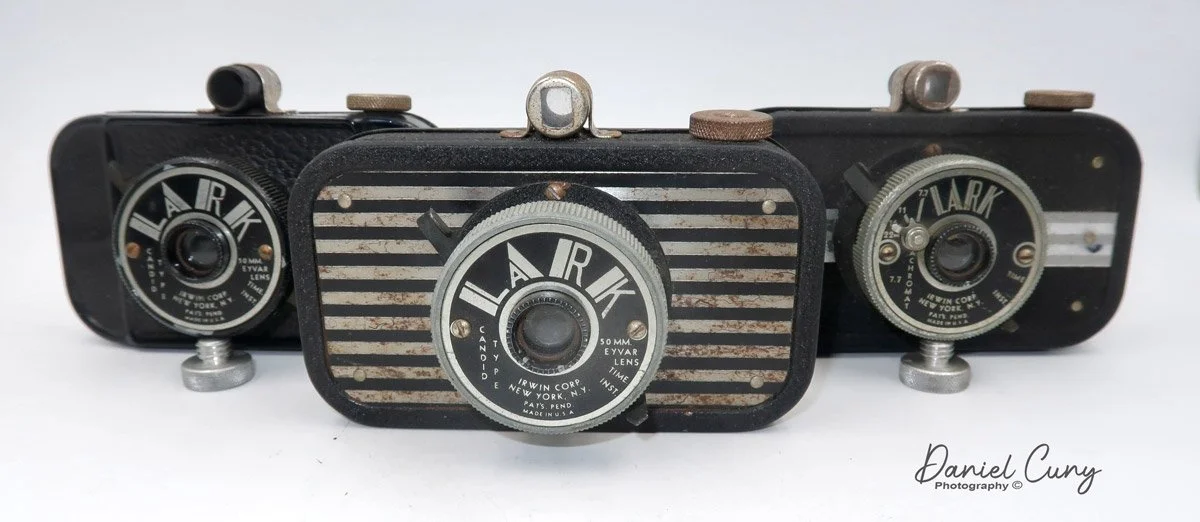
The camera measures 5" wide by 2.75" tall body, then another 1/2" for the viewfinder, which brings the total height to 3.25", and from the back of the camera to the front of the lens is 2.5". The Lark and Kandor cameras are a very oddly built camera with the lens barrel screwed onto the body by two screws placed on the top and bottom of the lens flange. As mentioned above, the face of the camera has a very similar look to the cameras from Utility Mgf. Co. 

Lark Camera showing viewfinder and Art Deco Design

 Another wonderful design of both the Lark and Kandor cameras is the beautiful Art Deco look to their faceplates and each model's unique design and look. Some of the cameras are somewhat plain, while others have chrome stripes on the body and elaborate faceplates, which just exude the look of the Art Deco period.

The front of the camera does not list a maximum aperture, but it does state that it has a 50mm Eyvar lens with shutter settings of either time for "bulb" or long exposures or Inst for normal snapshots. My best guess is that the "inst" shutter shoots at around 1/50 shutter speed.

More robust viewfinder on one of the Kandor cameras

The camera has a simple viewfinder strapped onto the top and held into place by two small chrome rivets. On the front, there is a chrome fitting with a rectangular mask, and on the rear, there is a chrome fitting with a round mask. The Kandor Classic has a more elaborate chrome-fitted viewfinder, so this must have either been a later model or just a more robust version.

To open the back of the camera to load the film, you unscrew a thumb screw on the back of the camera. The Kandor camera doesn’t have the screw on the back, but a more simple “press on” method. The back of the camera wraps around the body and has some foam where the body meets the back plate. The camera produces 1.25" x 1.75" size negatives on 127-size roll film. Two red windows on the back of the camera show the numbers printed on the film's paper backing, so you know what frame you're on when taking photos. On the top left of the camera, as you're holding the camera to take a pictures, is the winding knob to advance the film to the next frame.

I wish I had some 127 film to take photos with these cameras, but if/when I get some, I'll add to this blog post. For now, I don't have images I can share.

CONCLUSION

While these cameras aren't elaborate, as they are just the opposite, they are essential and just a step up from pinhole cameras. They are very well-constructed cameras, but their shining point is the look of the cameras. They are a real bright point to put into your collection, and while I've been looking for these for a while, to get five of them at one time and for a reasonable price, I plan on keeping them for a bit to spruce up the collection.

 I plan to do more writing and blogging in the future. I took a few years off to run a few photo companies, but I plan on retiring soon and getting back into writing about my camera collection again. 

 Thank you for taking time from your busy schedule to read my blog. I appreciate it. Until my next post, please be safe and well.