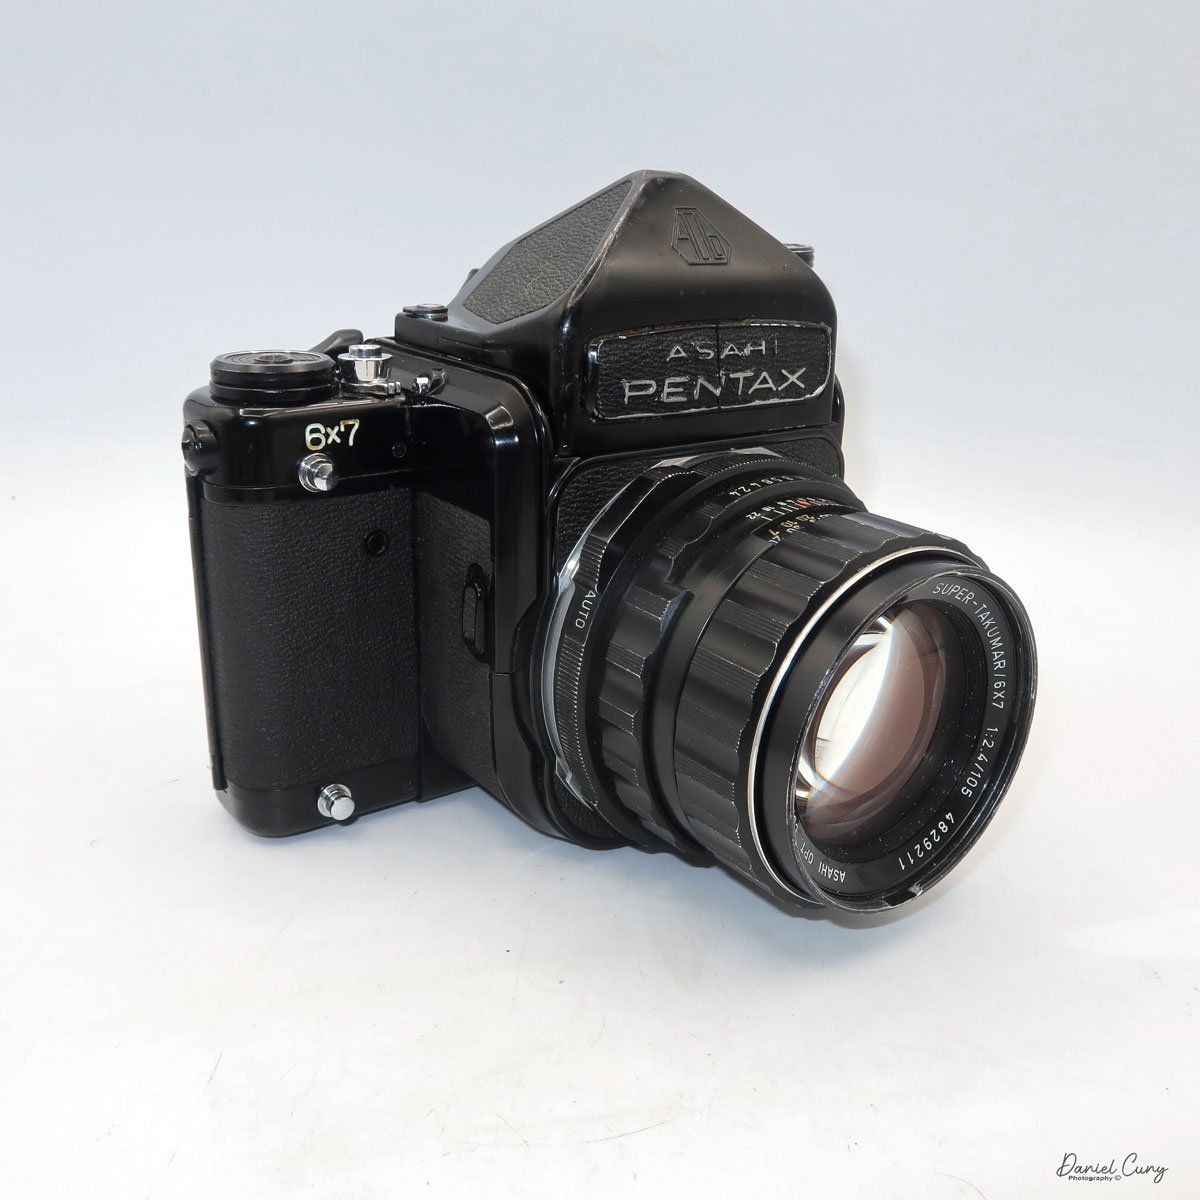
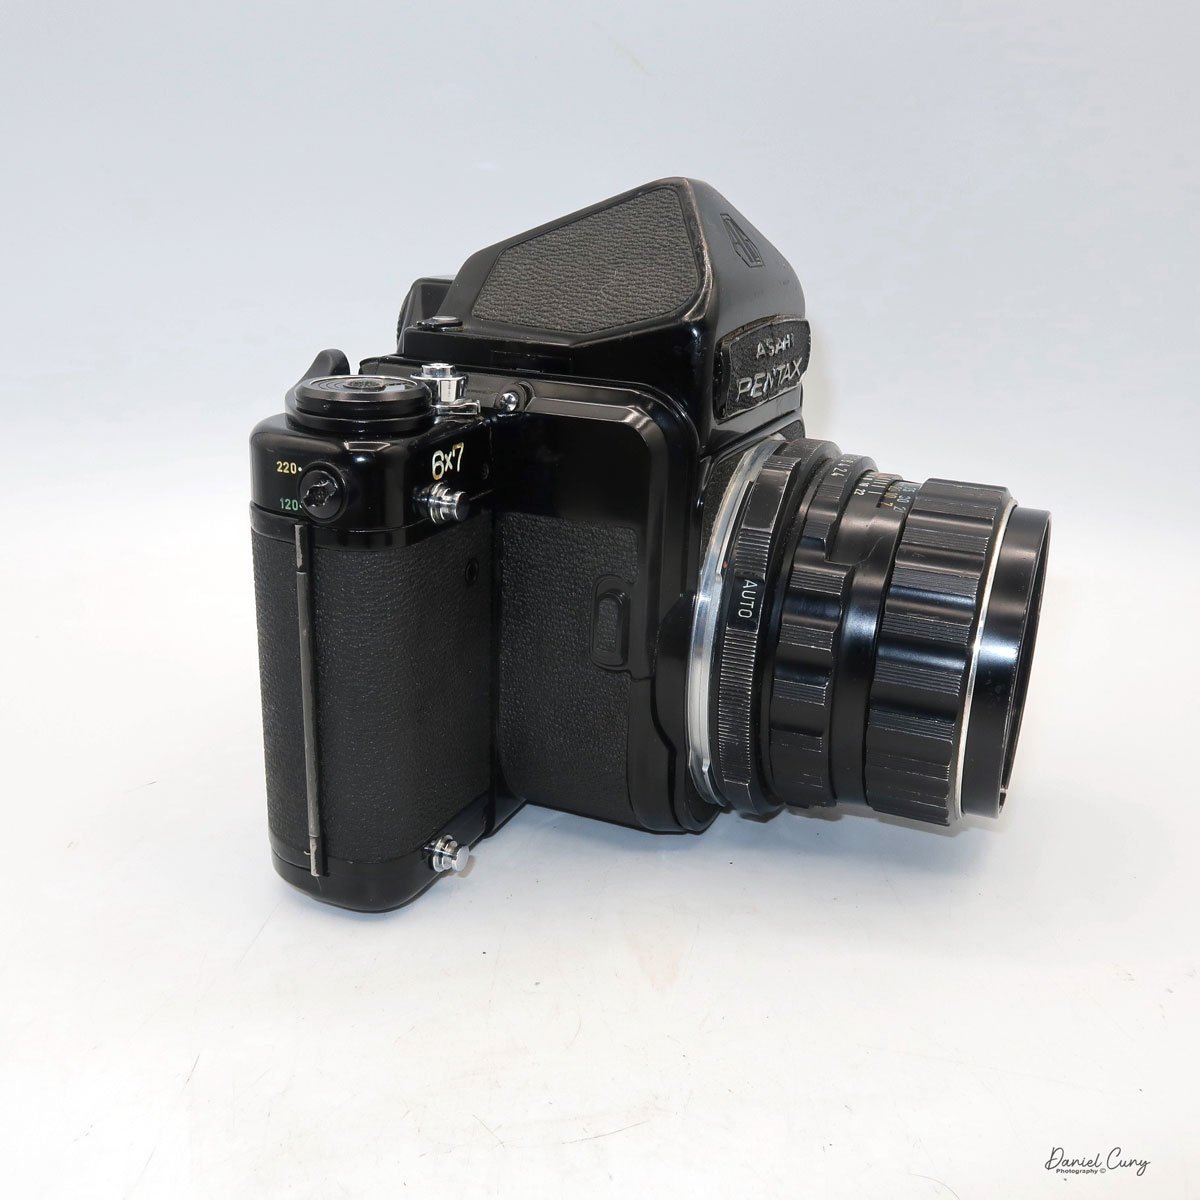
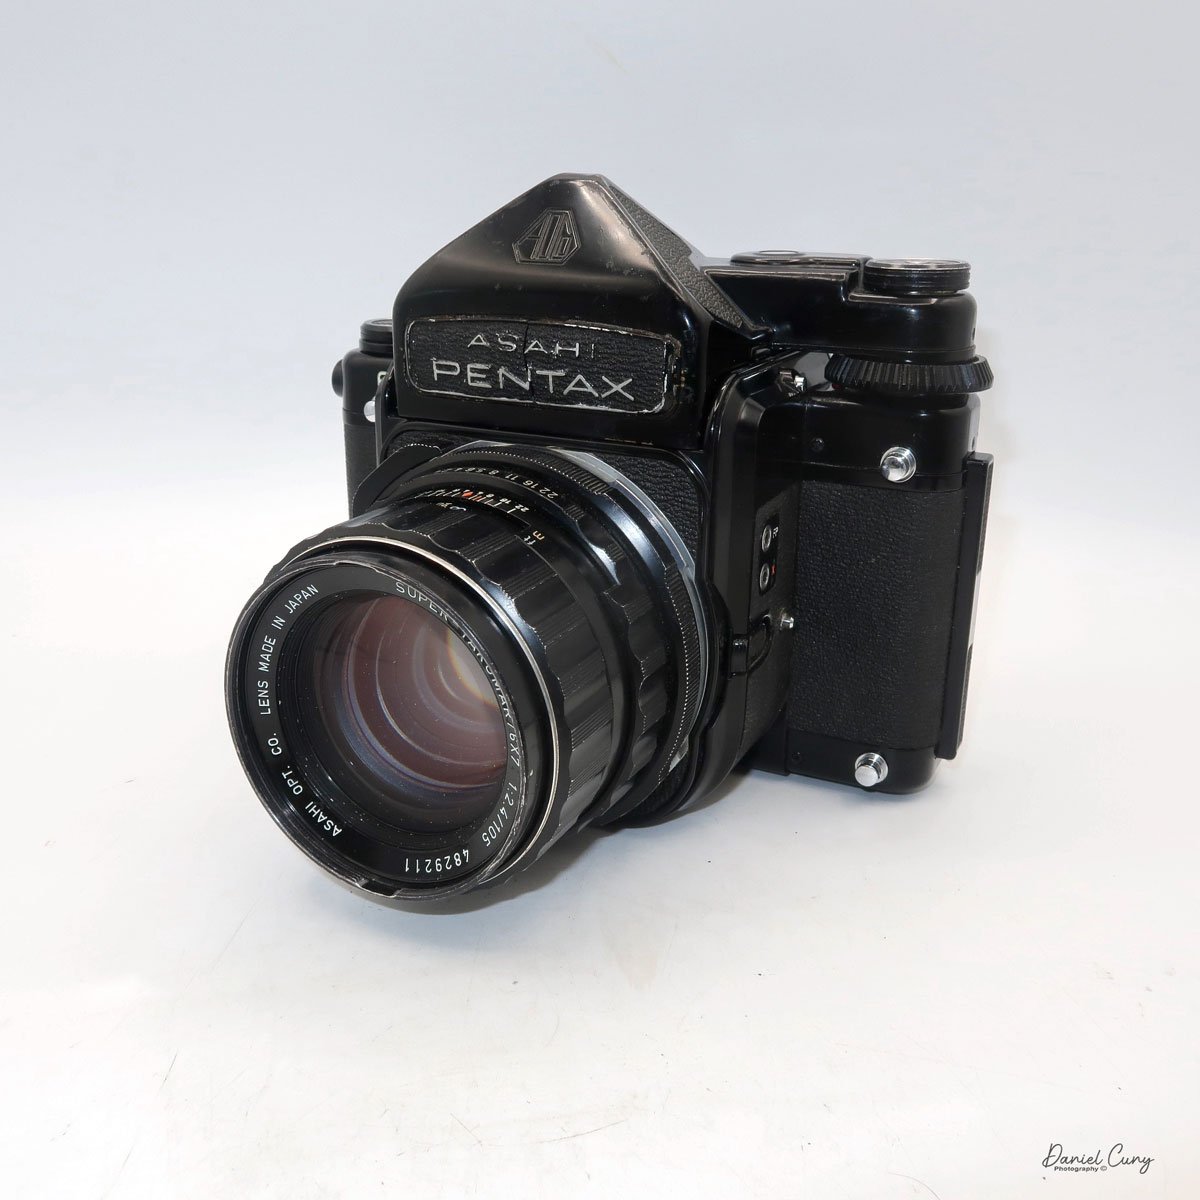
My Pentax 6x7 camera with 105mm f2.4 lens, TTL Finder and wood grip.
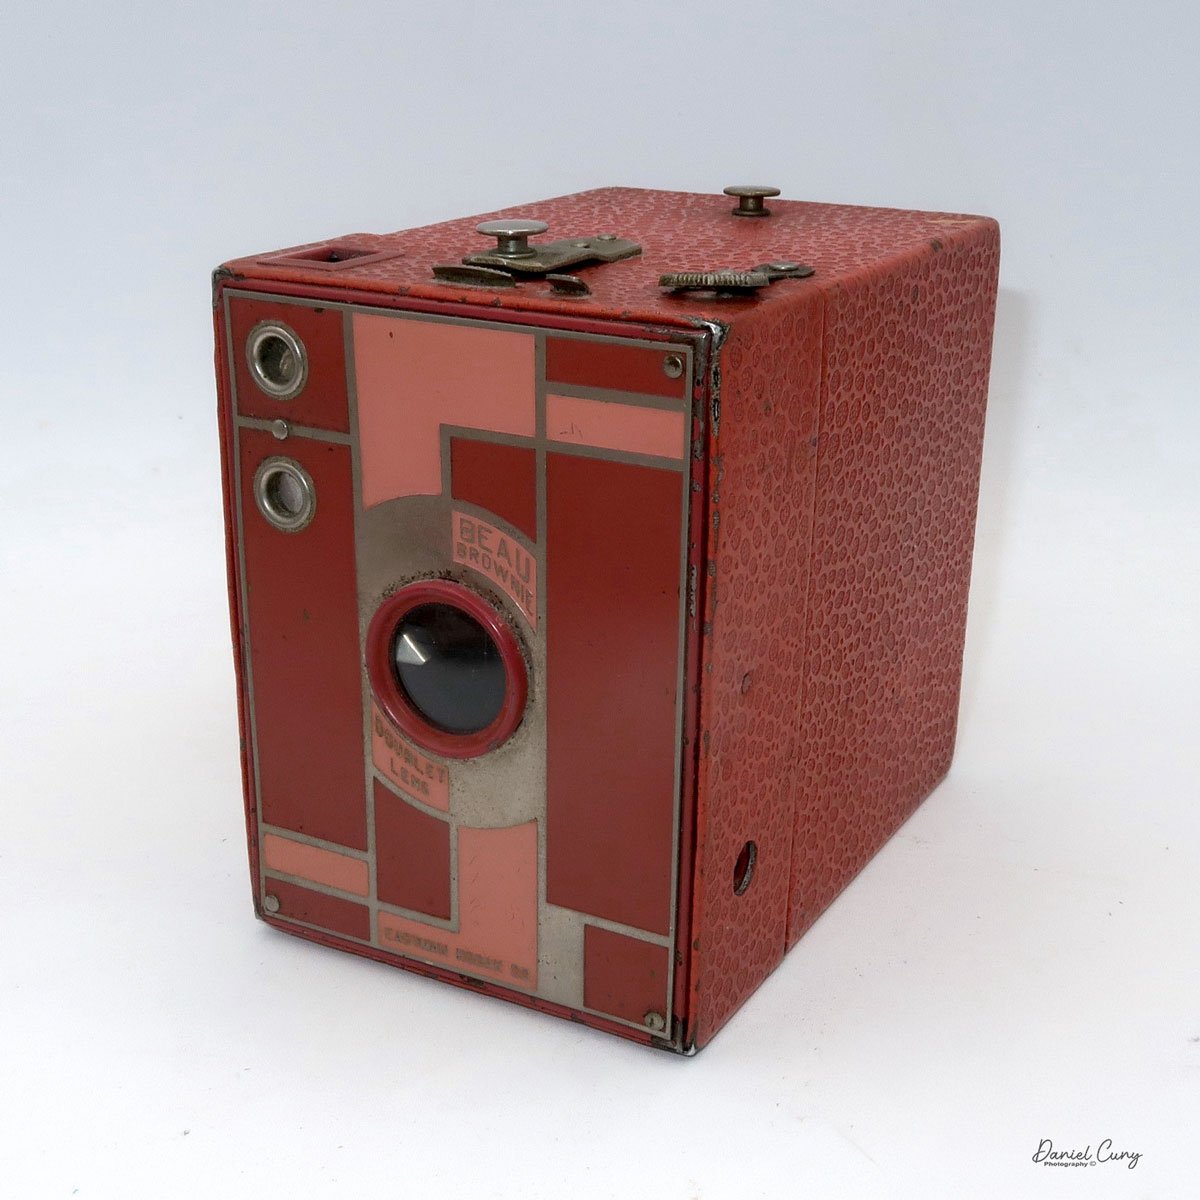
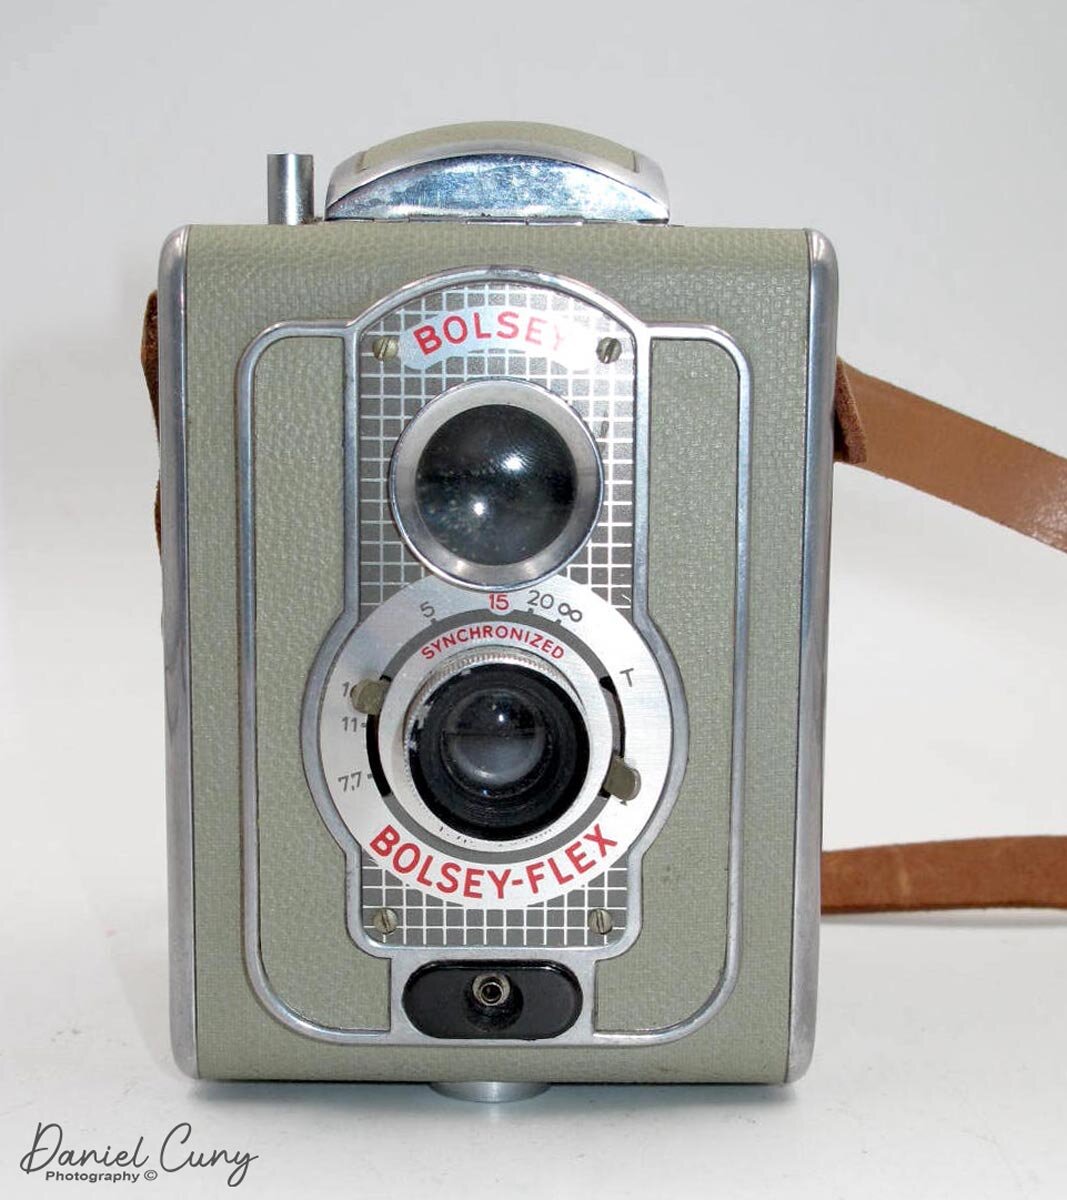
When I started photography, I used an older Univex Twin Lens Reflex-style camera that my uncle gave me when I was around 8-9 years old. From there, palling around with my buddies, that camera was too big and bulky to bring around with us. So, I opted for the smaller, more compact 35mm camera, which I could keep around my neck and under my coat when it was colder outside.
The Pentax 6x7 cameras have always held a special place in my heart, perhaps due to their unique blend of size and resemblance to a larger 35mm camera. While I still cherished the Twin Lens Reflex style, there was an undeniable elegance and familiarity about the Pentax 6x7 cameras. The interchangeable lenses and finders were reminiscent of the Nikon system I had grown to love in my later teen years.
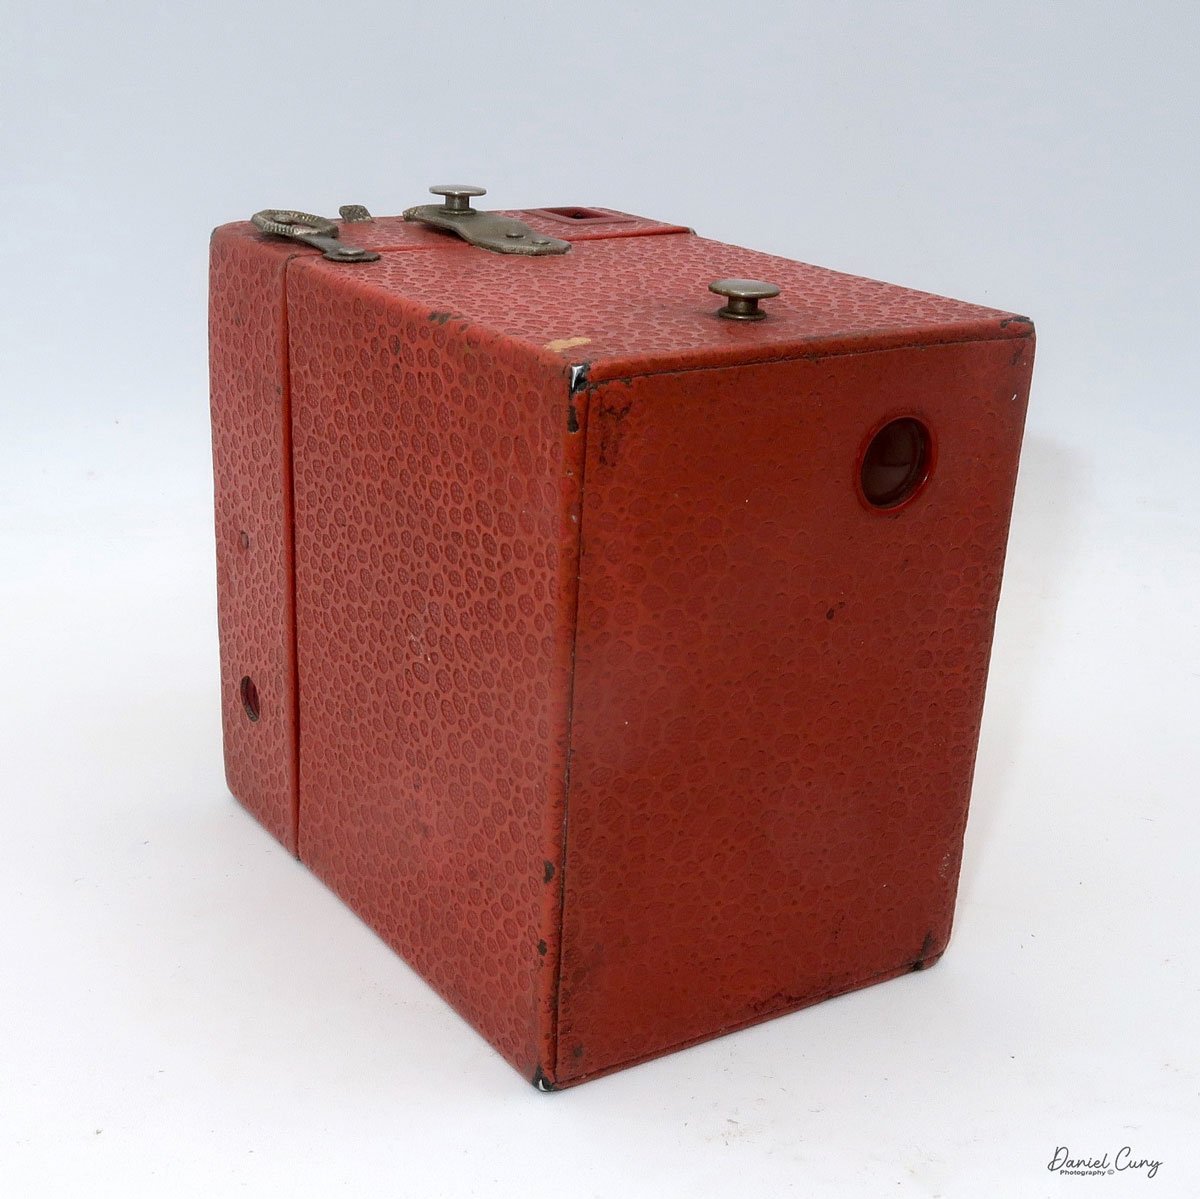
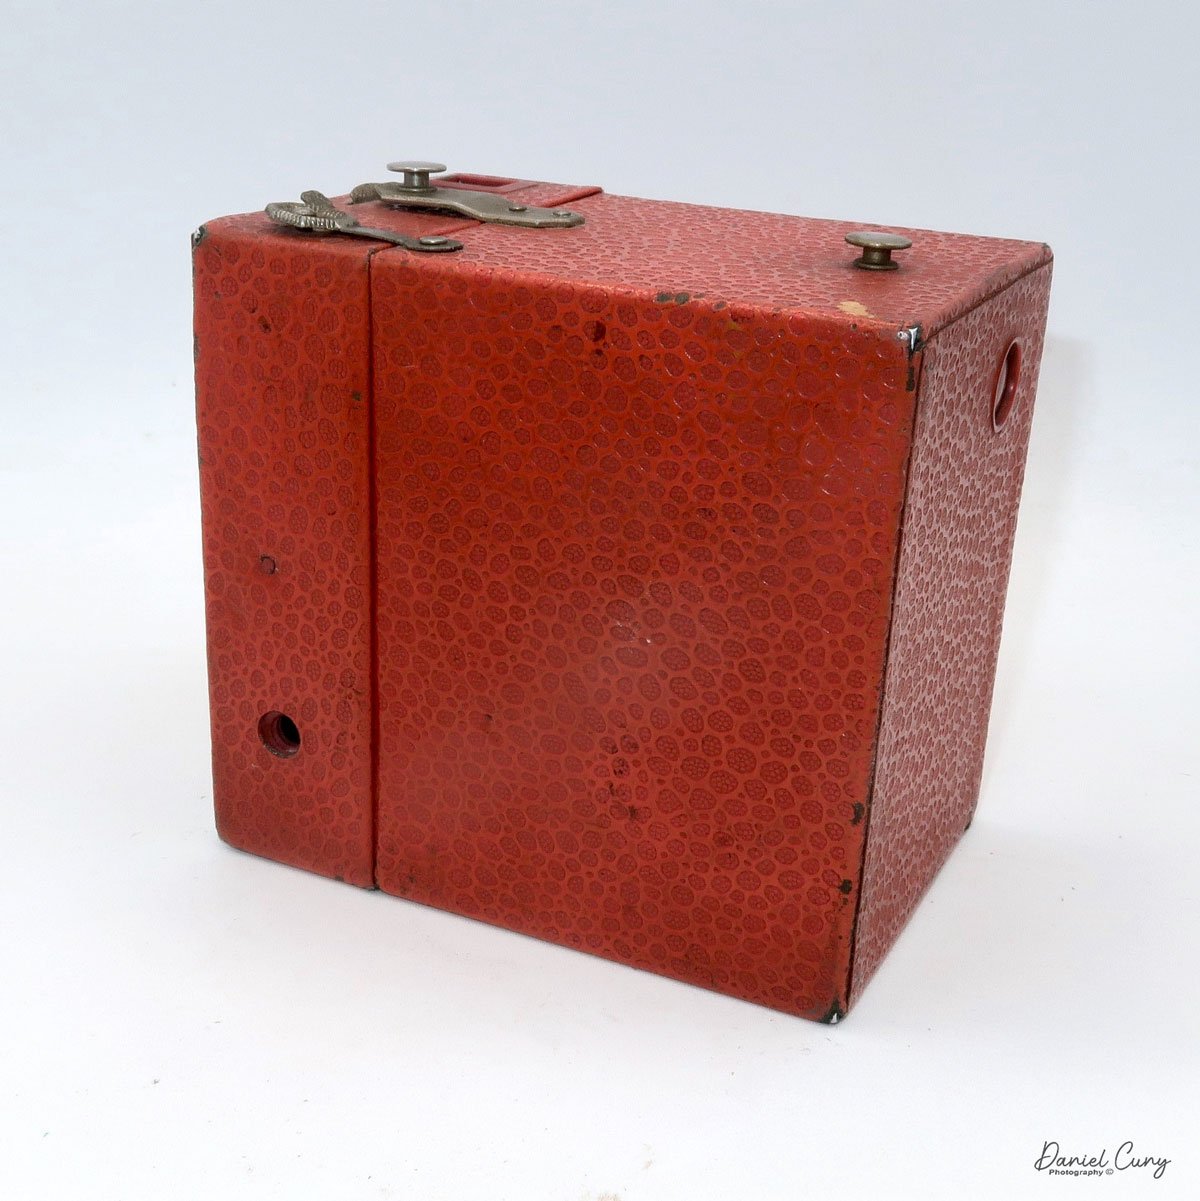
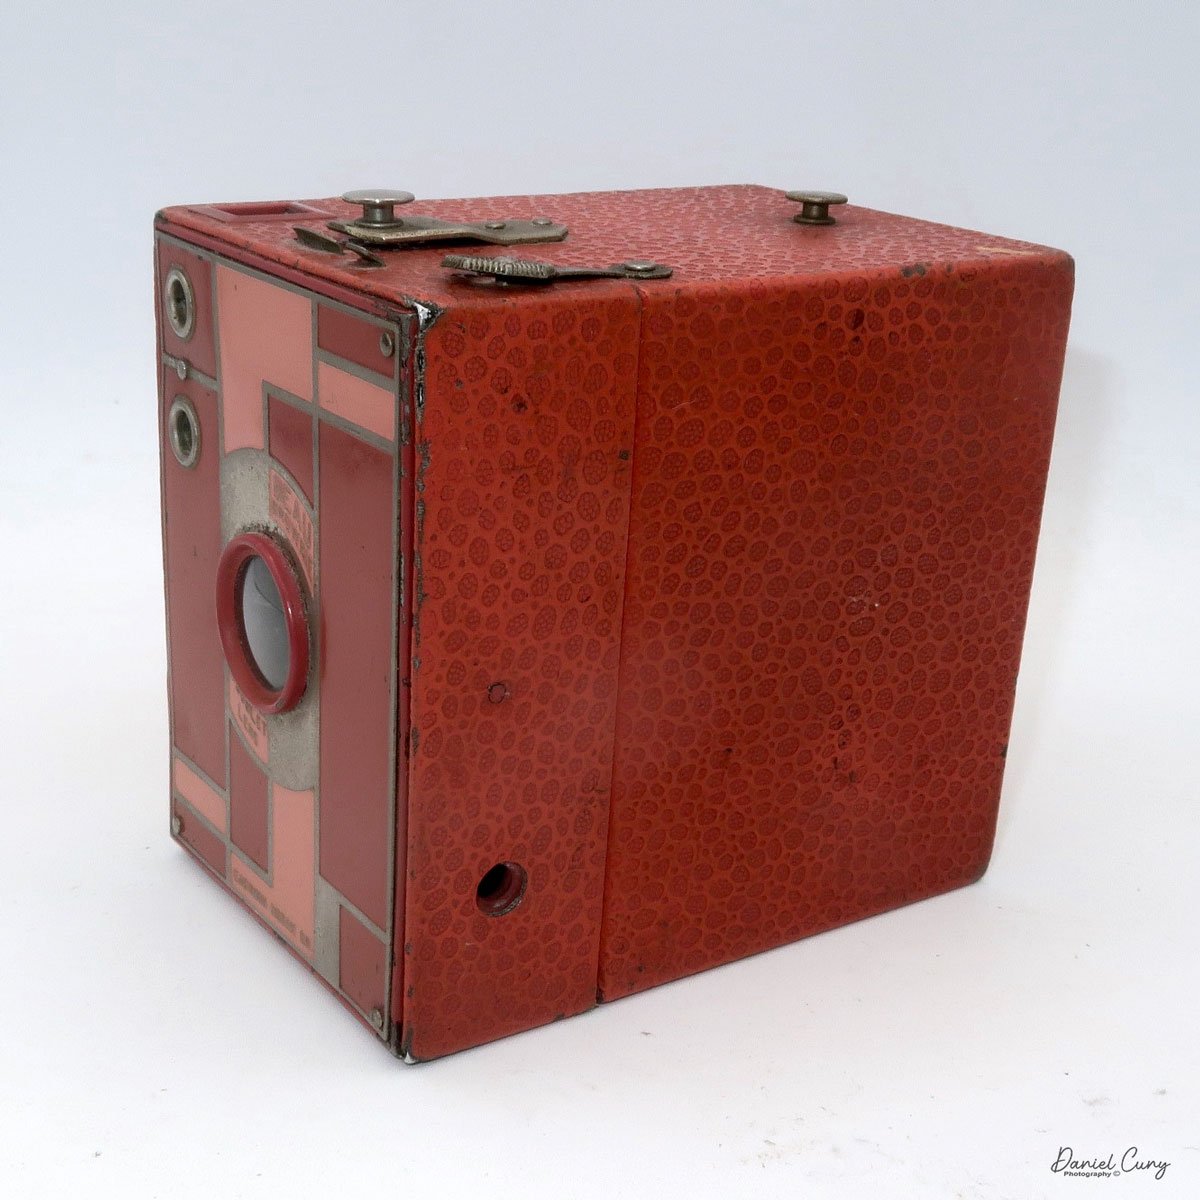
I purchased my Pentax 6x7 camera a few years ago at an online auction. It appeared to be in good condition, and its camera is complete with the TTL finder, standard 105mm lens, wood handle, and Pentax-branded strap, all wrapped up in a wonderful cube-shaped case that it all fits nicely into. I noticed a pouch on the top portion of the case. There were a few accessories in it that the seller didn't show, so when I received the camera, an external battery holder, and covers for the finder, A focus grip was included in the kit. Now it's time to look at the Pentax 6x7 manual to double-check all the ins and outs of the camera.
The Company:
The history of Pentax cameras is deeply rooted in the evolution of photographic technology, with a legacy that spans over a century. Pentax began as Asahi Optical Joint Stock Co., founded in 1919 in Tokyo, Japan. Initially, the company produced lenses for eyeglasses and later expanded into camera lenses and optical equipment. Not until after World War II did Asahi make its mark in photography.

Ads for the Pentax 6x7 camera system
In 1952, Asahi released its first camera, the Asahiflex, the first Japanese 35mm single-lens reflex (SLR) camera. This launch marked a significant milestone for the company and Japan's emerging camera industry. Asahiflex featured innovative mirror-return mechanisms that set the stage for modern SLR design.
The turning point came in 1957 with the release of the Asahi Pentax, which gave birth to the Pentax brand name. The camera combined the best features of previous SLRs. It introduced a pentaprism viewfinder, allowing photographers to see their subject right-side up and laterally correct. It also standardized the use of the M42 screw mount, which would become a popular lens mount for decades. The success of the Asahi Pentax was so profound that the company eventually adopted "Pentax" as its corporate name.
Throughout the 1960s and 1970s, Pentax established itself as a leading manufacturer of SLR cameras, competing with brands like Nikon and Canon. They moved into the medium format by introducing the Pentax 6x7 camera. Iconic models like the Spotmatic series (launched in 1964) introduced TTL (through-the-lens) metering, significantly improving exposure accuracy. Pentax cameras became known for their durability, reliability, and affordability, making them popular among professionals and amateurs.

In 1980, Pentax expanded the medium format market with the Pentax 645, which offered larger film sizes for high-resolution photography. These systems were found to favor studio and landscape photographers.
Pentax transitioned to digital imaging in the early 2000s with models like the Pentax istD. It later gained attention for its weather-sealed DSLRs and in-body image stabilization. In 2011, Ricoh acquired the brand, becoming Pentax Ricoh Imaging Company.
Today, Pentax focuses on traditional photography experiences, emphasizing optical viewfinders and rugged build quality in an era dominated by mirrorless technology. Their commitment to DSLR development and legacy lens compatibility maintains a loyal following, preserving the Pentax name as a significant part of photographic history.
My Camera:
Researching the Pentax 6x7 camera for the article revealed three upgrades to the original Pentax 6x7 camera when it was introduced in 1969. The Pentax 6x7 camera was shown at the 1966 Photokina as a prototype camera, and it was called the Pentax 220 and had chrome and black bodies. The official introduction was in 1969, with the name Pentax 6x7, and only black bodies were available. The Honeywell Pentax 6x7 was available for the US market, but here in the US, I rarely see the Honeywell Pentax 6x7 around; the vast majority were Asahi Pentax 6x7.

Dual Bayonet mount for longer or shorter focal length lenses.
In 1976, the Pentax 6x7 (MLU) camera added a mirror lock-up mechanism, and in 1990, with their third modification, they made a few minor cosmetic changes to the camera. Now, the camera is named Pentax 67. No more 6x7. The fourth change camera in 1999 was when Pentax launched the Pentax 67II camera, which offers a built-in right-hand grip, a brighter viewfinder with interchangeable focusing screens, a more advanced AE metering system with three different modes, a dedicated time mode switch, a self-timer, and multiple exposure capabilities.
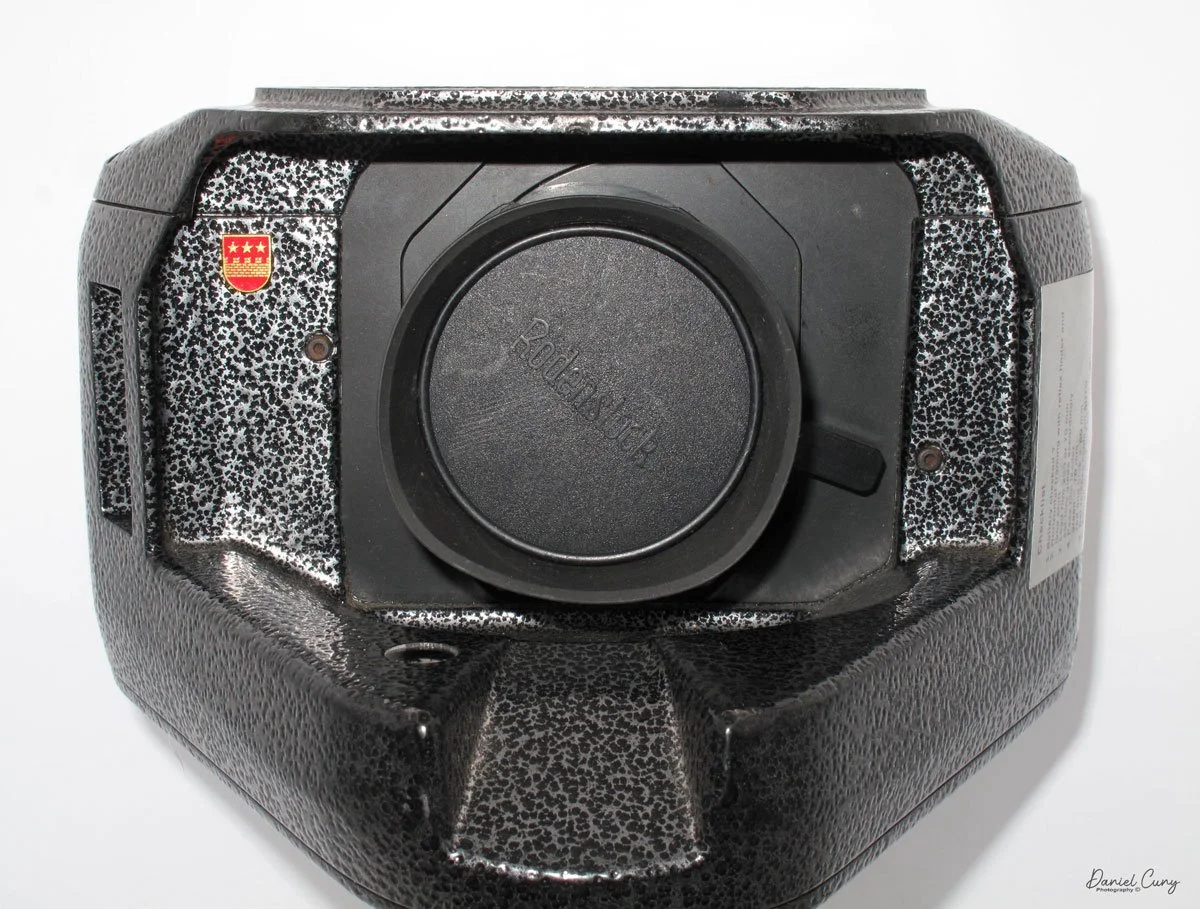
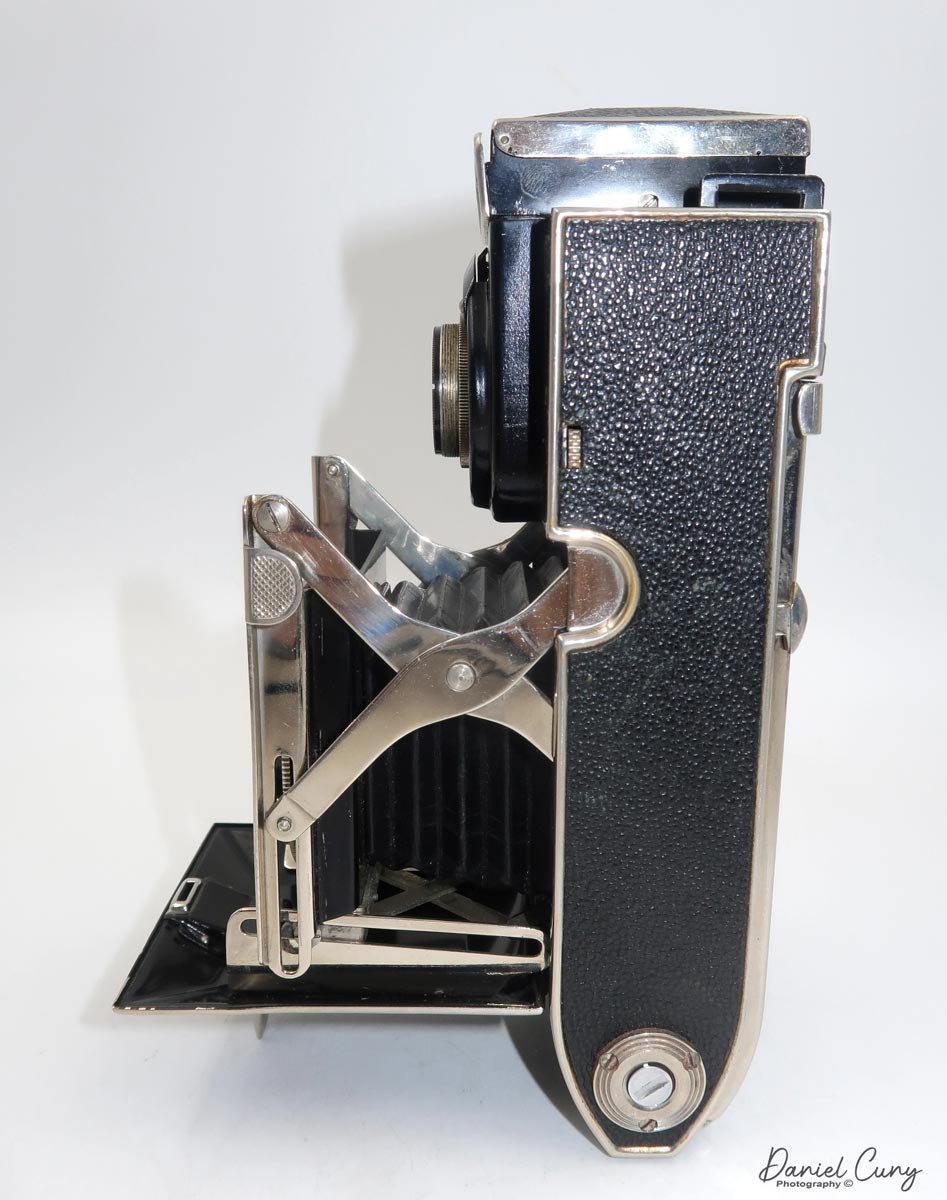
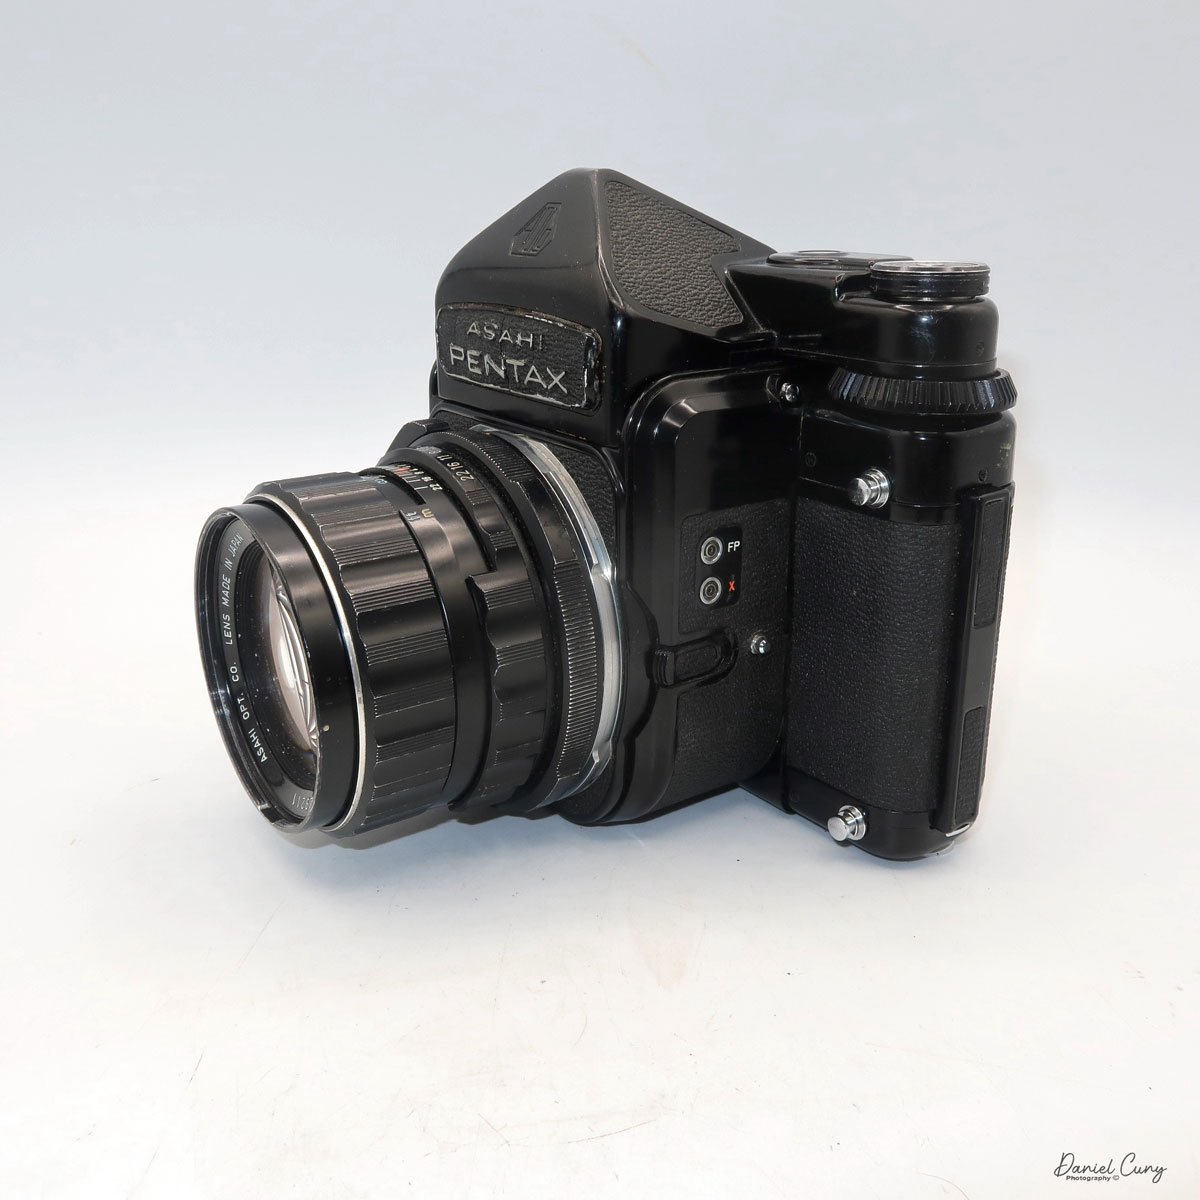
I own the Asahi Pentax 6x7, so mine is the second-generation camera with the mirror lock-up capability. The camera weighs a whopping 5 lbs. 5 oz without the wood grip. The camera is 7.5" wide by 6" tall by 6.75" deep, measuring from the back of the camera to the front of my 105mm f2.4 lens. The Pentax 6x7 cameras have a dual bayonet lens mounting system, with lenses from 35mm to 300mm fitting inside the body, similar to many 35mm cameras and lenses from 400mm to 1000mm mounting on the outer bayonet. Even the front lens cap has a bayonet mount on my camera, so it's not a clip or press-on style of a lens cap.

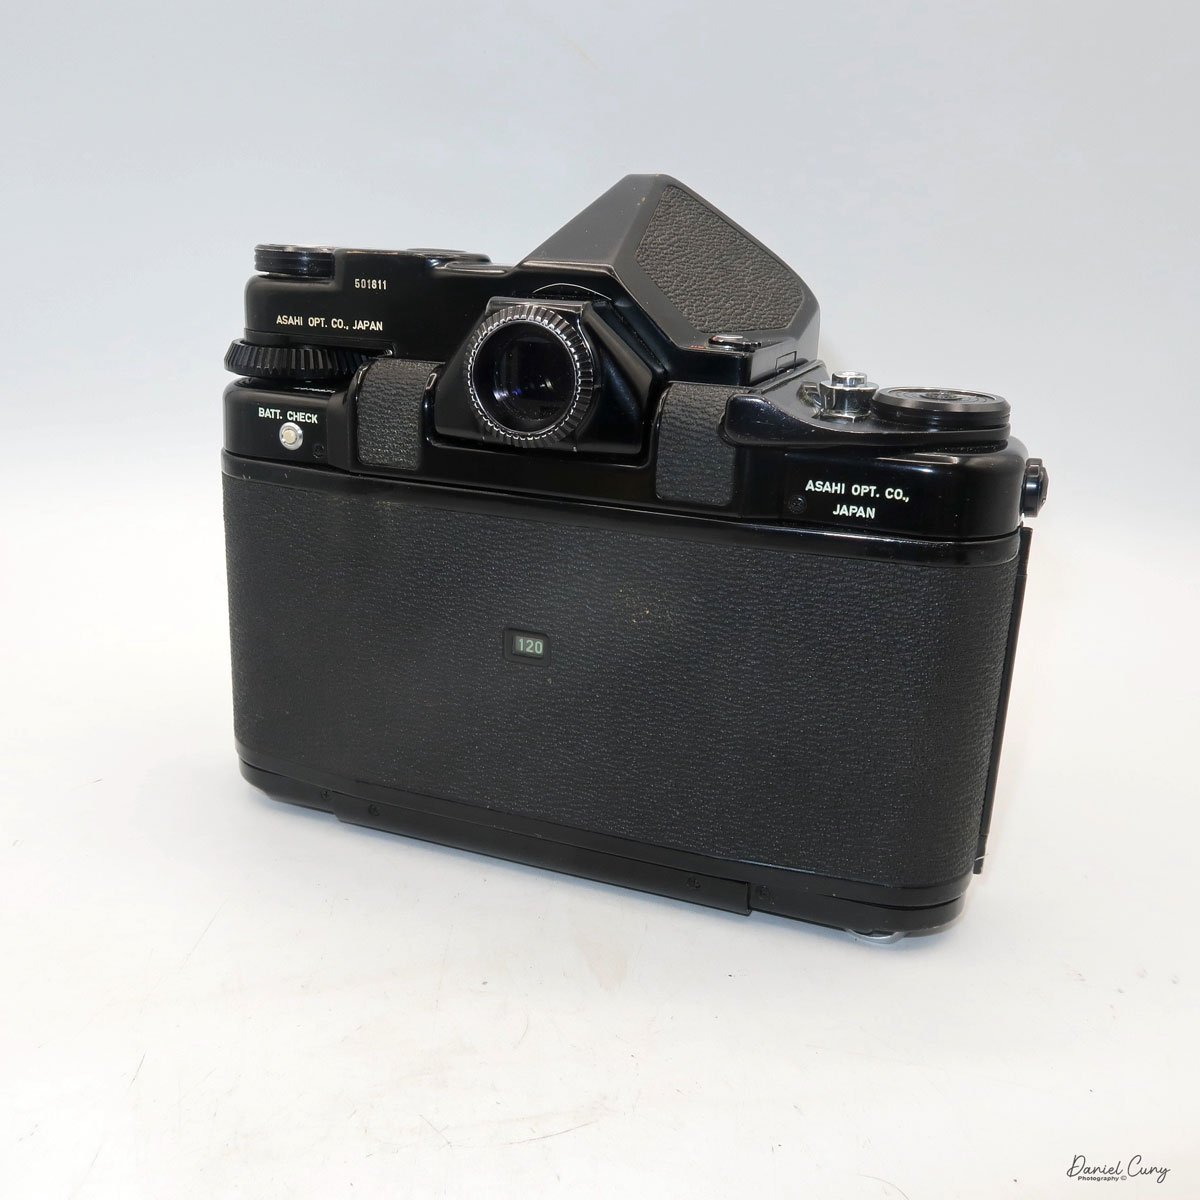

The Pentax 6x7 camera is a fully electronic camera system. The entire camera is dependent on the PX28, 6v battery. The meter, or the shutter, won't work without the camera battery. After putting in the battery, I discovered the metered finder was working, which was good news. At first, I thought it wasn't working, but after reading the manual, I learned that you need to remount the lens once the meter is removed so the lens will couple with the meter. I didn't think it would work because there is a crack on the front running across the nameplate, but you never truly know until you try. With the fresh battery in the camera, I still wasn't sure the camera was working because there needed to be film in the camera for the shutter to fire.
Looking online, I did find a video showing a way to trick the camera into thinking there was film in the camera, which is by opening the back of the camera and, before closing the back, turning the frame counter to just past the first frame while holding the frame counter there and closing the back of the camera allows you to wind and fire the camera. The only issue is that there is no way to honestly tell if the shutter is opening or closing when you depress the shutter. You can tell at slower speeds by taking the lens off and looking into the mirror chamber to fire the camera. If you can see the film's pressure plate, you can tell if the shutter is opening and closing. What do you do to achieve faster shutter speeds?


Looking online, I did find a way to trick the camera into thinking there was film in the camera, which is by opening the back of the camera and, before closing the back, turning the frame counter to just past the first frame while holding the frame counter there and closing the back of the camera allows you to wind and fire the camera. The only issue is there is no way to honestly tell if the shutter is opening or closing when you depress the shutter. You can tell at slower speeds by taking the lens off and looking into the mirror chamber to fire the camera. If you can see the film's pressure plate, you can tell if the shutter is opening and closing. What do you do for the faster shutter speeds?
One thing I did was use my cell phone in video mode and use the "slow motion" setting. I started the video and then tripped the shutter. I could then go back to the video and look at a few of the frames of the video tell if I could see the slit from the shutter move across the film plane. It did, so I knew the shutter was working on all shutter speeds. That's fantastic, so now I was good to go. I prefer to use my Sekonic meter for all my metering needs as they are always more accurate than most camera meters.


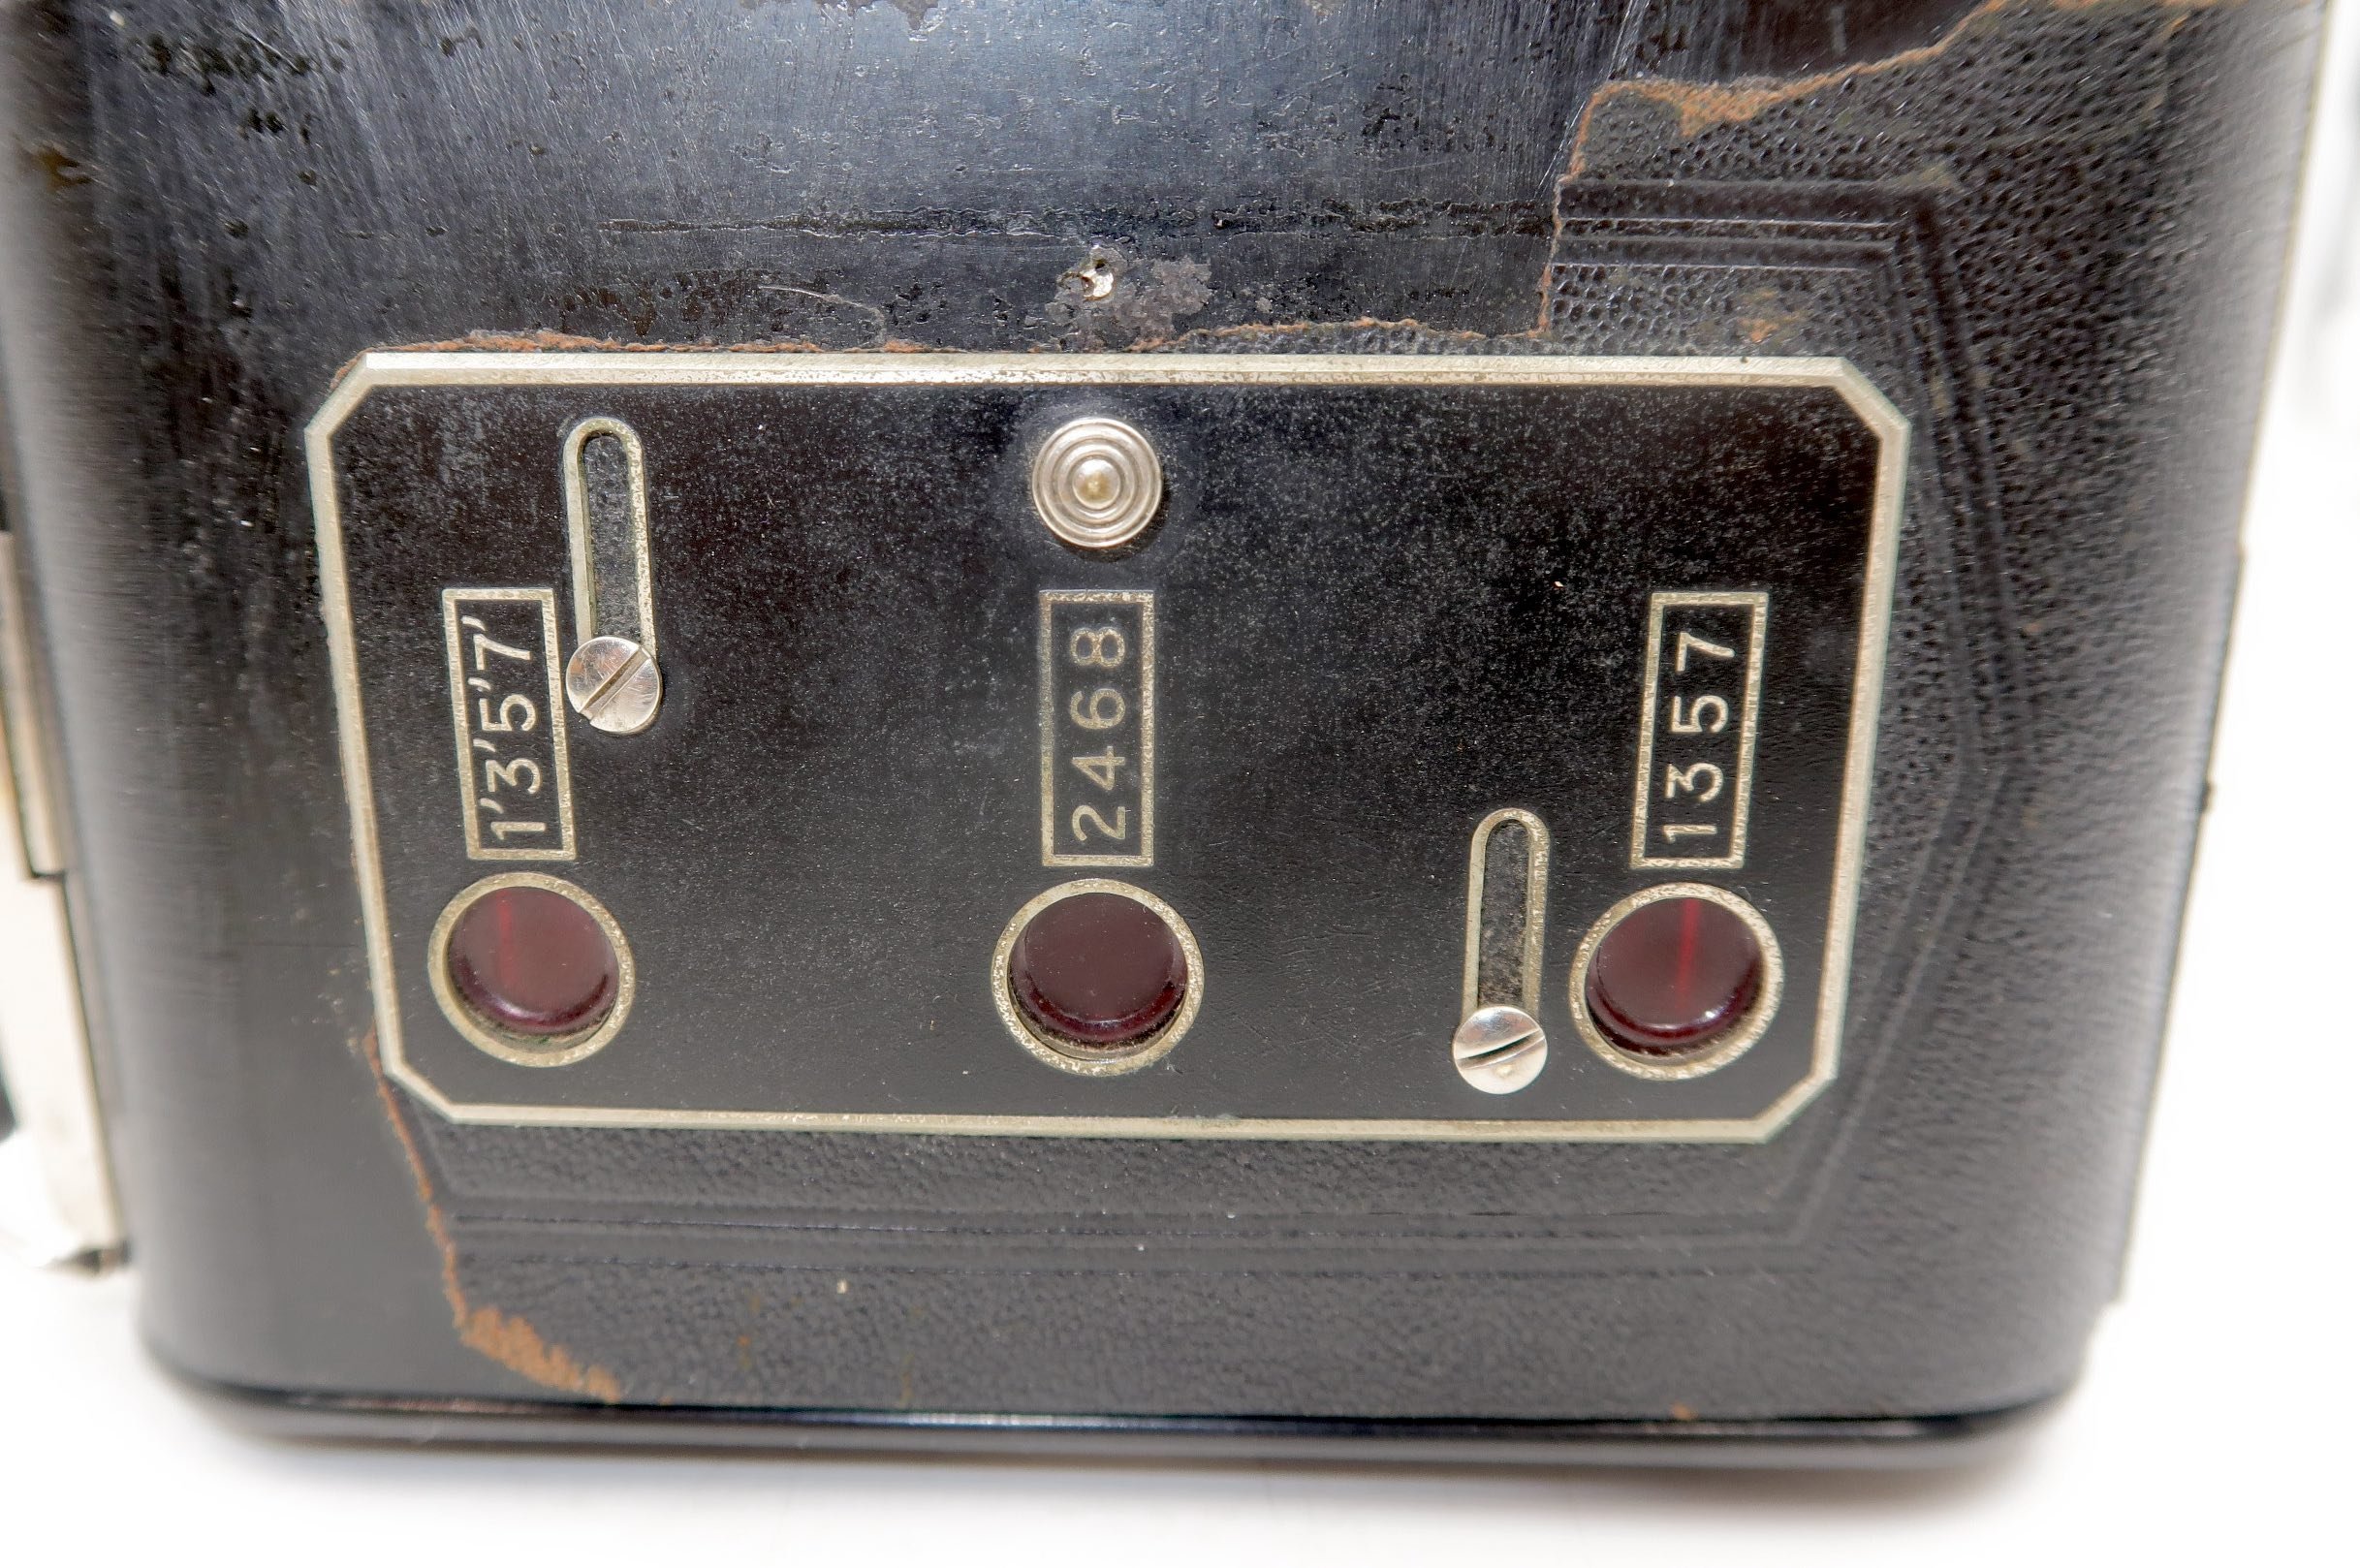
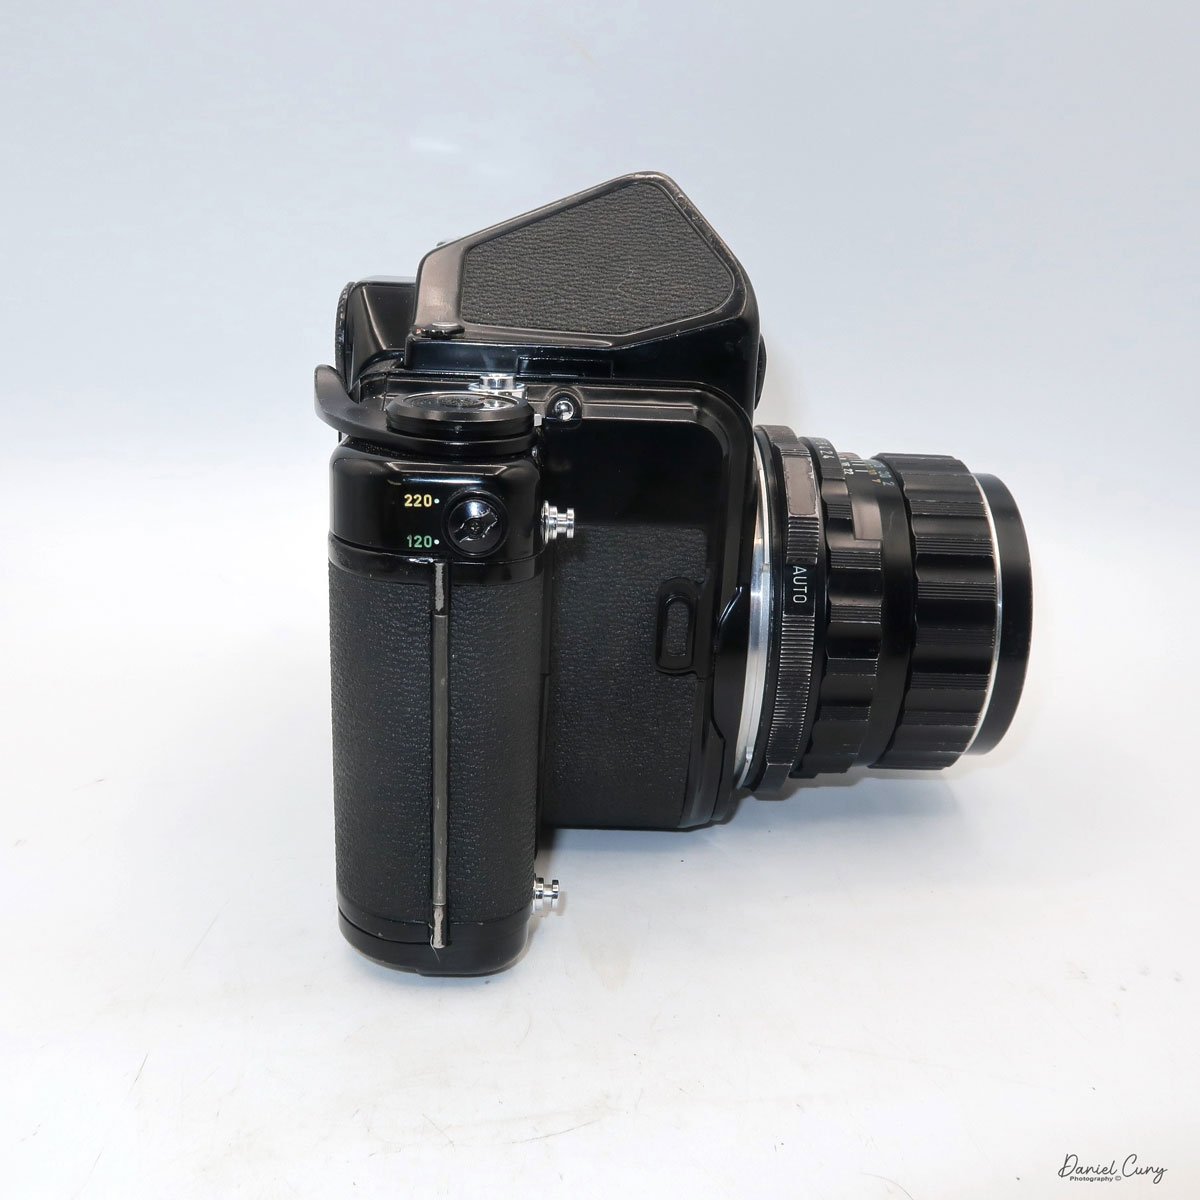
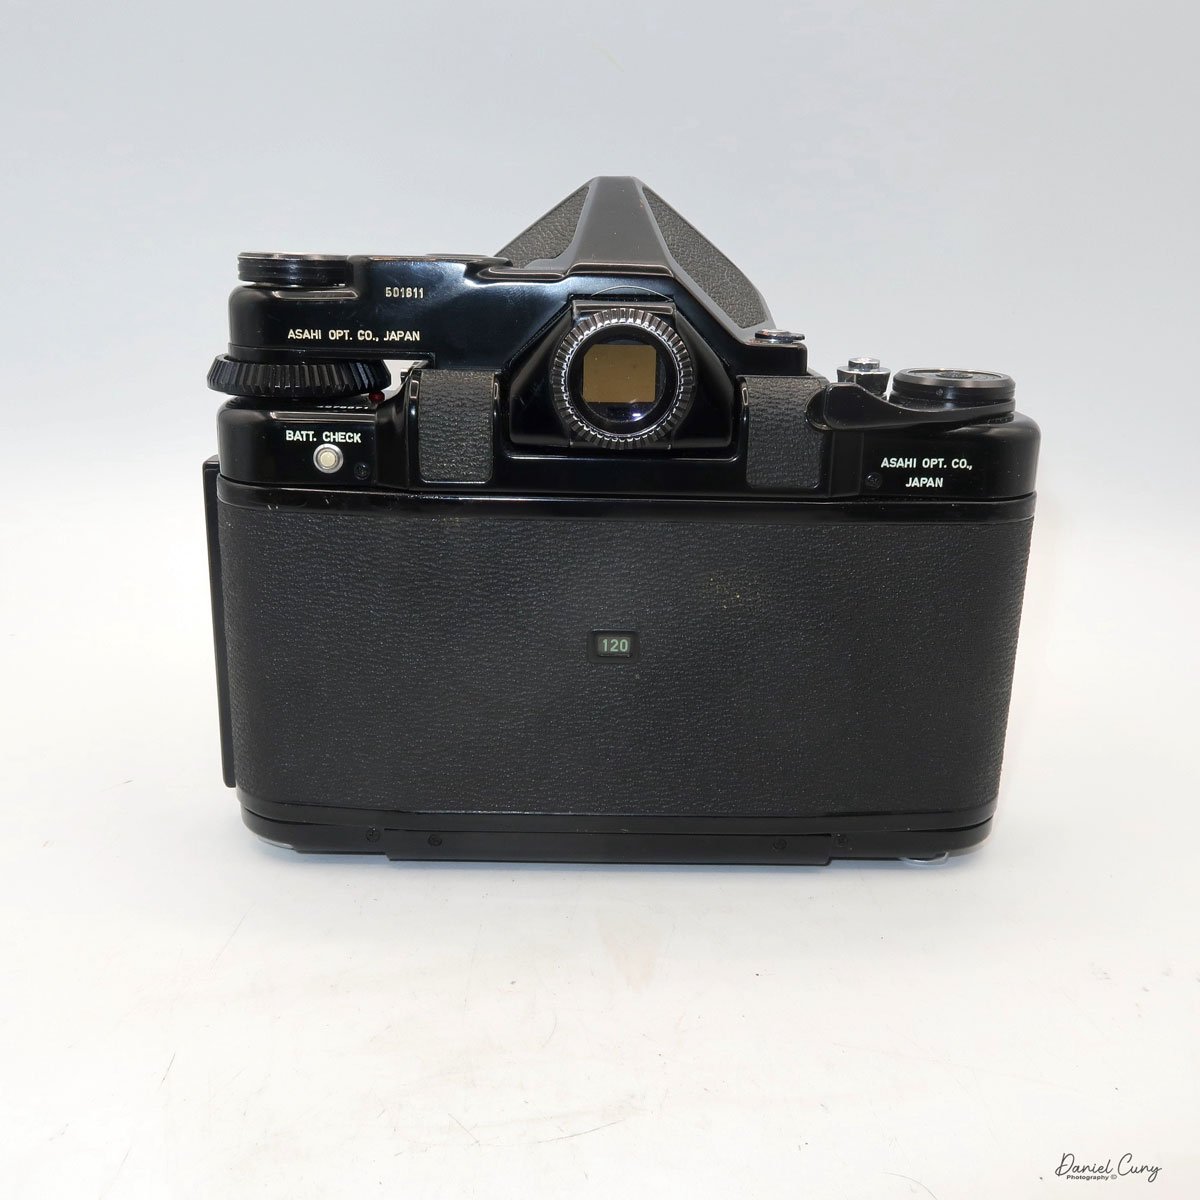
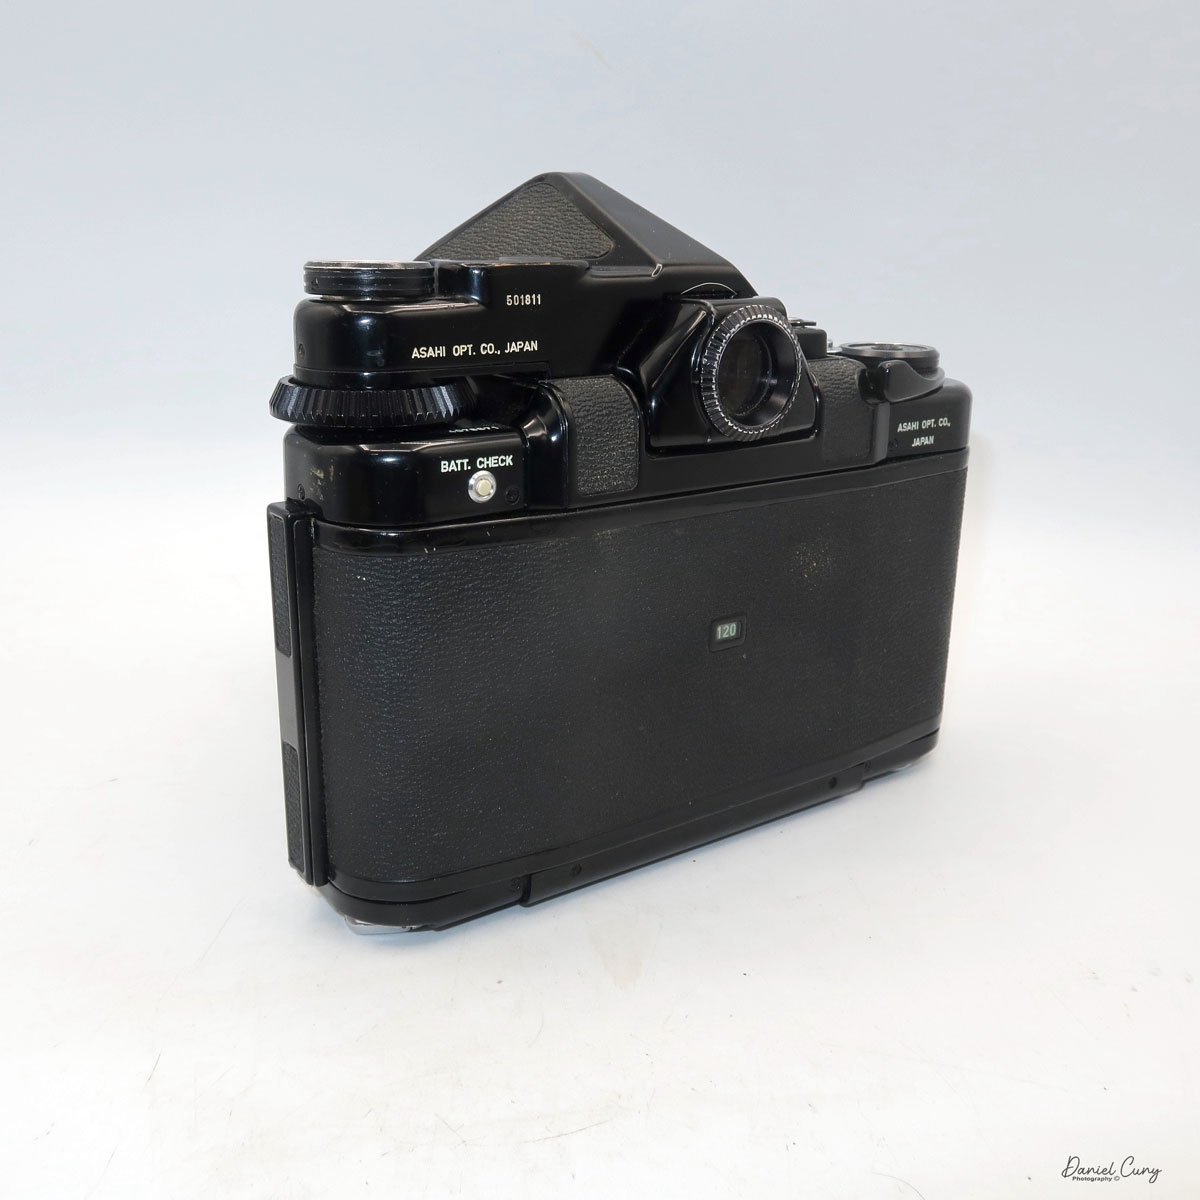
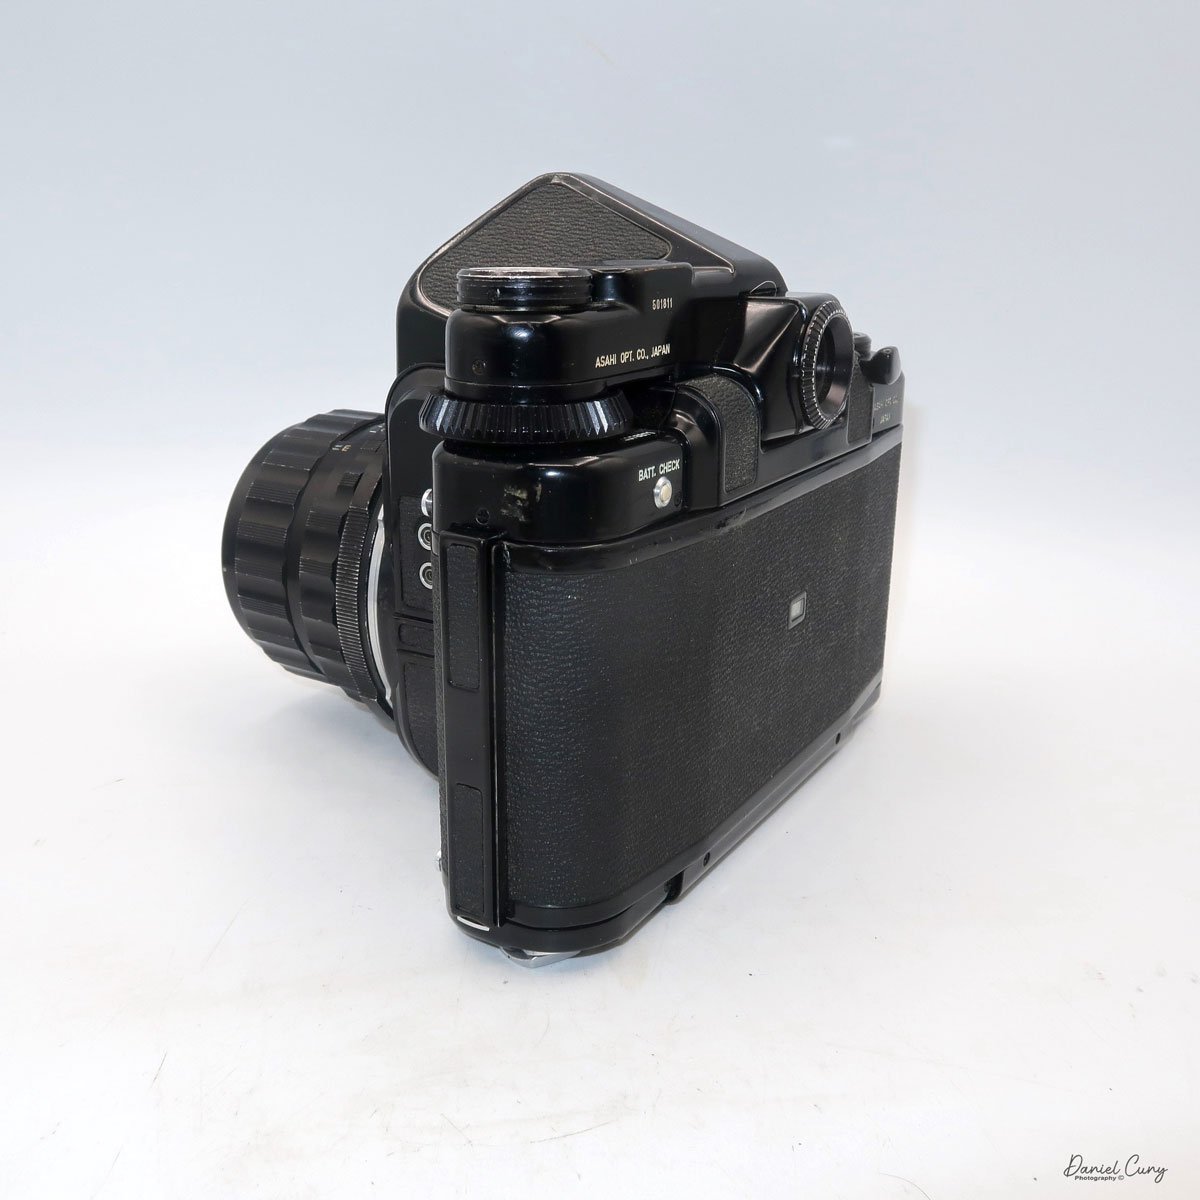
Shutter speeds on the Pentax 67 camera range from 1/1000 to 1 sec. Along with "B" for timed exposures and "X" for flash sync, the shutter speed dial is on the far left side of the camera body and is turned with a large ring that is easy to grip and move. Just below the shutter speed dial is a battery check button, with a red light lighting up just to the right of the shutter speed dial if the battery is good.
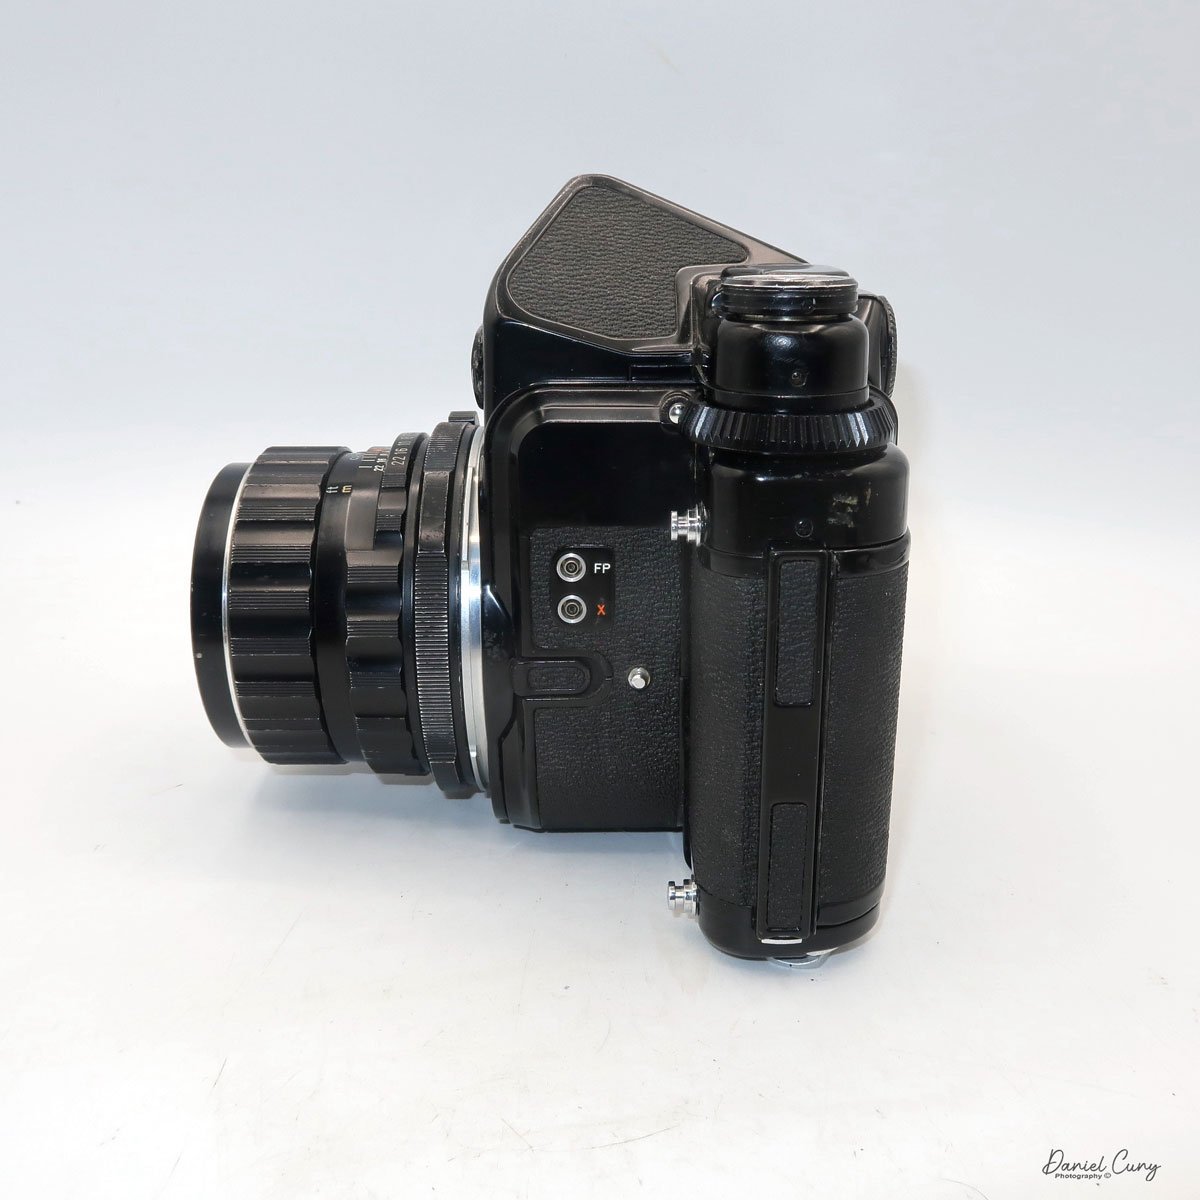
Moving around the camera, on the front and the left side of the camera body are the flash sync terminals for both FP and X, and just below the flash terminals is the lens release knob, which needs to be pressed towards the camera's body to unmount the lens. To unmount the lens, press the lens release button and twist the lens counterclockwise. To mount the lens onto the camera body, line up the red dot on the lens to the red dot on the camera body and turn clockwise until the lens clicks into place.
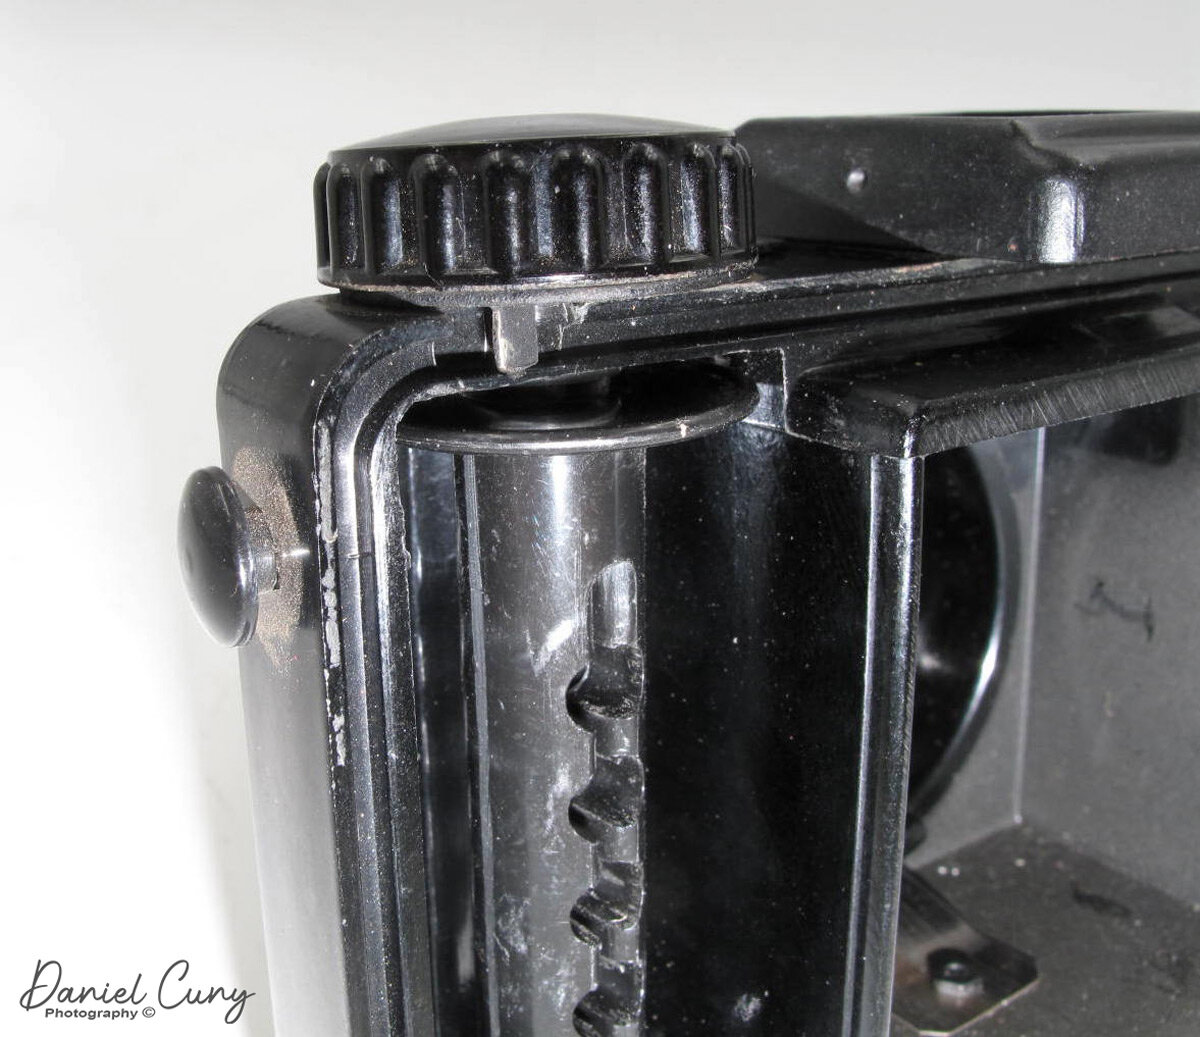
The mirror lock-up switch is on the other side of the camera body, still on the front. Pressing this switch locks the mirror up to reduce vibration in the camera, which is good for longer exposures or using longer lenses that are more sensitive to camera movement. On the far right side of the camera body is a switch for using either 120 or 220 film.


The film advance lever is on the top, far right side of the camera, with the frame counter inside the center of the winding lever. There is a serrated dial that you can turn to change the frame counter if needed. This is also the knob that I turn to trick the camera, as mentioned previously. Right next to the film advance lever is the shutter release button, which can be locked by turning the outer ring from the white dot to the orange dot to "locked."
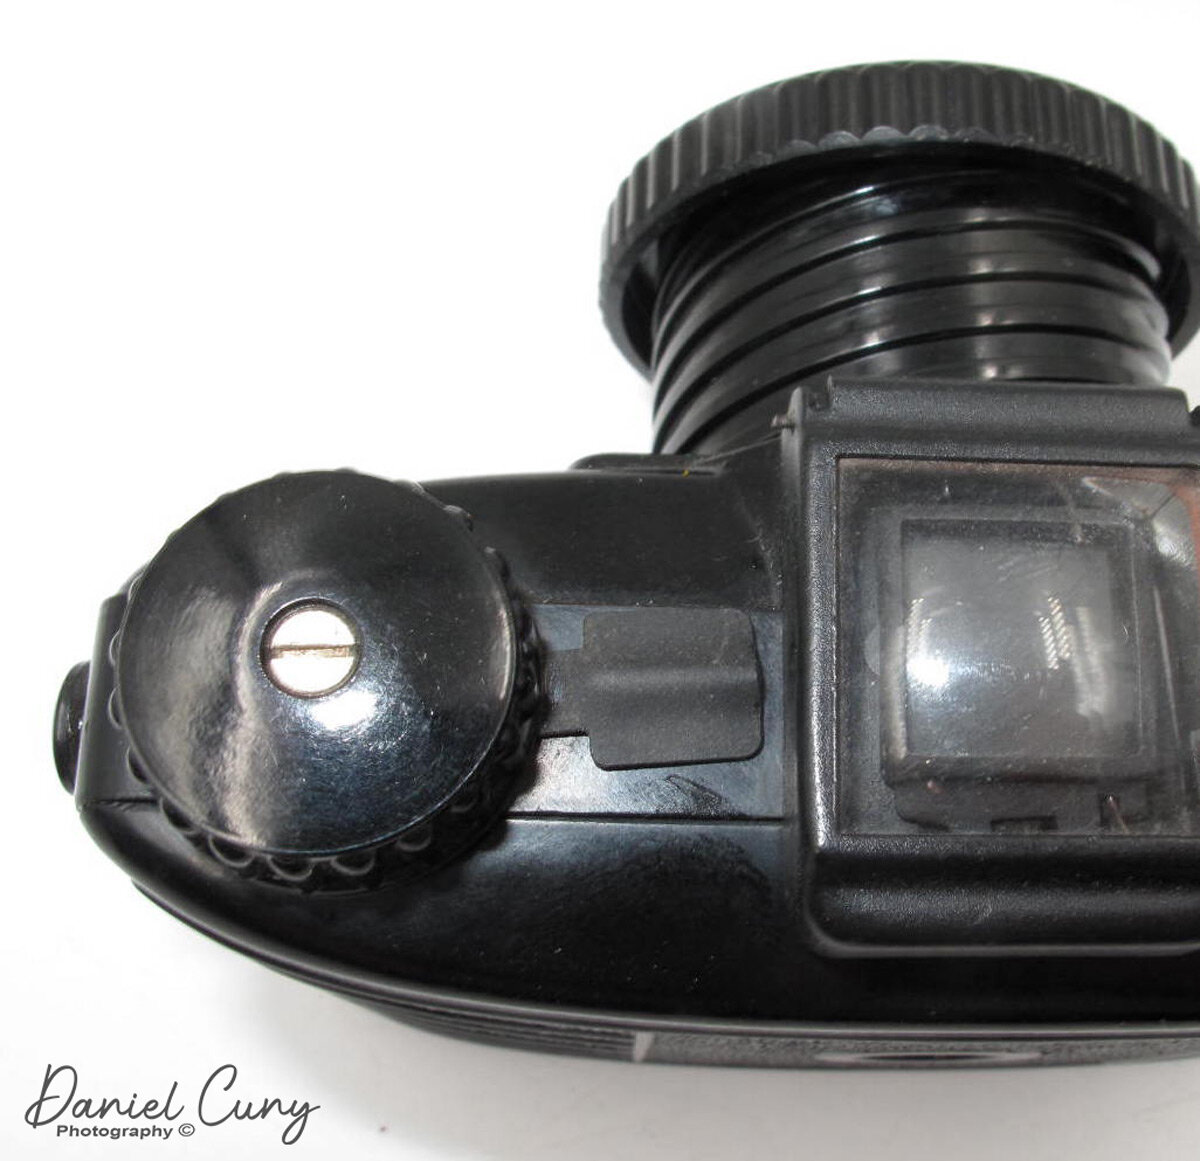
On top of the meter, a finder is an on/off switch used to turn the meter on. Two silver buttons must be pressed on either side of the camera body to remove the finder and put on a different finder. You can lift the finder off the camera body to replace it with a few different viewfinders available for the camera. The metered finder extends over the shutter speed dial, so when metering, you can change shutter speeds to adjust the meter settings. You should remove the lens before taking the viewfinders off the Pentax 6x7 cameras, then put the lens back on the body once the viewfinder has been reattached.


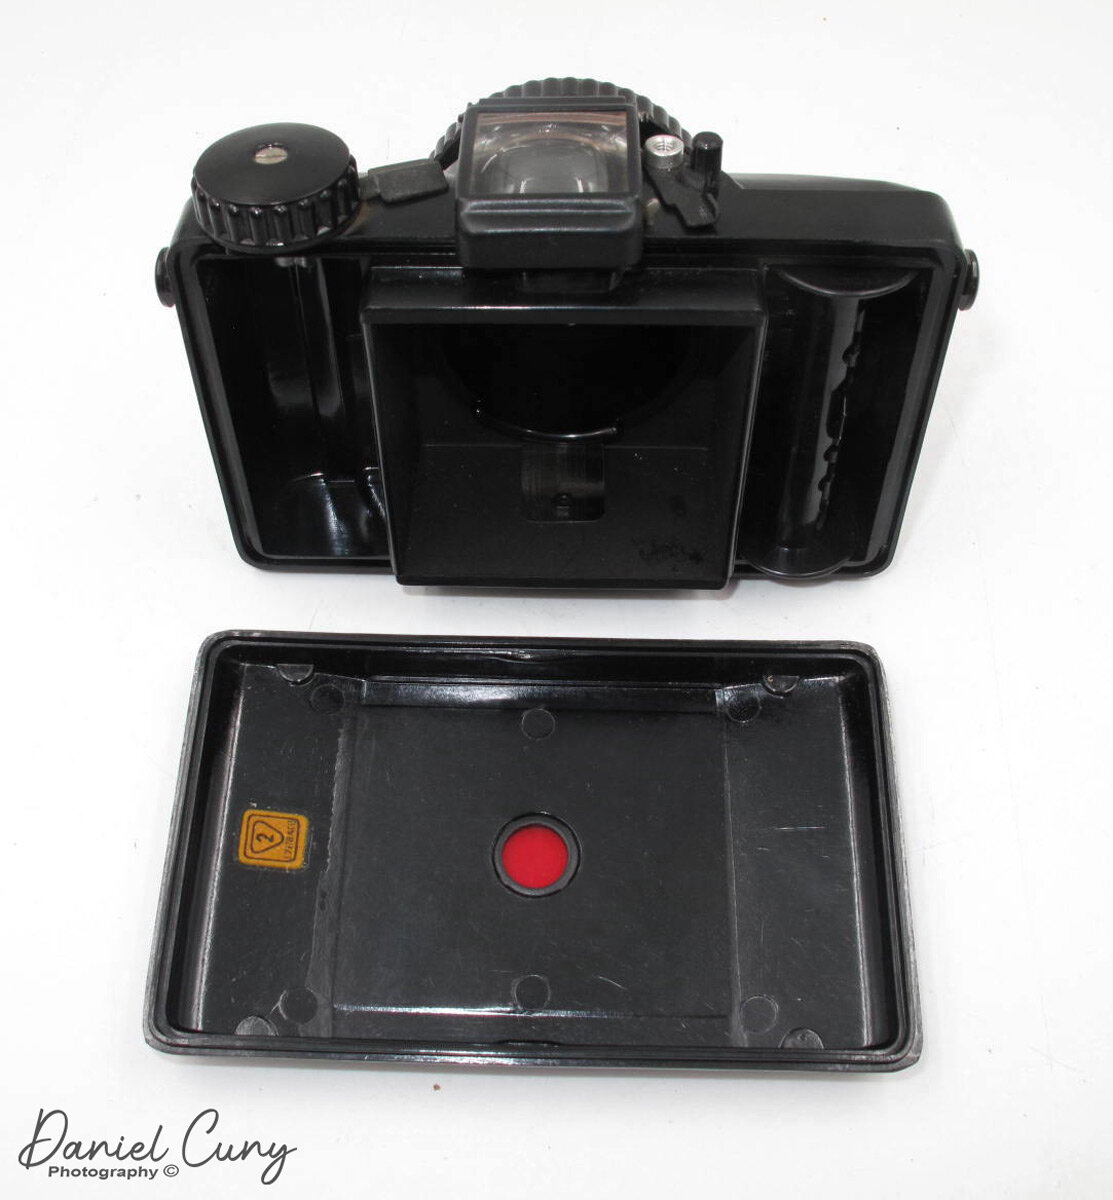
To load film into the camera, pull down on the silver tab on the left side to open the back door. Two locking switches are on the bottom of the camera, just under where the film reels go. These need to be unlocked, allowing you to pull them down to load the take-up and fresh roll of film into the camera body. Once the film is in the camera, turn them to the locked position to keep them in place. Bring the leader to the take-up spool, thread it into the slot, and advance the film to start the film advance. Bring the arrow on the film leader to the arrow next to the 120 at the top of the shutter curtain, close the back, and wind until the camera stops. You're now at frame 1 and ready to take 10 photos on a roll of 120 film.


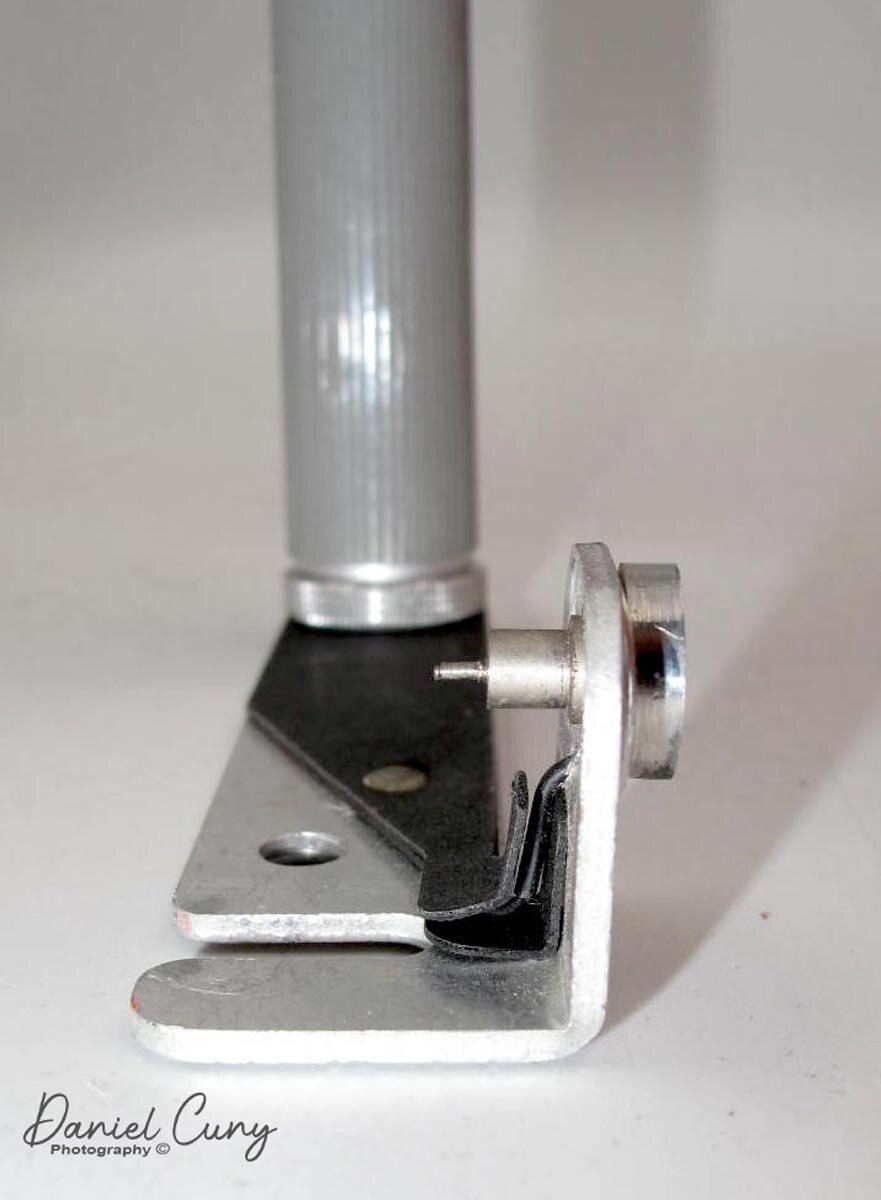
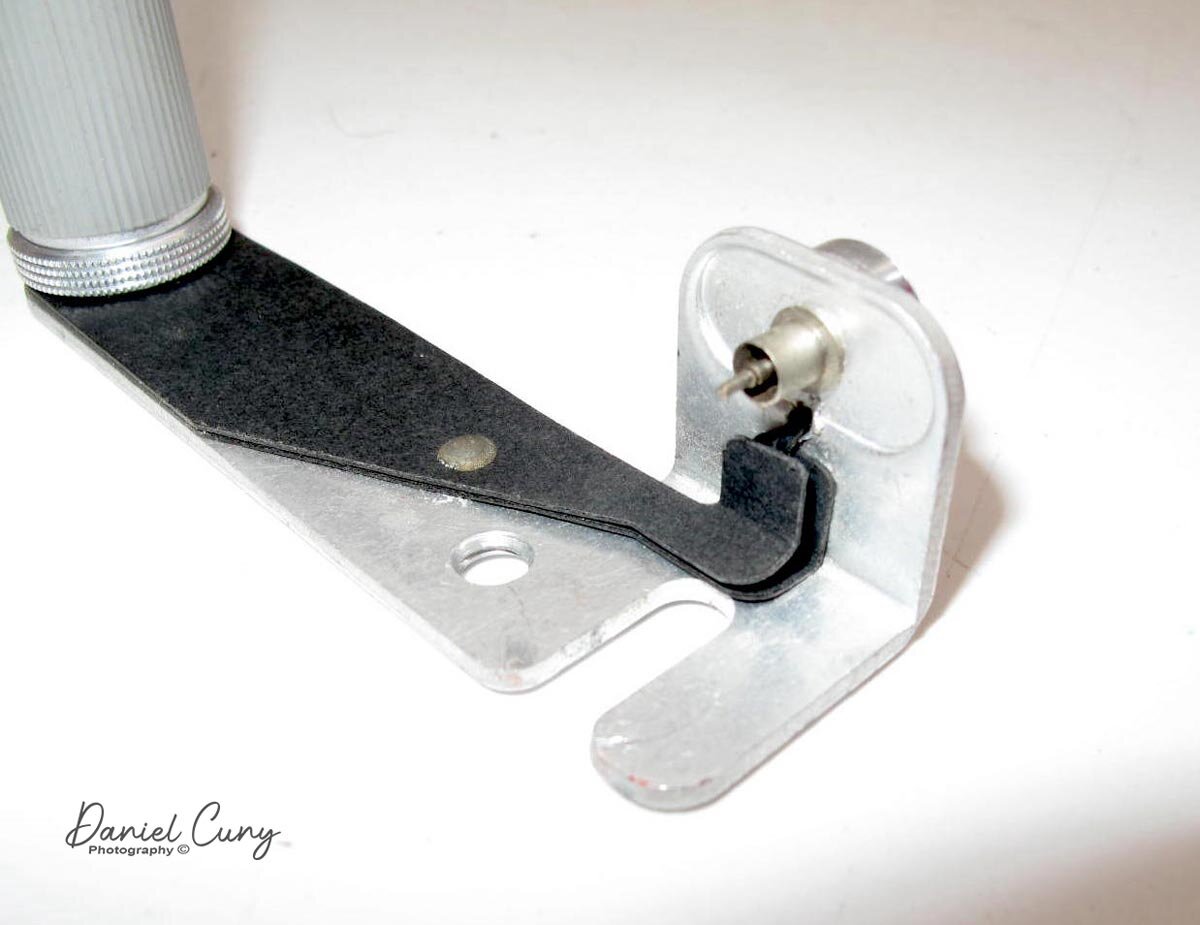
I wanted to put the wood handle on the camera before I took the camera out for a spin and tried it out. I always thought it was odd to have a grip on the camera's left side, as it's the left hand that I cradle under the lens for focus and setting the aperture. Let's give it a try because so many people think it's a great selling point for the camera. The wood handle also has a cold shoe for a flash attachment or other items you might want to put, like an external meter.
To put the handle on the camera, you need to unscrew the locking screw, which is located in the middle between the two areas that fit onto the camera lugs, which are on the top and bottom of the left side of the camera. Snap the handle into position and screw down the locking screw to lock the handle into position, which also presses a small knob on the camera in. To take it off, unscrew the knob and pull out the knob and slide the handle up to take the handle off. The handle won't fit on the right side.


The camera has four lugs located on the front and in each corner. These can be used for the camera strap to carry the camera vertically or horizontally or to put the wood handle on one side and the strap on the other. There are many ways to carry the camera comfortably while lugging 5 pounds around.
My Results:
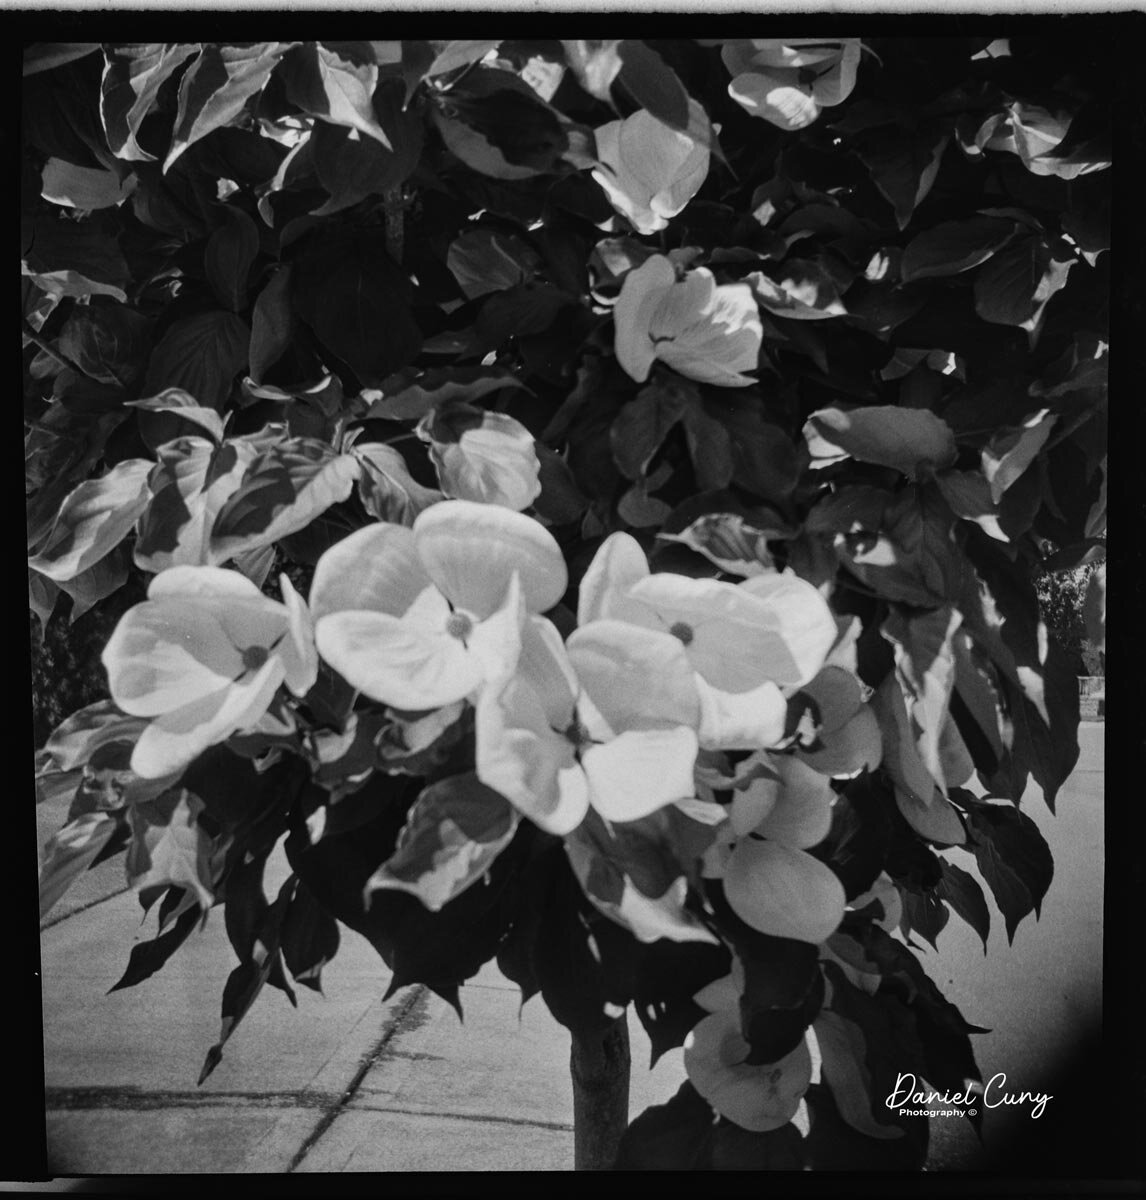
This time, I walked through the neighborhood, taking a few photos. While I was taking my normal photos, I ran into a good neighbor who is an artist. He was showing me his studio, so I took a picture or two around his studio, then proceeded to take some of the regular photos I do when trying a new camera.
Here are the results of my walk through the neighborhood.


Conclusion:
I had a lot of fun shooting with this camera, considerably more than anticipated. I used the wood handle more as a tool to walk around with the camera than to shoot with it because it made transporting a 5-pound camera easy. I had the strap on the camera, but found the handle easier.
My lens is very sharp, and the camera felt comfortable in my hand. The focus was smooth and accurate, the transport was soft, and all the camera operations seemed effortless.
I'll need to look into other lenses for the camera and possibly a few other accessories, as this is a keeper camera for now.
Thank you for taking a few minutes from your day to read about a fun and extensive camera system to use.
Until next week, please be safe.
Here's a link to my other camera reviews if you want to see some of the other cameras in my collection.
If you're interested in some of the vintage cameras and accessory items I have for sale, please look at my online store: