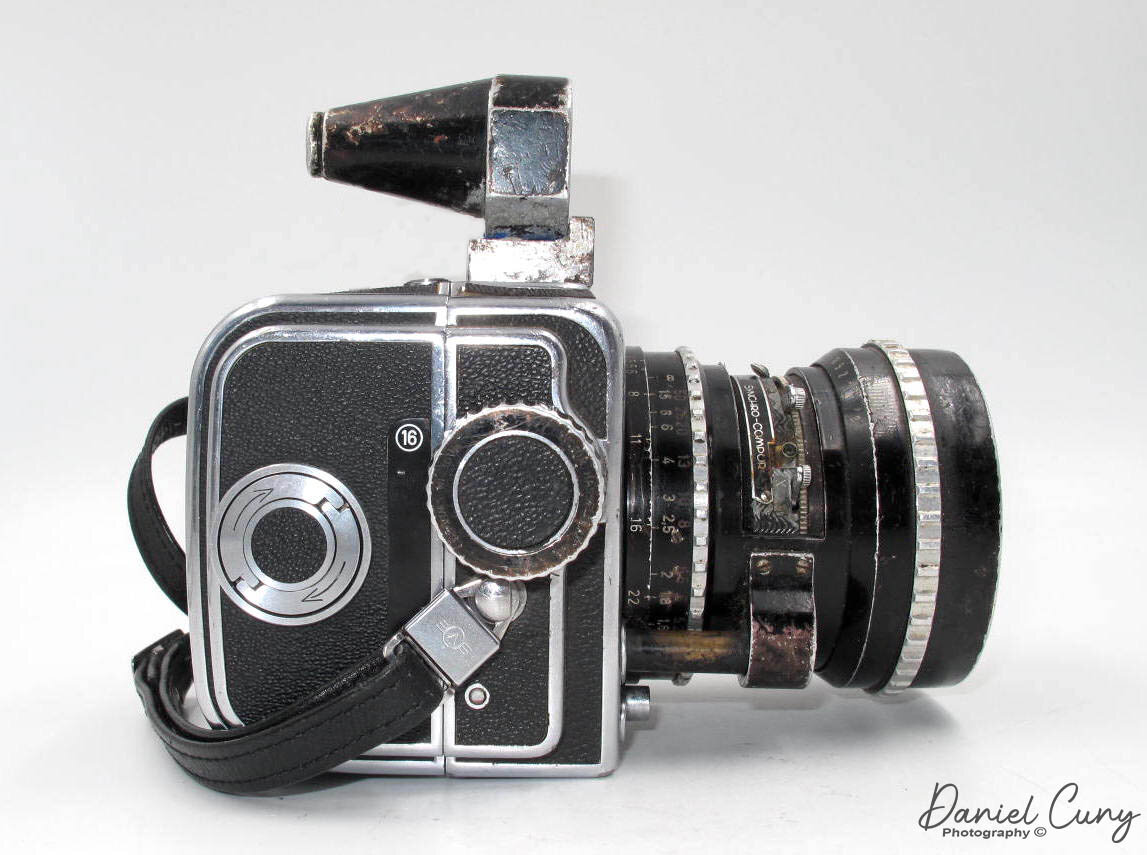
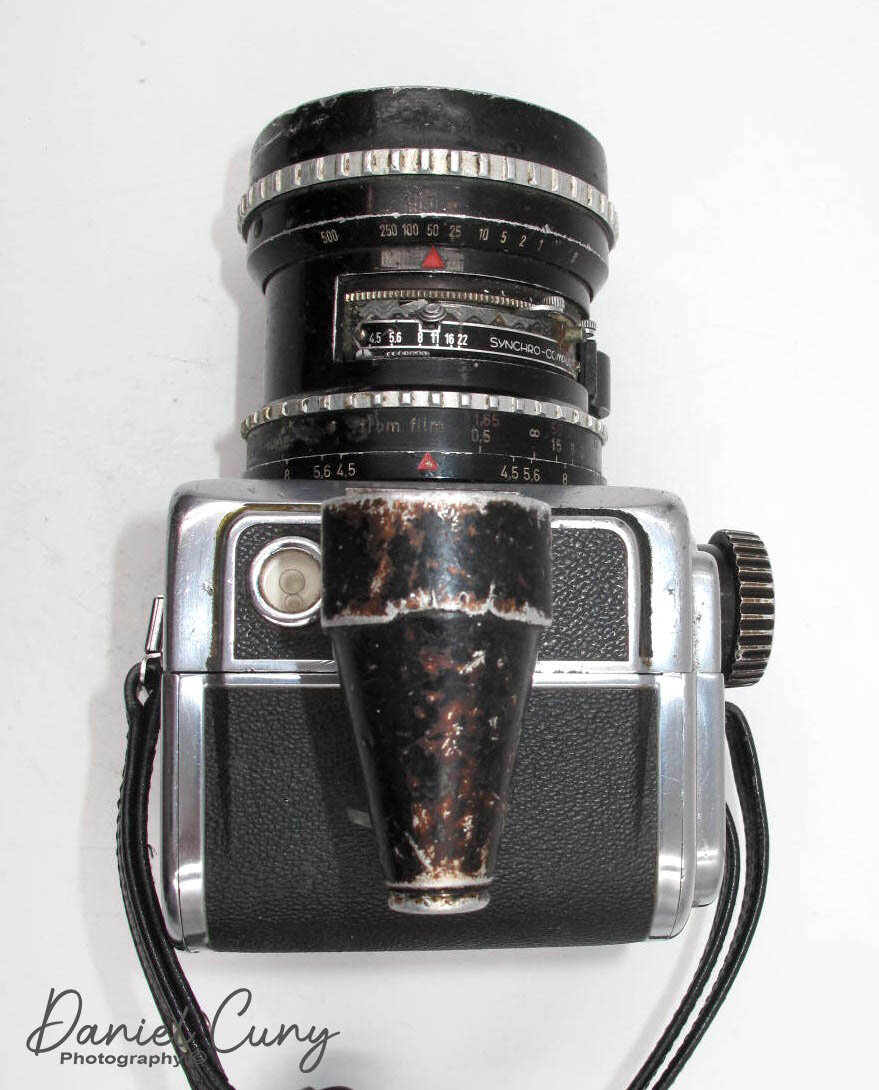
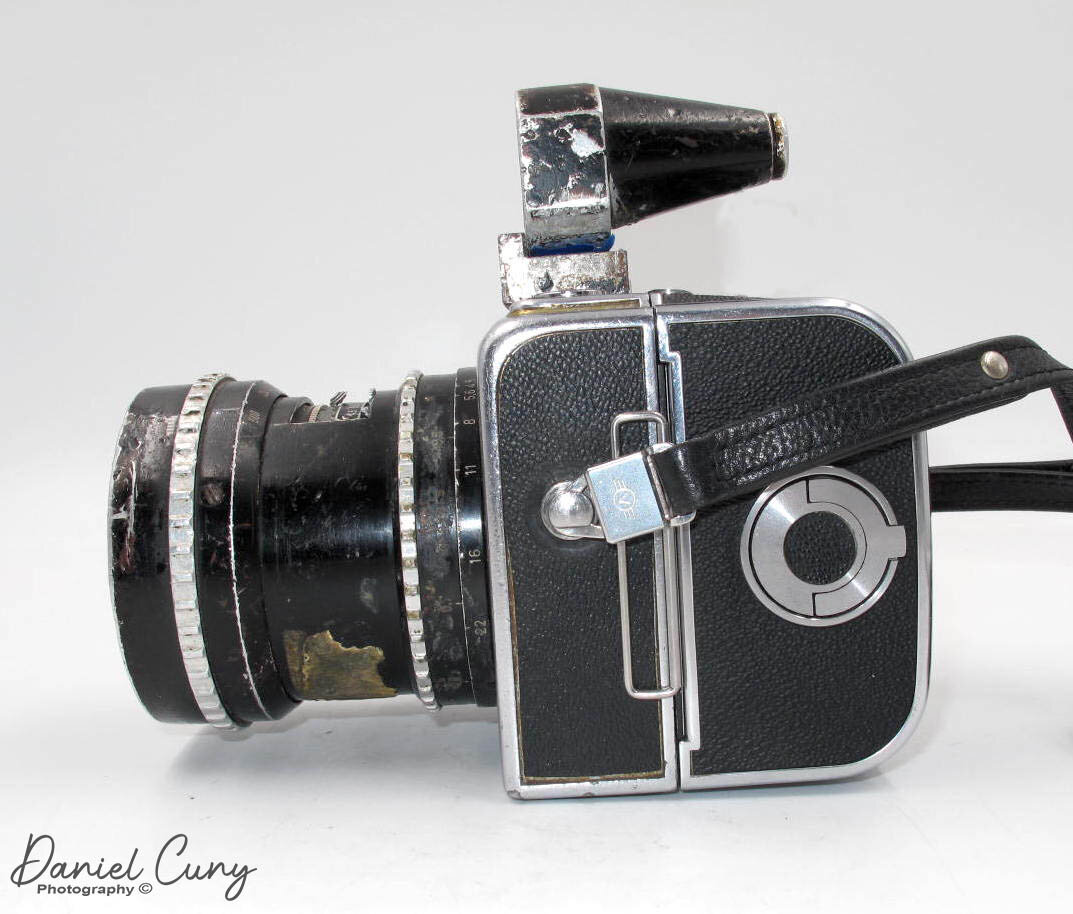
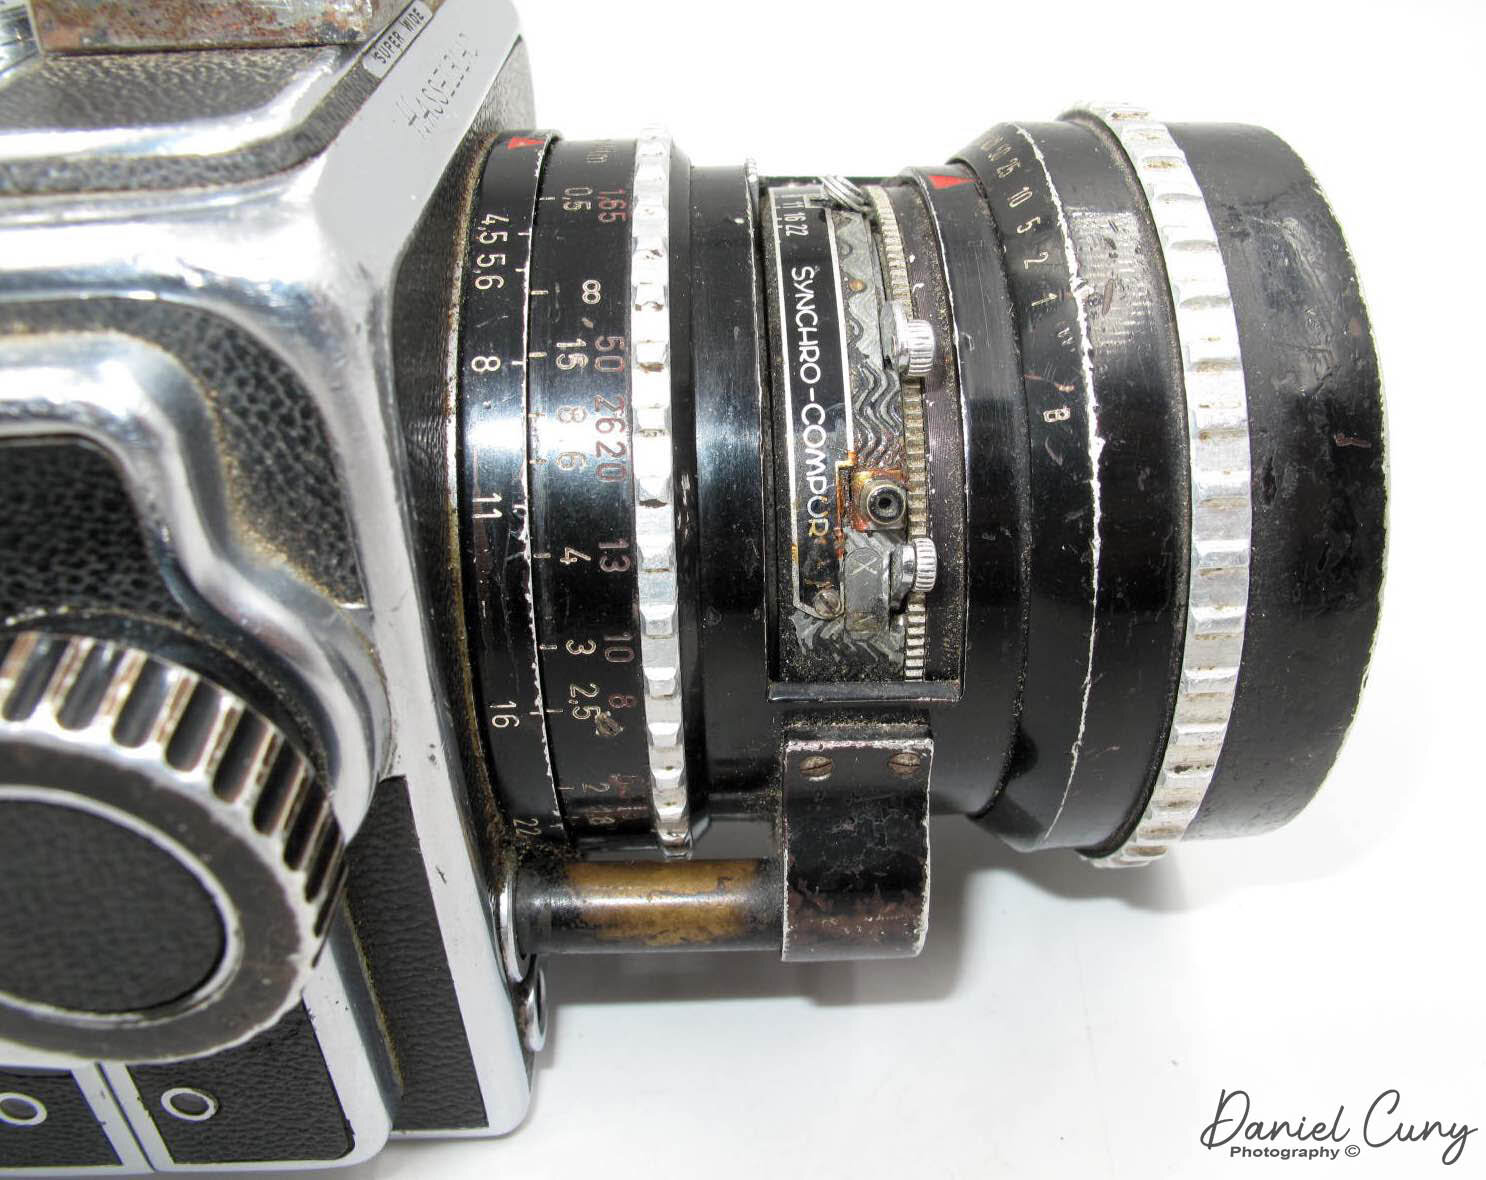
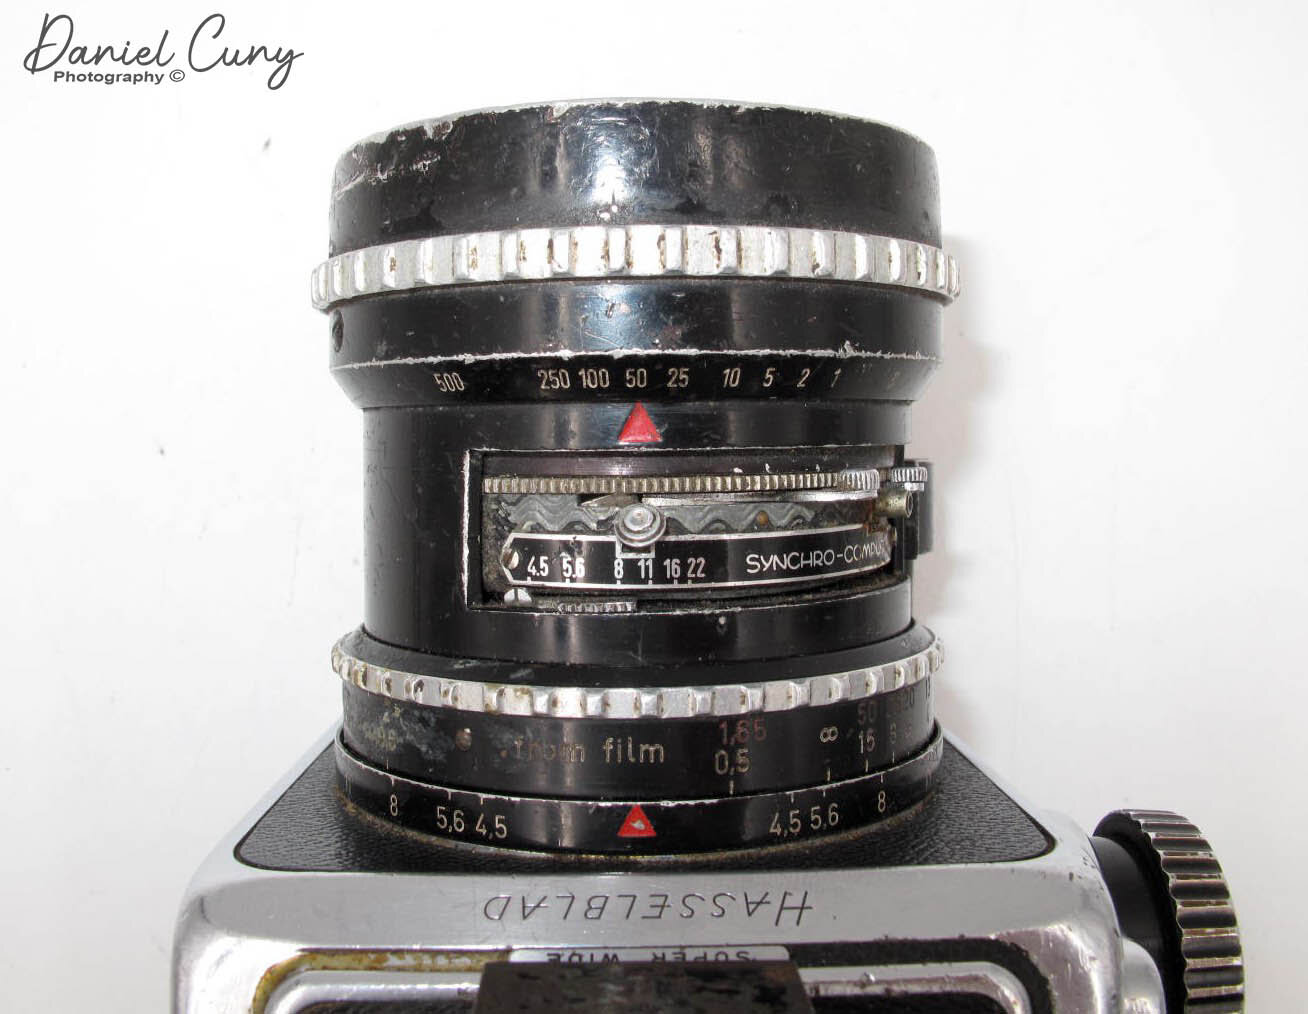
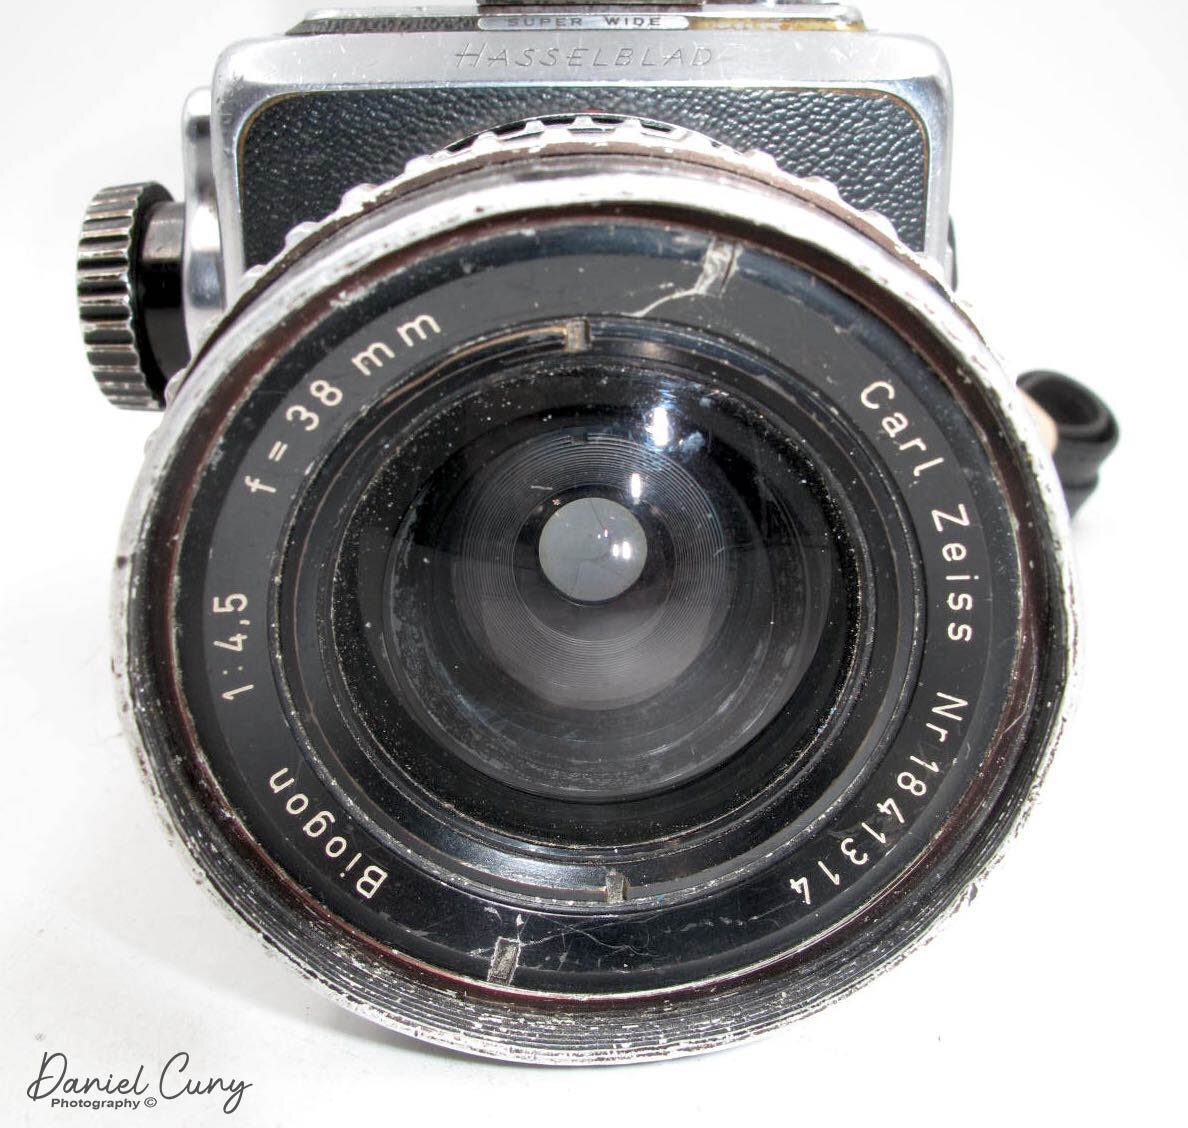
My early version of Hasselblad Super Wide.
Last week I mentioned that this week's post would be on the Hasselblad Supreme Wide Angle (SWA) camera. I intended this week's post to be about until I took the camera out, shot with it. I quickly noticed that this is indeed a Hasselblad Super Wide (SW) version of the camera instead of the Supreme Wide Angle, which is what I believe I owned. Let me explain the difference.
The Supreme Wide Angle camera was introduced in 1954 by Victor Hasselblad during his first visit to Photokina in Cologne, Germany. The purpose of his trip there was to introduce two new cameras. The original Hasselblad 1000F and their unique design, The Supreme Wide Angle, highlight Zeiss's spectacular optic with their Biogon 38mm f4.5 lens.
Because of the new lens design and the short distance between the rear element and the film plane, it wasn't possible to add this to their 1000F camera line. Hasselblad needed a more streamlined design utilizing the same film backs and other accessories and an optical viewfinder. This new camera design with the spectacular optics was called Hasselblad Supreme Wide Angle.
They made Supreme Wide Angle for two years from 1954-1955 when they made some modifications to the lens barrel and changed the camera's name to Super Wide starting in 1956-1957. Many people like to think of these cameras as the same with just some modifications made, which is generally done by manufacturers. Others feel these are two separate camera models because of the name change. I understand both views and am more inclined to go with the first thought that these are the same camera, just different modifications.
The main changes in the later Super Wide camera was an additional metal cylinder to the lens design. The lens barrel, which had a cut out in the barrel for the shutter control, also connected the lens's front to the rear. Another change was the focusing helicoid went from turning approximately 180 degrees in the Supreme Wide Angle to moving just under 360 degrees on the Super Wide versions.
Like I mentioned earlier, I thought my camera was the SWA, as I like to have the original models in my collection. Unfortunately, my budget doesn't allow this to happen all the time. I purchased the camera many years ago. When I bought it, it had a very crude viewfinder mounted to the camera. All the shutter speeds worked, and mechanically and optically, the camera was in excellent condition. The viewfinder worked, and for the price, I was happy.
I figured I'd be able to take the crude viewfinder off and find an accessory shoe and original viewfinder to replace them. I did get the viewfinder and mount off, but finding the replacement has been somewhat challenging.
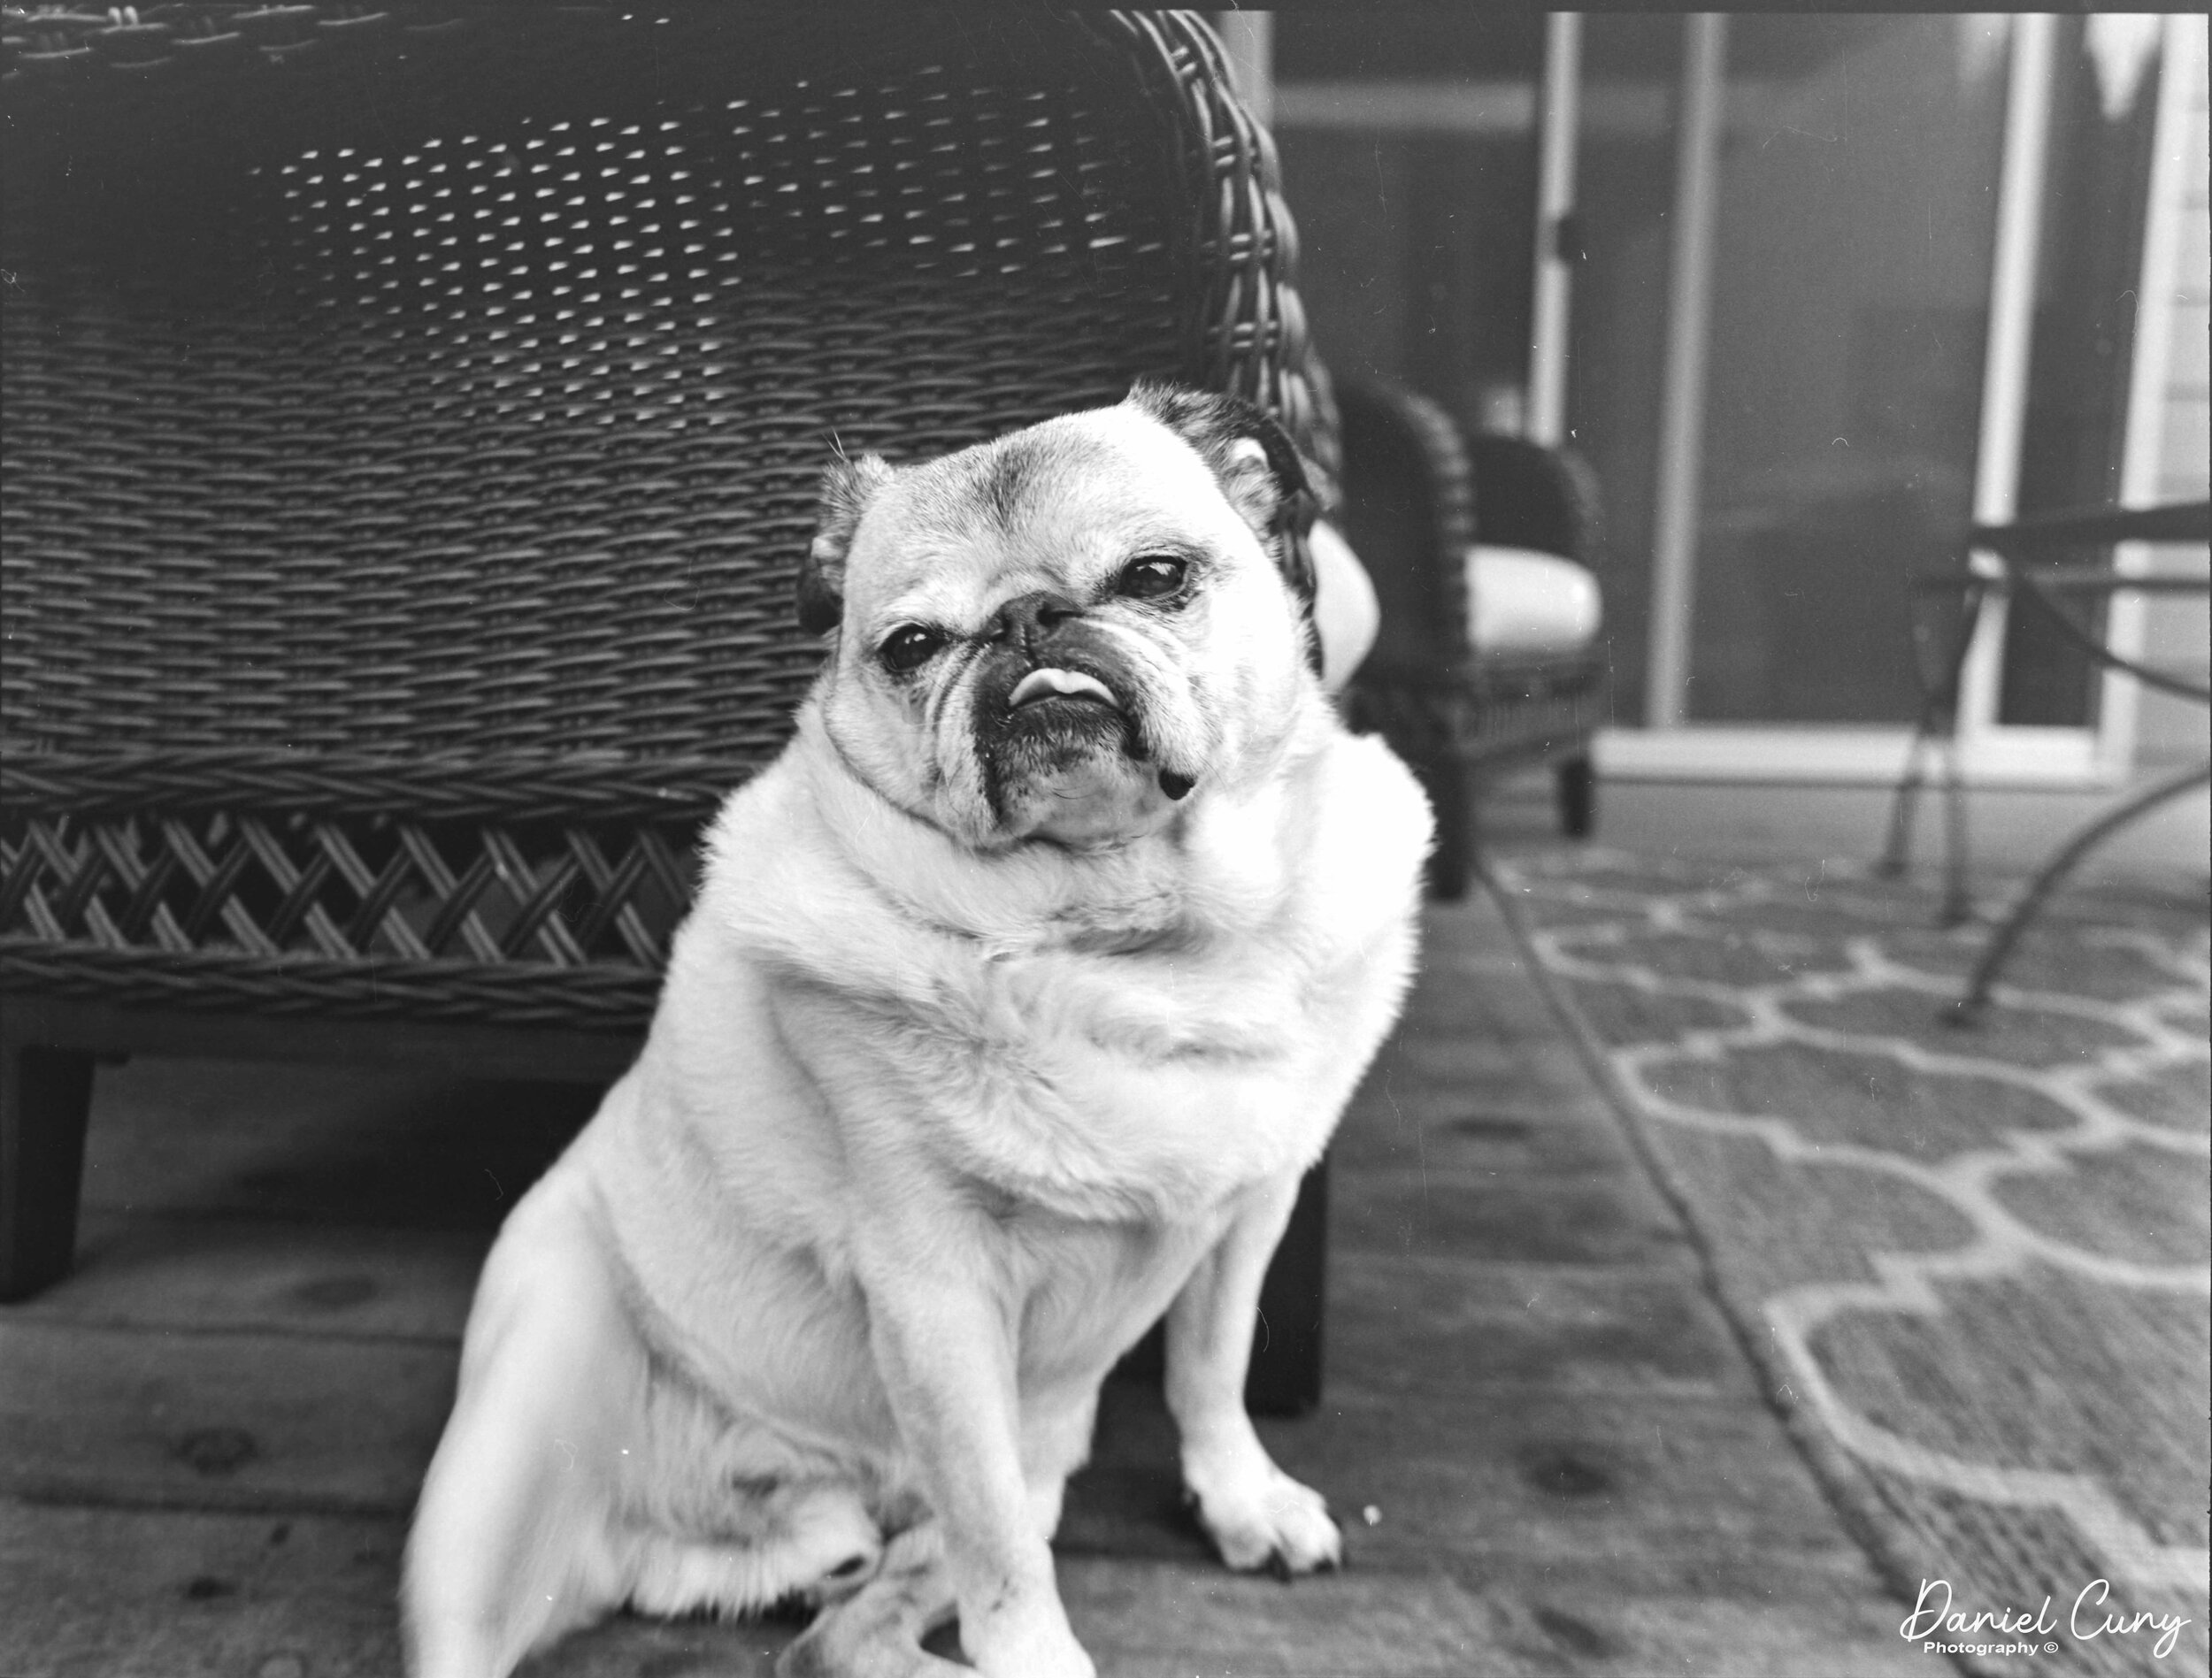
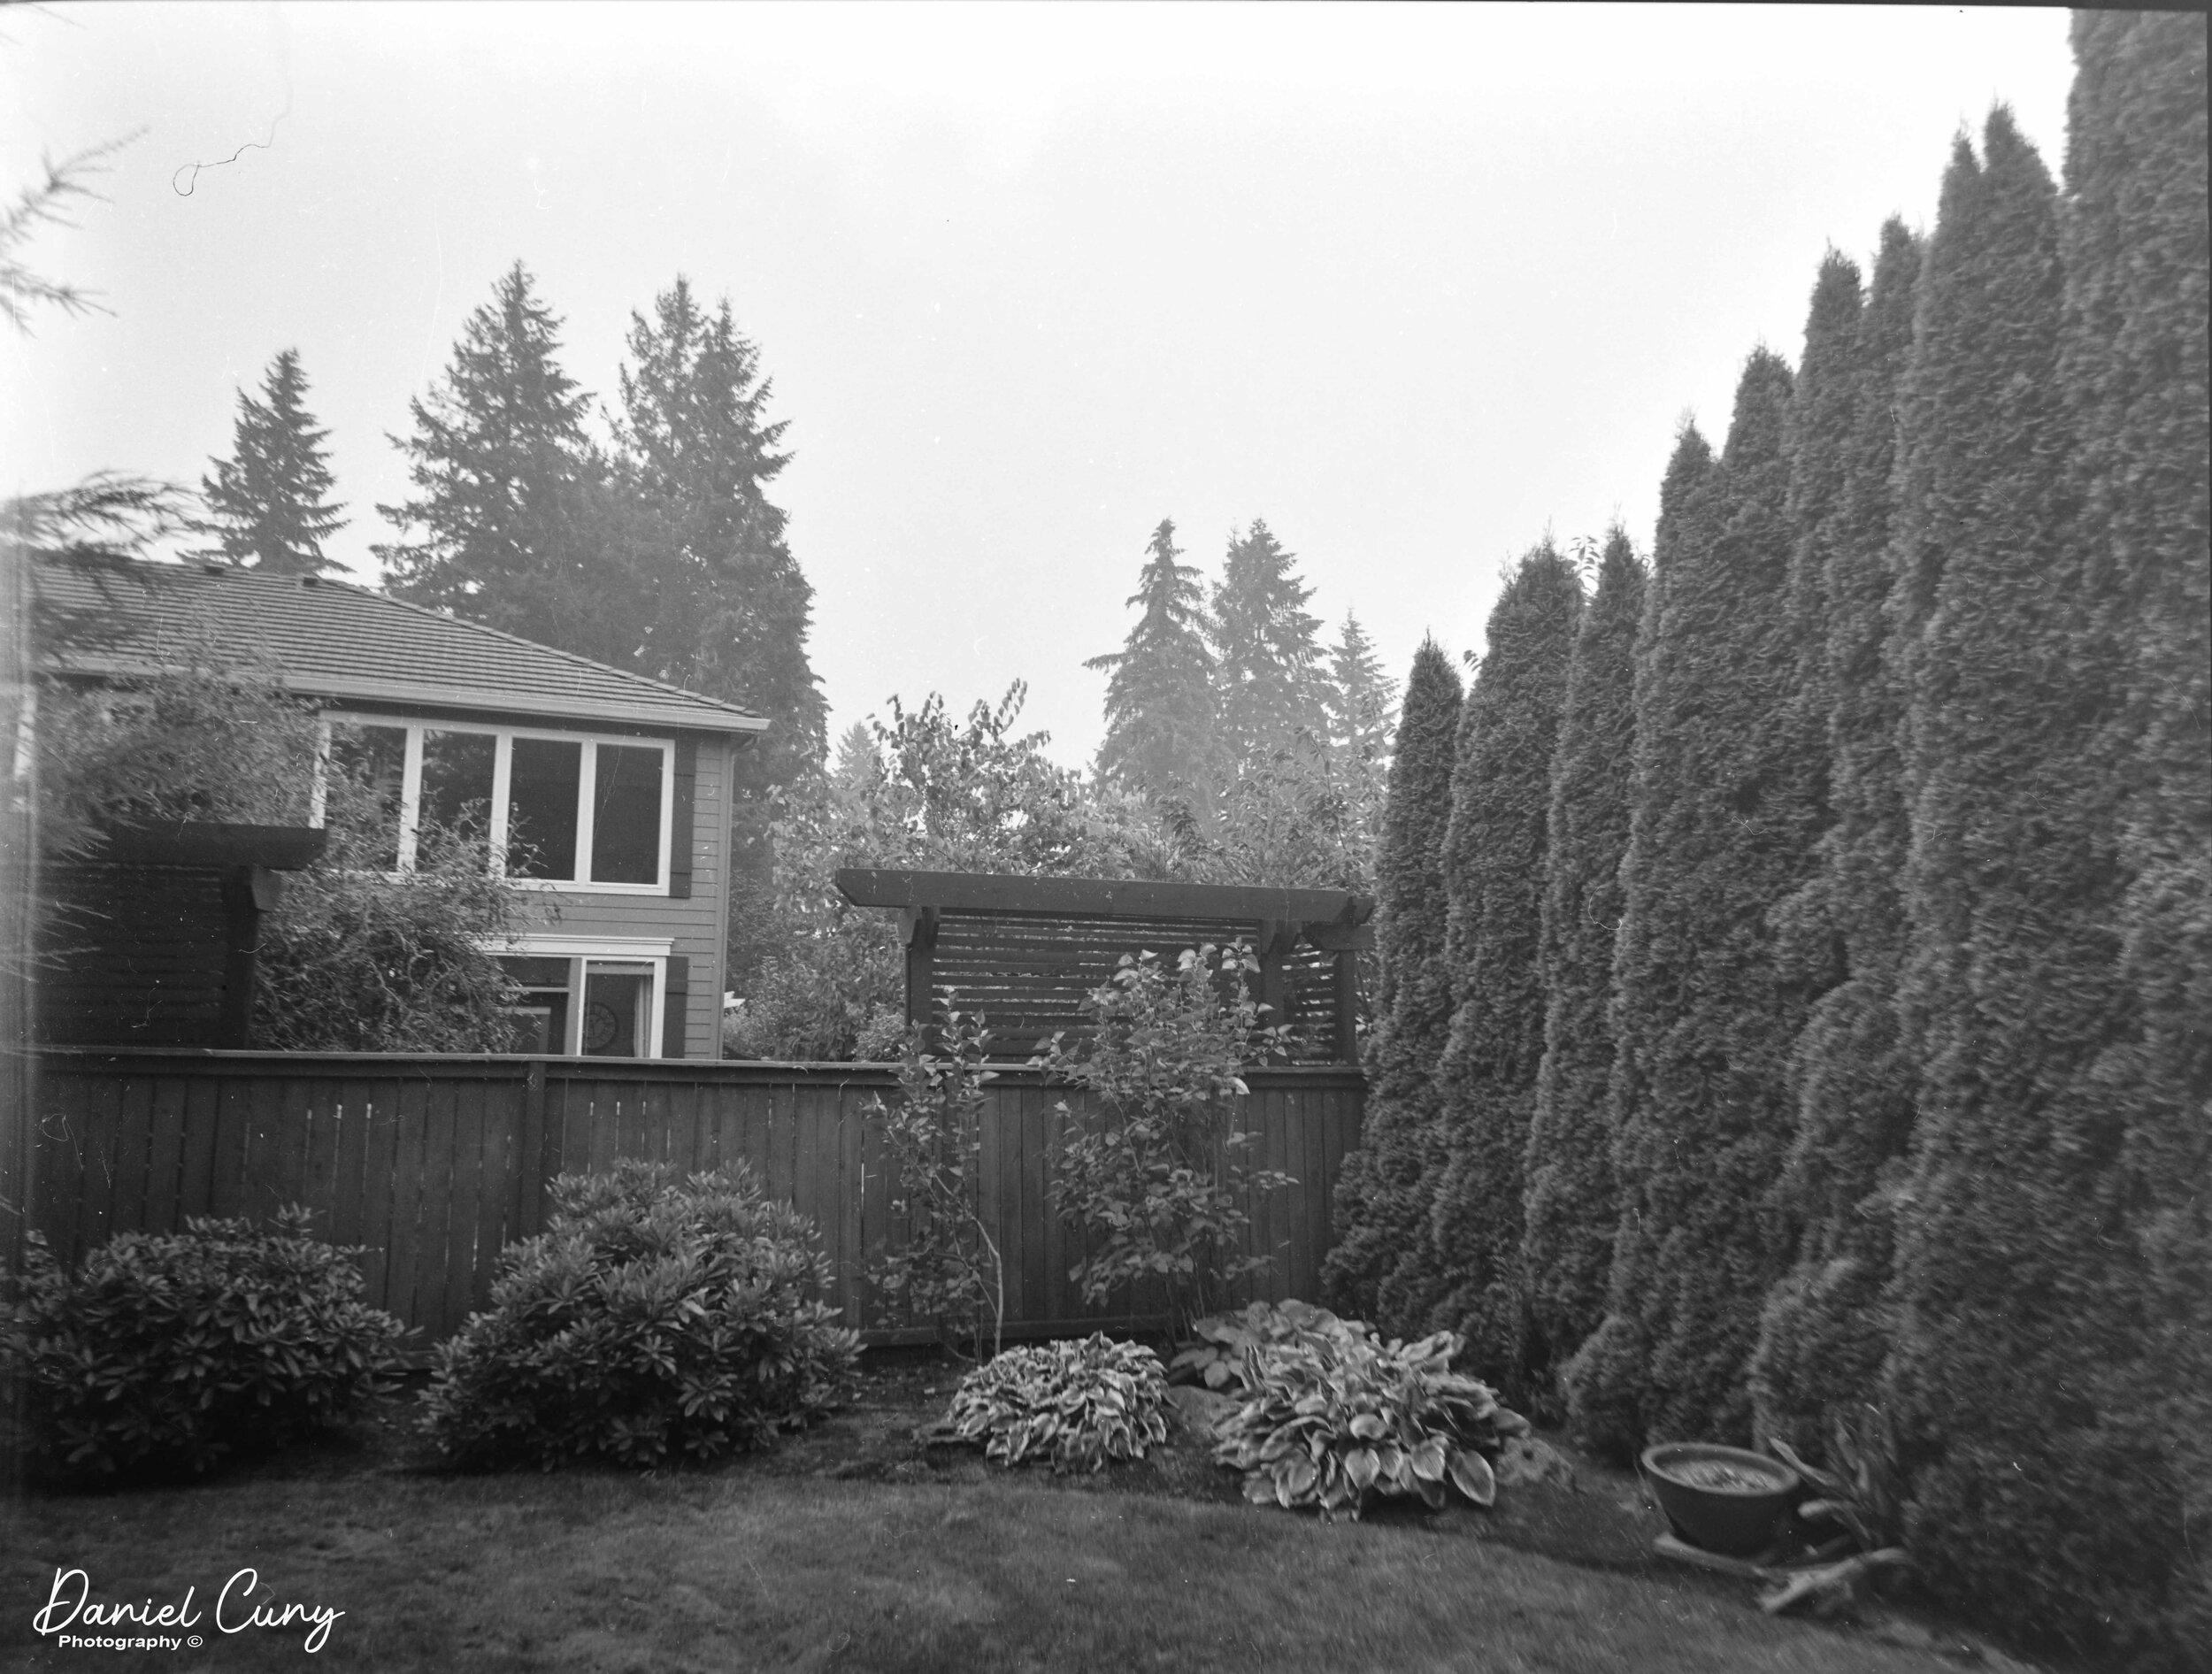
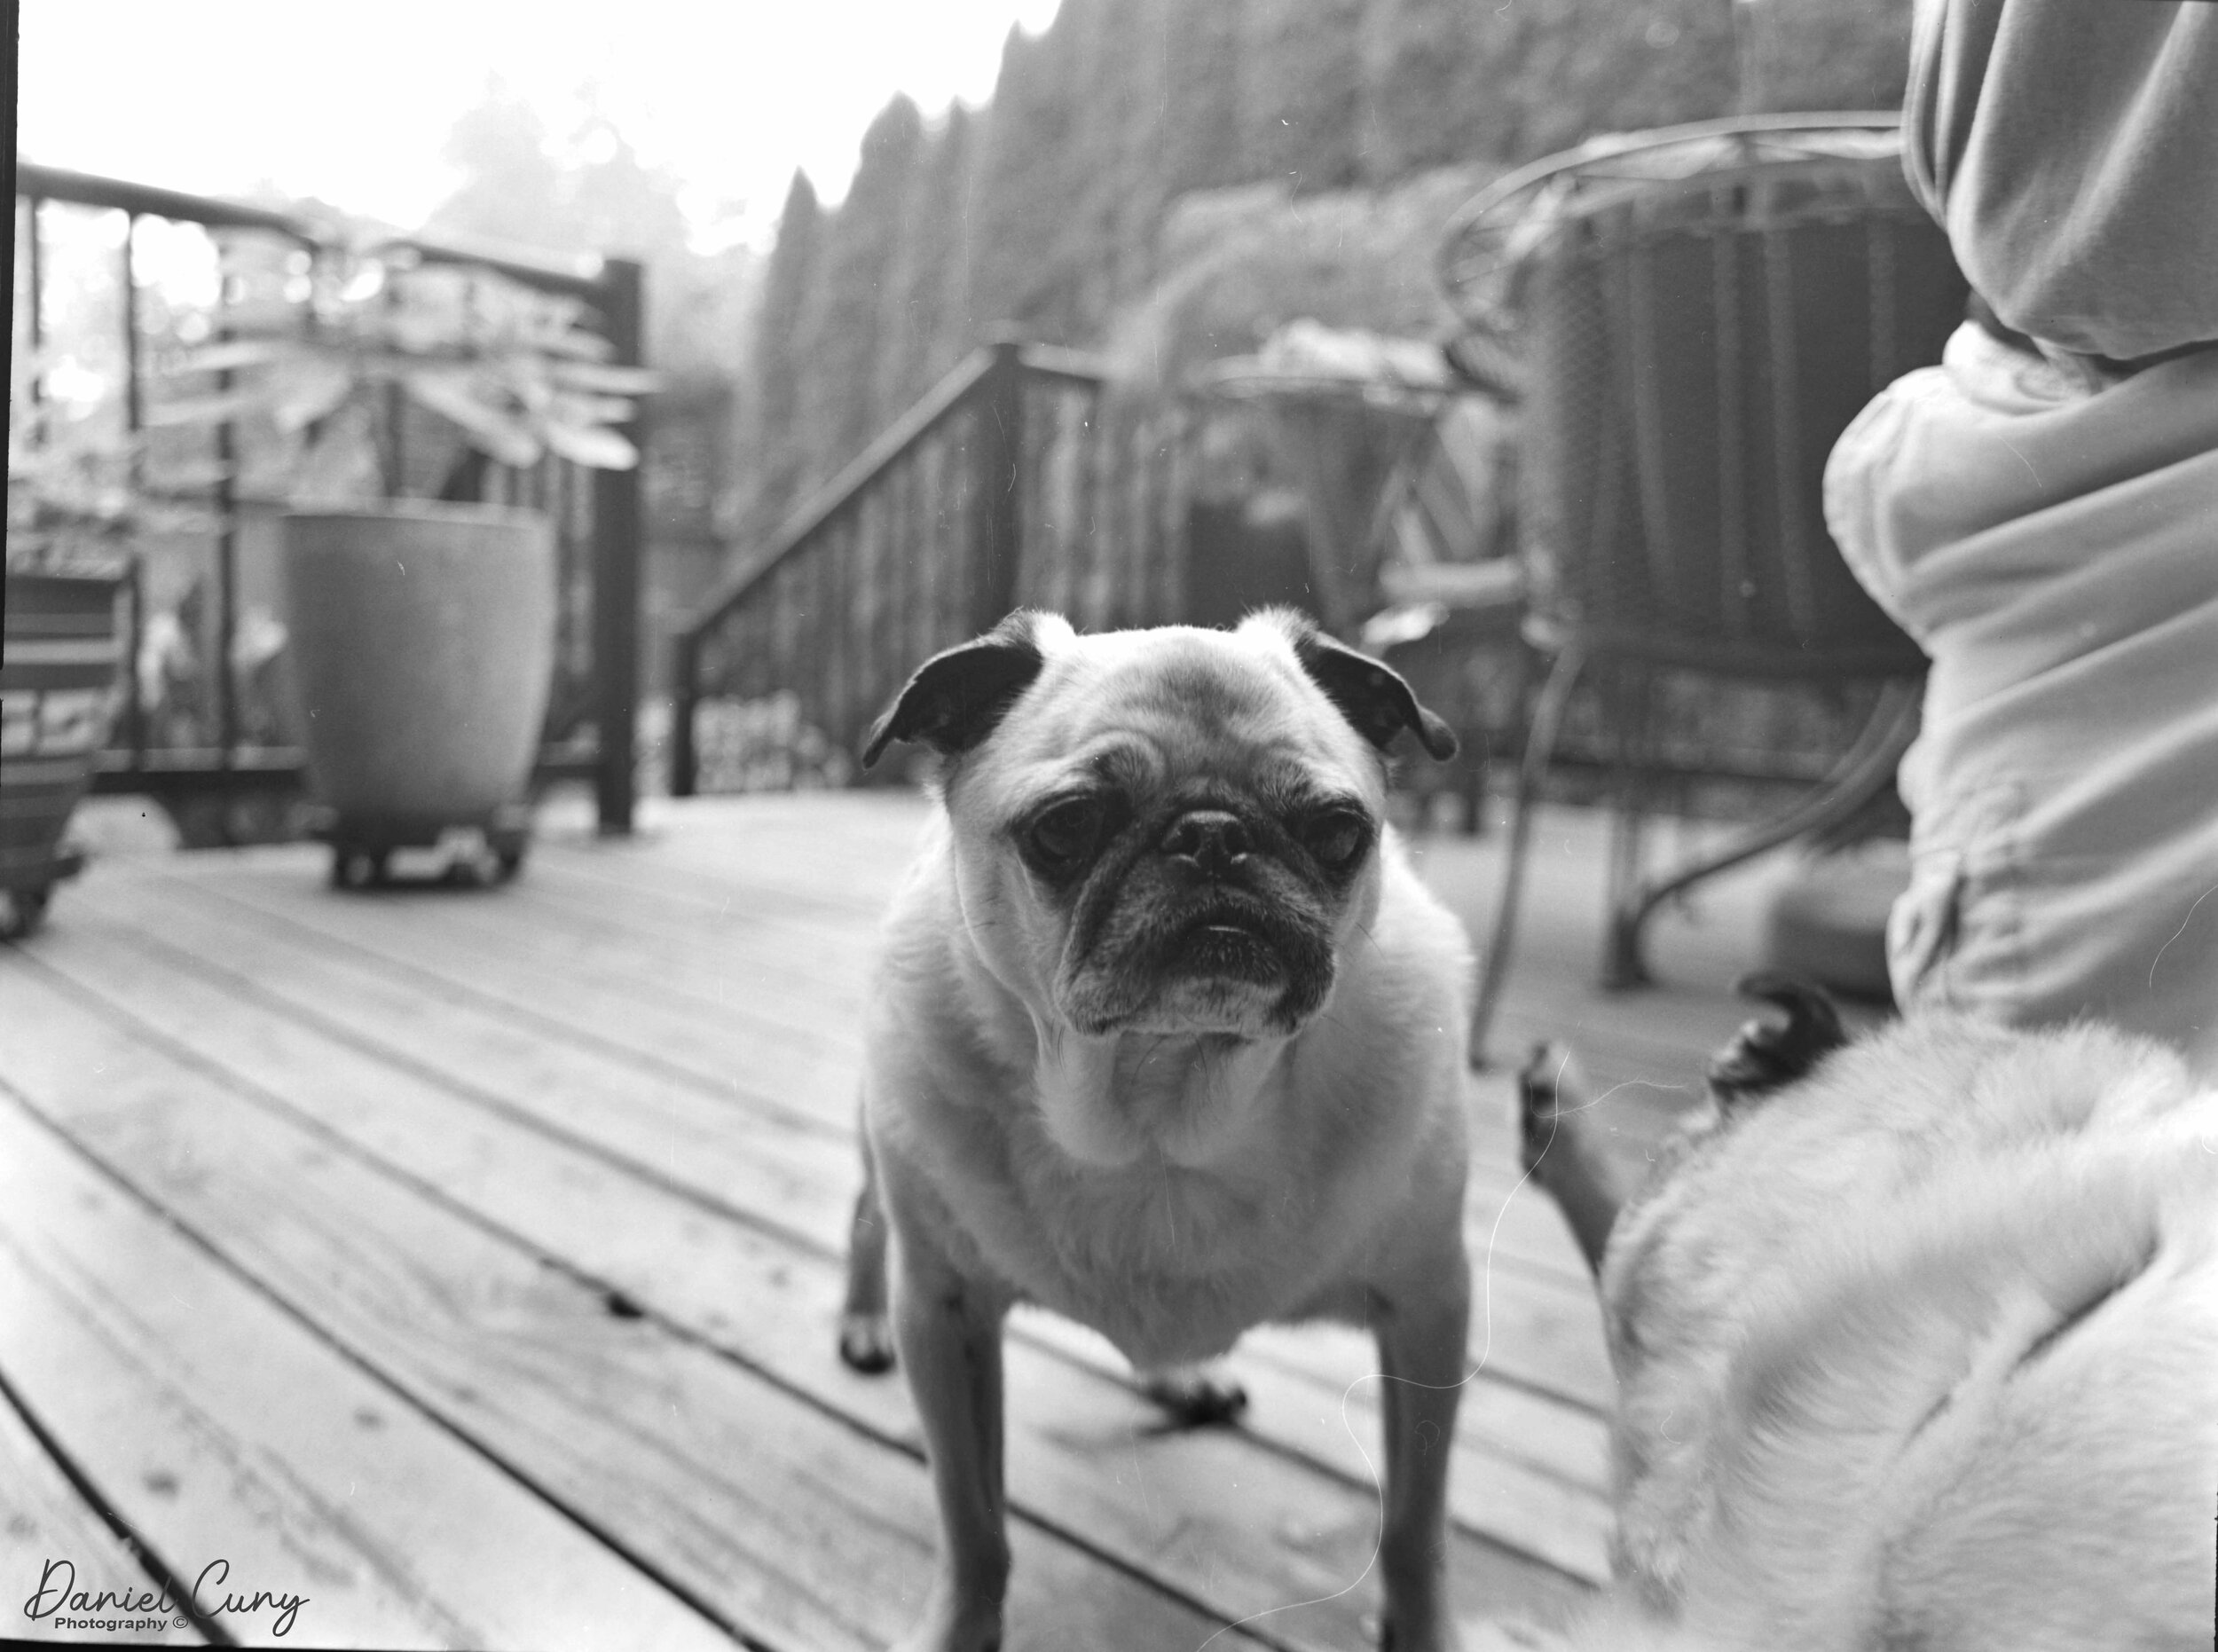
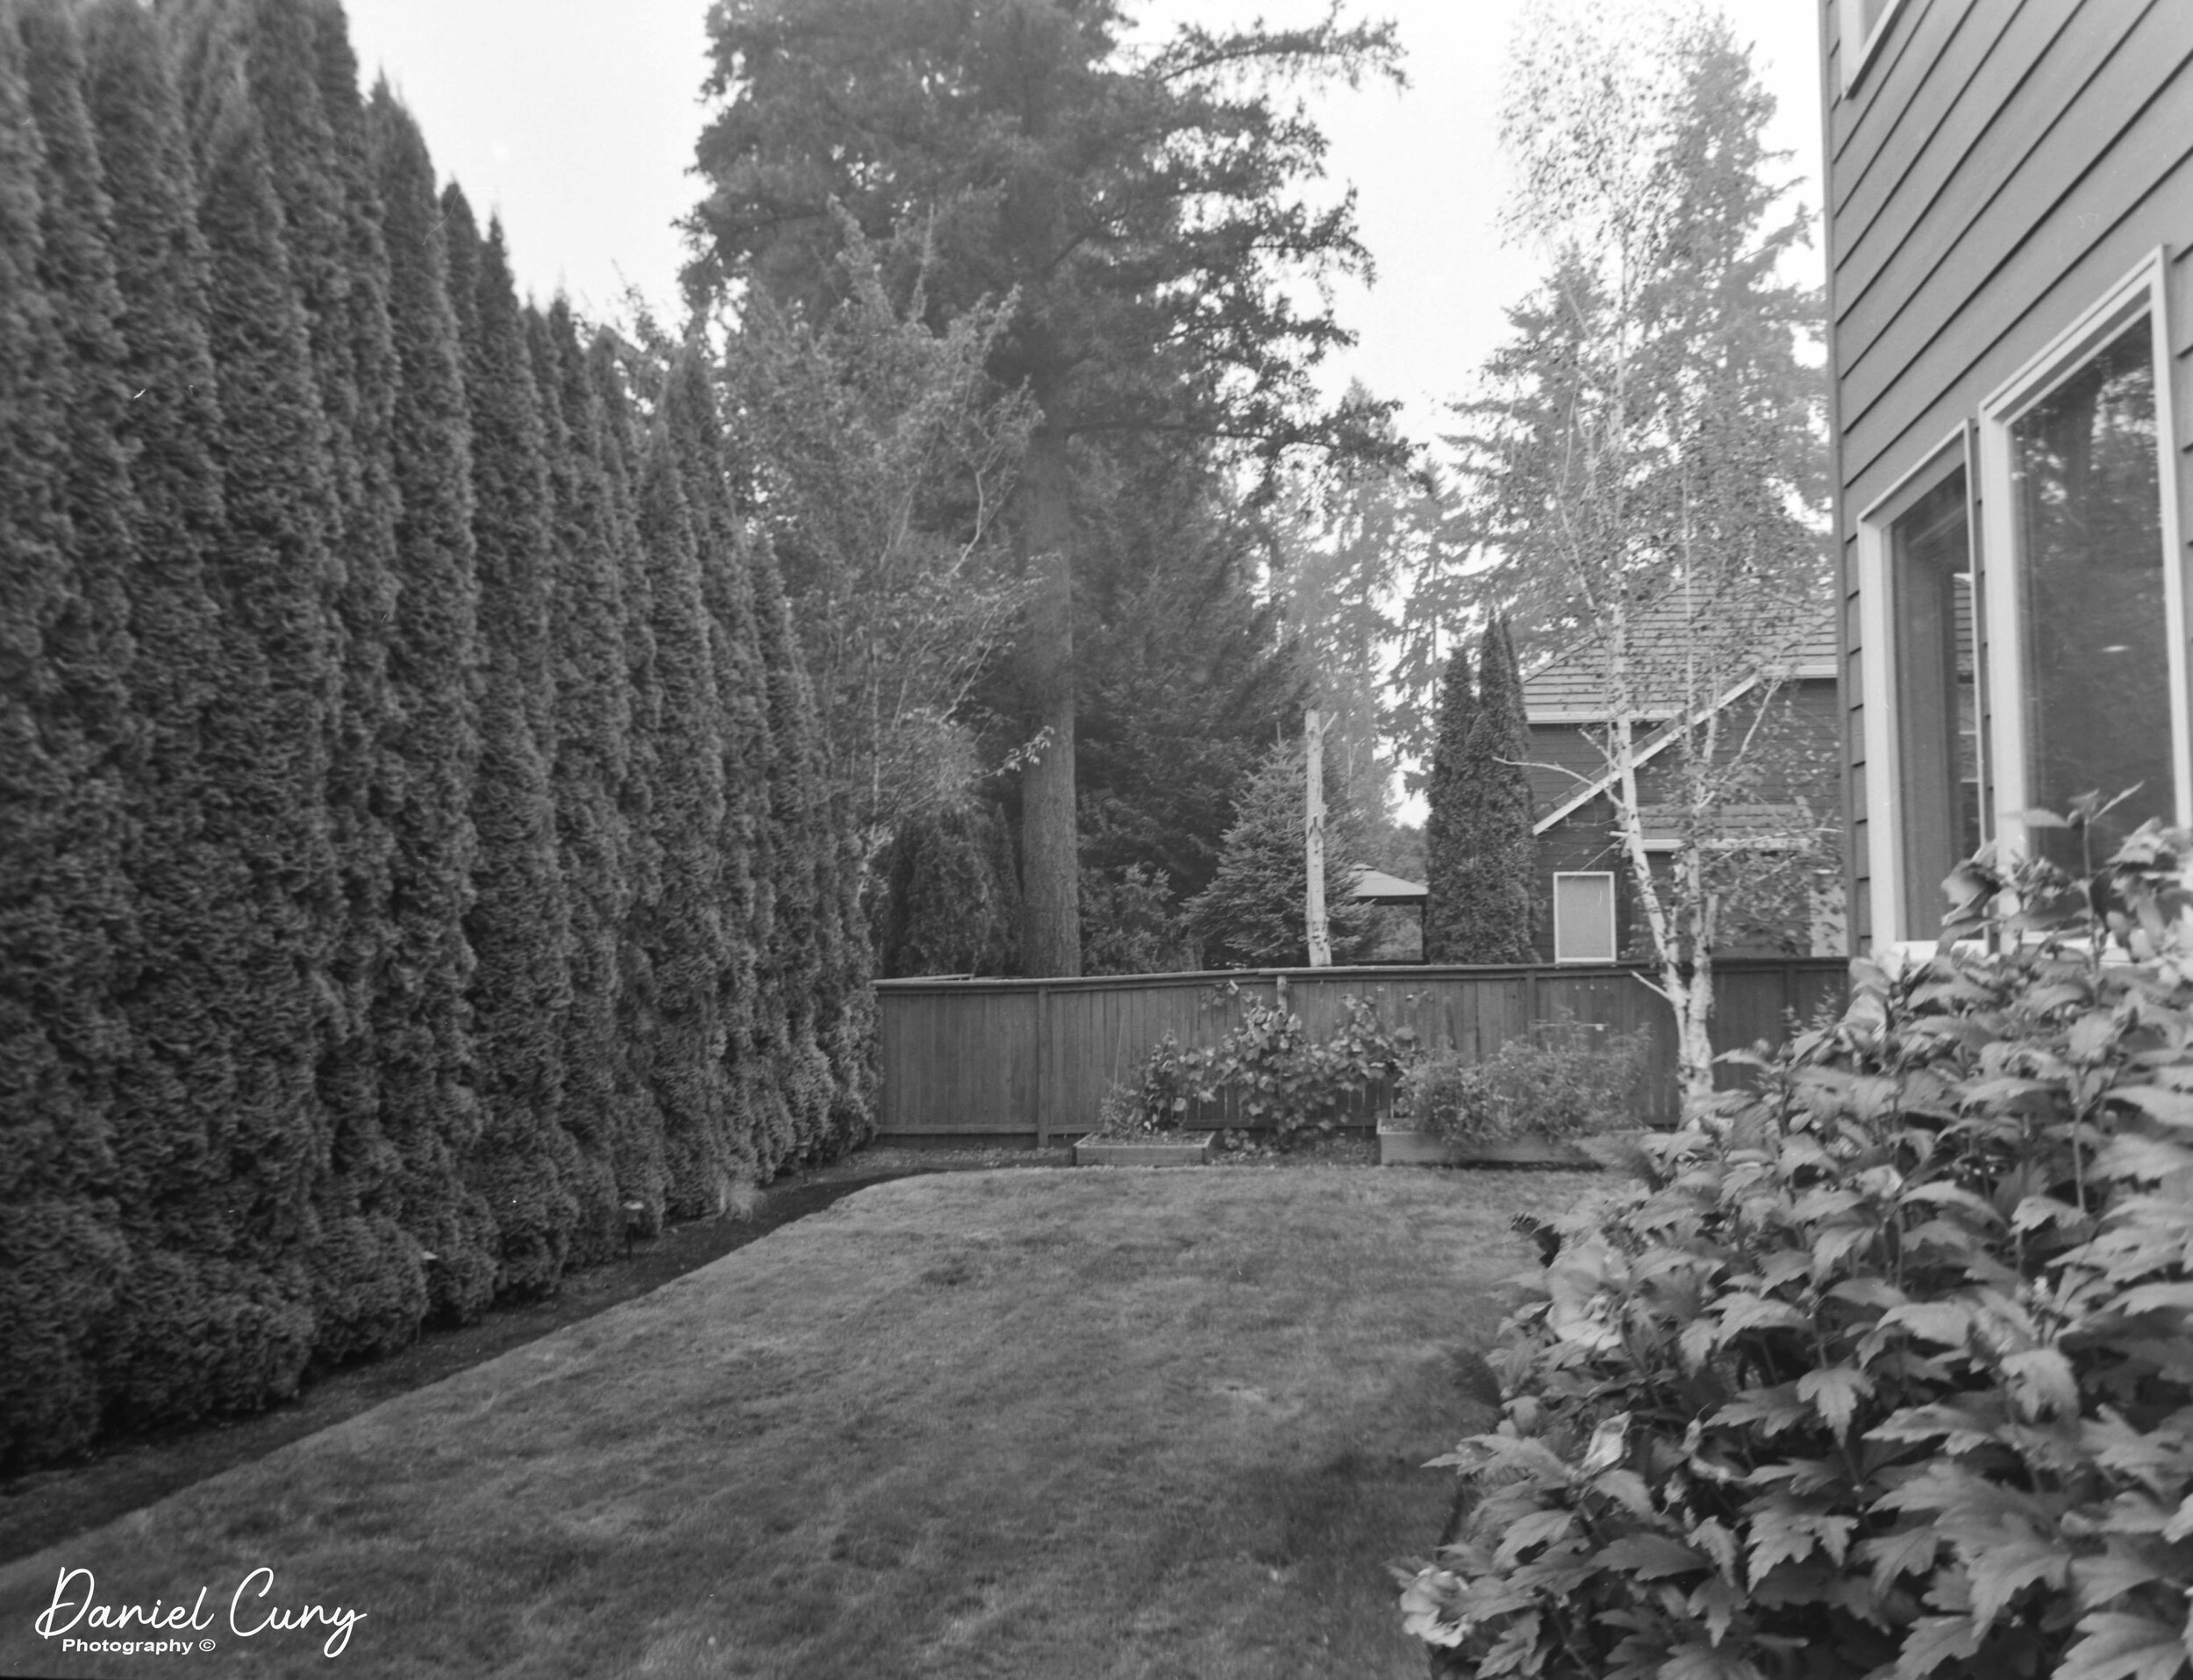
I do enjoy shooting with this camera. It's small, compact, and optics have excellent quality. The lens produces great contrast, low distortion, and crisp, sharp images. I also like the fact I can utilize the same backs I have for my 1000F and 1600F cameras on this body. The photos included in this article are shot with my A16 back, which produced 6cm x 4.5cm sized images on 120 film. This back also gives me an 8x10 format and 16 images per roll instead of 12 with the A12 back.
Crude Viewfinder and mount
Using the camera is relatively easy and straight forward. When using the Hasselblad cameras, you always need to remove the dark slide from the back to fire the camera. There is no light meter built into this camera, or many of the Hasselblad camera unless you purchase a different finder. An external light meter is needed to get proper exposure. The shutter cocking lever is also on the top of the lens barrel.
The top of this camera lens barrel is both the shutter speed control on the farthest ring away from the camera body. The shutter speeds go from 1-1/500, and B. Coming closer to the camera body is the shutter cocking lever, which is separated by a toggle switch. When the lever is away from the camera body, the camera is in normal shooting mode. If the control is inward towards the camera body, the cocking lever can be moved to the farthest position putting into "self-timer" mode. This allows the photographer approximately 10 seconds before the shutter fires. Closer to the camera body is the aperture setting. Closest to the body is the Focus ring.
On the right side of the camera body is the film transport knob. You turn this knob forward until it stops, which advances the film. On the top of the camera is (typically) the viewfinder accessory shoe, and the left of that is a spirit level. The original viewfinders had a small prism in the finder so you could see the level in the viewfinder to make sure the camera was level when handholding it. Another excellent feature mine doesn't have.
To take the film back off, you need to have the dark slide inserted into the film holder. You slide the button on top of the holder to the right. You can then remove the film holder, and you replace it with another.
Images from my camera
As you see, my camera is "well used." It works, it's mine, and I enjoy using it. If you have any of the parts I discussed in this post and want to sell them, please contact me with reasonable offers. Thank you for taking the time to read this week's post. Please ask questions, or leave comments, and I'll reply as soon as possible. Until next week, Be safe. Next week's posting will be on the Sub-compact GemFlex camera.
You can subscribe to my Camera Collecting Blog below.


